This garlic oil base transforms your Neapolitan pizza into a light, aromatic pizza bianca. It’s perfect when you want the dough’s flavor and texture to shine without the acidity of tomato sauce. It pairs beautifully with fresh mozzarella, ricotta, mushrooms, or prosciutto for a delicate, savory balance. The aglio e olio variation adds a gentle chili warmth layered into the oil itself.
Ingredients
- 1–2 tsp Garlic Oil, per pizza
- Thin slices of cooked garlic from the infused oil, optional
Optional Toppings
- Fresh mozzarella or burrata
- Ricotta cheese
- Mushrooms, caramelized onions, or roasted peppers
- Prosciutto, arugula, or fresh basil
Aglio e Olio Variation
- ½–1 tsp Garlic Oil, using the Chili Garlic Oil variation, blended into the garlic oil, per pizza
Directions
Prepare the Dough
Stretch or shape one portion of prepared Neapolitan pizza dough to your desired size, leaving a slightly raised edge for the crust.
Apply the Garlic Oil Base
Brush or spoon garlic oil evenly over the surface of the dough.
- For subtle flavor, use about 1 tsp per pizza.
- For stronger flavor, use up to 2 tsp and scatter a few garlic slices on top.
For Aglio e Olio
Blend the Chili Garlic Oil variation into the garlic oil before brushing the dough.
- For gentle heat, use ½ tsp chili garlic oil per pizza.
- For bolder heat, use 1 tsp chili garlic oil per pizza.
Add Toppings
Top lightly with cheese and desired ingredients. Avoid adding too much oil or moisture, which can soften the crust during baking.
Bake
Bake according to your Neapolitan dough instructions—typically at 475–500°F / 245–260°C until the crust is blistered and golden, about 1½–2 minutes in a high-heat pizza oven or 6–8 minutes in a home oven on a preheated baking steel.
Finish
Drizzle with a touch more garlic oil after baking, if desired. Slice and serve immediately.
Notes
Preparation
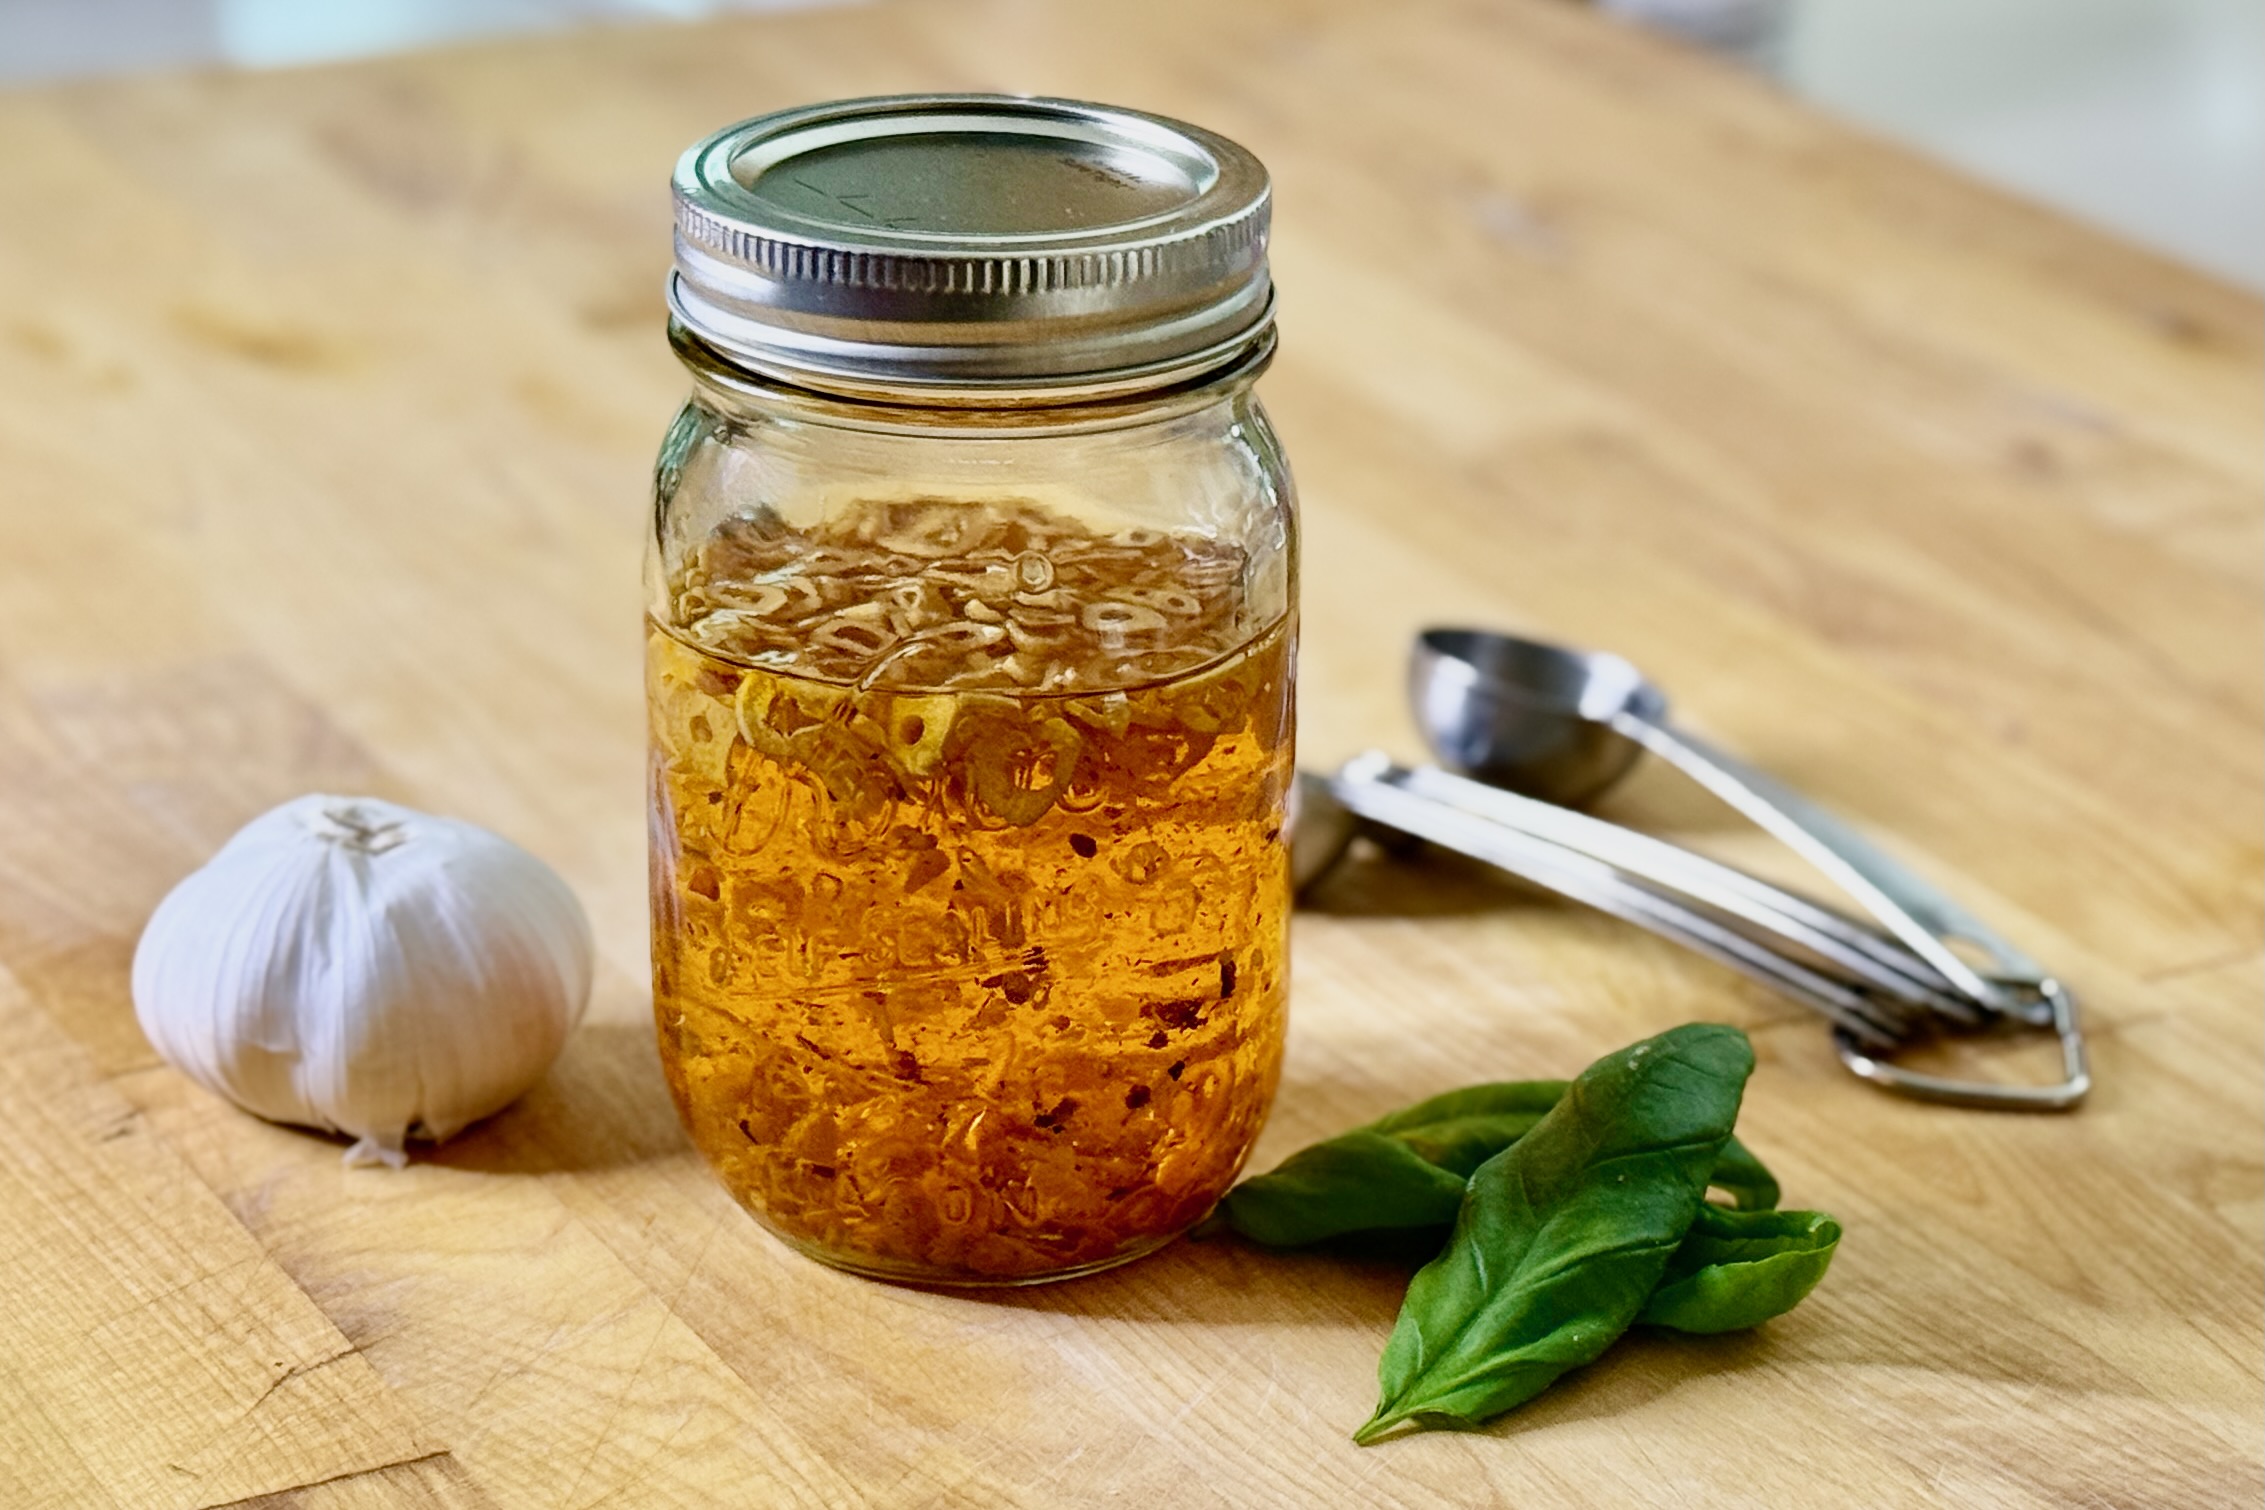
- Use Homemade Garlic Oil for best flavor and consistency. For the aglio e olio version, use the Chili Garlic Oil variation from that same recipe.
- For a lighter pizza, use less oil and keep toppings minimal—Neapolitan-style pizza cooks best when lightly topped.
- Apply oil lightly; too much can prevent proper blistering and lead to a softer crust.
Serving Suggestions
- Top with mozzarella, ricotta, or burrata for a rich pizza bianca.
- Add roasted vegetables, mushrooms, or caramelized onions for earthy depth.
- Finish with prosciutto, arugula, or basil after baking for a fresh touch.
Variations
- For truffle oil aroma, drizzle a few drops just before serving.
- Combine equal parts garlic oil and the Chili Garlic Oil variation for a subtle, smoky spice.
- Use herb-infused olive oil, such as rosemary or thyme, for a Mediterranean twist.
Make-Ahead & Storage
- Garlic oil can be made ahead and stored in the refrigerator according to the storage guidance in the Garlic Oil recipe.
- Bring refrigerated garlic oil to room temperature before using for easier spreading.
- Do not leave garlic-infused oil at room temperature for extended periods due to food safety concerns.