Bags of Spices

Favorite Recipes

Sauces, Seasonings, & More

The flavor-makers — sauces, salsas, dips, marinades, spreads, and spice blends that transform dishes from good to unforgettable.

  • House Mayonnaise

    House Mayonnaise

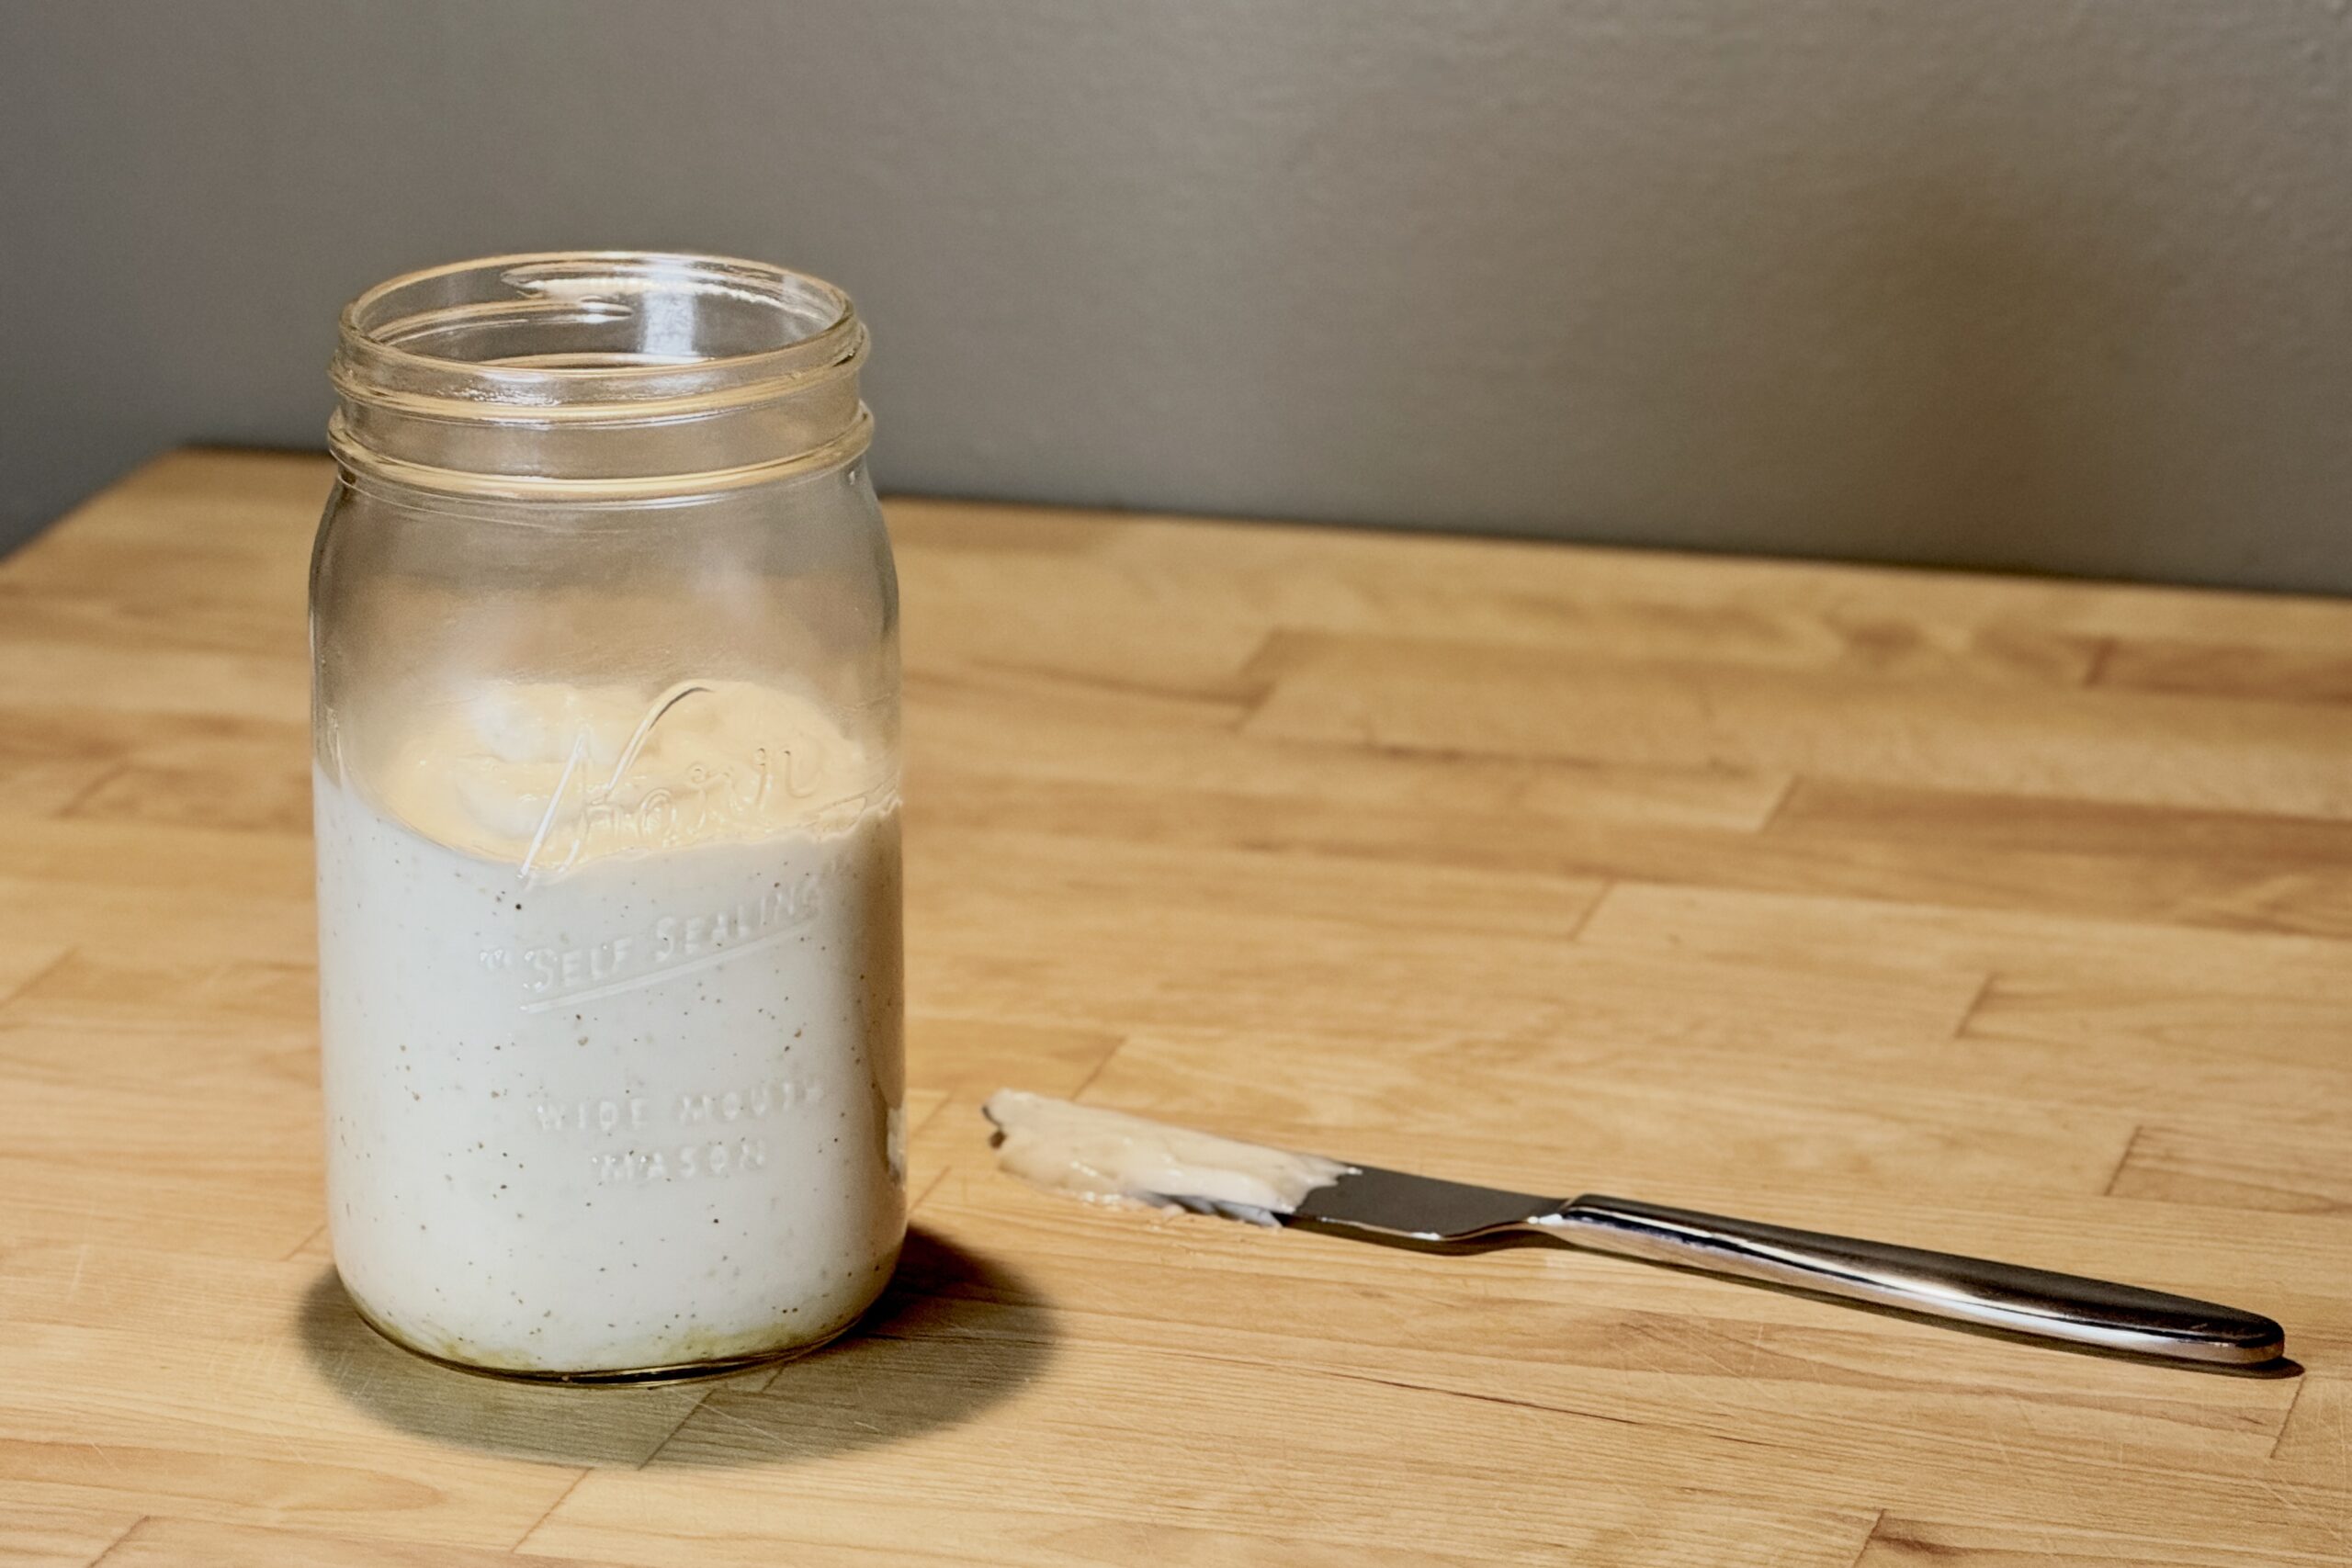
    This house mayonnaise brings together two styles we especially enjoy: the clean, tangy character of Southern-style mayonnaise and the smoother, slightly sweeter balance of Dutch mayonnaise. Made with a neutral oil and just enough mustard and vinegar to keep it lively, it works equally well with sandwiches, deviled eggs, salads, and hot, salty frites, with a few simple variations that take it in entirely different directions.


    Ingredients

    • 8 oz (225 g) soybean oil
    • 1 large egg yolk
    • 2 tsp white vinegar
    • 1 tsp apple cider vinegar
    • 2 tsp water
    • 1½ tsp Dijon mustard
    • 3 g sugar
    • 2 g table salt

    Directions

    Prepare the Mayonnaise

    Let the ingredients stand at room temperature for about 15 minutes so they are close to the same temperature.

    Add the egg yolk, white vinegar, apple cider vinegar, water, Dijon mustard, sugar, and salt to a wide-mouth pint mason jar. Pour the soybean oil over the top and allow the mixture to settle for a minute.

    Place the head of an immersion blender flat against the bottom of the jar so it covers the yolk. Blend without moving the blender until a thick, pale emulsion forms around the blade. Slowly lift and tilt the blender through the remaining oil until the mayonnaise is completely emulsified and smooth.

    Let the mayonnaise rest for a few minutes, then taste and adjust as needed. If it is thicker than desired, blend in cold water ½ tsp at a time until it reaches the preferred consistency.

    Yield: About 1 cup (240 ml).


    Notes

    Preparation

    • Eggs: Commercially pasteurized egg yolks are the simplest choice when raw-egg safety is a concern.
    • Sous Vide Egg Treatment: To reduce the risk associated with raw egg, place refrigerated eggs in a 135°F (57°C) sous vide bath for 75 minutes, then transfer immediately to an ice bath for 10 minutes. Refrigerate until needed. This home heat treatment reduces the risk of Salmonella but is not equivalent to commercially pasteurized eggs; commercially pasteurized eggs or yolks remain the safest choice.
    • Oil: Soybean oil keeps the flavor especially neutral. Refined canola oil can be substituted if preferred, although it may contribute a little more seed-like flavor.
    • Immersion blender: A container only slightly wider than the blender head helps the emulsion form quickly and reliably.

    Variations

    • Frietssaus: For a lighter, slightly sweeter sauce for frites, blend 1–2 tsp additional cold water and 1–2 g additional sugar into the finished mayonnaise. Adjust gradually so the sauce remains creamy rather than thin.
    • Southern-Style Mayonnaise: For a sharper, Duke’s-inspired mayonnaise, use 1 tbsp white vinegar, 2 tsp apple cider vinegar, and 1 tsp water in place of the base recipe’s vinegars and water. Omit the sugar and Dijon mustard, and add ⅛ tsp sweet paprika. Prepare as directed.
    • Garlic Mayonnaise: Blend 1 small garlic clove, finely grated or pressed, into 1 cup (240 ml) finished House Mayonnaise. Refrigerate for at least 30 minutes before serving to allow the garlic flavor to mellow and develop.
    • Curry Mayonnaise: Stir 1½ tsp mild curry powder into 1 cup (240 ml) finished House Mayonnaise. Refrigerate for at least 30 minutes before serving so the curry can hydrate and the flavors can meld. Add up to ½ tsp additional curry powder to taste for a more pronounced flavor.

    Serving Suggestions

    • Use as an all-purpose mayonnaise for sandwiches, burgers, deviled eggs, egg salad, potato salad, or as a base for other sauces.
    • Serve the Frietssaus variation with hot, well-salted frites.

    Make-Ahead & Storage

    • Refrigerate promptly in a clean, covered container and keep cold. Use within 3 days, and discard it sooner if there is any question about freshness.
  • Fresh San Marzano Tomato Basil Sauce

    Fresh San Marzano Tomato Basil Sauce

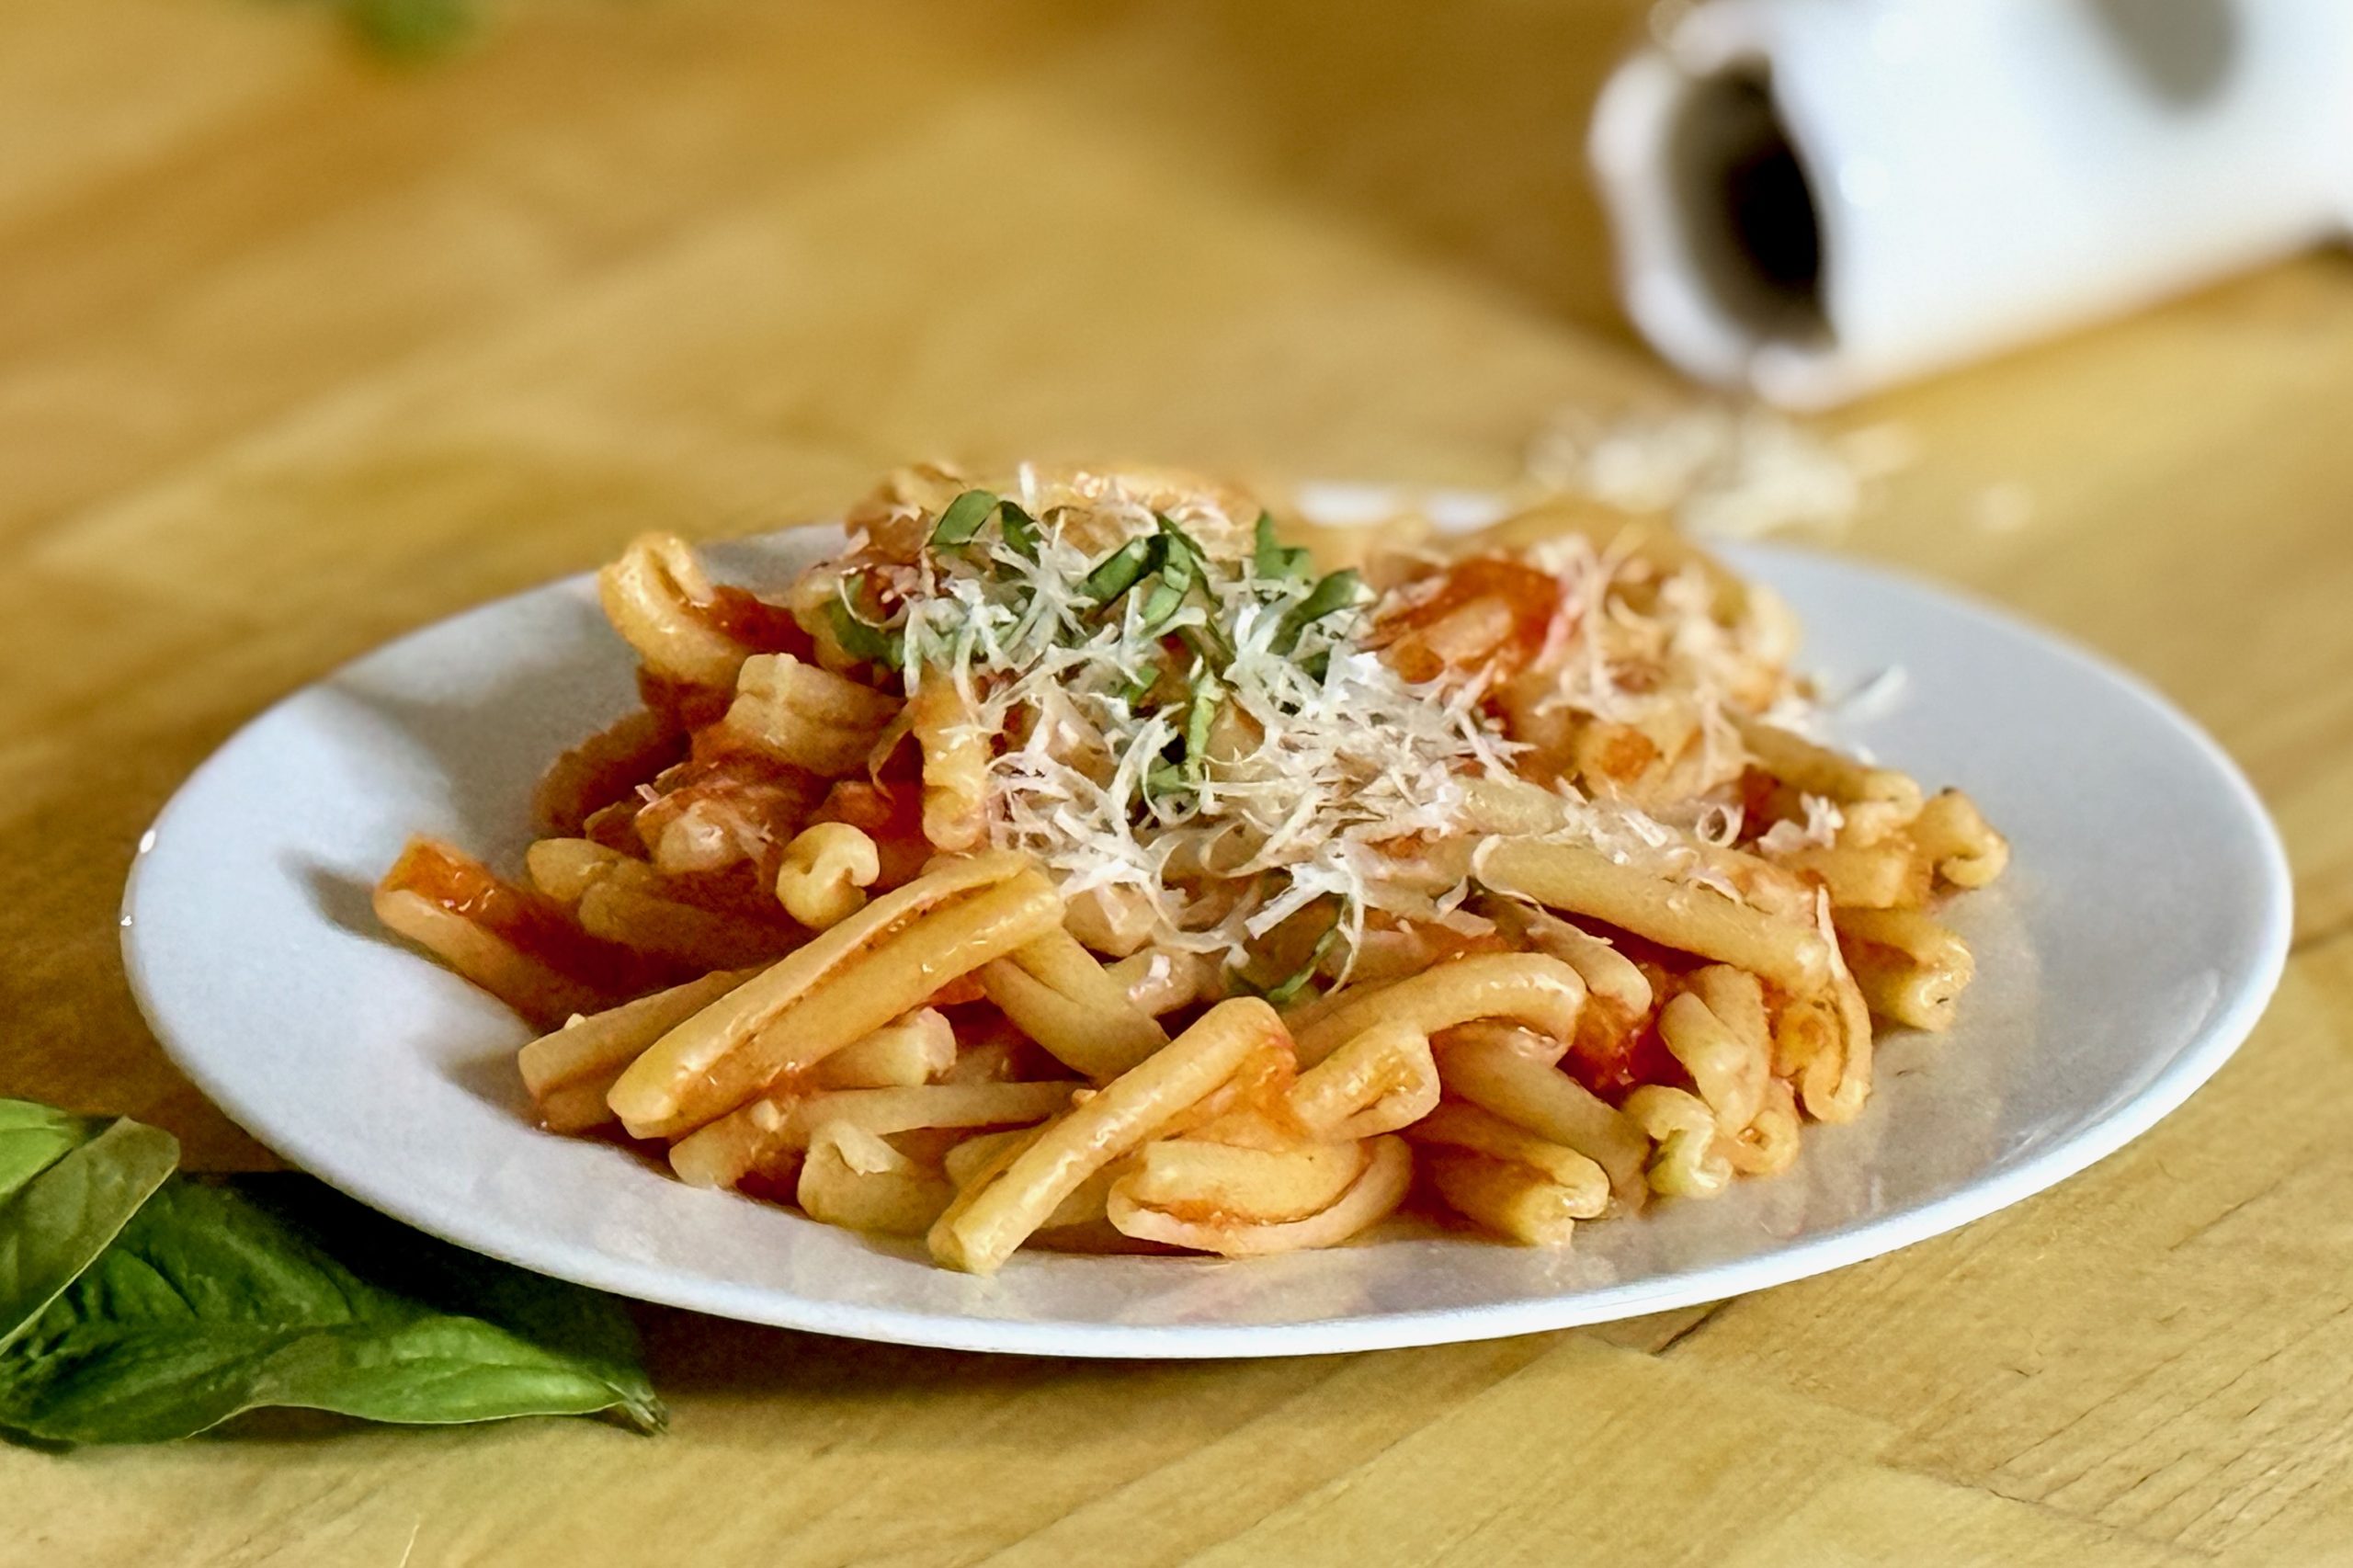
    Each year, our backyard garden gives us a bumper crop of San Marzano tomatoes along with plenty of freshly harvested basil, and this sauce is one of our favorite ways to bring the two together. The tomatoes are grated and briefly simmered with gently cooked garlic, fresh basil, and olive oil, creating a sauce that is bright, fragrant, and full of fresh tomato flavor. Finishing the pasta directly in the sauce allows the tomato juices, olive oil, and pasta starch to come together into a light, silky coating that clings beautifully to every strand.


    Ingredients

    • 2 lb (900 g) fresh San Marzano tomatoes
    • 3 tbsp (45 ml) extra-virgin olive oil, divided
    • 2–3 cloves garlic, thinly sliced
    • ½ tsp table salt, plus more to taste
    • Freshly ground black pepper, to taste, optional
    • 10–15 fresh basil leaves, divided
    • Reserved pasta cooking water, only if needed

    Directions

    Prepare the Tomatoes

    Cut the tomatoes in half. Holding each tomato by the skin, grate the cut side against the large holes of a box grater until only the skin remains. Discard the skins, retaining all of the tomato pulp, juice, seeds, and surrounding gel.

    Make the Sauce

    Heat 2 tbsp (30 ml) olive oil in a wide skillet or sauté pan over medium-low heat. Add the sliced garlic and cook gently for 30–60 seconds, just until fragrant. Do not allow the garlic to brown.

    Add the grated tomatoes and ½ tsp salt. Add 3–4 whole basil leaves or a few tender basil stems.

    Bring to a gentle simmer and cook uncovered for about 15–20 minutes, stirring occasionally, until the raw tomato flavor has softened and the tomatoes have reduced slightly. The sauce should still be relatively loose; do not continue cooking simply to achieve the consistency of a finished pasta sauce.

    Remove and discard the cooked basil leaves or stems. Taste and adjust the salt and black pepper as needed.

    Finish the Pasta in the Sauce

    Cook the pasta in well-salted boiling water until about 2 minutes shy of your preferred doneness.

    Transfer the pasta directly into the simmering tomato sauce. Toss continuously over medium to medium-high heat for about 2 minutes, or until the pasta is properly cooked and the tomato juices, starch, and olive oil have come together into a light sauce that clings to the pasta.

    Add reserved pasta cooking water only if the sauce becomes too tight.

    Remove from the heat. Tear the remaining fresh basil leaves into the pasta and drizzle with the remaining 1 tbsp (15 ml) olive oil. Toss well and serve immediately.

    Yield: 4 servings.


    Notes

    Preparation

    • Use fully ripe tomatoes with good natural sweetness and acidity. Because the sauce contains so few ingredients, the quality and ripeness of the tomatoes make a significant difference.
    • Do not seed the tomatoes. The pulp and gel surrounding the seeds contribute flavor and moisture to the finished sauce.
    • Grating the tomatoes removes the skins while retaining more pulp than processing them through a fruit and vegetable strainer.
    • Keep the garlic pale and aromatic. Browning it produces a deeper flavor that can compete with the fresh tomatoes.
    • Cooking time will vary somewhat with the moisture content of the tomatoes. Judge the sauce primarily by flavor rather than trying to reduce away all of the tomato liquid.
    • The sauce is intentionally loose before the pasta is added. Finishing the pasta directly in the sauce allows the pasta to absorb some of the tomato liquid while released starch helps bind the tomato juices and olive oil.
    • Avoid substantially extending the tomato cooking time simply to thicken the sauce. The short simmer helps preserve its fresh tomato character.
    • Sugar should not normally be necessary with ripe tomatoes. If a particular batch is unusually acidic, make any adjustment only after tasting the cooked sauce.

    Variations

    • Spicy Tomato & Basil: Add a small pinch of crushed red pepper flakes with the garlic.
    • Chunkier Sauce: Peel the tomatoes by blanching rather than grating, then hand-crush or roughly chop them before cooking.
    • Fresh Pomodoro Variation: Add a small amount of finely grated onion and extend the simmer for a slightly richer, sweeter, and more developed sauce.

    Serving Suggestions

    • Especially good with fresh, rustic pastas such as umbricelli, where the irregular surface and substantial texture give the sauce plenty to cling to.
    • Use with other fresh or dried pasta shapes, finishing the pasta directly in the sauce using the same method.
    • Finish individual servings with additional fresh basil or a drizzle of extra-virgin olive oil.
    • Parmigiano-Reggiano or Pecorino Romano can be served at the table, although the sauce is flavorful enough to serve without cheese.
    • For a bruschetta-style serving, chill leftover sauce and spoon it over toasted or grilled bread. Finish with fresh basil and a drizzle of extra-virgin olive oil.

    Make-Ahead & Storage

    • The tomato sauce can be prepared several hours ahead and gently reheated before finishing the pasta in it. Reserve the finishing basil and final tablespoon of olive oil until serving.
    • Refrigerate leftover sauce in an airtight container for up to 4 days.
    • Leftover sauce is excellent served cold or at room temperature as a bruschetta-style topping.
    • The sauce can be frozen, although its fresh basil aroma and especially fresh character are best when served shortly after preparation.
  • Homemade Bahmi Goreng Mix

    Homemade Bahmi Goreng Mix

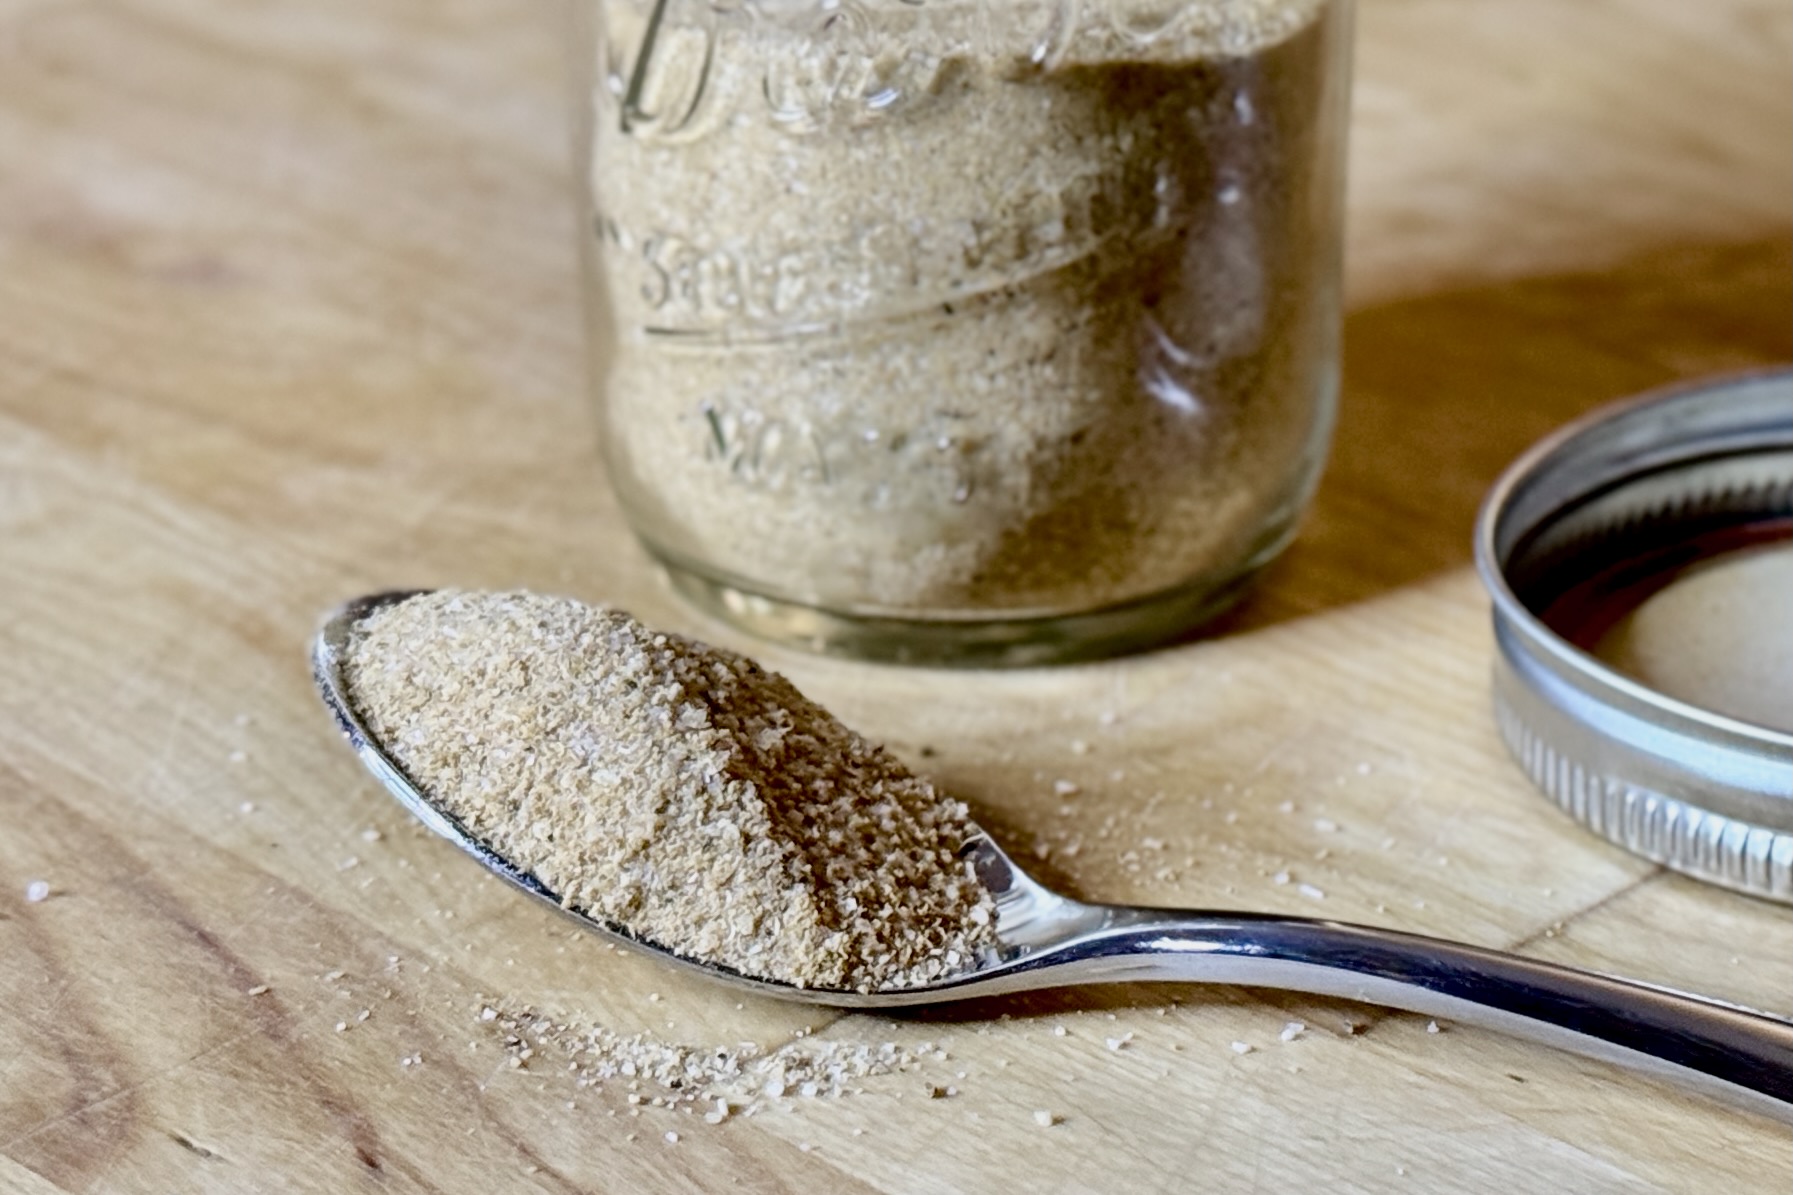
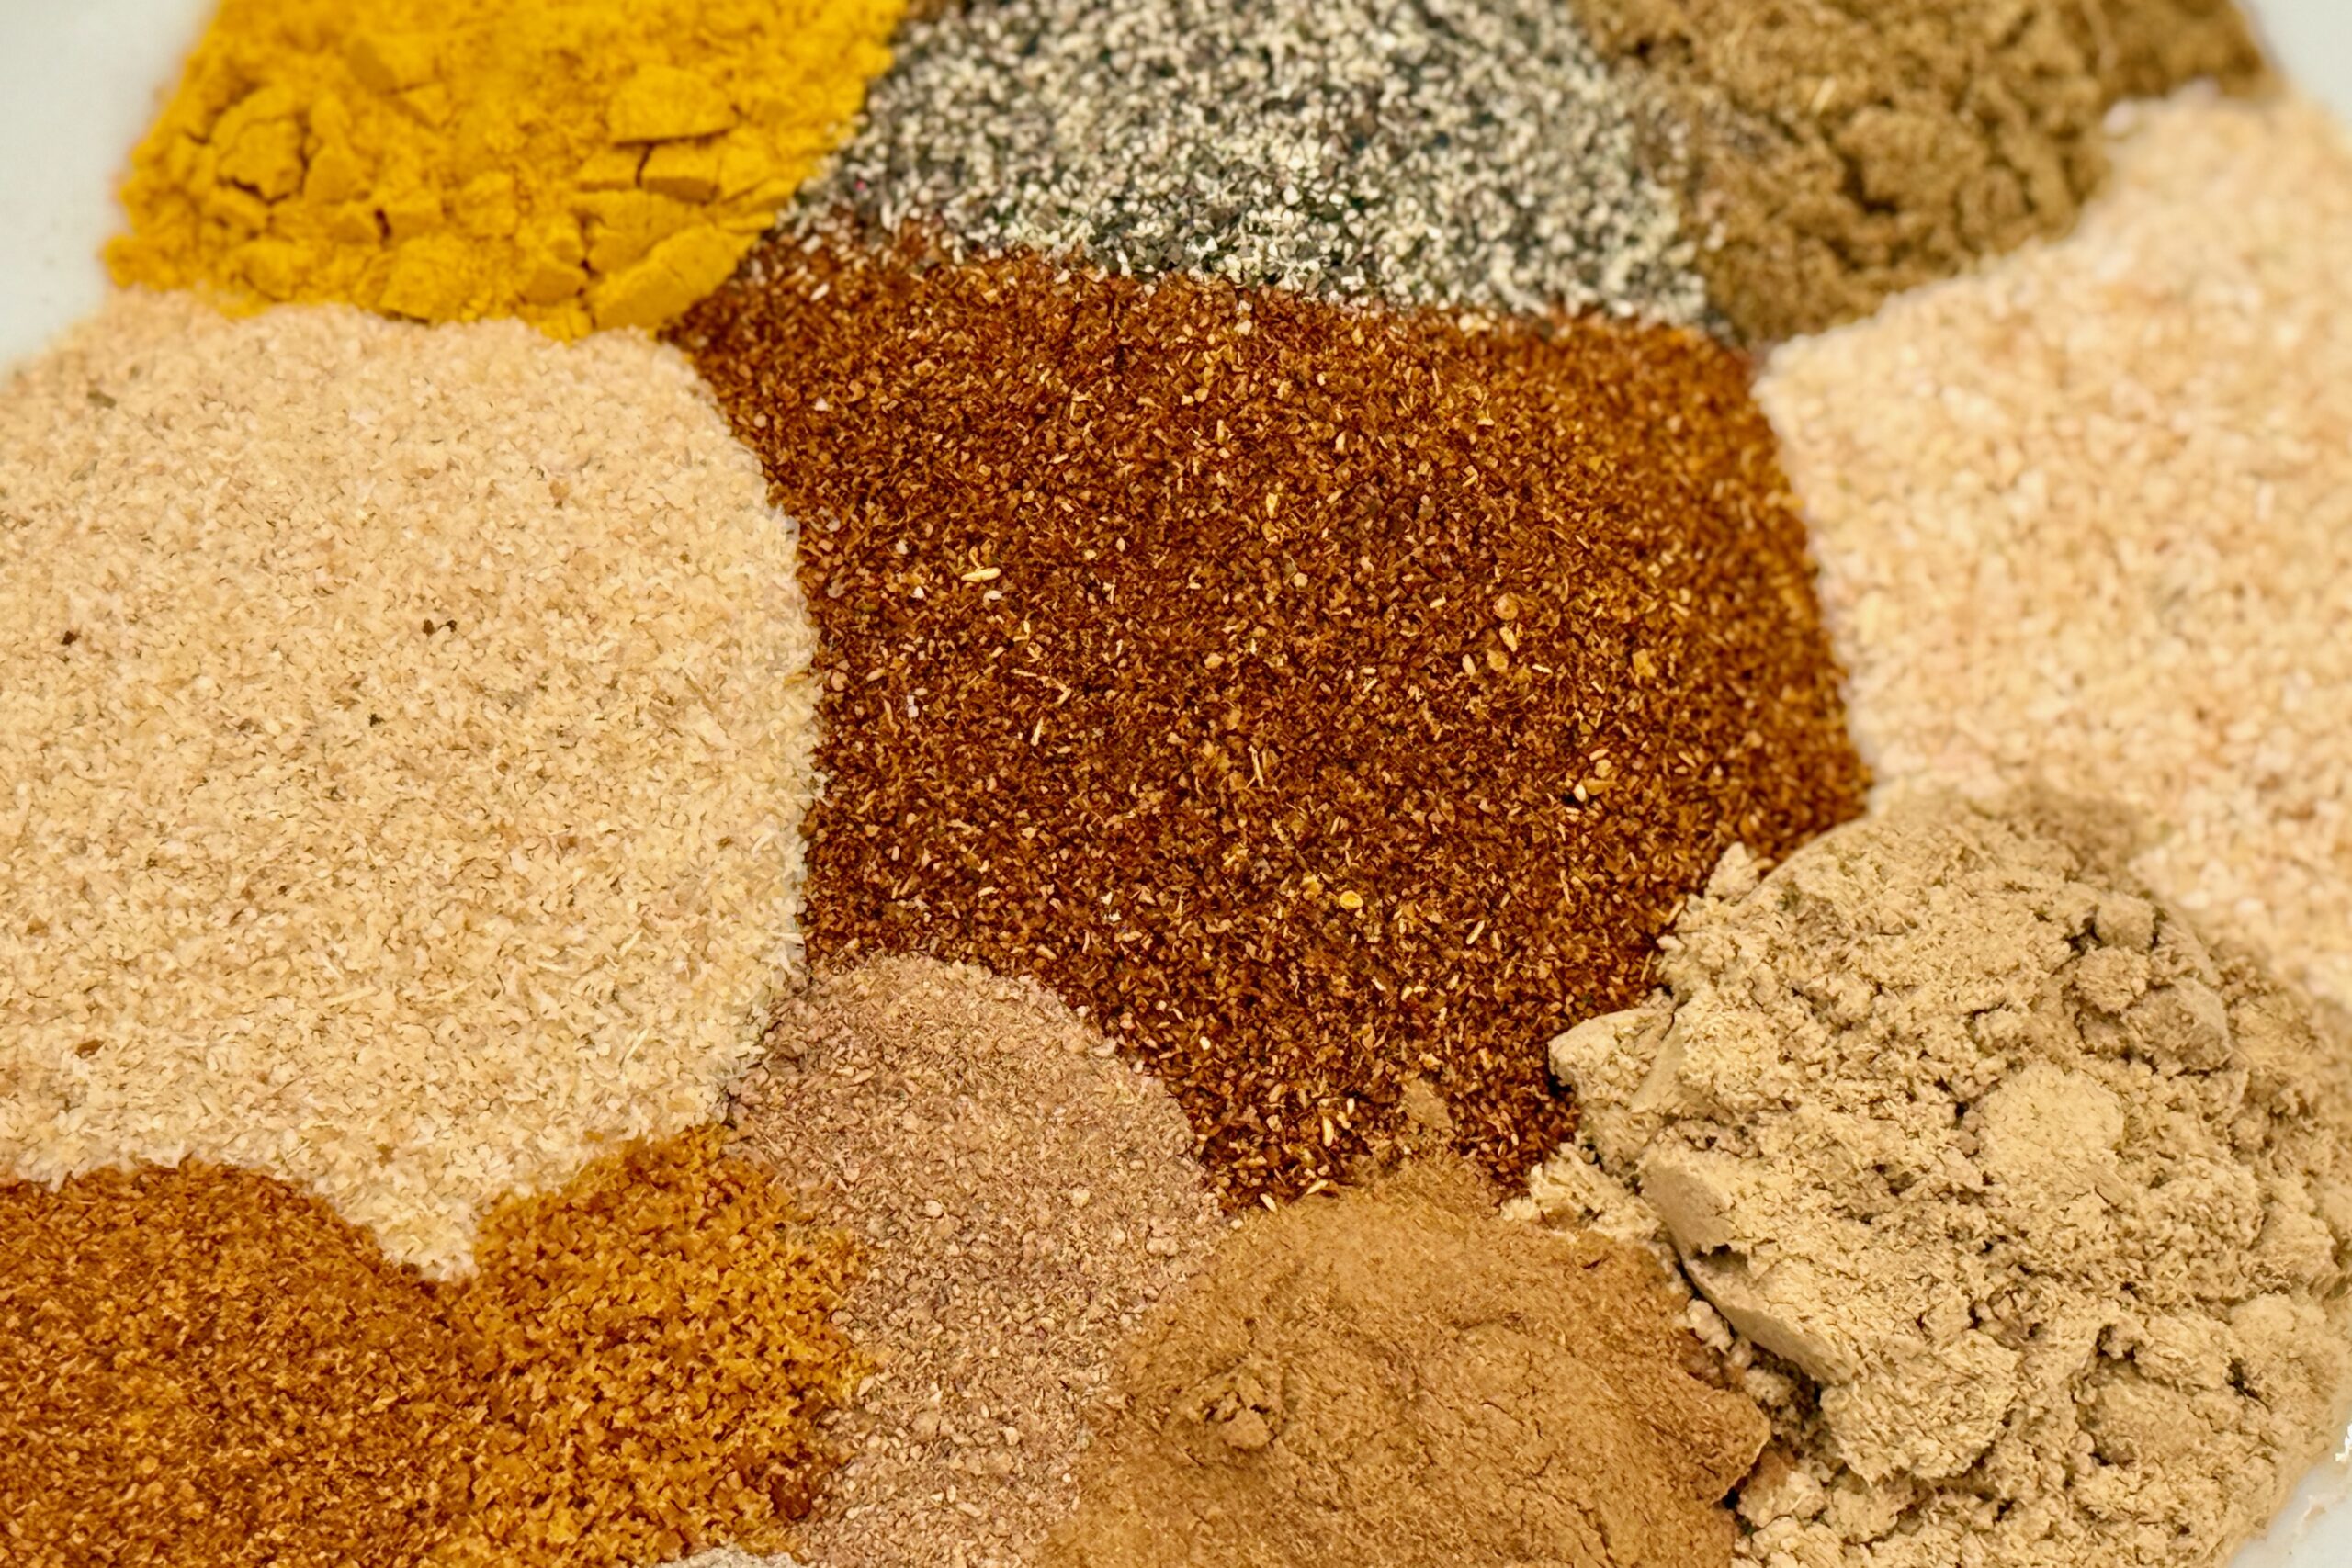
    This homemade bahmi goreng spice mix is our pantry-friendly take on the classic Conimex packet I grew to love while living in the Netherlands. It delivers that familiar savory, slightly sweet, and aromatic flavor—but with better ingredients and more flexibility. Keep a jar on hand, and you’re never more than a few minutes away from a quick, deeply satisfying batch of bahmi goreng.


    Ingredients

    Spice Mix

    • 5 tsp garlic powder
    • 5 tsp onion powder
    • 1½ tsp ground white pepper
    • ¼ tsp ground black pepper
    • 1¼ tsp turmeric
    • 1½ tsp ground coriander
    • 1 tsp ground ginger
    • ½ tsp ground galangal
    • ¼ tsp ground celery seed
    • ¼ tsp paprika
    • 2½ tsp sugar
    • 2 tsp table salt
    • 2½ tsp MSG (optional but recommended)
    • ¼ tsp citric acid (optional)

    Directions

    Mix the Spice Blend

    Combine all ingredients in a small jar or airtight container. Shake well for 20–30 seconds to evenly distribute the spices. Shake again briefly before each use.

    Use for Bahmi Goreng

    For one batch of bahmi goreng made with about 10.6–12.3 oz (300–350 g) noodles, combine 1 tbsp spice mix, 2 tbsp (30 ml) ketjap manis, 1 tbsp (15 ml) light soy sauce, 1 tsp fish sauce or ½ tsp shrimp paste, 1–2 tsp sambal oelek, sambal badjak, or sambal manis to taste, and 2–3 tbsp (30–45 ml) water.

    Add to the wok during cooking and toss until the noodles are evenly coated, glossy, and heated through.

    Yield: About ½ cup (120 ml), enough for approximately 8 batches at 1 tbsp per batch.


    Notes

    Preparation

    • This mix is designed to recreate the flavor of Conimex bahmi goreng seasoning using pantry ingredients.
    • Ground galangal adds an authentic Indonesian note; if unavailable, increase ginger slightly.
    • Citric acid adds subtle brightness similar to packaged mixes but is optional.
    • If citric acid is not available, add a squeeze of fresh lime juice during cooking for brightness.
    • If using salty ingredients such as soy sauce, fish sauce, shrimp paste, or pre-seasoned vegetables, adjust seasoning to taste.

    Variations

    • More Heat: Add extra sambal for more heat or depth—badjak for richness, oelek for brightness, or manis for a sweeter profile.
    • Fried Sambal: For deeper flavor, briefly fry the sambal in the wok with aromatics before adding noodles.
    • Sweeter Sambal: If using sambal manis, taste before adding extra sweetness since both sambal manis and ketjap manis bring sweetness to the dish.

    Serving Suggestions

    • Use this mix with our Bahmi Goreng recipe for a quick, flavorful meal.
    • Pairs well with krupuk and a side of acar timun for contrast.

    Make-Ahead & Storage

    • Store in an airtight container for up to 6 months.
    • Shake before each use to keep the blend evenly mixed.
  • Dr Pepper Barbecue Sauce

    Dr Pepper Barbecue Sauce

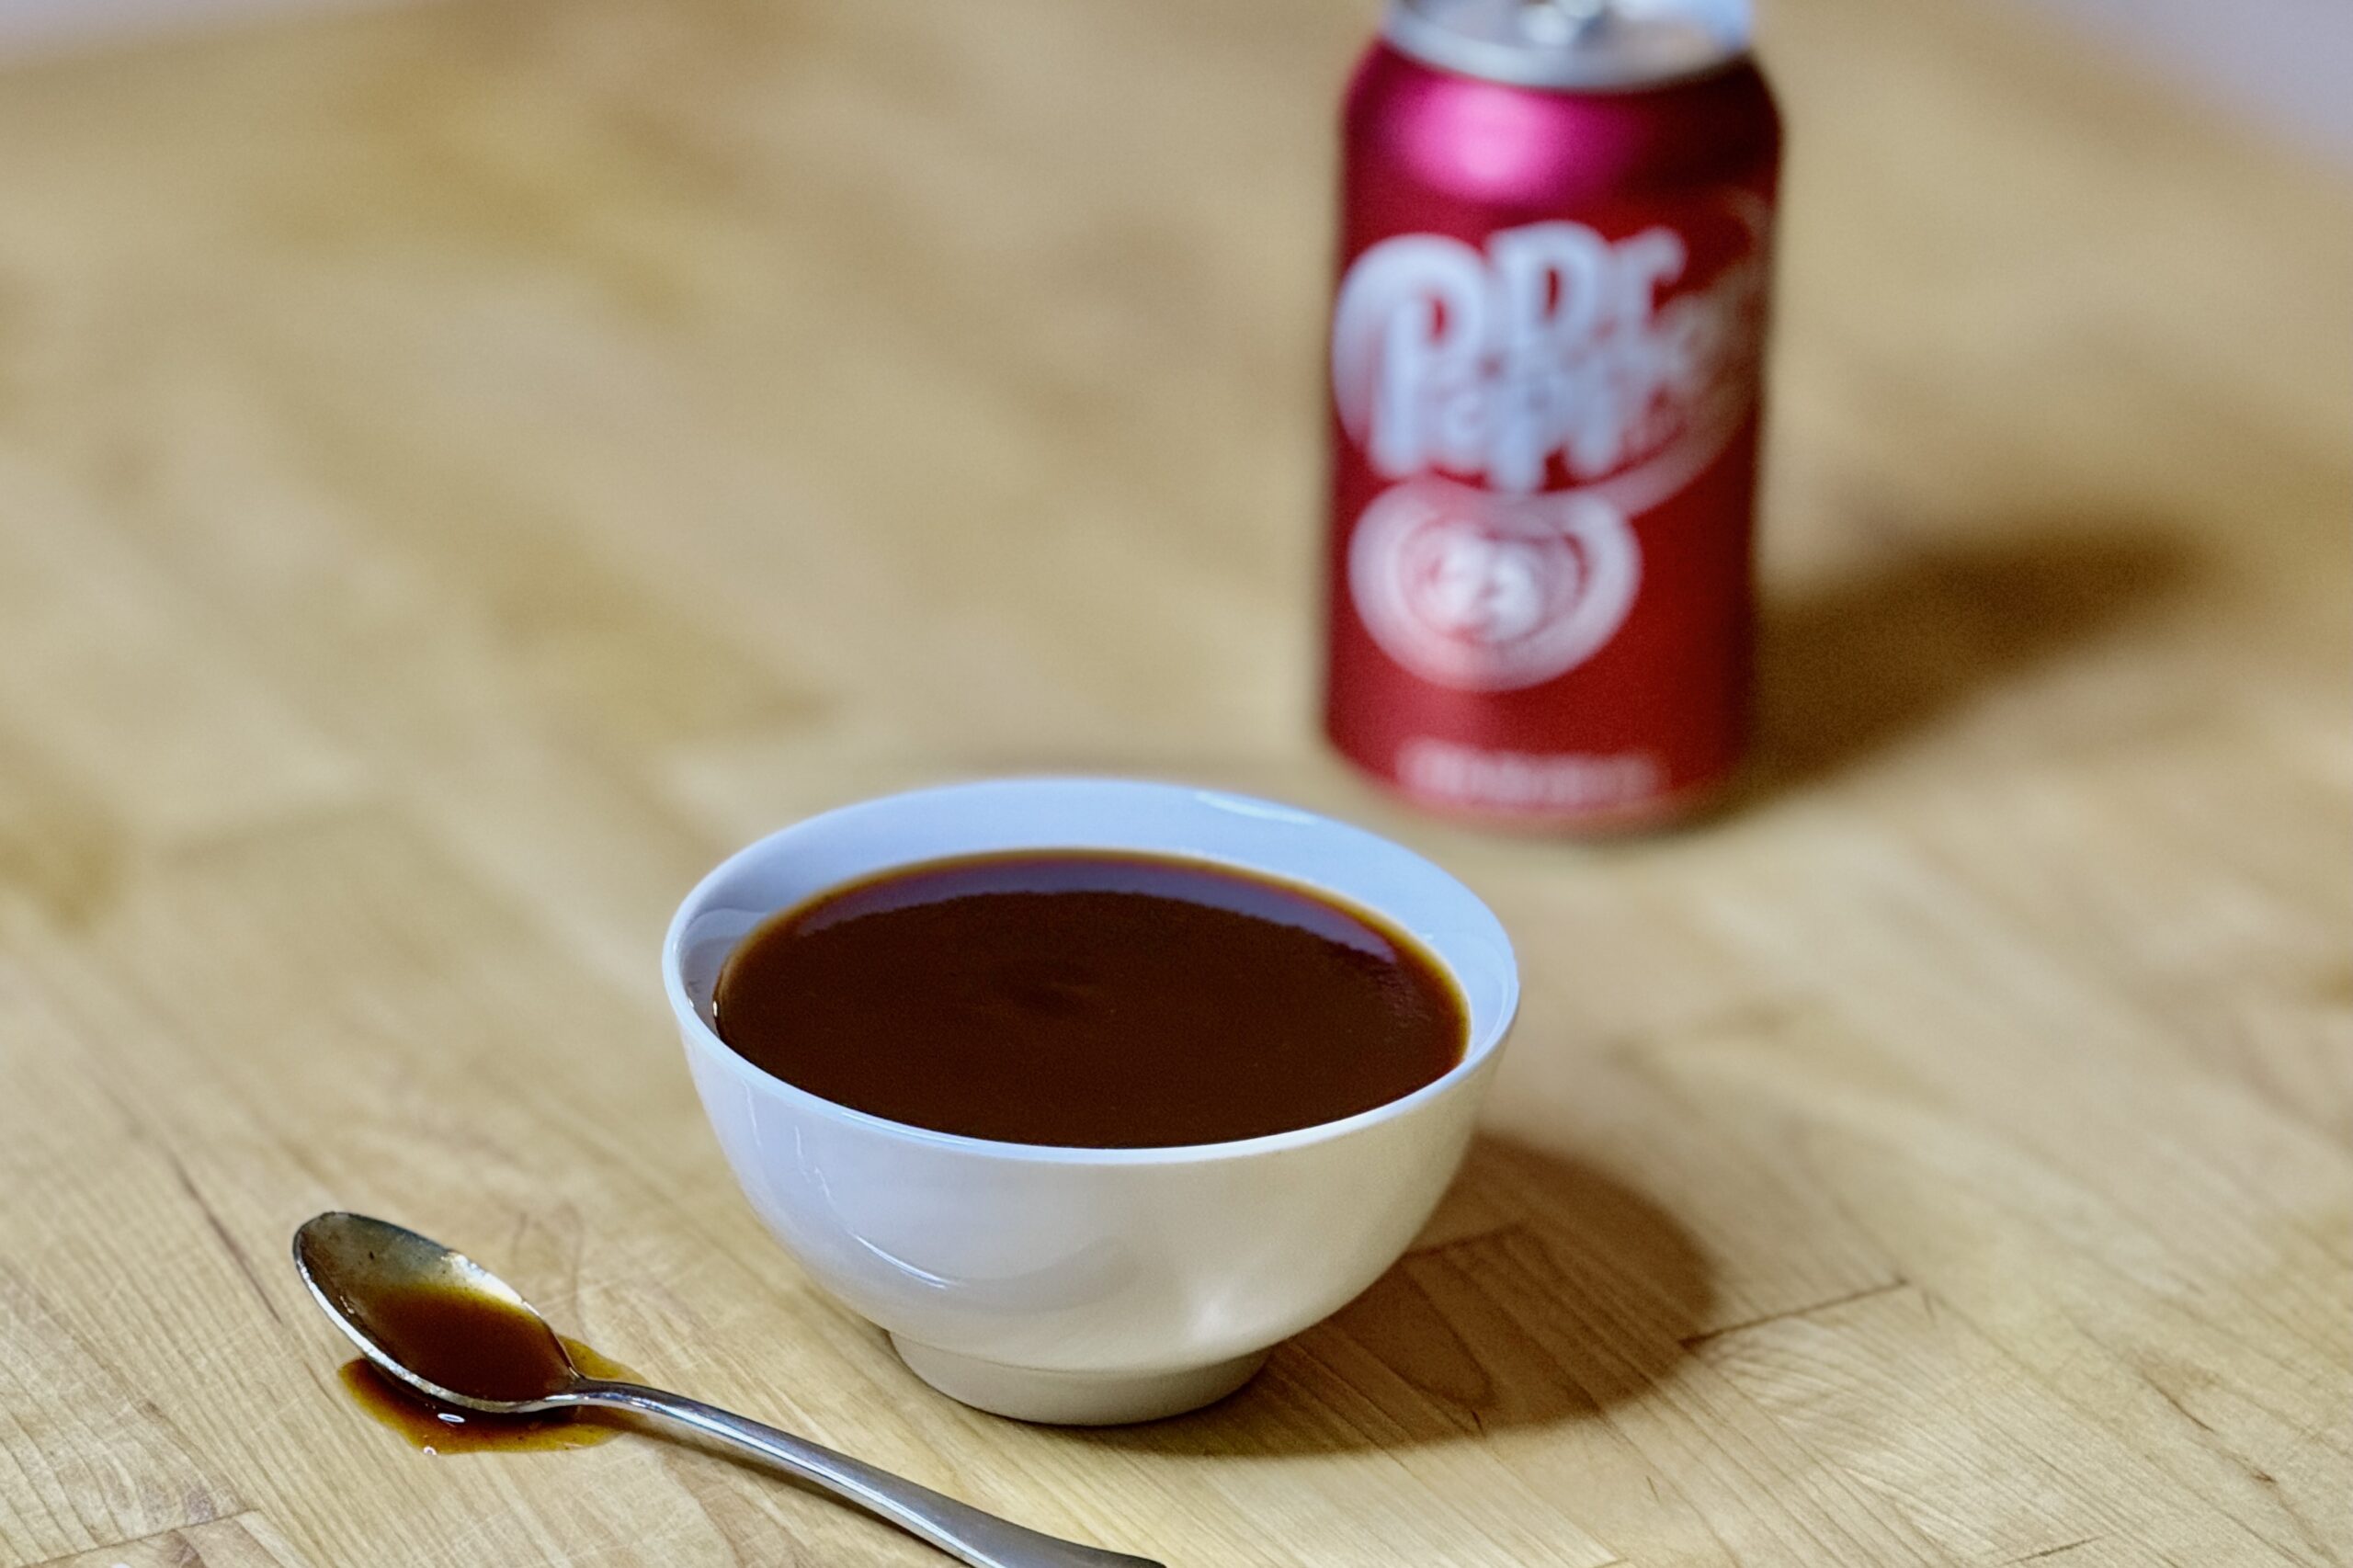
    This Dr Pepper Barbecue Sauce has been a longtime family favorite—rich, sweet, and smoky. Reducing a portion of the Dr Pepper concentrates its distinctive flavor, while gently warming the spices brings out their aroma. Brown sugar, honey, and molasses give the sauce a rounded sweetness, balanced by apple cider vinegar and savory seasoning. Brush it onto meat near the end of cooking or serve it warm on the side.


    Ingredients

    • 1 bottle, 20 fl oz (591 ml), Dr Pepper, divided
    • 2 cups (480 g) ketchup, divided
    • About ¾ cup (150 g) brown sugar
    • 2 tbsp (40 g) molasses
    • ¼ cup (84 g) honey
    • ¼ cup (60 ml) apple cider vinegar
    • 2 tsp liquid aminos
    • 1 tsp fish sauce
    • 1 tsp chipotle chili powder
    • ½ tsp garlic powder
    • ½ tsp table salt
    • ¼ tsp ginger powder
    • ¼ tsp galangal powder, or substitute an additional ¼ tsp ginger
    • ¼–½ tsp black pepper

    Directions

    Reduce The Dr Pepper

    Pour 1 cup (240 ml) of the Dr Pepper into a saucepan and simmer over medium heat until reduced to a thick, syrupy consistency, about 10–15 minutes. Set aside.

    Bloom The Spices

    In a large saucepan, warm 2–3 tbsp (30–45 g) of the measured ketchup over medium heat.

    Add the chipotle chili powder and garlic powder, stirring constantly for 30–60 seconds until fragrant.

    Build The Sauce

    Add the remaining Dr Pepper, reduced Dr Pepper syrup, remaining ketchup, brown sugar, molasses, honey, apple cider vinegar, liquid aminos, fish sauce, salt, ginger, galangal, and black pepper.

    Stir well to combine.

    Simmer Until Thickened

    Bring the sauce to a gentle boil, then reduce to a simmer.

    Cook uncovered, stirring occasionally, until thickened to your desired consistency, about 20–30 minutes.

    Taste And Adjust

    Taste and adjust with additional vinegar for brightness or a pinch of salt if needed.

    Yield: About 4 cups (950 ml).


    Notes

    Preparation

    • Reducing part of the Dr Pepper concentrates its flavor and enhances the signature character of the sauce.
    • Blooming the spices helps develop deeper, more integrated flavor compared to adding them directly to the liquid.
    • The combination of brown sugar and molasses provides a more balanced, less candy-like sweetness.

    Variations

    • Root Beer or Cola: Root beer or cola may be substituted for Dr Pepper for a slightly different flavor profile.
    • Tangier Sauce: For a slightly tangier sauce, increase the apple cider vinegar by 1–2 tsp.

    Serving Suggestions

    • Perfect for pulled pork, ribs, grilled chicken, or burgers.
    • Brush onto meats during the final stage of cooking or serve warm on the side.

    Make-Ahead & Storage

    • Refrigerate in a sealed container for up to 1 week.
    • Reheat gently before serving if desired.
    • The flavor deepens after a day in the refrigerator.
  • Honey Mustard Barbecue Sauce

    Honey Mustard Barbecue Sauce

    A good barbecue spread needs a sauce that brings everything together—and this honey mustard barbecue sauce fills that role perfectly. Creamy, tangy, lightly sweet, and just smoky enough to complement pulled pork, it’s the kind of sauce that works for everyone at the table. Built on a balanced blend of mustard, honey, and barbecue sauce, it’s just as good on sandwiches as it is for dipping fries or chicken. It’s especially popular with kids, but don’t be surprised if the adults keep coming back for it too.


    Ingredients

    • ¾ cup (180 ml) mayonnaise
    • ⅓ cup (80 ml) barbecue sauce
    • ⅓ cup (80 ml) yellow mustard
    • 1½ tbsp Dijon mustard
    • 2 tsp seasoned rice vinegar
    • 1 tbsp lemon juice
    • ⅓ cup (80 ml) honey
    • ¼ tsp turmeric
    • pinch black pepper
    • ¼ tsp garlic powder
    • ¼ tsp paprika
    • ⅛ tsp smoked paprika
    • ½ tsp table salt
    • ¼ tsp MSG (optional)
    • ⅛ tsp xanthan gum

    Directions

    Mix the Sauce

    In a medium bowl, whisk together the mayonnaise, barbecue sauce, yellow mustard, Dijon mustard, rice vinegar, lemon juice, honey, turmeric, black pepper, garlic powder, paprika, smoked paprika, salt, and MSG, if using, until smooth and fully combined.

    Sprinkle the xanthan gum evenly over the surface, then immediately blend with an immersion blender or whisk very vigorously until fully incorporated and slightly thickened.

    Cover and refrigerate for at least 1–2 hours before serving so the flavors can meld and the sauce can thicken slightly.

    Yield: About 1¾ cups (415 ml).


    Notes

    Preparation

    • For the best flavor, use a slightly smoky, not overly sweet barbecue sauce. A homemade version, such as our Dr Pepper Barbecue Sauce, works especially well.
    • Fresh Dijon mustard makes a noticeable difference. Older Dijon can taste flat and reduce the overall mustard presence in the finished sauce.
    • Garlic powder is ideal for make-ahead preparation, as it blends smoothly and develops a mellow, balanced flavor over time.
    • Xanthan gum gives the sauce a thicker, bottle-style consistency and helps it cling better to meat, sandwiches, and fries.
    • The sauce becomes more cohesive after resting. The mustard sharpness softens slightly as it chills, creating a smoother overall flavor.

    Variations

    • Tangy Version: Increase the seasoned rice vinegar to 1 tbsp for a brighter, sharper sauce.
    • Smoky Version: Replace the paprika with ¼–½ tsp smoked paprika and, if desired, add 2–3 drops hickory liquid smoke to taste.
    • Sharper / More Mustard-Forward Version: Increase the Dijon slightly, up to about 2 tbsp total, for a more pronounced mustard flavor.
    • Dipping Sauce Version: Increase the mayonnaise to 1 cup (240 ml) for a thicker, creamier, milder sauce.

    Serving Suggestions

    • Excellent with smoked pulled pork, especially on sandwiches with slaw.
    • Also works well as a mild dipping sauce for chicken, fries, or roasted potatoes.
    • This is a great kid-friendly sauce for a barbecue spread because it is creamy, mild, and slightly sweet without any heat.

    Make-Ahead & Storage

    • Best after at least a few hours of rest; even better the next day.
    • Store refrigerated in an airtight container for up to 5–7 days.
    • Stir before serving if any slight separation develops.
  • Blue Cheese Steak Sauce

    Blue Cheese Steak Sauce

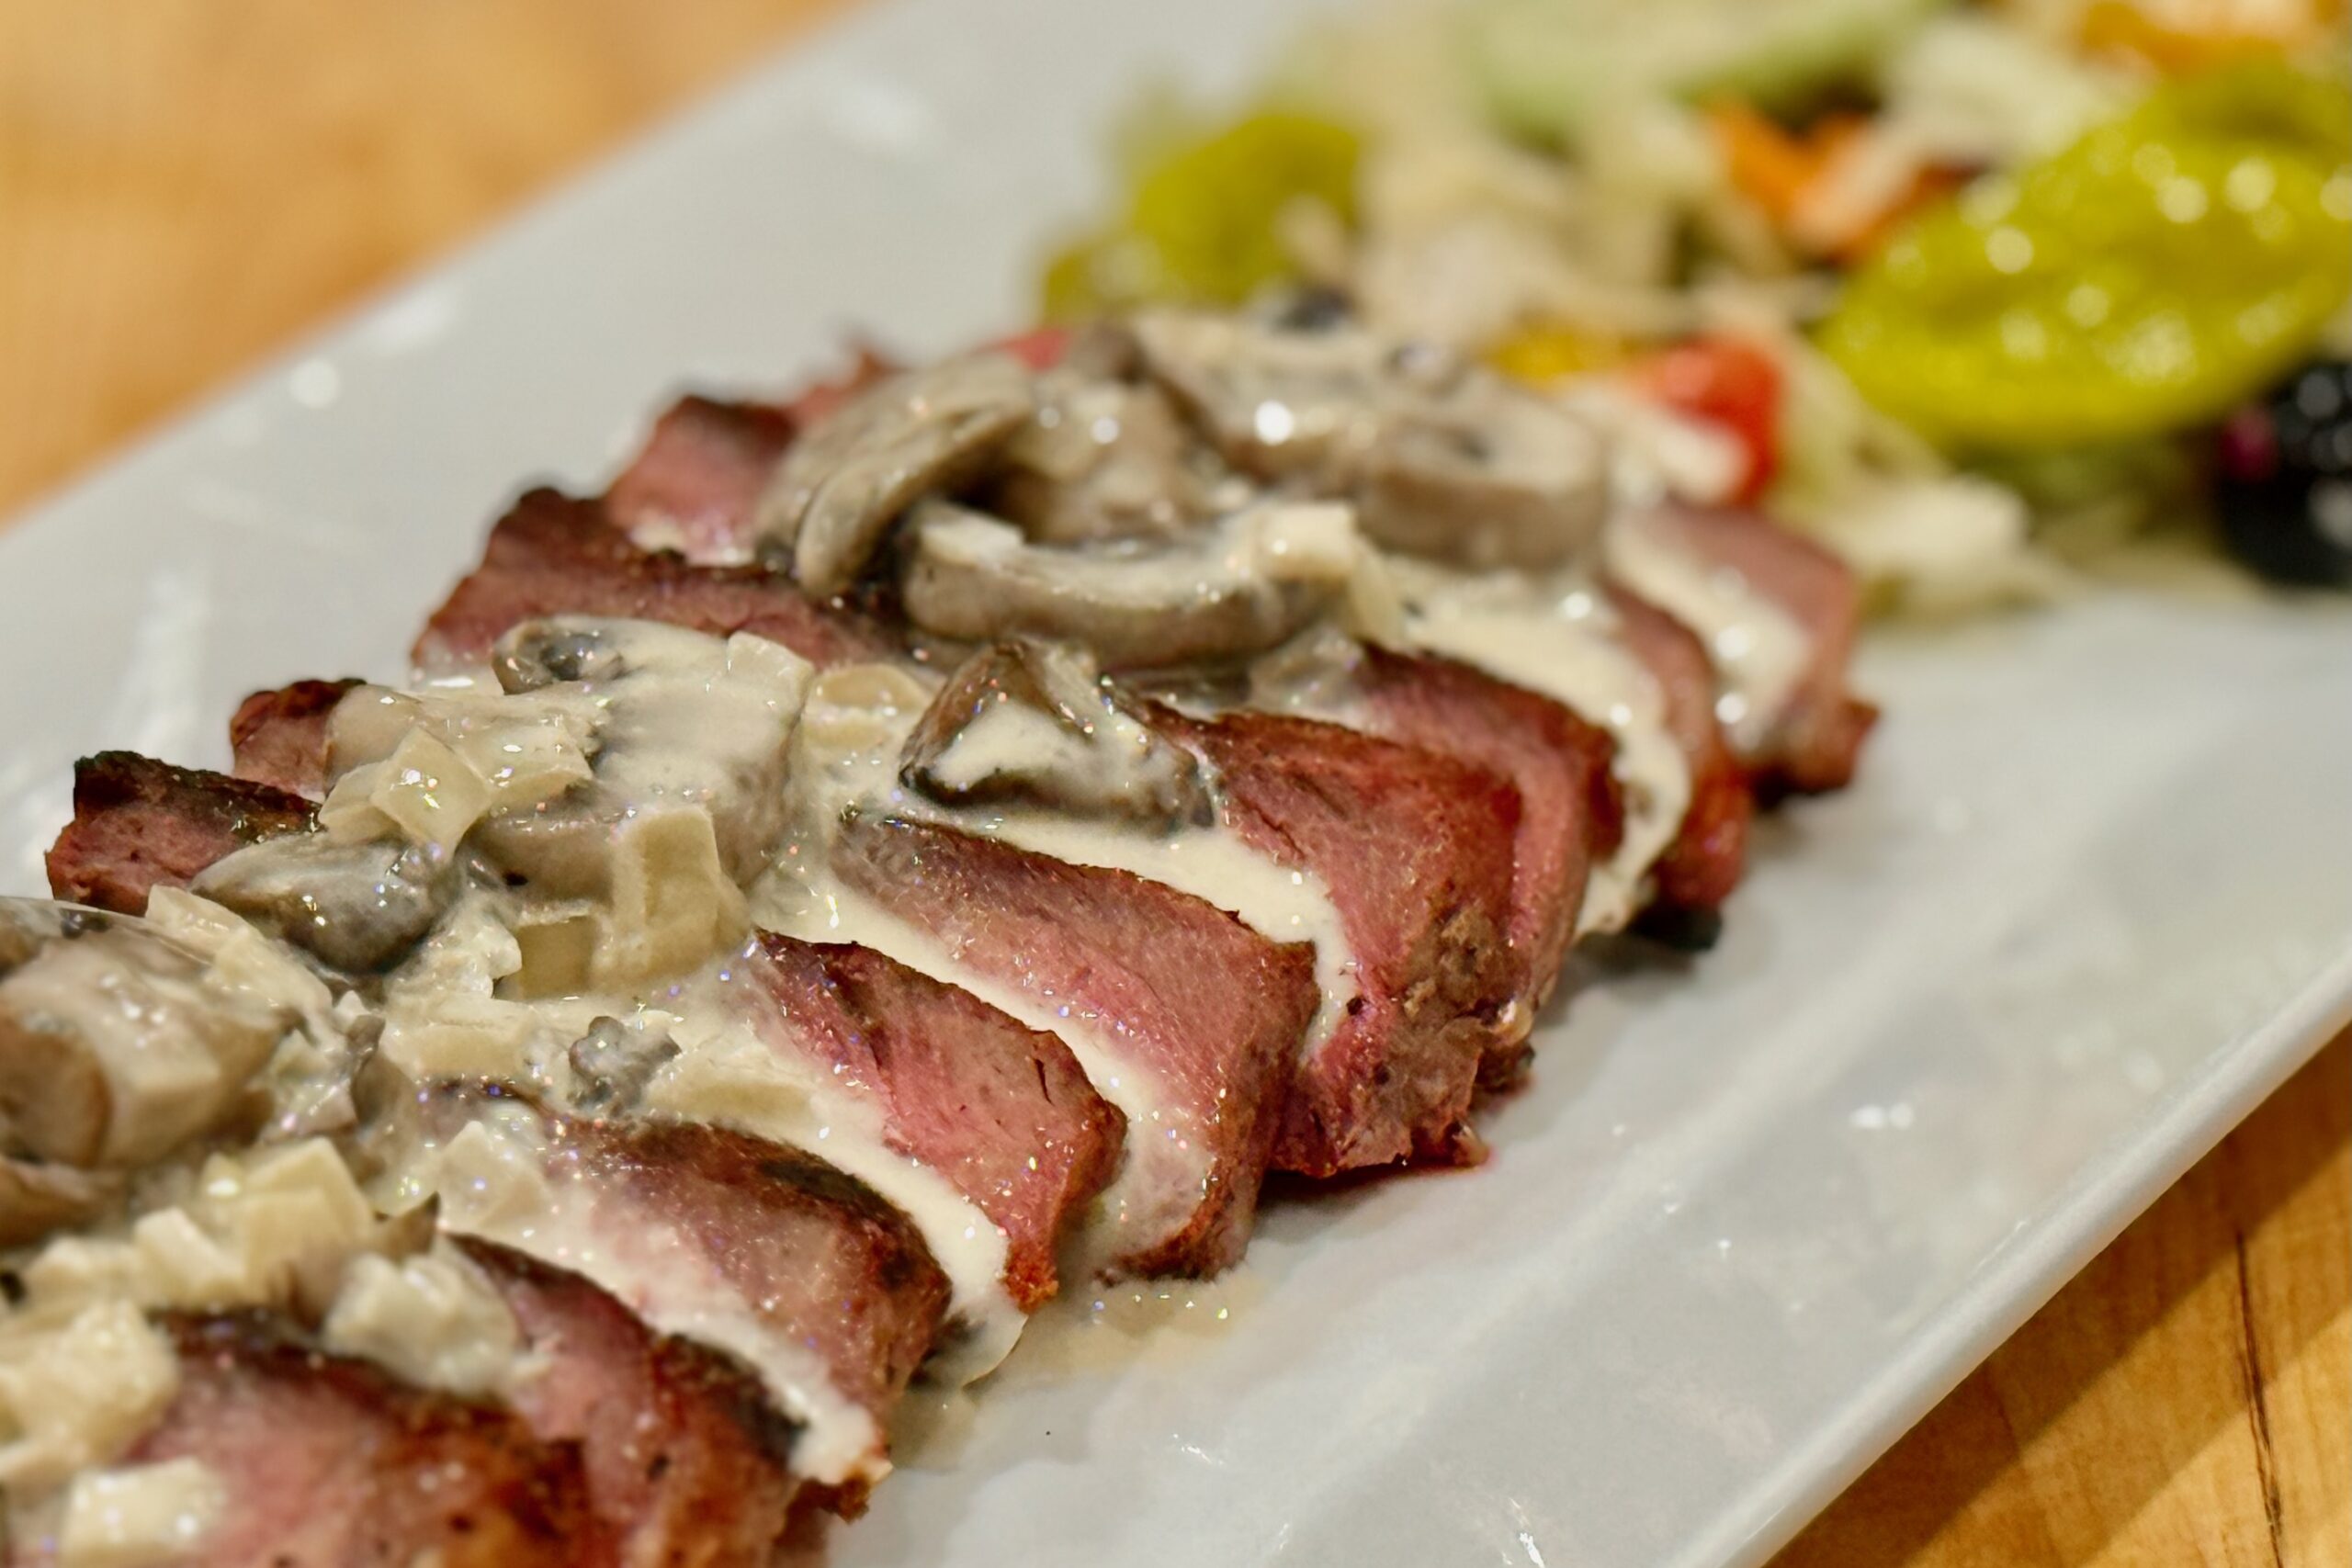
    This steakhouse-style blue cheese sauce is built for ribeyes: deeply savory mushrooms, sweet sautéed onions, and a creamy gorgonzola finish that clings to the meat without overpowering it. A small splash of Shaoxing wine or dry sherry lifts the whole pan, and a touch of sambal adds mild background warmth (not heat). Spoon it over grilled steaks and finish with freshly ground black pepper for that final, restaurant-quality edge.


    Ingredients

    • ¼ cup (57 g) butter
    • 1½ lb (680 g) mushrooms, sliced
    • 1 large yellow onion, sliced pole-to-pole
    • 2 tbsp Shaoxing cooking wine or dry sherry
    • ½ tsp sambal oelek
    • 2 cups (475 ml) Alfredo sauce (homemade or store-bought)
    • 6 oz (170 g) gorgonzola cheese, crumbled
    • Freshly ground black pepper, for finishing
    • table salt, to taste, if needed

    Directions

    Brown the Mushrooms

    Melt the butter in a large sauté pan over medium-high heat. Add the mushrooms and cook, stirring occasionally, until they release their liquid, the liquid evaporates, and the mushrooms begin to brown.

    Add the onion and continue cooking until softened and lightly caramelized.

    Deglaze and Build the Sauce

    Add the Shaoxing wine or sherry, stirring to loosen any browned bits. Cook until the liquid is mostly evaporated, then stir in the sambal oelek.

    Reduce heat to medium. Add the Alfredo sauce and warm gently.

    Stir in the gorgonzola and heat until mostly melted and integrated, leaving some small pieces intact for texture. Taste and add salt only if needed.

    Serve

    Spoon the sauce over grilled or barbecued ribeye steaks and finish with freshly ground black pepper just before serving.

    Yield: Enough for 6–8 steaks (as a generous topping).


    Notes

    Preparation

    • Different Alfredo sauces and blue cheeses vary in saltiness—taste at the end and add salt only if needed.
    • For the best steakhouse flavor, let the mushrooms cook until their liquid evaporates and they actually brown before adding the onions.

    Variations

    • Very Mild: The ½ tsp sambal oelek is meant as mild background warmth. For very mild, reduce to ¼ tsp.
    • With Cayenne: A small pinch of cayenne pepper may be substituted for the sambal oelek.

    Serving Suggestions

    • Finish with freshly ground black pepper on the plated, sauced steak for the brightest aroma and cleanest bite.

    Make-Ahead & Storage

    • Refrigerate in an airtight container for up to 4 days.
    • Reheat gently over low heat, stirring often. If the sauce thickens too much, loosen with a splash of milk or cream.
    • Avoid boiling after the cheese is added to help prevent separation.
  • Pindasaus — Dutch-Indonesian Peanut Sauce

    Pindasaus — Dutch-Indonesian Peanut Sauce

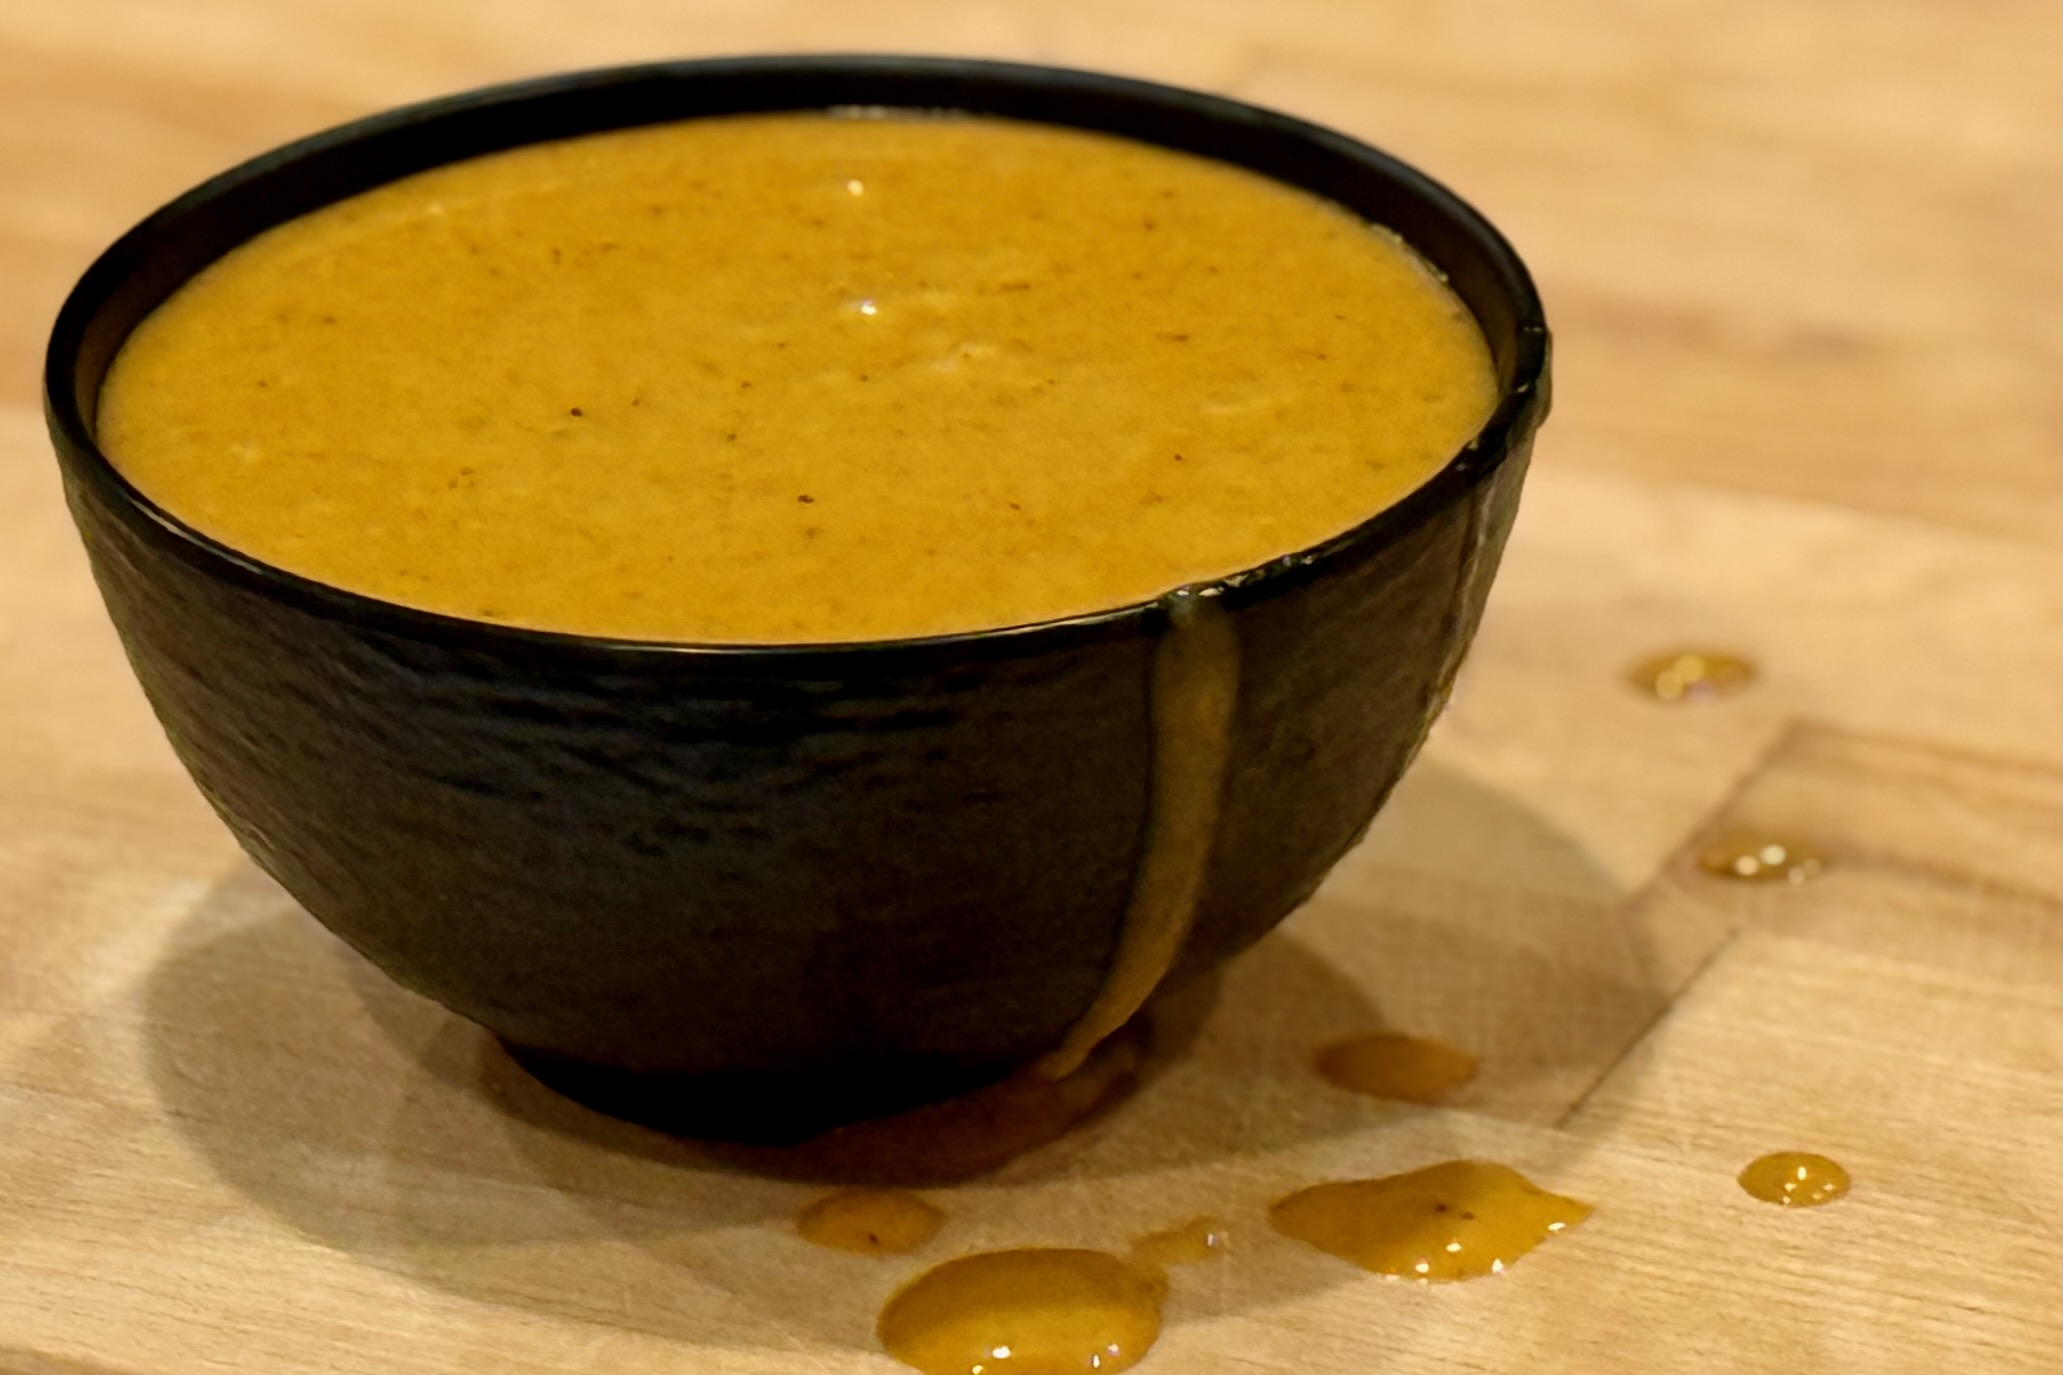
    I learned to love peanut sauce (pindasaus) while living in the Netherlands. An Indonesian meal just isn’t right without it. This delicious sauce is a favorite of every member of our family. We use it most often to smother skewers of chicken (Saté Ajam) or beef (Saté Sapi), over vegetables for gado gado, or with mayonnaise and diced onions to top Frites for patatje oorlog. There are two kinds of people in the world: those who love peanut sauce, and those who haven’t eaten it often enough to crave it… yet.


    Ingredients

    Sauce

    • 2 tbsp peanut or vegetable oil
    • 2 cloves garlic, minced
    • ½ tsp hot red curry powder
    • ½ tsp ground coriander
    • 1 cup smooth peanut butter
    • ¼ cup ketjap manis
    • 2 tbsp lime juice
    • 2 tbsp brown sugar
    • 1–2 tsp sambal oelek, to taste
    • 2 tsp tamarind paste (store-bought; or use our homemade Tamarind Paste from Whole Pods)
    • 1 can (14.5 oz/400 ml) coconut milk
    • ¼ tsp aji-no-moto, or to taste
    • Warm water, as needed to thin

    Optional

    • 1 tsp dark soy sauce, for a deeper Dutch-Indonesian satay-house flavor

    Directions

    Bloom the Aromatics

    Heat the oil in a saucepan over medium-low heat. Add the garlic and cook just until fragrant, stirring constantly so it does not brown.

    Add the curry powder and ground coriander and cook for about 30 seconds, stirring, until aromatic.

    Build the Sauce

    Stir in the peanut butter, ketjap manis, lime juice, brown sugar, sambal oelek, and tamarind paste. Mix until smooth and evenly combined.

    Add the Coconut Milk

    Gradually whisk in the coconut milk until the sauce is creamy and smooth. If using the optional dark soy sauce, stir it in now.

    Reduce the heat to low and warm gently for 2–3 minutes, stirring often. Do not let the sauce boil hard.

    Finish and Adjust

    Stir in the aji-no-moto. Thin with warm water as needed until the sauce reaches your preferred consistency.

    Taste and adjust with additional tamarind for tang, sambal for heat, brown sugar for sweetness, or a little more MSG for deeper savory flavor. Keep warm for serving, or cool and refrigerate for later use.

    Serve

    Serve warm over satay, spoon over blanched vegetables for gado gado, or drizzle over Frites with mayonnaise and diced onions for patatje oorlog.


    Notes

    Preparation

    • Blooming the curry powder and coriander briefly in the oil deepens their flavor and helps them blend more fully into the sauce.
    • Tamarind gives the sauce a brighter, more balanced finish and keeps it from tasting too sweet or heavy.
    • MSG is optional, but even a small amount gives the sauce a fuller, more savory satay-stall character.
    • Use warm water for thinning so the sauce stays smooth and emulsified.

    Serving Suggestions

    • This sauce is especially good with Saté Ajam.
    • It also pairs beautifully with saté babi, grilled Saté Sapi, gado gado, or spooned over Frites with mayonnaise and diced onions for patatje oorlog.
    • For a satay platter, serve with lime wedges, Acar Ketimun, fried shallots, and steamed rice or lontong.

    Variations

    • Add the optional dark soy sauce for a slightly deeper, more savory Dutch-Indonesian satay-house flavor.
    • For a milder sauce, start with 1 tsp sambal oelek and increase to taste.
    • For a tangier sauce, add an extra 1–2 tsp tamarind paste or a little more lime juice.
    • For a looser sauce for gado gado or fries, thin with a bit more warm water until spoonable and pourable.

    Make-Ahead & Storage

    • The sauce can be made up to 3 days ahead and refrigerated in an airtight container.
    • It will thicken considerably when chilled. Rewarm gently over low heat and thin with warm water as needed before serving.
    • Leftovers are excellent repurposed as a dip for grilled chicken, a sauce for noodles, or a dressing for blanched vegetables.
  • Classic Tamarind Chutney

    Classic Tamarind Chutney

    This classic tamarind chutney is clean, bright, and beautifully balanced—sweet enough to round the sharp acidity of tamarind, but not heavy or syrupy. Made from tamarind paste, sugar, and a few simple seasonings, it’s the foundation for countless chaat dishes and sauces. Kept simple for maximum versatility and easily customizable with dates and spices for richer variations.


    Ingredients

    • ½ cup tamarind paste (store-bought; or use our homemade Tamarind Paste from Whole Pods)
    • ¾ cup water
    • ⅓–½ cup sugar (start with ⅓ cup; adjust to taste)
    • ½ tsp table salt
    • ¼ tsp ground cumin (preferably roasted)

    Directions

    Simmer the Chutney

    In a small saucepan, whisk together tamarind paste and water until smooth.

    Add sugar, table salt, and ground cumin. Bring to a gentle simmer over medium heat.

    Simmer 5–8 minutes, stirring occasionally, until slightly thickened and glossy. The chutney should lightly coat the back of a spoon but remain pourable.

    Remove from heat and cool completely. The chutney will thicken slightly as it cools.


    Notes

    Preparation

    • Taste and adjust sweetness after simmering. Tamarind acidity varies by brand; add sugar gradually until balanced.
    • If using jaggery, substitute equal weight for sugar and dissolve fully before simmering.
    • For a more traditional chaat flavor, replace up to half the table salt with black salt (kala namak).

    Serving Suggestions

    • Use as a chutney for chaat, drizzle over roasted snacks, or serve as a dipping sauce for pakoras and samosas.

    Variations

    • Mild Heat: Add a pinch of Kashmiri red chili powder while simmering.
    • Hot: Add ¼ tsp cayenne or finely minced fresh chili.
    • Date–Tamarind Style: Simmer with 2–3 finely chopped Medjool dates and blend smooth for a richer, deeper sweetness (great for date–tamarind reductions).

    Make-Ahead & Storage

    • Refrigerate in an airtight container up to 2 weeks.
    • If thickened too much after refrigeration, whisk in 1–2 tsp warm water.
    • This chutney freezes well for up to 3 months.
  • Green Enchilada Sauce

    Green Enchilada Sauce

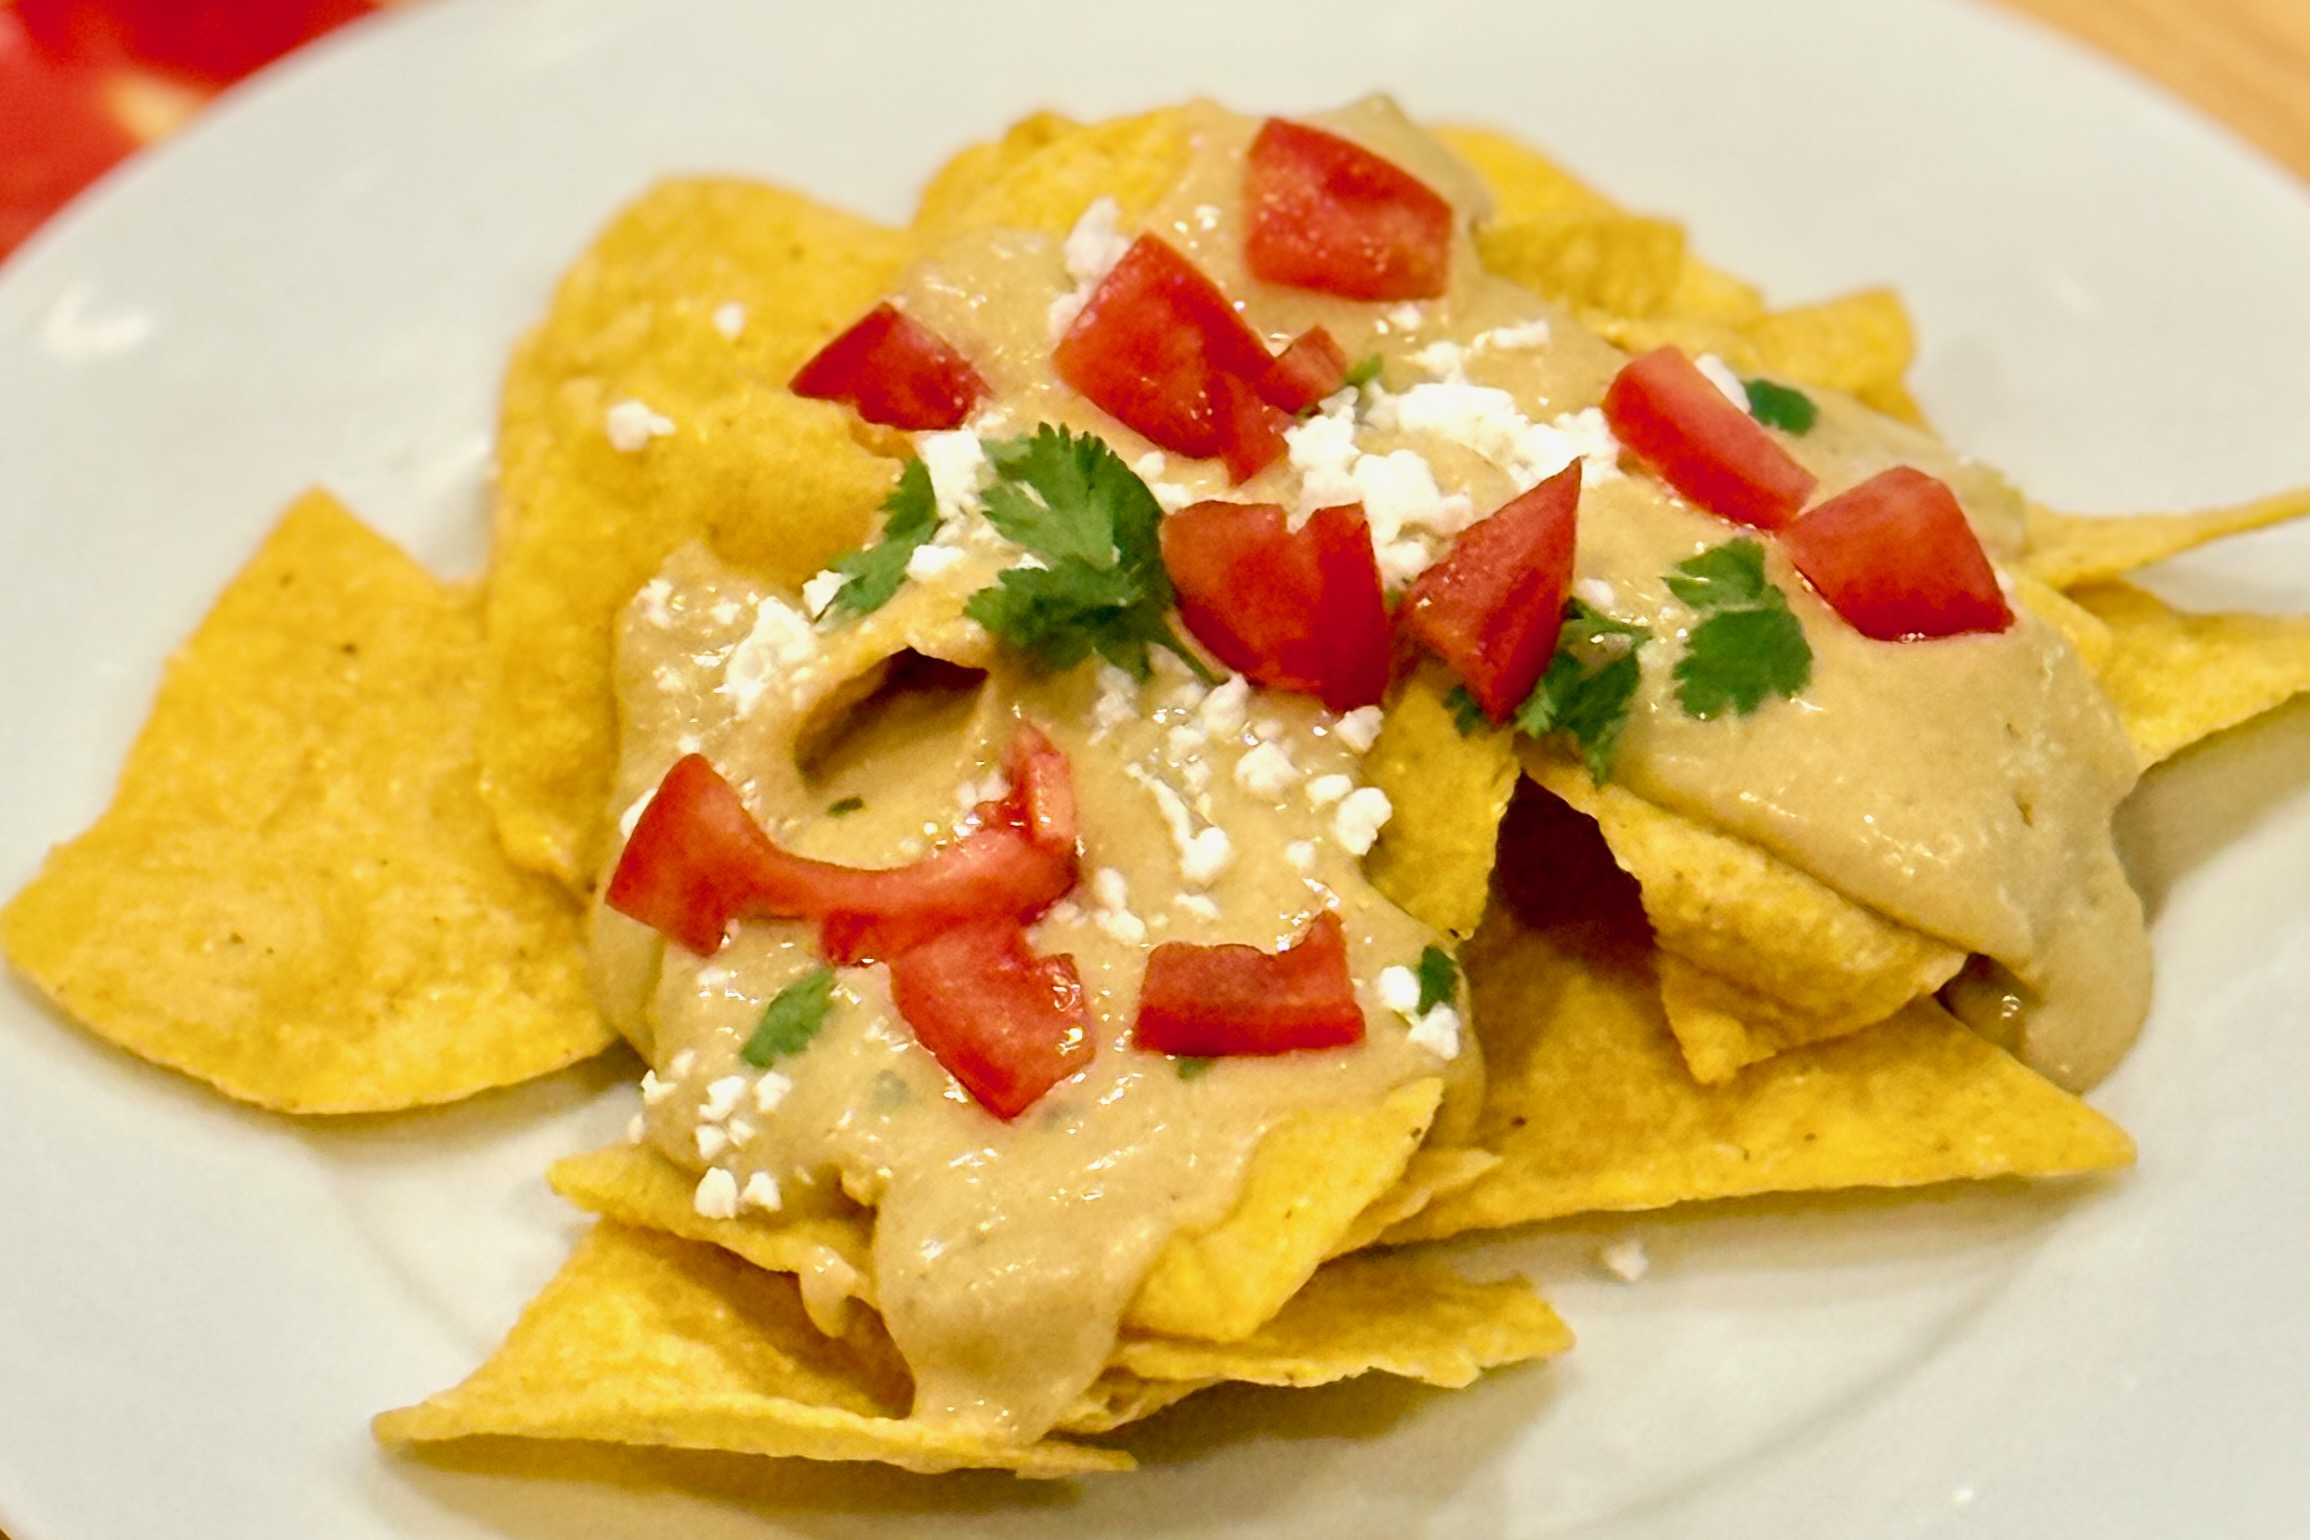
    This restaurant-style green enchilada sauce captures the mild, tangy flavor of Las Palmas sauce, with the option to use either fresh or canned ingredients. Smooth, savory, and balanced with just a hint of acidity, it’s perfect for Chile Verde Burritos, Chicken Enchiladas, or chilaquiles.


    Ingredients

    • 2 tbsp vegetable oil
    • 2 tbsp all-purpose flour

    Green Chiles (Use Either):

    • Fresh: 1½ cups roasted, peeled, and chopped Hatch or Anaheim chiles, OR
    • Canned: Two 7-oz cans diced green chiles

    Tomatillos (Use Either):

    • Fresh: 1 lb tomatillos, husked and rinsed, OR
    • Canned: One 28-oz can tomatillos (drained)

    Aromatics:

    • 1 medium onion, roughly chopped
    • 3–4 cloves garlic, peeled
    • 1 jalapeño or serrano, seeded for mild heat

    Seasoning & Liquid:

    • 1½–2 cups chicken broth
    • 1 tsp ground cumin
    • 1 tsp dried oregano (Mexican preferred)
    • 1 tsp kosher salt (adjust to taste)
    • ½ tsp black pepper
    • ½ tsp sugar (balances the tomatillos)
    • 2 tbsp apple cider or white vinegar

    Directions

    Prep the Vegetables

    If using fresh tomatillos, remove husks and rinse. Halve and broil with onion, garlic, and jalapeño, 5–7 minutes, stirring once. If using canned, skip roasting.

    Blend the Base

    Blend tomatillos, chiles, onion, garlic, jalapeño, cumin, oregano, and 1 cup broth until smooth.

    Make the Roux

    Heat oil over medium heat, whisk in flour, and cook 1–2 minutes until pale blond and foamy.

    Cook the Sauce

    Whisk the blended mixture into the roux. Simmer 10–15 minutes, adding broth as needed for consistency.

    Season & Finish

    Add salt, pepper, sugar, and vinegar. Taste and adjust acidity or heat.


    Notes

    Preparation

    • Roasting fresh ingredients adds sweetness and depth.
    • Canned tomatillos give consistent results year-round.
    • The roux creates the silky restaurant-style texture.
    • Use serrano for more heat.
    • Thin with broth if sauce thickens too much.

    Serving Suggestions

    • Use for chilaquiles, wet burritos, or breakfast dishes.
    • Pairs especially well with pork, chicken, and eggs.

    Make-Ahead & Storage

    • Keeps 5 days refrigerated.
    • Freezes 3 months; thaw gently.
    • Add a splash of broth when reheating if thickened.

  • Chunky El Pato Salsa

    Chunky El Pato Salsa

    A bright, chunky salsa that combines the bold chile‑tomato base of El Pato salsa de chile fresco with fresh diced tomato, onions, jalapeño, cilantro, and balanced seasonings — perfect with chips or Mexican dishes.


    Ingredients

    • 1 can (7.75 oz) El Pato salsa de chile fresco
    • 1 medium Roma tomato (about 1 cup diced, seeds removed)
    • ½ cup finely diced white or red onion
    • 2 green onions, thinly sliced
    • 1 medium jalapeño, seeded and diced (adjust heat to taste)
    • ½ cup fresh cilantro, chopped
    • Juice of 1 lime (about 2 Tbsp)
    • ½ tsp ground cumin (optional)
    • ⅛–¼ tsp dried Mexican oregano
    • ¼ tsp sugar (balances acidity)
    • ½ tsp kosher salt (adjust to taste)
    • ½ tsp freshly ground black pepper
    • 1 small garlic clove, minced (optional)

    Directions

    Prep the Fresh Ingredients

    Dice the Roma tomato, finely dice the white or red onion, slice the green onions, seed and dice the jalapeño, chop the cilantro, and mince the garlic if using. Removing seeds and excess juice from the tomato helps keep the salsa chunky and prevents it from becoming watery (a common pico de gallo technique).

    This base of fresh ingredients mirrors classic fresh salsa compositions of tomato, onion, jalapeño, lime, and cilantro.

    Combine and Season

    In a medium bowl, combine the diced tomato, onion, green onions, jalapeño, and cilantro. Add the El Pato salsa de chile fresco and gently fold until the fresh ingredients are evenly mixed with the base.

    Add the lime juice, cumin (if using), Mexican oregano, sugar, salt, and black pepper. Stir to combine thoroughly, then taste and adjust salt, lime, or heat as needed — seasoning balance is key in fresh salsa recipes.

    Cover and refrigerate for at least 30–60 minutes so the flavors meld before serving.


    Notes

    Preparation

    • Draining excess tomato juice and removing seeds helps retain a chunky texture rather than a watery salsa — a key fresh salsa practice.
    • Taste for salt and acidity after chilling — chilling can slightly soften perceived seasoning, and fresh salsas often benefit from final adjustment.

    Serving Suggestions

    • Serve with tortilla chips as a classic appetizer or snack.
    • Use as a condiment for tacos, grilled meats, quesadillas, or eggs for brightness and texture.

    Variations

    • Mild: Remove all jalapeño seeds or substitute with mild peppers.
    • Smoky: Lightly char the jalapeño or tomato before dicing for a subtle smoky depth.
    • Extra Heat: Include some jalapeño seeds or add serrano peppers for more spice.

    Make-Ahead & Storage

    • Refrigerate in an airtight container for 3–4 days; flavors continue to develop and often taste even better after resting.
    • If excess liquid collects, drain before serving to maintain chunkiness.
  • Chile de Arbol Salsa

    Chile de Arbol Salsa

    This Salsa de Chile de Árbol is designed as a bold, heat-forward accent salsa—deeply savory, lightly smoky, and intensely flavorful. It’s meant to be used sparingly, adding sharp chile heat and depth rather than serving as the primary salsa. Paired with milder options, it brings balance and flexibility to the table, letting everyone tailor heat to their own comfort level.


    Ingredients

    • 6–8 dried chile de árbol, stems removed
    • 5–6 tomatillos, husked and rinsed
    • ⅓ medium onion
    • 1 roma tomato
    • 2 cloves garlic (1 roasted, 1 raw)
    • ½ tsp chicken & tomato bouillon, plus more to taste
    • Salt, to taste

    Directions

    Toast and Soak the Chiles

    Lightly toast the chile de árbol in a dry skillet over medium heat just until fragrant, being careful not to darken or burn them.

    Transfer the chiles to a bowl, cover with hot water, and soak for about 10 minutes. Drain well.

    For a slightly more controlled heat, split 2–3 of the chiles and shake out the seeds before blending.

    Roast the Vegetables

    Roast the tomatillos and onion (and garlic clove if roasting both) on a hot skillet, griddle, or under a broiler until blistered and lightly charred.

    Add the roma tomato late and roast just until the skin splits and lightly browns.

    Blend the Salsa

    Add the soaked chiles, roasted vegetables, remaining raw garlic, and bouillon to a blender. Blend until smooth and thick.

    Adjust consistency with a small amount of reserved soaking liquid if needed. Taste and adjust salt or bouillon to preference.


    Notes

    Preparation

    • This salsa is intentionally concentrated and heat-forward; a small amount goes a long way.
    • Removing seeds from a portion of the chiles moderates heat without sacrificing chile flavor.

    Serving Suggestions

    • Serve as the hot component alongside a milder salsa verde.
    • Pair with cooling elements such as crema, sour cream, avocado crema, or cilantro-lime crema.
    • Excellent with tacos, eggs, grilled meats, beans, or rice—use sparingly for heat and depth.

    Variations

    • For a slightly smokier profile, toast the chiles a bit longer while staying below the point of bitterness.
    • Add ½ tsp neutral oil to the blender for a rounder mouthfeel and aroma carry.

    Make-Ahead & Storage

    • Store refrigerated in a sealed container for up to 5 days.
    • Flavor improves slightly after resting overnight.
  • Spring Roll Peanut Dipping Sauce

    Spring Roll Peanut Dipping Sauce

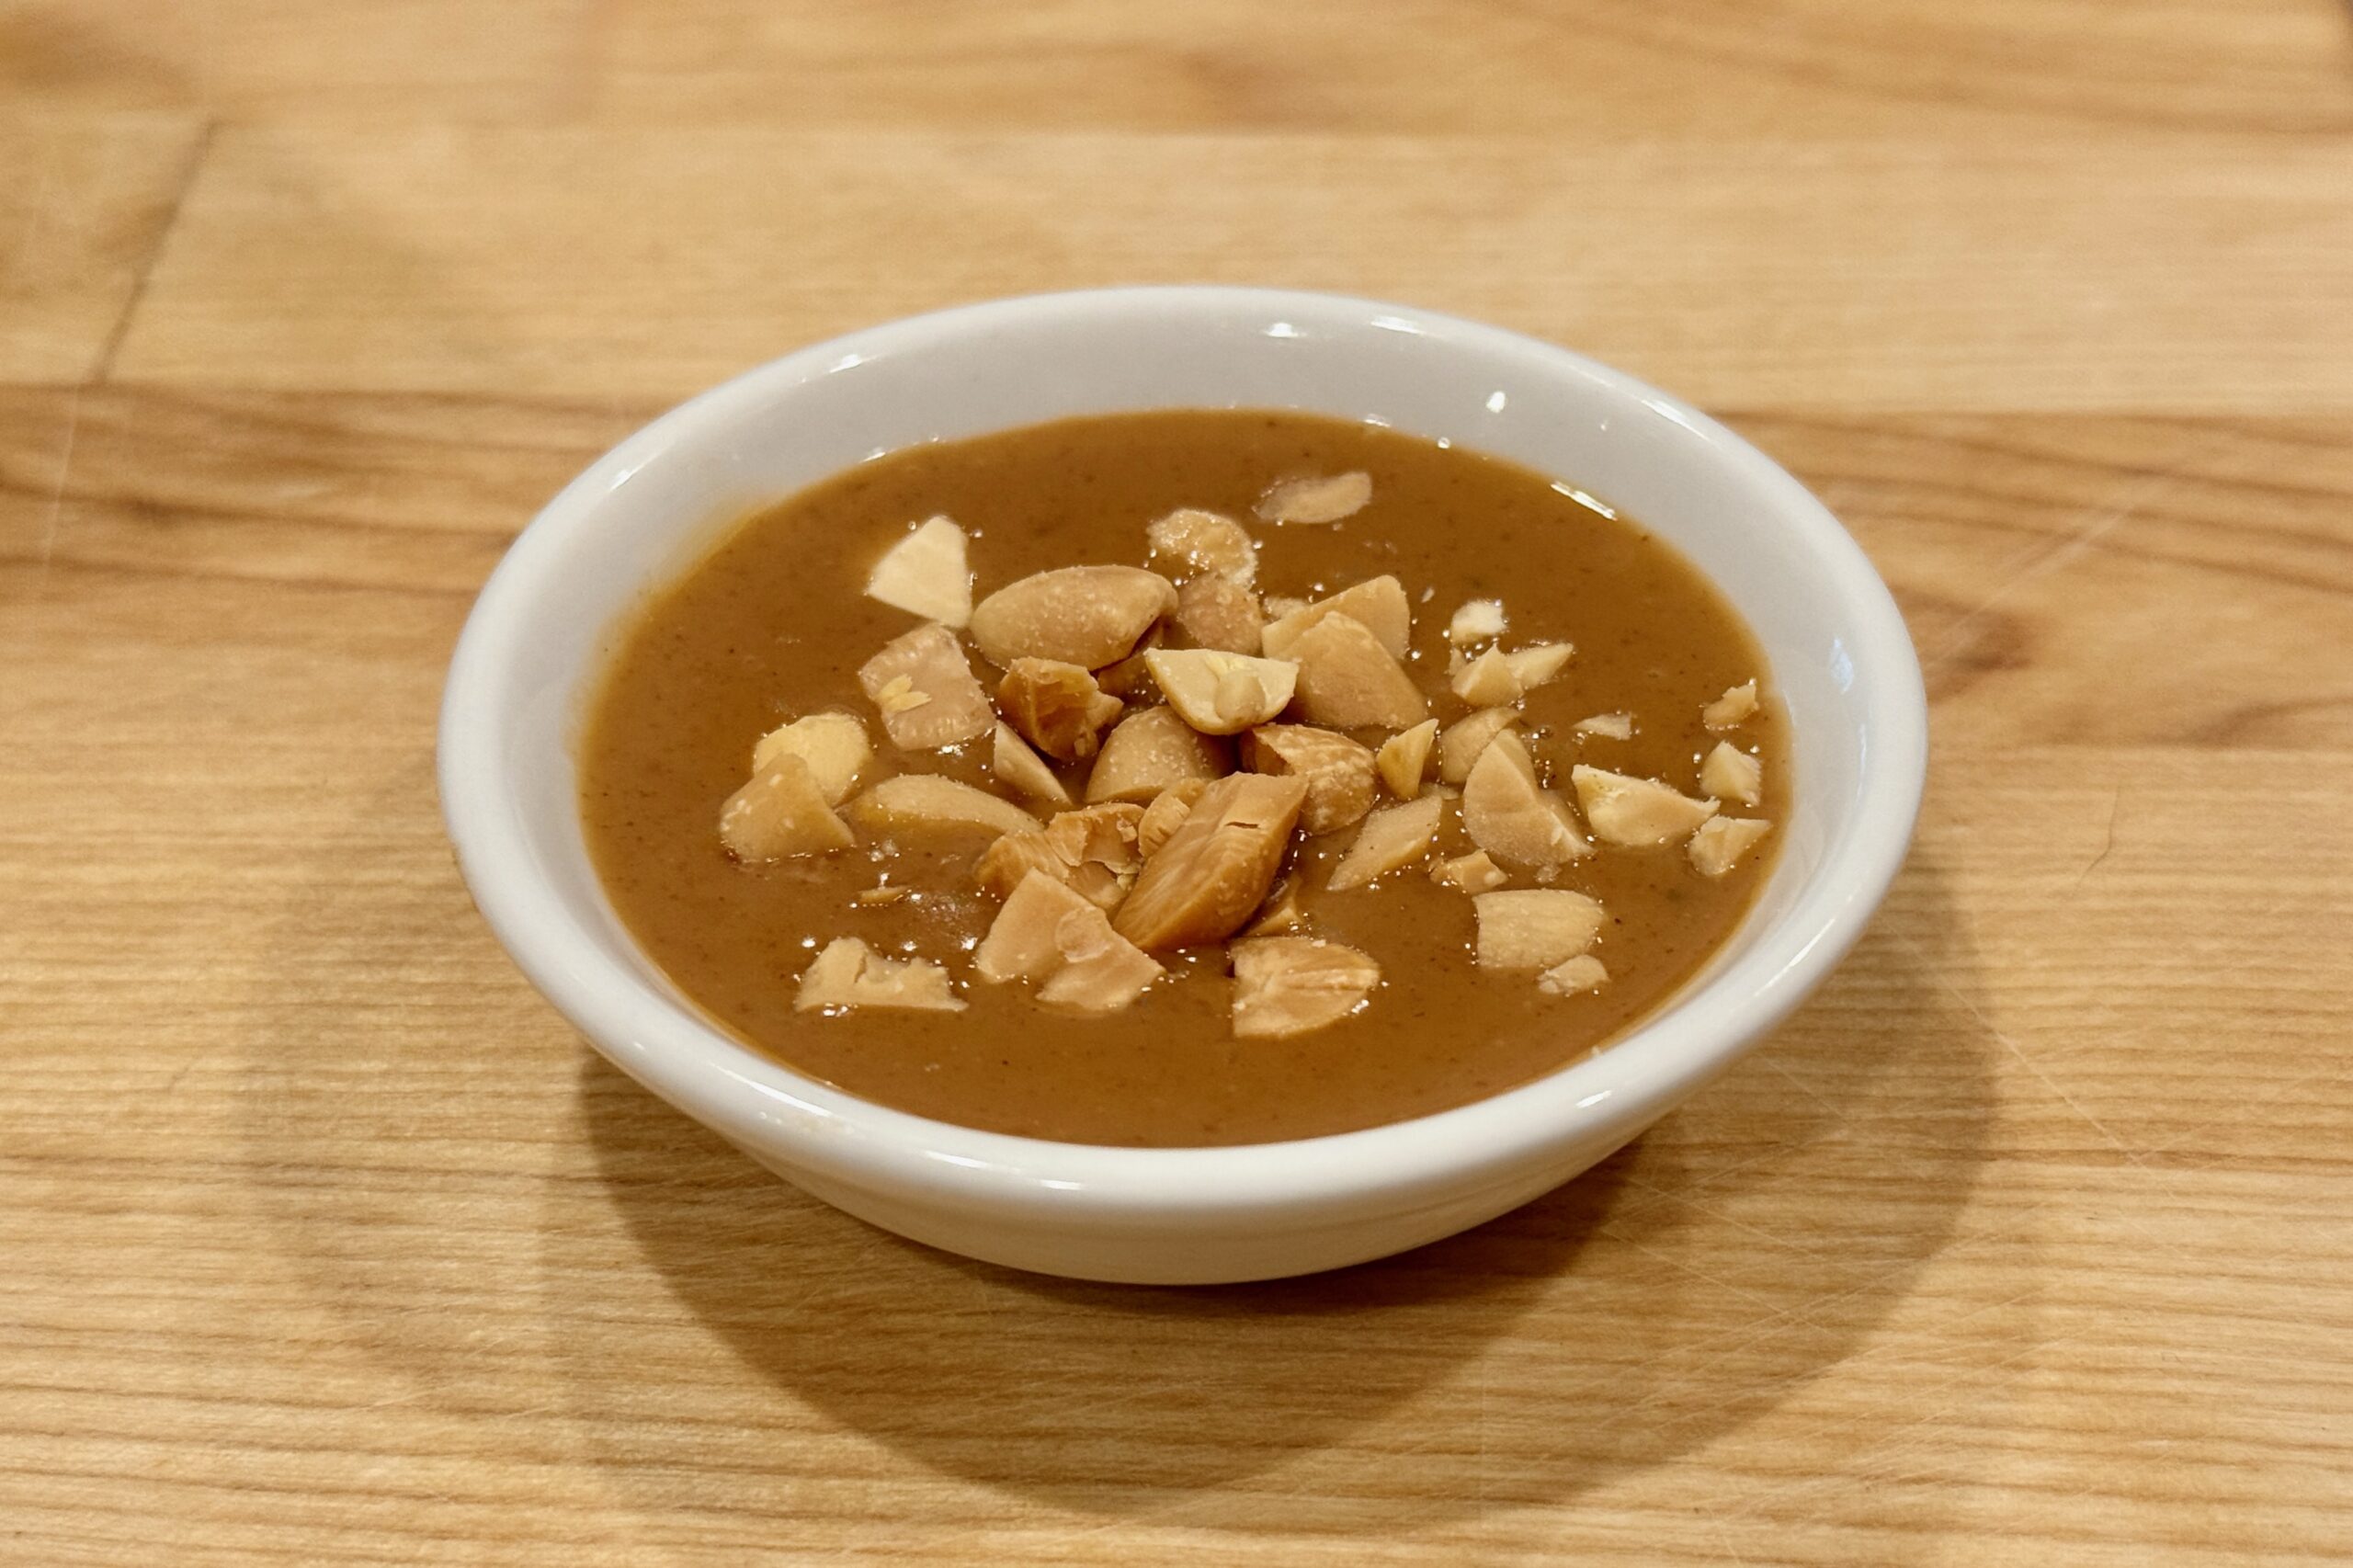
    This spring roll peanut dipping sauce is unapologetically peanut-forward — creamy, savory, and deeply satisfying, with the Dutch-Indonesian flavor logic I fell in love with in The Netherlands. Ketjap manis and hoisin bring a mellow sweetness and depth, coconut milk keeps it silky, and a small spoonful of tamarind adds the subtle tang that makes the peanuts pop instead of tasting heavy. It’s the kind of sauce you’ll want to keep in the fridge so fresh spring rolls (and plenty of other things) always have a rich, nutty sidekick.


    Ingredients

    • ½ cup creamy peanut butter
    • ½ tsp (about 1 clove) garlic, minced
    • 1 tbsp lime juice
    • 2 tbsp ketjap manis
    • 2 tbsp hoisin sauce
    • 1 tsp tamarind paste
    • 1 can (14 oz) coconut milk
    • 1 tsp ginger, minced
    • ½ tsp red curry powder
    • ½ tsp sambal oelek
    • 1½ tsp fish sauce
    • 2 tbsp peanuts, crushed (for topping)

    Directions

    Make the Sauce:

    In a saucepan over medium heat, combine peanut butter and minced garlic. Stir continuously for 1–2 minutes, until the mixture is smooth and fragrant.

    Add lime juice, ketjap manis, hoisin sauce, and tamarind paste, stirring to combine.

    Gradually whisk in coconut milk, followed by ginger, red curry powder, sambal oelek, and fish sauce.

    Continue to cook, stirring occasionally, until the sauce is heated through and just begins to simmer. Remove from heat and transfer to a serving bowl. Sprinkle with crushed peanuts just before serving.


    Notes

    Preparation

    • Consistency: This sauce thickens as it cools. If it gets too thick, whisk in warm water 1 tbsp at a time until dip-able.
    • Balance check: Tamarind and lime should read as a gentle tang in the background — not sour. If it tastes too sharp, add 1–2 tbsp coconut milk to soften it.
    • Heat level: As written it’s moderately spicy. For a milder family-friendly version, cut sambal oelek to ¼ tsp (or to taste).

    Serving Suggestions

    • Fresh spring rolls (gỏi cuốn) and summer rolls.
    • As a satay-style dip for grilled chicken, shrimp, or tofu.
    • Drizzled over rice bowls, noodle bowls, or steamed vegetables.

    Variations

    • Extra spicy: Increase sambal oelek to 1 tsp, or add ¼ tsp cayenne.
    • More peanut texture: Stir in an additional 1–2 tbsp crushed peanuts off heat, then top as usual.
    • More savory: Add an extra ½ tsp fish sauce and a squeeze of lime to keep it balanced.

    Make-Ahead & Storage

    • Make ahead: Best made in advance — the flavors settle and improve after a few hours (or overnight) in the fridge.
    • Refrigerate: Cool completely, then store in a sealed container for up to 5 days.
    • Reheat: Warm gently over low heat (or microwave in short bursts), whisking often. Add a splash of water as needed; avoid boiling.
  • Grandma’s Taco Sauce

    Grandma’s Taco Sauce

    This simple, flavorful taco sauce is Grandma Honey’s creation. She is famous for her unique tostadas—requested at nearly every family birthday party and gathering—and this vibrant, tangy sauce is the one she always spooned over the top. Made from pantry-friendly ingredients, it delivers a bright balance of heat, acidity, and savory depth that brings her tostadas to life.


    Ingredients

    • 1 can peeled tomatoes
    • 2 or 3 hot yellow peppers
    • 2 tbsp juice from yellow peppers
    • 1 can Ortega green diced chilies
    • 3 tbsp vegetable oil
    • 1 tsp table salt
    • ½ tsp pepper
    • 3 or 4 tbsp white vinegar

    Directions

    Make the Sauce

    Drain the juice from the tomatoes and reserve.

    Place the tomatoes in a blender and blend for 2 seconds; add to the reserved tomato juice.

    Place the hot peppers and pepper juice in the blender with the vinegar and blend for 2 seconds; add to the tomato mixture.

    Add the chilies, salt, pepper, vegetable oil, and remaining vinegar, one at a time, stirring to combine.

    Best when served at room temperature.


    Notes

    Preparation

    • The hot yellow peppers provide most of the sauce’s signature heat and tang. Using 2 peppers keeps it mild; using 3 adds a noticeable kick.
    • The combination of canned tomatoes and green chilies gives the sauce a smooth but slightly rustic texture—exactly like Grandma’s.
    • The vegetable oil adds body and helps the flavors meld as the sauce rests.
    • Best served at room temperature, just as Grandma always prepared it for her tostadas.

    Serving Suggestions

    • Perfect on Grandma’s tostadas, tacos, enchiladas, or as a tangy topping for rice bowls.
    • Also works well as a base sauce for Mexican-style soups or stews.
  • Dutch Mayonnaise — Calvé-Style from American Mayo

    Dutch Mayonnaise — Calvé-Style from American Mayo

    Dutch mayonnaise is tangier, slightly sweeter, and noticeably lighter in flavor than most American mayonnaises. Brands like Calvé and Remia are designed to complement fries and snack-bar sauces without overwhelming them—especially when paired with shoarmasaus, kerrieketchup, or poestasaus. This simple adjustment transforms standard American mayonnaise (such as Best Foods or Hellmann’s) into a closer approximation of Dutch-style mayo, making it a better match for patat, broodjes, and classic Dutch snackbar dishes.


    Ingredients

    • 1 cup American mayonnaise (Best Foods / Hellmann’s recommended)
    • 1½–2 tsp white wine vinegar or distilled vinegar
    • 1 tsp sugar
    • 1–2 tbsp neutral oil or water (to lighten texture)
    • pinch table salt (optional, to taste)

    Directions

    Adjust the Mayonnaise

    In a bowl, whisk together the mayonnaise, vinegar, sugar, and 1 tbsp oil or water until smooth. Taste and adjust vinegar or sugar slightly if needed—the mayo should taste brighter and lighter than American-style mayonnaise.

    Set the Flavor

    Cover and refrigerate for at least 30 minutes to allow the flavor to settle. Whisk again before serving.


    Notes

    Preparation

    • Dutch mayonnaise is tangier than American mayo but not sharply acidic.
    • The small amount of sugar is important—it softens the acidity and mimics Dutch formulations.
    • Lightening with oil or water helps reduce the heavy mouthfeel typical of American mayonnaise.
    • Taste the mayo cold, as it will be served.

    Serving Suggestions

    • Serve with fries or patat as a stand-alone sauce.
    • Use as the mayonnaise component in patat speciaal with Kerrieketchup – Dutch Curry Ketchup.
    • Pair with Shoarmasaus – Dutch Shoarma Red Sauce or Poestasaus – Spicy Dutch Kebab Sauce.
    • Use as the base for Knoflooksaus or other Dutch-style sauces.

    Variations

    • Calvé-Leaning: Increase vinegar slightly and keep the texture light.
    • Remia-Leaning: Use the full 2 tbsp oil or water for a looser, more pourable mayo.
    • Frietsaus-Style: Replace half the mayonnaise with plain yogurt or milk for a lighter Dutch fry sauce.

    Make-Ahead & Storage

    • Refrigerate in an airtight container up to 1 week.
    • Whisk briefly before serving if the texture thickens.
  • Southern-Style Sausage Gravy

    Southern-Style Sausage Gravy

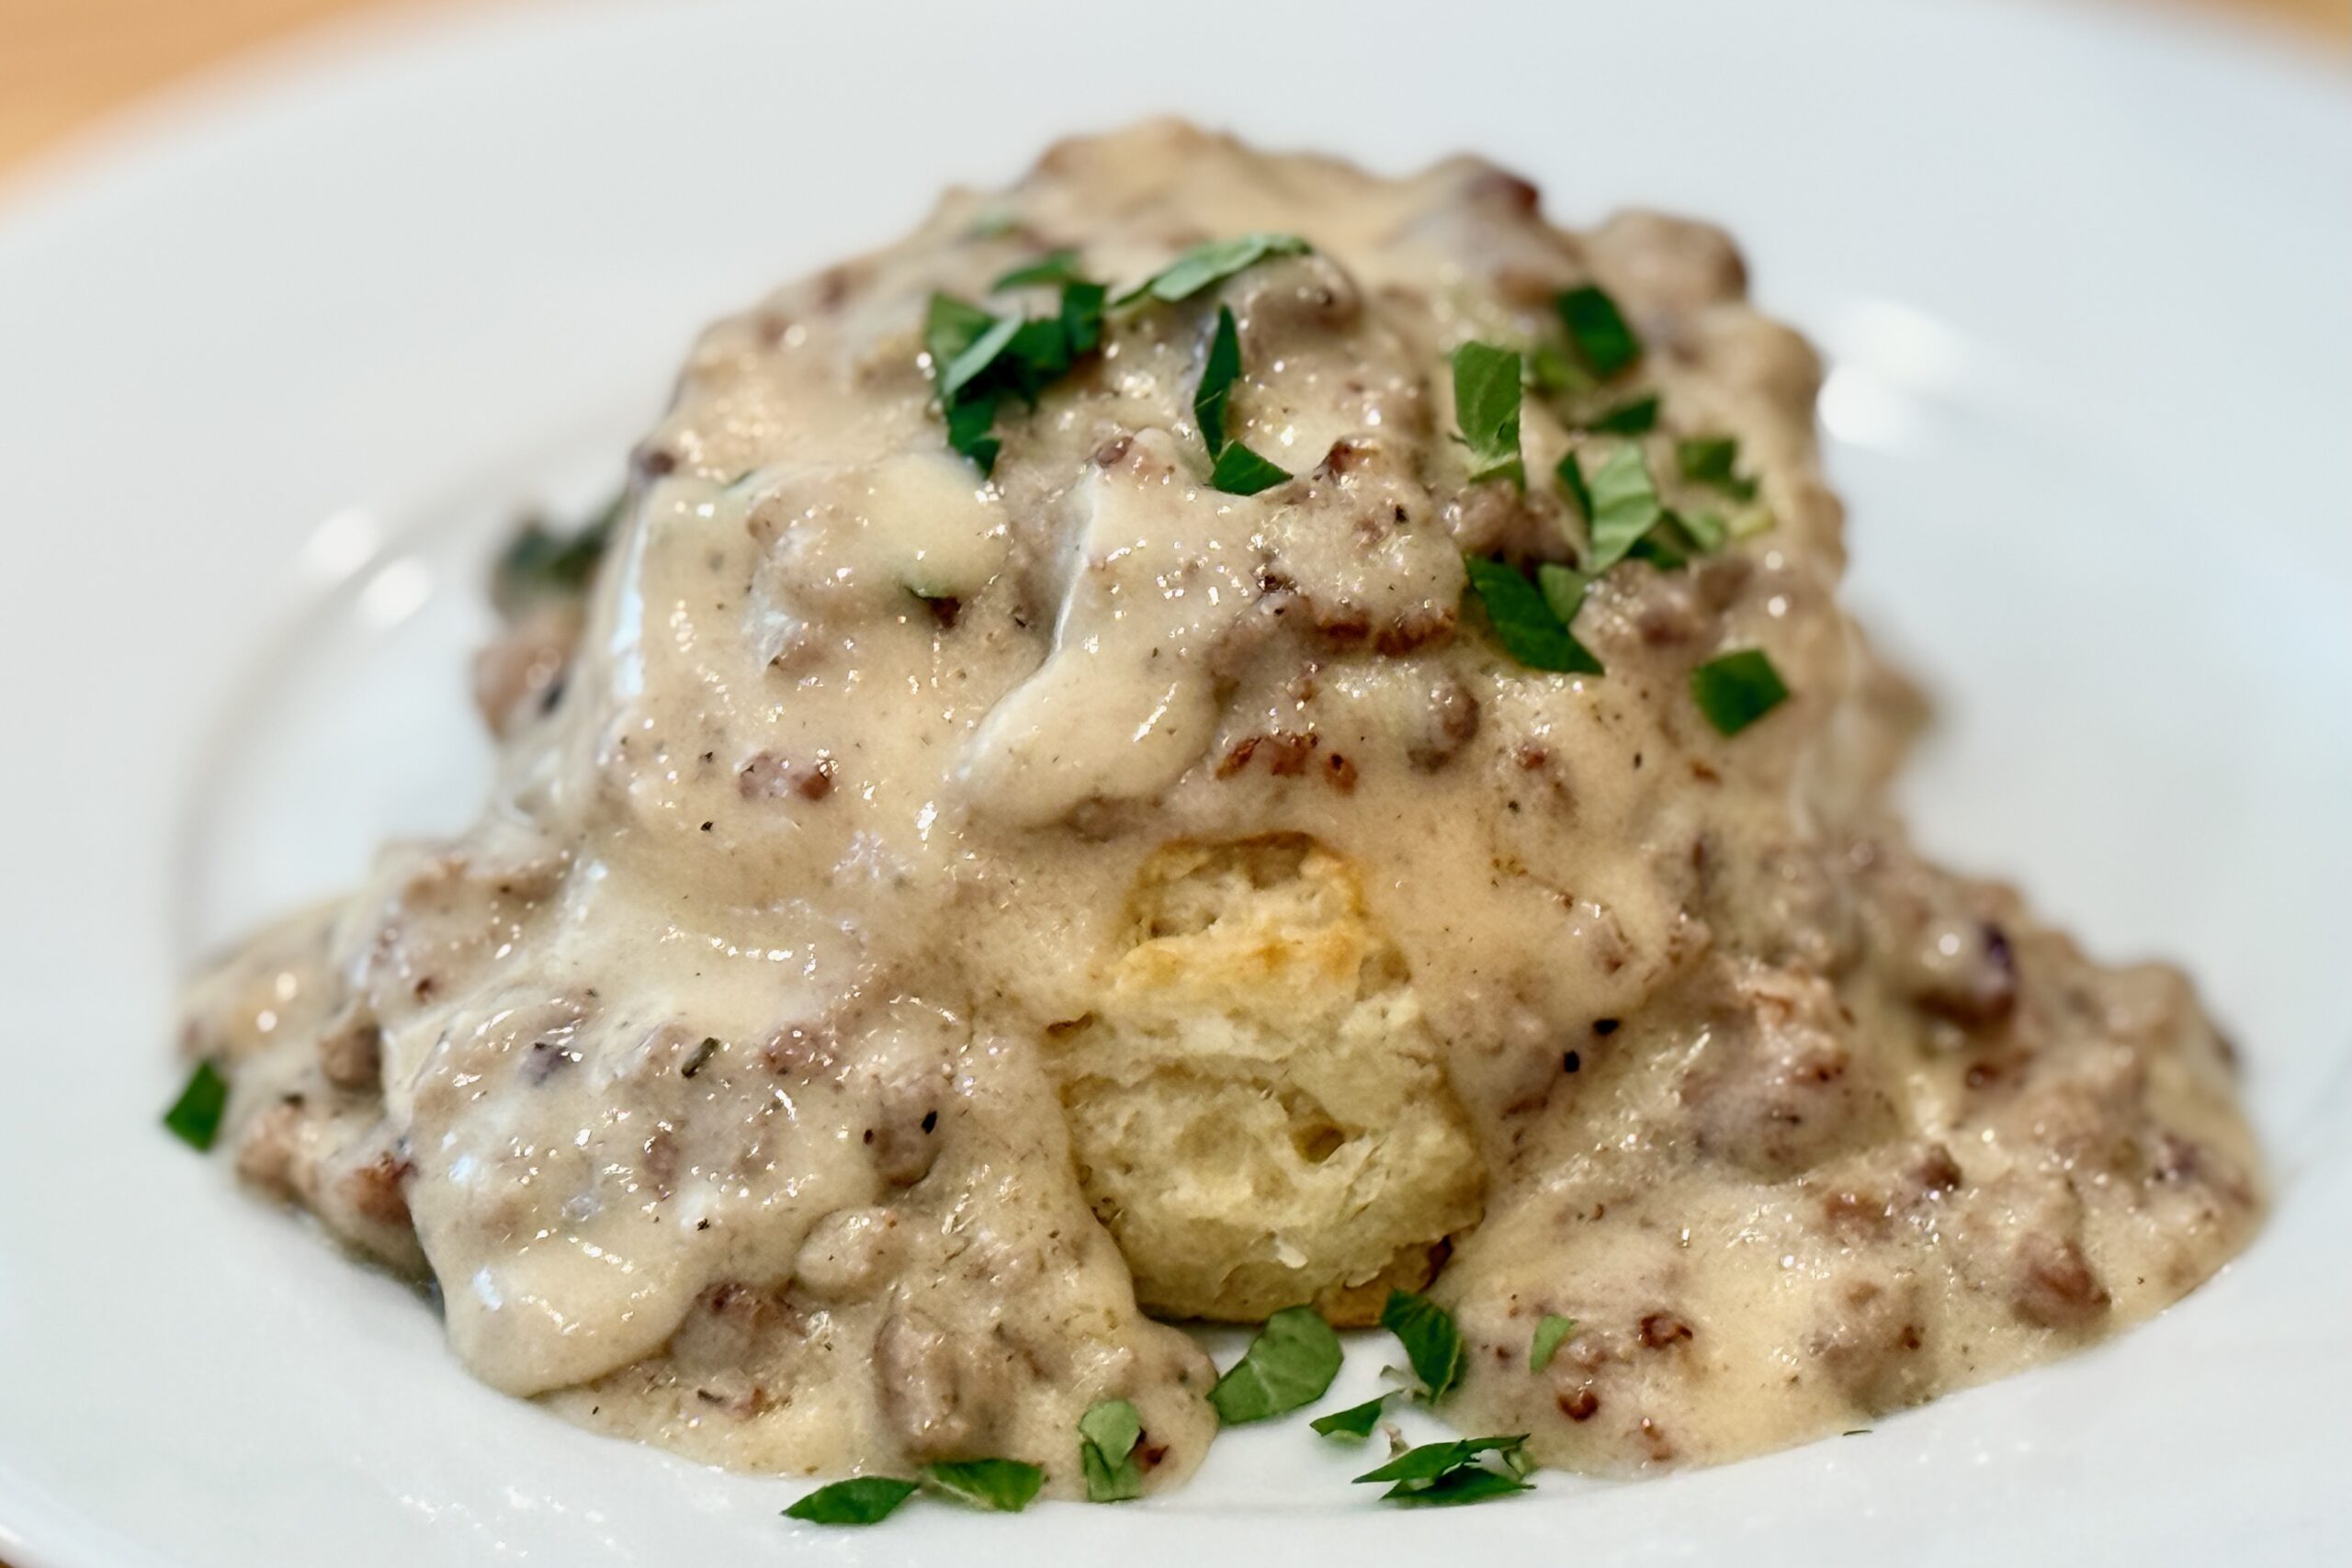
    Sausage gravy, a Southern staple, has been a Huggins family favorite for generations. No true Southern breakfast is complete without buttery biscuits smothered in creamy sausage gravy. The sage sausage pays homage to my grandma Lena — a true Southern lady who loved using sage in her cooking. I learned to make this gravy watching my mom prepare it time and time again in our family kitchen in Southern California. I may just be superstitious, but I swear the gravy tastes best when it’s made in my favorite cast iron pan!


    Ingredients

    • 1 lb sage breakfast sausage
    • ½ cup (1 stick) butter
    • ½ cup flour, lightly mounded
    • 4–6 cups whole milk, divided (start with 4 cups and add more to adjust thickness)
    • salt, to taste
    • freshly ground black pepper or white pepper, to taste

    Directions

    Cook the Sausage:

    In a large skillet or cast iron pan over medium heat, cook the sausage until browned and crumbled, breaking it into small pieces as it cooks. When fully cooked, push the sausage to one side of the pan, leaving the drippings in the skillet.

    Make the Roux:

    Add the butter to the sausage drippings and let it melt completely. Sprinkle the flour over the melted butter and drippings, stirring constantly to form a smooth paste. Cook the roux for 2–4 minutes, stirring continuously, until it turns a pale blond color and smells lightly nutty. Do not let it brown.

    Add the Milk:

    Reduce the heat to medium-low. Slowly pour in about 6 cups of the milk while whisking or stirring constantly, scraping along the bottom of the pan to prevent scorching (especially when using cast iron). Continue to cook and stir until the gravy thickens and begins to gently bubble.

    Finish and Season:

    Stir the cooked sausage back into the thickened gravy. If the gravy is thicker than you prefer, add additional milk ½ cup at a time, stirring well heating after each addition, until it reaches your desired consistency—smooth, creamy, and thick enough to coat the back of a spoon while still pouring easily.

    Season with salt to taste and a generous amount of freshly ground black pepper or white pepper. Traditional Southern-style gravy is fairly pepper-forward, so don’t be shy unless you prefer it milder.

    Serve:

    Serve hot over warm Buttermilk Biscuits. This gravy is also excellent with fried eggs, soft-scrambled eggs, or grated boiled eggs alongside your biscuits.


    Notes

    Preparation

    • Milk scorches easily, especially in cast iron. Once the milk is added, keep the heat at medium-low and stir frequently, scraping along the bottom of the pan.
    • A pale blond roux (2–4 minutes of cooking) helps remove any raw flour taste while keeping the gravy light in color and flavor.
    • The gravy will continue to thicken as it sits off heat. If it becomes too thick, gently rewarm and whisk in a little extra milk until it loosens to your preferred consistency.

    Serving Suggestions

    • Serve over hot buttermilk biscuits for a classic Southern breakfast.
    • Pair with fried eggs, soft-scrambled eggs, or grated boiled eggs for added protein and richness.
    • Try serving with hash browns, breakfast potatoes, or over toasted bread when biscuits aren’t available.

    Variations

    • Add a few drops of Worcestershire sauce to the gravy for deeper savoriness.
    • Stir in a dash of your favorite hot sauce (such as Crystal or Tabasco) for gentle heat that complements the sage and sausage.
    • If your sausage is not very sage-forward, add a tiny pinch of rubbed sage toward the end of cooking, tasting as you go to avoid overpowering the gravy.
    • Use white pepper instead of black pepper if you prefer a smoother look while keeping a robust, peppery flavor.

    Make-Ahead & Storage

    • Sausage gravy can be made up to 2 days in advance and cooled completely before refrigerating in an airtight container.
    • Reheat gently over low heat, adding a splash of milk as needed to loosen the gravy back to a smooth, creamy consistency.
    • For food safety, avoid leaving the gravy at room temperature for extended periods; promptly refrigerate leftovers.
  • Shoarmasaus – Dutch Red Shawarma Sauce

    Shoarmasaus – Dutch Red Shawarma Sauce

    This Dutch shoarmasaus is the mild red tomato sauce served alongside knoflooksaus at shoarma shops and snack bars across the Netherlands. Lightly sweet, gently tangy, and intentionally restrained, it is designed to balance spiced meat without competing for attention. If you are looking for the other classic Dutch red snackbar sauces, try Kerrieketchup – Dutch Curry Ketchup for patat speciaal, or Poestasaus – Spicy Dutch Kebab Sauce for a chili-forward kick more common in döner and kebab shops.


    Ingredients

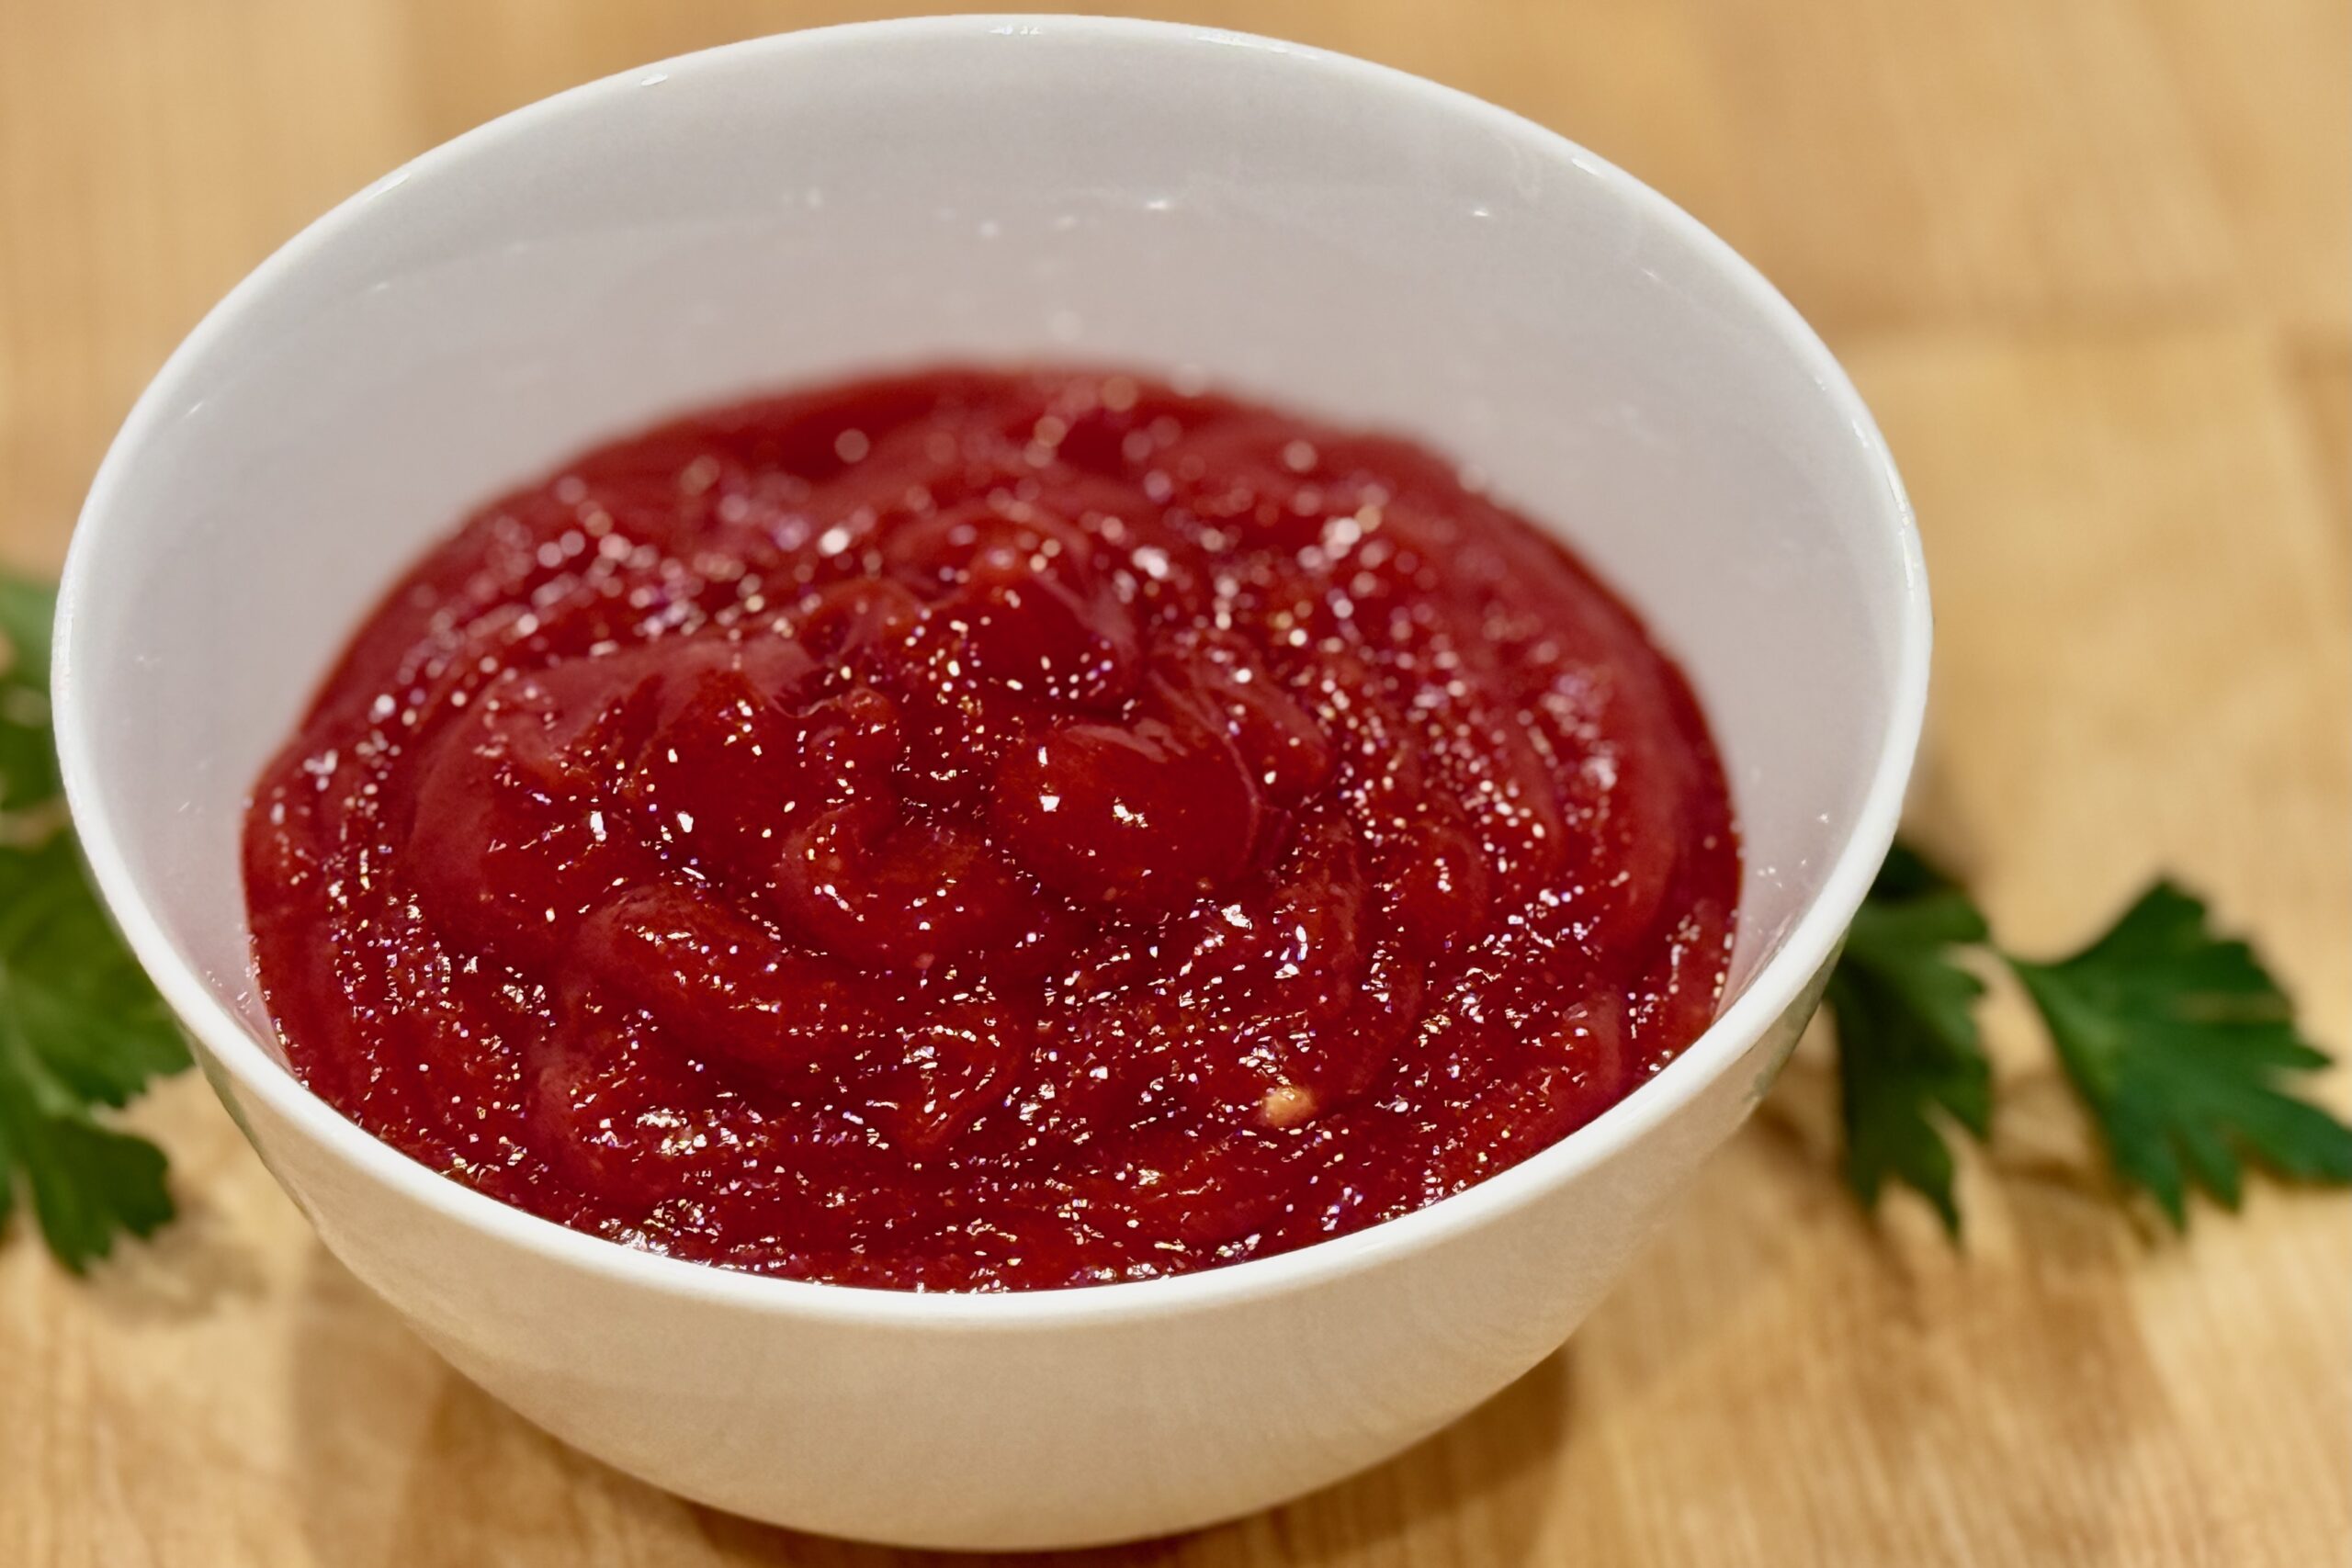
    • ¾ cup tomato ketchup
    • 1½ tbsp tomato paste
    • 2 tbsp water, plus more as needed after chilling
    • 1–1½ tsp sugar
    • ½ tsp sweet paprika
    • ¼ tsp onion powder
    • ¼ tsp mild curry powder
    • pinch sambal oelek or cayenne (optional)
    • ¼ tsp table salt, or to taste
    • 1 tbsp white or apple cider vinegar

    Directions

    Combine the Sauce

    Combine the ketchup, tomato paste, water, sugar, paprika, onion powder, curry powder, sambal oelek or cayenne (if using), and salt in a small saucepan. Whisk until smooth.

    Cook the Sauce

    Cook over medium-low heat, stirring frequently, until the sauce just begins to simmer. Reduce the heat to low and cook gently for 5 minutes, stirring often. Do not allow the sauce to boil vigorously or reduce heavily.

    Add the Vinegar

    Remove the saucepan from the heat and stir in the vinegar. Taste and adjust the salt, sugar, or vinegar as needed. The sauce should be lightly sweet and tangy, with mild background warmth rather than pronounced heat.

    Cool and Chill

    Cool completely, then cover and refrigerate for at least 4 hours, preferably overnight. Once thoroughly chilled, stir well and thin with 1–2 tbsp additional water if needed.


    Notes

    Preparation

    • This sauce is intentionally mild; heat should be barely perceptible, if present at all.
    • The brief cooking time mellows the tomato paste and allows the paprika, curry powder, and onion powder to blend into the sauce without developing a heavy, barbecue-style flavor.
    • Adding the vinegar after cooking preserves its brightness.
    • The curry powder provides a warm background note that balances the paprika without turning the sauce into curry ketchup.
    • No garlic is added by design, preserving contrast with knoflooksaus.
    • Always make final seasoning and consistency adjustments after the sauce is completely cold.

    Serving Suggestions

    • Serve alongside Dutch-style shoarma with knoflooksaus.
    • Drizzle over pita sandwiches, fries, or grilled meats.
    • Offer sambal oelek at the table for those who prefer extra heat.

    Variations

    • Classic Snackbar Style: Thin with 1–2 additional tbsp water after chilling and use only 1 tsp sugar.
    • Deeper Tomato Flavor: Add an extra ½ tbsp tomato paste and a few additional drops of vinegar.
    • Late-Night Shoarmazaak: Increase the sambal oelek to ½ tsp for a gently warming finish.
    • Curry-Forward House Sauce: Increase the mild curry powder to ½ tsp for a more noticeable curry note.

    Make-Ahead & Storage

    • Best made at least 4 hours ahead; the flavor improves overnight.
    • Refrigerate in an airtight container up to 1 week.
    • Stir well before serving and thin with a little water if needed.
  • Knoflooksaus — Dutch Garlic Sauce

    Knoflooksaus — Dutch Garlic Sauce

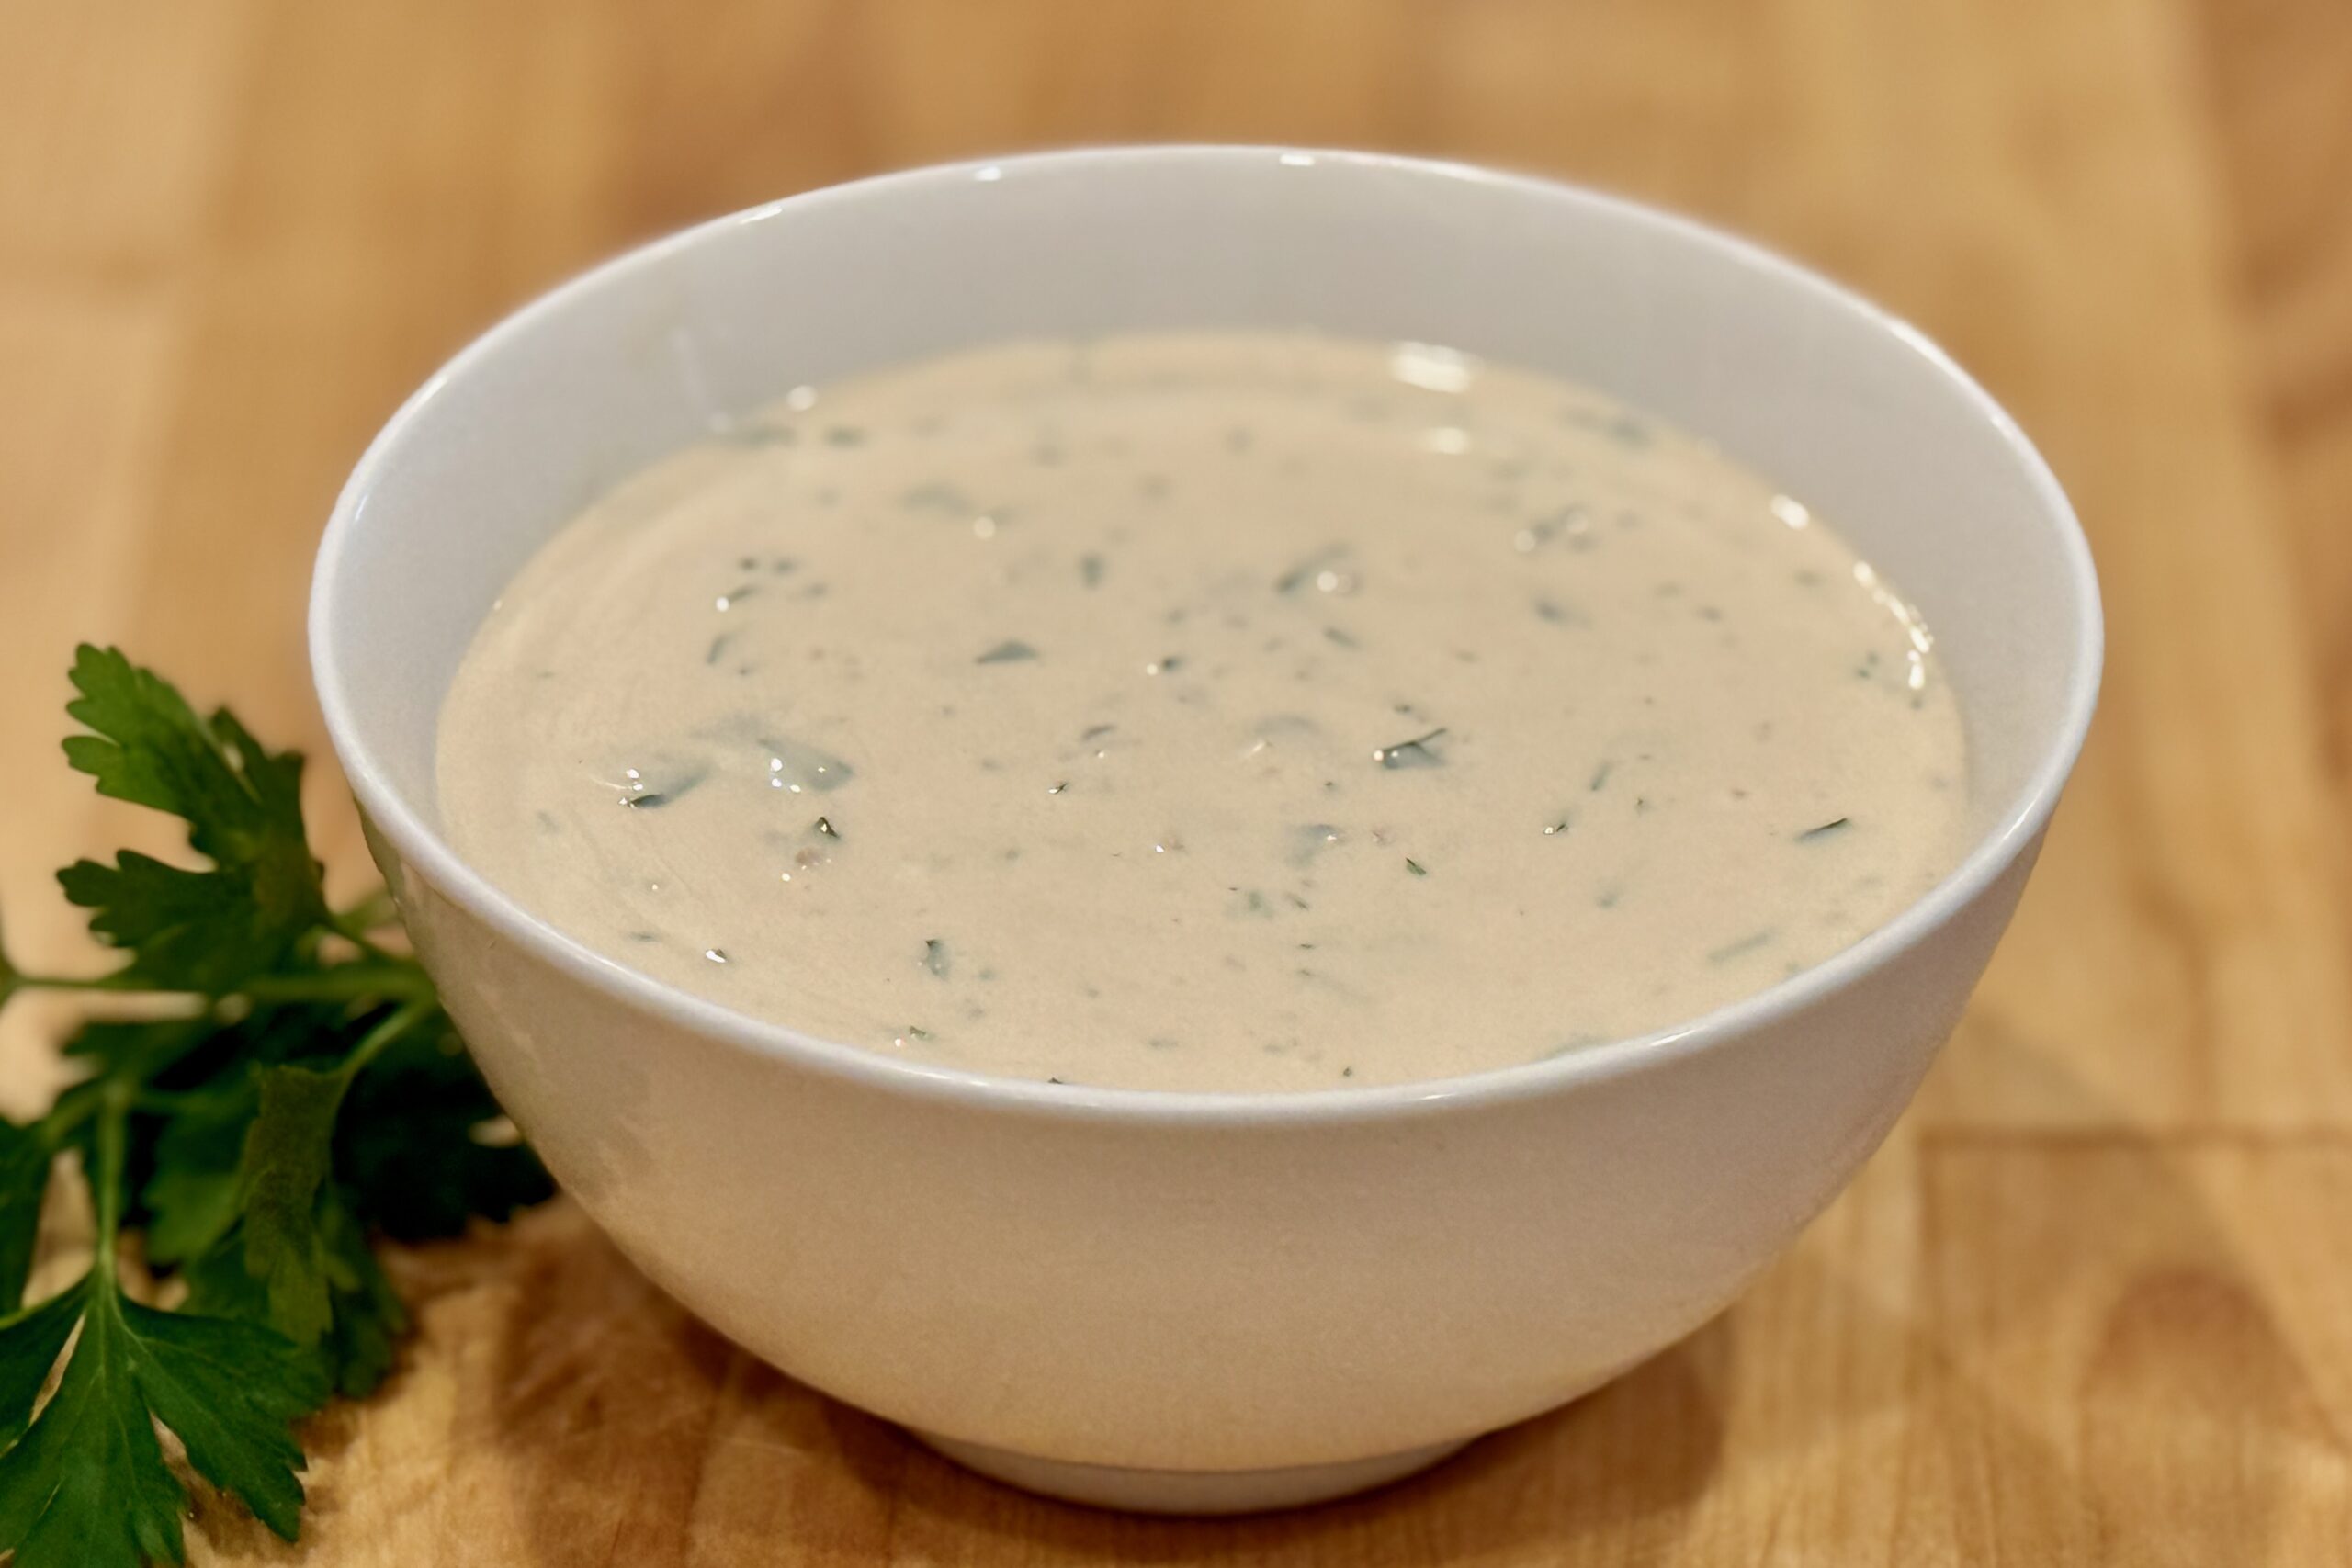
    This creamy, garlicky sauce is a staple of Dutch shoarma restaurants and late-night snack bars. Smooth, tangy, and richly flavored with garlic and parsley, it’s perfect for serving with shoarma, fries, grilled meats, or pita bread—bringing a taste of The Netherlands to your kitchen.


    Ingredients

    • 2 cups Dutch mayonnaise (e.g., Remia, Calvé, or Zaanse)
    • ¾ cup Greek yogurt
    • 3 tbsp finely grated fresh garlic (or 4–5 tbsp mild garlic paste)
    • 3 tbsp parsley, very finely minced
    • 2 tsp ketjap manis, plus more to taste
    • ¼ tsp table salt
    • ½ tsp white wine vinegar or lemon juice (optional, for a brighter tang)
    • ⅛ tsp white pepper (optional)

    Directions

    Mellow the Garlic

    In a bowl, combine the Greek yogurt and grated garlic. Let stand 10–15 minutes to lightly mellow the garlic before adding the mayonnaise.

    Mix the Sauce

    Add the Dutch mayonnaise, parsley, ketjap manis, salt, and (if using) the vinegar or lemon juice and white pepper. Stir until smooth and evenly blended.

    Chill and Develop Flavor

    Cover and refrigerate for at least 4 hours, or overnight, to allow the flavors to mellow and the sauce to thicken.


    Notes

    Preparation

    • For a milder garlic flavor, reduce the garlic to 2 tbsp and let the sauce rest overnight.
    • For the most authentic Dutch flavor, use Dutch mayonnaise (such as Calvé or Remia). If using American mayonnaise (e.g., Best Foods or Hellmann’s), adjust it first using our Dutch Mayonnaise — Calvé-Style from American Mayo recipe before making the sauce.
    • Use mild garlic paste if you prefer a smoother, less pungent profile.
    • Parsley should be minced very finely to avoid a chewy texture; adjust to taste.
    • Ketjap manis is meant to round the flavor, not sweeten the sauce—start with 2 tsp and add more only if needed.

    Serving Suggestions

    • Serve with Dutch-style shoarma.
    • Drizzle over fries, grilled meats, or kebabs.
    • Use as a dip for pita bread or fresh vegetables.

    Variations

    • Brighter tang: Add the optional vinegar or lemon juice (or increase slightly) for a lighter, snack-bar-style lift.
    • Smoother profile: Use mild garlic paste and reduce parsley slightly.

    Make-Ahead & Storage

    • Best made at least 4 hours in advance for full flavor development.
    • Refrigerate in an airtight container up to 5 days.
    • Stir before serving; sauce naturally thickens as it chills.
  • Shoarma Kruiden — Dutch-Inspired Shawarma Spice Mix

    Shoarma Kruiden — Dutch-Inspired Shawarma Spice Mix

    This shoarma kruiden blend captures the warm, paprika-forward flavor of Dutch shoarma shops—perfect for keeping on hand so you can quickly season meat for broodje shoarma, wraps, and grilled dishes whenever the craving hits.


    Ingredients

    Paprika Base

    • 2 tbsp paprika
    • 2 tsp garlic powder
    • 2 tsp onion powder

    Warm, Savory Spices

    • 2 tsp ground coriander
    • 1½ tsp ground cumin
    • 1 tsp ground ginger
    • ¾ tsp lovage leaf powder
    • ⅛ tsp ground fenugreek seed
    • ⅜ tsp ground allspice
    • ½ tsp ground cinnamon
    • ½ tsp ground black pepper
    • ¼ tsp ground nutmeg
    • ⅛ tsp ground mace
    • ⅛ tsp ground cloves

    Color & Heat

    • ½ tsp turmeric
    • ¼ tsp cayenne pepper (adjust to taste)

    Optional (Authentic for Some Shops)

    • ⅛ tsp ground fennel

    Directions

    Prepare the Spice Mix

    In a small bowl, combine the paprika, garlic powder, onion powder, coriander, cumin, ginger, lovage, fenugreek, allspice, cinnamon, black pepper, nutmeg, mace, cloves, turmeric, cayenne, and fennel (if using). Mix thoroughly until the spices are evenly blended.

    Transfer the shoarma kruiden to an airtight jar or spice container. Label and store in a cool, dark cupboard.

    For general use, plan on about 1 tbsp shoarma kruiden per 1 lb (450 g) meat, adjusting to taste.


    Notes

    Preparation

    • This blend is intentionally prepared without salt, since many Dutch shoarma shops season the meat separately. Salt your meat to taste before or during cooking.
    • For the most vibrant flavor, use fresh spices and replace the mix every 6 months or so; older spices are still safe but lose potency over time.
    • If your spices are coarse or slightly clumpy, you can pulse the finished blend a few times in a spice grinder to create a finer, more uniform texture.
    • Because this mix is quite aromatic, store it in a well-sealed container away from light and heat to preserve its Dutch shoarma character.

    Serving Suggestions

    • Use about 1 tbsp shoarma kruiden per 1 lb (450 g) thinly sliced chicken thigh, pork shoulder, turkey, or lamb for classic Dutch-style shoarma.
    • For a dry-style preparation common in shoarma shops, toss the seasoned meat with 1–2 tbsp neutral oil and cook in a hot skillet or on a griddle until browned and lightly crisp at the edges.
    • For a simple wet marinade, combine 1 tbsp shoarma kruiden with 1 tbsp oil or plain yogurt and 1 tsp lemon juice per 1 lb (450 g) meat. Marinate 1–12 hours before cooking.
    • Serve the cooked meat in warm pita or Turkish bread as a broodje shoarma, with shredded lettuce, tomato, onion, and Dutch-style garlic sauce (knoflooksaus).
    • This blend also works well for sheet-pan dinners, grilled skewers, or roasted vegetables for a Dutch shoarma-inspired twist.

    Variations

    • Sweeter Dutch-Snackbar Style: Add 1 tsp sugar to the full batch of shoarma kruiden. The sugar will lightly caramelize on the griddle and echo the slightly sweeter flavor of some late-night shoarma shops.
    • Spicier (Rotterdam-Lean): Increase the cayenne to ½–¾ tsp for a more assertive heat while still keeping the overall Dutch flavor profile.
    • Warmer Dutch-Indo Aroma: For a slightly richer, Amsterdam-leaning warmth, increase the ginger to 1½ tsp and the mace to ¼ tsp, keeping the other spices the same.
    • Salted Convenience Blend: If you prefer an all-in-one seasoning, you can add 1 tbsp table salt to the full batch. When using this salted version, reduce or omit any additional salt added directly to the meat.

    Make-Ahead & Storage

    • Prepare a double or triple batch and store it in a tightly sealed jar so you always have shoarma kruiden ready for quick meals.
    • For best flavor, use within about 6 months; the blend will remain safe beyond that, but the aromatics will gradually lose intensity.
    • If you live in a hot climate, you can store the jar in the refrigerator or freezer to help preserve the essential oils in the spices.
    • Always use a clean, dry measuring spoon when scooping from the jar to prevent moisture from clumping the spices.
  • Nacho Cheese Sauce

    Nacho Cheese Sauce

    This smooth and flavorful nacho cheese sauce blends cheddar, colby jack, green chiles, warm spices, and a touch of cream cheese for richness—perfect for dipping, drizzling, or spooning over anything that needs a bold, melty kick.


    Ingredients

    • 2 tbsp butter
    • ¼ tsp powdered annatto (optional)
    • ¼ tsp garlic powder
    • ¼ tsp onion powder
    • ¼ tsp ground cumin
    • ¼ tsp chipotle chile powder
    • 2 tbsp flour
    • 1½ cups milk
    • 1½ tsp sodium citrate (optional)
    • 4 oz cream cheese, cut into small chunks
    • 4 oz cheddar cheese, grated
    • 4 oz colby jack cheese, grated
    • ½ tsp table salt
    • ¼ tsp fish sauce (optional)
    • 2–4 oz diced green chiles

    Directions

    Make the Sauce

    Heat butter in a skillet over medium heat. When melted and bubbling, add annatto (if using) and bloom for 15 seconds.

    Add garlic powder, onion powder, cumin, and chipotle chile powder; whisk briefly to bloom the spices. Add flour to form a roux and cook until the mixture is bubbling and the raw flour scent dissipates.

    Dissolve sodium citrate in the milk, then whisk the milk mixture into the roux. Continue whisking until the mixture thickens and reaches a gentle boil.

    Whisk in the cream cheese until fully incorporated. Remove the skillet from heat.

    Add the cheddar and colby jack a handful at a time, whisking thoroughly between additions until smooth. Stir in salt, fish sauce (if using), and green chiles.


    Notes

    Preparation

    Powdered annatto gives a warm reddish color and mimics classic cheddar coloring. It is a natural antioxidant with additional health benefits.

    Sodium citrate enhances smooth meltability, adds gentle tanginess, and helps prevent the sauce from separating. Increasing to 1½ tsp improves stability, especially during reheating.

    Fish sauce adds subtle umami depth and rounds out the flavors but remains undetectable as a distinct ingredient.

    Serving Suggestions

    For extra heat, stir in a splash of your favorite hot sauce just before serving.

    Pickled jalapeños or 1–2 tsp jalapeño brine may be added for brightness and acidity.

    Variations

    Optional Add-Ins:

    • Diced pickled jalapeños
    • Jalapeño brine for acidity
    • Extra green chiles for mild heat

    These additions adjust heat and acidity without changing the core sauce flavor.

    Make-Ahead & Storage

    Store cooled sauce in an airtight container for up to 4 days.

    Reheat gently over low heat on the stovetop or in the microwave in 20–30 second bursts, stirring between intervals.

    If the sauce thickens during storage or reheating, whisk in 1–3 tbsp milk as needed to adjust consistency.

  • Salsa Huancaína

    Salsa Huancaína

    This creamy Central Peruvian classic blends peppers, queso fresco, and milk into a silky, vibrant sauce with gentle heat and rich, comforting flavor. Enjoyed throughout Peru, salsa huancaína is one of those dishes that feels deeply personal—nearly every family has their own version, adjusted by memory, preference, or what’s on hand. Traditionally spooned generously over tender potatoes, it’s just as delicious used as a dip, drizzle, or spread, bringing its unmistakable balance of warmth and creaminess to countless dishes.


    Ingredients

    Sauce Base

    • ½ medium yellow onion, diced and sautéed until translucent
    • 1 large yellow or orange bell pepper, roasted, peeled, and seeded
    • ½ habanero (to taste)
    • ¼ cup whole or evaporated milk
    • ⅓–½ cup queso fresco
    • 6–8 saltine crackers (adjust to desired thickness)
    • 1–2 tbsp vegetable oil
    • salt to taste

    Optional Add-Ins

    • 1 clove garlic
    • splash of lime juice (for brightness)

    Directions

    Sauté the Aromatics

    Sauté the diced onion in a small amount of oil until soft and fragrant, then let cool slightly.

    Prepare the Peppers

    Roast, peel, and seed the bell pepper. Adjust heat by adding part or all of the habanero.

    Blend the Sauce

    Blend the onion, roasted bell pepper, habanero, milk, and queso fresco until smooth.

    Add 6 saltine crackers and blend again. Adjust consistency by adding more crackers to thicken or additional milk to thin.

    Blend in a small amount of oil for a silkier, more emulsified texture. Season with salt to taste.


    Notes

    Preparation

    • Peruvian recipes traditionally use ají amarillo (2–3 peppers, roasted, peeled, and seeded). If you have access to frozen or paste ají amarillo, use it for the most authentic flavor.
    • Evaporated milk gives a creamier, more traditional consistency, but whole milk works well in a pinch.
    • Queso fresco is classic, but queso blanco or feta can be used for a saltier, brinier profile.
    • Saltines thicken the sauce while keeping the flavor mild; stale bread is a suitable substitute.

    Serving Suggestions

    • Classic: Spoon over boiled yellow potatoes (papas a la huancaína) and garnish with hard-boiled eggs, black olives, and lettuce.
    • As a dip: Serve with potato fries, yuca fries, fresh vegetables, or plantain chips.
    • As a sauce: Drizzle over grilled chicken, steak, or roasted vegetables for a creamy, pepper-forward accent.
    • For best texture, chill lightly before serving so the sauce thickens and clings beautifully to potatoes or vegetables.

    Variations

    • Increase or decrease the habanero to adjust heat, or add a small amount of yellow chili paste if you have it.
    • Add a garlic clove for deeper aroma, or a splash of lime juice for additional brightness.

    Make-Ahead & Storage

    This sauce improves after a few hours as the flavors meld.

    • Refrigerator: Store in an airtight container for 3–4 days.
    • Freezing is not recommended, as the dairy and crackers may separate.