Bags of Spices

Favorite Recipes

Condiments

Finishing touches — relishes, pickles, spreads, and more.

  • Classic Tamarind Chutney

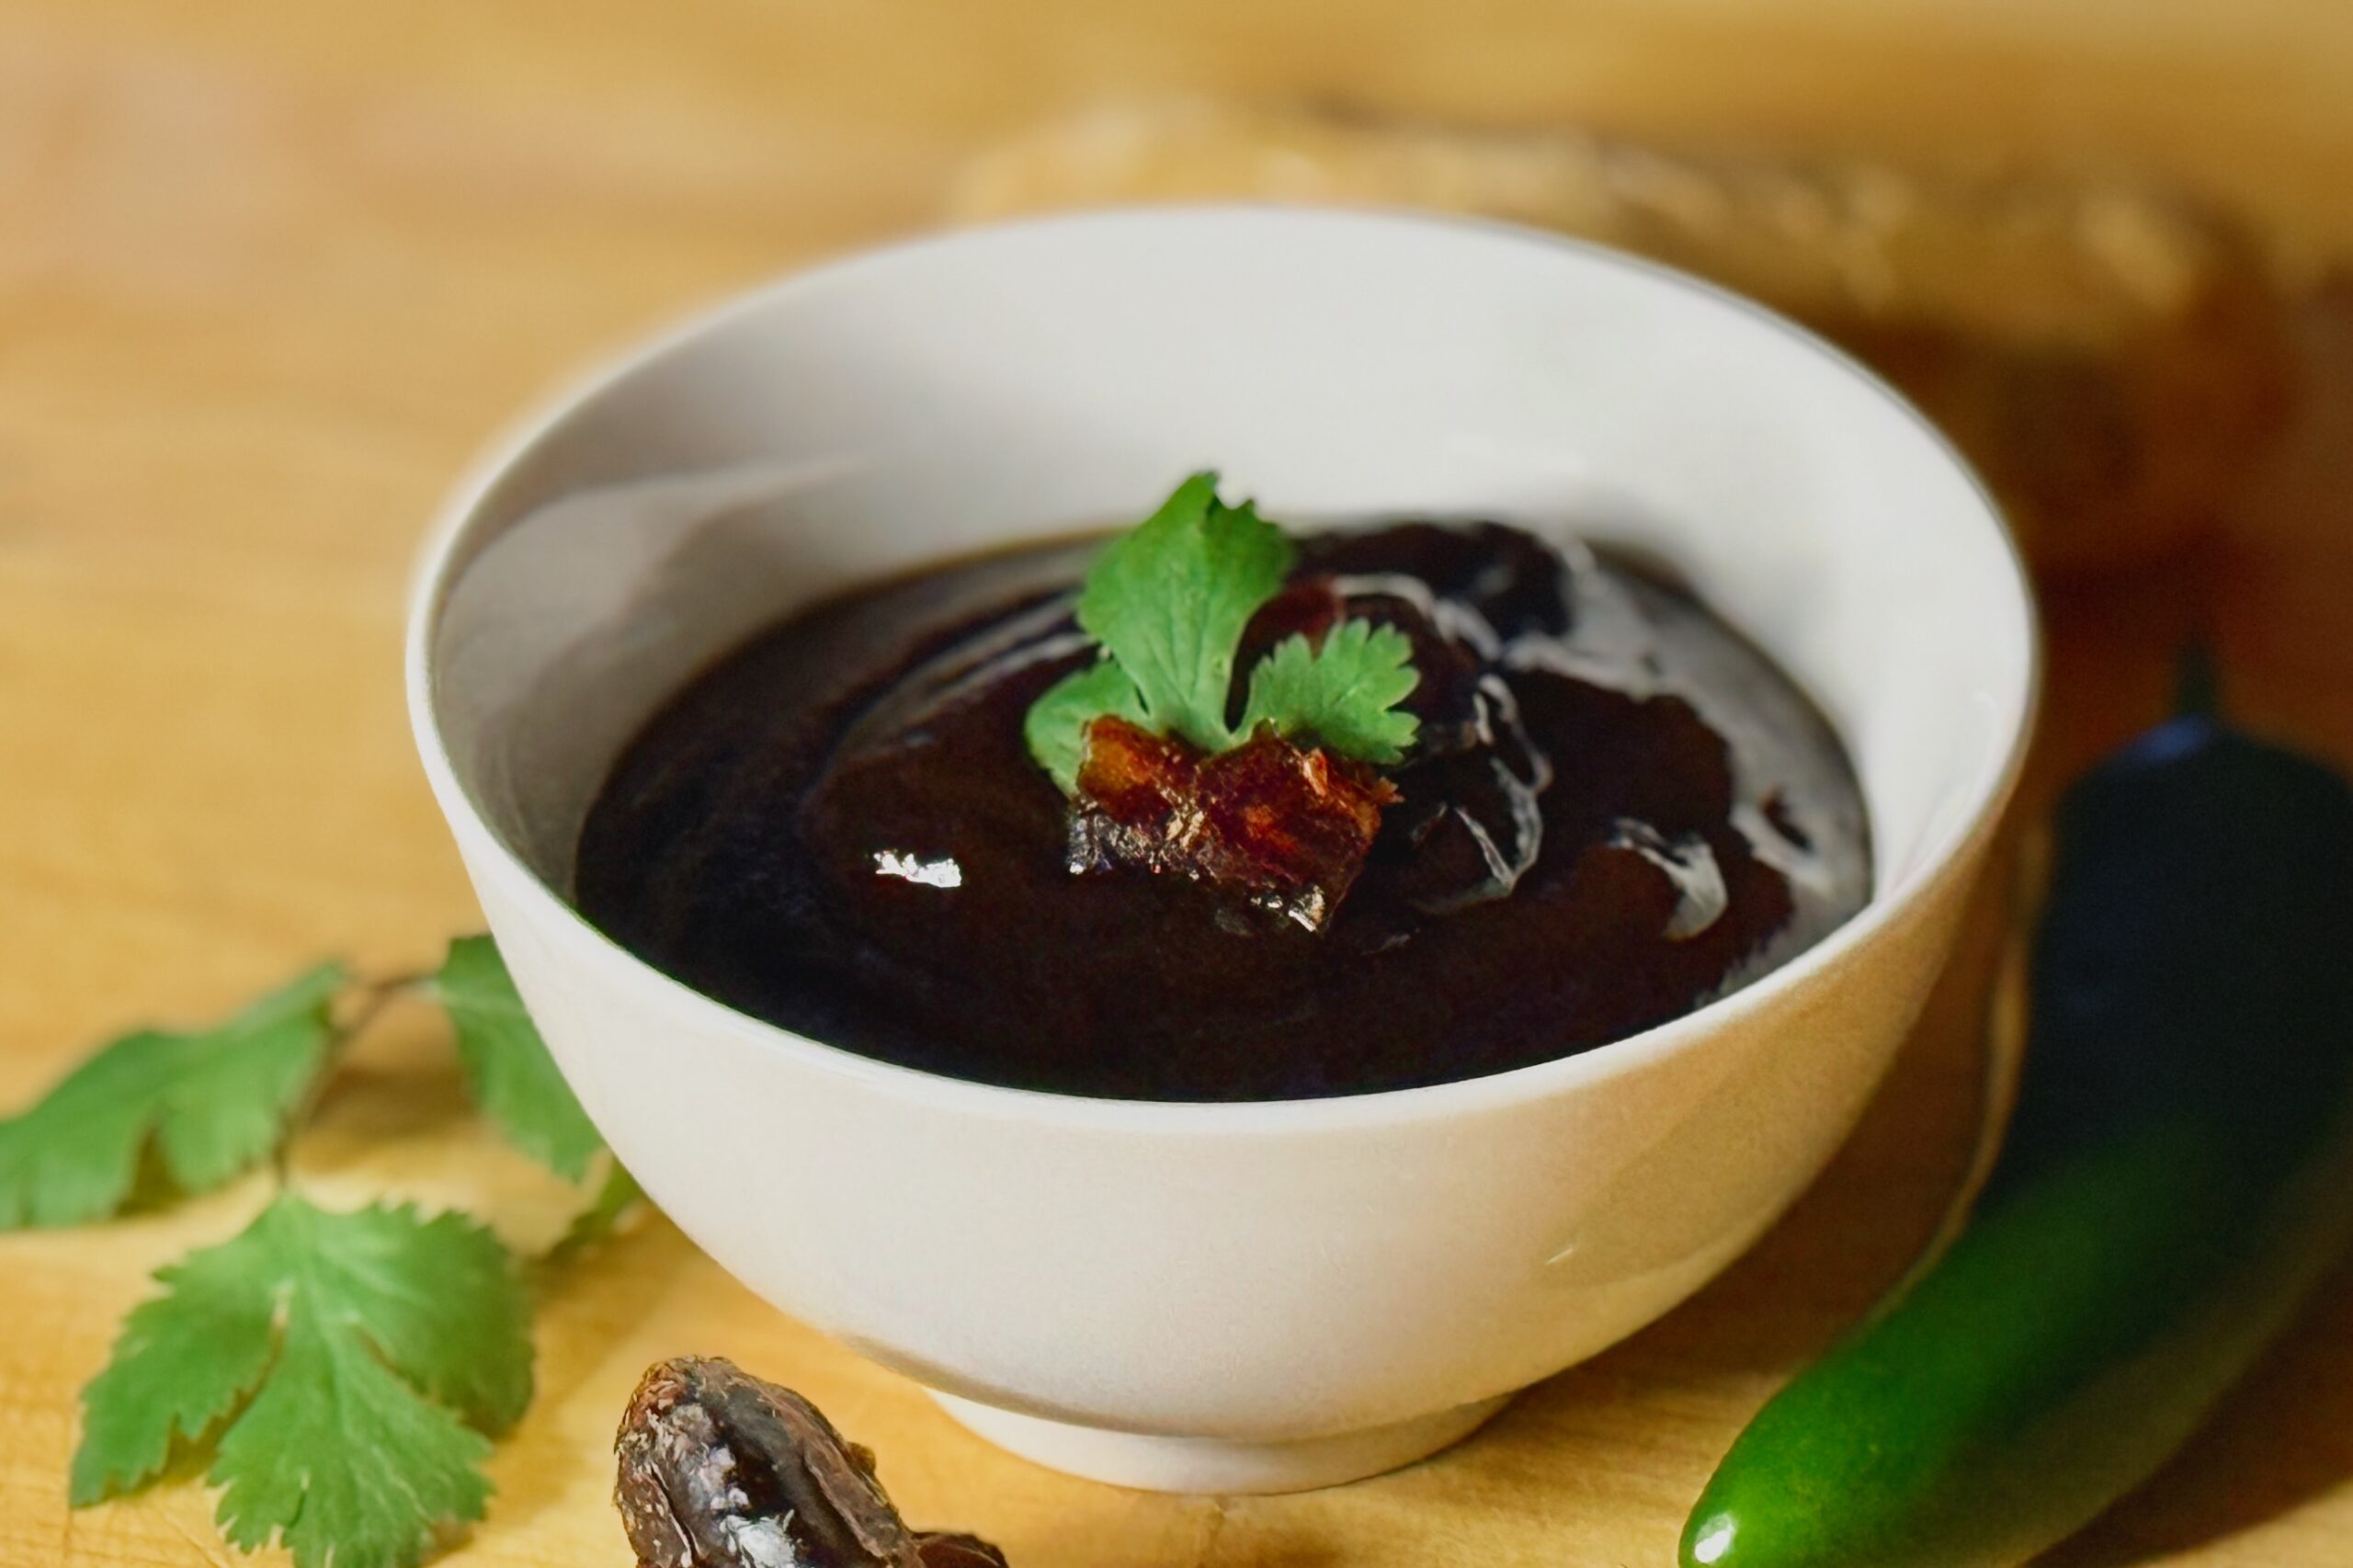
    Classic Tamarind Chutney

    This classic tamarind chutney is clean, bright, and beautifully balanced—sweet enough to round the sharp acidity of tamarind, but not heavy or syrupy. Made from tamarind paste, sugar, and a few simple seasonings, it’s the foundation for countless chaat dishes and sauces. Kept simple for maximum versatility and easily customizable with dates and spices for richer variations.


    Ingredients

    • ½ cup (120 g) tamarind paste (store-bought; or use our homemade Tamarind Paste from Whole Pods)
    • ¾ cup (180 ml) water
    • ⅓–½ cup (67–100 g) sugar (start with ⅓ cup; adjust to taste)
    • ½ tsp table salt
    • ¼ tsp ground cumin (preferably roasted)

    Directions

    Simmer the Chutney

    In a small saucepan, whisk together tamarind paste and water until smooth.

    Add sugar, table salt, and ground cumin. Bring to a gentle simmer over medium heat.

    Simmer 5–8 minutes, stirring occasionally, until slightly thickened and glossy. The chutney should lightly coat the back of a spoon but remain pourable.

    Remove from heat and cool completely. The chutney will thicken slightly as it cools.

    Yield: About 1 cup (240 ml).


    Notes

    Preparation

    • Taste and adjust sweetness after simmering. Tamarind acidity varies by brand; add sugar gradually until balanced.
    • If using jaggery, substitute equal weight for sugar and dissolve fully before simmering.
    • For a more traditional chaat flavor, replace up to half the table salt with black salt (kala namak).

    Variations

    • Mild Heat: Add a pinch of Kashmiri red chili powder while simmering.
    • Hot: Add ¼ tsp cayenne or finely minced fresh chili.
    • Date–Tamarind Style: Simmer with 2–3 finely chopped Medjool dates and blend smooth for a richer, deeper sweetness (great for date–tamarind reductions).

    Serving Suggestions

    • Use as a chutney for chaat, drizzle over roasted snacks, or serve as a dipping sauce for pakoras and samosas.

    Make-Ahead & Storage

    • Refrigerate in an airtight container up to 2 weeks.
    • If thickened too much after refrigeration, whisk in 1–2 tsp warm water.
    • This chutney freezes well for up to 3 months.
  • Dutch Mayonnaise — Calvé-Style from American Mayo

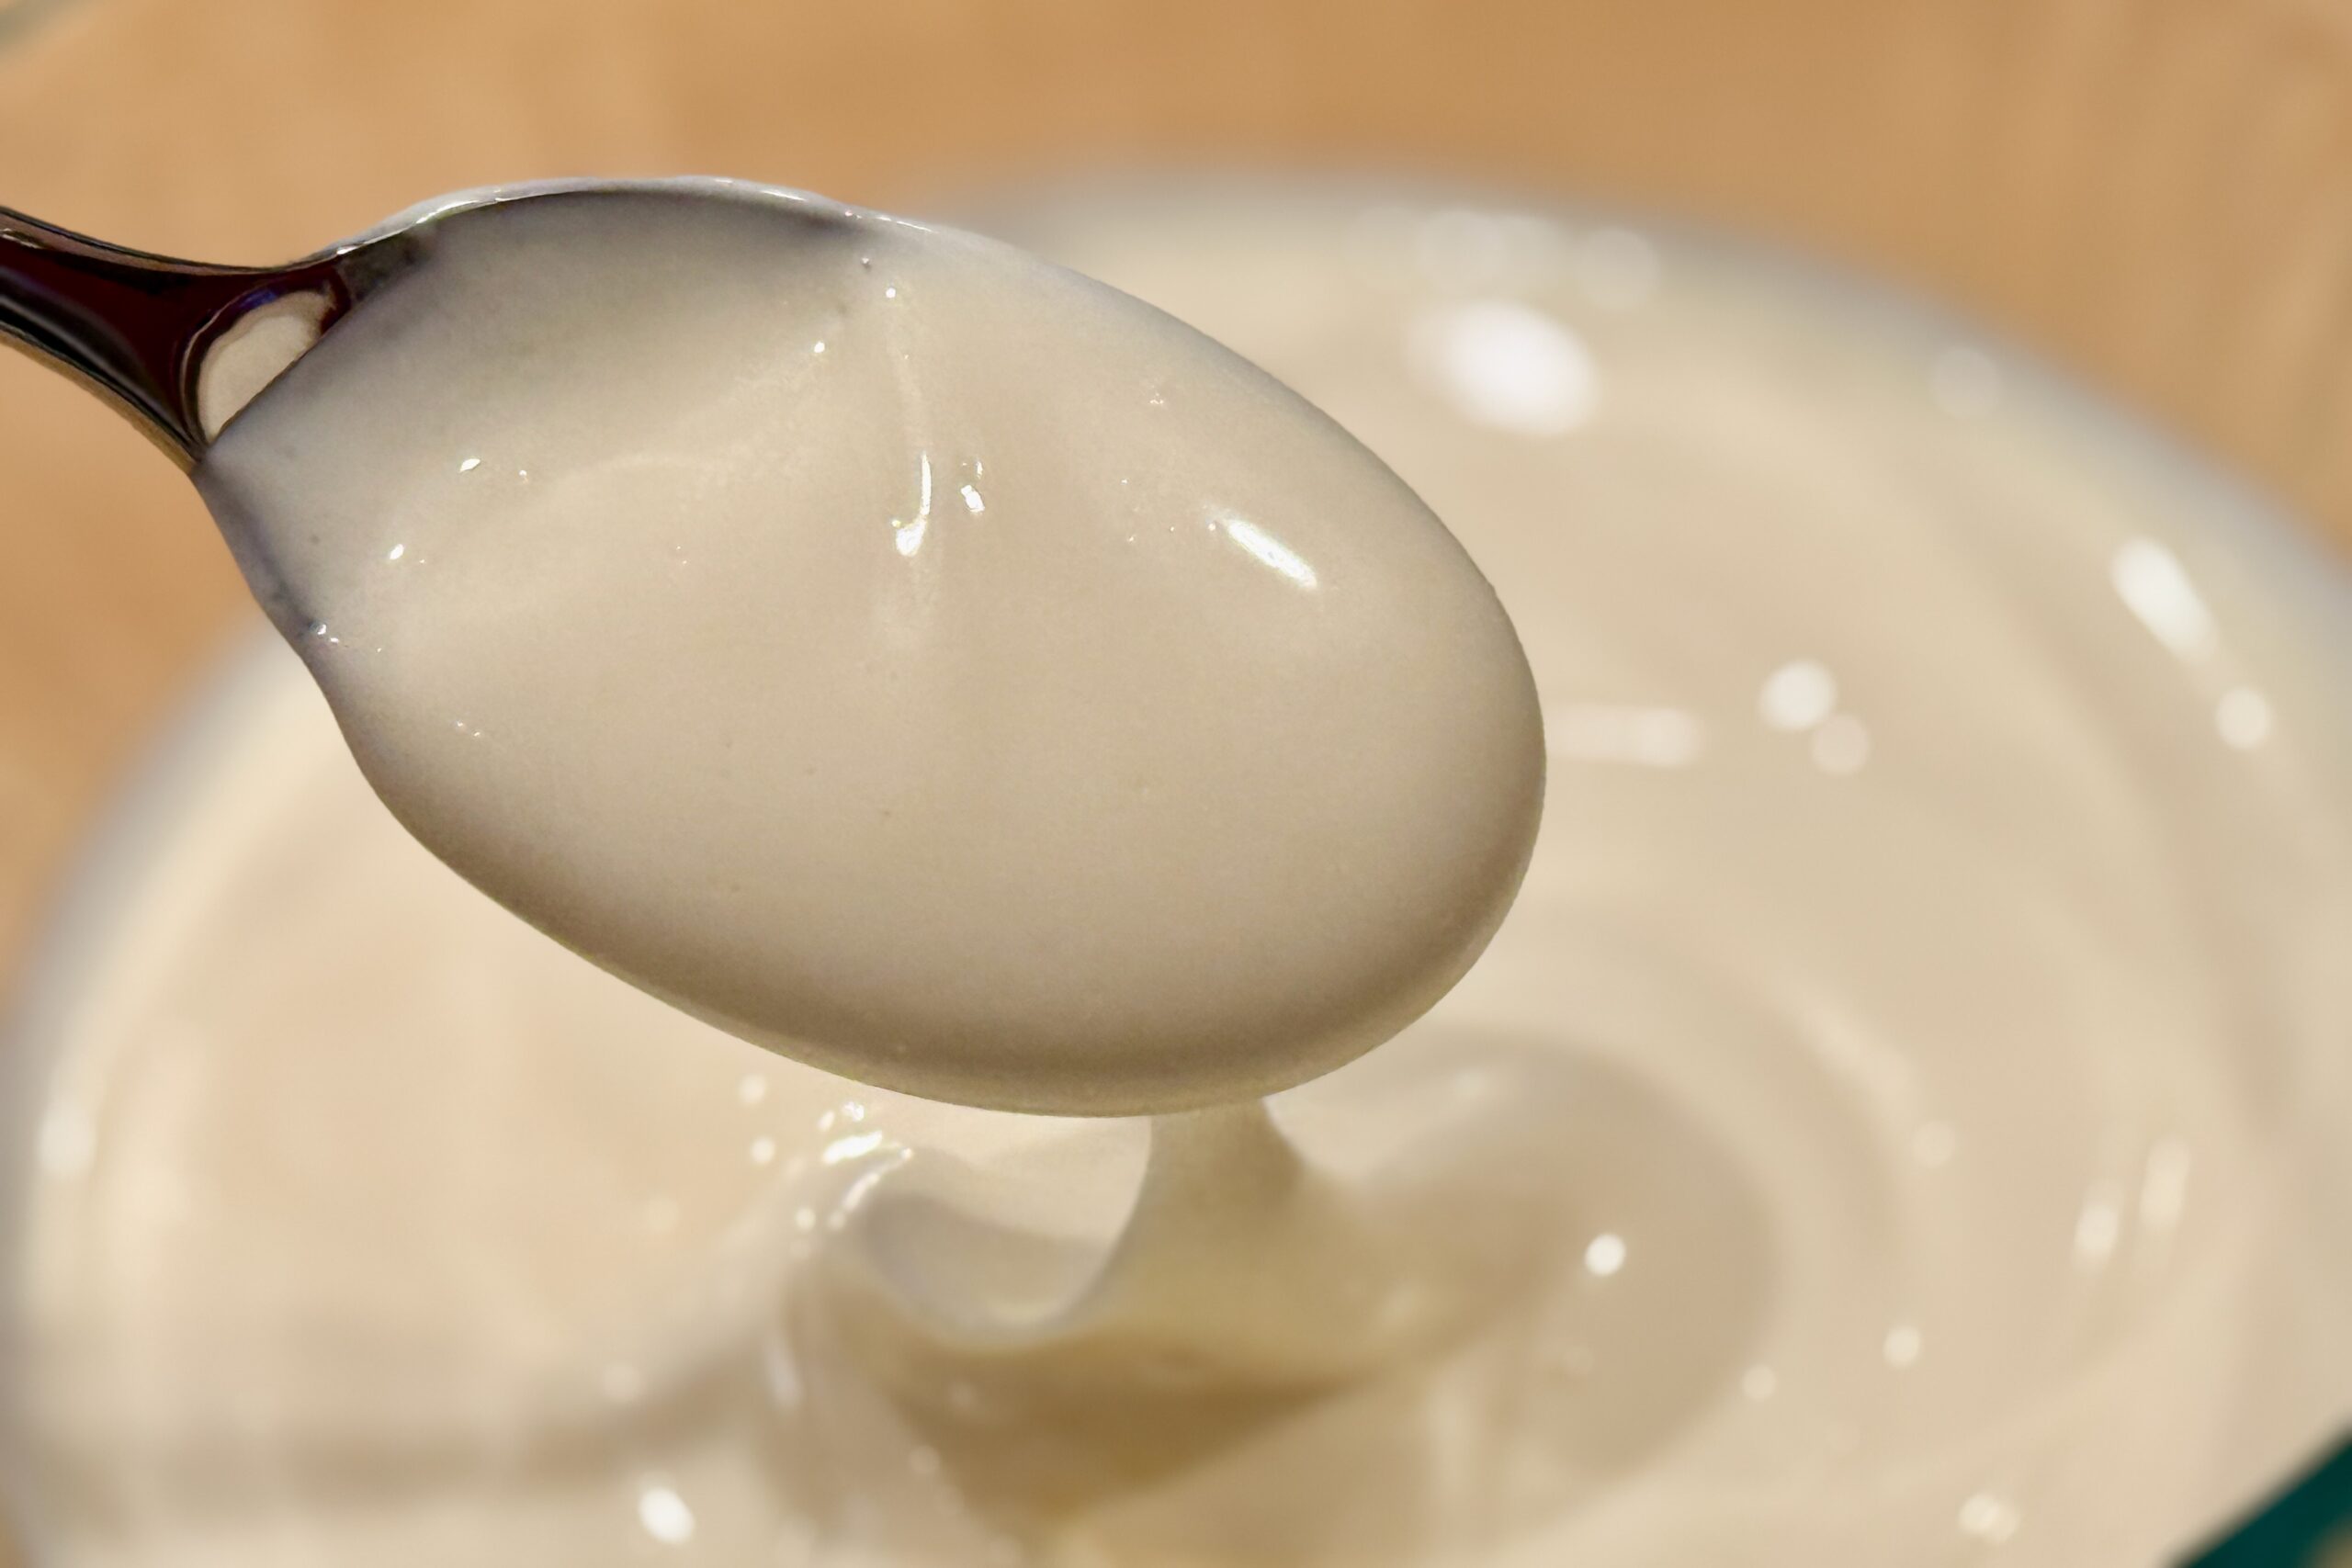
    Dutch Mayonnaise — Calvé-Style from American Mayo

    Dutch mayonnaise is tangier, slightly sweeter, and noticeably lighter in flavor than most American mayonnaises. Brands like Calvé and Remia are designed to complement fries and snack-bar sauces without overwhelming them—especially when paired with shoarmasaus, kerrieketchup, or poestasaus. This simple adjustment transforms standard American mayonnaise (such as Best Foods or Hellmann’s) into a closer approximation of Dutch-style mayo, making it a better match for patat, broodjes, and classic Dutch snackbar dishes.


    Ingredients

    • 1 cup American mayonnaise (Best Foods / Hellmann’s recommended)
    • 1½–2 tsp white wine vinegar or distilled vinegar
    • 1 tsp sugar
    • 1–2 tbsp neutral oil or water (to lighten texture)
    • pinch table salt (optional, to taste)

    Directions

    Adjust the Mayonnaise

    In a bowl, whisk together the mayonnaise, vinegar, sugar, and 1 tbsp oil or water until smooth. Taste and adjust vinegar or sugar slightly if needed—the mayo should taste brighter and lighter than American-style mayonnaise.

    Set the Flavor

    Cover and refrigerate for at least 30 minutes to allow the flavor to settle. Whisk again before serving.


    Notes

    Preparation

    • Dutch mayonnaise is tangier than American mayo but not sharply acidic.
    • The small amount of sugar is important—it softens the acidity and mimics Dutch formulations.
    • Lightening with oil or water helps reduce the heavy mouthfeel typical of American mayonnaise.
    • Taste the mayo cold, as it will be served.

    Serving Suggestions

    • Serve with fries or patat as a stand-alone sauce.
    • Use as the mayonnaise component in patat speciaal with Kerrieketchup – Dutch Curry Ketchup.
    • Pair with Shoarmasaus – Dutch Shoarma Red Sauce or Poestasaus – Spicy Dutch Kebab Sauce.
    • Use as the base for Knoflooksaus or other Dutch-style sauces.

    Variations

    • Calvé-Leaning: Increase vinegar slightly and keep the texture light.
    • Remia-Leaning: Use the full 2 tbsp oil or water for a looser, more pourable mayo.
    • Frietsaus-Style: Replace half the mayonnaise with plain yogurt or milk for a lighter Dutch fry sauce.

    Make-Ahead & Storage

    • Refrigerate in an airtight container up to 1 week.
    • Whisk briefly before serving if the texture thickens.
  • Shoarmasaus – Dutch Red Shawarma Sauce

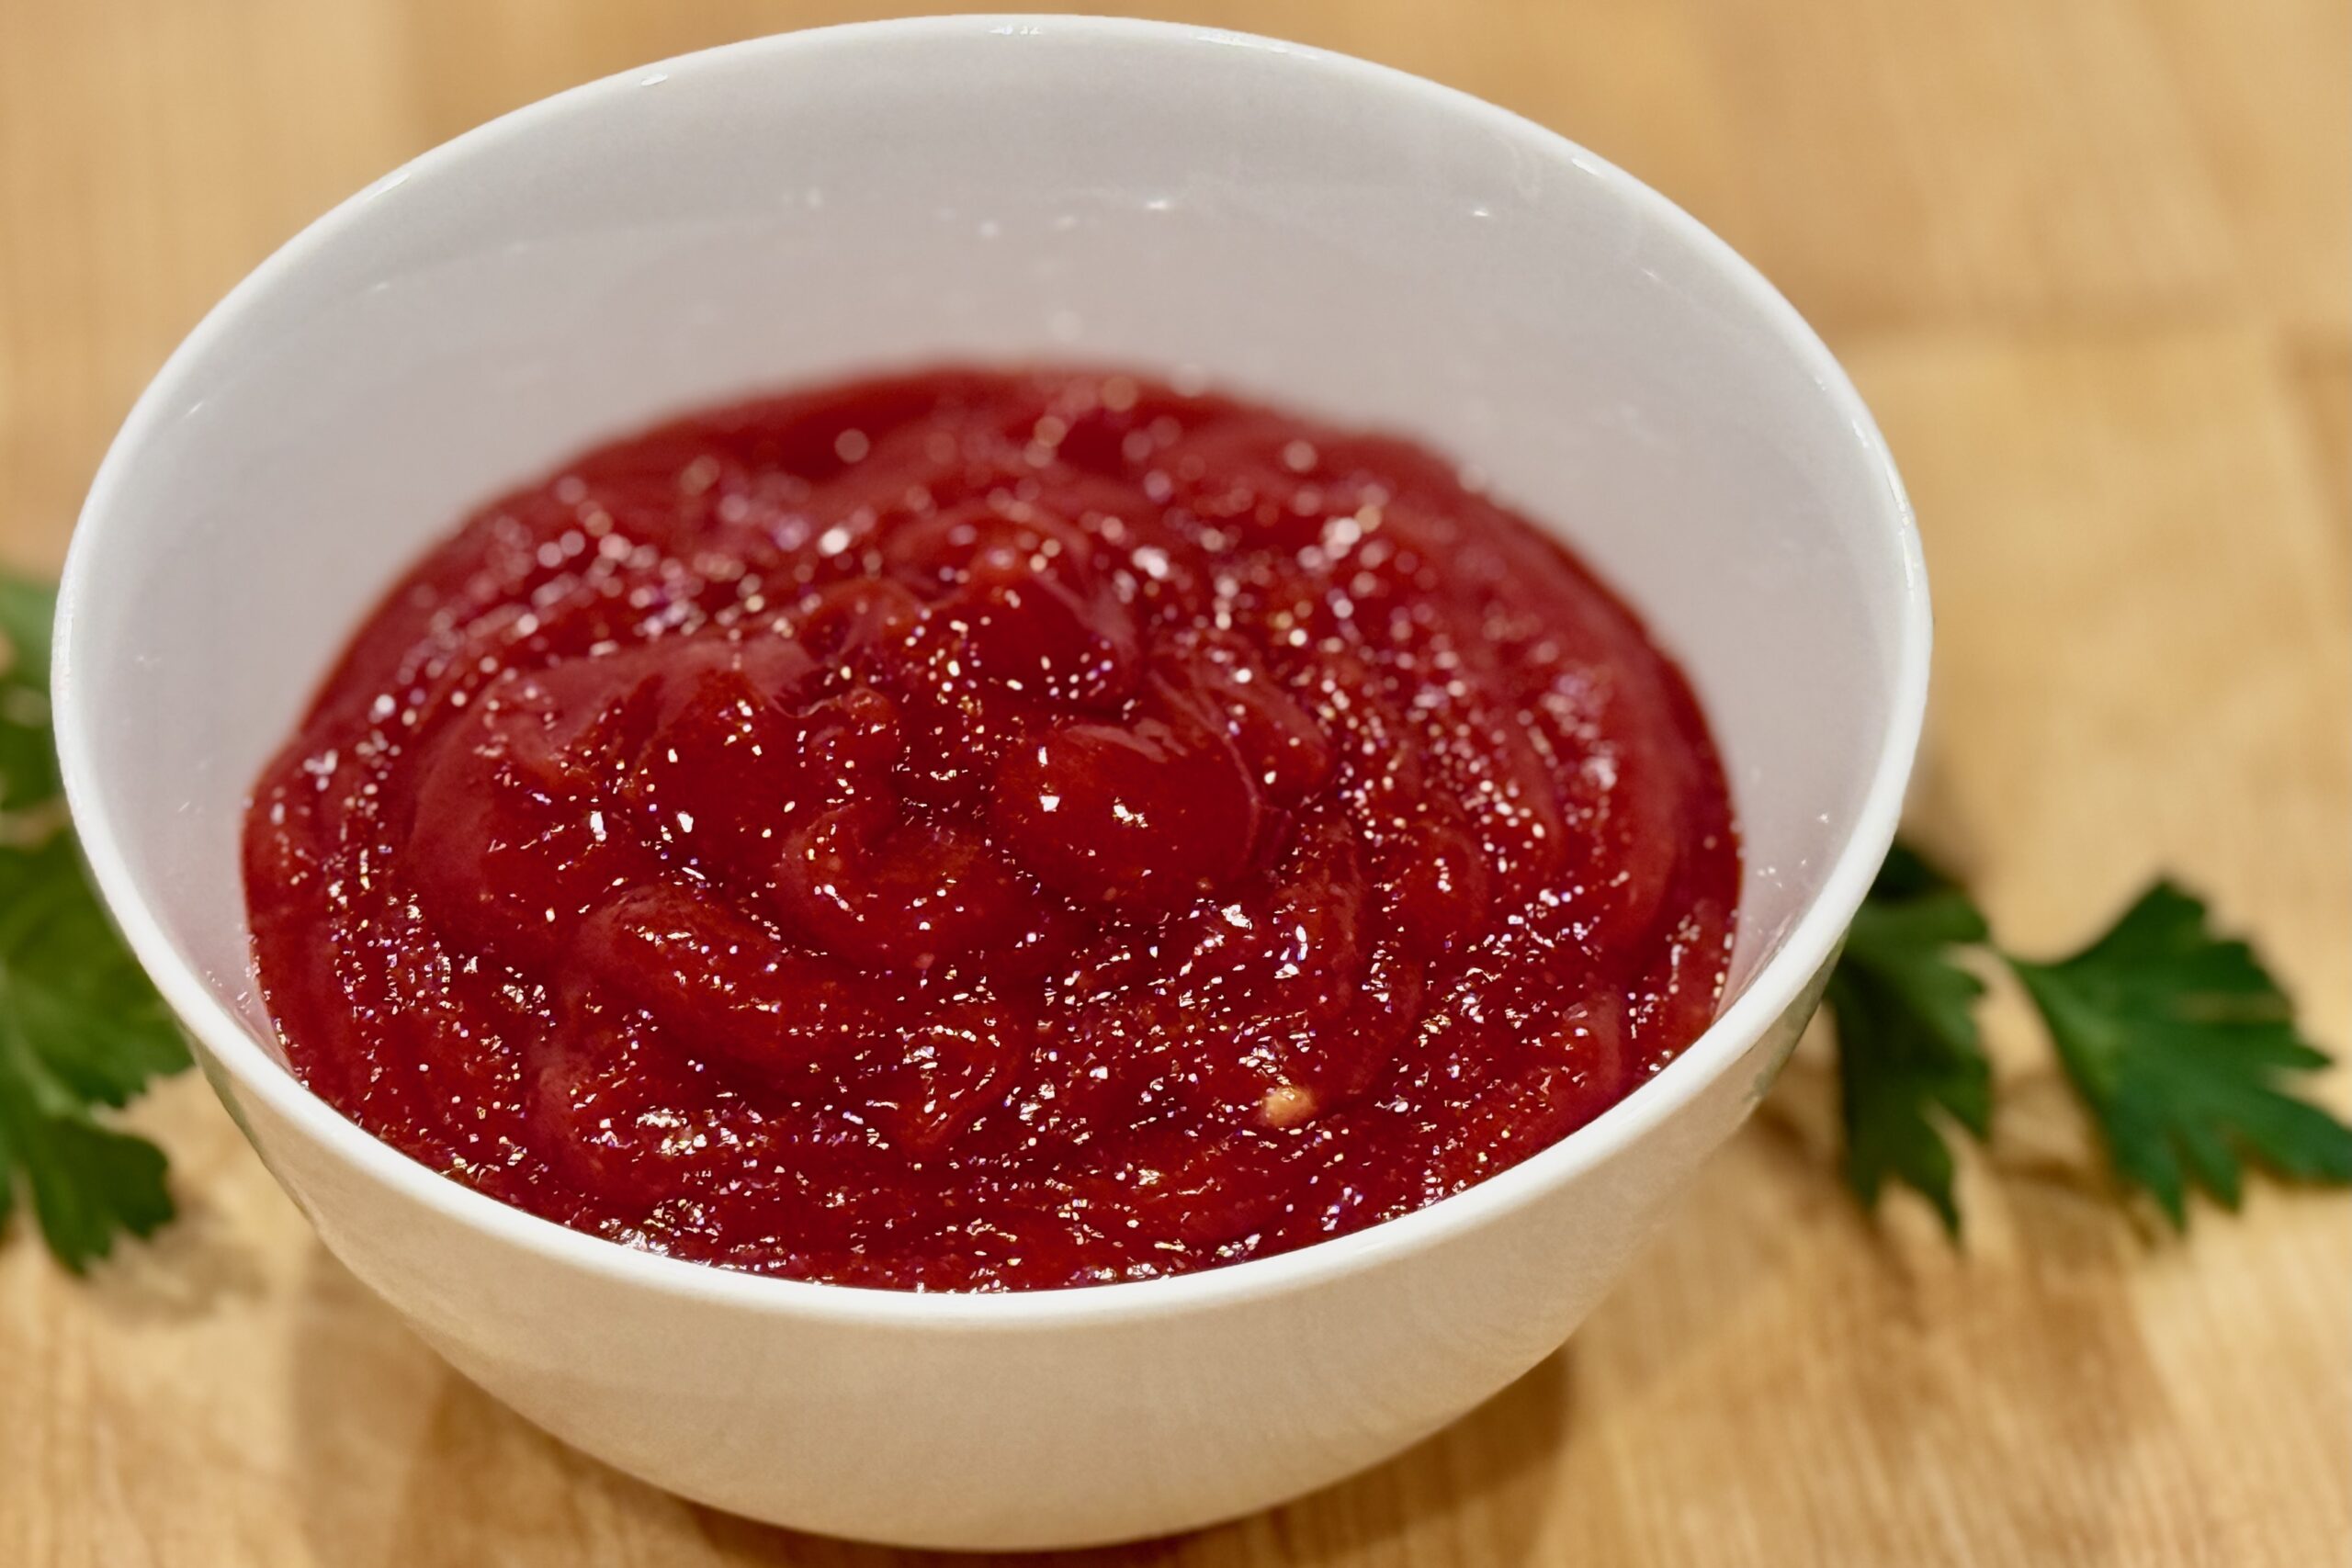
    Shoarmasaus – Dutch Red Shawarma Sauce

    This Dutch shoarmasaus is the mild red tomato sauce served alongside knoflooksaus at shoarma shops and snack bars across the Netherlands. Lightly sweet, gently tangy, and intentionally restrained, it is designed to balance spiced meat without competing for attention. If you are looking for the other classic Dutch red snackbar sauces, try Kerrieketchup – Dutch Curry Ketchup for patat speciaal, or Poestasaus – Spicy Dutch Kebab Sauce for a chili-forward kick more common in döner and kebab shops.


    Ingredients

    • ¾ cup tomato ketchup
    • 1½ tbsp tomato paste
    • 2 tbsp water, plus more as needed after chilling
    • 1–1½ tsp sugar
    • ½ tsp sweet paprika
    • ¼ tsp onion powder
    • ¼ tsp mild curry powder
    • pinch sambal oelek or cayenne (optional)
    • ¼ tsp table salt, or to taste
    • 1 tbsp white or apple cider vinegar

    Directions

    Combine the Sauce

    Combine the ketchup, tomato paste, water, sugar, paprika, onion powder, curry powder, sambal oelek or cayenne (if using), and salt in a small saucepan. Whisk until smooth.

    Cook the Sauce

    Cook over medium-low heat, stirring frequently, until the sauce just begins to simmer. Reduce the heat to low and cook gently for 5 minutes, stirring often. Do not allow the sauce to boil vigorously or reduce heavily.

    Add the Vinegar

    Remove the saucepan from the heat and stir in the vinegar. Taste and adjust the salt, sugar, or vinegar as needed. The sauce should be lightly sweet and tangy, with mild background warmth rather than pronounced heat.

    Cool and Chill

    Cool completely, then cover and refrigerate for at least 4 hours, preferably overnight. Once thoroughly chilled, stir well and thin with 1–2 tbsp additional water if needed.


    Notes

    Preparation

    • This sauce is intentionally mild; heat should be barely perceptible, if present at all.
    • The brief cooking time mellows the tomato paste and allows the paprika, curry powder, and onion powder to blend into the sauce without developing a heavy, barbecue-style flavor.
    • Adding the vinegar after cooking preserves its brightness.
    • The curry powder provides a warm background note that balances the paprika without turning the sauce into curry ketchup.
    • No garlic is added by design, preserving contrast with knoflooksaus.
    • Always make final seasoning and consistency adjustments after the sauce is completely cold.

    Serving Suggestions

    • Serve alongside Dutch-style shoarma with knoflooksaus.
    • Drizzle over pita sandwiches, fries, or grilled meats.
    • Offer sambal oelek at the table for those who prefer extra heat.

    Variations

    • Classic Snackbar Style: Thin with 1–2 additional tbsp water after chilling and use only 1 tsp sugar.
    • Deeper Tomato Flavor: Add an extra ½ tbsp tomato paste and a few additional drops of vinegar.
    • Late-Night Shoarmazaak: Increase the sambal oelek to ½ tsp for a gently warming finish.
    • Curry-Forward House Sauce: Increase the mild curry powder to ½ tsp for a more noticeable curry note.

    Make-Ahead & Storage

    • Best made at least 4 hours ahead; the flavor improves overnight.
    • Refrigerate in an airtight container up to 1 week.
    • Stir well before serving and thin with a little water if needed.
  • Knoflooksaus — Dutch Garlic Sauce

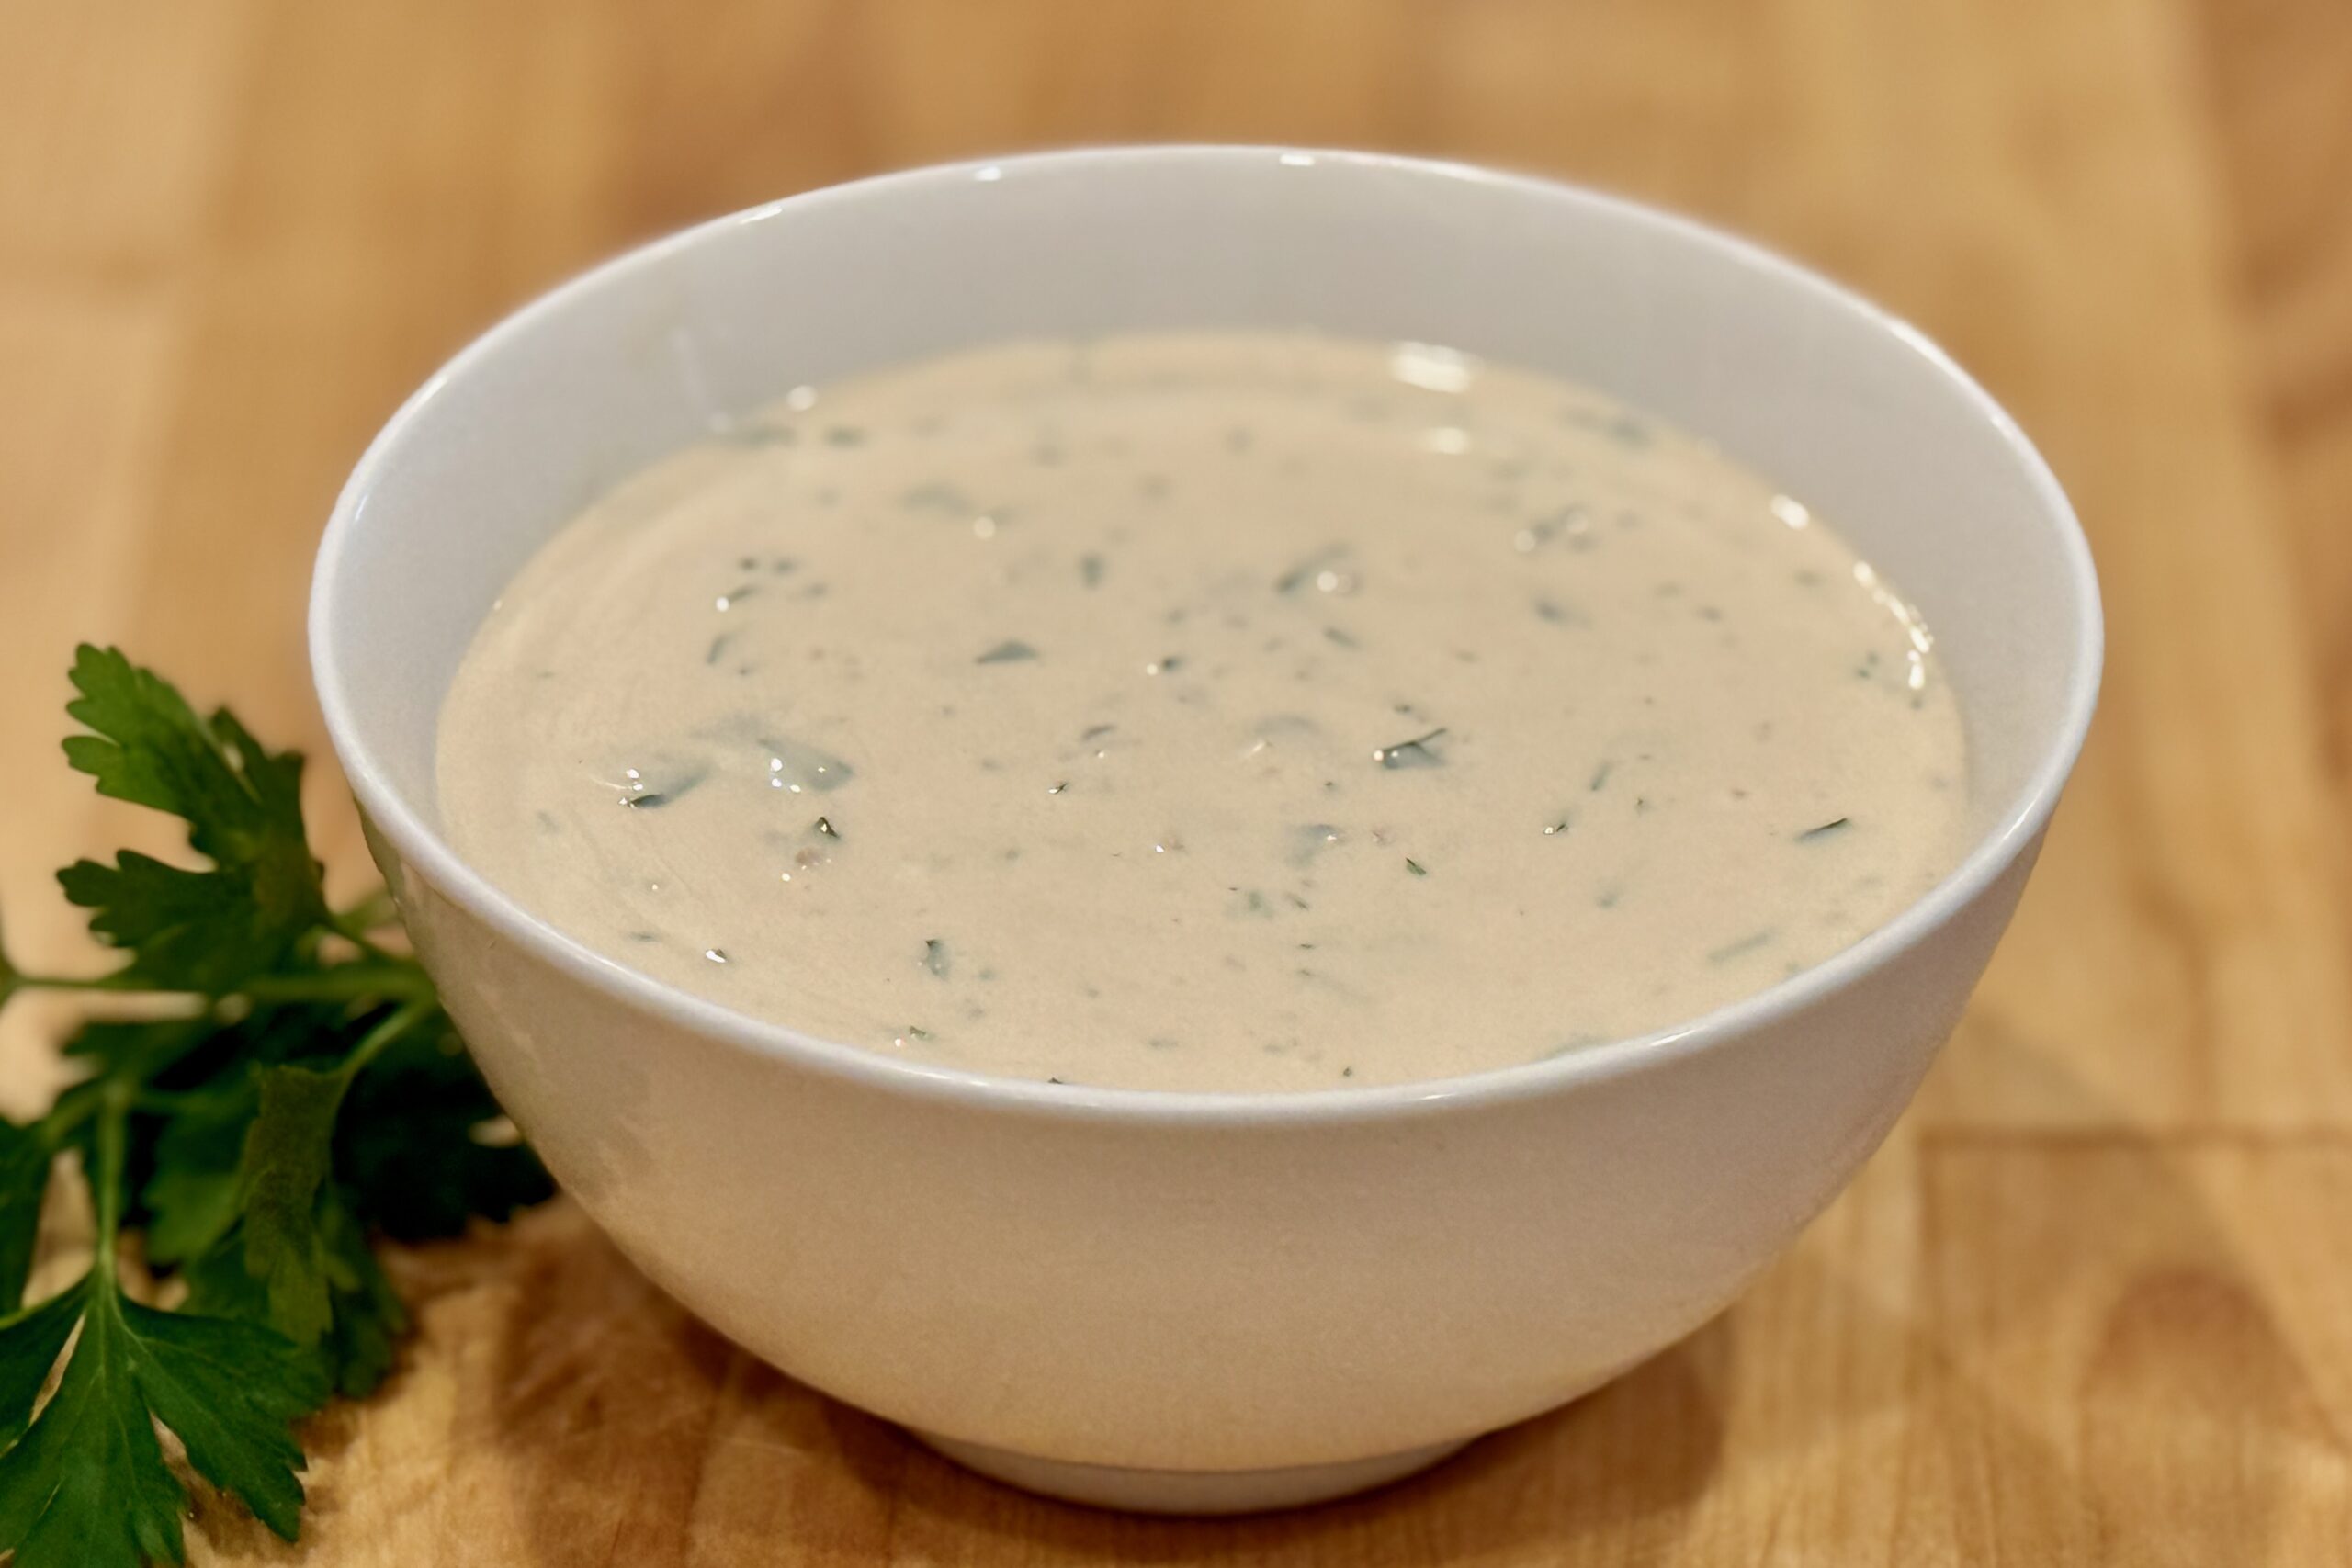
    Knoflooksaus — Dutch Garlic Sauce

    This creamy, garlicky sauce is a staple of Dutch shoarma restaurants and late-night snack bars. Smooth, tangy, and richly flavored with garlic and parsley, it’s perfect for serving with shoarma, fries, grilled meats, or pita bread—bringing a taste of The Netherlands to your kitchen.


    Ingredients

    • 2 cups Dutch mayonnaise (e.g., Remia, Calvé, or Zaanse)
    • ¾ cup Greek yogurt
    • 3 tbsp finely grated fresh garlic (or 4–5 tbsp mild garlic paste)
    • 3 tbsp parsley, very finely minced
    • 2 tsp ketjap manis, plus more to taste
    • ¼ tsp table salt
    • ½ tsp white wine vinegar or lemon juice (optional, for a brighter tang)
    • ⅛ tsp white pepper (optional)

    Directions

    Mellow the Garlic

    In a bowl, combine the Greek yogurt and grated garlic. Let stand 10–15 minutes to lightly mellow the garlic before adding the mayonnaise.

    Mix the Sauce

    Add the Dutch mayonnaise, parsley, ketjap manis, salt, and (if using) the vinegar or lemon juice and white pepper. Stir until smooth and evenly blended.

    Chill and Develop Flavor

    Cover and refrigerate for at least 4 hours, or overnight, to allow the flavors to mellow and the sauce to thicken.


    Notes

    Preparation

    • For a milder garlic flavor, reduce the garlic to 2 tbsp and let the sauce rest overnight.
    • For the most authentic Dutch flavor, use Dutch mayonnaise (such as Calvé or Remia). If using American mayonnaise (e.g., Best Foods or Hellmann’s), adjust it first using our Dutch Mayonnaise — Calvé-Style from American Mayo recipe before making the sauce.
    • Use mild garlic paste if you prefer a smoother, less pungent profile.
    • Parsley should be minced very finely to avoid a chewy texture; adjust to taste.
    • Ketjap manis is meant to round the flavor, not sweeten the sauce—start with 2 tsp and add more only if needed.

    Serving Suggestions

    • Serve with Dutch-style shoarma.
    • Drizzle over fries, grilled meats, or kebabs.
    • Use as a dip for pita bread or fresh vegetables.

    Variations

    • Brighter tang: Add the optional vinegar or lemon juice (or increase slightly) for a lighter, snack-bar-style lift.
    • Smoother profile: Use mild garlic paste and reduce parsley slightly.

    Make-Ahead & Storage

    • Best made at least 4 hours in advance for full flavor development.
    • Refrigerate in an airtight container up to 5 days.
    • Stir before serving; sauce naturally thickens as it chills.
  • Tamarind Paste from Whole Tamarind Pods

    Tamarind Paste from Whole Tamarind Pods

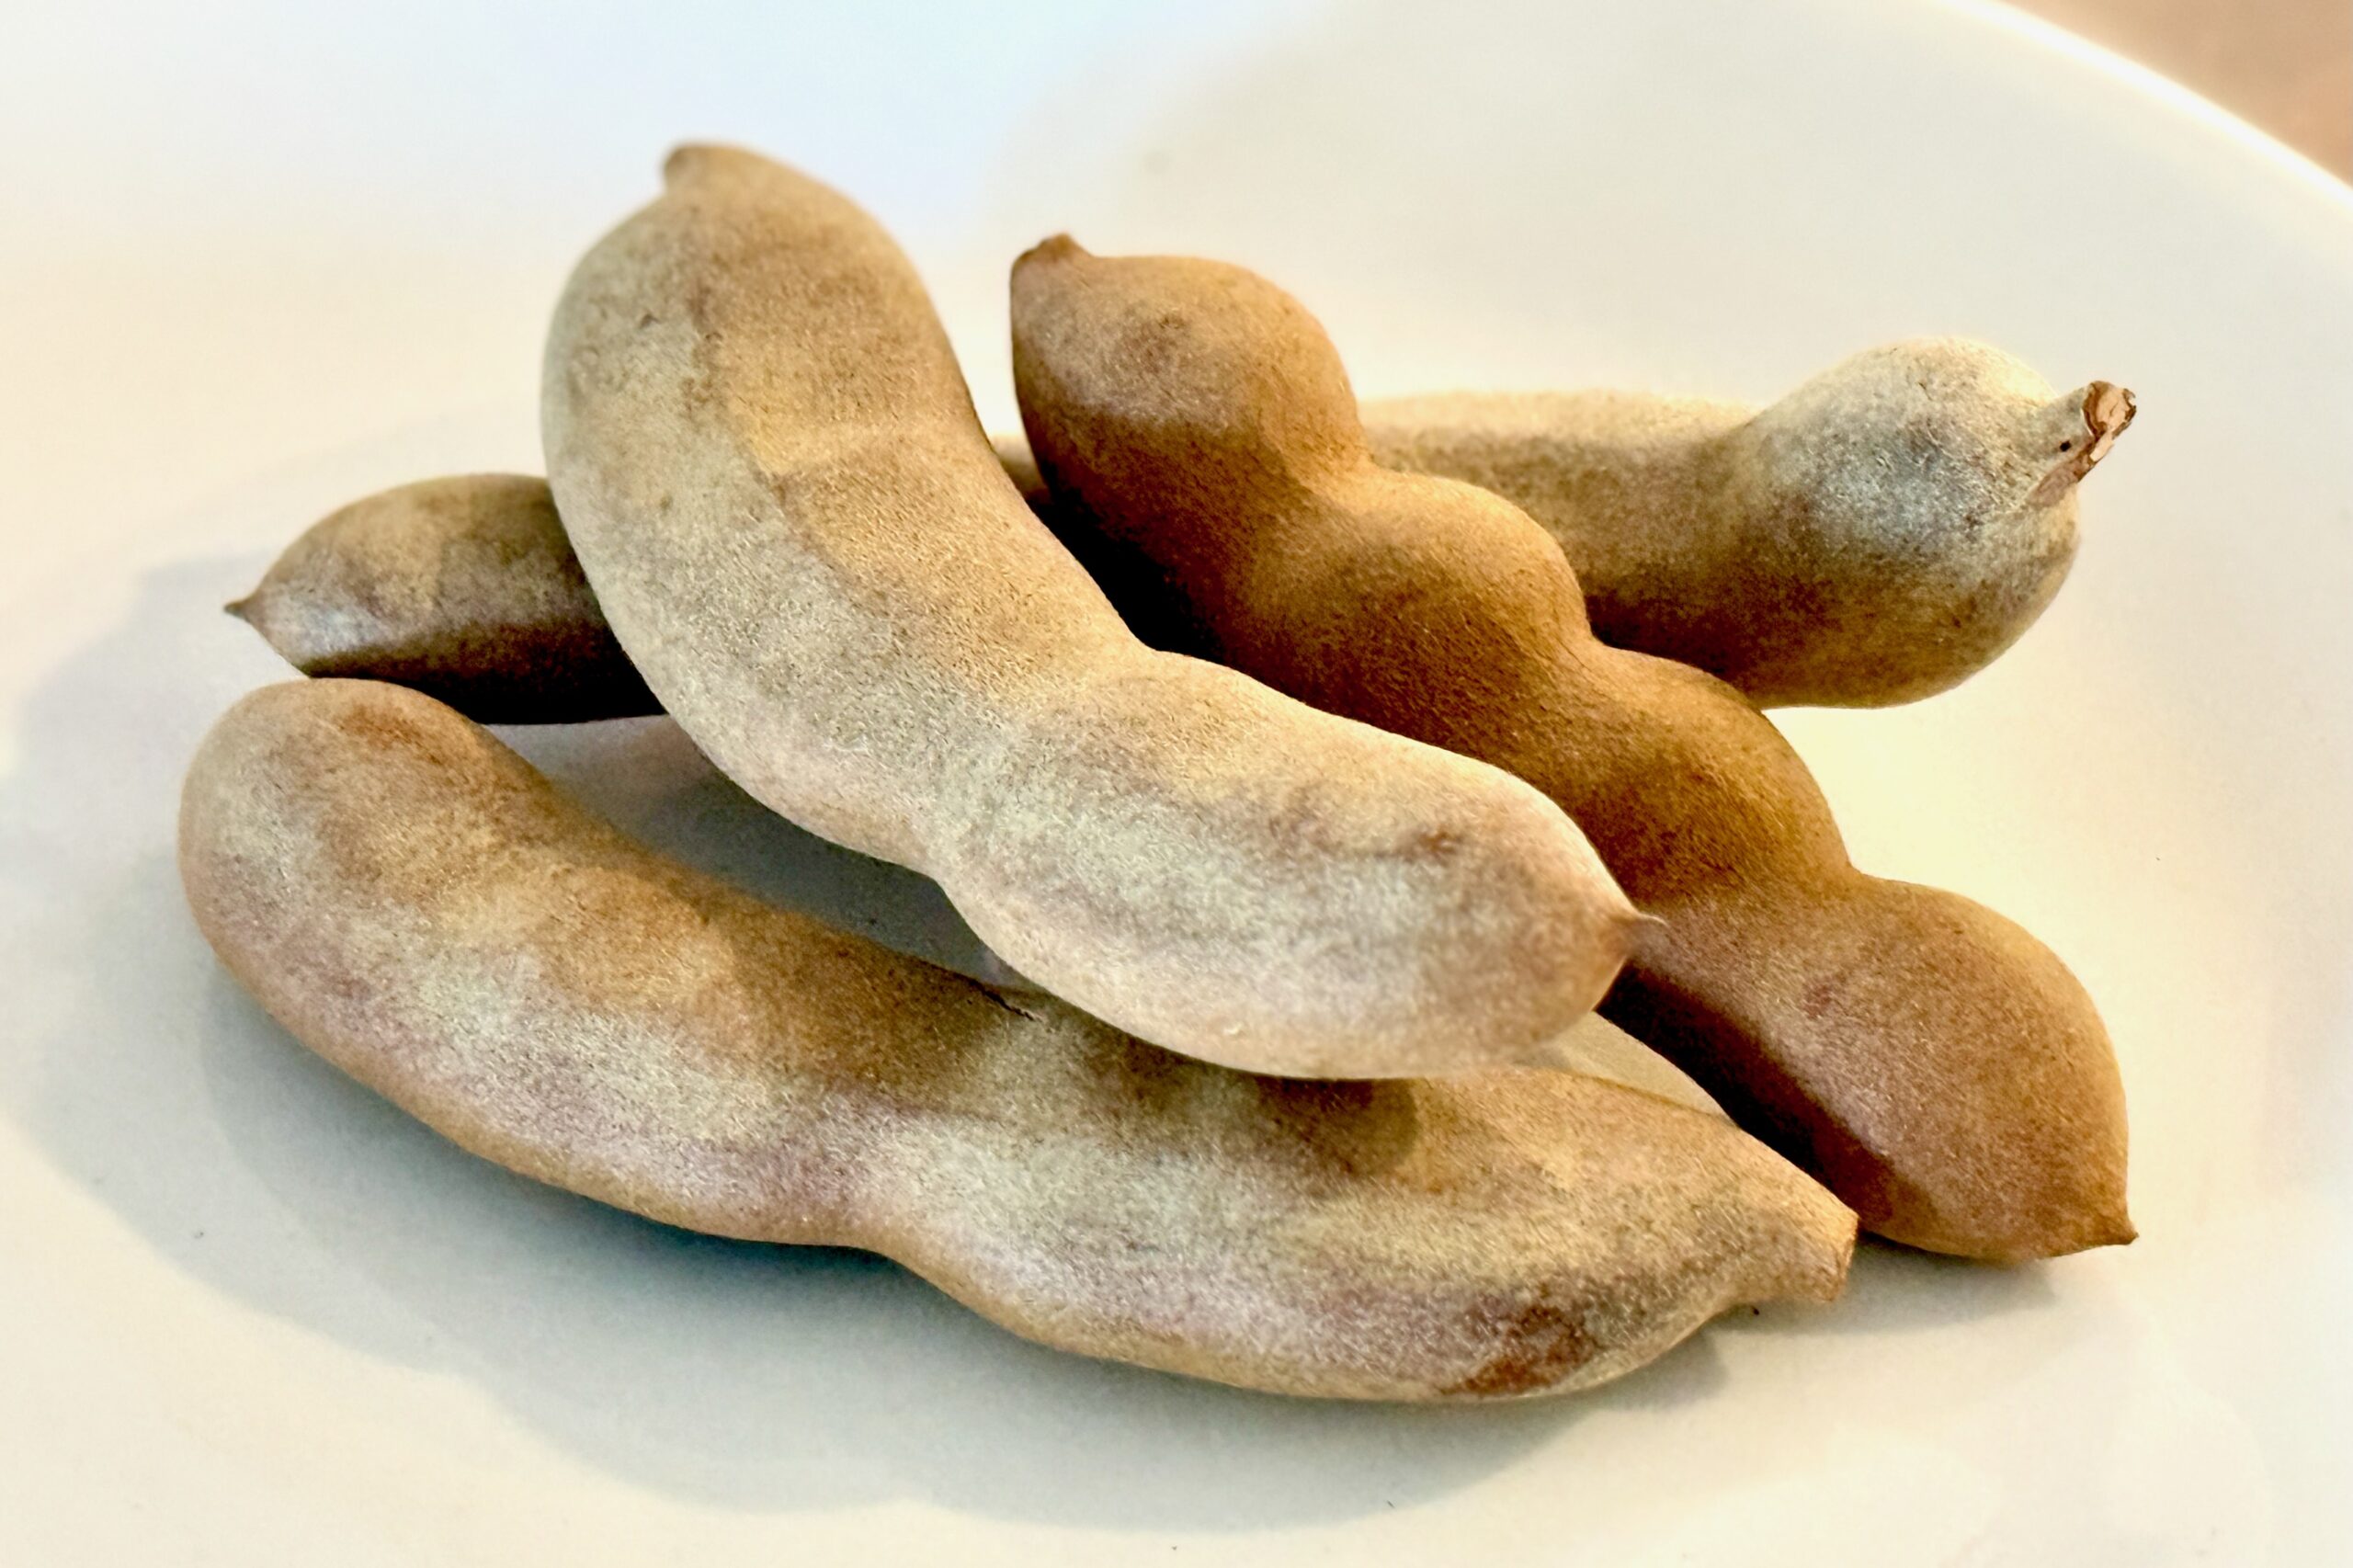
    Homemade tamarind concentrate is deeper, brighter, and more aromatic than anything from a jar. Starting with whole tamarind pods, you strip away the shells, soak and mash the pulp, then slowly reduce it to a thick, spoonable paste that keeps well and adds complex sweet-sour flavor to curries, chutneys, sauces, and marinades.


    Ingredients

    • 200 g (about 7 oz) whole dried tamarind pods
    • 240 ml (1 cup) hot water, plus more as needed to barely cover the pulp

    Directions

    Prepare the Tamarind Pods

    Crack and peel away the brittle outer shells of the tamarind pods. Remove and discard any stringy veins. You should be left with sticky, dark brown pulp with seeds and fibers attached.

    Soak and Soften the Pulp

    Place the cleaned tamarind pulp in a heatproof bowl. Pour hot water over the pulp, using just enough to barely cover it (start with about 1 cup). Let soak for 15–20 minutes, or until the pulp is very soft and pliable.

    Mash and Extract the Pulp

    Using clean hands or a sturdy spoon, squeeze, mash, and knead the softened tamarind in the water. Work the pulp thoroughly to dissolve as much as possible into the liquid. The mixture should become thick, cloudy, and pulpy, with seeds and tough fibers separating out.

    Strain the Tamarind

    Set a fine-mesh strainer over a clean bowl. Working in batches if needed, pour the tamarind mixture into the strainer and press firmly with the back of a spoon or a spatula to force the smooth pulp through.

    Scrape the underside of the strainer to collect any clinging pulp. Discard the seeds and fibrous solids when they are mostly dry and no longer release pulp. You should now have a thick, pourable tamarind purée.

    Reduce to a Concentrate (Optional but Recommended)

    Transfer the strained tamarind purée to a small saucepan. Set over low heat and bring to a gentle simmer, stirring frequently to prevent sticking or scorching.

    Simmer for 5–10 minutes, or until the purée thickens into a glossy, spoonable paste similar to tomato paste. The goal is to evaporate excess water and intensify the flavor, not to boil vigorously. Remove from heat and let cool to room temperature.

    Cool, Portion, and Store

    Once completely cool, transfer the tamarind concentrate to a clean, dry jar, or portion it into 1–2 tbsp amounts in an ice cube tray for easy use in recipes.

    Refrigerate the concentrate for up to 3–4 weeks, or freeze for longer storage (up to 6 months). Thaw frozen portions in the refrigerator or at room temperature before using.


    Notes

    Preparation

    • From 200 g whole tamarind pods, you can expect roughly 40–60 g of thick concentrate once reduced, depending on how much water you use and how far you cook it down.
    • Use only enough hot water to barely cover the pulp; extra water makes the reduction step longer and can dilute the flavor.
    • Stir constantly near the end of the simmering step—tamarind is high in natural sugars and can stick or scorch if left unattended.
    • If you prefer a slightly looser paste (closer to some commercial tamarind pastes), shorten the simmering time and stop as soon as the purée coats the back of a spoon.

    Serving Suggestions

    • Use 1–2 tsp concentrate to add tangy depth to curries, dals, and lentil soups.
    • Whisk into chutneys, dipping sauces, and barbecue glazes for a sweet-sour backbone.
    • Stir a spoonful into pad thai sauce, tamarind-based stir-fries, or noodle dishes.
    • Combine with sugar, salt, and spices for tamarind drinks, aguas frescas, or sherbets.

    Variations

    • From Tamarind Block: Substitute 200 g compressed tamarind block for the pods. Break into chunks, soak in hot water as directed, then mash, strain, and reduce in the same way.
    • Tamarind Purée (No Reduction): Skip the simmering step and use the strained tamarind purée as-is when recipes call for “tamarind pulp” or “tamarind purée” rather than concentrate.
    • Stronger or Milder Concentrate: For a stronger concentrate, simmer a bit longer to a very thick paste; for a milder one, keep the paste slightly looser and use more by volume in recipes.

    Make-Ahead & Storage

    • Refrigerator: Store tamarind concentrate in a clean, airtight jar for up to 3–4 weeks.
    • Freezer: Portion into 1–2 tbsp amounts (for example, in an ice cube tray) and freeze for up to 6 months.
    • Use Clean Utensils: Always use a clean spoon to scoop out concentrate to help maximize shelf life and prevent spoilage.
    • Thawing: Thaw frozen portions in the refrigerator or at cool room temperature before stirring into sauces or liquids.

  • Tartar Sauce

    Tartar Sauce

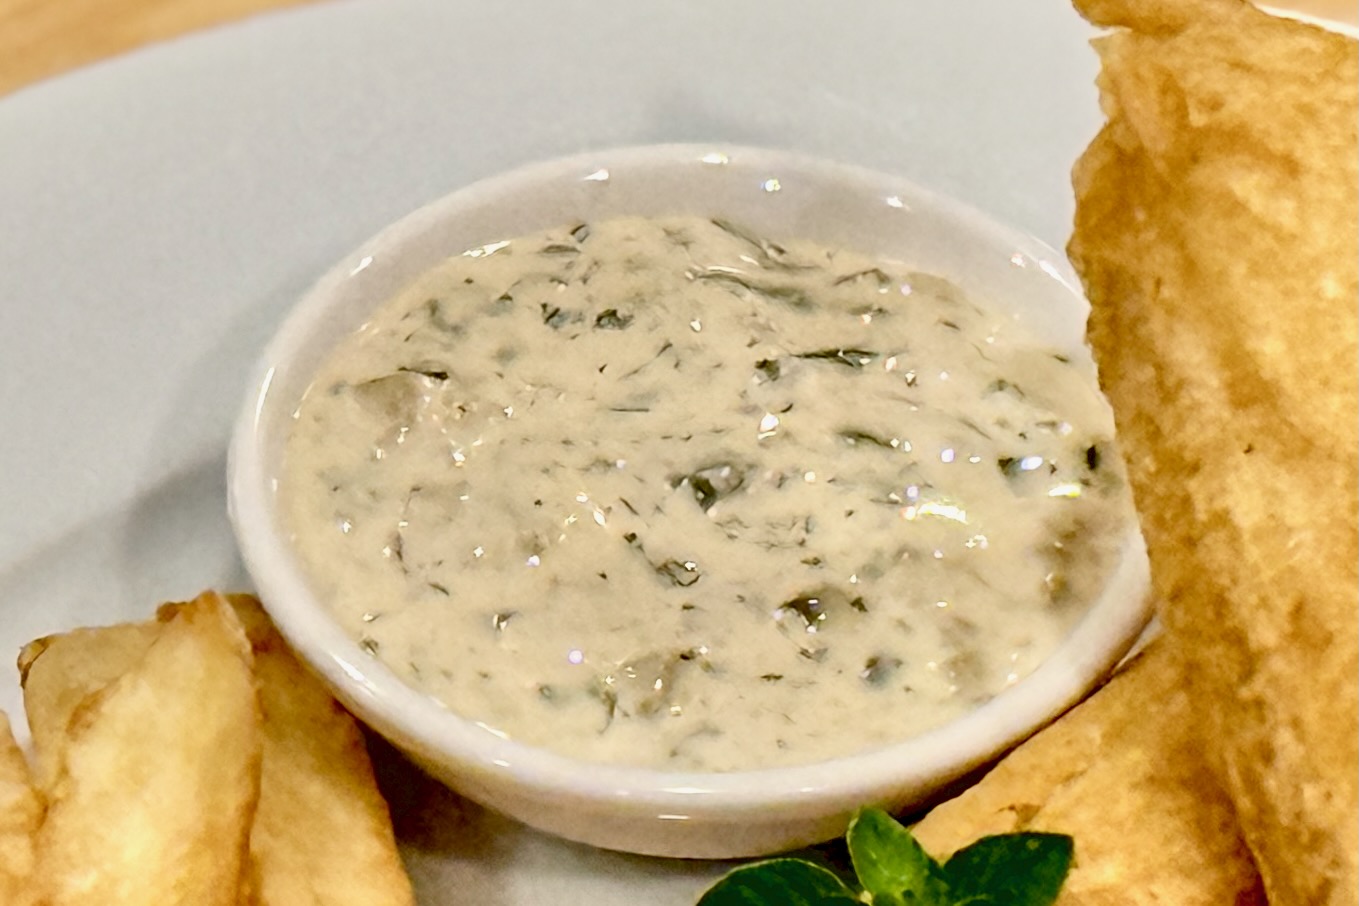
    This creamy, tangy tartar sauce comes together in minutes and tastes far fresher than anything store-bought. Bright citrus, briny capers, and herbs make it a perfect companion for fried fish, crab cakes, or roasted vegetables.


    Ingredients

    • 1 cup mayonnaise
    • ½ cup dill relish
    • 1 tbsp capers, rinsed and chopped
    • 1 tbsp fresh parsley (or 1 tsp dried)
    • 1 small shallot, finely chopped (or ½ tsp onion powder)
    • 1 tbsp lemon or lime juice
    • 1 tsp lemon or lime zest
    • 2 tsp Worcestershire sauce
    • 1 tsp Dijon mustard
    • ¼ tsp Tapatío hot sauce
    • salt & pepper, to taste
    • Optional Add-Ins

    • 1 tbsp fresh tarragon (or 1 tsp dried)
    • ½ tbsp fresh dill (or ½ tsp dried)
    • 1 tsp honey
    • ¼ cup crème fraîche or sour cream

    Directions

    Mix the Sauce

    Whisk together all ingredients in a bowl until well combined.

    Chill for at least 1 hour before serving to let the flavors meld.


    Notes

    Preparation

    • Please taste and adjust acidity—add more citrus juice if serving with rich fried foods.
    • For a chunkier texture, use whole dill pickles and hand-chop them instead of relish.
    • Fresh herbs brighten the sauce significantly, but dried herbs still work well.

    Serving Suggestions

    • Serve with Beer Battered Halibut, fish sticks, crab cakes, or shrimp.
    • Use as a spread for fish sandwiches or grilled chicken.
    • Try as a dip for roasted potatoes or fries.

    Variations

    • Swap dill relish for chopped cornichons for a sharper, French-style flavor.
    • Add a pinch of smoked paprika for a subtle smoky note.
    • Fold in a spoonful of crème fraîche for a lighter, silkier version.

    Make-Ahead & Storage

    • Keeps 4–5 days in the refrigerator in an airtight container.
    • Stir before serving, as some separation is normal.
    • Not suitable for freezing due to the mayonnaise base.