Bags of Spices

Favorite Recipes

Sauces

Classic and global sauces — creamy, spicy, tangy, sweet, and everything in between.

  • House Mayonnaise

    House Mayonnaise

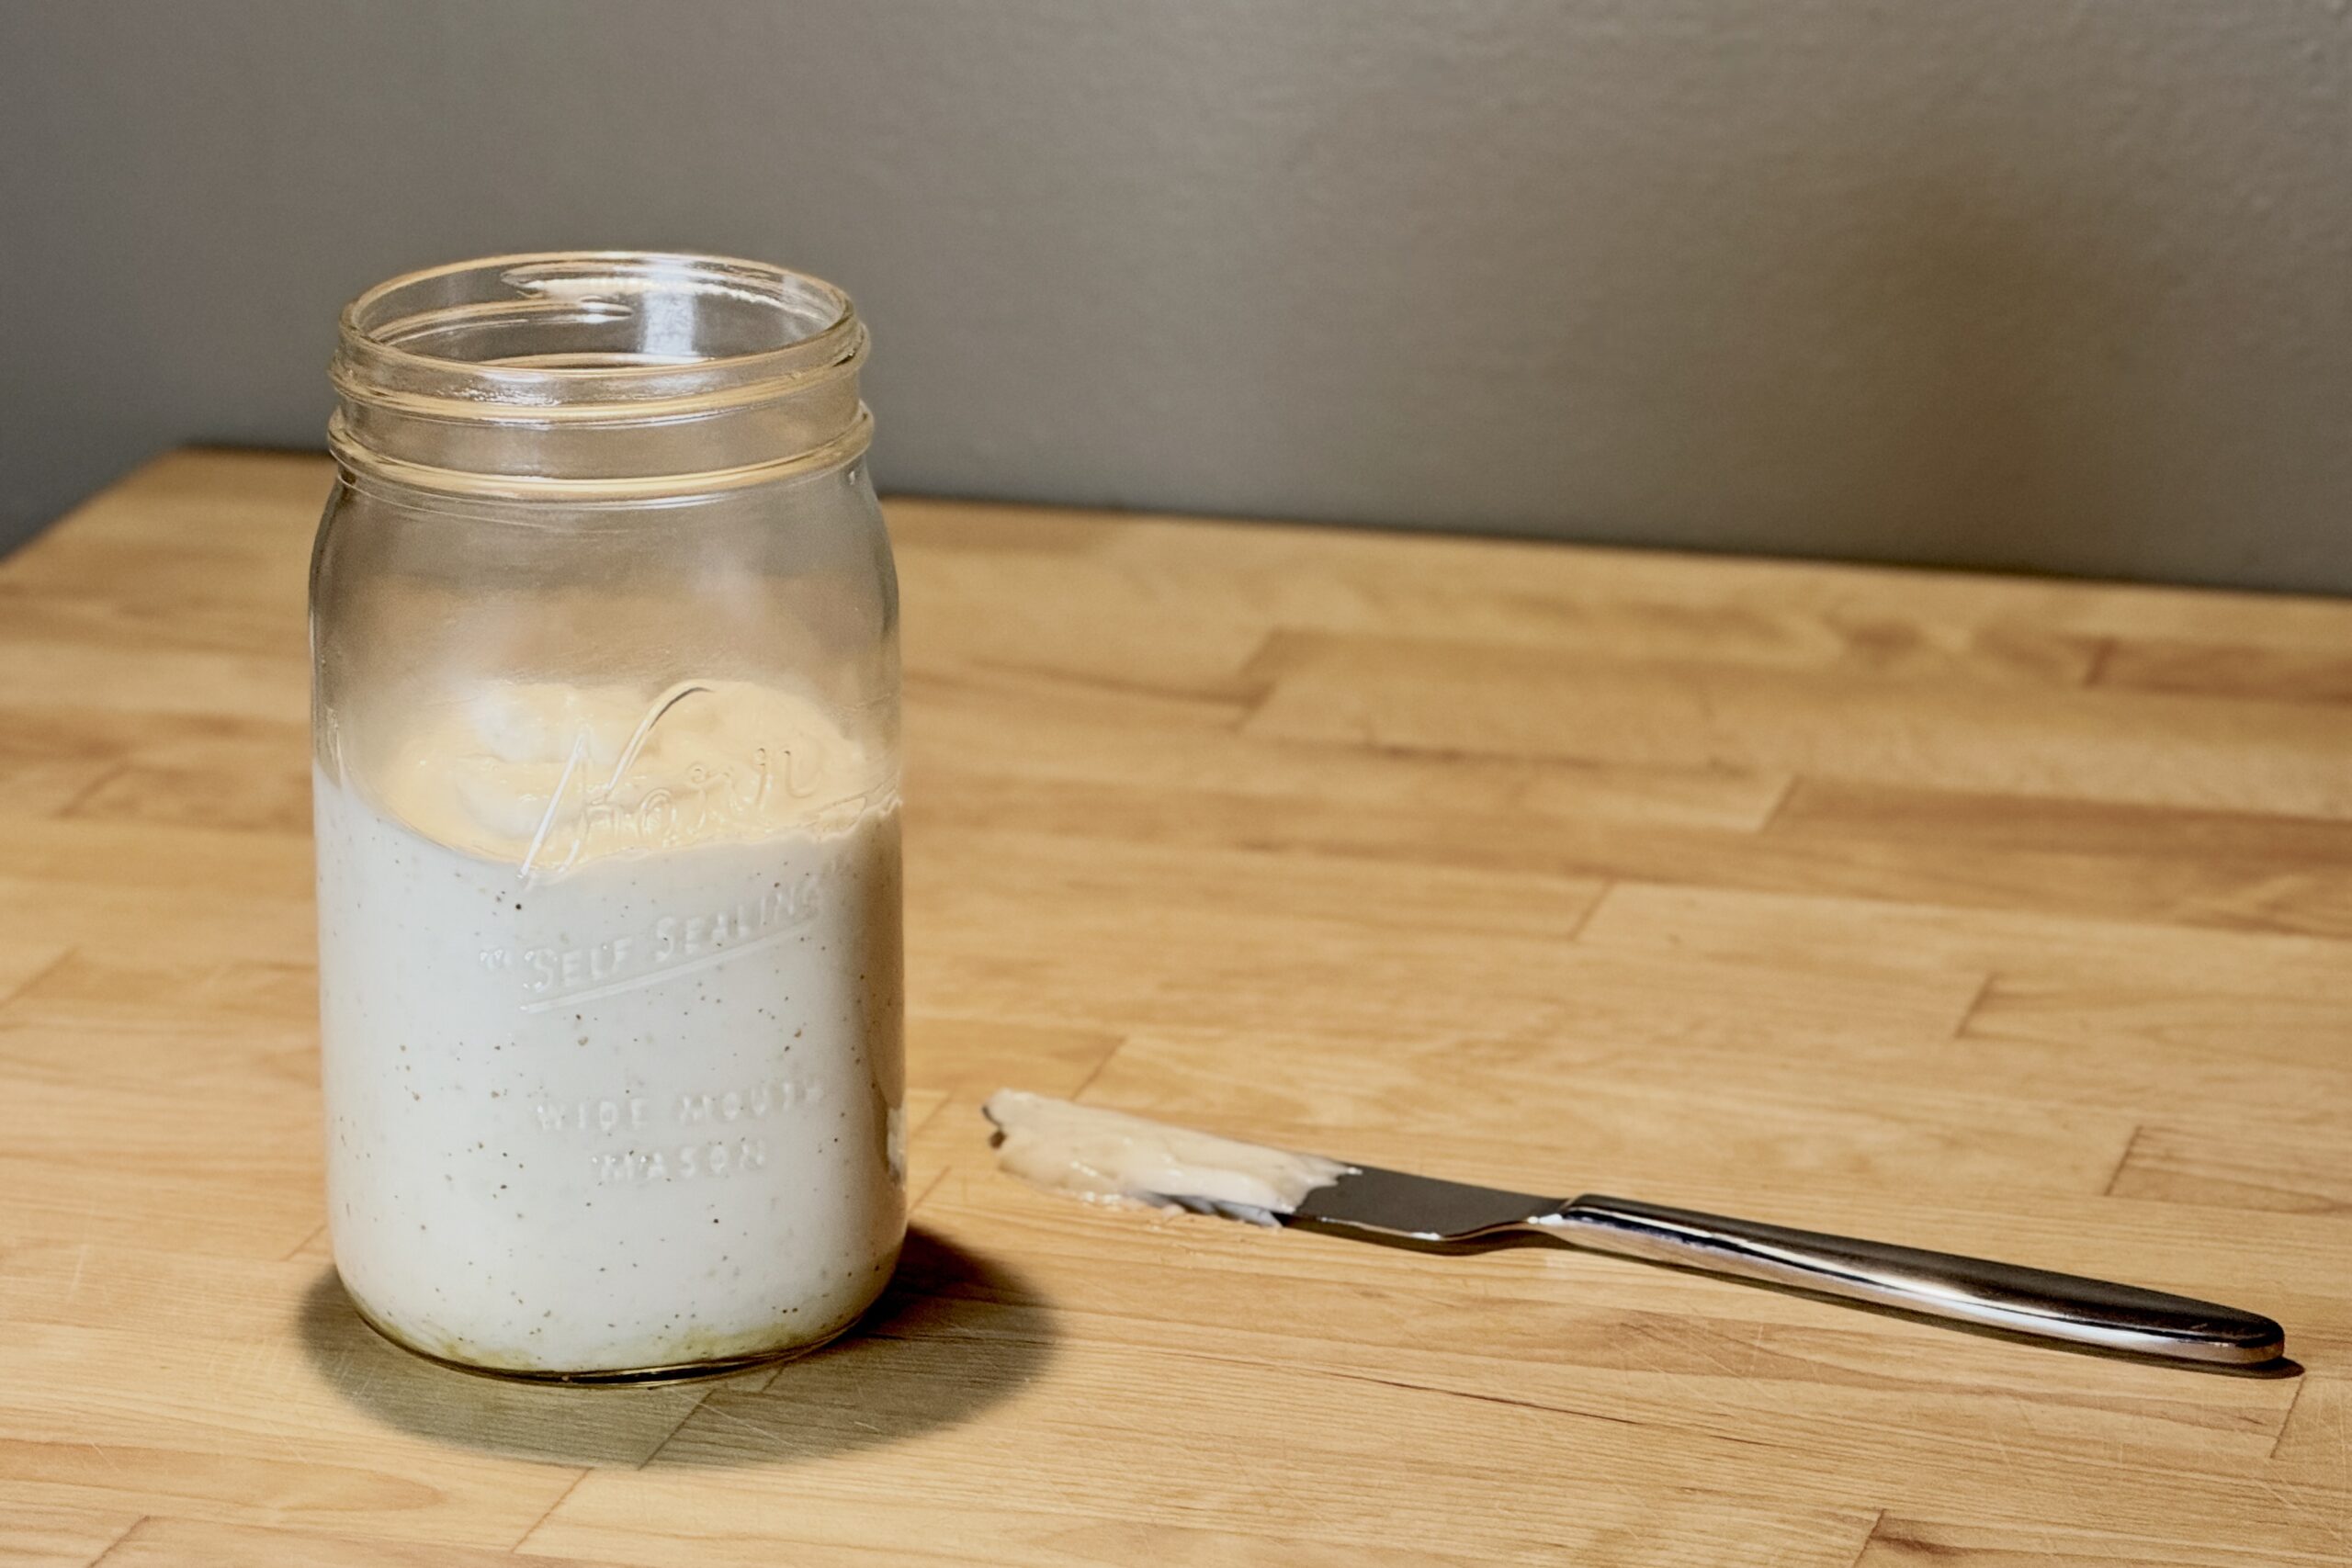
    This house mayonnaise brings together two styles we especially enjoy: the clean, tangy character of Southern-style mayonnaise and the smoother, slightly sweeter balance of Dutch mayonnaise. Made with a neutral oil and just enough mustard and vinegar to keep it lively, it works equally well with sandwiches, deviled eggs, salads, and hot, salty frites, with a few simple variations that take it in entirely different directions.


    Ingredients

    • 8 oz (225 g) soybean oil
    • 1 large egg yolk
    • 2 tsp white vinegar
    • 1 tsp apple cider vinegar
    • 2 tsp water
    • 1½ tsp Dijon mustard
    • 3 g sugar
    • 2 g table salt

    Directions

    Prepare the Mayonnaise

    Let the ingredients stand at room temperature for about 15 minutes so they are close to the same temperature.

    Add the egg yolk, white vinegar, apple cider vinegar, water, Dijon mustard, sugar, and salt to a wide-mouth pint mason jar. Pour the soybean oil over the top and allow the mixture to settle for a minute.

    Place the head of an immersion blender flat against the bottom of the jar so it covers the yolk. Blend without moving the blender until a thick, pale emulsion forms around the blade. Slowly lift and tilt the blender through the remaining oil until the mayonnaise is completely emulsified and smooth.

    Let the mayonnaise rest for a few minutes, then taste and adjust as needed. If it is thicker than desired, blend in cold water ½ tsp at a time until it reaches the preferred consistency.

    Yield: About 1 cup (240 ml).


    Notes

    Preparation

    • Eggs: Commercially pasteurized egg yolks are the simplest choice when raw-egg safety is a concern.
    • Sous Vide Egg Treatment: To reduce the risk associated with raw egg, place refrigerated eggs in a 135°F (57°C) sous vide bath for 75 minutes, then transfer immediately to an ice bath for 10 minutes. Refrigerate until needed. This home heat treatment reduces the risk of Salmonella but is not equivalent to commercially pasteurized eggs; commercially pasteurized eggs or yolks remain the safest choice.
    • Oil: Soybean oil keeps the flavor especially neutral. Refined canola oil can be substituted if preferred, although it may contribute a little more seed-like flavor.
    • Immersion blender: A container only slightly wider than the blender head helps the emulsion form quickly and reliably.

    Variations

    • Frietssaus: For a lighter, slightly sweeter sauce for frites, blend 1–2 tsp additional cold water and 1–2 g additional sugar into the finished mayonnaise. Adjust gradually so the sauce remains creamy rather than thin.
    • Southern-Style Mayonnaise: For a sharper, Duke’s-inspired mayonnaise, use 1 tbsp white vinegar, 2 tsp apple cider vinegar, and 1 tsp water in place of the base recipe’s vinegars and water. Omit the sugar and Dijon mustard, and add ⅛ tsp sweet paprika. Prepare as directed.
    • Garlic Mayonnaise: Blend 1 small garlic clove, finely grated or pressed, into 1 cup (240 ml) finished House Mayonnaise. Refrigerate for at least 30 minutes before serving to allow the garlic flavor to mellow and develop.
    • Curry Mayonnaise: Stir 1½ tsp mild curry powder into 1 cup (240 ml) finished House Mayonnaise. Refrigerate for at least 30 minutes before serving so the curry can hydrate and the flavors can meld. Add up to ½ tsp additional curry powder to taste for a more pronounced flavor.

    Serving Suggestions

    • Use as an all-purpose mayonnaise for sandwiches, burgers, deviled eggs, egg salad, potato salad, or as a base for other sauces.
    • Serve the Frietssaus variation with hot, well-salted frites.

    Make-Ahead & Storage

    • Refrigerate promptly in a clean, covered container and keep cold. Use within 3 days, and discard it sooner if there is any question about freshness.
  • Fresh San Marzano Tomato Basil Sauce

    Fresh San Marzano Tomato Basil Sauce

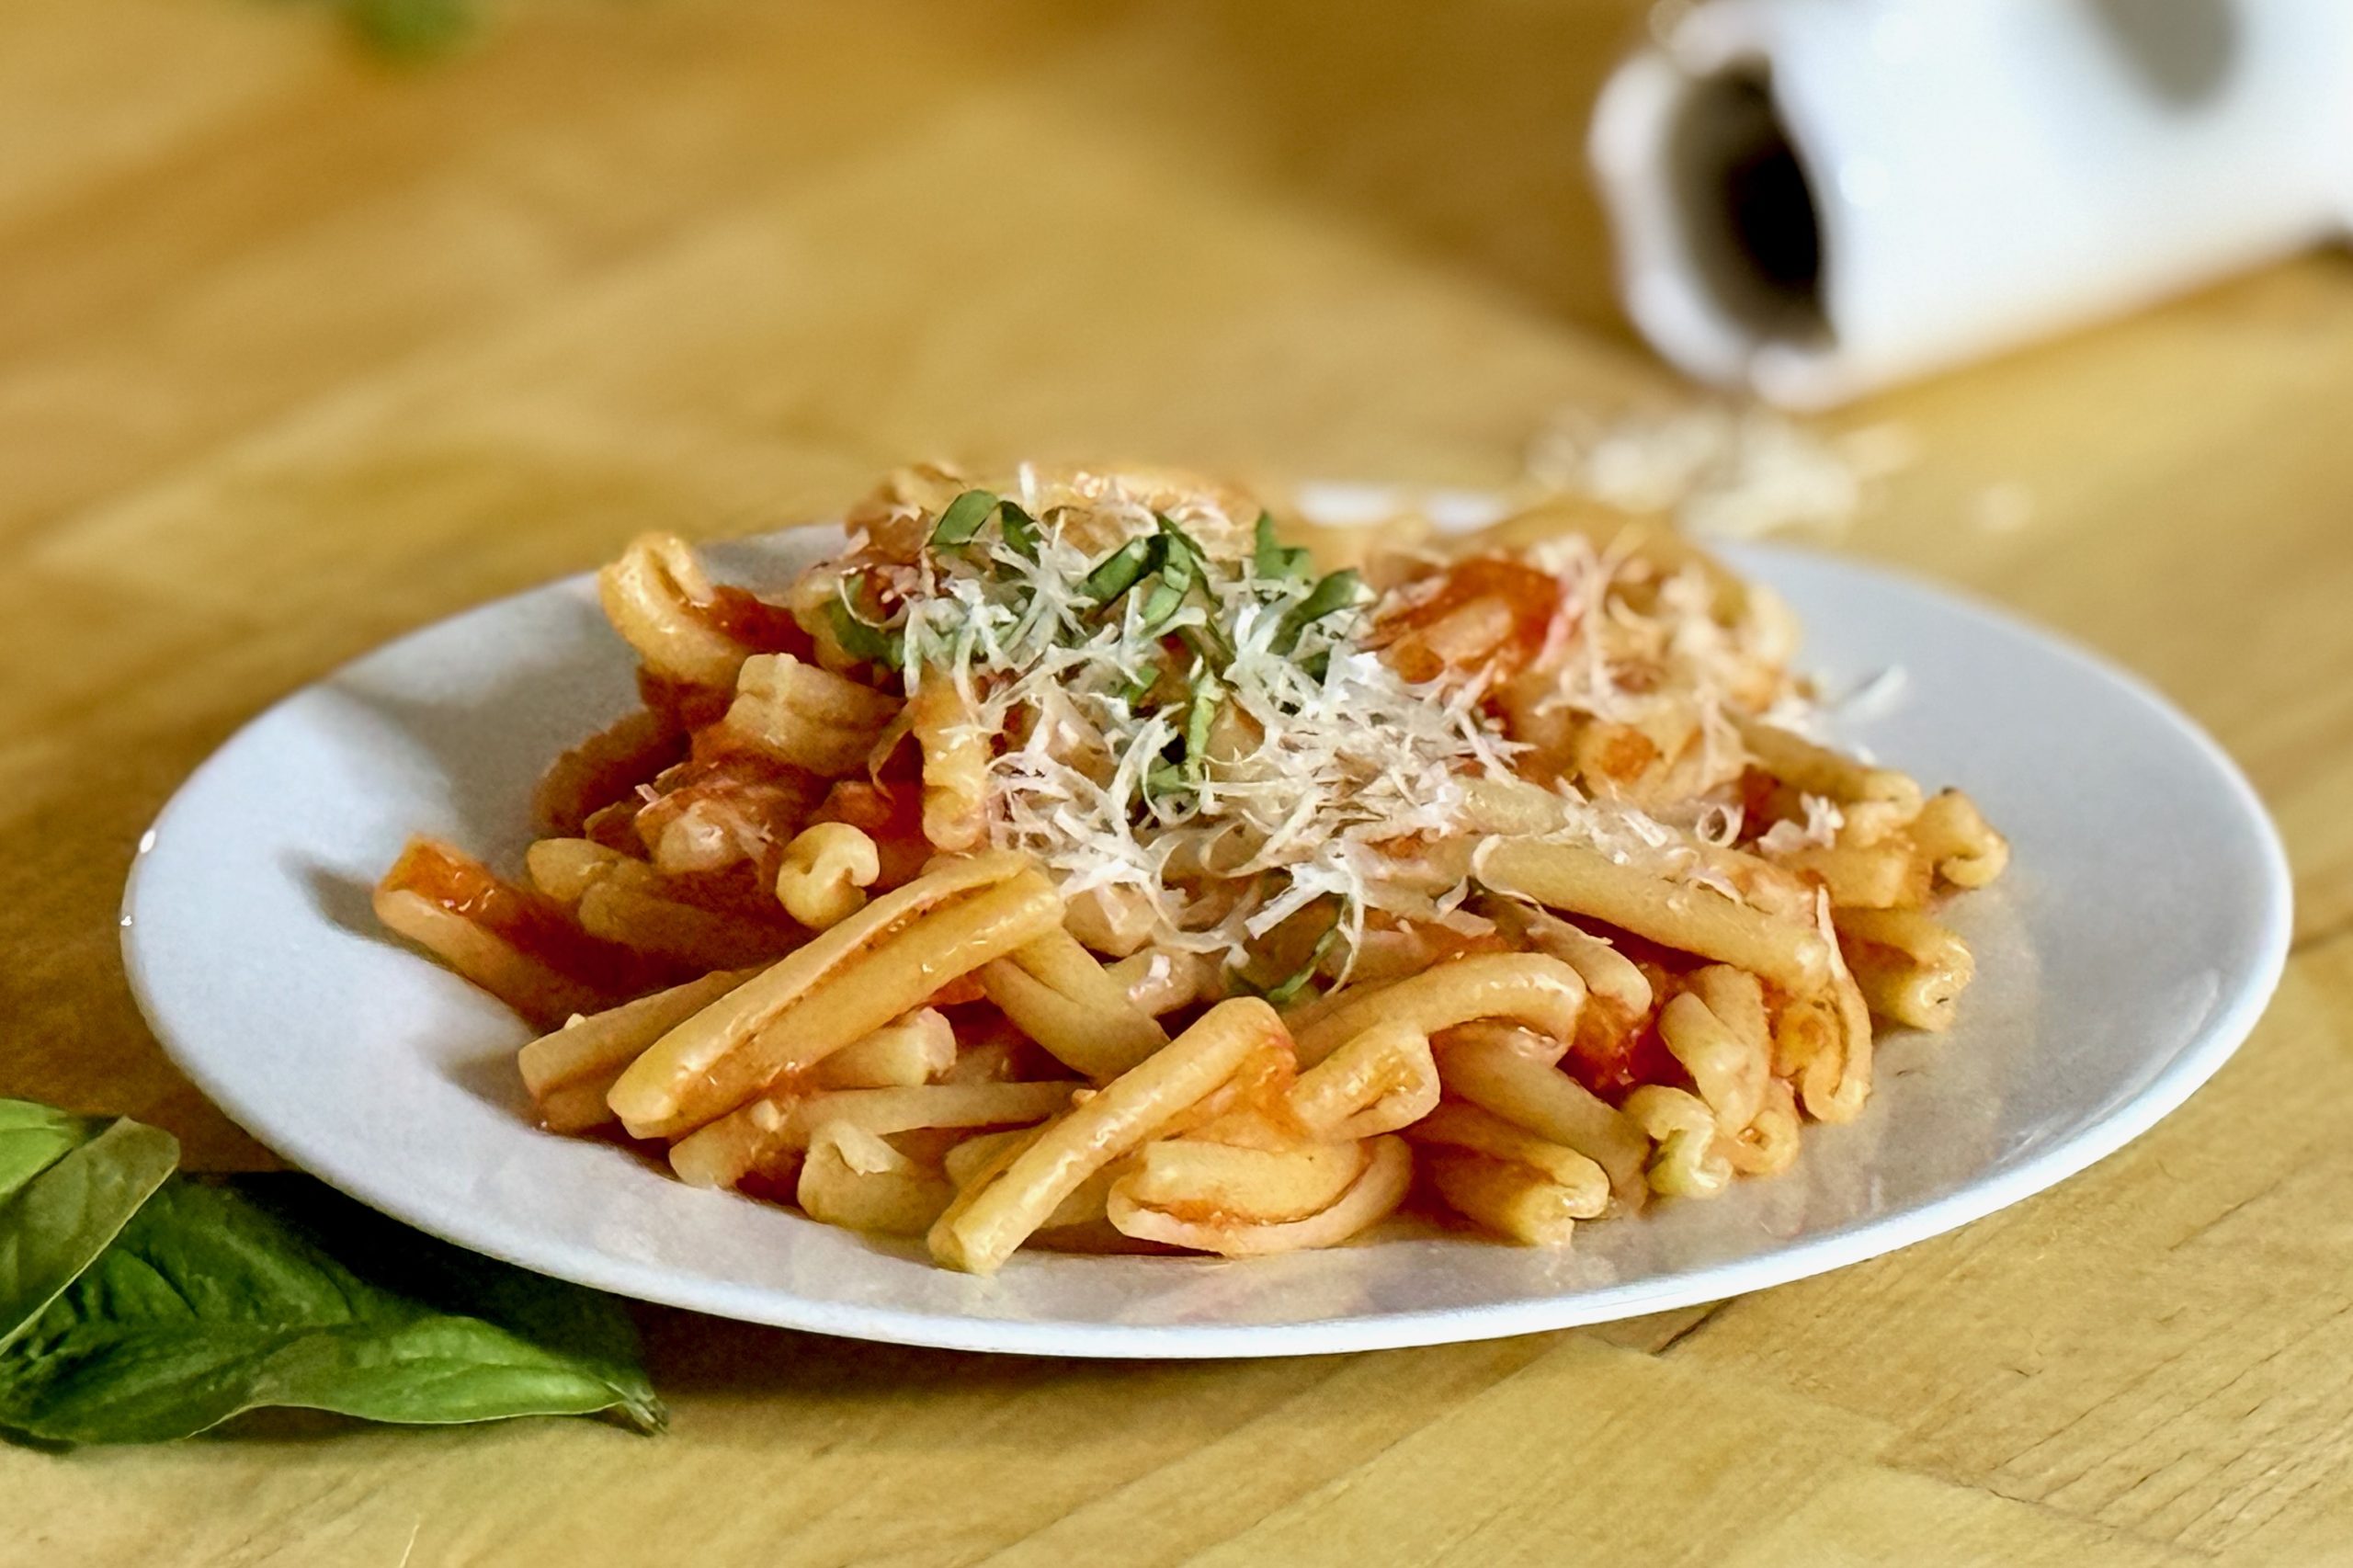
    Each year, our backyard garden gives us a bumper crop of San Marzano tomatoes along with plenty of freshly harvested basil, and this sauce is one of our favorite ways to bring the two together. The tomatoes are grated and briefly simmered with gently cooked garlic, fresh basil, and olive oil, creating a sauce that is bright, fragrant, and full of fresh tomato flavor. Finishing the pasta directly in the sauce allows the tomato juices, olive oil, and pasta starch to come together into a light, silky coating that clings beautifully to every strand.


    Ingredients

    • 2 lb (900 g) fresh San Marzano tomatoes
    • 3 tbsp (45 ml) extra-virgin olive oil, divided
    • 2–3 cloves garlic, thinly sliced
    • ½ tsp table salt, plus more to taste
    • Freshly ground black pepper, to taste, optional
    • 10–15 fresh basil leaves, divided
    • Reserved pasta cooking water, only if needed

    Directions

    Prepare the Tomatoes

    Cut the tomatoes in half. Holding each tomato by the skin, grate the cut side against the large holes of a box grater until only the skin remains. Discard the skins, retaining all of the tomato pulp, juice, seeds, and surrounding gel.

    Make the Sauce

    Heat 2 tbsp (30 ml) olive oil in a wide skillet or sauté pan over medium-low heat. Add the sliced garlic and cook gently for 30–60 seconds, just until fragrant. Do not allow the garlic to brown.

    Add the grated tomatoes and ½ tsp salt. Add 3–4 whole basil leaves or a few tender basil stems.

    Bring to a gentle simmer and cook uncovered for about 15–20 minutes, stirring occasionally, until the raw tomato flavor has softened and the tomatoes have reduced slightly. The sauce should still be relatively loose; do not continue cooking simply to achieve the consistency of a finished pasta sauce.

    Remove and discard the cooked basil leaves or stems. Taste and adjust the salt and black pepper as needed.

    Finish the Pasta in the Sauce

    Cook the pasta in well-salted boiling water until about 2 minutes shy of your preferred doneness.

    Transfer the pasta directly into the simmering tomato sauce. Toss continuously over medium to medium-high heat for about 2 minutes, or until the pasta is properly cooked and the tomato juices, starch, and olive oil have come together into a light sauce that clings to the pasta.

    Add reserved pasta cooking water only if the sauce becomes too tight.

    Remove from the heat. Tear the remaining fresh basil leaves into the pasta and drizzle with the remaining 1 tbsp (15 ml) olive oil. Toss well and serve immediately.

    Yield: 4 servings.


    Notes

    Preparation

    • Use fully ripe tomatoes with good natural sweetness and acidity. Because the sauce contains so few ingredients, the quality and ripeness of the tomatoes make a significant difference.
    • Do not seed the tomatoes. The pulp and gel surrounding the seeds contribute flavor and moisture to the finished sauce.
    • Grating the tomatoes removes the skins while retaining more pulp than processing them through a fruit and vegetable strainer.
    • Keep the garlic pale and aromatic. Browning it produces a deeper flavor that can compete with the fresh tomatoes.
    • Cooking time will vary somewhat with the moisture content of the tomatoes. Judge the sauce primarily by flavor rather than trying to reduce away all of the tomato liquid.
    • The sauce is intentionally loose before the pasta is added. Finishing the pasta directly in the sauce allows the pasta to absorb some of the tomato liquid while released starch helps bind the tomato juices and olive oil.
    • Avoid substantially extending the tomato cooking time simply to thicken the sauce. The short simmer helps preserve its fresh tomato character.
    • Sugar should not normally be necessary with ripe tomatoes. If a particular batch is unusually acidic, make any adjustment only after tasting the cooked sauce.

    Variations

    • Spicy Tomato & Basil: Add a small pinch of crushed red pepper flakes with the garlic.
    • Chunkier Sauce: Peel the tomatoes by blanching rather than grating, then hand-crush or roughly chop them before cooking.
    • Fresh Pomodoro Variation: Add a small amount of finely grated onion and extend the simmer for a slightly richer, sweeter, and more developed sauce.

    Serving Suggestions

    • Especially good with fresh, rustic pastas such as umbricelli, where the irregular surface and substantial texture give the sauce plenty to cling to.
    • Use with other fresh or dried pasta shapes, finishing the pasta directly in the sauce using the same method.
    • Finish individual servings with additional fresh basil or a drizzle of extra-virgin olive oil.
    • Parmigiano-Reggiano or Pecorino Romano can be served at the table, although the sauce is flavorful enough to serve without cheese.
    • For a bruschetta-style serving, chill leftover sauce and spoon it over toasted or grilled bread. Finish with fresh basil and a drizzle of extra-virgin olive oil.

    Make-Ahead & Storage

    • The tomato sauce can be prepared several hours ahead and gently reheated before finishing the pasta in it. Reserve the finishing basil and final tablespoon of olive oil until serving.
    • Refrigerate leftover sauce in an airtight container for up to 4 days.
    • Leftover sauce is excellent served cold or at room temperature as a bruschetta-style topping.
    • The sauce can be frozen, although its fresh basil aroma and especially fresh character are best when served shortly after preparation.
  • Blue Cheese Steak Sauce

    Blue Cheese Steak Sauce

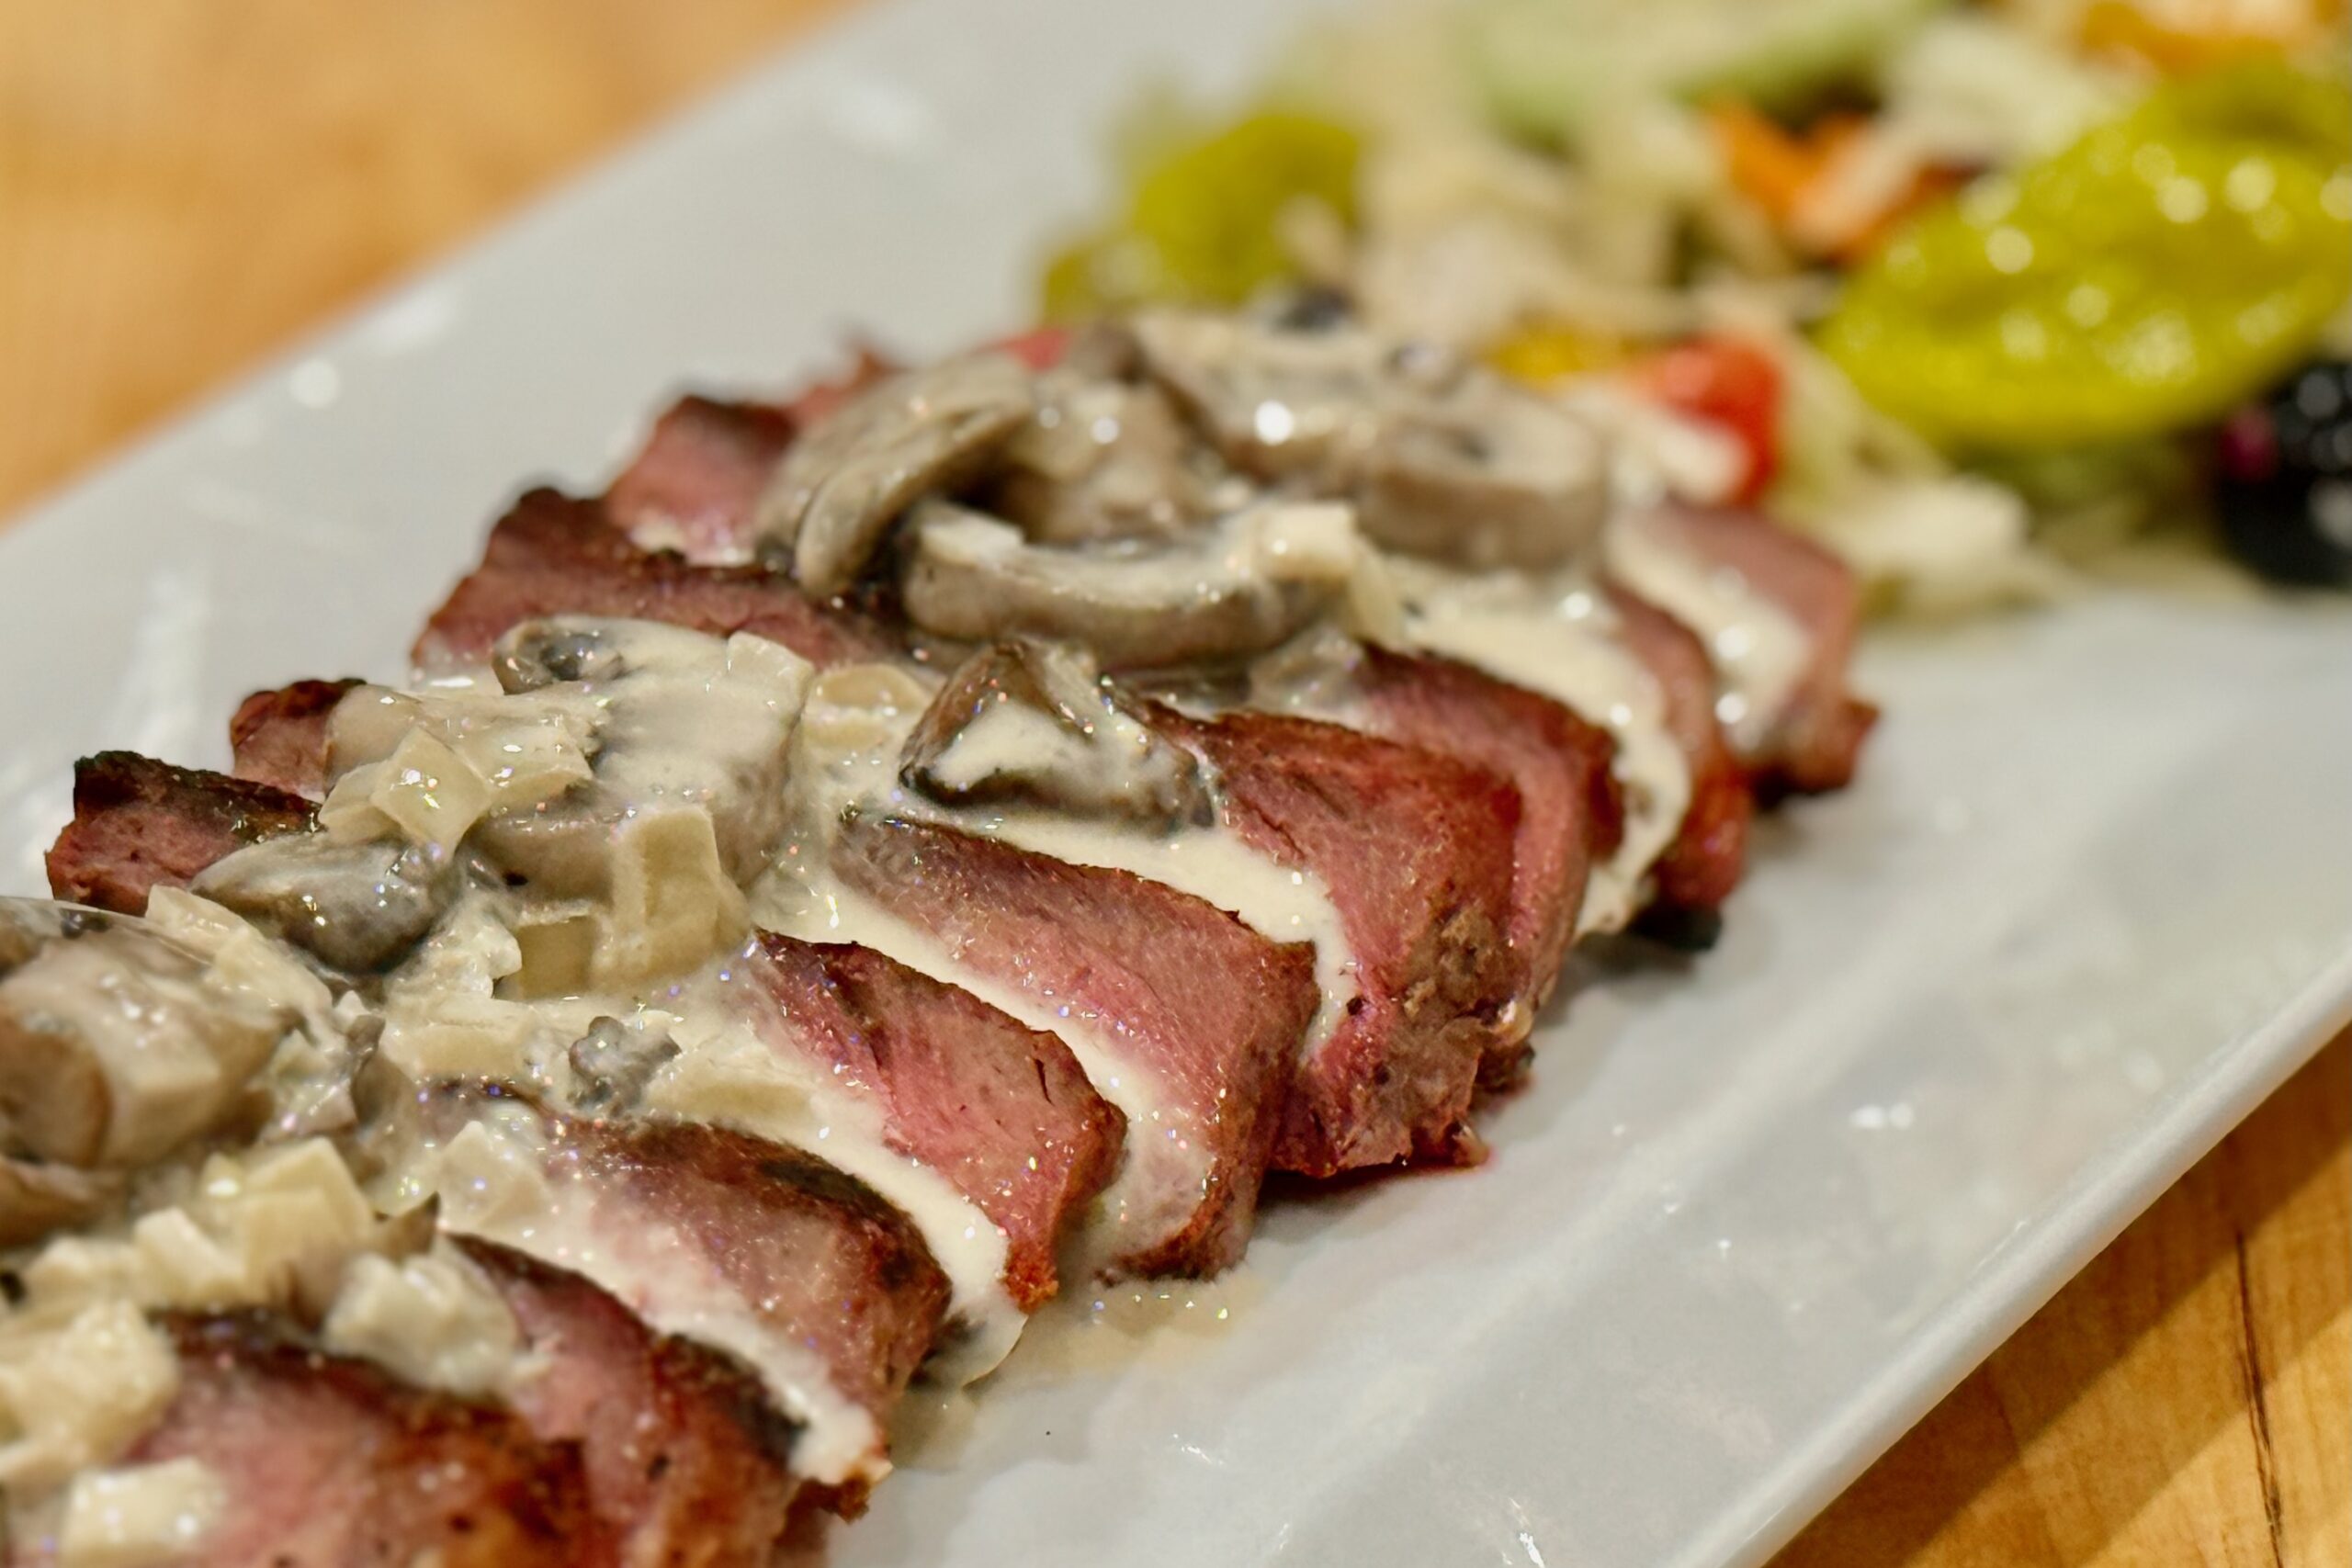
    This steakhouse-style blue cheese sauce is built for ribeyes: deeply savory mushrooms, sweet sautéed onions, and a creamy gorgonzola finish that clings to the meat without overpowering it. A small splash of Shaoxing wine or dry sherry lifts the whole pan, and a touch of sambal adds mild background warmth (not heat). Spoon it over grilled steaks and finish with freshly ground black pepper for that final, restaurant-quality edge.


    Ingredients

    • ¼ cup (57 g) butter
    • 1½ lb (680 g) mushrooms, sliced
    • 1 large yellow onion, sliced pole-to-pole
    • 2 tbsp Shaoxing cooking wine or dry sherry
    • ½ tsp sambal oelek
    • 2 cups (475 ml) Alfredo sauce (homemade or store-bought)
    • 6 oz (170 g) gorgonzola cheese, crumbled
    • Freshly ground black pepper, for finishing
    • table salt, to taste, if needed

    Directions

    Brown the Mushrooms

    Melt the butter in a large sauté pan over medium-high heat. Add the mushrooms and cook, stirring occasionally, until they release their liquid, the liquid evaporates, and the mushrooms begin to brown.

    Add the onion and continue cooking until softened and lightly caramelized.

    Deglaze and Build the Sauce

    Add the Shaoxing wine or sherry, stirring to loosen any browned bits. Cook until the liquid is mostly evaporated, then stir in the sambal oelek.

    Reduce heat to medium. Add the Alfredo sauce and warm gently.

    Stir in the gorgonzola and heat until mostly melted and integrated, leaving some small pieces intact for texture. Taste and add salt only if needed.

    Serve

    Spoon the sauce over grilled or barbecued ribeye steaks and finish with freshly ground black pepper just before serving.

    Yield: Enough for 6–8 steaks (as a generous topping).


    Notes

    Preparation

    • Different Alfredo sauces and blue cheeses vary in saltiness—taste at the end and add salt only if needed.
    • For the best steakhouse flavor, let the mushrooms cook until their liquid evaporates and they actually brown before adding the onions.

    Variations

    • Very Mild: The ½ tsp sambal oelek is meant as mild background warmth. For very mild, reduce to ¼ tsp.
    • With Cayenne: A small pinch of cayenne pepper may be substituted for the sambal oelek.

    Serving Suggestions

    • Finish with freshly ground black pepper on the plated, sauced steak for the brightest aroma and cleanest bite.

    Make-Ahead & Storage

    • Refrigerate in an airtight container for up to 4 days.
    • Reheat gently over low heat, stirring often. If the sauce thickens too much, loosen with a splash of milk or cream.
    • Avoid boiling after the cheese is added to help prevent separation.
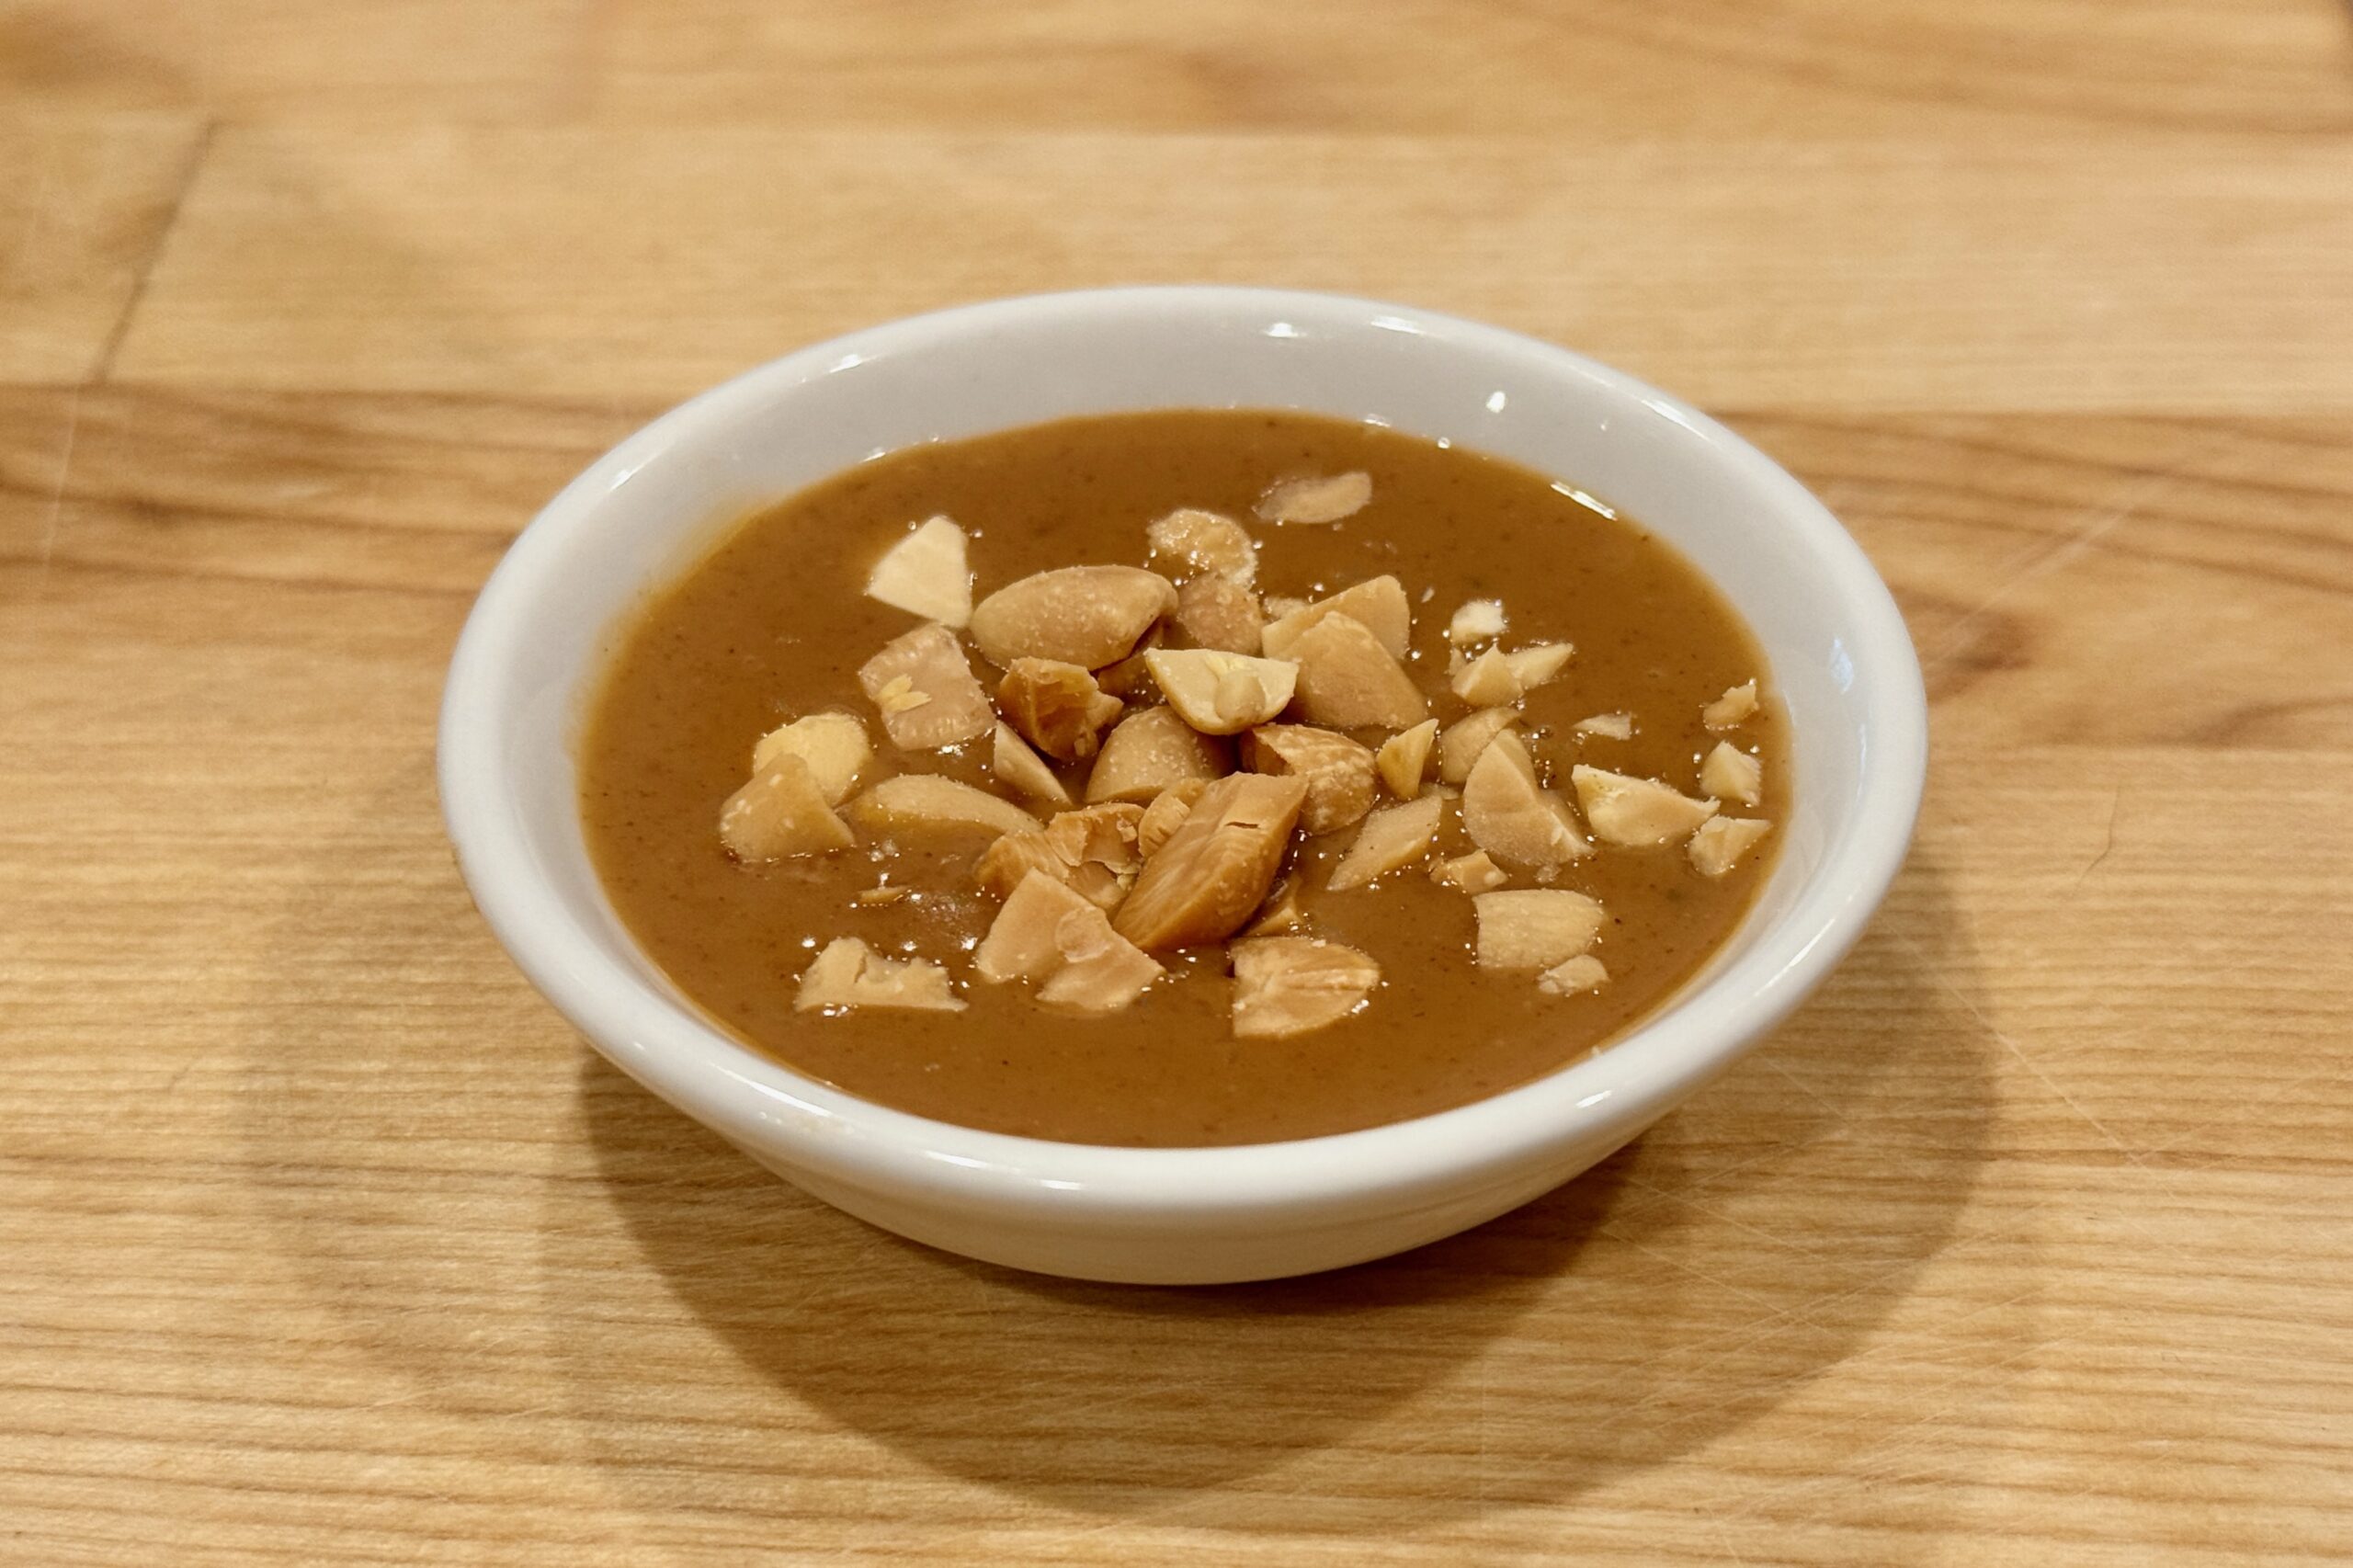
  • Pindasaus — Dutch-Indonesian Peanut Sauce

    Pindasaus — Dutch-Indonesian Peanut Sauce

    I learned to love peanut sauce (pindasaus) while living in the Netherlands. An Indonesian meal just isn’t right without it. This delicious sauce is a favorite of every member of our family. We use it most often to smother skewers of chicken (Saté Ajam) or beef (Saté Sapi), over vegetables for gado gado, or with mayonnaise and diced onions to top Frites for patatje oorlog. There are two kinds of people in the world: those who love peanut sauce, and those who haven’t eaten it often enough to crave it… yet.


    Ingredients

    Sauce

    • 2 tbsp (30 ml) peanut or vegetable oil
    • 2 cloves garlic, minced
    • ½ tsp hot red curry powder
    • ½ tsp ground coriander
    • 1 cup (256 g) smooth peanut butter
    • ¼ cup (60 ml) ketjap manis
    • 2 tbsp (30 ml) lime juice
    • 2 tbsp (25 g) brown sugar
    • 1–2 tsp sambal oelek, to taste
    • 2 tsp tamarind paste (store-bought; or use our homemade Tamarind Paste from Whole Pods)
    • 1 can (14.5 oz / 400 ml) coconut milk
    • ¼ tsp aji-no-moto, or to taste
    • Warm water, as needed to thin

    Optional

    • 1 tsp dark soy sauce, for a deeper Dutch-Indonesian satay-house flavor

    Directions

    Bloom the Aromatics

    Heat the oil in a saucepan over medium-low heat. Add the garlic and cook just until fragrant, stirring constantly so it does not brown.

    Add the curry powder and ground coriander and cook for about 30 seconds, stirring, until aromatic.

    Build the Sauce

    Stir in the peanut butter, ketjap manis, lime juice, brown sugar, sambal oelek, and tamarind paste. Mix until smooth and evenly combined.

    Add the Coconut Milk

    Gradually whisk in the coconut milk until the sauce is creamy and smooth. If using the optional dark soy sauce, stir it in now.

    Reduce the heat to low and warm gently for 2–3 minutes, stirring often. Do not let the sauce boil hard.

    Finish and Adjust

    Stir in the aji-no-moto. Thin with warm water as needed until the sauce reaches your preferred consistency.

    Taste and adjust with additional tamarind for tang, sambal for heat, brown sugar for sweetness, or a little more MSG for deeper savory flavor. Keep warm for serving, or cool and refrigerate for later use.

    Serve

    Serve warm over satay, spoon over blanched vegetables for gado gado, or drizzle over Frites with mayonnaise and diced onions for patatje oorlog.

    Yield: About 3 cups (710 ml).


    Notes

    Preparation

    • Blooming the curry powder and coriander briefly in the oil deepens their flavor and helps them blend more fully into the sauce.
    • Tamarind gives the sauce a brighter, more balanced finish and keeps it from tasting too sweet or heavy.
    • MSG is optional, but even a small amount gives the sauce a fuller, more savory satay-stall character.
    • Use warm water for thinning so the sauce stays smooth and emulsified.

    Variations

    • Deeper Satay-House Flavor: Add the optional dark soy sauce for a slightly deeper, more savory Dutch-Indonesian flavor.
    • Milder Sauce: Start with 1 tsp sambal oelek and increase to taste.
    • Tangier Sauce: Add an extra 1–2 tsp tamarind paste or a little more lime juice.
    • Looser Sauce: For gado gado or fries, thin with a bit more warm water until spoonable and pourable.

    Serving Suggestions

    • This sauce is especially good with Saté Ajam.
    • It also pairs beautifully with saté babi, grilled Saté Sapi, gado gado, or spooned over Frites with mayonnaise and diced onions for patatje oorlog.
    • For a satay platter, serve with lime wedges, Acar Ketimun, fried shallots, and steamed rice or lontong.

    Make-Ahead & Storage

    • The sauce can be made up to 3 days ahead and refrigerated in an airtight container.
    • It will thicken considerably when chilled. Rewarm gently over low heat and thin with warm water as needed before serving.
    • Leftovers are excellent repurposed as a dip for grilled chicken, a sauce for noodles, or a dressing for blanched vegetables.
  • Classic Tamarind Chutney

    Classic Tamarind Chutney

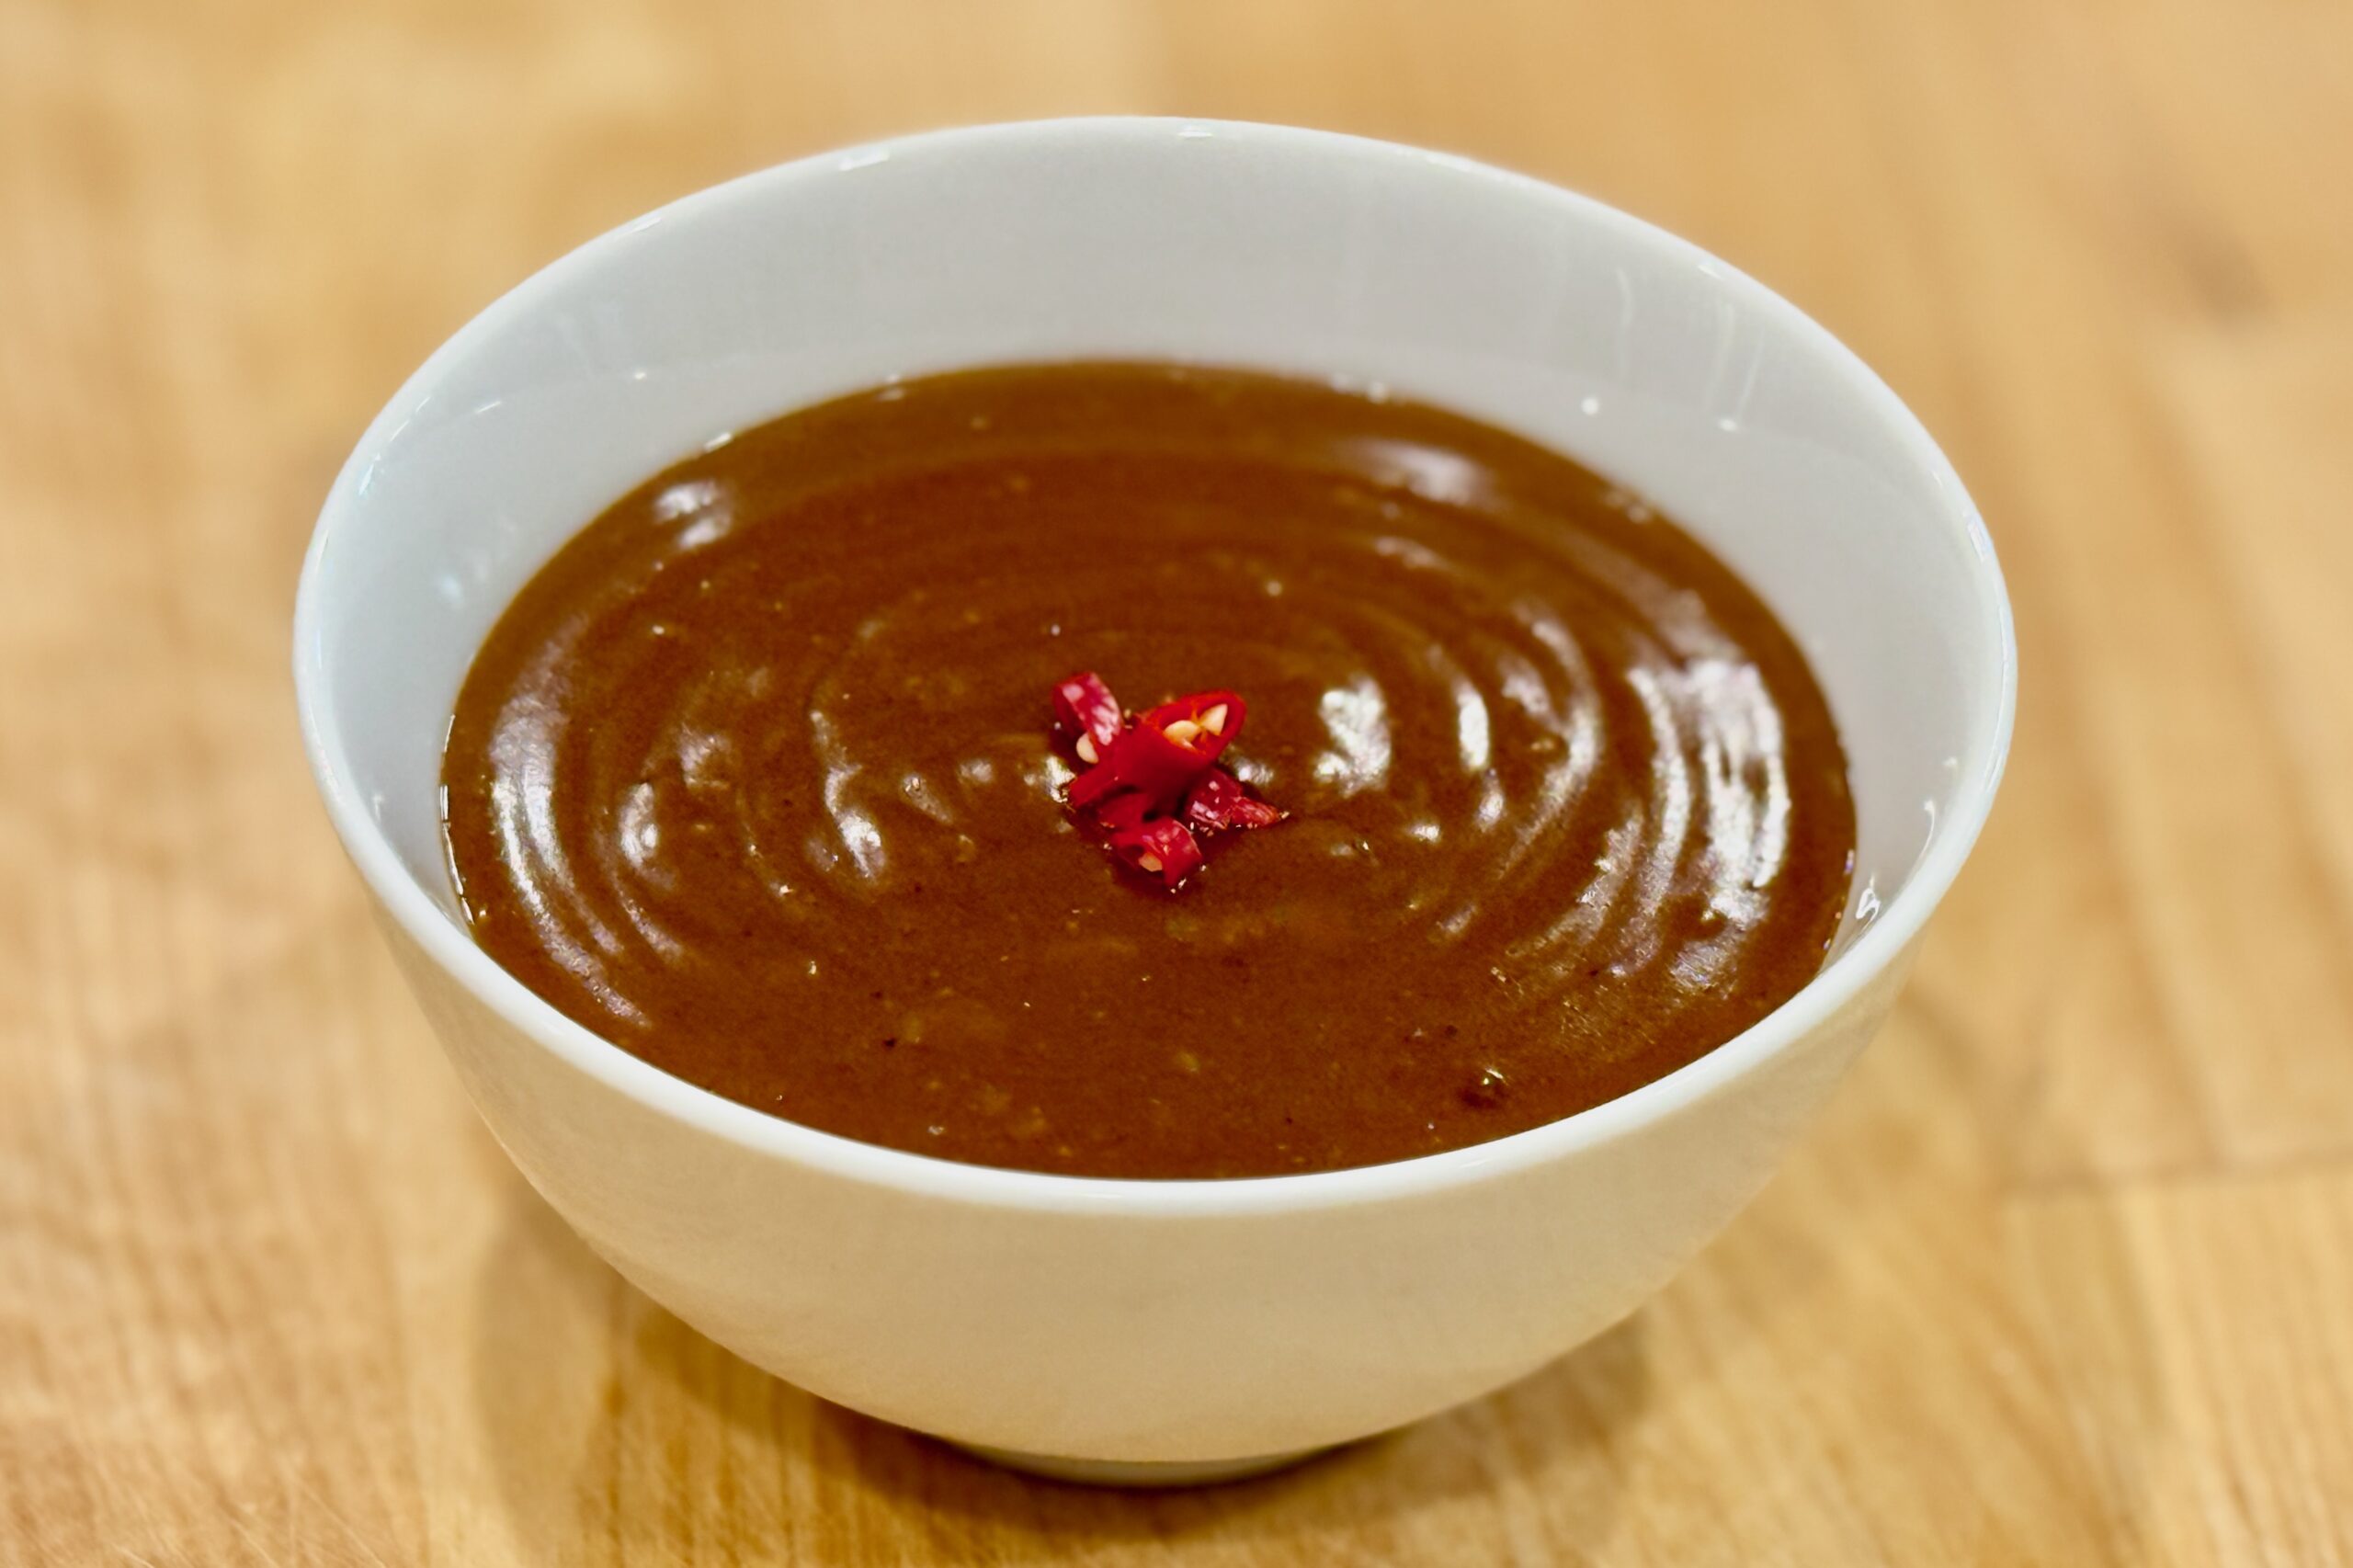
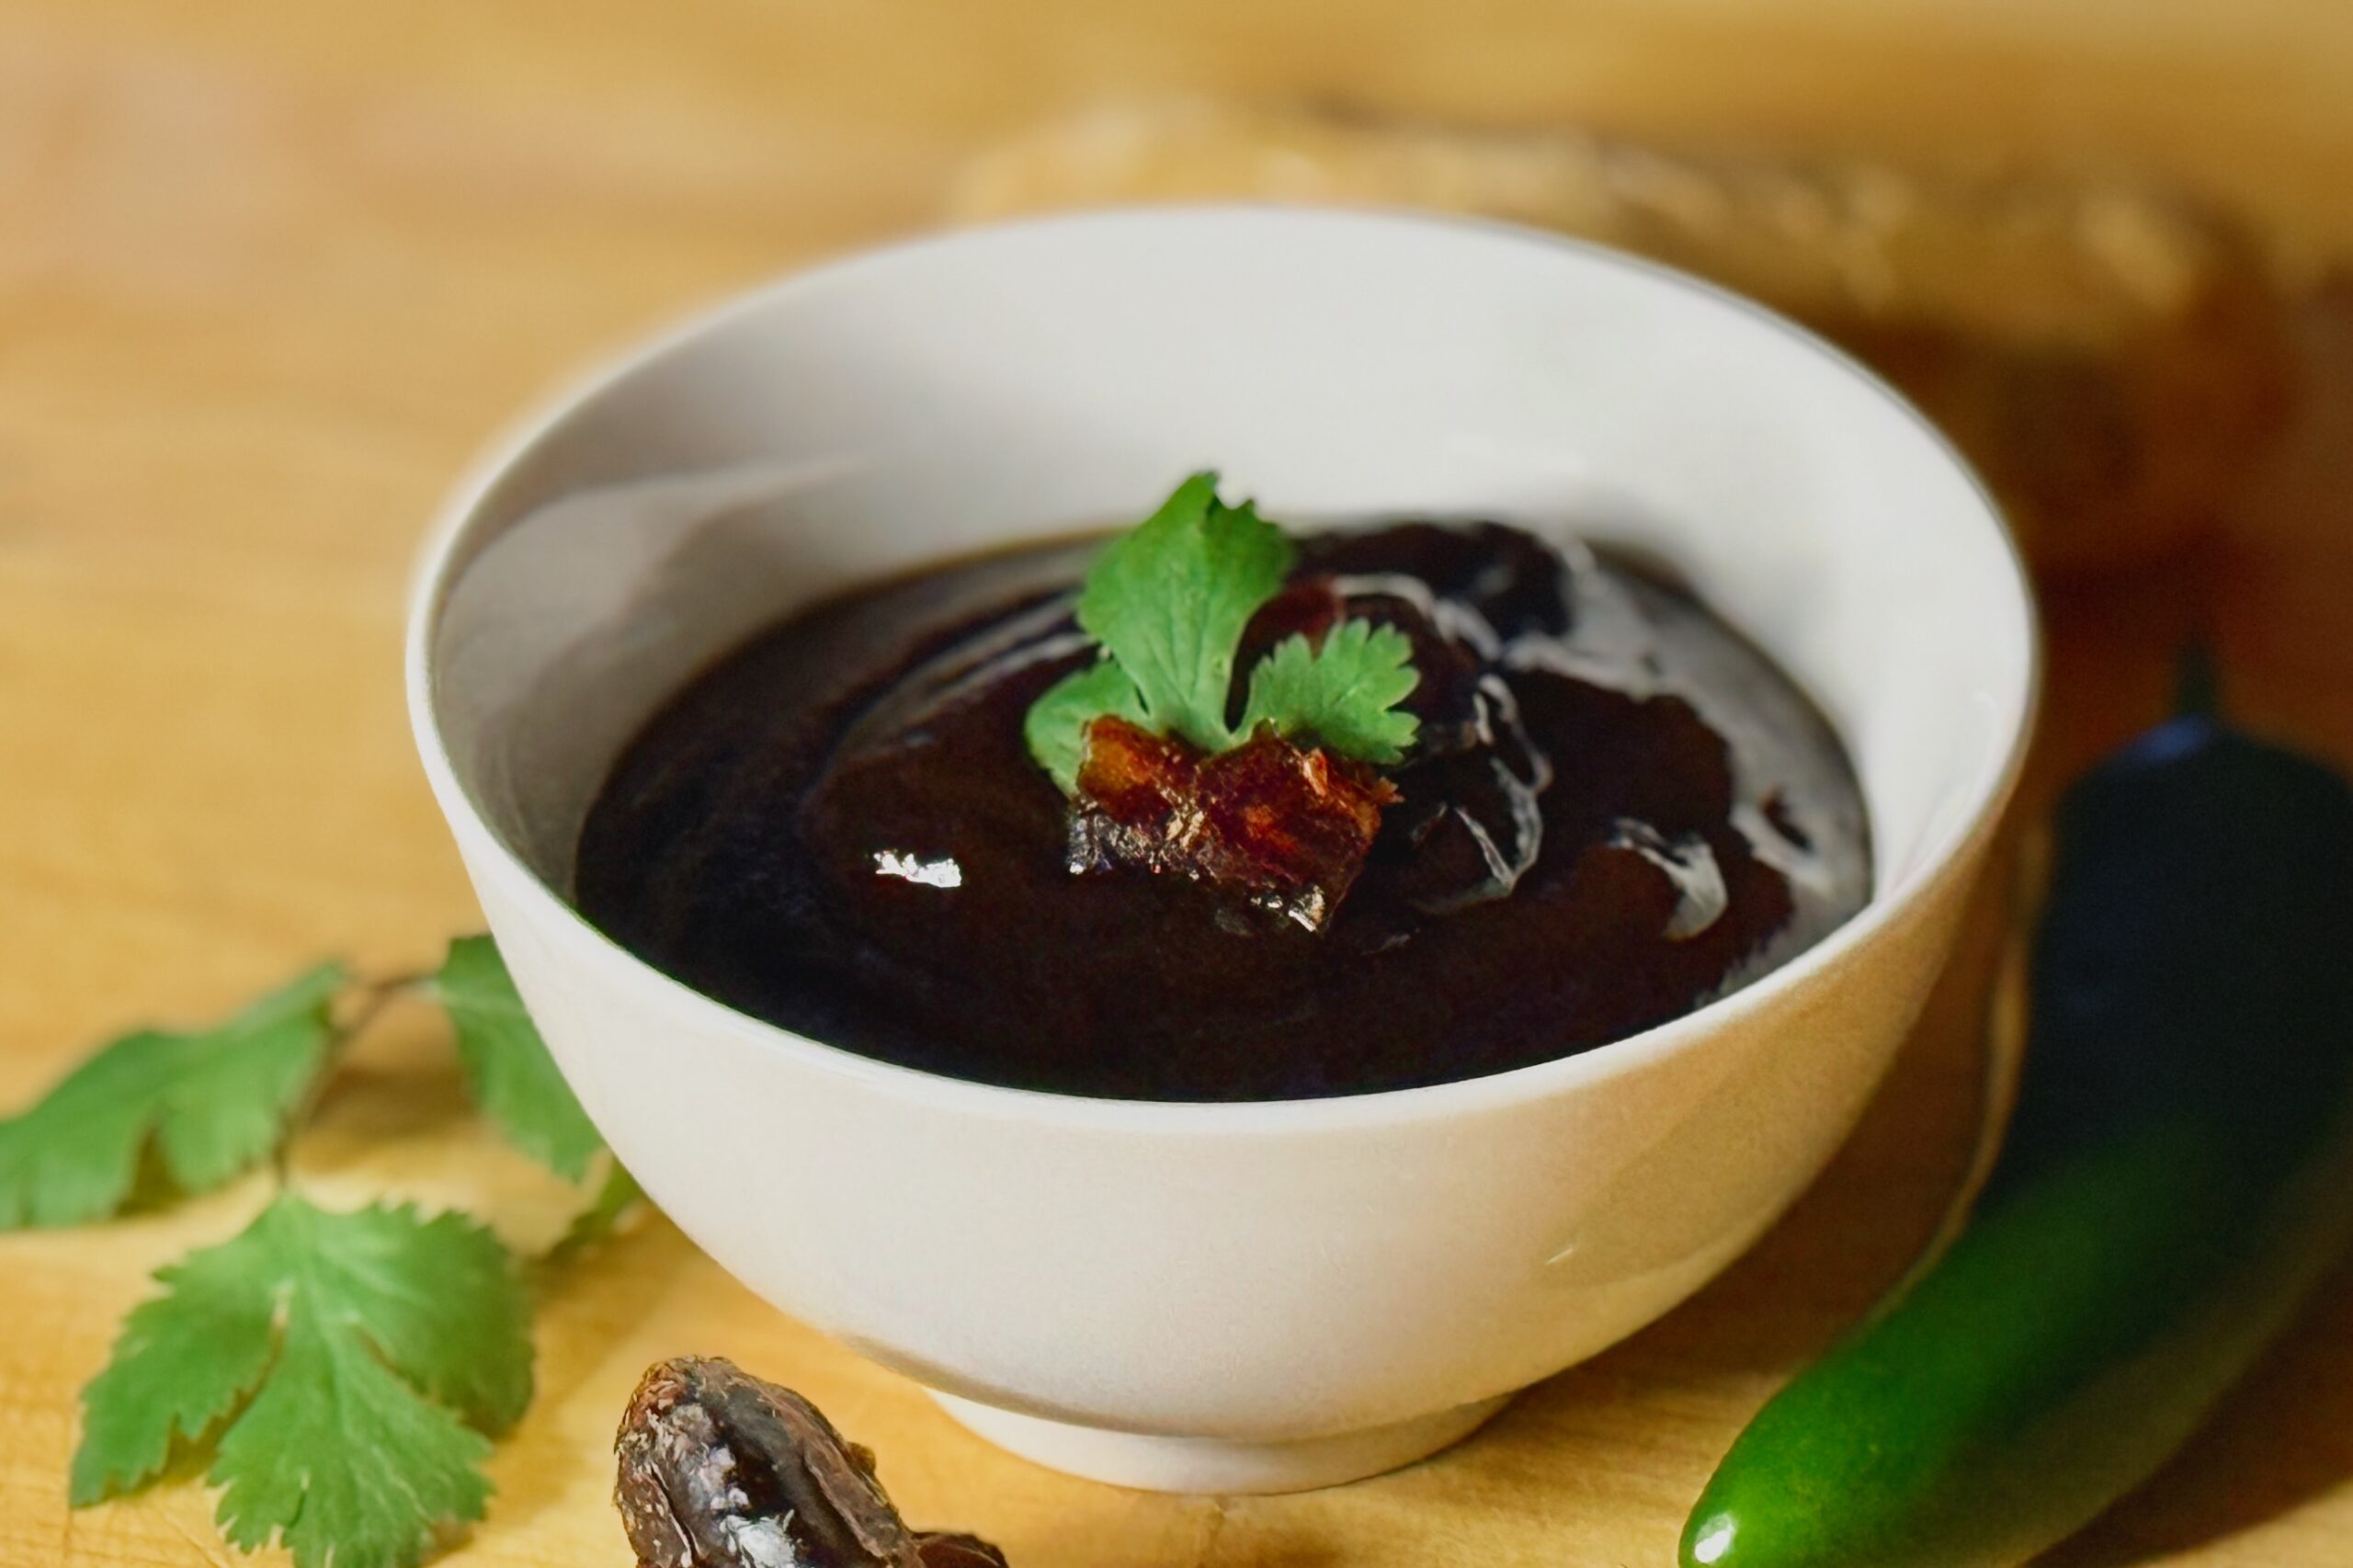
    This classic tamarind chutney is clean, bright, and beautifully balanced—sweet enough to round the sharp acidity of tamarind, but not heavy or syrupy. Made from tamarind paste, sugar, and a few simple seasonings, it’s the foundation for countless chaat dishes and sauces. Kept simple for maximum versatility and easily customizable with dates and spices for richer variations.


    Ingredients

    • ½ cup (120 g) tamarind paste (store-bought; or use our homemade Tamarind Paste from Whole Pods)
    • ¾ cup (180 ml) water
    • ⅓–½ cup (67–100 g) sugar (start with ⅓ cup; adjust to taste)
    • ½ tsp table salt
    • ¼ tsp ground cumin (preferably roasted)

    Directions

    Simmer the Chutney

    In a small saucepan, whisk together tamarind paste and water until smooth.

    Add sugar, table salt, and ground cumin. Bring to a gentle simmer over medium heat.

    Simmer 5–8 minutes, stirring occasionally, until slightly thickened and glossy. The chutney should lightly coat the back of a spoon but remain pourable.

    Remove from heat and cool completely. The chutney will thicken slightly as it cools.

    Yield: About 1 cup (240 ml).


    Notes

    Preparation

    • Taste and adjust sweetness after simmering. Tamarind acidity varies by brand; add sugar gradually until balanced.
    • If using jaggery, substitute equal weight for sugar and dissolve fully before simmering.
    • For a more traditional chaat flavor, replace up to half the table salt with black salt (kala namak).

    Variations

    • Mild Heat: Add a pinch of Kashmiri red chili powder while simmering.
    • Hot: Add ¼ tsp cayenne or finely minced fresh chili.
    • Date–Tamarind Style: Simmer with 2–3 finely chopped Medjool dates and blend smooth for a richer, deeper sweetness (great for date–tamarind reductions).

    Serving Suggestions

    • Use as a chutney for chaat, drizzle over roasted snacks, or serve as a dipping sauce for pakoras and samosas.

    Make-Ahead & Storage

    • Refrigerate in an airtight container up to 2 weeks.
    • If thickened too much after refrigeration, whisk in 1–2 tsp warm water.
    • This chutney freezes well for up to 3 months.
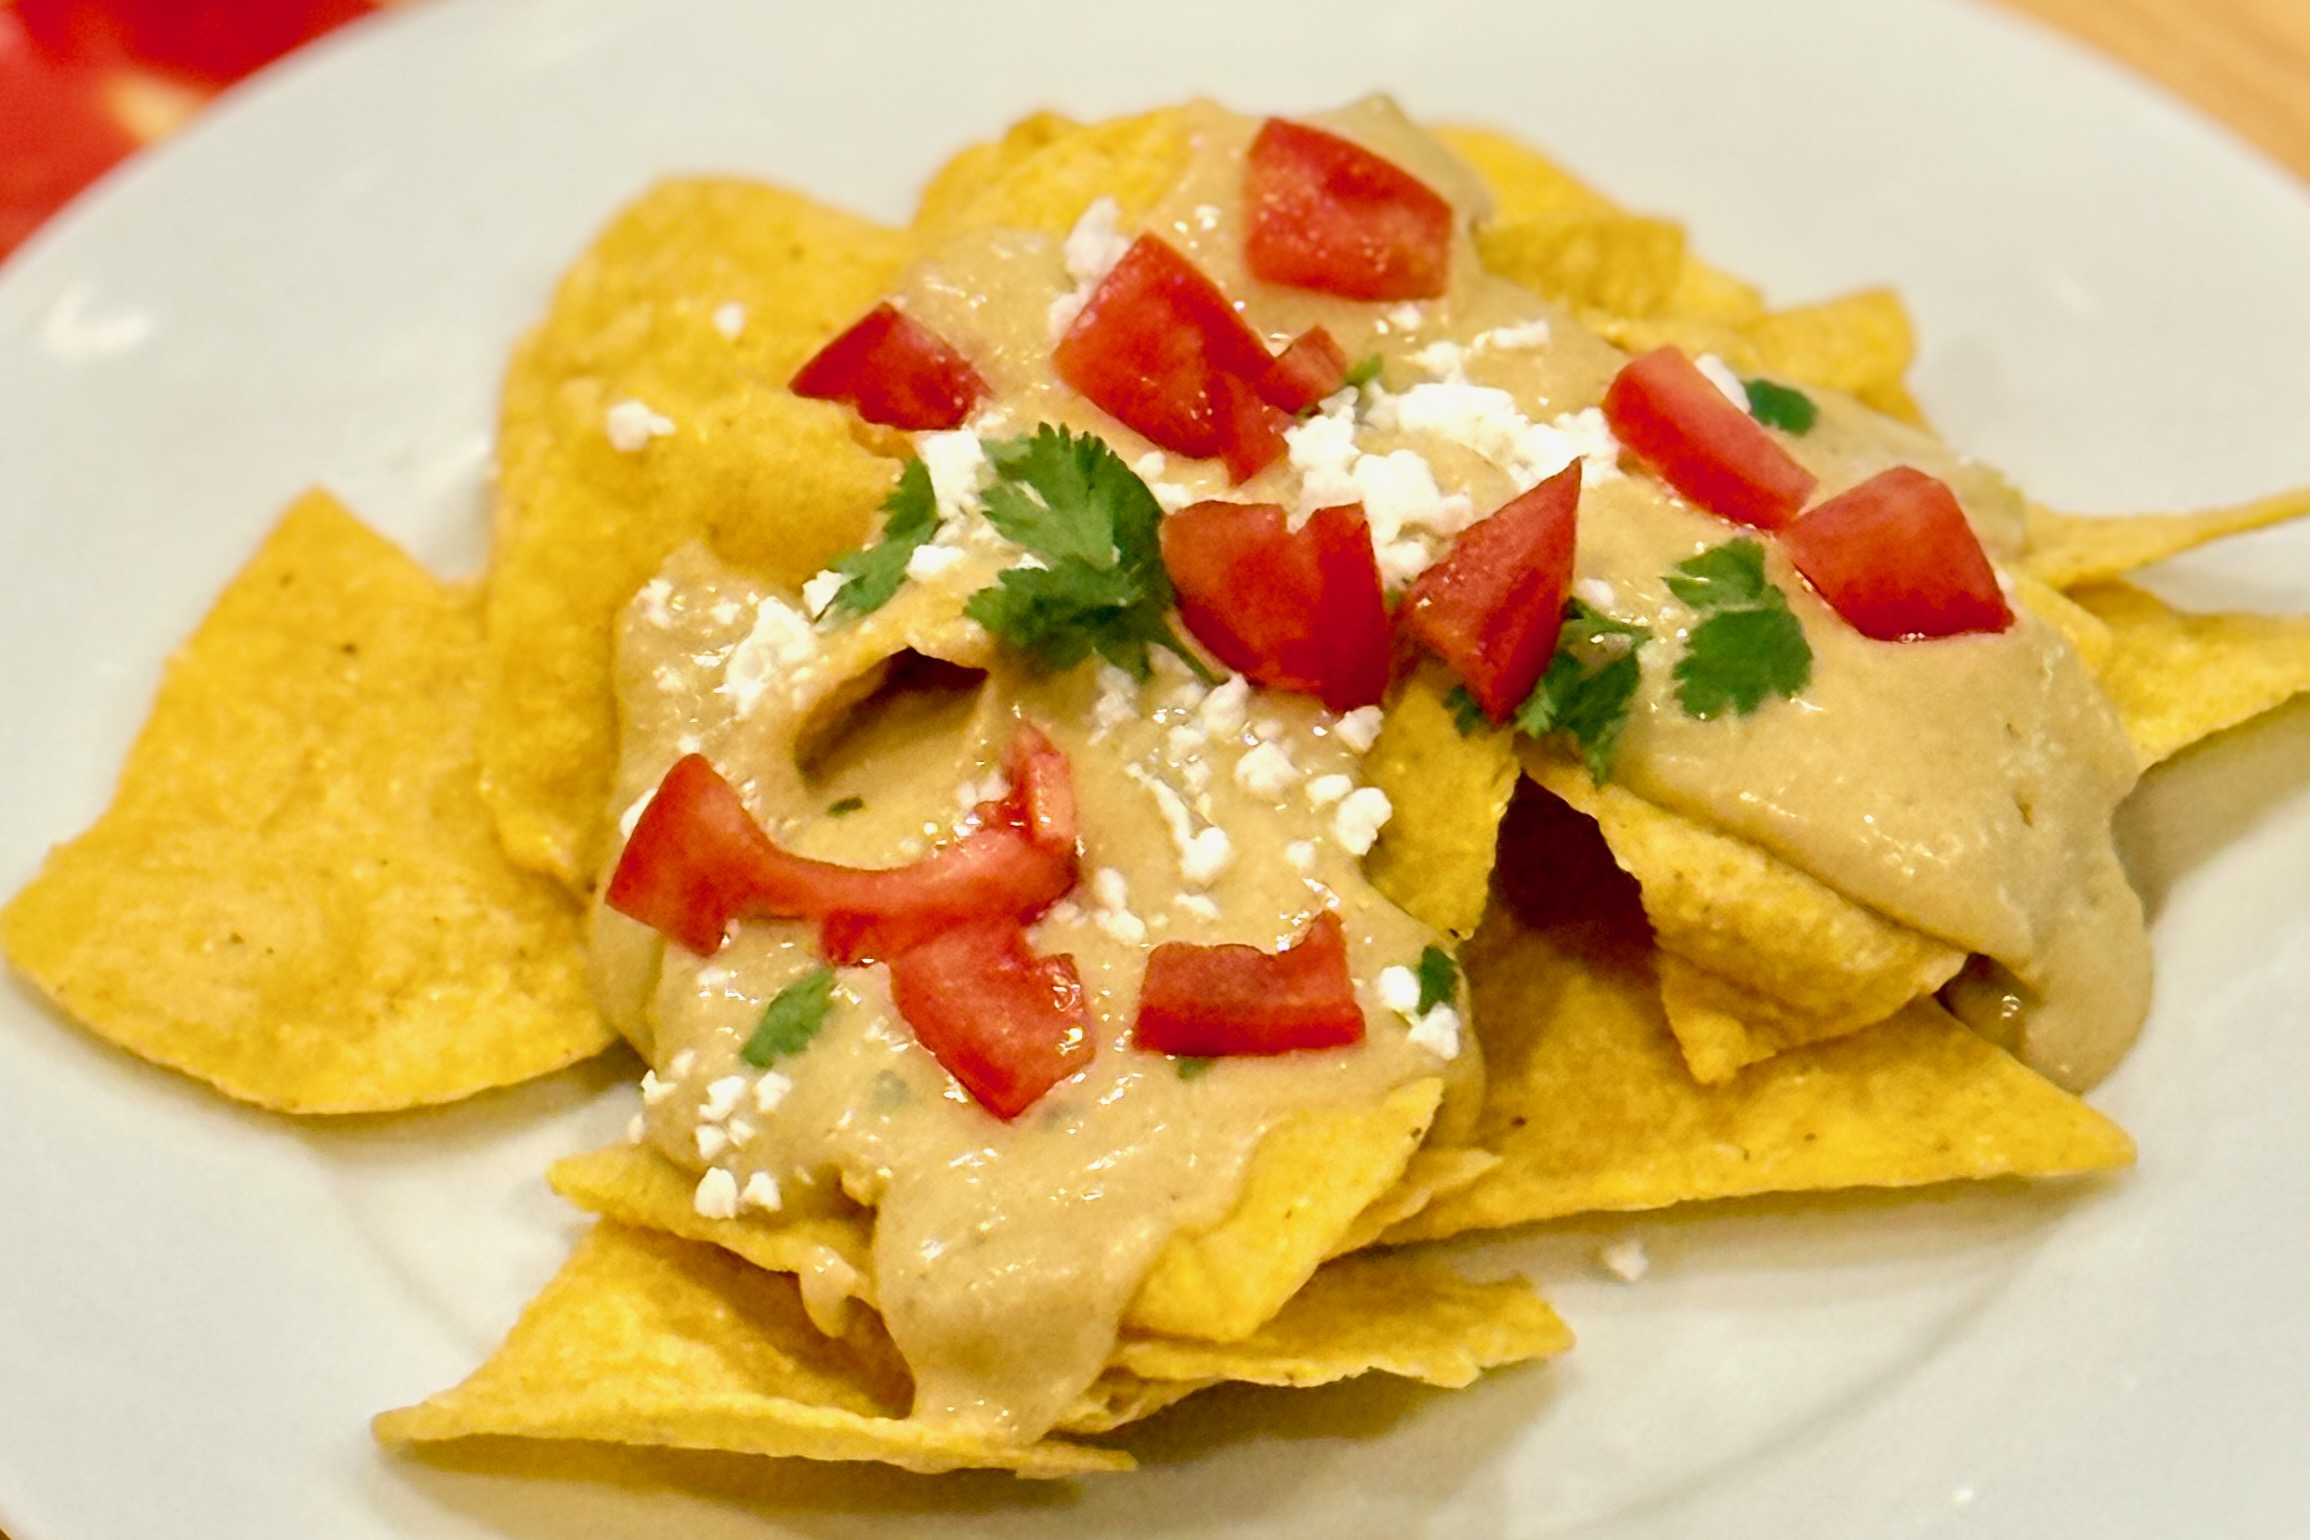
  • Green Enchilada Sauce

    Green Enchilada Sauce

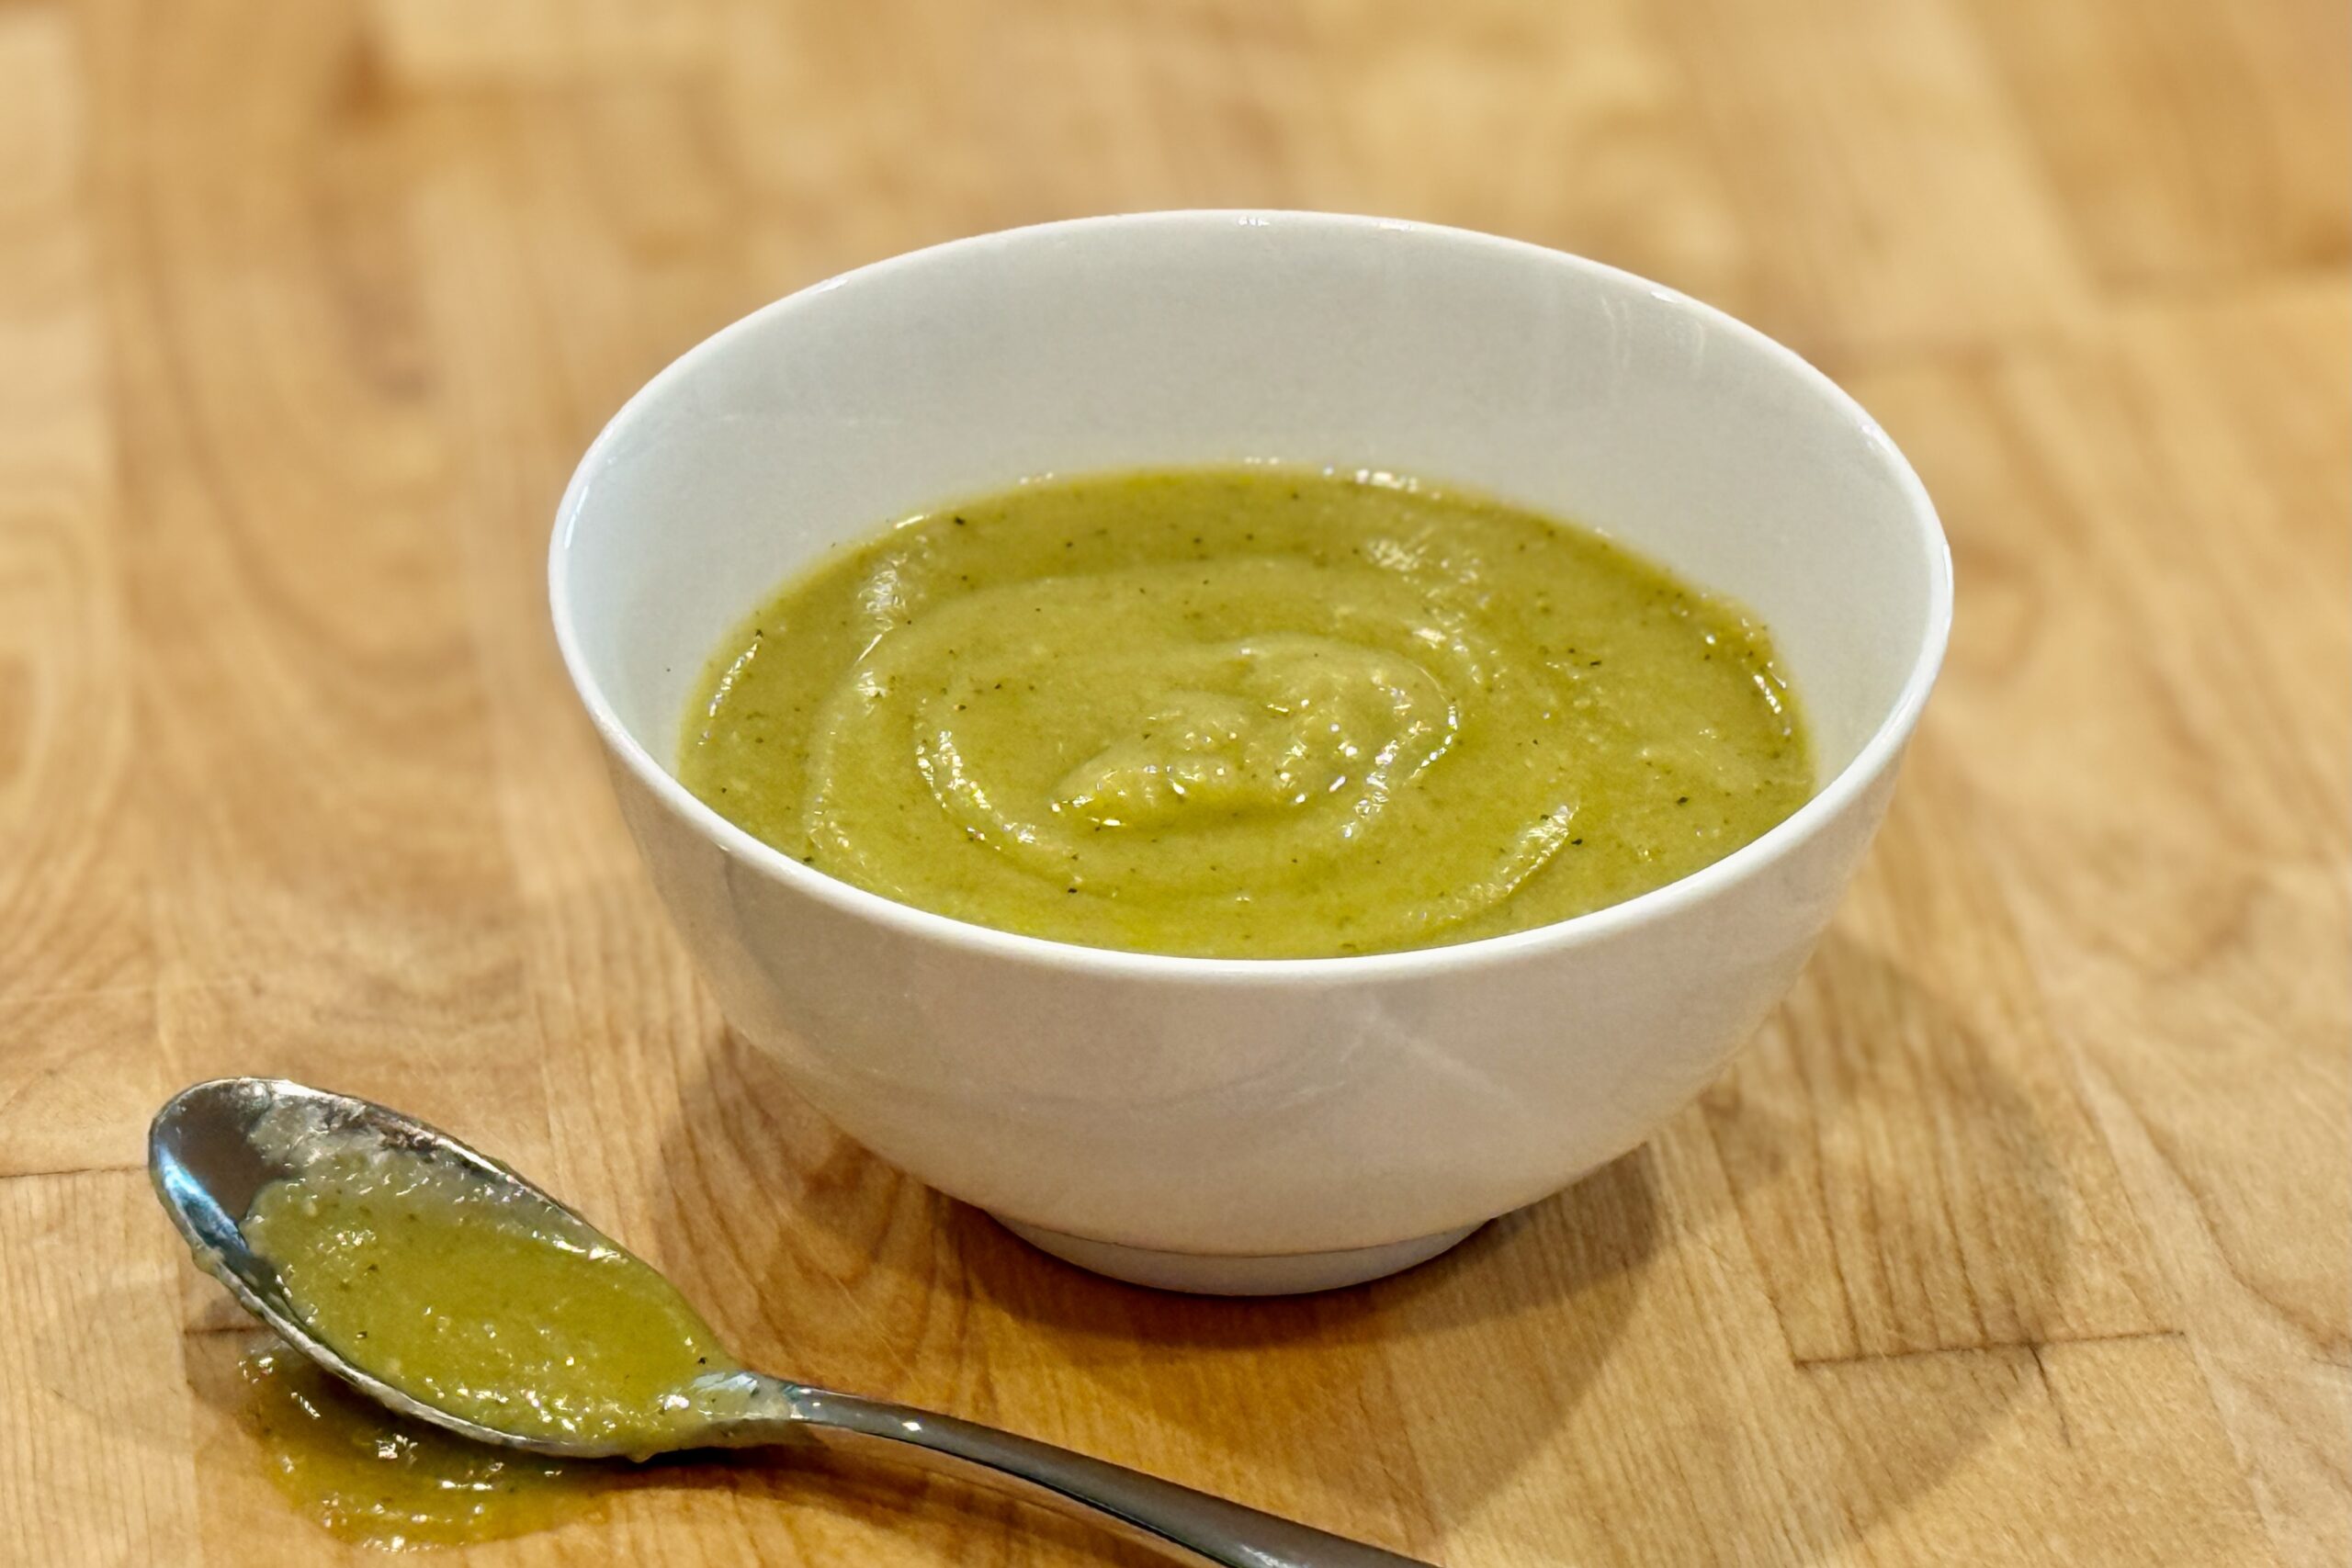
    This restaurant-style green enchilada sauce captures the mild, tangy flavor of Las Palmas sauce, with the option to use either fresh or canned ingredients. Smooth, savory, and balanced with just a hint of acidity, it’s perfect for Chile Verde Burritos, Chicken Enchiladas, or chilaquiles.


    Ingredients

    • 2 tbsp vegetable oil
    • 2 tbsp all-purpose flour

    Green Chiles (Use Either):

    • Fresh: 1½ cups roasted, peeled, and chopped Hatch or Anaheim chiles, OR
    • Canned: Two 7-oz cans diced green chiles

    Tomatillos (Use Either):

    • Fresh: 1 lb tomatillos, husked and rinsed, OR
    • Canned: One 28-oz can tomatillos (drained)

    Aromatics:

    • 1 medium onion, roughly chopped
    • 3–4 cloves garlic, peeled
    • 1 jalapeño or serrano, seeded for mild heat

    Seasoning & Liquid:

    • 1½–2 cups chicken broth
    • 1 tsp ground cumin
    • 1 tsp dried oregano (Mexican preferred)
    • 1 tsp kosher salt (adjust to taste)
    • ½ tsp black pepper
    • ½ tsp sugar (balances the tomatillos)
    • 2 tbsp apple cider or white vinegar

    Directions

    Prep the Vegetables

    If using fresh tomatillos, remove husks and rinse. Halve and broil with onion, garlic, and jalapeño, 5–7 minutes, stirring once. If using canned, skip roasting.

    Blend the Base

    Blend tomatillos, chiles, onion, garlic, jalapeño, cumin, oregano, and 1 cup broth until smooth.

    Make the Roux

    Heat oil over medium heat, whisk in flour, and cook 1–2 minutes until pale blond and foamy.

    Cook the Sauce

    Whisk the blended mixture into the roux. Simmer 10–15 minutes, adding broth as needed for consistency.

    Season & Finish

    Add salt, pepper, sugar, and vinegar. Taste and adjust acidity or heat.


    Notes

    Preparation

    • Roasting fresh ingredients adds sweetness and depth.
    • Canned tomatillos give consistent results year-round.
    • The roux creates the silky restaurant-style texture.
    • Use serrano for more heat.
    • Thin with broth if sauce thickens too much.

    Serving Suggestions

    • Use for chilaquiles, wet burritos, or breakfast dishes.
    • Pairs especially well with pork, chicken, and eggs.

    Make-Ahead & Storage

    • Keeps 5 days refrigerated.
    • Freezes 3 months; thaw gently.
    • Add a splash of broth when reheating if thickened.

  • Spring Roll Peanut Dipping Sauce

    Spring Roll Peanut Dipping Sauce

    This spring roll peanut dipping sauce is unapologetically peanut-forward — creamy, savory, and deeply satisfying, with the Dutch-Indonesian flavor logic I fell in love with in The Netherlands. Ketjap manis and hoisin bring a mellow sweetness and depth, coconut milk keeps it silky, and a small spoonful of tamarind adds the subtle tang that makes the peanuts pop instead of tasting heavy. It’s the kind of sauce you’ll want to keep in the fridge so fresh spring rolls (and plenty of other things) always have a rich, nutty sidekick.


    Ingredients

    • ½ cup (128 g) creamy peanut butter
    • ½ tsp (about 1 clove) garlic, minced
    • 1 tbsp (15 ml) lime juice
    • 2 tbsp (30 ml) ketjap manis
    • 2 tbsp (30 ml) hoisin sauce
    • 1 tsp (5 ml) Tamarind Paste from Whole Tamarind Pods
    • 1 can (14 oz / 400 ml) coconut milk
    • 1 tsp fresh ginger, minced
    • ½ tsp red curry powder
    • ½ tsp sambal oelek
    • 1½ tsp fish sauce
    • 2 tbsp (18 g) peanuts, crushed (for topping)

    Directions

    Make the Sauce

    In a saucepan over medium heat, combine the peanut butter and minced garlic. Stir continuously for 1–2 minutes, until the mixture is smooth and fragrant.

    Add the lime juice, ketjap manis, hoisin sauce, and tamarind paste, stirring to combine.

    Gradually whisk in the coconut milk, followed by the ginger, red curry powder, sambal oelek, and fish sauce.

    Continue cooking, stirring occasionally, until the sauce is heated through and just begins to simmer. Remove from the heat and transfer to a serving bowl. Sprinkle with the crushed peanuts just before serving.

    Yield: About 2½ cups (590 ml).


    Notes

    Preparation

    • Consistency: This sauce thickens as it cools. If it gets too thick, whisk in warm water 1 tbsp (15 ml) at a time until dippable.
    • Balance: Tamarind and lime should read as a gentle tang in the background—not sour. If the sauce tastes too sharp, add 1–2 tbsp (15–30 ml) coconut milk to soften it.
    • Heat Level: As written, the sauce is moderately spicy. For a milder, family-friendly version, reduce the sambal oelek to ¼ tsp, or to taste.

    Variations

    • Extra Spicy: Increase the sambal oelek to 1 tsp, or add ¼ tsp cayenne.
    • More Peanut Texture: Stir in an additional 1–2 tbsp (9–18 g) crushed peanuts off the heat, then top as usual.
    • More Savory: Add an extra ½ tsp fish sauce and a squeeze of lime to keep the sauce balanced.

    Serving Suggestions

    • Serve with fresh spring rolls (gỏi cuốn) or summer rolls.
    • Use as a satay-style dip for grilled chicken, shrimp, or tofu.
    • Drizzle over rice bowls, noodle bowls, or steamed vegetables.

    Make-Ahead & Storage

    • Make Ahead: The flavors settle and improve after a few hours or overnight in the refrigerator.
    • Refrigerate: Cool completely, then store in a sealed container for up to 5 days.
    • Reheat: Warm gently over low heat or microwave in short bursts, whisking often. Add a splash of water as needed; avoid boiling.
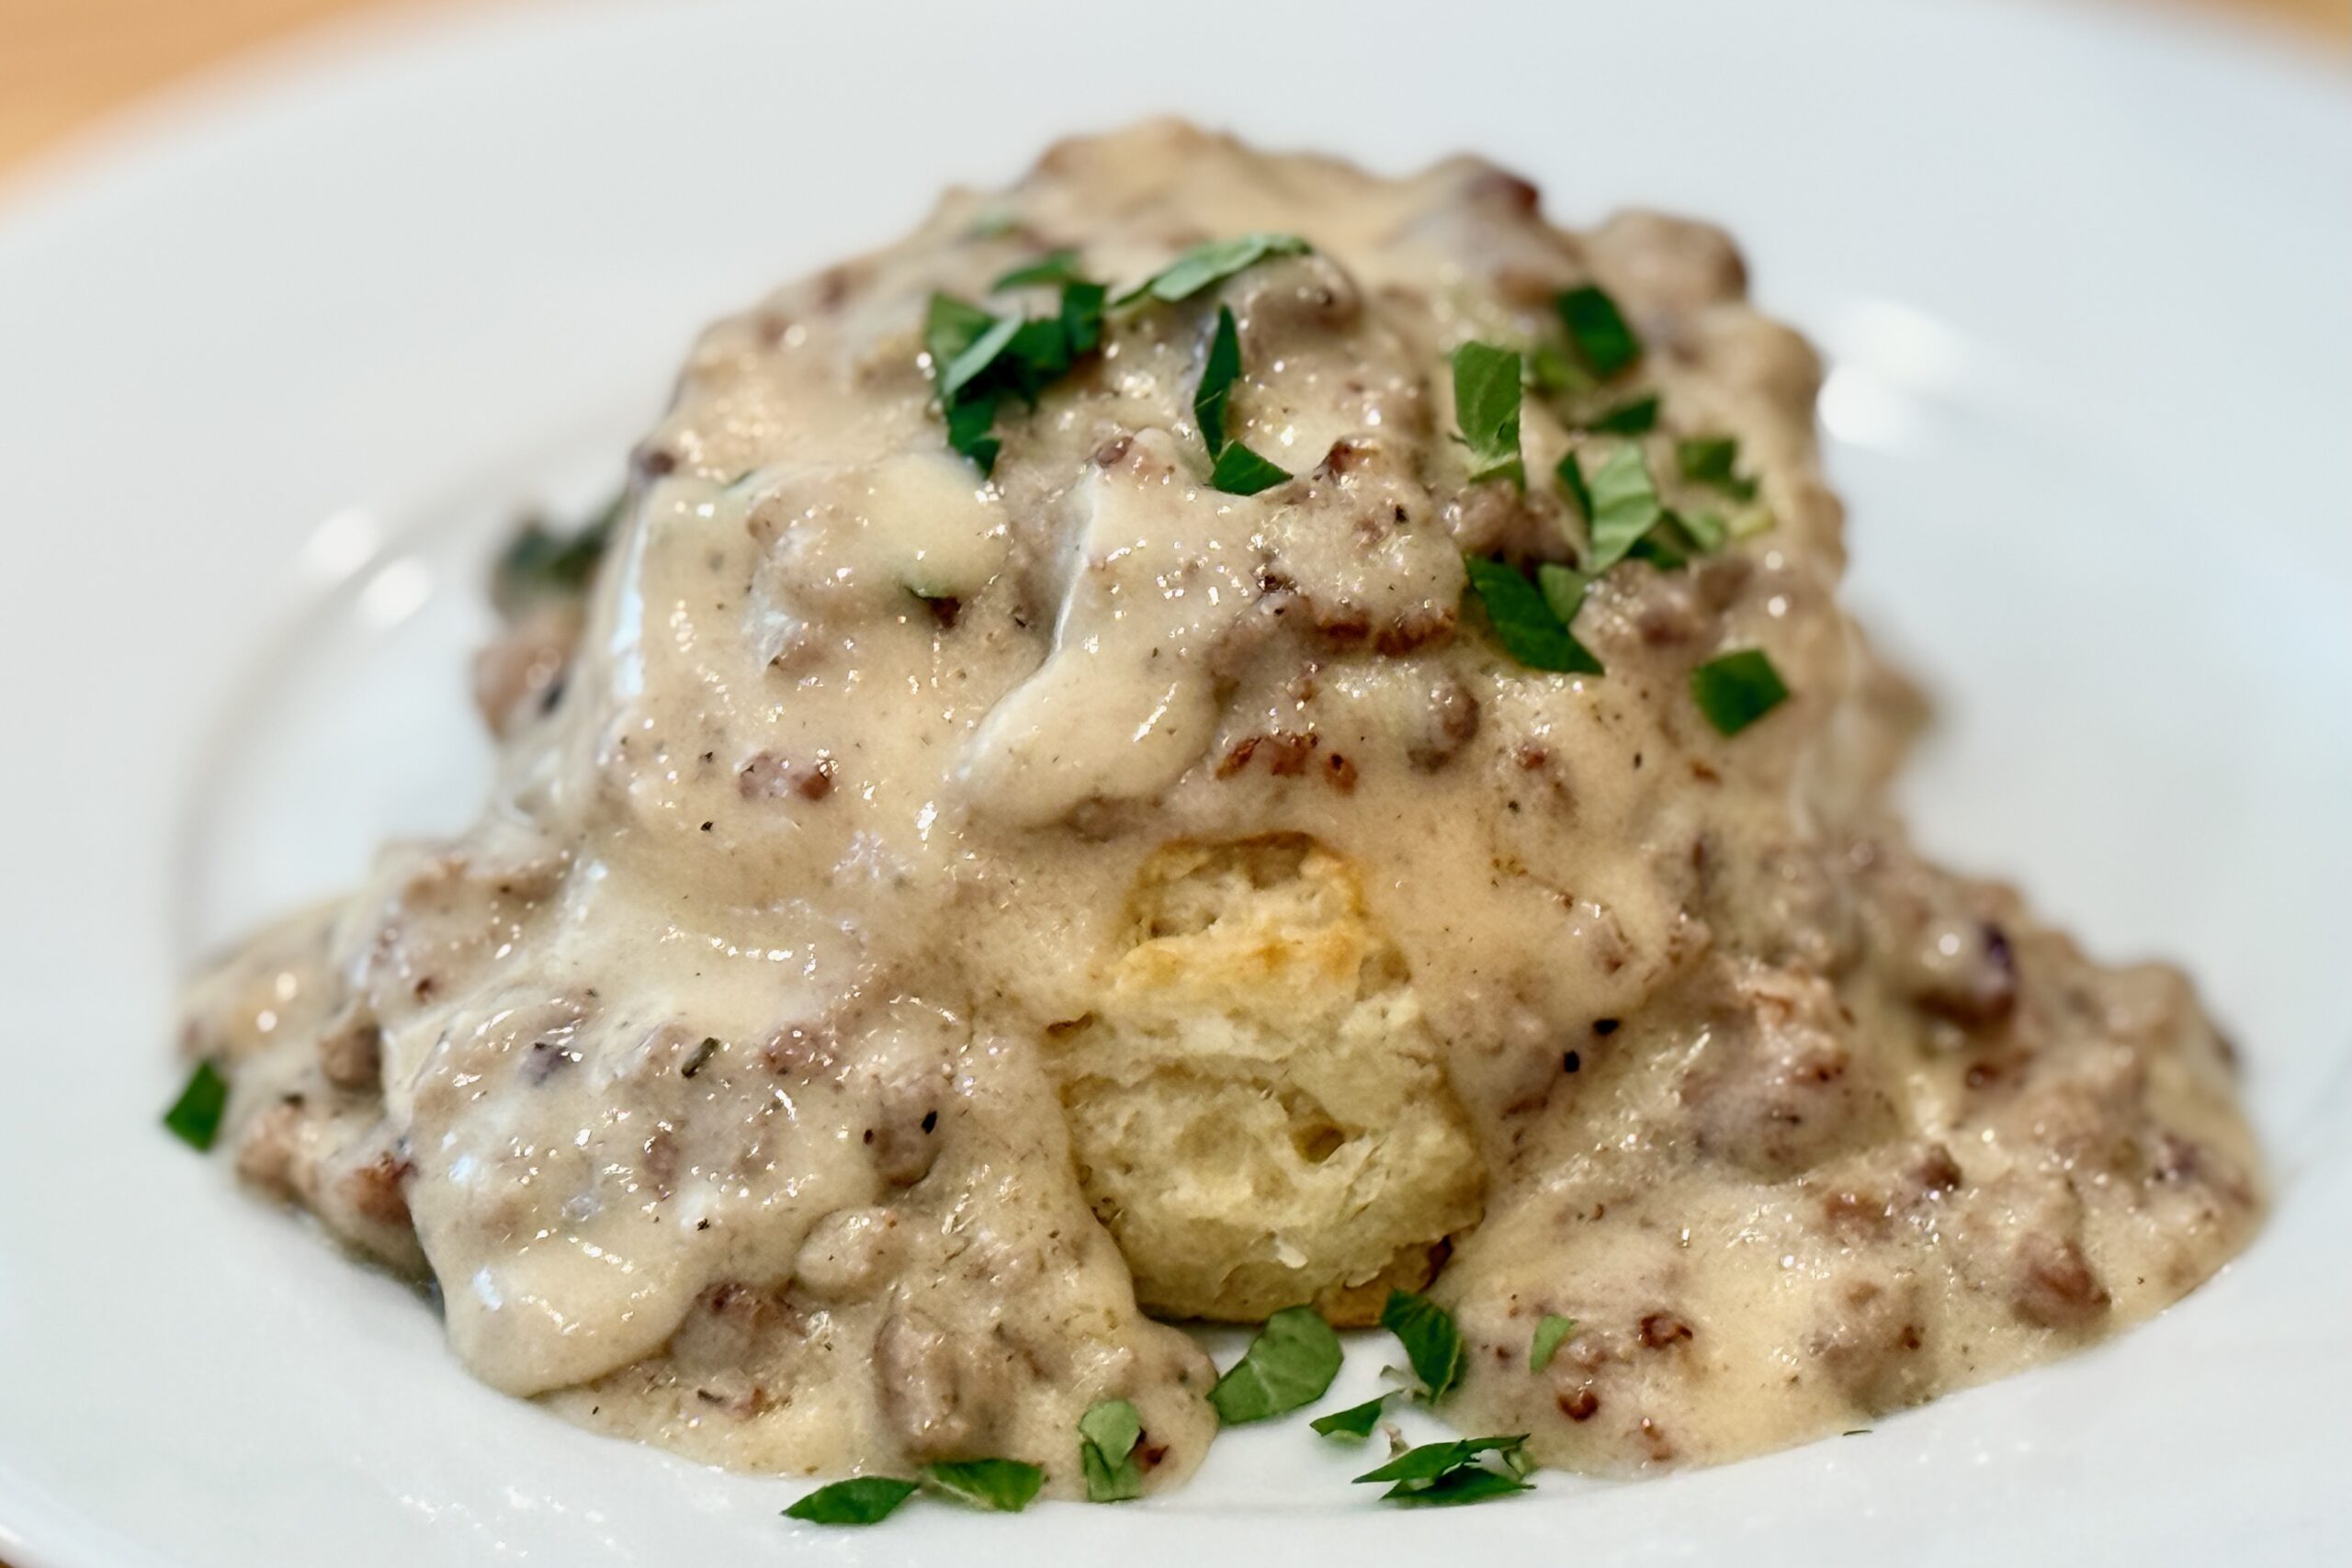
  • Southern-Style Sausage Gravy

    Southern-Style Sausage Gravy

    Sausage gravy, a Southern staple, has been a Huggins family favorite for generations. No true Southern breakfast is complete without buttery biscuits smothered in creamy sausage gravy. The sage sausage pays homage to my grandma Lena — a true Southern lady who loved using sage in her cooking. I learned to make this gravy watching my mom prepare it time and time again in our family kitchen in Southern California. I may just be superstitious, but I swear the gravy tastes best when it’s made in my favorite cast iron pan!


    Ingredients

    • 1 lb sage breakfast sausage
    • ½ cup (1 stick) butter
    • ½ cup flour, lightly mounded
    • 4–6 cups whole milk, divided (start with 4 cups and add more to adjust thickness)
    • salt, to taste
    • freshly ground black pepper or white pepper, to taste

    Directions

    Cook the Sausage:

    In a large skillet or cast iron pan over medium heat, cook the sausage until browned and crumbled, breaking it into small pieces as it cooks. When fully cooked, push the sausage to one side of the pan, leaving the drippings in the skillet.

    Make the Roux:

    Add the butter to the sausage drippings and let it melt completely. Sprinkle the flour over the melted butter and drippings, stirring constantly to form a smooth paste. Cook the roux for 2–4 minutes, stirring continuously, until it turns a pale blond color and smells lightly nutty. Do not let it brown.

    Add the Milk:

    Reduce the heat to medium-low. Slowly pour in about 6 cups of the milk while whisking or stirring constantly, scraping along the bottom of the pan to prevent scorching (especially when using cast iron). Continue to cook and stir until the gravy thickens and begins to gently bubble.

    Finish and Season:

    Stir the cooked sausage back into the thickened gravy. If the gravy is thicker than you prefer, add additional milk ½ cup at a time, stirring well heating after each addition, until it reaches your desired consistency—smooth, creamy, and thick enough to coat the back of a spoon while still pouring easily.

    Season with salt to taste and a generous amount of freshly ground black pepper or white pepper. Traditional Southern-style gravy is fairly pepper-forward, so don’t be shy unless you prefer it milder.

    Serve:

    Serve hot over warm Buttermilk Biscuits. This gravy is also excellent with fried eggs, soft-scrambled eggs, or grated boiled eggs alongside your biscuits.


    Notes

    Preparation

    • Milk scorches easily, especially in cast iron. Once the milk is added, keep the heat at medium-low and stir frequently, scraping along the bottom of the pan.
    • A pale blond roux (2–4 minutes of cooking) helps remove any raw flour taste while keeping the gravy light in color and flavor.
    • The gravy will continue to thicken as it sits off heat. If it becomes too thick, gently rewarm and whisk in a little extra milk until it loosens to your preferred consistency.

    Serving Suggestions

    • Serve over hot buttermilk biscuits for a classic Southern breakfast.
    • Pair with fried eggs, soft-scrambled eggs, or grated boiled eggs for added protein and richness.
    • Try serving with hash browns, breakfast potatoes, or over toasted bread when biscuits aren’t available.

    Variations

    • Add a few drops of Worcestershire sauce to the gravy for deeper savoriness.
    • Stir in a dash of your favorite hot sauce (such as Crystal or Tabasco) for gentle heat that complements the sage and sausage.
    • If your sausage is not very sage-forward, add a tiny pinch of rubbed sage toward the end of cooking, tasting as you go to avoid overpowering the gravy.
    • Use white pepper instead of black pepper if you prefer a smoother look while keeping a robust, peppery flavor.

    Make-Ahead & Storage

    • Sausage gravy can be made up to 2 days in advance and cooled completely before refrigerating in an airtight container.
    • Reheat gently over low heat, adding a splash of milk as needed to loosen the gravy back to a smooth, creamy consistency.
    • For food safety, avoid leaving the gravy at room temperature for extended periods; promptly refrigerate leftovers.
  • Nacho Cheese Sauce

    Nacho Cheese Sauce

    This smooth and flavorful nacho cheese sauce blends cheddar, colby jack, green chiles, warm spices, and a touch of cream cheese for richness—perfect for dipping, drizzling, or spooning over anything that needs a bold, melty kick.


    Ingredients

    • 2 tbsp butter
    • ¼ tsp powdered annatto (optional)
    • ¼ tsp garlic powder
    • ¼ tsp onion powder
    • ¼ tsp ground cumin
    • ¼ tsp chipotle chile powder
    • 2 tbsp flour
    • 1½ cups milk
    • 1½ tsp sodium citrate (optional)
    • 4 oz cream cheese, cut into small chunks
    • 4 oz cheddar cheese, grated
    • 4 oz colby jack cheese, grated
    • ½ tsp table salt
    • ¼ tsp fish sauce (optional)
    • 2–4 oz diced green chiles

    Directions

    Make the Sauce

    Heat butter in a skillet over medium heat. When melted and bubbling, add annatto (if using) and bloom for 15 seconds.

    Add garlic powder, onion powder, cumin, and chipotle chile powder; whisk briefly to bloom the spices. Add flour to form a roux and cook until the mixture is bubbling and the raw flour scent dissipates.

    Dissolve sodium citrate in the milk, then whisk the milk mixture into the roux. Continue whisking until the mixture thickens and reaches a gentle boil.

    Whisk in the cream cheese until fully incorporated. Remove the skillet from heat.

    Add the cheddar and colby jack a handful at a time, whisking thoroughly between additions until smooth. Stir in salt, fish sauce (if using), and green chiles.


    Notes

    Preparation

    Powdered annatto gives a warm reddish color and mimics classic cheddar coloring. It is a natural antioxidant with additional health benefits.

    Sodium citrate enhances smooth meltability, adds gentle tanginess, and helps prevent the sauce from separating. Increasing to 1½ tsp improves stability, especially during reheating.

    Fish sauce adds subtle umami depth and rounds out the flavors but remains undetectable as a distinct ingredient.

    Serving Suggestions

    For extra heat, stir in a splash of your favorite hot sauce just before serving.

    Pickled jalapeños or 1–2 tsp jalapeño brine may be added for brightness and acidity.

    Variations

    Optional Add-Ins:

    • Diced pickled jalapeños
    • Jalapeño brine for acidity
    • Extra green chiles for mild heat

    These additions adjust heat and acidity without changing the core sauce flavor.

    Make-Ahead & Storage

    Store cooled sauce in an airtight container for up to 4 days.

    Reheat gently over low heat on the stovetop or in the microwave in 20–30 second bursts, stirring between intervals.

    If the sauce thickens during storage or reheating, whisk in 1–3 tbsp milk as needed to adjust consistency.

  • Salsa Huancaína

    Salsa Huancaína

    This creamy Central Peruvian classic blends peppers, queso fresco, and milk into a silky, vibrant sauce with gentle heat and rich, comforting flavor. Enjoyed throughout Peru, salsa huancaína is one of those dishes that feels deeply personal—nearly every family has their own version, adjusted by memory, preference, or what’s on hand. Traditionally spooned generously over tender potatoes, it’s just as delicious used as a dip, drizzle, or spread, bringing its unmistakable balance of warmth and creaminess to countless dishes.


    Ingredients

    Sauce Base

    • ½ medium yellow onion, diced and sautéed until translucent
    • 1 large yellow or orange bell pepper, roasted, peeled, and seeded
    • ½ habanero (to taste)
    • ¼ cup whole or evaporated milk
    • ⅓–½ cup queso fresco
    • 6–8 saltine crackers (adjust to desired thickness)
    • 1–2 tbsp vegetable oil
    • salt to taste

    Optional Add-Ins

    • 1 clove garlic
    • splash of lime juice (for brightness)

    Directions

    Sauté the Aromatics

    Sauté the diced onion in a small amount of oil until soft and fragrant, then let cool slightly.

    Prepare the Peppers

    Roast, peel, and seed the bell pepper. Adjust heat by adding part or all of the habanero.

    Blend the Sauce

    Blend the onion, roasted bell pepper, habanero, milk, and queso fresco until smooth.

    Add 6 saltine crackers and blend again. Adjust consistency by adding more crackers to thicken or additional milk to thin.

    Blend in a small amount of oil for a silkier, more emulsified texture. Season with salt to taste.


    Notes

    Preparation

    • Peruvian recipes traditionally use ají amarillo (2–3 peppers, roasted, peeled, and seeded). If you have access to frozen or paste ají amarillo, use it for the most authentic flavor.
    • Evaporated milk gives a creamier, more traditional consistency, but whole milk works well in a pinch.
    • Queso fresco is classic, but queso blanco or feta can be used for a saltier, brinier profile.
    • Saltines thicken the sauce while keeping the flavor mild; stale bread is a suitable substitute.

    Serving Suggestions

    • Classic: Spoon over boiled yellow potatoes (papas a la huancaína) and garnish with hard-boiled eggs, black olives, and lettuce.
    • As a dip: Serve with potato fries, yuca fries, fresh vegetables, or plantain chips.
    • As a sauce: Drizzle over grilled chicken, steak, or roasted vegetables for a creamy, pepper-forward accent.
    • For best texture, chill lightly before serving so the sauce thickens and clings beautifully to potatoes or vegetables.

    Variations

    • Increase or decrease the habanero to adjust heat, or add a small amount of yellow chili paste if you have it.
    • Add a garlic clove for deeper aroma, or a splash of lime juice for additional brightness.

    Make-Ahead & Storage

    This sauce improves after a few hours as the flavors meld.

    • Refrigerator: Store in an airtight container for 3–4 days.
    • Freezing is not recommended, as the dairy and crackers may separate.
  • Buttermilk Syrup

    Buttermilk Syrup

    Rich, creamy, and lightly caramelized, this buttermilk syrup is a warm, velvety topping for pancakes, waffles, or French toast. It bubbles up as it cooks, creating a smooth, frothy texture that perfectly balances sweetness with a hint of tang from the buttermilk.


    Ingredients

    • 1½ cups sugar
    • ¾ cup buttermilk
    • ½ cup butter
    • 2 tbsp corn syrup (optional)
    • 1 tsp baking soda
    • 2 tsp vanilla extract

    Directions

    Cook the Syrup

    In a large saucepan, combine all ingredients except baking soda and vanilla. Stir constantly over medium heat until the mixture reaches a steady boil.

    Boil for about 3½ minutes, watching carefully — the syrup will foam up once baking soda is added, so ensure your saucepan is large enough to accommodate expansion.

    Finish and Serve

    Remove from heat and whisk in baking soda and vanilla extract. Stir until the mixture becomes frothy and smooth. Serve warm over pancakes, waffles, or French toast.


    Notes

    Preparation

    • Use a large saucepan (at least 3 quarts) since the syrup will triple in volume when baking soda is added.
    • Thickness control: The 3½-minute boil is the baseline. For a thicker syrup, extend the boil to 4–5 minutes before adding baking soda; for a lighter/thinner syrup, boil 2½–3 minutes. It will thicken further as it cools, so rewarm gently to loosen before serving.
    • Whisk continuously after adding baking soda to achieve a light, foamy texture.

    Serving Suggestions

    • Serve warm over French toast, pancakes, waffles, or crêpes.
    • Top French toast made with chunky cinnamon bread and garnish with strawberries and whipped cream for a restaurant-style brunch.

    Variations

    • Maple Buttermilk Syrup: Substitute maple syrup for corn syrup.
    • Orange Buttermilk Syrup: Stir in 1 tsp orange zest after adding vanilla extract.
    • Coconut Buttermilk Syrup: Reduce vanilla extract to ½ tsp and add ½ tsp coconut flavoring.

    Make-Ahead & Storage

    • Store in an airtight container in the refrigerator for up to 1 week.
    • Reheat gently on the stovetop or in the microwave, stirring before serving.
    • Do not boil again after reheating to preserve its smooth, creamy consistency.
  • Tamarind Paste from Whole Tamarind Pods

    Tamarind Paste from Whole Tamarind Pods

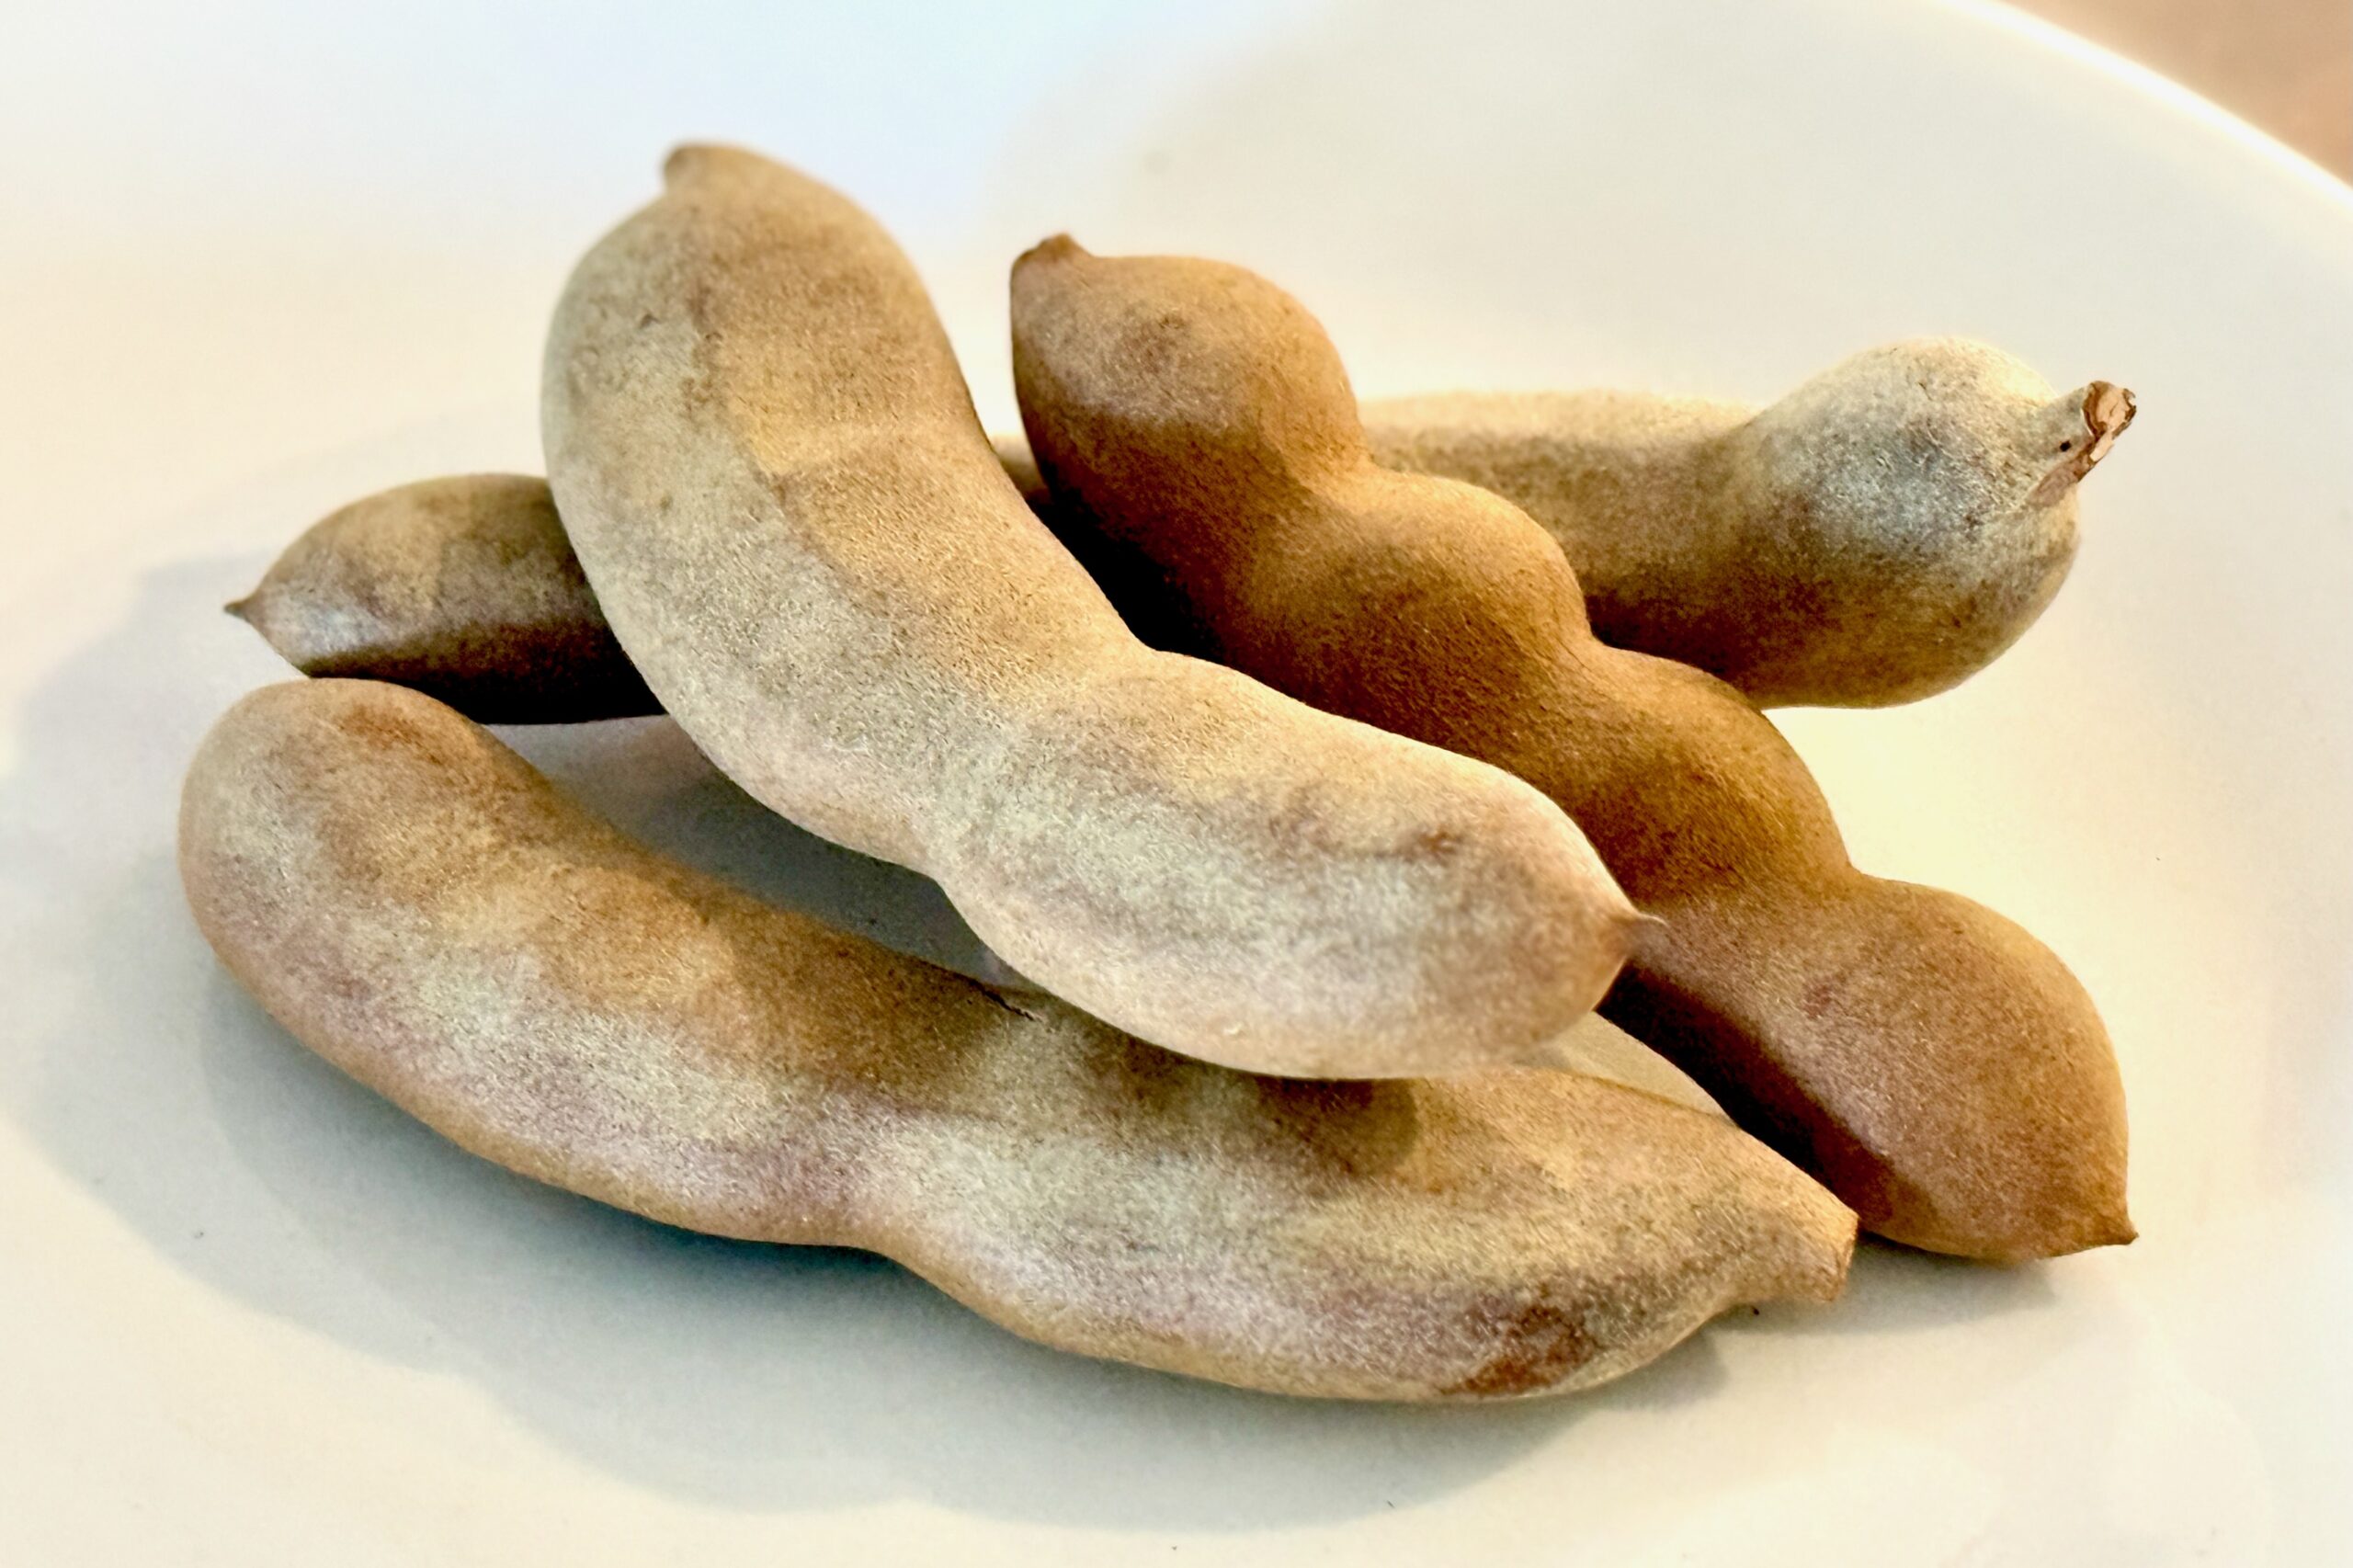
    Homemade tamarind concentrate is deeper, brighter, and more aromatic than anything from a jar. Starting with whole tamarind pods, you strip away the shells, soak and mash the pulp, then slowly reduce it to a thick, spoonable paste that keeps well and adds complex sweet-sour flavor to curries, chutneys, sauces, and marinades.


    Ingredients

    • 200 g (about 7 oz) whole dried tamarind pods
    • 240 ml (1 cup) hot water, plus more as needed to barely cover the pulp

    Directions

    Prepare the Tamarind Pods

    Crack and peel away the brittle outer shells of the tamarind pods. Remove and discard any stringy veins. You should be left with sticky, dark brown pulp with seeds and fibers attached.

    Soak and Soften the Pulp

    Place the cleaned tamarind pulp in a heatproof bowl. Pour hot water over the pulp, using just enough to barely cover it (start with about 1 cup). Let soak for 15–20 minutes, or until the pulp is very soft and pliable.

    Mash and Extract the Pulp

    Using clean hands or a sturdy spoon, squeeze, mash, and knead the softened tamarind in the water. Work the pulp thoroughly to dissolve as much as possible into the liquid. The mixture should become thick, cloudy, and pulpy, with seeds and tough fibers separating out.

    Strain the Tamarind

    Set a fine-mesh strainer over a clean bowl. Working in batches if needed, pour the tamarind mixture into the strainer and press firmly with the back of a spoon or a spatula to force the smooth pulp through.

    Scrape the underside of the strainer to collect any clinging pulp. Discard the seeds and fibrous solids when they are mostly dry and no longer release pulp. You should now have a thick, pourable tamarind purée.

    Reduce to a Concentrate (Optional but Recommended)

    Transfer the strained tamarind purée to a small saucepan. Set over low heat and bring to a gentle simmer, stirring frequently to prevent sticking or scorching.

    Simmer for 5–10 minutes, or until the purée thickens into a glossy, spoonable paste similar to tomato paste. The goal is to evaporate excess water and intensify the flavor, not to boil vigorously. Remove from heat and let cool to room temperature.

    Cool, Portion, and Store

    Once completely cool, transfer the tamarind concentrate to a clean, dry jar, or portion it into 1–2 tbsp amounts in an ice cube tray for easy use in recipes.

    Refrigerate the concentrate for up to 3–4 weeks, or freeze for longer storage (up to 6 months). Thaw frozen portions in the refrigerator or at room temperature before using.


    Notes

    Preparation

    • From 200 g whole tamarind pods, you can expect roughly 40–60 g of thick concentrate once reduced, depending on how much water you use and how far you cook it down.
    • Use only enough hot water to barely cover the pulp; extra water makes the reduction step longer and can dilute the flavor.
    • Stir constantly near the end of the simmering step—tamarind is high in natural sugars and can stick or scorch if left unattended.
    • If you prefer a slightly looser paste (closer to some commercial tamarind pastes), shorten the simmering time and stop as soon as the purée coats the back of a spoon.

    Serving Suggestions

    • Use 1–2 tsp concentrate to add tangy depth to curries, dals, and lentil soups.
    • Whisk into chutneys, dipping sauces, and barbecue glazes for a sweet-sour backbone.
    • Stir a spoonful into pad thai sauce, tamarind-based stir-fries, or noodle dishes.
    • Combine with sugar, salt, and spices for tamarind drinks, aguas frescas, or sherbets.

    Variations

    • From Tamarind Block: Substitute 200 g compressed tamarind block for the pods. Break into chunks, soak in hot water as directed, then mash, strain, and reduce in the same way.
    • Tamarind Purée (No Reduction): Skip the simmering step and use the strained tamarind purée as-is when recipes call for “tamarind pulp” or “tamarind purée” rather than concentrate.
    • Stronger or Milder Concentrate: For a stronger concentrate, simmer a bit longer to a very thick paste; for a milder one, keep the paste slightly looser and use more by volume in recipes.

    Make-Ahead & Storage

    • Refrigerator: Store tamarind concentrate in a clean, airtight jar for up to 3–4 weeks.
    • Freezer: Portion into 1–2 tbsp amounts (for example, in an ice cube tray) and freeze for up to 6 months.
    • Use Clean Utensils: Always use a clean spoon to scoop out concentrate to help maximize shelf life and prevent spoilage.
    • Thawing: Thaw frozen portions in the refrigerator or at cool room temperature before stirring into sauces or liquids.
  • Southern-Style Brown Gravy

    Southern-Style Brown Gravy

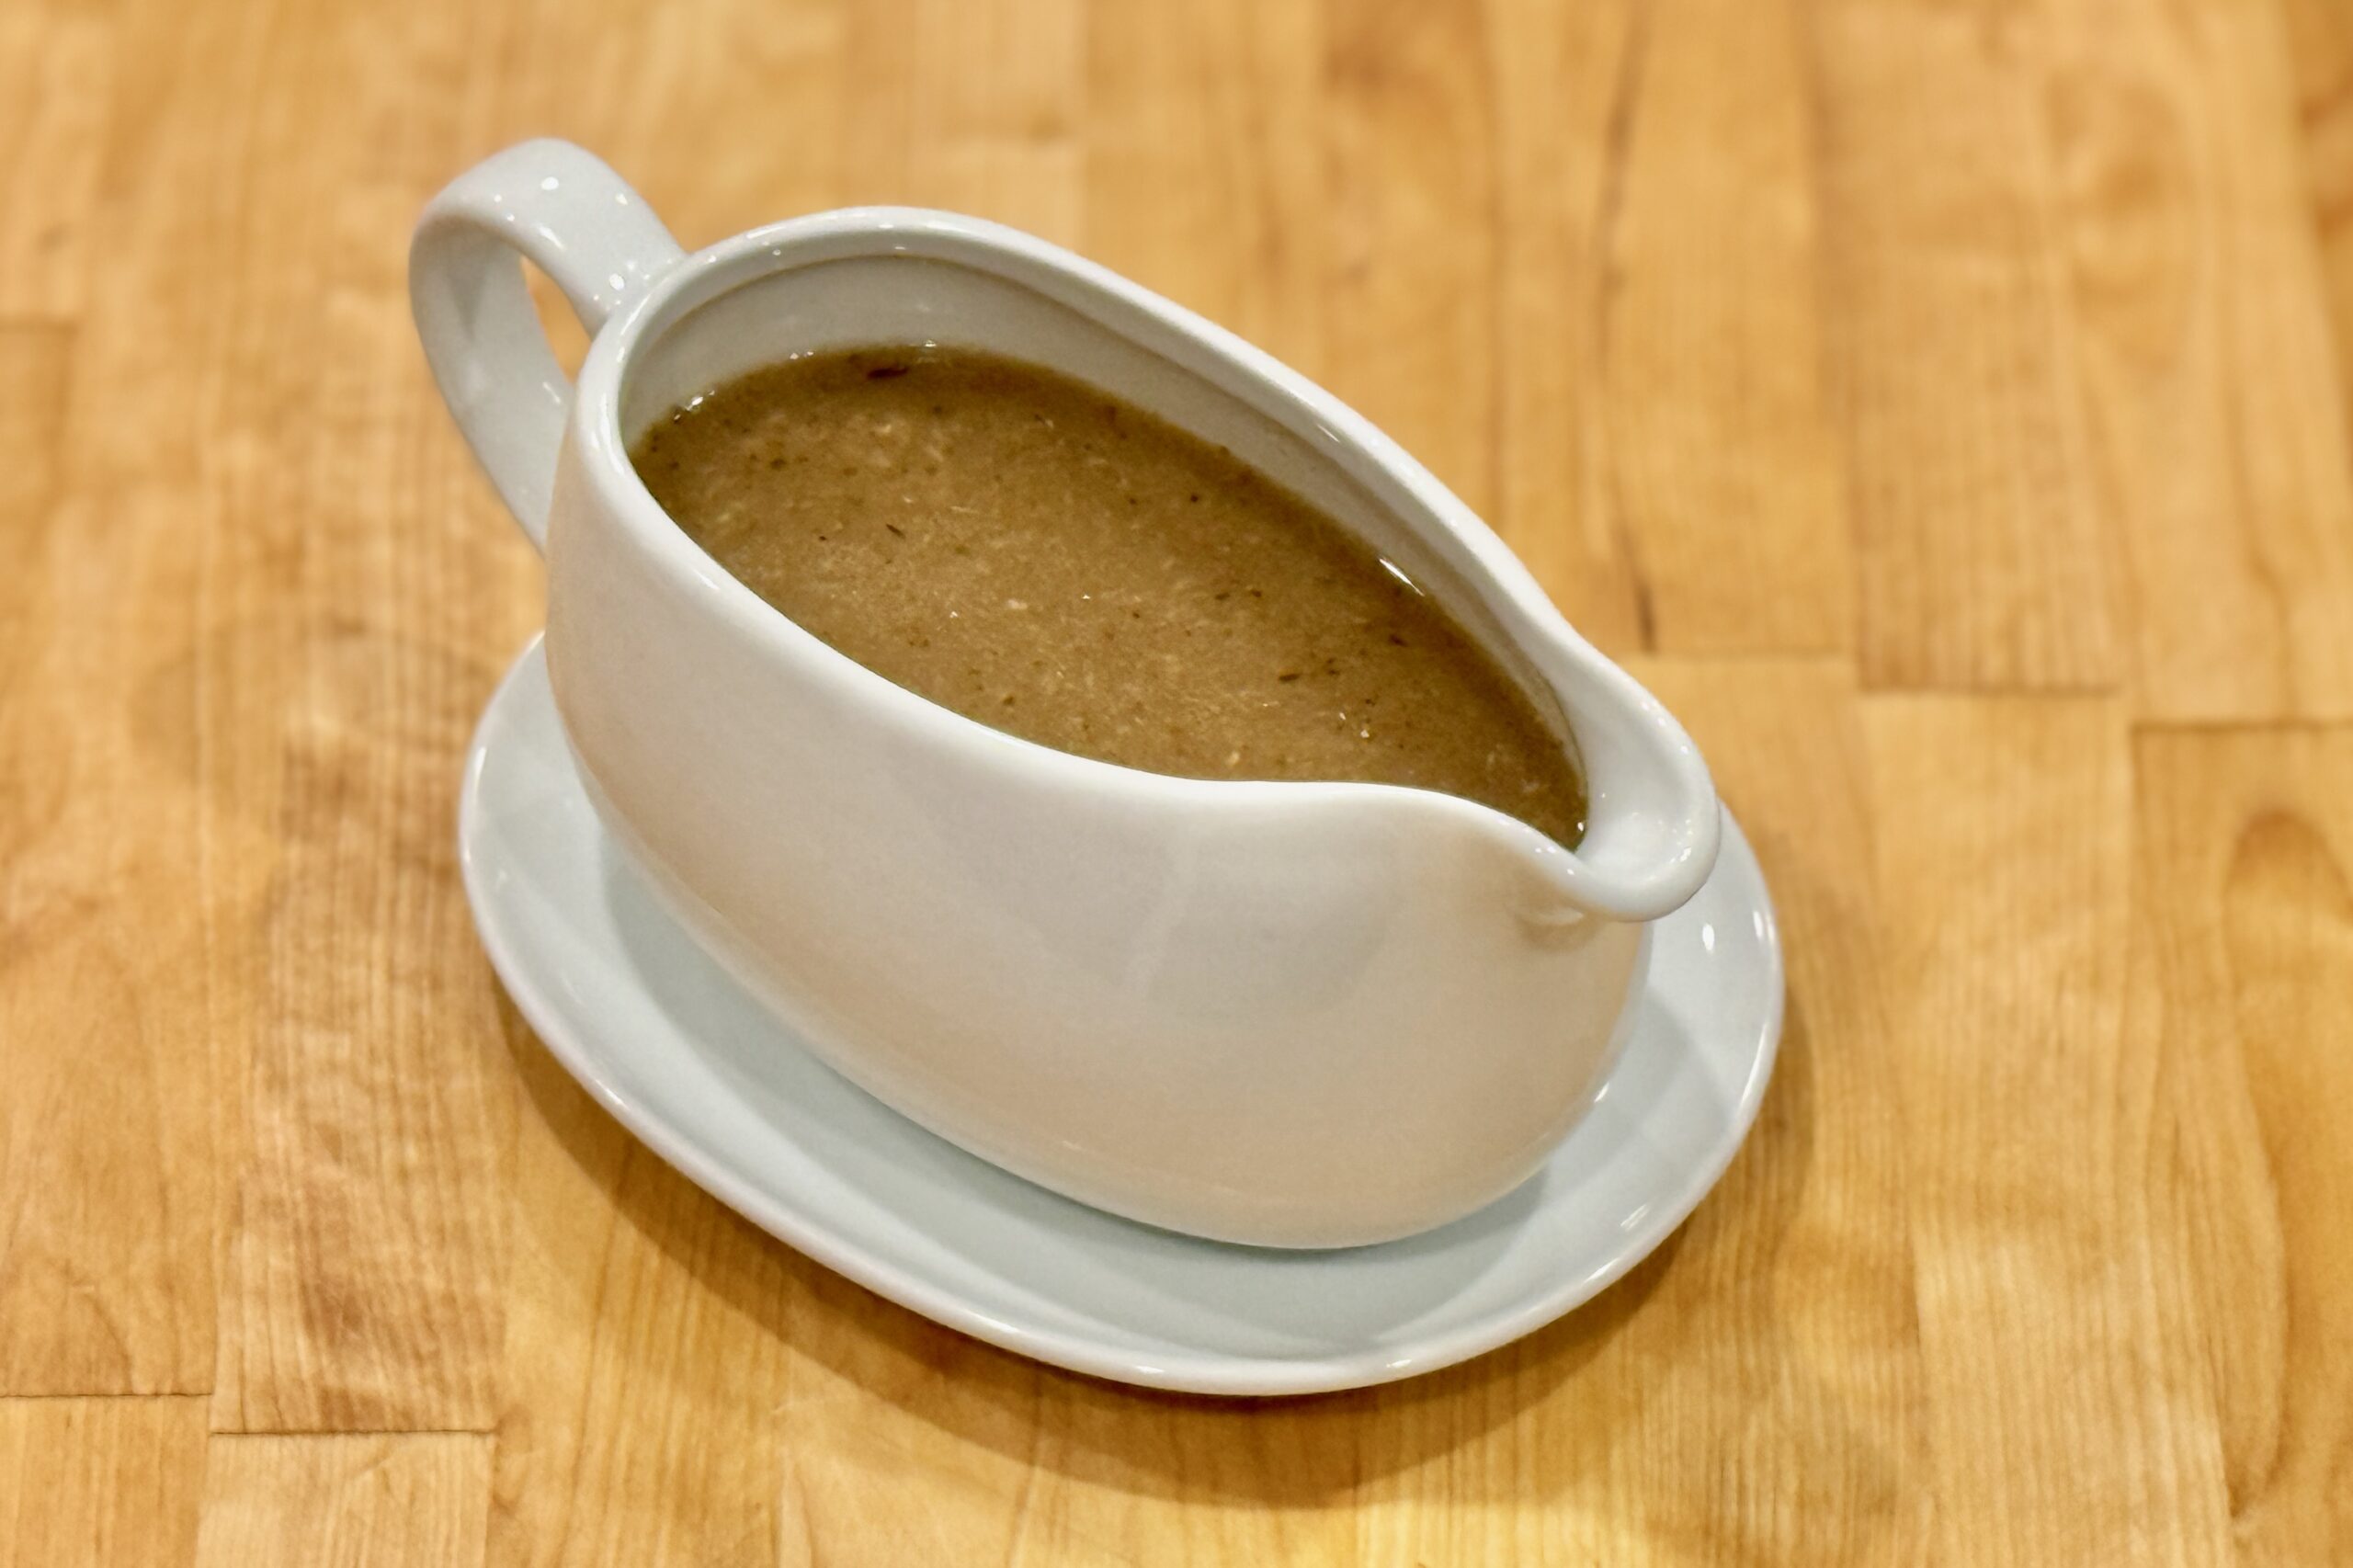
    Rich, savory, and silky smooth, this Southern-style brown gravy combines beef and chicken base for perfectly balanced depth. A touch of butter adds luxurious body, while optional MSG and soy sauce enhance umami. Choose your preferred thickener—each yields a slightly different texture, from velvety to glossy restaurant-style richness.


    Ingredients

    • 2½ cups boiling water
    • 1½ tbsp beef base
    • 1½ tbsp chicken base
    • ½ tsp onion powder
    • ½ tsp black pepper
    • ¼ tsp dried sage
    • ⅛ tsp dried thyme
    • ⅛ tsp dried marjoram (or rosemary)
    • ½ tsp MSG (Aji-no-moto, Accent, etc.), optional but highly recommended
    • 2–3 tbsp butter
    • Meat drippings, fat skimmed (optional)
    • ½ tsp soy sauce, Worcestershire sauce, or coconut aminos (optional, to taste)
    • Choose One Thickening Method

      • Potato Starch (silky consistency): Mix 2 tbsp potato starch with 2 tbsp cold water to form a slurry; whisk into simmering gravy until thickened.
      • Cornstarch + Xanthan Gum (stable): Mix 2 tbsp cornstarch + ⅛ tsp xanthan gum with 2 tbsp cold water; whisk thoroughly, then whisk into simmering gravy. The xanthan gum can be omitted, but the gravy will be more stable and glossy if included.
      • Clear Jel (silky & stable): For regular Clear Jel (not instant), mix 2 tbsp Clear Jel with 2 tbsp cold water and whisk into simmering gravy until smooth. This is my go-to method.

    Directions

    Prepare the Broth

    In a medium saucepan, combine boiling water, beef base, chicken base, onion powder, black pepper, sage, thyme, marjoram, and MSG (if using). Stir in meat drippings, if available, and bring to a boil over medium-high heat.

    Thicken the Gravy

    Stir your chosen slurry to recombine, then slowly whisk it into the simmering broth in a thin, steady stream. Cook 1–2 minutes, whisking constantly, until the gravy thickens and becomes smooth.

    Finish and Adjust

    Remove from heat and whisk in butter until fully incorporated. Taste and adjust seasoning as needed. If too salty, add a splash of water or chicken broth. Stir in soy sauce, Worcestershire sauce, or coconut aminos for extra depth, if desired. If too thick, whisk in a little hot water or broth; if too thin, add a small amount of slurry and simmer until thickened.


    Notes

    Preparation

    • Potato starch creates a soft, silky finish; Clear Jel gives the most stable, restaurant-quality texture.
    • Adding both beef and chicken bases produces the most balanced flavor—rich but not overpowering.
    • For a more chicken-forward flavor, use 2 tbsp chicken base and 1 tbsp beef base; for beef-forward flavor, use 2 tbsp beef base and 1 tbsp chicken base.
    • Better Than Bouillon bases work especially well for this recipe.

    Serving Suggestions

    • Perfect alongside mashed potatoes, chicken-fried steak, meatloaf, or Semmelknödel (Bavarian bread dumplings).
    • Use as a finishing gravy for roast beef or pork, or as a dipping sauce for biscuits.

    Make-Ahead & Storage

    • This gravy reheats beautifully and can be prepared in advance for convenience.
    • Refrigerate in an airtight container for up to 4 days.
    • Reheat gently on the stove over low heat, whisking to restore texture.
    • For longer storage, freeze for up to 2 months; thaw overnight in the refrigerator and reheat slowly.
  • Neapolitan-Style Tomato Sauce

    Neapolitan-Style Tomato Sauce

    This uncooked Neapolitan-style pizza sauce preserves the bright, fresh flavor of San Marzano tomatoes—sweet, rich, and perfectly balanced for high-heat baking. Using true DOP-certified tomatoes gives an authentic taste of Naples, with a smooth texture and naturally sweet finish that perfectly complements a light, airy crust.


    Ingredients

    • (For about 6–8 pizzas)
    • 1 can (28 oz / 800 g) whole peeled San Marzano tomatoes (DOP if possible)
    • ½ tbsp table salt (adjust to taste)
    • 2 tbsp extra-virgin olive oil
    • 2–4 fresh basil leaves, torn (optional but recommended)

    Directions

    Prepare the Sauce

    Drain excess juice from tomatoes into a bowl, reserving it in case the sauce needs thinning. Crush tomatoes by hand until mostly smooth but still slightly textured—avoid over-crushing for best flavor and body.

    Stir in salt, olive oil, and basil until evenly mixed.

    Use the Sauce

    Spread thinly over stretched dough just before baking (Neapolitan Pizza Dough works beautifully). Use approximately 2–2½ oz (60–70 g) of sauce per 10–12″ pizza.

    Do not pre-cook the sauce—the natural sugars in the tomatoes caramelize under high oven heat, producing rich, authentic flavor.


    Notes

    Preparation

    • Use only high-quality San Marzano tomatoes with the DOP seal for the sweetest, least acidic results.
    • Do not blend the sauce completely smooth; a slightly rustic texture gives better flavor and adhesion.

    Serving Suggestions

    • Use as the base for Pizza Margherita—add mozzarella, parmesan, and fresh basil.
    • Try on Pizza Marinara with garlic, oregano, and a drizzle of olive oil.
    • Use in Shoarma Pizza or Carnitas Pizza for a Dutch or Mexican-inspired twist.

    Variations

    • For a smoother sauce, pulse briefly with an immersion blender (1–2 seconds only).
    • For a hint of depth, add a tiny pinch of sugar if your tomatoes are unusually acidic.
    • For a garlic-forward version, rub a cut clove of garlic over the dough before adding sauce.

    Make-Ahead & Storage

    • Store sauce in an airtight container in the refrigerator for up to 5 days.
    • Freeze for up to 3 months; thaw in the refrigerator overnight before using.
  • Cilantro-Lime Crema

    Cilantro-Lime Crema

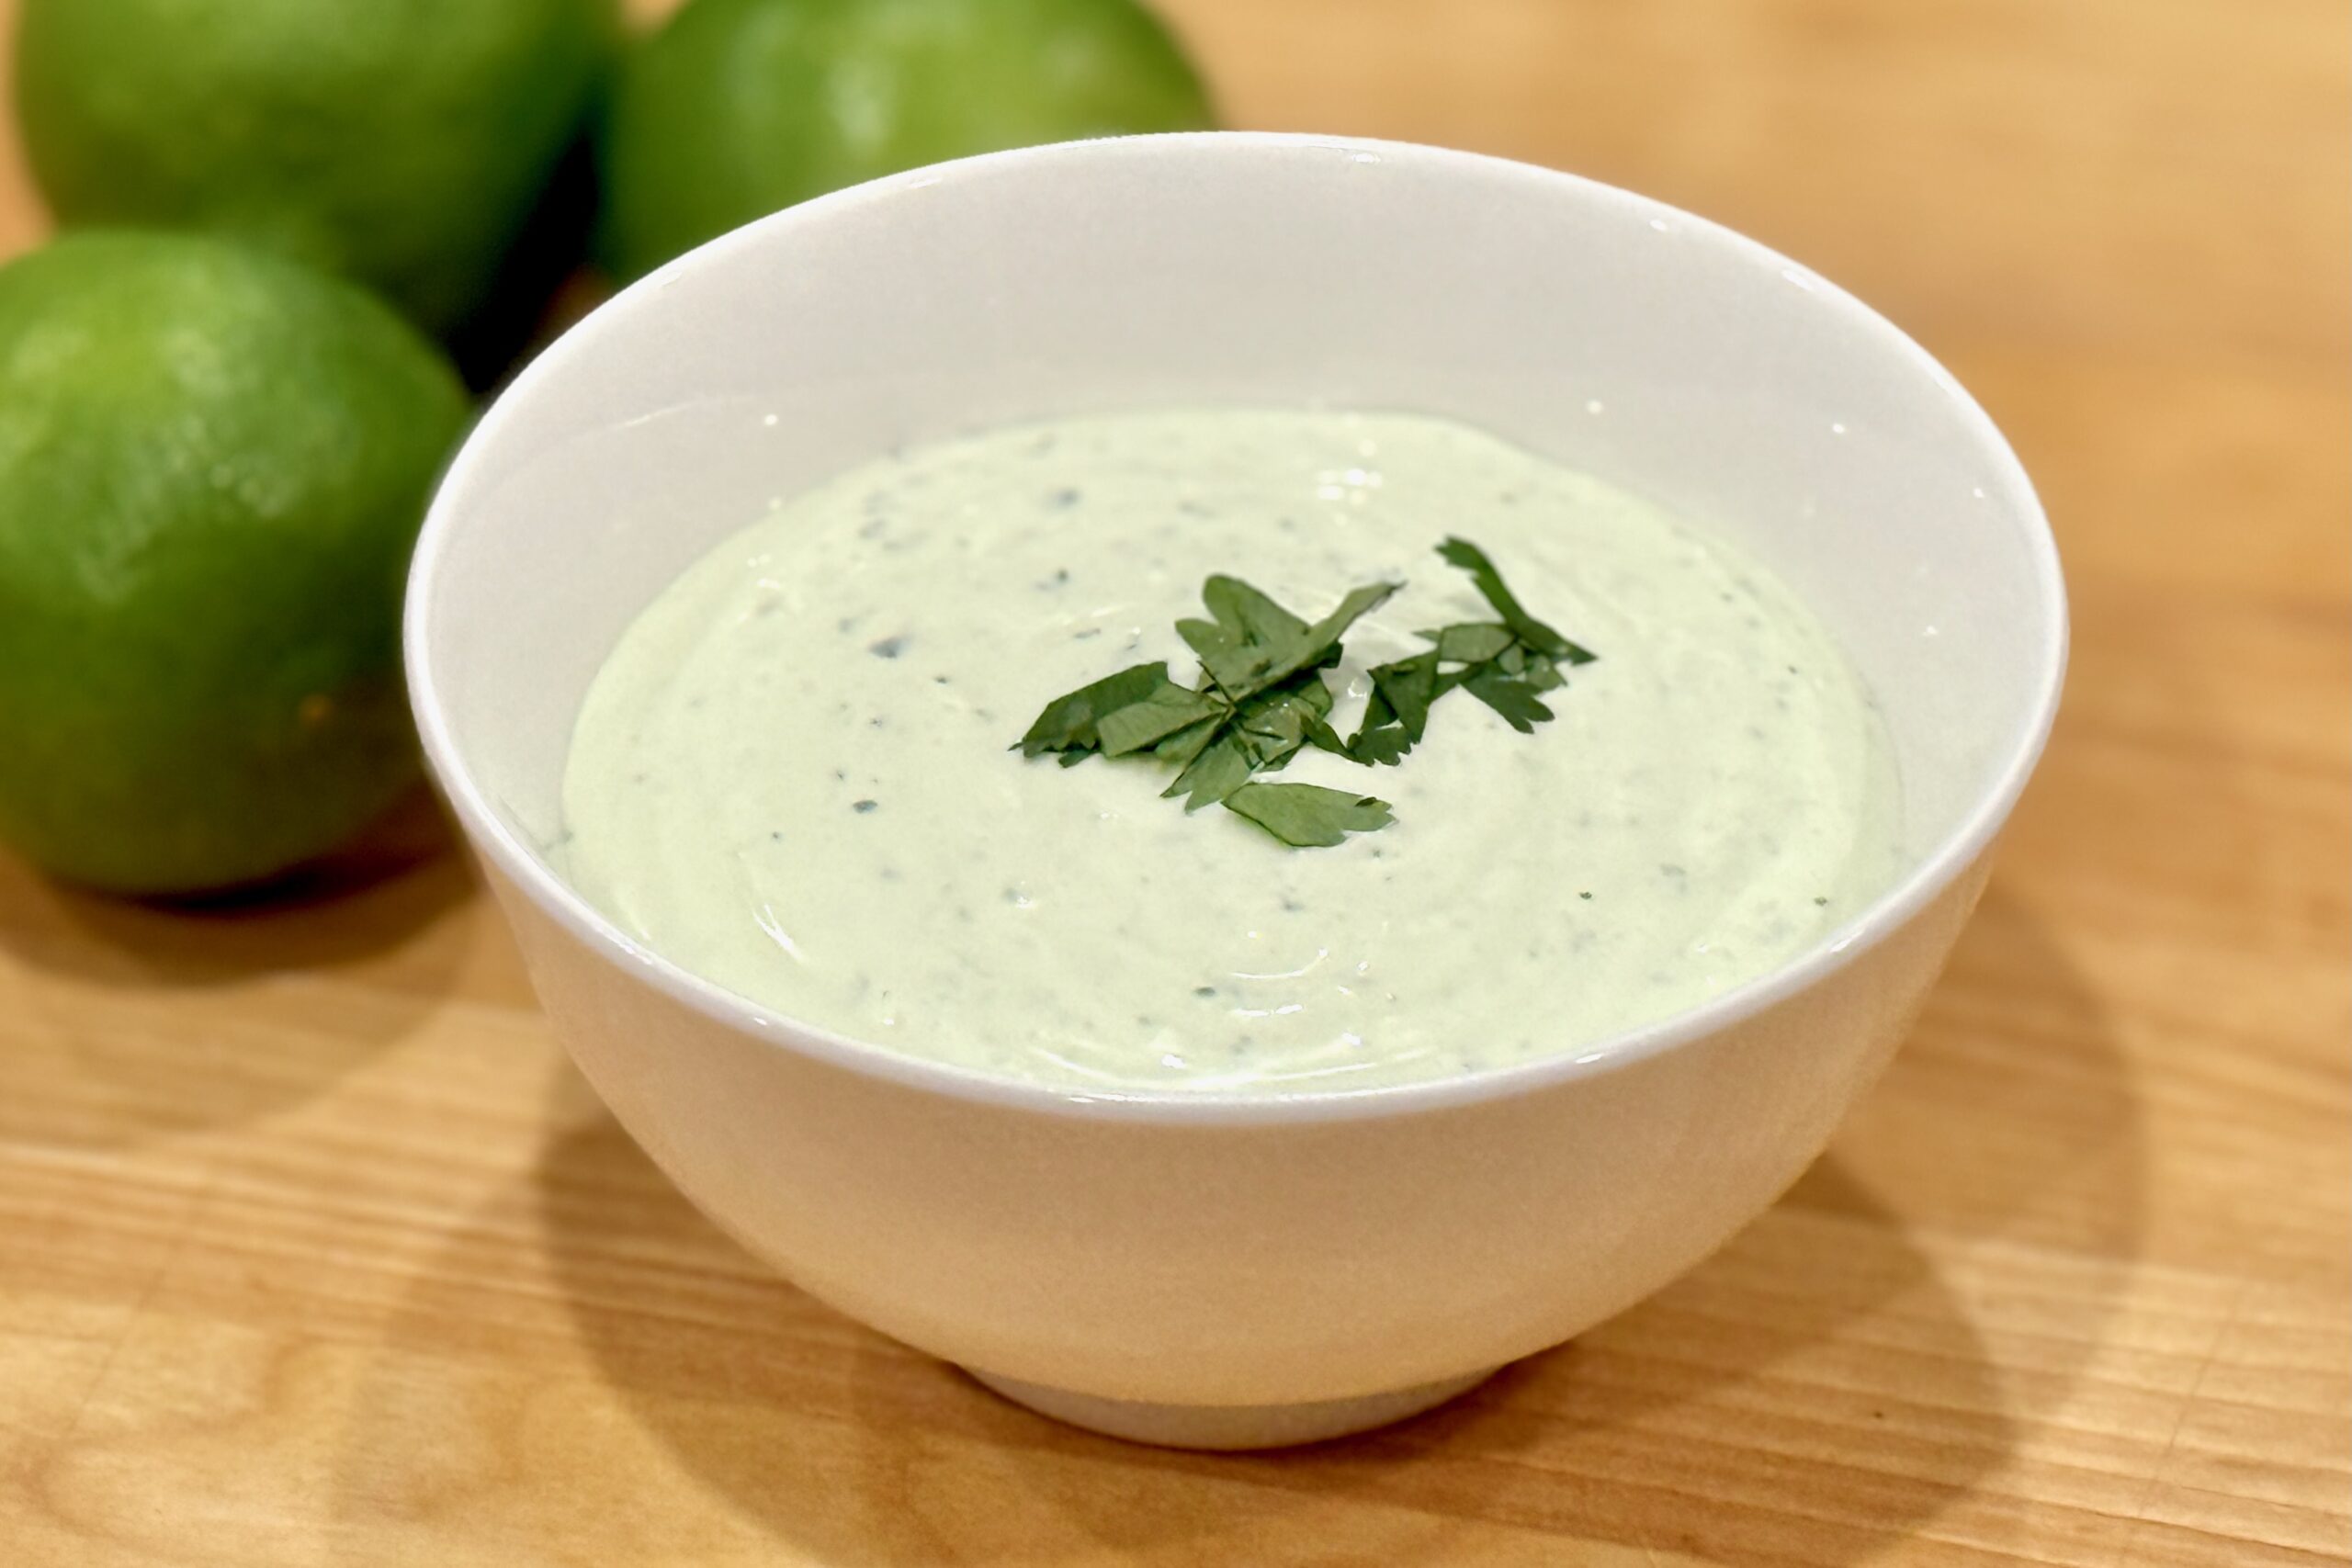
    Smooth, tangy, and fresh—this cilantro-lime crema adds a bright, herby finish to tacos, enchiladas, grilled meats, and especially Chilaquiles Verdes. The balance of sour cream and mayonnaise gives it a silky texture that clings beautifully while staying light and refreshing.


    Ingredients

    • ¾ cup sour cream
    • ¼ cup mayonnaise
    • ½ cup fresh cilantro (leaves plus tender stems)
    • 1½ tbsp lime juice (plus ½ tsp reserved for finishing)
    • 1 tsp lime zest
    • 1 small clove garlic, grated or minced
    • ¼ tsp table salt
    • 1–2 tbsp water, as needed to thin

    Optional Add-Ins

    • ½ small jalapeño (seeded) for mild heat and vibrant color
    • 1 tsp pickled jalapeño brine for extra tang and brightness
    • A few drops chipotle adobo liquid for a smoky, savory variation

    Directions

    Blend the Crema

    Combine sour cream, mayonnaise, cilantro, lime juice, lime zest, garlic, salt, and 1 tbsp water in a blender or small food processor.

    Pulse several times, then blend until smooth and light green. If too thick, add more water a teaspoon at a time until the crema reaches a drizzleable consistency.

    Finish and Adjust

    Stir in the reserved ½ tsp lime juice for a burst of fresh citrus at the end. Taste and adjust seasoning—add more salt or lime juice to balance tang and creaminess.

    For a thinner drizzle, whisk in an extra splash of water.

    Serve or Chill

    Transfer to an airtight container and refrigerate for at least 30 minutes to let flavors meld. Stir before using. Serve cold or at cool room temperature.


    Notes

    Preparation

    • Combining sour cream and mayonnaise gives the crema a silky body that clings beautifully to food.
    • Include cilantro stems for extra aroma and a brighter green hue.
    • Blend briefly (10–15 seconds) to preserve color; over-blending can dull the green.
    • Add reserved lime juice at the end to refresh flavor after blending.

    Serving Suggestions

    • Drizzle over tacos, enchiladas, burrito bowls, or grilled meats.
    • Perfect accompaniment for Chilaquiles Verdes.
    • Use as a dipping sauce for vegetables or empanadas.

    Variations

    • Add ½ small jalapeño for mild heat and brighter color.
    • Blend in ¼ avocado for a creamier, thicker crema; reduce water slightly.
    • For smoky flavor, replace garlic with ½ tsp chipotle adobo sauce.

    Make-Ahead & Storage

    • Refrigerate in an airtight container up to 5 days; stir before serving.
    • Flavor deepens after a few hours as the lime and garlic infuse.
    • Not suitable for freezing—fresh herbs and dairy will separate.
  • Hot Fudge Sauce

    Hot Fudge Sauce

    This classic hot fudge sauce delivers the rich, chewy texture and glossy finish of an old-fashioned ice cream parlor fudge. Thick and silky when warm, it sets with just a hint of chew where it meets cold ice cream—perfect for sundaes or swirling into homemade ice cream. A small batch of true nostalgia, made from real chocolate, cocoa, and butter.


    Ingredients

    • ½ cup sugar
    • ⅓ cup light corn syrup
    • ⅓ cup water (for chewier texture, reduce to ¼ cup)
    • ¼ cup Dutch-process cocoa powder
    • 2 oz dark chocolate (60–70%), finely chopped
    • 2 tbsp unsalted butter
    • ¼ tsp vanilla extract
    • pinch table salt

    Directions

    Make the Fudge Base

    In a small saucepan, whisk together the sugar, corn syrup, water, and cocoa powder until smooth. Bring to a gentle boil over medium heat, stirring constantly. Continue cooking 3–5 minutes, until the mixture thickens slightly and develops a glossy sheen. Longer cooking creates a chewier, old-fashioned texture.

    Finish the Sauce

    Remove from heat and whisk in the chopped chocolate, butter, vanilla, and salt until melted and smooth. Avoid excessive stirring as the sauce cools to maintain gloss and elasticity.

    Cool & Store

    Let cool to your preferred consistency before using. The sauce thickens as it cools but should remain spoonable. For nostalgic, chewy fudge, drizzle slightly warm over cold ice cream.


    Notes

    Preparation

    • For deeper chocolate flavor, increase chopped chocolate to 3 oz.
    • Cooking the syrup mixture longer produces a chewier, more traditional fudge texture.
    • If using natural cocoa instead of Dutch-process, add ⅛ tsp baking soda during heating to neutralize acidity and preserve smoothness.
    • Use dark chocolate between 60–70% cacao for ideal balance.

    Serving Suggestions

    • Drizzle over ice cream for a glossy, chewy hot fudge topping.
    • Layer into homemade ice cream as a ripple.
    • Serve warm over brownies, cheesecake, or banana splits.
    • Pairs beautifully with peppermint, peanut butter, vanilla, or coffee ice creams.

    Make-Ahead & Storage

    • Store in a sealed jar up to 2 weeks.
    • Warm gently before serving using a double boiler or short microwave bursts.
    • If too thick after chilling, whisk in 1–2 tsp warm cream or milk to loosen.
  • Mexican Tomato Sauce

    Mexican Tomato Sauce

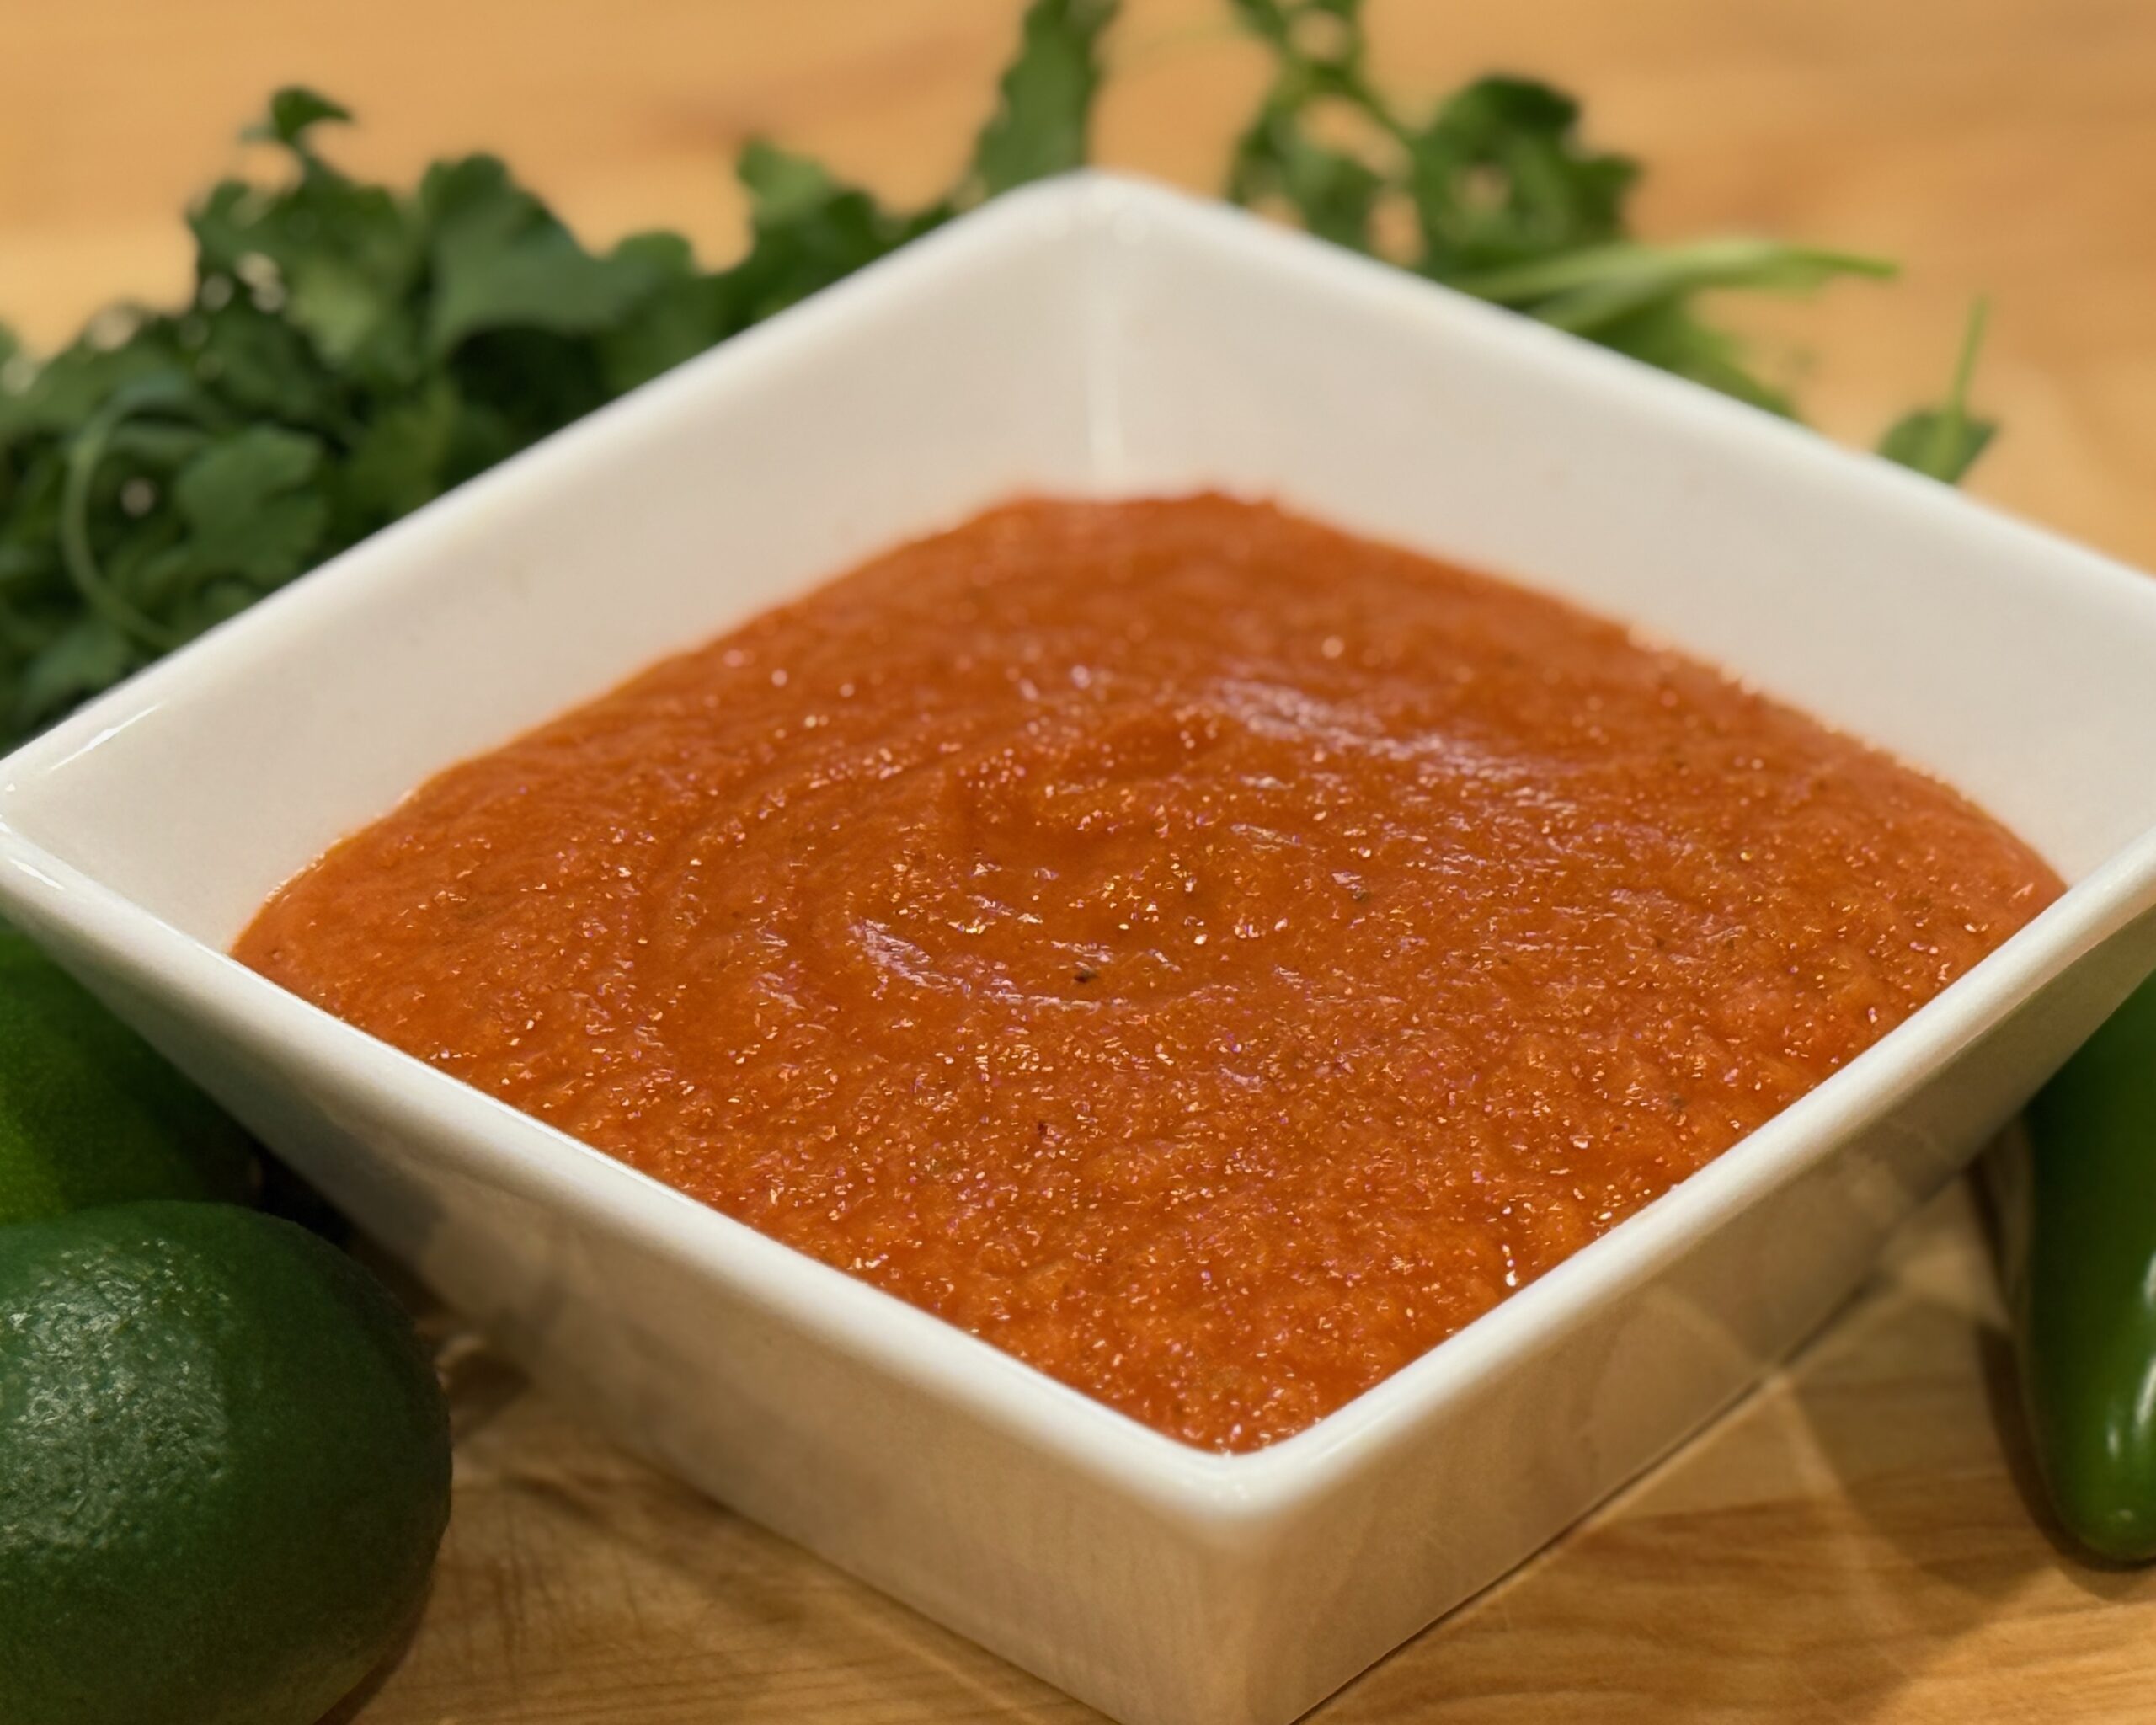
    This classic Mexican-style tomato sauce is richly flavored with roasted tomatoes, onion, garlic, and a touch of Mexican oregano. Tomato bouillon adds umami depth, while a hint of lime or vinegar brightens the flavor. An optional roasted serrano chile blends right in for gentle heat without overpowering the sauce. It’s a perfect complement to enchiladas, Chiles Rellenos, burritos, and rice dishes—smooth, versatile, and beautifully balanced.


    Ingredients

    • 5 ripe Roma tomatoes (or two 14.5 oz cans fire-roasted tomatoes)
    • ½ medium onion, chopped
    • 2–3 cloves garlic
    • 1 serrano chile, stem removed (optional, for heat)
    • ½ tsp Mexican oregano
    • 1 tbsp tomato bouillon with chicken (Knorr or similar)
    • 3 tbsp avocado oil
    • 1–2 tbsp tomato paste
    • ½–1 tsp lime juice or ¼ tsp apple cider vinegar (optional, for brightness)
    • kosher salt & freshly ground black pepper, to taste

    Directions

    Roast the Vegetables

    Place tomatoes (if using fresh), chopped onion, garlic, and serrano chile (if using) on a baking sheet and roast at 450ºF (230ºC) for 15–20 minutes, until blistered and slightly charred.

    Blend the Sauce

    Transfer roasted vegetables to a blender. Add Mexican oregano and tomato bouillon. Blend until smooth and uniform.

    Sauté & Simmer

    Heat avocado oil in a deep skillet over medium heat until shimmering. Carefully pour in the blended sauce—it should sizzle on contact. Stir, bring to a boil, then reduce heat to medium-low and simmer for 10–15 minutes, stirring occasionally, until reduced by about half and thickened.

    Finish the Sauce

    Whisk in tomato paste to enrich the color and texture. Simmer gently for 1–2 minutes to bloom the paste and deepen sweetness. Adjust consistency with a splash of chicken broth or water if needed. Add lime juice or vinegar (if using), and season to taste with salt and pepper. For an extra-smooth texture, strain through a fine-mesh sieve before serving.


    Notes

    Preparation

    • For milder heat, remove the serrano seeds before roasting; for gentle warmth, use half a serrano.
    • Taste the sauce before adding salt—tomato bouillon already contributes salinity.
    • Blooming the tomato paste for 1–2 minutes enhances color, sweetness, and depth.
    • Simmer until the sauce lightly coats the back of a spoon for proper texture.
    • For deeper roasted flavor, char the tomatoes directly over a flame before blending.

    Serving Suggestions

    Variations

    • For heat without fresh chile flavor, add ⅛–¼ tsp cayenne when blending, increasing to taste.

    Make-Ahead & Storage

    • The sauce deepens in flavor after resting overnight.
    • Refrigerate in an airtight container for up to 5 days.
    • Freeze up to 3 months; thaw in the refrigerator.
    • Reheat gently over low heat; add a splash of broth or water if it becomes too thick.
  • Tartar Sauce

    Tartar Sauce

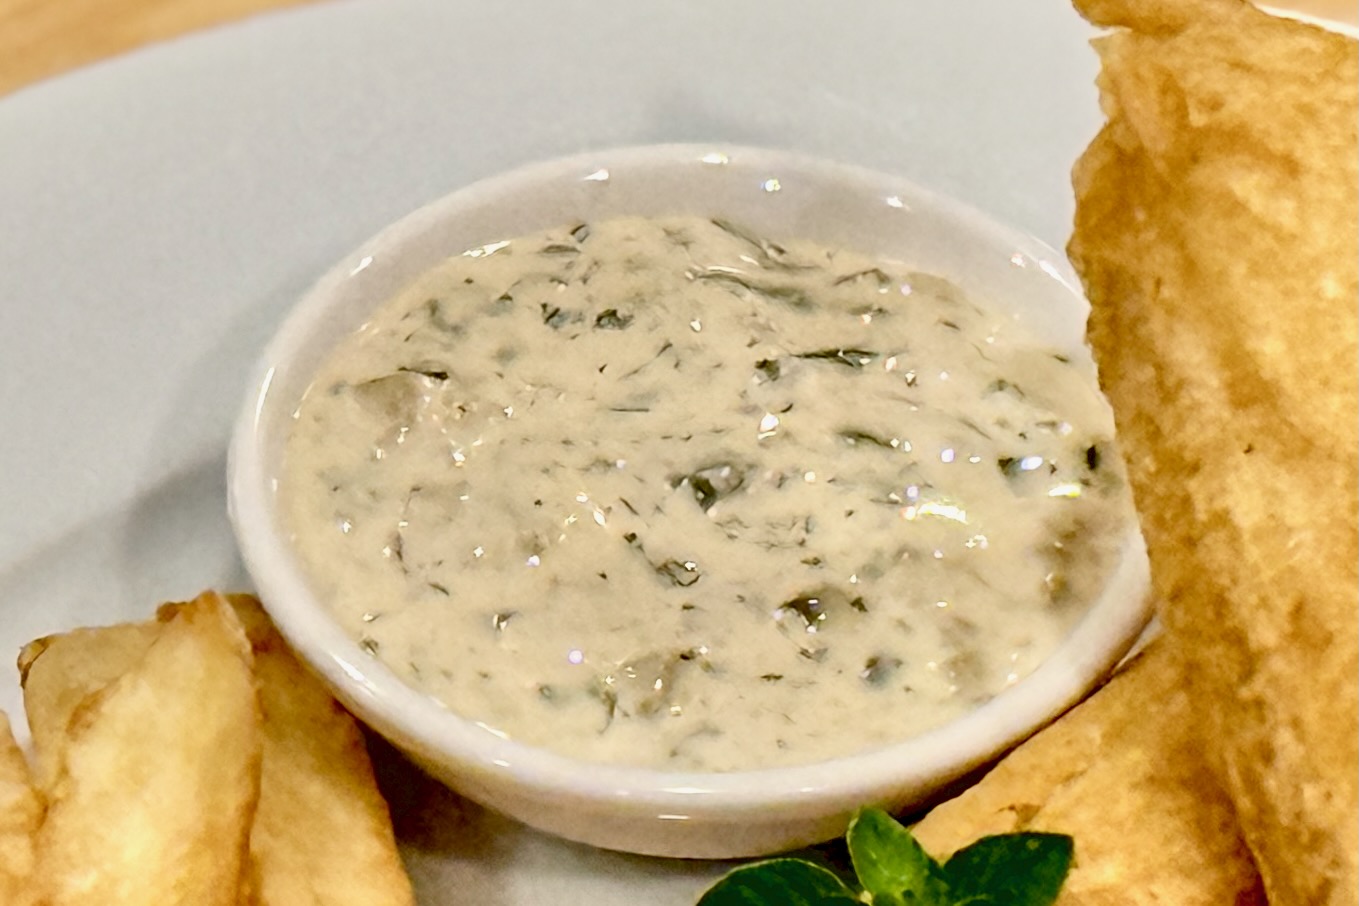
    This creamy, tangy tartar sauce comes together in minutes and tastes far fresher than anything store-bought. Bright citrus, briny capers, and herbs make it a perfect companion for fried fish, crab cakes, or roasted vegetables.


    Ingredients

    • 1 cup mayonnaise
    • ½ cup dill relish
    • 1 tbsp capers, rinsed and chopped
    • 1 tbsp fresh parsley (or 1 tsp dried)
    • 1 small shallot, finely chopped (or ½ tsp onion powder)
    • 1 tbsp lemon or lime juice
    • 1 tsp lemon or lime zest
    • 2 tsp Worcestershire sauce
    • 1 tsp Dijon mustard
    • ¼ tsp Tapatío hot sauce
    • salt & pepper, to taste
    • Optional Add-Ins

    • 1 tbsp fresh tarragon (or 1 tsp dried)
    • ½ tbsp fresh dill (or ½ tsp dried)
    • 1 tsp honey
    • ¼ cup crème fraîche or sour cream

    Directions

    Mix the Sauce

    Whisk together all ingredients in a bowl until well combined.

    Chill for at least 1 hour before serving to let the flavors meld.


    Notes

    Preparation

    • Please taste and adjust acidity—add more citrus juice if serving with rich fried foods.
    • For a chunkier texture, use whole dill pickles and hand-chop them instead of relish.
    • Fresh herbs brighten the sauce significantly, but dried herbs still work well.

    Serving Suggestions

    • Serve with Beer Battered Halibut, fish sticks, crab cakes, or shrimp.
    • Use as a spread for fish sandwiches or grilled chicken.
    • Try as a dip for roasted potatoes or fries.

    Variations

    • Swap dill relish for chopped cornichons for a sharper, French-style flavor.
    • Add a pinch of smoked paprika for a subtle smoky note.
    • Fold in a spoonful of crème fraîche for a lighter, silkier version.

    Make-Ahead & Storage

    • Keeps 4–5 days in the refrigerator in an airtight container.
    • Stir before serving, as some separation is normal.
    • Not suitable for freezing due to the mayonnaise base.
  • Browned Butter Sage Sauce

    Browned Butter Sage Sauce

    A quick, elegant sauce that pairs beautifully with ricotta or potato gnocchi. Simple to prepare, it highlights the nutty aroma of browned butter and the earthy perfume of fresh sage. When served with gnocchi, a pinch of nutmeg in the dough adds warm, slightly sweet notes that complement the savory depth of the sage. This classic combination appears throughout Italian cooking—in pasta, meatballs, gnocchi, and creamy soups—where sage contributes its herbaceous edge and nutmeg lends a subtle, cozy warmth.


    Ingredients

    • 6 tbsp unsalted butter (85 g)
    • 8–10 fresh sage leaves
    • ⅛ tsp table salt (or to taste)
    • freshly ground black pepper (to taste)
    • 2 tbsp grated parmesan (optional, for finishing)
    • ½ tsp lemon juice (optional, brightens flavor)

    Directions

    Brown the Butter

    In a medium skillet or saucepan, melt the butter over medium heat. Add the sage leaves and cook, swirling occasionally, until the butter turns deep golden and smells nutty, about 4–5 minutes. The sage will crisp slightly as it fries.


    Finish the Sauce

    Remove from heat and stir in salt, black pepper, and lemon juice if using. Serve the sage leaves whole or remove them depending on preference.


    Serve

    Toss hot, drained gnocchi directly in the pan with the brown butter sauce until evenly coated. Serve immediately with freshly grated parmesan.


    Notes

    Preparation

    • Watch closely—brown butter goes from nutty to burnt quickly. Remove from heat as soon as the milk solids turn golden.
    • Create a silkier sauce by swirling in 1–2 tbsp pasta or gnocchi cooking water to form a light emulsion.
    • For deeper sage flavor, crisp the leaves for an extra 30 seconds before removing the pan from heat.

    Serving Suggestions

    • Drizzle over ricotta gnocchi, potato gnocchi, or sweet potato gnocchi.
    • Excellent on cheese ravioli, butternut squash ravioli, or spinach ravioli.
    • Also delicious over roasted vegetables, grilled chicken, or sautéed mushrooms.

    Variations

    • Garlic Brown Butter: Add one lightly crushed garlic clove to the skillet during browning; remove before serving.
    • Brown Butter & Walnut: Stir in ¼ cup toasted chopped walnuts for added crunch.
    • Lemon-Sage Butter: Increase lemon juice to 1 tsp and add ½ tsp lemon zest for brightness.

    Make-Ahead & Storage

    • Best served immediately after browning.
    • Refrigerate leftover sauce up to 3 days; rewarm gently over low heat before serving.
    • Sage leaves soften in storage—crisp fresh leaves separately if reheating.