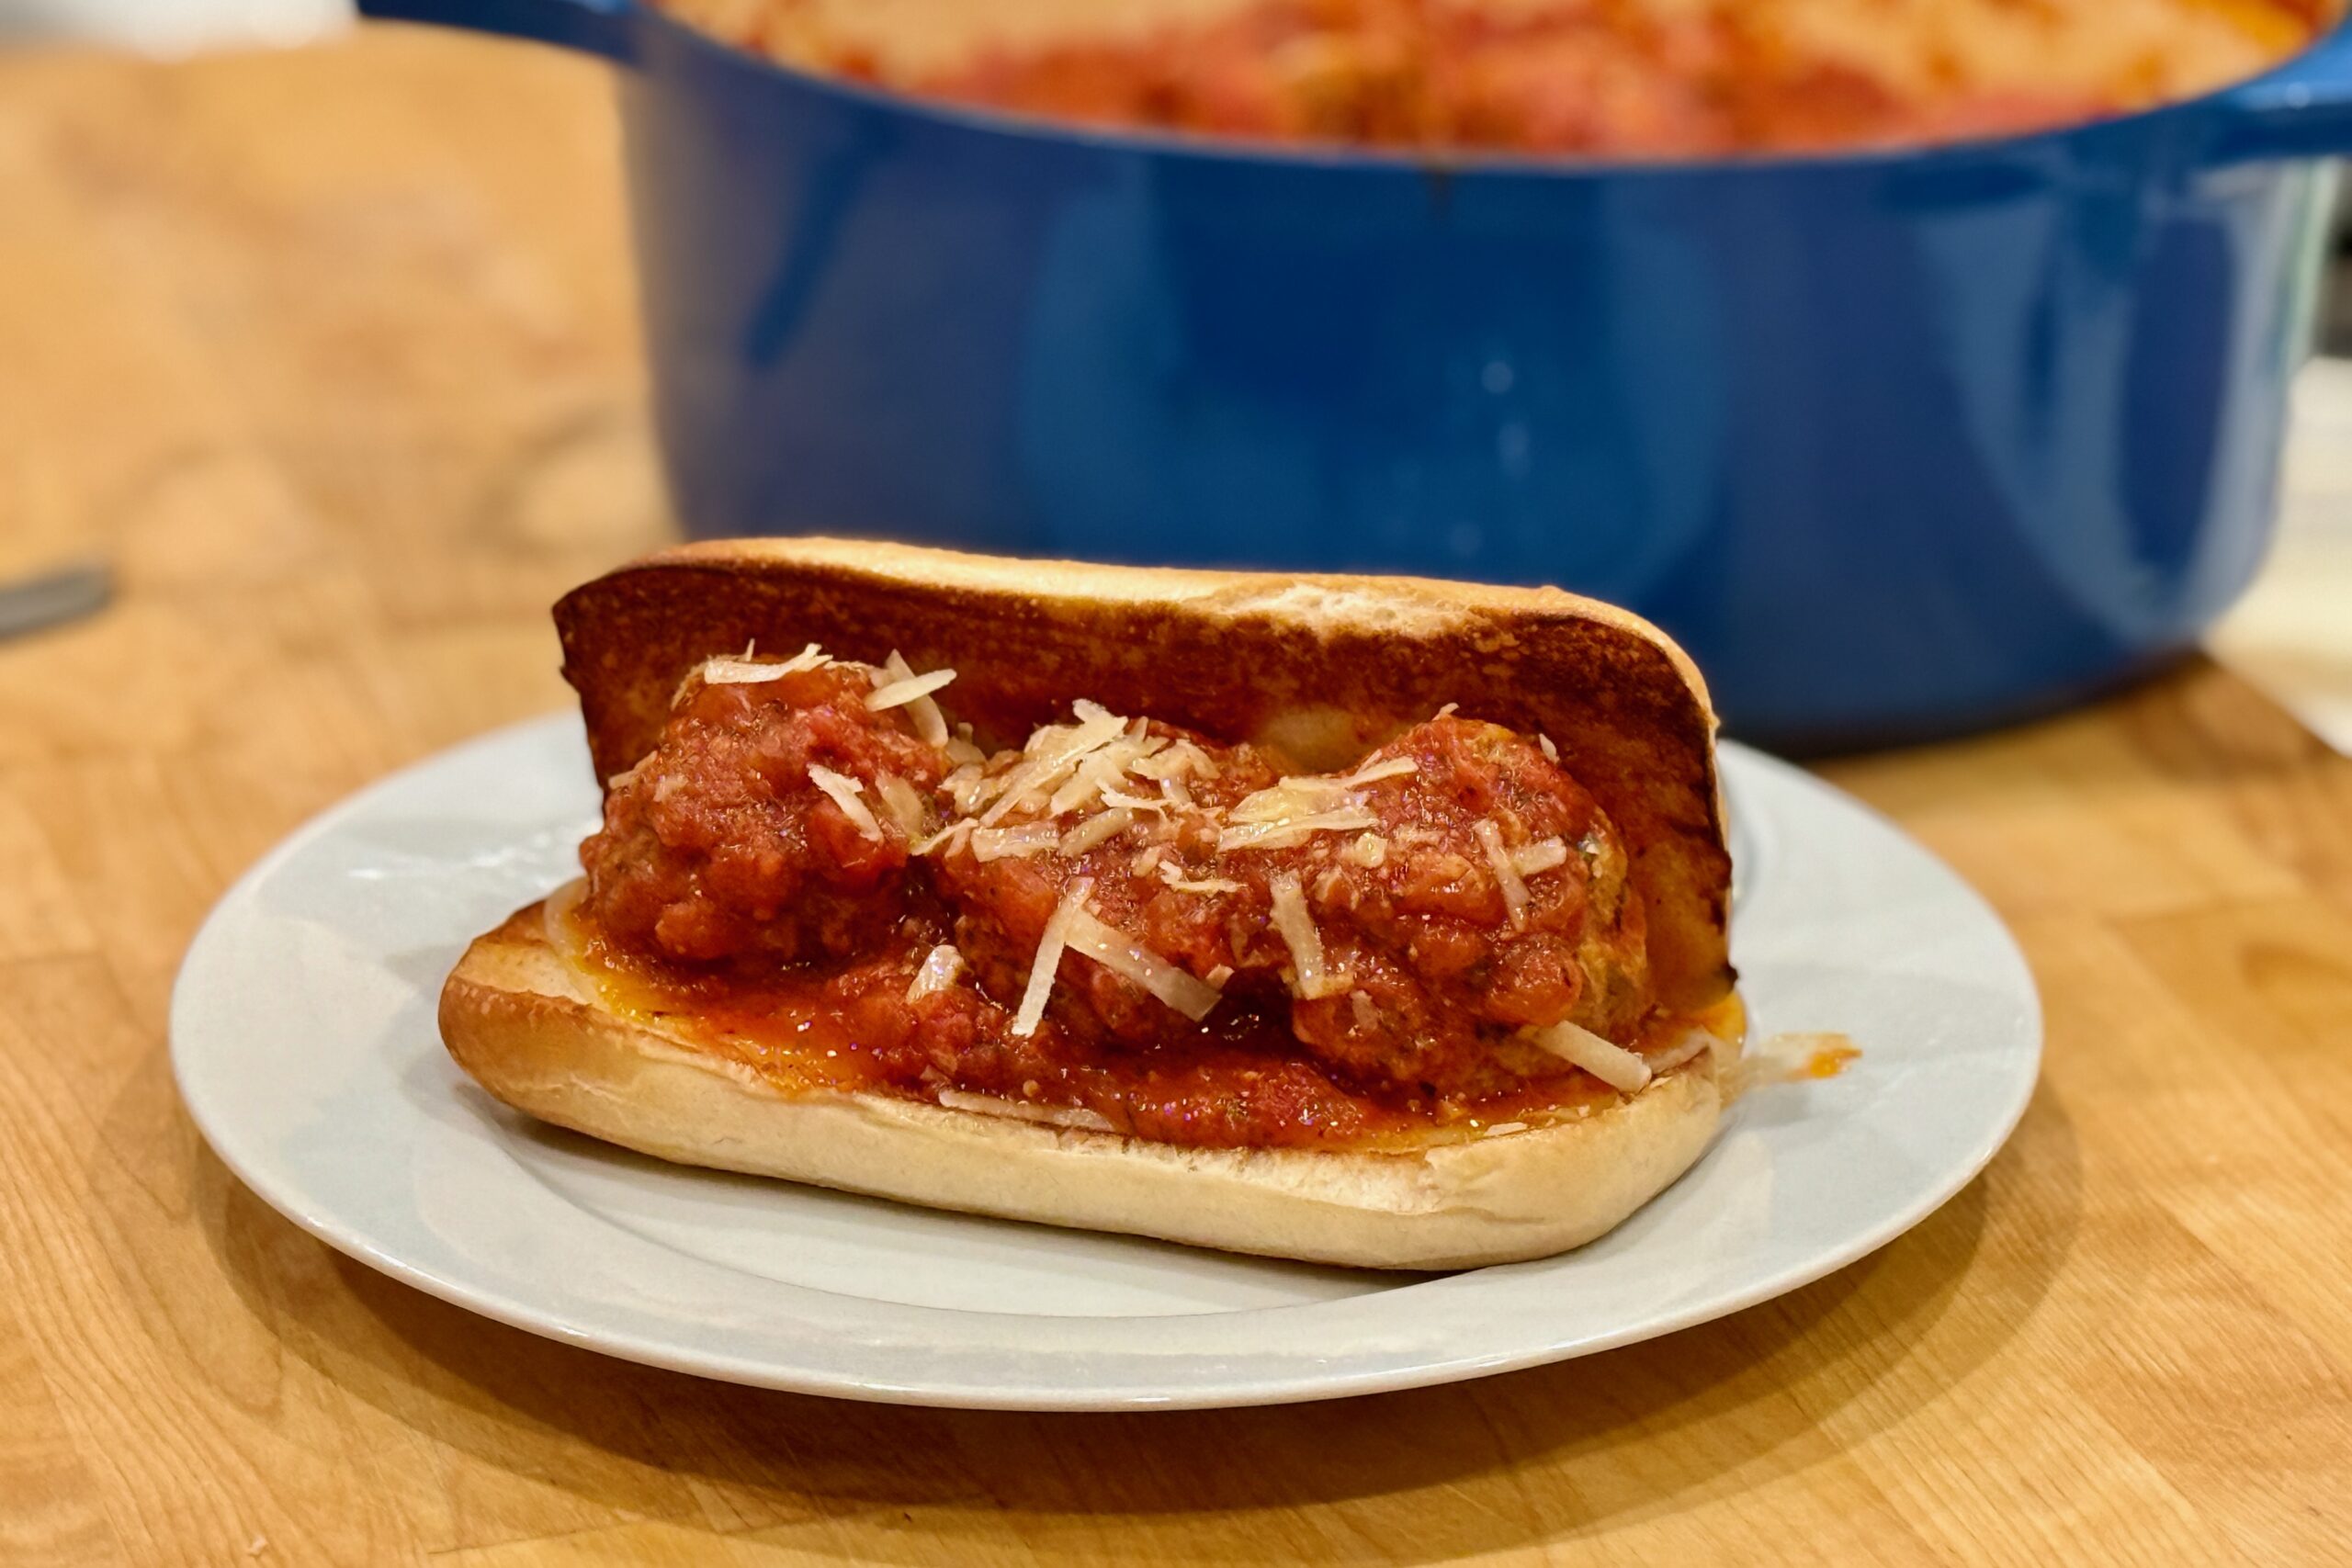
Italian-American meatball subs built the classic way: tender, juicy roasted meatballs finished in a deeply savory red sauce, tucked into toasted rolls, and blanketed with melted provolone — comfort-food perfection with just enough structure to hold together.
Ingredients
Meatballs
- 6 oz bread crumbs
- 1½ cups buttermilk
- 1 pkg powdered gelatin (about ½ tbsp), bloomed in ¼ cup cold water
- 3 eggs, slightly beaten
- 1+ tbsp garlic, minced
- ⅓ cup (packed) fresh parsley leaves, finely chopped
- ½ tbsp table salt
- ½ tsp black pepper
- 3 oz Parmesan cheese, grated
- 6 oz prosciutto, finely chopped
- 2 lbs ground beef
- 1 lb ground pork
Sauce
- 2 tbsp olive oil
- 1 cup (8 oz) onion, chopped
- 5 cloves garlic, minced
- 1 can (28 oz) crushed tomatoes
- 1 can (15 oz) tomato sauce
- 1 can (6 oz) tomato paste
- 1½ cups chicken broth
- ½ cup dry white wine (optional)
- 1 tbsp fish sauce
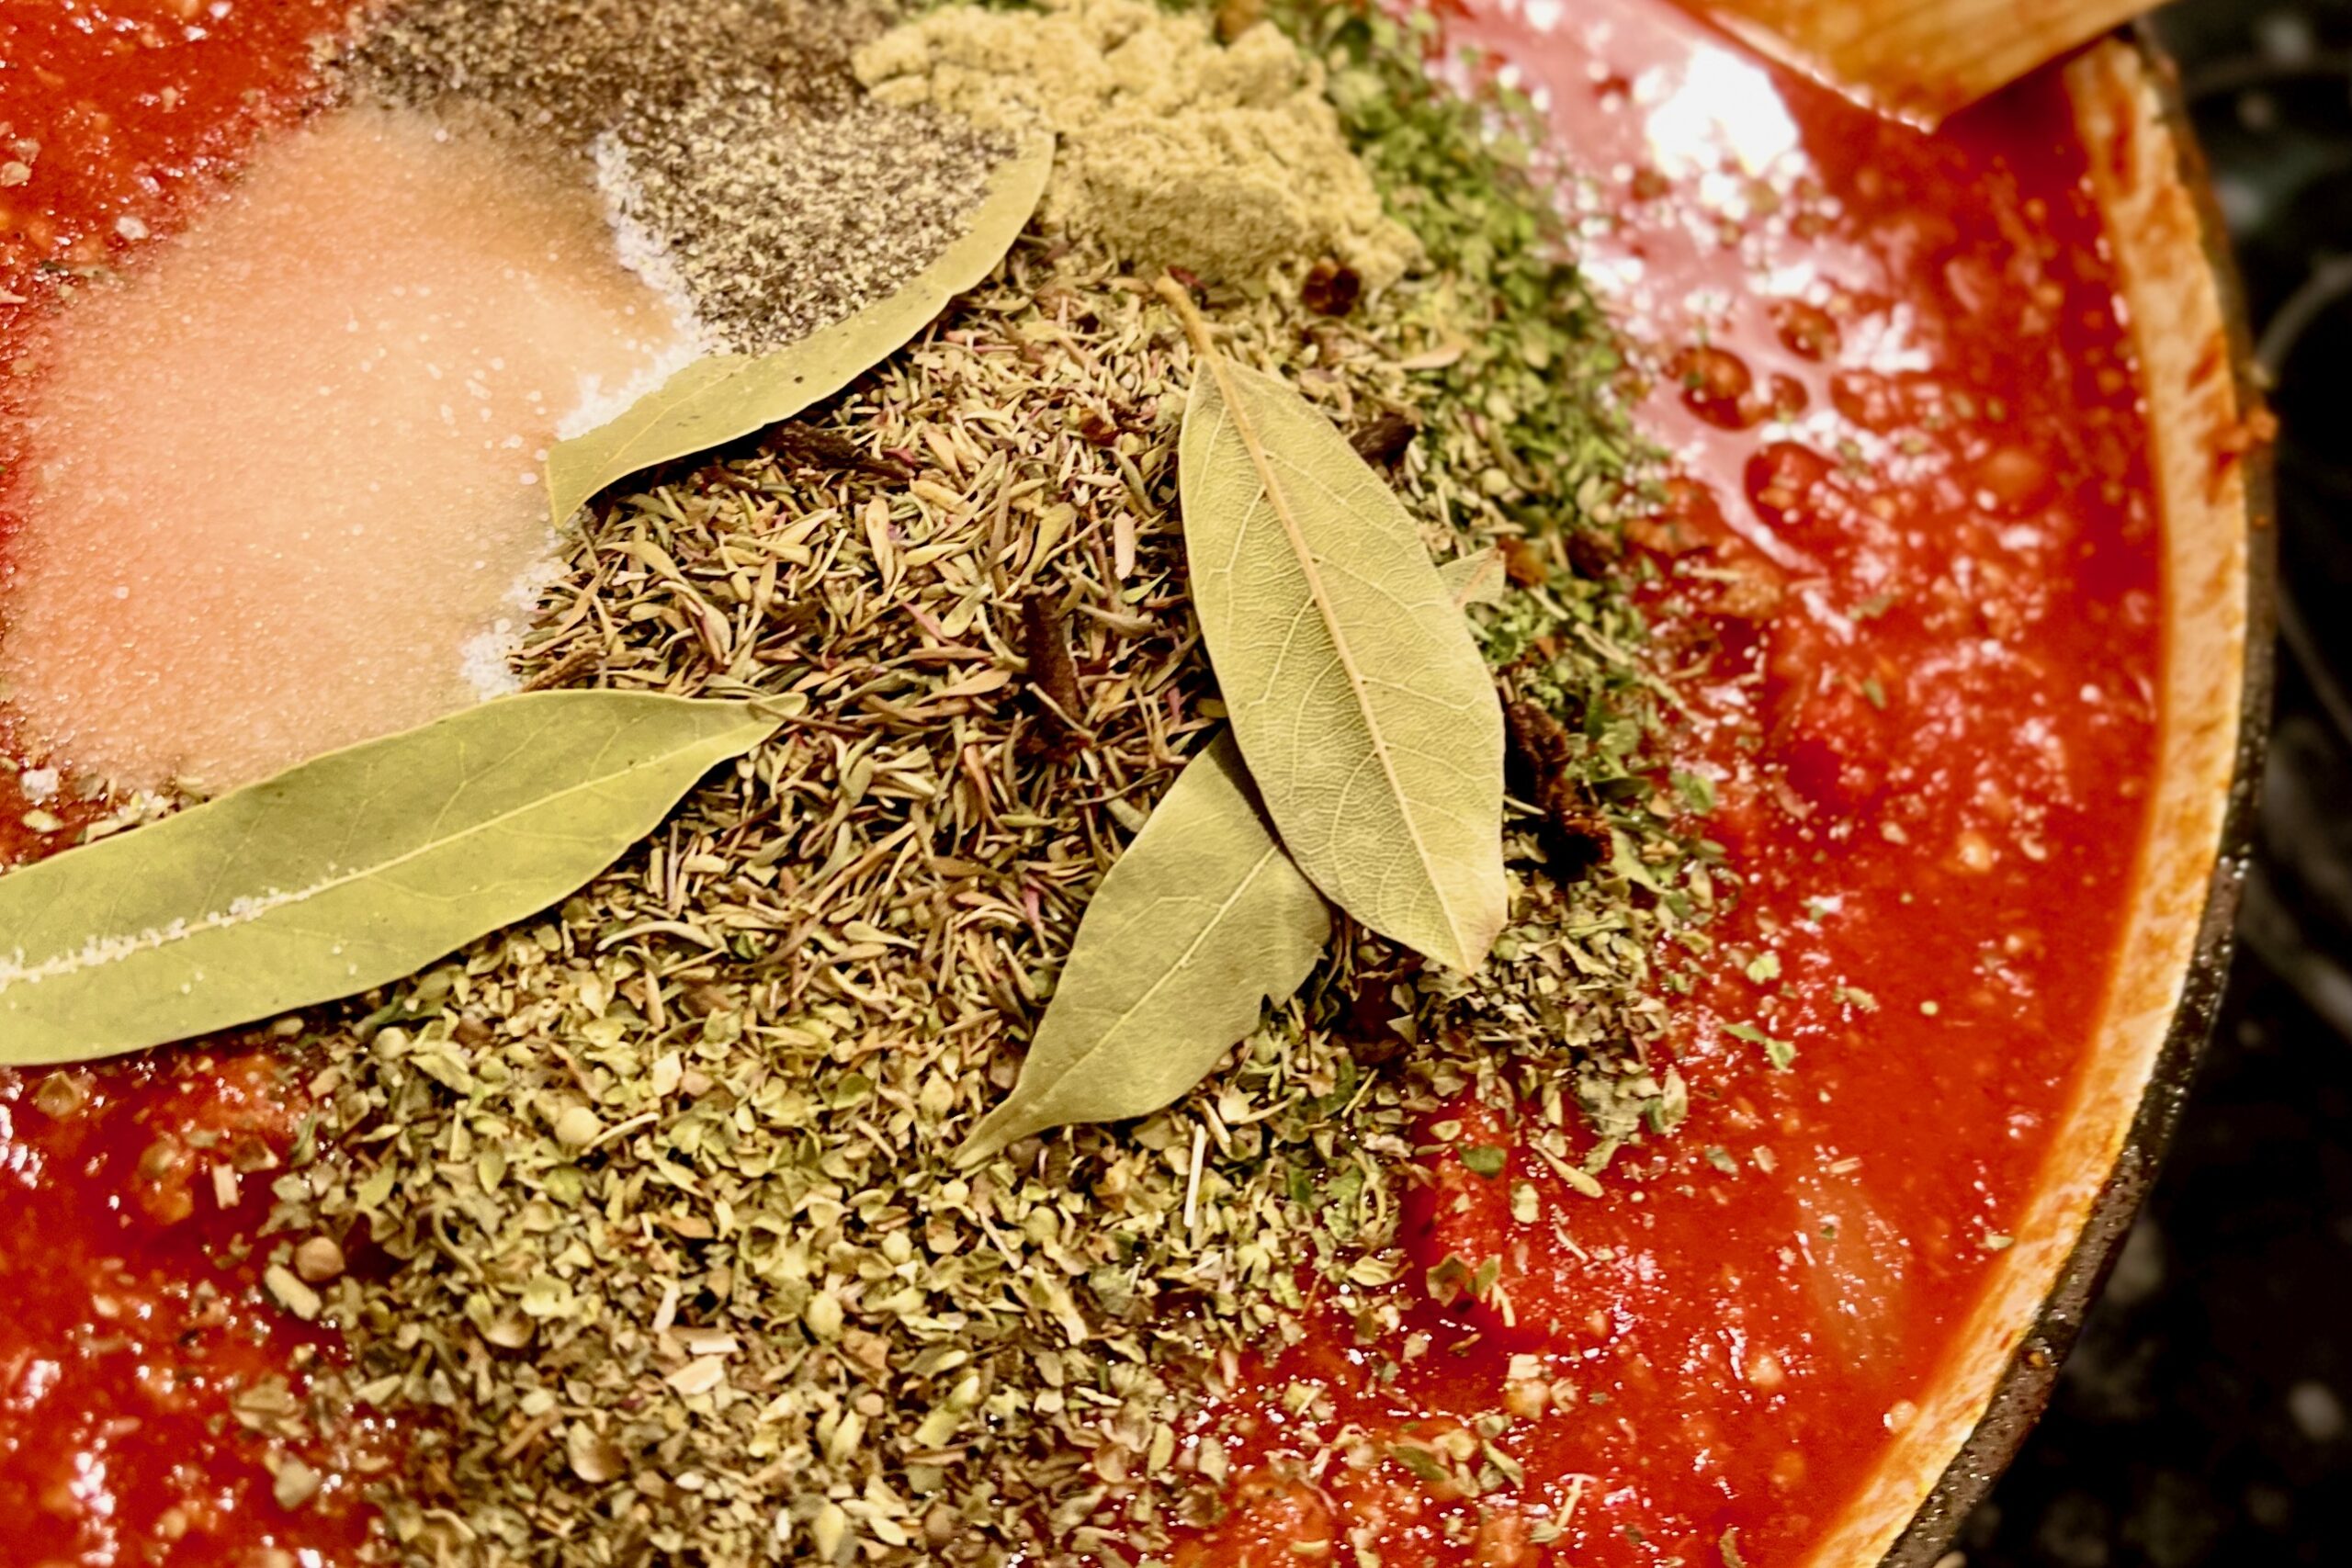
- 2 tsp dried basil
- 2 tsp dried parsley
- 1 tsp dried oregano
- ½ tsp ground fennel
- ¼ tsp dried thyme leaves
- 2 whole cloves, crushed
- 2 bay leaves
- ½ tsp freshly ground black pepper
- 1 tsp table salt
For Serving
- 10–12 Italian sub rolls or hoagie rolls
- 10–12 oz provolone, sliced (about 1 oz per sub)
- Optional: garlic oil or olive oil, for brushing rolls
- Optional: dried oregano, for finishing the rolls
- Optional: grated Parmesan, for finishing
- Optional: chopped parsley and/or a light basil chiffonade, for finishing
Directions
Prepare the Oven and Pans
Preheat oven to 450ºF with racks positioned mid-top and mid-bottom.
Line 2 half sheet pans with foil. Set wire racks in the pans and spray racks with cooking spray.
Make the Meatballs
Combine bread crumbs and buttermilk. Soak 10 minutes, then mash into a paste.
Bloom gelatin in ¼ cup cold water for 8–10 minutes.
In a mixing bowl, combine the bread crumb mixture and bloomed gelatin. Mix in eggs, garlic, parsley, salt, pepper, Parmesan, and prosciutto until well combined.
Place ground beef and pork in a large bowl. Pour the egg/bread crumb mixture over the meat and mix gently by hand until thoroughly combined.
Portion and form into 3-oz meatballs (about 29–30 meatballs). If needed, refrigerate briefly to firm.
Arrange meatballs on prepared racks and bake about 30 minutes, rotating trays and rack positions after 20 minutes.
Make the Sauce
In a Dutch oven over medium heat, heat olive oil until shimmering. Add onion and garlic and sauté until onion is translucent and tender.
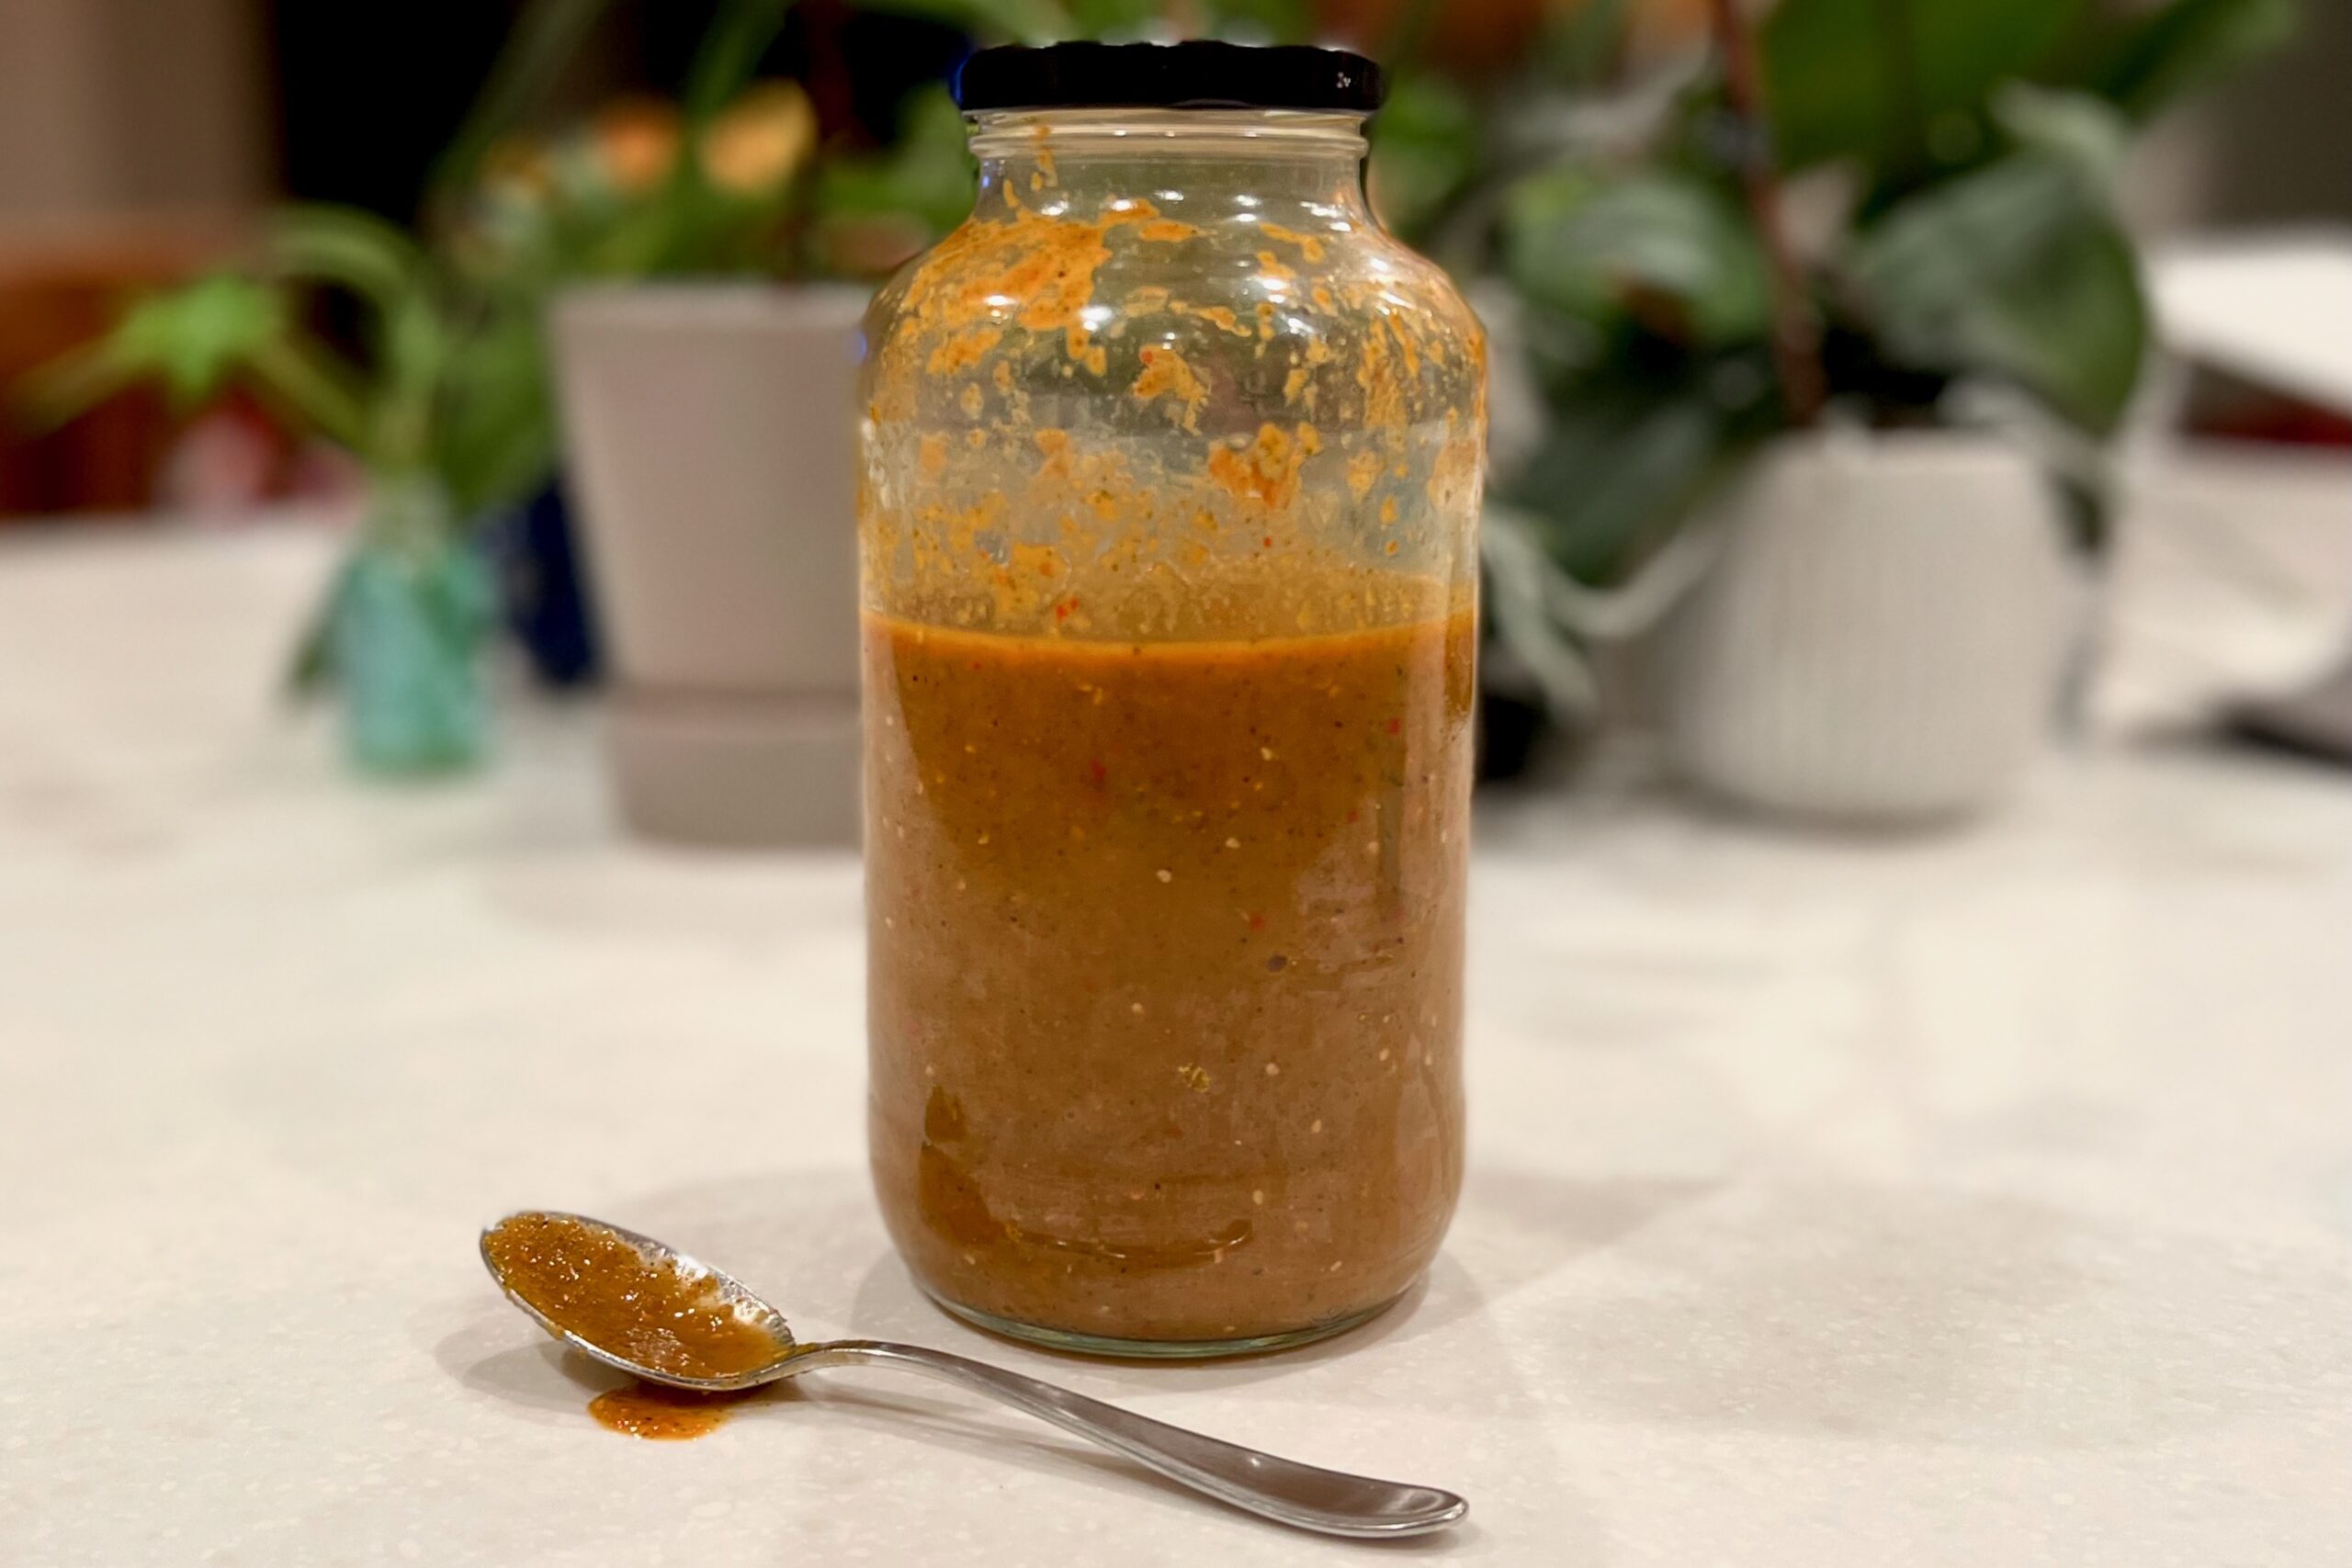
Stir in crushed tomatoes, tomato sauce, tomato paste, chicken broth, wine (optional), and fish sauce. Add remaining herbs, spices, and seasonings.
Bring to a simmer, then reduce heat to low and simmer covered for 15 minutes.
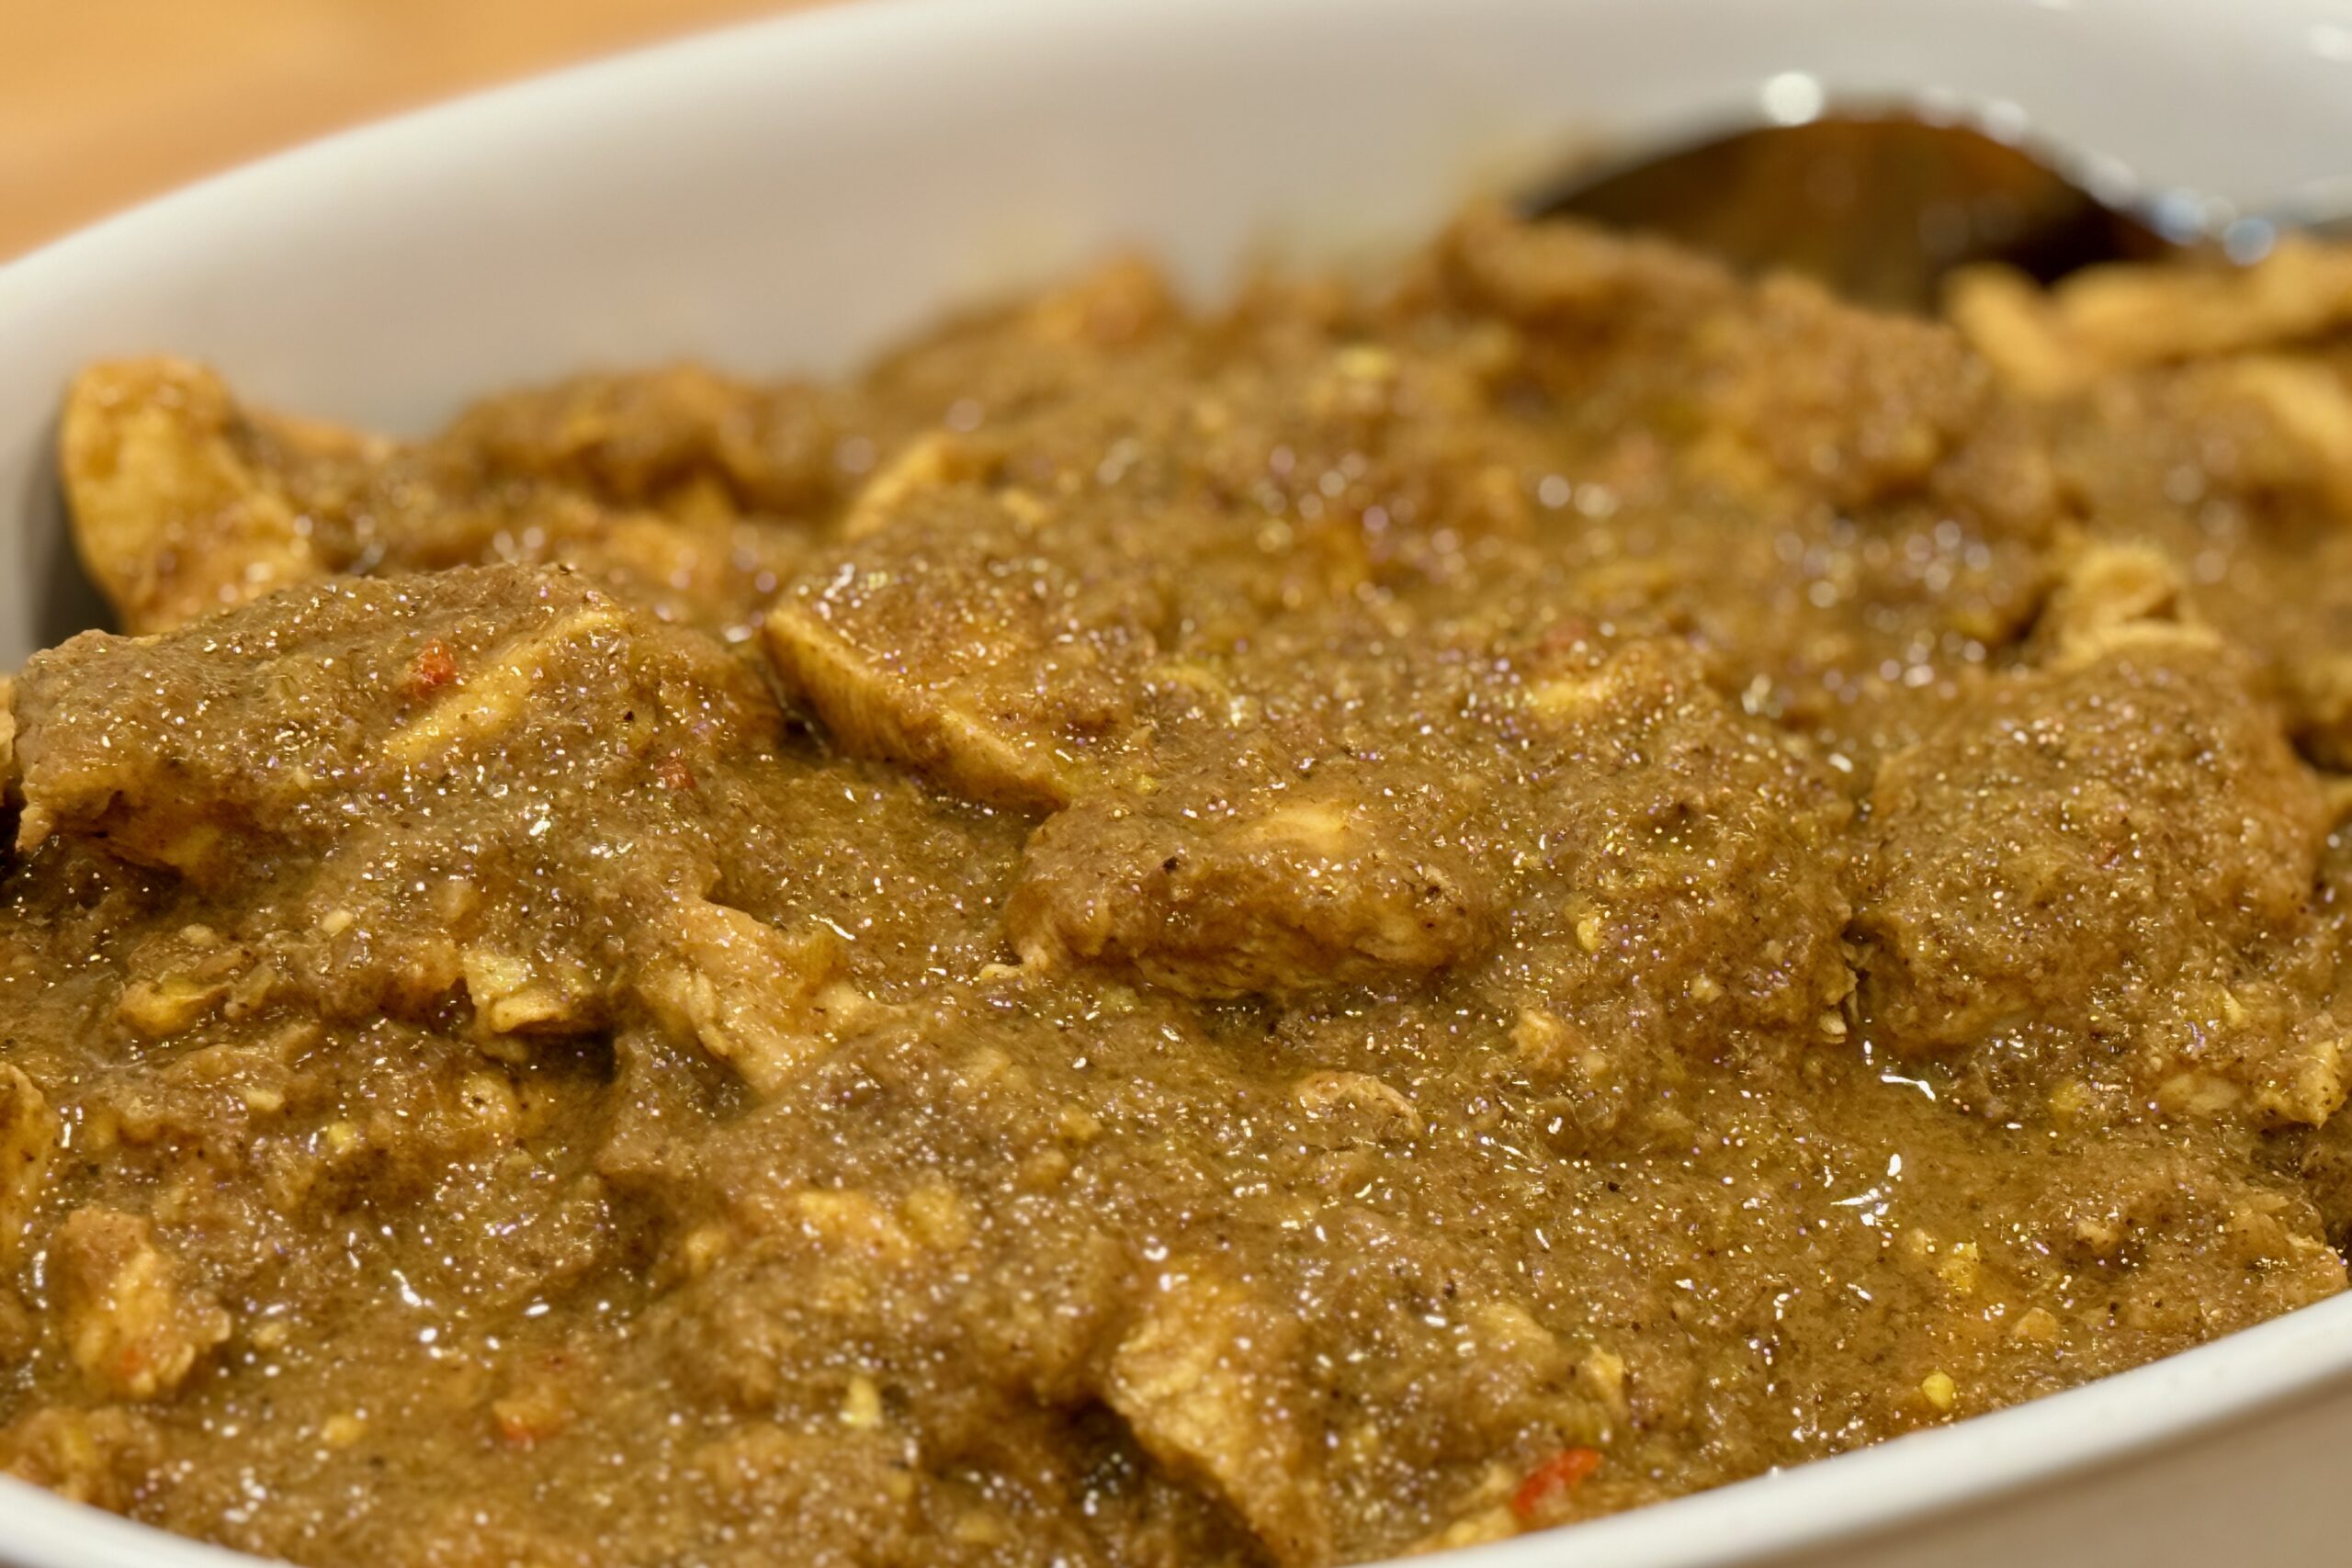
Braise the Meatballs in the Sauce
After removing the cooked meatballs from the oven, lower oven temperature to 300ºF.
Add meatballs to the sauce. Cover and place in the oven for 1 hour.
Remove and discard bay leaves before serving.
Assemble and Bake the Subs
Heat oven to 425ºF. Split rolls lengthwise, leaving a hinge.
Optional: brush cut sides lightly with garlic oil or olive oil. Toast rolls cut-side up on a sheet pan for 3–5 minutes, just until lightly crisp. If desired, finish with a very light dusting of dried oregano.
Place a slice of provolone in each roll and return to the oven for 1–2 minutes to melt.
Add 2–3 meatballs per sub. For easier bites and cleaner eating, slice meatballs in half before loading.
Spoon sauce over the meatballs (go light under the meatballs to avoid soggy bread). Top with another small piece of provolone if desired.
Bake 5–8 minutes, until the cheese is fully melted and bubbling at the edges.
Notes
Preparation
- Fish sauce can be replaced with 4–6 anchovy filets, finely minced.
- For meatball subs, sauce texture matters. If the sauce is still runny after braising, remove the meatballs and simmer the sauce uncovered until it reaches your desired thickness, then return the meatballs to the pot to rewarm.
- Before serving, taste the sauce and adjust if needed. A splash (1–2 tsp) of red wine vinegar or a small squeeze of lemon can help brighten and balance the richness.
- For extra color on the cheese, finish the assembled subs under the broiler for 30–90 seconds, watching closely.
Serving Suggestions
- Serve with extra warm sauce on the side for dipping rather than over-saucing the roll.
- Classic sub-shop add-ons include hot cherry pepper relish, pickled pepperoncini, or sautéed onions and green peppers.
- Optional finish: garnish with a light basil chiffonade and/or a sprinkle of chopped parsley for extra brightness.
Variations
- Parmesan can be swapped for a mixture of Parmesan and Romano cheeses.
- Swap provolone for mozzarella if you want a milder, stretchier melt.
Make-Ahead & Storage
- Meatballs and sauce taste even better the next day and reheat beautifully.
- To reheat a chilled batch, add ¾ cup water to the pot and reheat covered at 325ºF until hot.
- For best texture, store rolls separately and assemble subs just before baking.