Bags of Spices

Favorite Recipes

Fried

Crispy, golden, indulgent comfort — from classic fried chicken to irresistible bite-sized snacks.

  • Chiles Rellenos

    Chiles Rellenos

    Chiles Rellenos are a Huggins Family Favorite! This recipe combines classic techniques with a modern twist, birria. Meat filled rellenos are commonly stuffed with a pork or beef picadillo; or even shrimp, chicken, or chorizo. The key to this recipe getting the batter consistency right (see note #3 below). Learning that little secret made all the difference in the world!


    Ingredients

      Chiles

    • 6 large poblano chiles
    • 12 oz Monterey Jack, mozzarella, Oaxaca, or queso fresco, cut into sticks
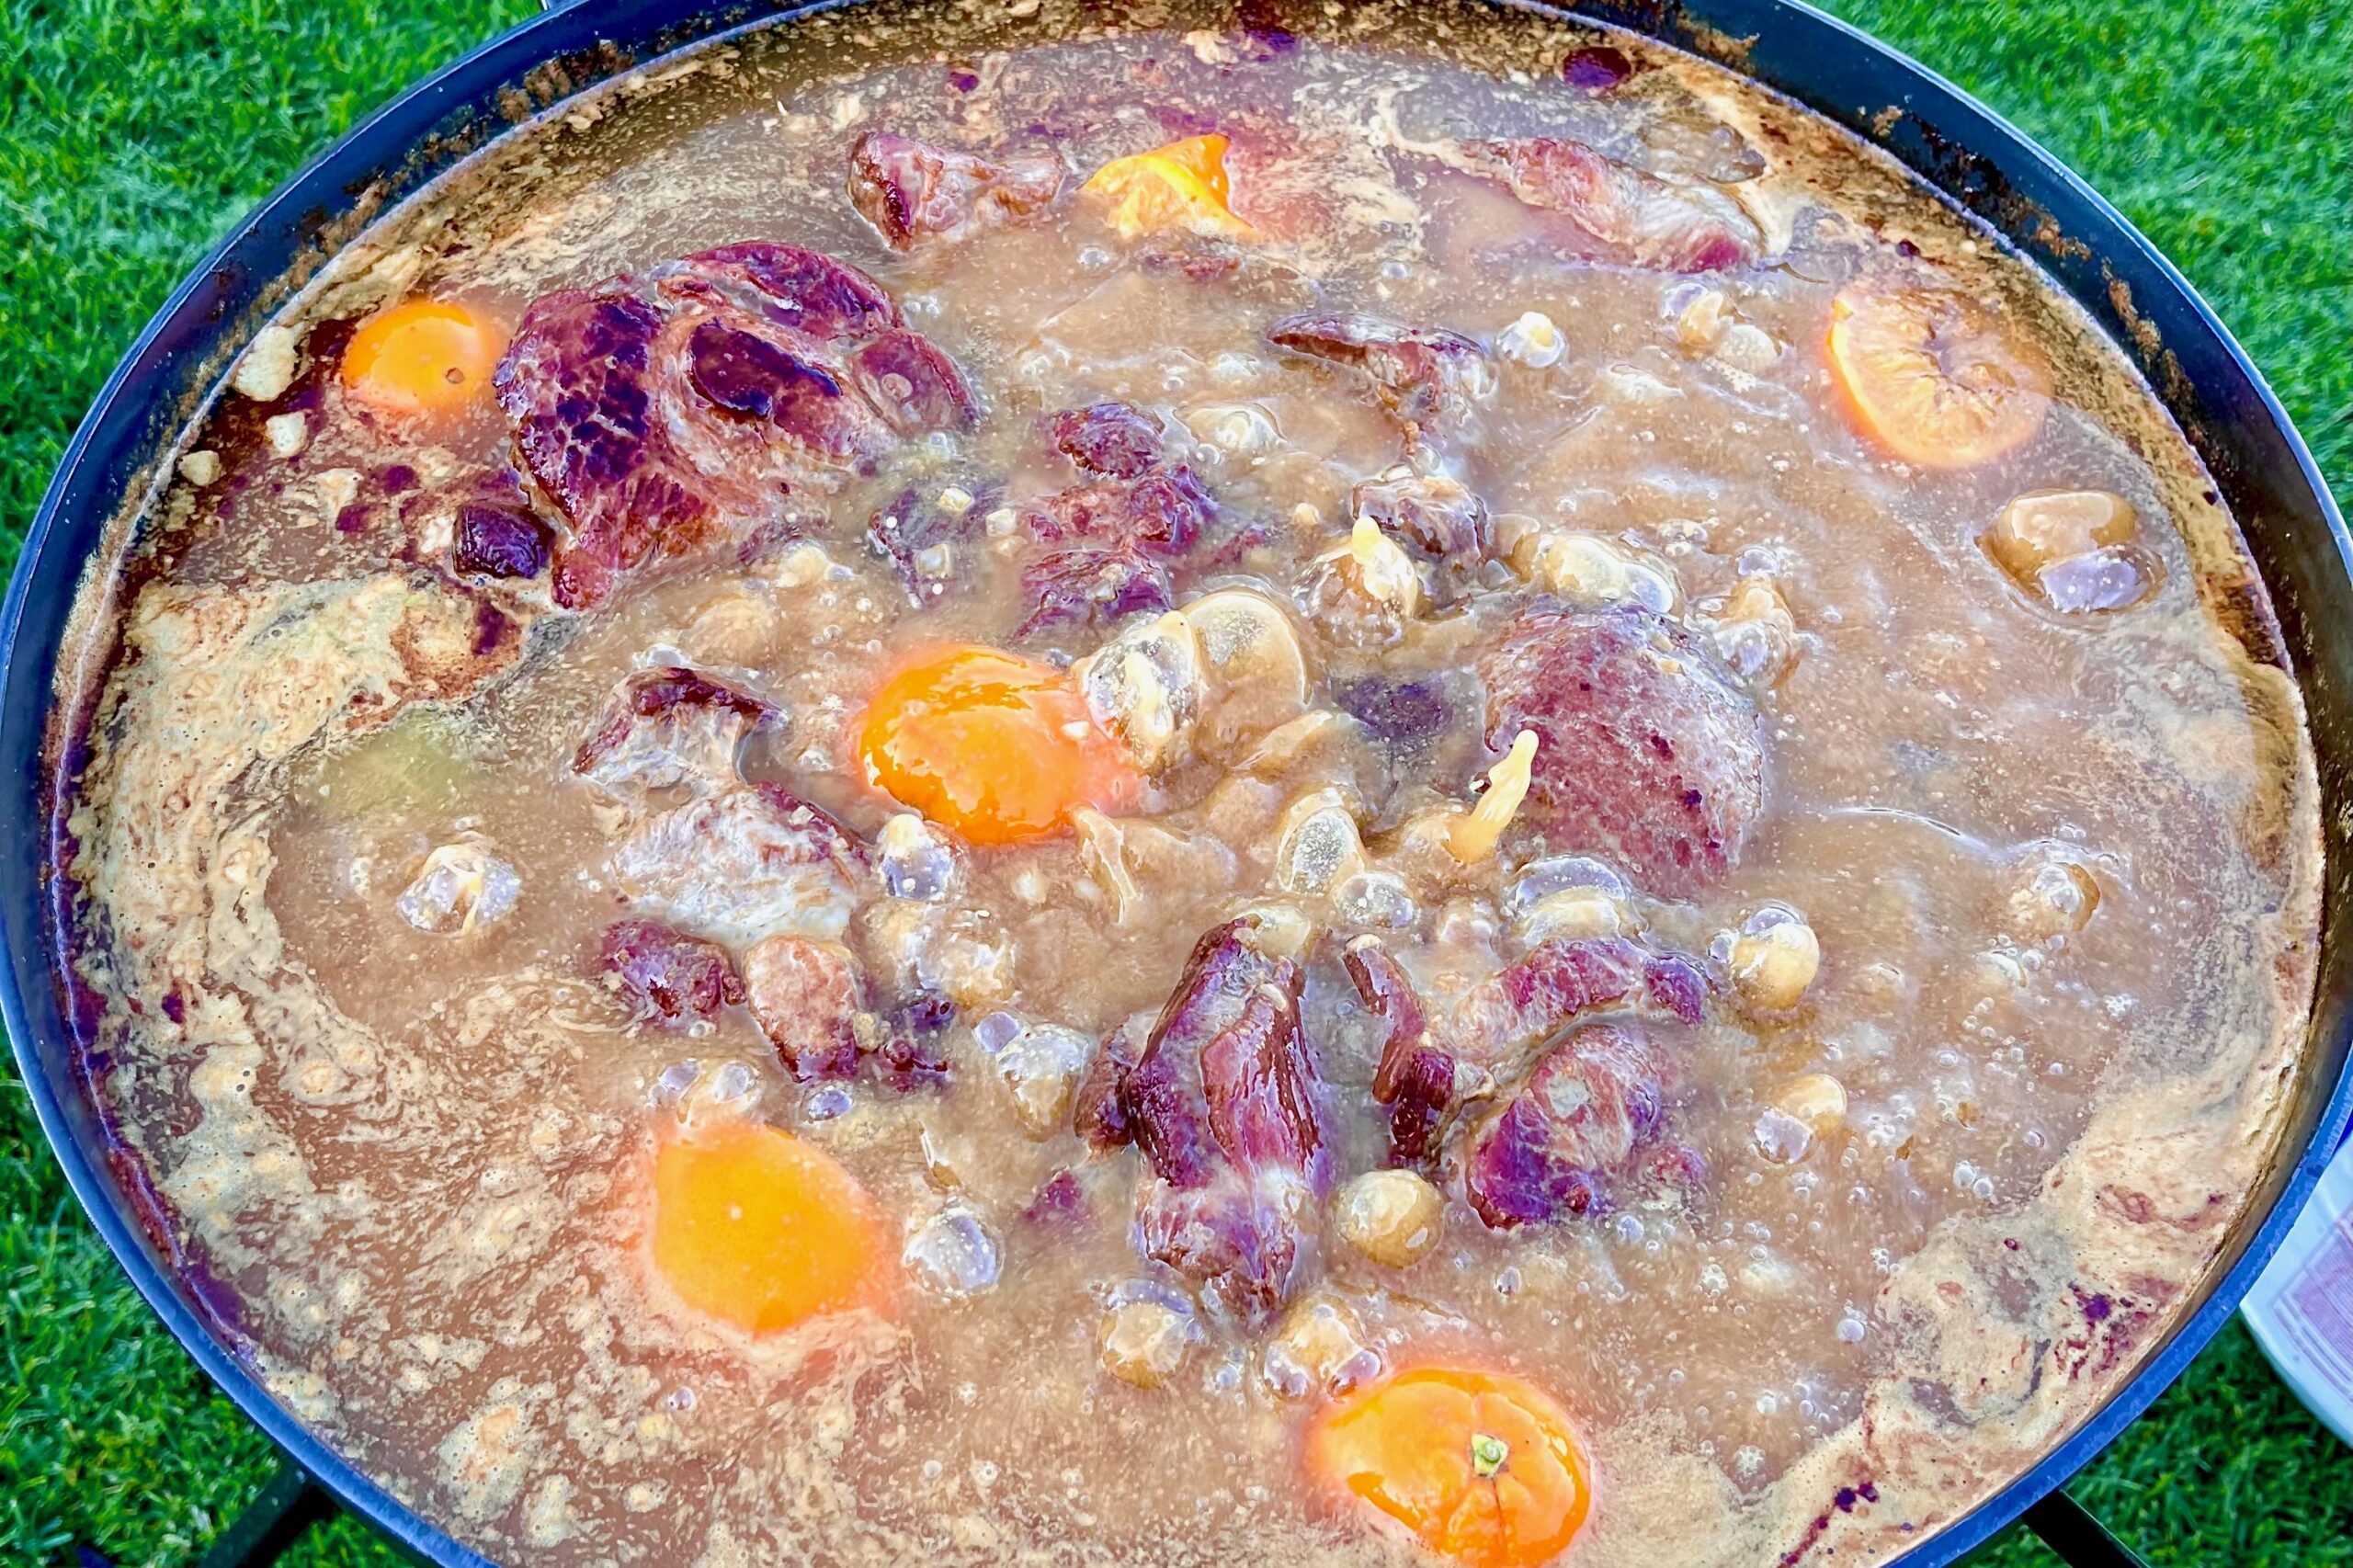
    • 12 oz birria (see recipe), prepared and shredded (optional)
    • Skewers or toothpicks (optional, for sealing)
    • Batter

    • 6 eggs (1 per chile), yolks and whites separated
    • ¼ tsp cream of tartar
    • 3 tbsp flour (½ tbsp per chile)
    • Pinch of table salt
    • Sauce

    • ½ medium onion, chopped
    • 2–3 cloves garlic
    • 5 ripe Roma tomatoes
    • ½ tsp Mexican oregano
    • 1 tbsp tomato bouillon with chicken
    • 3 tbsp avocado oil
    • 1–2 tbsp tomato paste
    • Salt & pepper, to taste

    Directions

    Prepare the Chiles

    Over an open flame, char the chiles until blackened on all sides. Place in a sealed bag and allow to steam for 15 minutes.

    Use your fingers or a butter knife to gently scrape off the skin, taking care not to tear the flesh. Avoid rinsing the chiles under water, as this can cause splitting.

    Make a vertical slit toward the top of each chile to remove the seeds but leave the veins intact to help the chile hold its shape.

    Stuff with cheese or a mixture of cheese and birria. If needed, secure the opening with toothpicks.

    Dust each stuffed chile lightly with flour to help the batter adhere.

    Make the Batter & Fry

    Heat oil to 350°F.

    Beat egg whites with cream of tartar until they reach a stage between soft and stiff peaks—thick, with structure, but the peaks should droop slightly when lifted.

    In a separate bowl, mix together yolks, flour, and salt. Gently fold this mixture into the beaten whites until just combined.

    Hold each chile by the stem and dip into the batter, coating completely.

    Fry in the hot oil, spooning oil over the top to set the batter. Turn and cook until golden on both sides, about 2–3 minutes per side. Drain on paper towels.

    Make the Sauce

    Sauté the onions and garlic in a skillet until softened. Roast the tomatoes under a broiler or in a hot skillet until lightly charred; add to a blender.

    Add oregano and bouillon to the blender and process until smooth.

    Heat the oil in a deep skillet until shimmering, then pour in the blended tomato mixture and bring to a boil.

    Reduce heat to medium-low and simmer for 10–15 minutes, or until the sauce reduces by half and thickens.

    Whisk in the tomato paste and return to a gentle simmer for 1–2 minutes to bloom the paste and deepen the flavor.

    Adjust seasoning with salt and pepper. If needed, thin with a splash of chicken broth or water. Keep warm.

    Plate

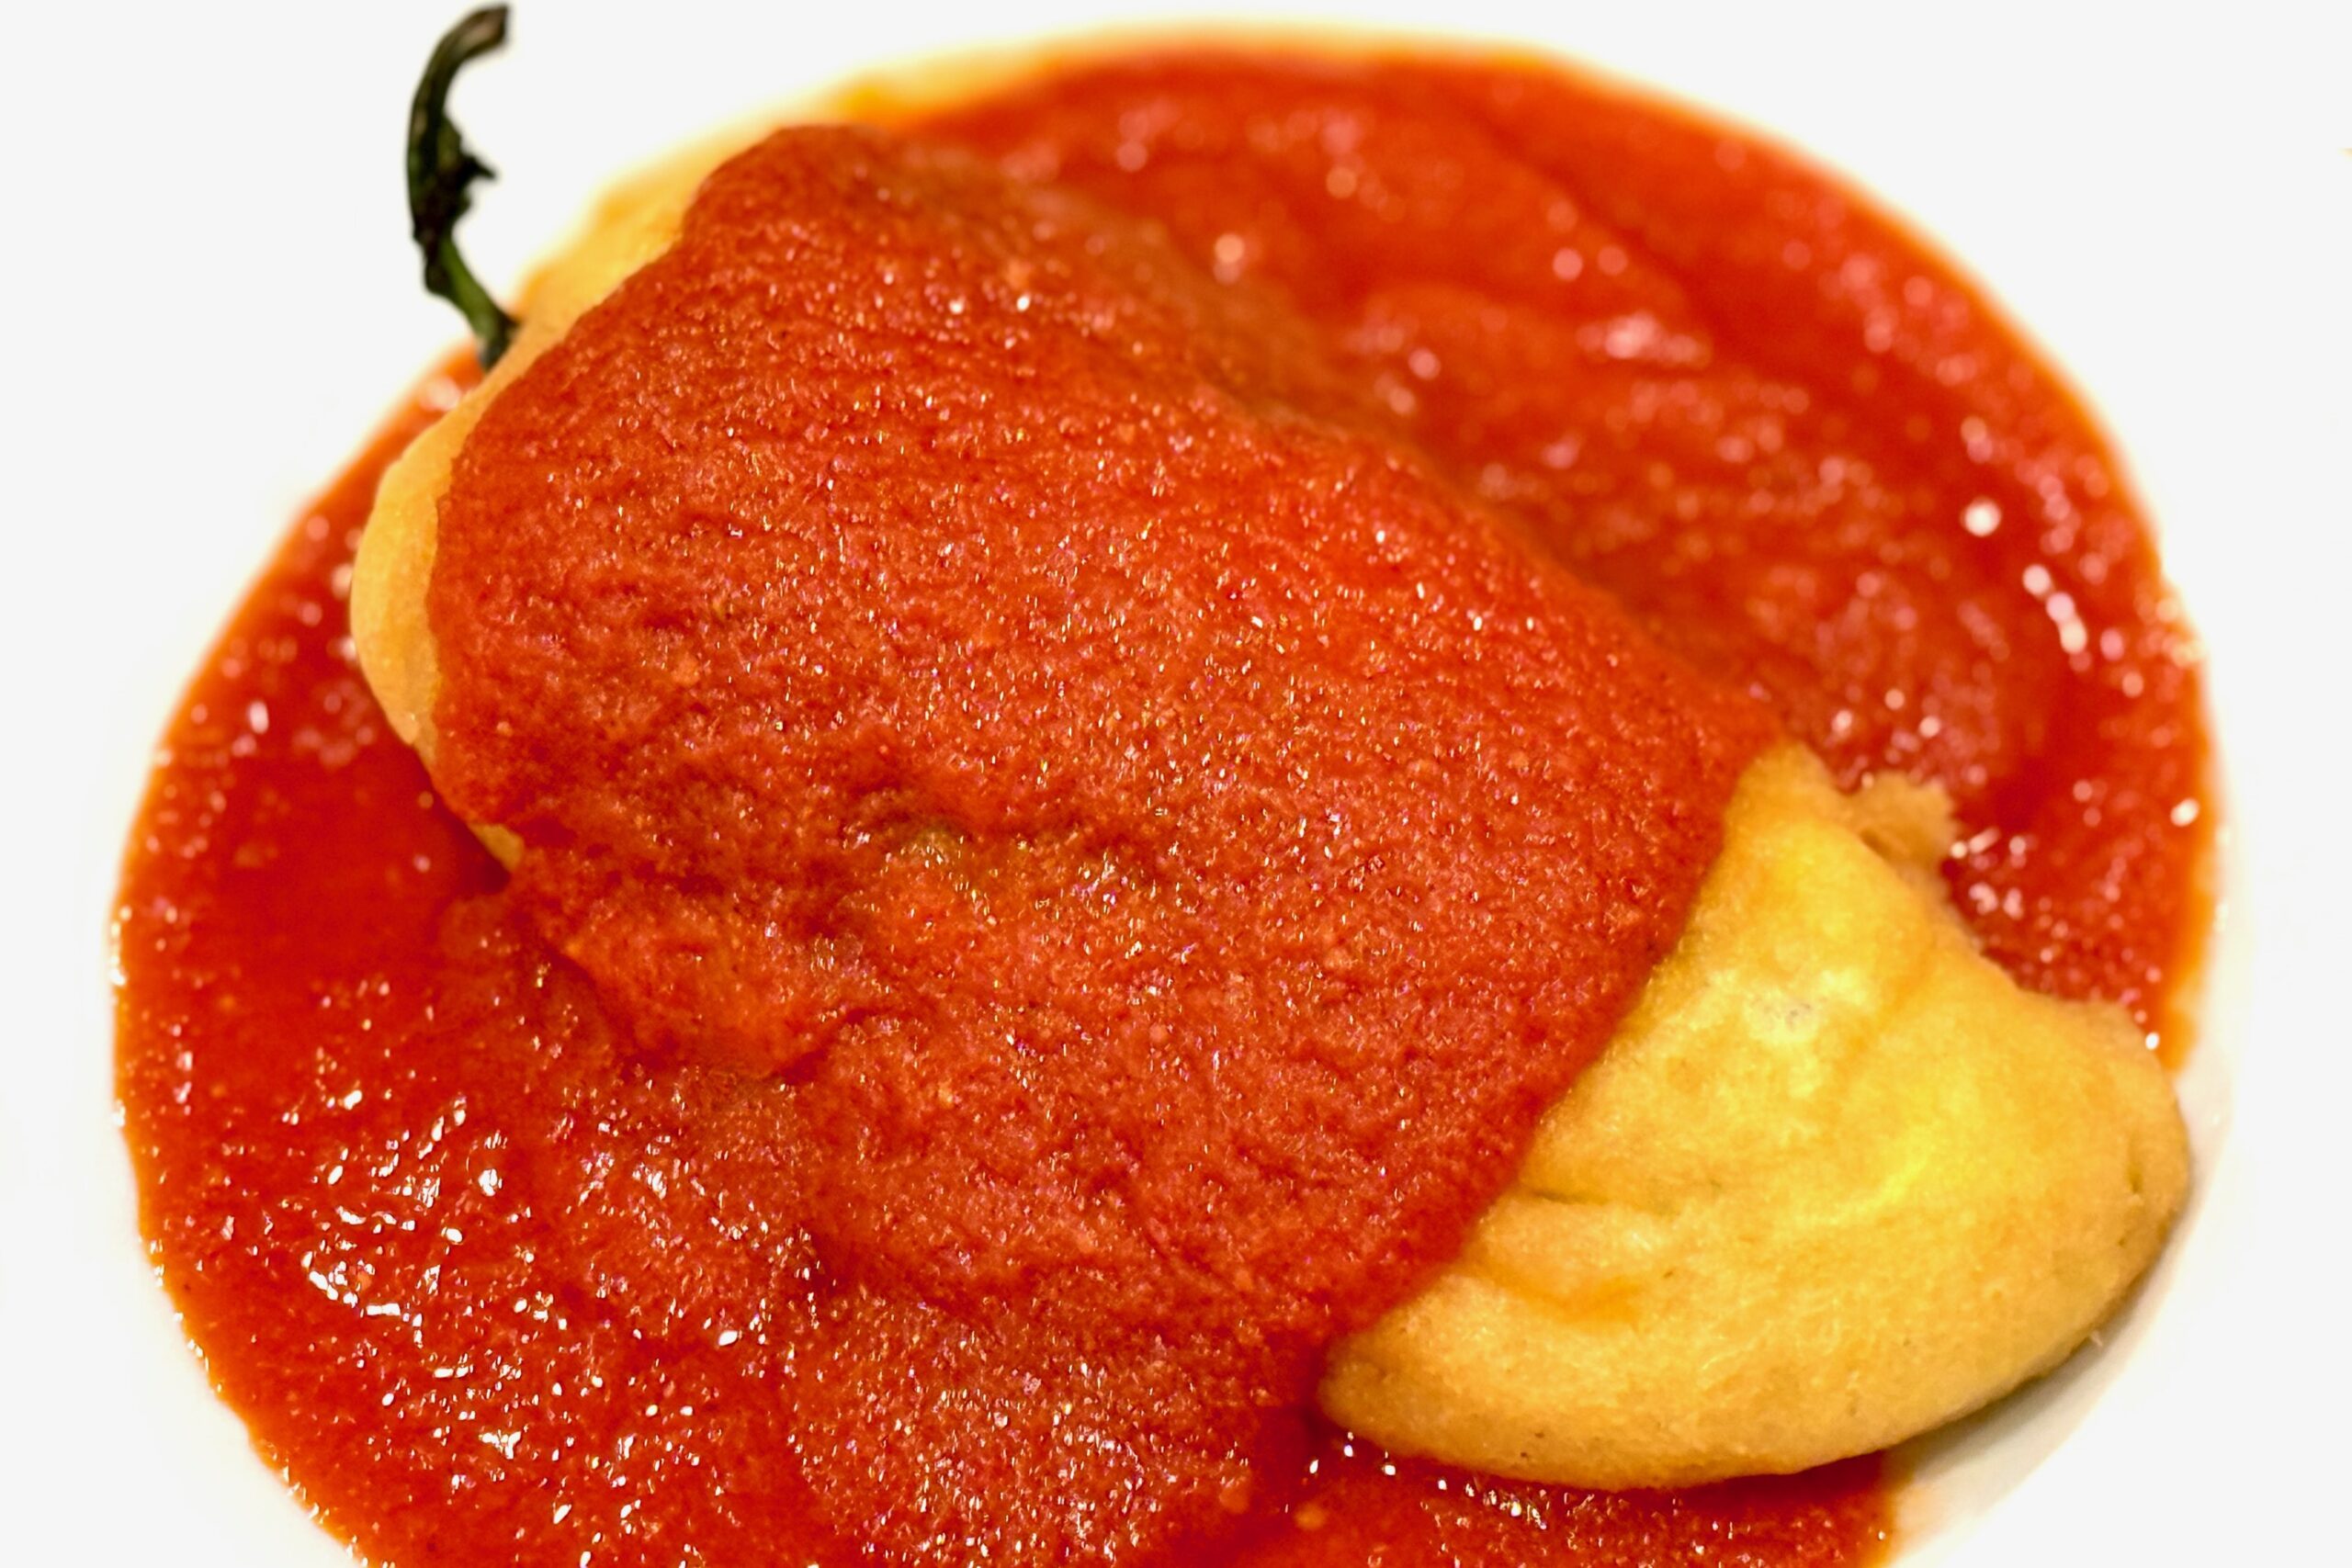
    Spread a pool of warm sauce onto a plate. Place the chile relleno on top and spoon additional sauce over it.

    Optional garnishes: crema, olive oil drizzle, chopped cilantro, crumbled cotija, or a lime wedge. Serve with Mexican rice, refried beans, and warm flour tortillas; or remove the stem and wrap in a burrito with beans, diced onion, tomato, cilantro, a little sauce, and salsa verde.


    Notes

    Preparation

    • Choose large, flat poblano chiles for easier roasting and stuffing. Anaheim, Hatch, pasilla, or canned whole green chiles also work.
    • You may substitute two 14.5-oz cans of fire-roasted tomatoes for the fresh Roma tomatoes.
    • Batter consistency is critical. The whites should be thick with soft-drooping peaks. Optionally, add ½ tsp baking powder per ½ cup flour for extra lift.

    Serving Suggestions

    • Serve over a generous layer of tomato sauce for the most traditional presentation.
    • Top with crema, cilantro, cotija, or a squeeze of lime.
    • Pair with rice, beans, and warm tortillas.
    • For a burrito-style relleno, remove the stem and wrap with beans, sauce, onion, tomato, and cilantro.

    Variations

    • Cheese-only rellenos for a traditional vegetarian version.
    • Birria- or picadillo-filled rellenos for a heartier option.
    • Shrimp or chicken fillings for a coastal Mexican variation.

    Make-Ahead & Storage

    • Chiles can be roasted and peeled up to 2 days ahead.
    • Sauce keeps well refrigerated for 3–4 days and freezes for up to 2 months.
    • Fried rellenos reheat well in a 350ºF oven for 10–12 minutes.
  • Carnitas

    Carnitas

    These carnitas take inspiration from traditional Michoacán-style cooking—slow-simmered in rich pork fat, brightened with citrus, and finished until the edges are irresistibly crisp. Whether cooked in a cowboy wok over an open flame or in a Dutch oven on the stovetop, this method delivers deeply savory, tender pork with the classic crispy bits that make great street-taco carnitas unforgettable.


    Ingredients

    • 8 lbs pork shoulder, cut into 4-inch chunks
    • 8 lbs lard (or enough to submerge pork by at least ¾)
    • 4 tbsp table salt, divided (2 tbsp sprinkled directly over the pork, 2 tbsp dissolved in ½ cup hot water)
    • ½ cup hot water
    • 1 can evaporated milk
    • 1 bottle Coca-Cola
    • Juice of 3 oranges (at least ½ cup), plus the halved oranges
    • 2–3 bay leaves
    • 15–20 whole garlic cloves, peeled
    • ½ onion, cut into wedges
    • Yield: Approximately 4.5–5 lbs carnitas (about 20–24 tacos, using 1.5–2 oz meat per street taco or 2.5–3 oz for larger tacos)

    Directions

    Season the Pork

    Sprinkle 2 tbsp salt evenly over the pork and let sit for at least 30 minutes at room temperature. Dissolve the remaining 2 tbsp salt in ½ cup hot water and set aside.

    For deeper seasoning, you can salt the pork 12–24 hours ahead: sprinkle the 2 tbsp salt over the pork, cover or leave uncovered for lightly dried edges, and refrigerate. Remove from the refrigerator 30–45 minutes before cooking.

    Initial Frying (Browning Stage)

    In a large discada (cowboy wok/plow disk) or deep Dutch oven, heat the lard to 350°F over medium heat. Add the pork in a single layer—working in batches if needed to avoid overcrowding—and cook, turning every 15 minutes, until the surfaces are deep golden brown, about 30–45 minutes.

    Prepare to Add Liquids (Safety Step)

    Reduce heat to low, then turn off the heat completely and let the lard cool until the bubbling subsides, 2–3 minutes, to reduce boil-over risk. Once the fat is calm, carefully add the evaporated milk, Coca-Cola, the salted water, freshly squeezed orange juice, the halved oranges, bay leaves, garlic cloves, and onion wedges.

    Slow Simmer (Confit Stage)

    Return heat to medium-low and maintain a gentle simmer (around 225°F), with small, lazy bubbles breaking around the edges. Cook until the pork is fork-tender and most of the liquid has evaporated, allowing the milk and Coke sugars to caramelize, about 1.5–2 hours. Stir every 20–30 minutes during the final reduction to prevent scorching.

    Finish & Crisp

    Once the liquid has fully reduced, remove and discard the bay leaves, citrus halves, and onion wedges. The pork will begin frying again in the rendered fat. Increase the heat slightly and crisp the carnitas to your preferred texture, turning occasionally until browned, crispy on the edges, and easily shreddable. Shred or chop into bite-sized pieces and serve hot.


    Notes

    Preparation

    • Salting the pork 12–24 hours in advance deepens the seasoning and can improve browning; just be sure to bring the pork toward room temperature before cooking.
    • Use enough lard to submerge the pork by at least ¾ for even cooking and browning, especially in a deep Dutch oven.
    • Always allow the lard to stop actively bubbling before adding liquids to reduce the risk of boil-over or splattering.
    • During the confit stage, aim for a gentle simmer with small bubbles around the edges of the pot rather than a vigorous boil.
    • As the liquid reduces and the sugars caramelize, stir periodically to prevent scorching on the bottom of the pan.
    • Handling this much volume can be a challenge. I always use my rimmed Discada (aka Cowboy Wok or Disco). The specific tools I use are listed on my kitchen tools page.

    Serving Suggestions

    For tacos, serve warm carnitas in heated corn tortillas with diced onion, chopped cilantro, crumbled queso fresco, and your homemade Salsa Verde or Chile de Árbol Salsa.

    • Serve with lime wedges for brightness.
    • Brush tortillas lightly with pork fat before warming for taquería-style flavor.
    • Add a sprinkle of flaky salt right before serving.
    • For extra-crispy edges, reheat portions on a hot plancha or cast-iron skillet until sizzling.

    Variations

    • Pressure Cooker Shortcut: For a faster version, season the pork as directed and place it in a pressure cooker or Instant Pot with the orange juice, halved oranges, bay leaves, garlic, onion, and about 1 cup water (omit the lard, Coke, and evaporated milk at this stage). Cook on high pressure for 35 minutes, then allow a natural release. Once tender, transfer the drained pork to a large pan with lard, Coke, and evaporated milk, then simmer and fry as directed to caramelize and crisp the edges.

    Make-Ahead & Storage

    • Cool carnitas to room temperature, then refrigerate in an airtight container with some of the cooking fat spooned over the top for up to 4–5 days.
    • For longer storage, freeze cooled carnitas (with a thin layer of fat) in freezer-safe bags or containers for up to 3 months. Thaw overnight in the refrigerator before reheating.
    • To reheat, warm carnitas in a skillet over medium to medium-high heat with a spoonful of reserved fat, spreading the meat into an even layer and allowing the edges to crisp before stirring.
    • Reheated carnitas often develop even better texture and flavor after a second round of crisping.
  • Double-Fried Belgian Frites

    Double-Fried Belgian Frites

    Ok, my friends, don’t get me started! Just believe me when I say, Fries are NOT French! Whether it be because of the style of the cut (frenched) or the native language of many of their early purveyors, french and fries have been erroneously linked as the name of a true Belgian creation, Frites! Calling these spears of deliciousness French is, well, just wrong.

    Real frites are presoaked and double fried, delivering a soft and fluffy interior and crisp exterior. They are traditionally salted and served with mayonnaise. But, if you are feeling a bit more adventurous, try some of the typical toppings for Frites from the Netherlands and Belgium found under Serving Suggestions at the end of the recipe. My personal favorite… Patat Speciaal!


    Ingredients

    • Large potatoes (Russet or Bintje preferred)
    • Cold water
    • Neutral oil for frying (peanut or canola)
    • Salt, to taste
    • Pepper (optional)

    Directions

    Prepare the Potatoes

    Wash and scrub potatoes well. Peel if desired, then cut into thick fries (about ⅜–½ inch / 1 cm thick). Place in a large bowl of cold water and soak for at least 20 minutes, or up to several hours, to remove excess starch.

    Drain and pat the fries completely dry with paper towels before frying.

    First Fry (Par-Cook)

    Heat oil in a deep fryer or heavy pot to 275–300°F (135–150°C). Fry the potatoes in batches for about 4–6 minutes, just until tender but not browned. Avoid overcrowding to maintain temperature.

    Remove fries and transfer to a paper towel–lined tray or a large paper bag to drain and cool. Let rest at least 20–30 minutes.

    Second Fry (Crisp & Golden)

    Increase oil temperature to 375–400°F (190–205°C). Fry the cooled potatoes again in batches for 3–5 minutes, until golden brown and crisp.

    Transfer to fresh paper towels to drain. Immediately season with salt (and pepper, if desired).

    Serve

    Serve hot in a paper cone, bowl, or basket—Belgian style—with plenty of mayonnaise or one of the regional variations listed below.


    Notes

    Preparation

    • For the most authentic texture, use starchy potatoes such as Russets or Bintjes.
    • Soaking the potatoes helps remove starch for crisper results—don’t skip this step.
    • Always cool fries completely between the first and second fry for best crispness.
    • Use a thermometer to maintain accurate oil temperature during frying.

    Serving Suggestions

    • Patat Met – Fries with mayonnaise.
    • Patat Speciaal – Fries with mayonnaise, curry ketchup, and chopped onions.
    • Patatje Oorlog – Fries with mayonnaise, peanut sauce, sambal oelek, and chopped onions.
    • Patatje Joppie – Fries with mayonnaise mixed with yellow curry spices and topped with onions.
    • Frieten met Stoofvlees – Fries served with Belgian beef stew.
  • Beer  Battered Halibut

    Beer Battered Halibut

    Each year I attended the same trade show in London. While I love the city, I didn’t love traveling without my wife—especially this trip because it always fell during her birthday week. The year we decided she’d come along was eventful, to say the least. But before we get to London, some backstory.

    Pregnancy was not something that came easy for us. A lot of very fun attempts, but at least to that point, no resulting pregnancies. Before we left I shared a dream where while in London she’d told me she was pregnant. We laughed as we continued to prepare for the trip.

    Wile I worked the show, my beautiful bride explored the city. On her birthday, we met up after my work day to celebrate with a delicious dinner followed by the theatre to see ‘Les Misérables’—an unforgettable night!

    Back at the hotel, she disappeared into the bathroom. Moments later I heard her voice, “I think we’re pregnant.” I laughed—until she rounded the corner with a pregnancy test, the two pink lines unmistakable. That London trip became our first family journey with our two sons. Later, five and seven years after the whirlwind of welcoming twins, we were blessed with two beautiful daughters, completing our little family.

    As a remembrance of our London getaway, and our life-changing news, I created this recipe; my not-so-authentic version of fish and chips.


    Ingredients

    • 4–6 halibut filet portions
    • 1½ cups (185g) all-purpose flour, plus extra for coating filets
    • 1¼ cups (160g) corn starch
    • 2 tsp baking powder
    • ½ tsp table salt
    • ½ tsp white pepper (optional)
    • 1 can (16 oz / 475 ml) light beer
    • Optional Batter Add-Ins:

      • garlic powder
      • onion powder
      • paprika
      • shoarma spice blend
      • Old Bay

    Directions

    Prepare the Fish:

    Preheat 2″ to 3″ of neutral oil in a skillet or deep fryer to 350º–375ºF. Coat cold halibut filets on all sides with flour; place on a wire rack set over a baking sheet and refrigerate.

    Make the Batter:

    In a large bowl, whisk together flour, corn starch, baking powder, salt, and white pepper. Whisk in enough ice-cold beer to reach the consistency of a thin pancake batter. Refrigerate the batter for 10 minutes to rest and chill.

    Fry the Halibut:

    Dip each filet into the chilled batter and allow excess to drip off. Fry for 1–2 minutes per side, or until crispy and deep golden brown.

    Transfer to a wire rack and immediately sprinkle lightly with salt. Allow the oil temperature to return to 350º–375ºF before frying the next batch.

    Serve hot with Belgian frites, tartar sauce, and/or malt vinegar.


    Notes

    Preparation

    • Keeping the fish cold is essential—cold fillets meeting hot oil creates the highest-crisp batter.
    • Use ice-cold beer. Colder batter expands more rapidly when fried, creating a lighter, airier crust.
    • Halibut works beautifully, but cod, haddock, or rockfish are excellent alternatives.
    • To prevent sticking, make sure your oil is at temp before adding the first piece.

    Serving Suggestions

    • Serve with tartar sauce, malt vinegar, or a squeeze of fresh lemon.
    • Belgian-style frites or hand-cut fries complement the crispy halibut perfectly.
    • A quick cabbage slaw with lemon and dill keeps the plate light and balanced.

    Variations

    • Add ½ tsp paprika or smoked paprika for a deeper color and warmth.
    • Shoarma spice or Old Bay give a fun twist while keeping the classic texture.
    • Substitute half the beer with sparkling water for an extra-light batter.
    • For heat, add a pinch of cayenne or chili powder.

    Make-Ahead & Storage

    Fish and chips are best eaten immediately, but here are some tips:

    • If needed, keep fried pieces warm on a wire rack in a 225ºF oven for up to 20 minutes.
    • Leftovers may be reheated in an air fryer at 375ºF for 4–6 minutes to restore crispness.
    • Batter can be mixed dry (without beer) up to 2 days ahead; just whisk in cold beer before frying.
  • Poutine

    Poutine

    Poutine is the ultimate Canadian comfort classic—crispy hot fries, soft squeaky cheese curds, and rich gravy melting everything into one irresistible bite. It’s simple, hearty, and perfect for nights when you want something warm and satisfying without overthinking the prep.


    Ingredients

    • Southern gravy
    • Belgian frites, or oven fried fries
    • white cheddar cheese curds

    Directions

    Assemble the Poutine

    Plate hot fries and sprinkle generously with cheese curds. Cover with hot gravy and serve immediately.


    Notes

    Preparation

    • For best texture, use hot, freshly cooked fries so the curds soften slightly but don’t fully melt.
    • If your cheese curds are refrigerated, let them sit at room temperature for 15–20 minutes before assembling for maximum “squeak.”
    • Warm gravy thoroughly just before serving so it coats evenly and heats the curds.

    Serving Suggestions

    • Add shredded rotisserie chicken, pulled pork, or leftover brisket for a heartier variation.
    • Top with chopped green onions or a sprinkle of smoked paprika for extra flavor depth.
    • Serve alongside burgers, grilled meats, or as a standalone comfort meal.

    Variations

    • Use mushroom gravy instead of brown gravy for a vegetarian option.
    • Try peppercorn gravy for a bolder, steakhouse-style version.
    • Make it “fully loaded” with bacon, caramelized onions, or jalapeños.

    Make-Ahead & Storage

    • Fries are best freshly cooked; avoid storing once assembled as they become soggy.
    • Gravy can be made up to 3 days ahead and reheated gently before serving.
    • Cheese curds keep well refrigerated for 1–2 weeks; bring to room temperature before using.