Bags of Spices

Favorite Recipes

Fusion

When flavors collide — dishes inspired by more than one cuisine, shaped by ingredients, creativity, and family memory.

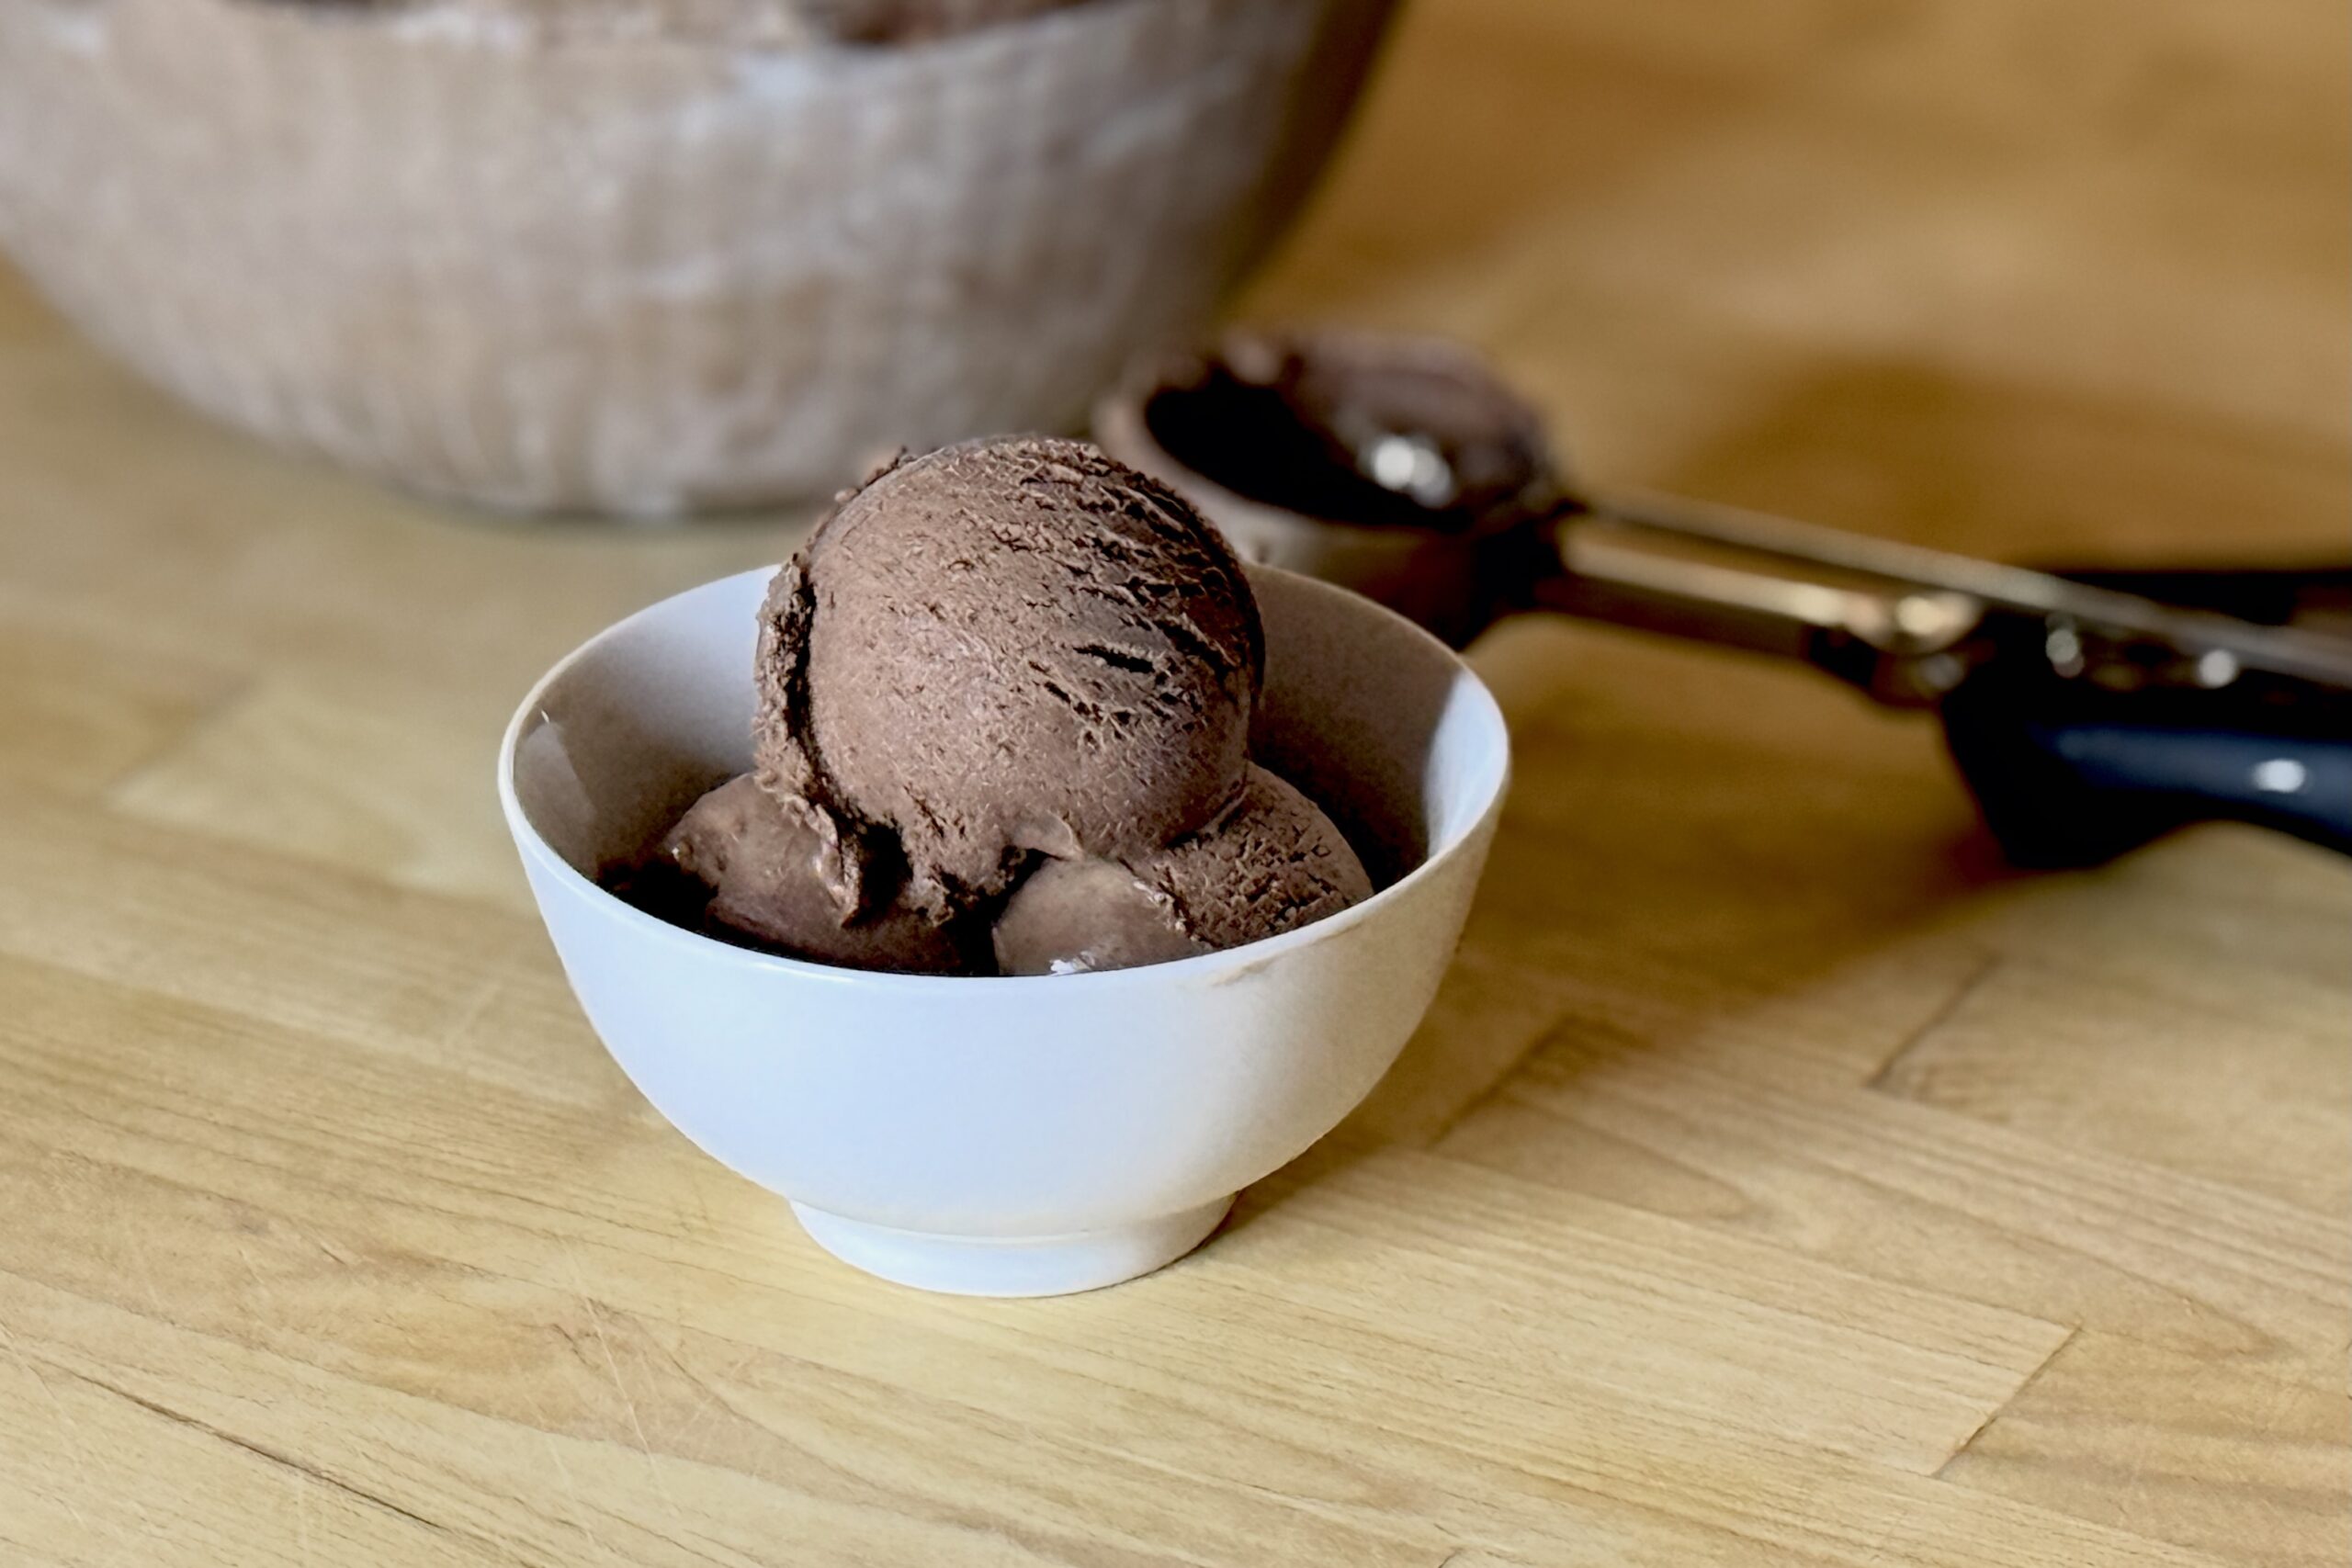
  • Cinnamon Chocolate-Coconut Ice Cream

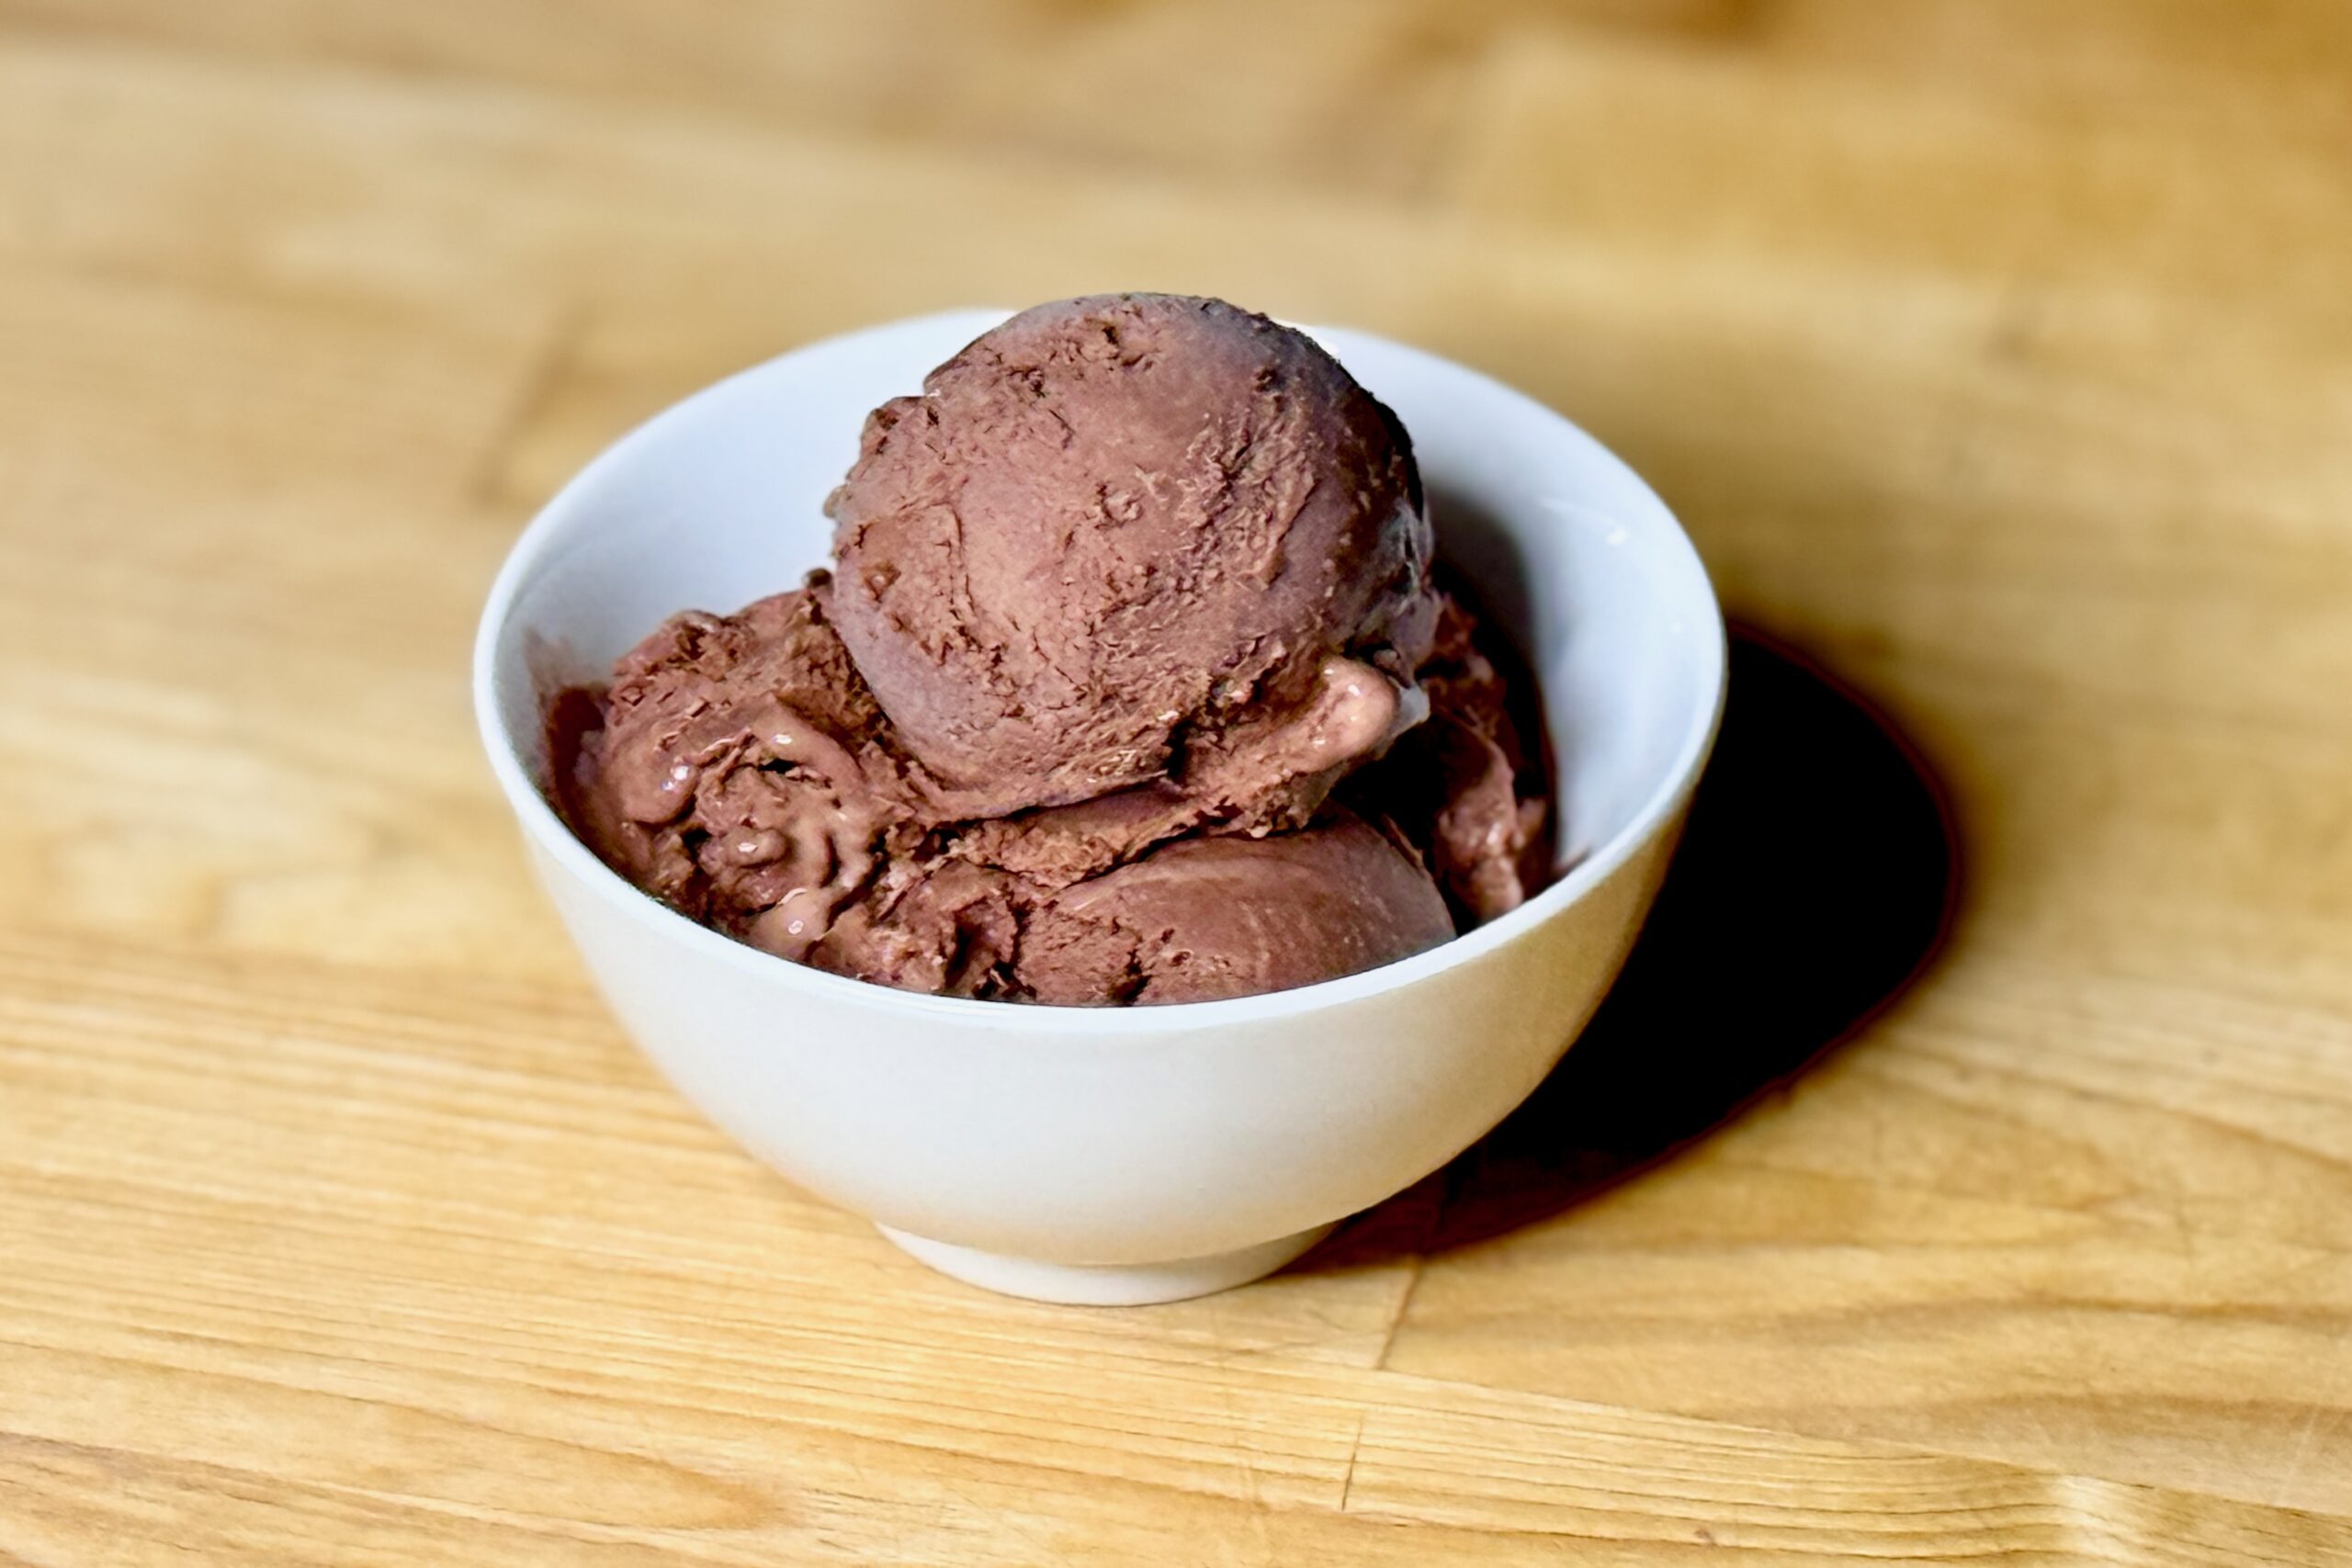
    Cinnamon Chocolate-Coconut Ice Cream

    After a Mexican meal, there’s something comforting about settling in with a cool scoop of ice cream. Chocolate and coconut make this one rich and creamy, while cinnamon adds a gentle warmth to the finish. The cinnamon gives the chocolate a little of the familiar character of Mexican hot chocolate. For a bolder dessert, the optional ghost pepper or habanero variation brings a gradual, fruity heat.


    Ingredients

    • 1 (13.66 oz / 403 ml) can full-fat coconut milk
    • 1 cup (240 g) whole milk
    • ⅔ cup (135 g) granulated sugar, divided
    • ¼ cup (22 g) unsweetened Dutch-process cocoa powder
    • 1 tsp ground cinnamon (about 2.5 g)
    • about ⅞ oz (25 g) dark chocolate, finely shaved or chopped
    • 4 large egg yolks
    • ¼ tsp table salt
    • ½ tsp vanilla bean paste

    Directions

    Prepare the Chocolate Base

    In a medium saucepan, whisk together the cocoa powder, cinnamon, and ⅓ cup (about 67 g) of the sugar. Whisk in about ½ cup (120 ml) of the coconut milk until smooth. Heat over medium-low heat, whisking occasionally, until the mixture reaches about 150°F (66°C). Add the dark chocolate and stir until completely melted. Stir in the remaining coconut milk, whole milk, and salt.

    Prepare the Custard

    In a separate bowl, whisk the egg yolks with the remaining sugar until smooth. Slowly whisk some of the warm chocolate mixture into the yolks to temper them. Gradually whisk the tempered yolks back into the saucepan. Cook over medium-low heat, stirring constantly, until the custard reaches 175°F (79°C). Do not let it boil. Remove from the heat and stir in the vanilla bean paste.

    Chill and Churn

    Cool the custard, then cover and refrigerate until thoroughly chilled, preferably at least 6 hours or overnight. Churn according to your ice cream maker’s instructions. Transfer to a freezer-safe container and freeze until firm enough to scoop.

    Yield: About 1 quart (950 ml).


    Notes

    Variations

    • Ghost Pepper or Habanero: For a spicy version, add 1 g fresh ghost pepper or 2 g fresh habanero to the chocolate base when it reaches about 150°F (66°C). Continue with the recipe. After tempering the yolks and returning them to the saucepan, heat gently until the pepper’s flavor and heat are noticeable. Strain out the pepper, return the custard to the saucepan, and cook to 175°F (79°C). The original chocolate-coconut recipe uses 1 g ghost pepper; 1.5 g gives a hotter result. Pepper heat varies, so remove it sooner for a milder flavor. Wear gloves when handling peppers.

    Serving Suggestions

    • Serve in small scoops after a Mexican meal.
    • Lightly dust each serving with ground cinnamon for extra aroma.

    Make-Ahead & Storage

    • The custard can be prepared up to 24 hours ahead and refrigerated before churning.
    • Store the finished ice cream in a tightly covered container in the freezer. Let it stand at room temperature for 5–10 minutes before scooping, if needed.
  • House Mayonnaise

    House Mayonnaise

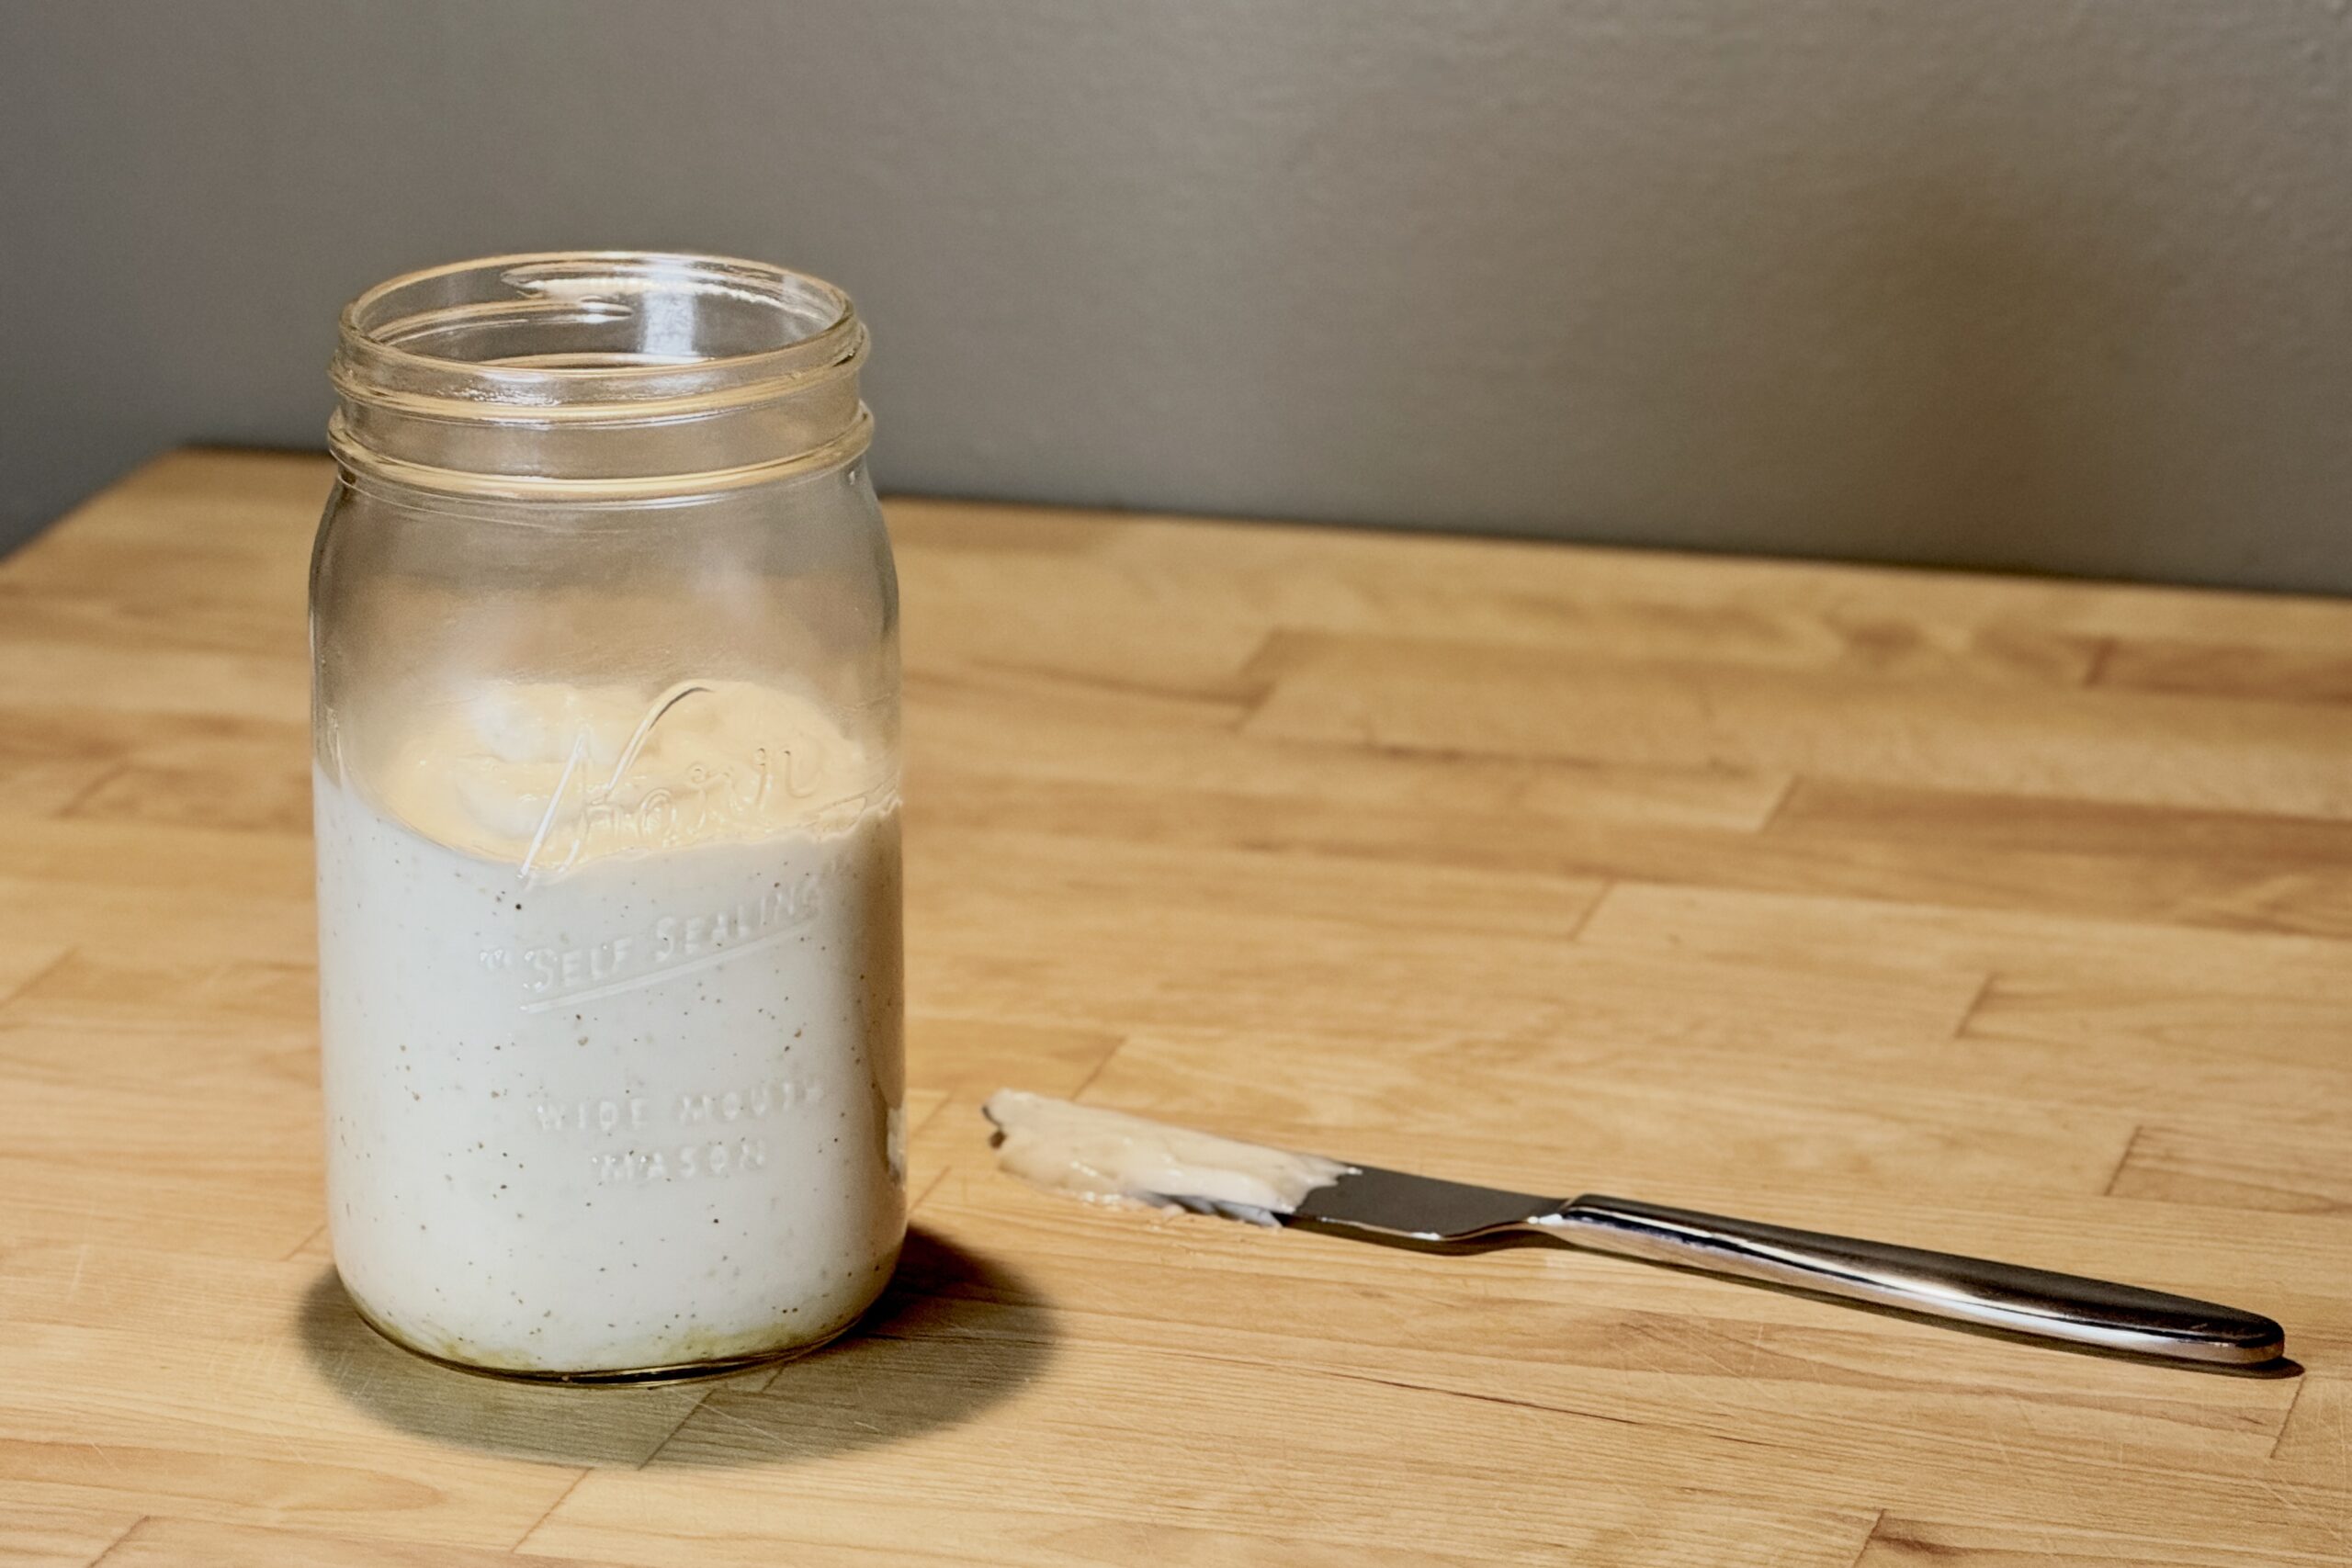
    This house mayonnaise brings together two styles we especially enjoy: the clean, tangy character of Southern-style mayonnaise and the smoother, slightly sweeter balance of Dutch mayonnaise. Made with a neutral oil and just enough mustard and vinegar to keep it lively, it works equally well with sandwiches, deviled eggs, salads, and hot, salty frites, with a few simple variations that take it in entirely different directions.


    Ingredients

    • 8 oz (225 g) soybean oil
    • 1 large egg yolk
    • 2 tsp white vinegar
    • 1 tsp apple cider vinegar
    • 2 tsp water
    • 1½ tsp Dijon mustard
    • 3 g sugar
    • 2 g table salt

    Directions

    Prepare the Mayonnaise

    Let the ingredients stand at room temperature for about 15 minutes so they are close to the same temperature.

    Add the egg yolk, white vinegar, apple cider vinegar, water, Dijon mustard, sugar, and salt to a wide-mouth pint mason jar. Pour the soybean oil over the top and allow the mixture to settle for a minute.

    Place the head of an immersion blender flat against the bottom of the jar so it covers the yolk. Blend without moving the blender until a thick, pale emulsion forms around the blade. Slowly lift and tilt the blender through the remaining oil until the mayonnaise is completely emulsified and smooth.

    Let the mayonnaise rest for a few minutes, then taste and adjust as needed. If it is thicker than desired, blend in cold water ½ tsp at a time until it reaches the preferred consistency.

    Yield: About 1 cup (240 ml).


    Notes

    Preparation

    • Eggs: Commercially pasteurized egg yolks are the simplest choice when raw-egg safety is a concern.
    • Sous Vide Egg Treatment: To reduce the risk associated with raw egg, place refrigerated eggs in a 135°F (57°C) sous vide bath for 75 minutes, then transfer immediately to an ice bath for 10 minutes. Refrigerate until needed. This home heat treatment reduces the risk of Salmonella but is not equivalent to commercially pasteurized eggs; commercially pasteurized eggs or yolks remain the safest choice.
    • Oil: Soybean oil keeps the flavor especially neutral. Refined canola oil can be substituted if preferred, although it may contribute a little more seed-like flavor.
    • Immersion blender: A container only slightly wider than the blender head helps the emulsion form quickly and reliably.

    Variations

    • Frietssaus: For a lighter, slightly sweeter sauce for frites, blend 1–2 tsp additional cold water and 1–2 g additional sugar into the finished mayonnaise. Adjust gradually so the sauce remains creamy rather than thin.
    • Southern-Style Mayonnaise: For a sharper, Duke’s-inspired mayonnaise, use 1 tbsp white vinegar, 2 tsp apple cider vinegar, and 1 tsp water in place of the base recipe’s vinegars and water. Omit the sugar and Dijon mustard, and add ⅛ tsp sweet paprika. Prepare as directed.
    • Garlic Mayonnaise: Blend 1 small garlic clove, finely grated or pressed, into 1 cup (240 ml) finished House Mayonnaise. Refrigerate for at least 30 minutes before serving to allow the garlic flavor to mellow and develop.
    • Curry Mayonnaise: Stir 1½ tsp mild curry powder into 1 cup (240 ml) finished House Mayonnaise. Refrigerate for at least 30 minutes before serving so the curry can hydrate and the flavors can meld. Add up to ½ tsp additional curry powder to taste for a more pronounced flavor.

    Serving Suggestions

    • Use as an all-purpose mayonnaise for sandwiches, burgers, deviled eggs, egg salad, potato salad, or as a base for other sauces.
    • Serve the Frietssaus variation with hot, well-salted frites.

    Make-Ahead & Storage

    • Refrigerate promptly in a clean, covered container and keep cold. Use within 3 days, and discard it sooner if there is any question about freshness.
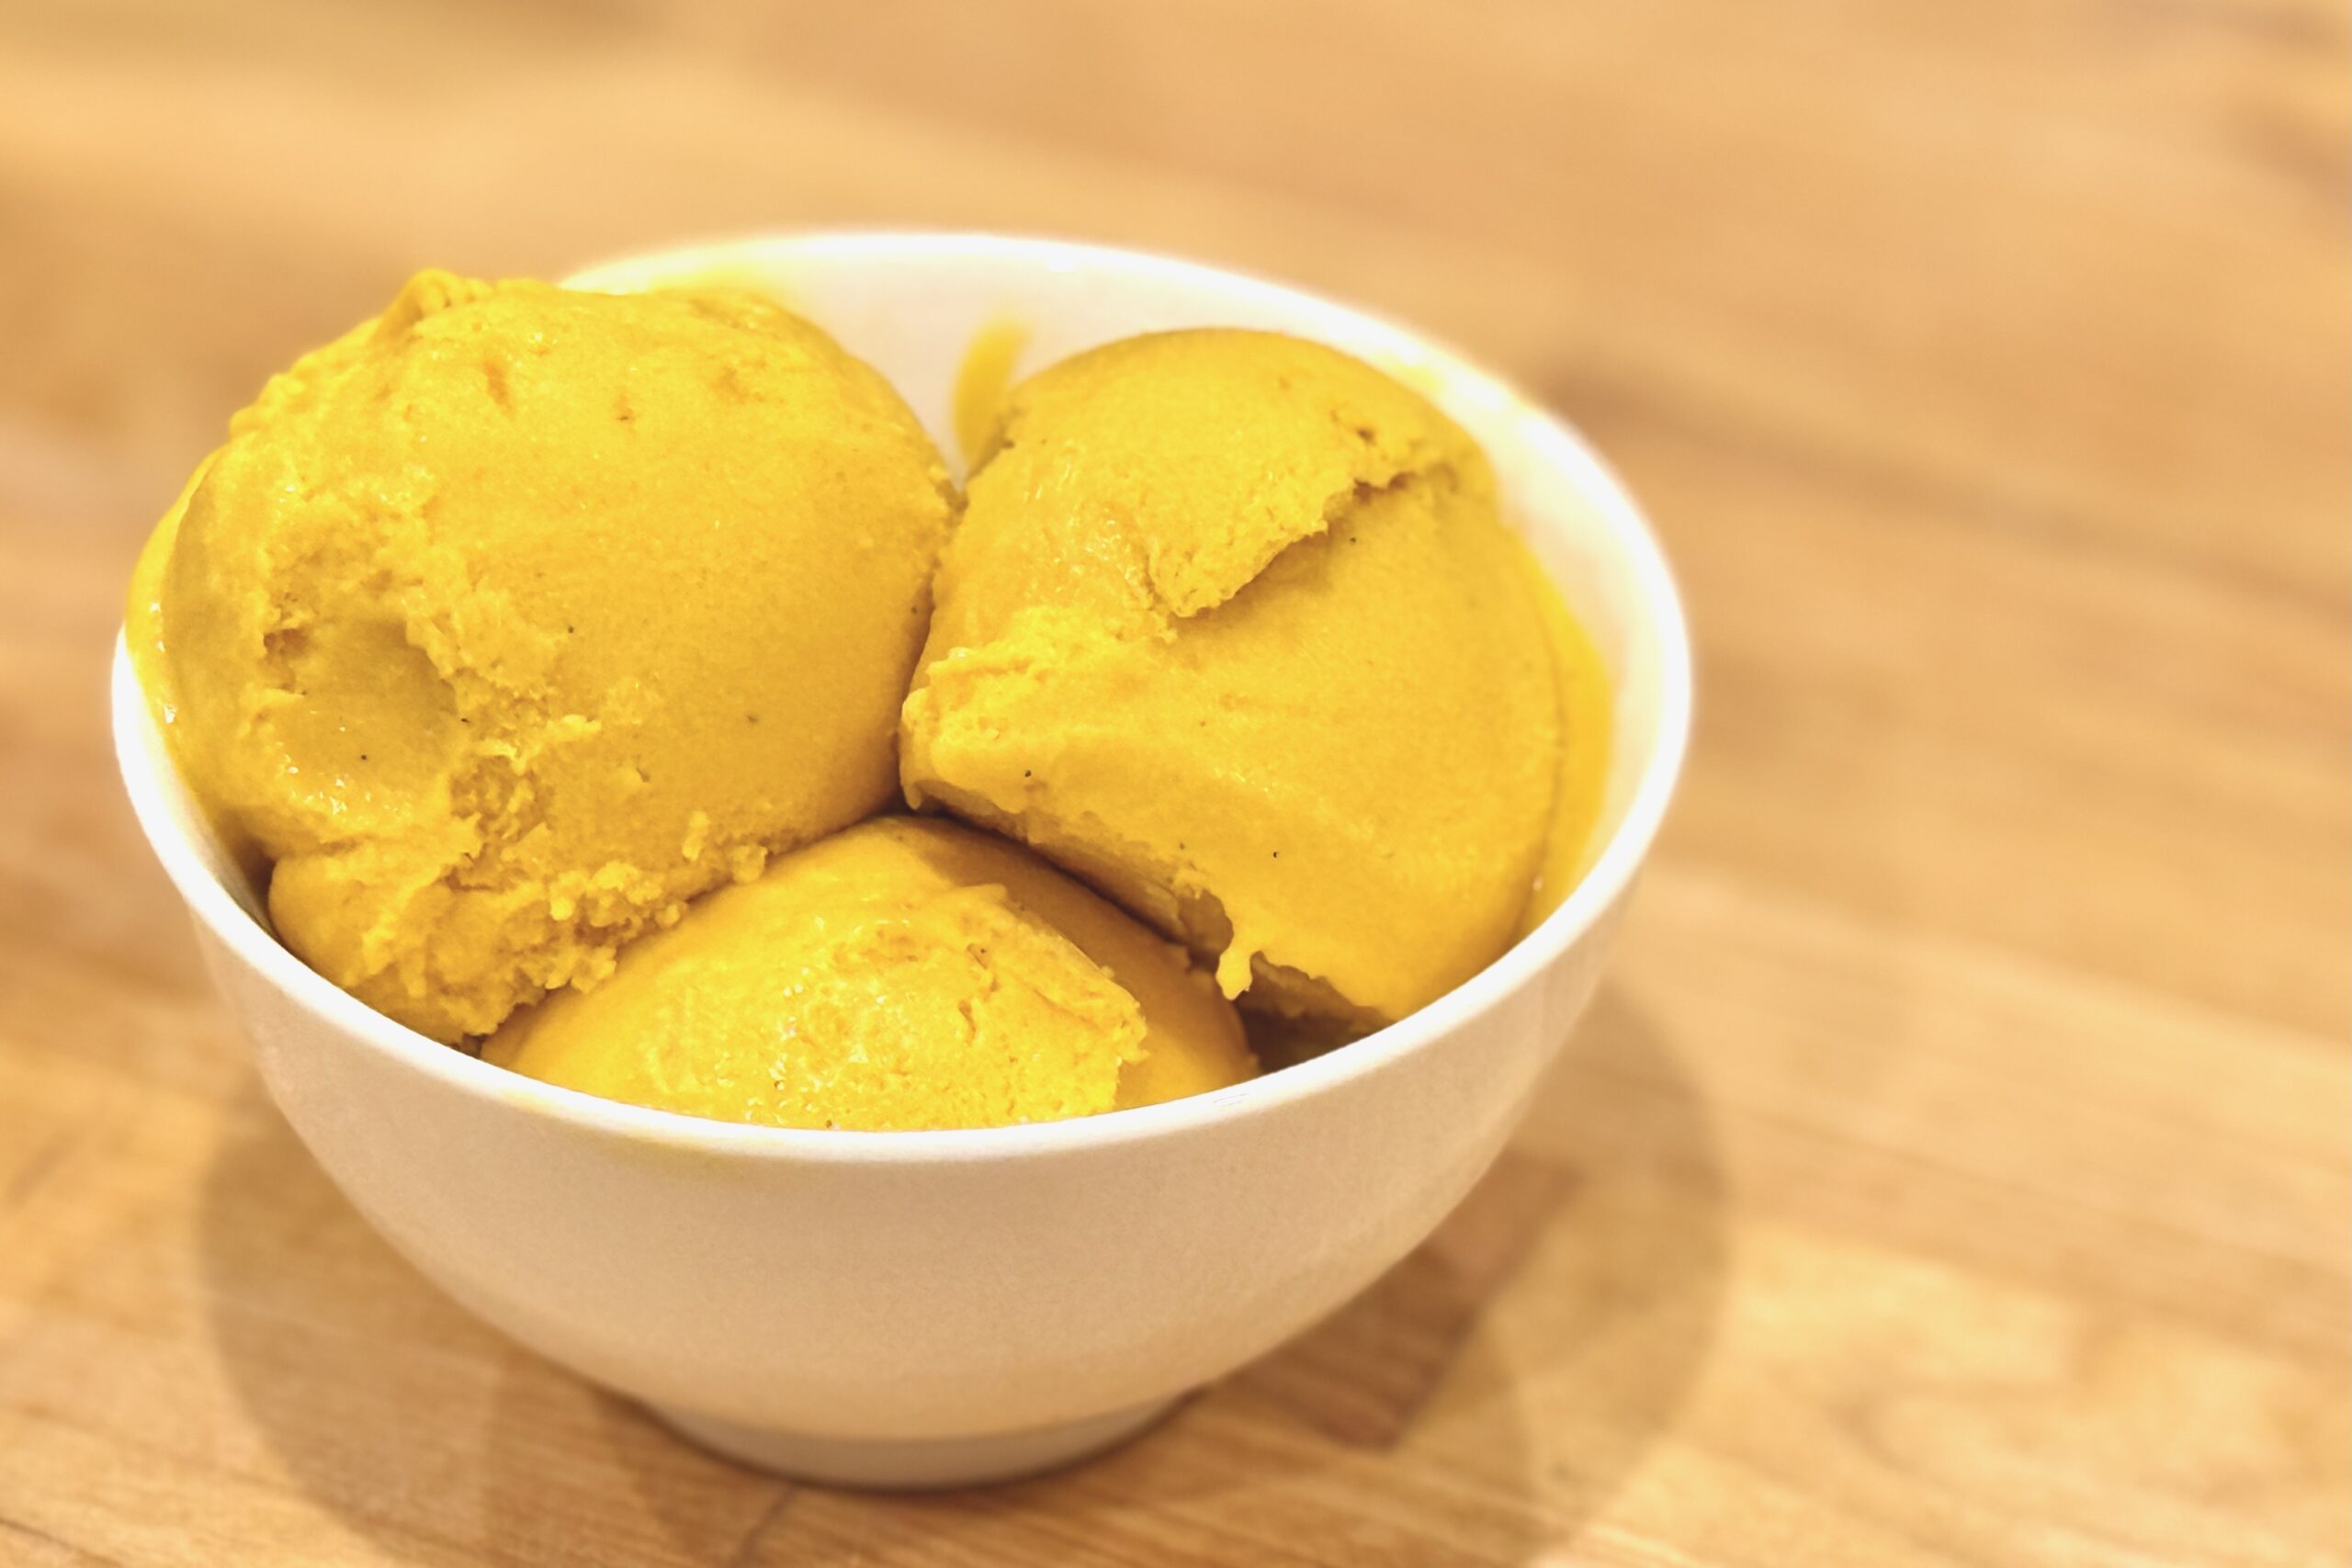
  • Mango Ghost Pepper Ice Cream

    Mango Ghost Pepper Ice Cream

    This Mango Ghost Pepper Ice Cream brings together the lush sweetness of Alphonso mango, the rich coconut flavor of coconut milk, and the surprising fruitiness of fresh ghost pepper. The first spoonful is cool, creamy, and tropical; then the pepper’s warmth gradually builds in the background. Using just ½ g of ghost pepper keeps those fruit flavors at the center while giving the finished ice cream a distinct but balanced heat.


    Ingredients

    • 1 can (13.66 oz / 403 ml) full-fat coconut milk
    • 1 cup (240 g) Alphonso mango pulp
    • ½ cup (120 g) whole milk
    • ½ cup plus 2 tbsp (125 g) granulated sugar, divided
    • 4 large egg yolks
    • ¼ tsp table salt
    • ½ g fresh ghost pepper
    • ½ tsp vanilla bean paste
    • 1 tbsp (15 g) fresh lime juice

    Directions

    Prepare the Custard

    Combine the coconut milk, whole milk, ½ cup (100 g) of the sugar, and salt in a medium saucepan. Warm over medium-low heat, stirring frequently. When the mixture reaches about 150°F (66°C), add the ghost pepper.

    In a medium bowl, whisk the egg yolks with the remaining 2 tbsp (25 g) sugar until smooth. Slowly whisk about 1 cup (240 ml) of the hot milk mixture into the yolks. Pour the tempered yolk mixture back into the saucepan, whisking constantly.

    Remove and discard the ghost pepper. Cook the custard over medium-low heat, stirring constantly, until it reaches 175°F (79°C). Do not let it boil.

    Finish the Base

    Remove the custard from the heat and let it cool. Blend in the mango pulp and vanilla bean paste until smooth.

    Chill and Churn

    Cover and chill until completely cold, at least 4 hours or overnight. Stir in the lime juice, then churn according to your ice cream maker’s instructions. Transfer to a freezer-safe container and freeze until firm, about 4 hours.

    Yield: About 1 quart (950 ml).


    Notes

    Preparation

    • Wear gloves when handling ghost peppers and avoid touching your face or eyes. Pepper heat can vary considerably, even at the same weight.

    Variations

    • Mango Ice Cream: Omit the ghost pepper and prepare the custard as directed, skipping the steps to add and remove the pepper.
    • Spicier Mango Ghost Pepper Ice Cream: Increase the fresh ghost pepper to 1 g. This tested version delivers a noticeably stronger, more persistent heat.

    Make-Ahead & Storage

    • The ice cream base can be prepared and refrigerated up to 24 hours before churning.
    • Store the finished ice cream in a tightly covered container in the freezer. Let it stand at room temperature for 5–10 minutes before scooping, if needed.
  • Chocolate-Coconut Ghost Pepper Ice Cream

    Chocolate-Coconut Ghost Pepper Ice Cream

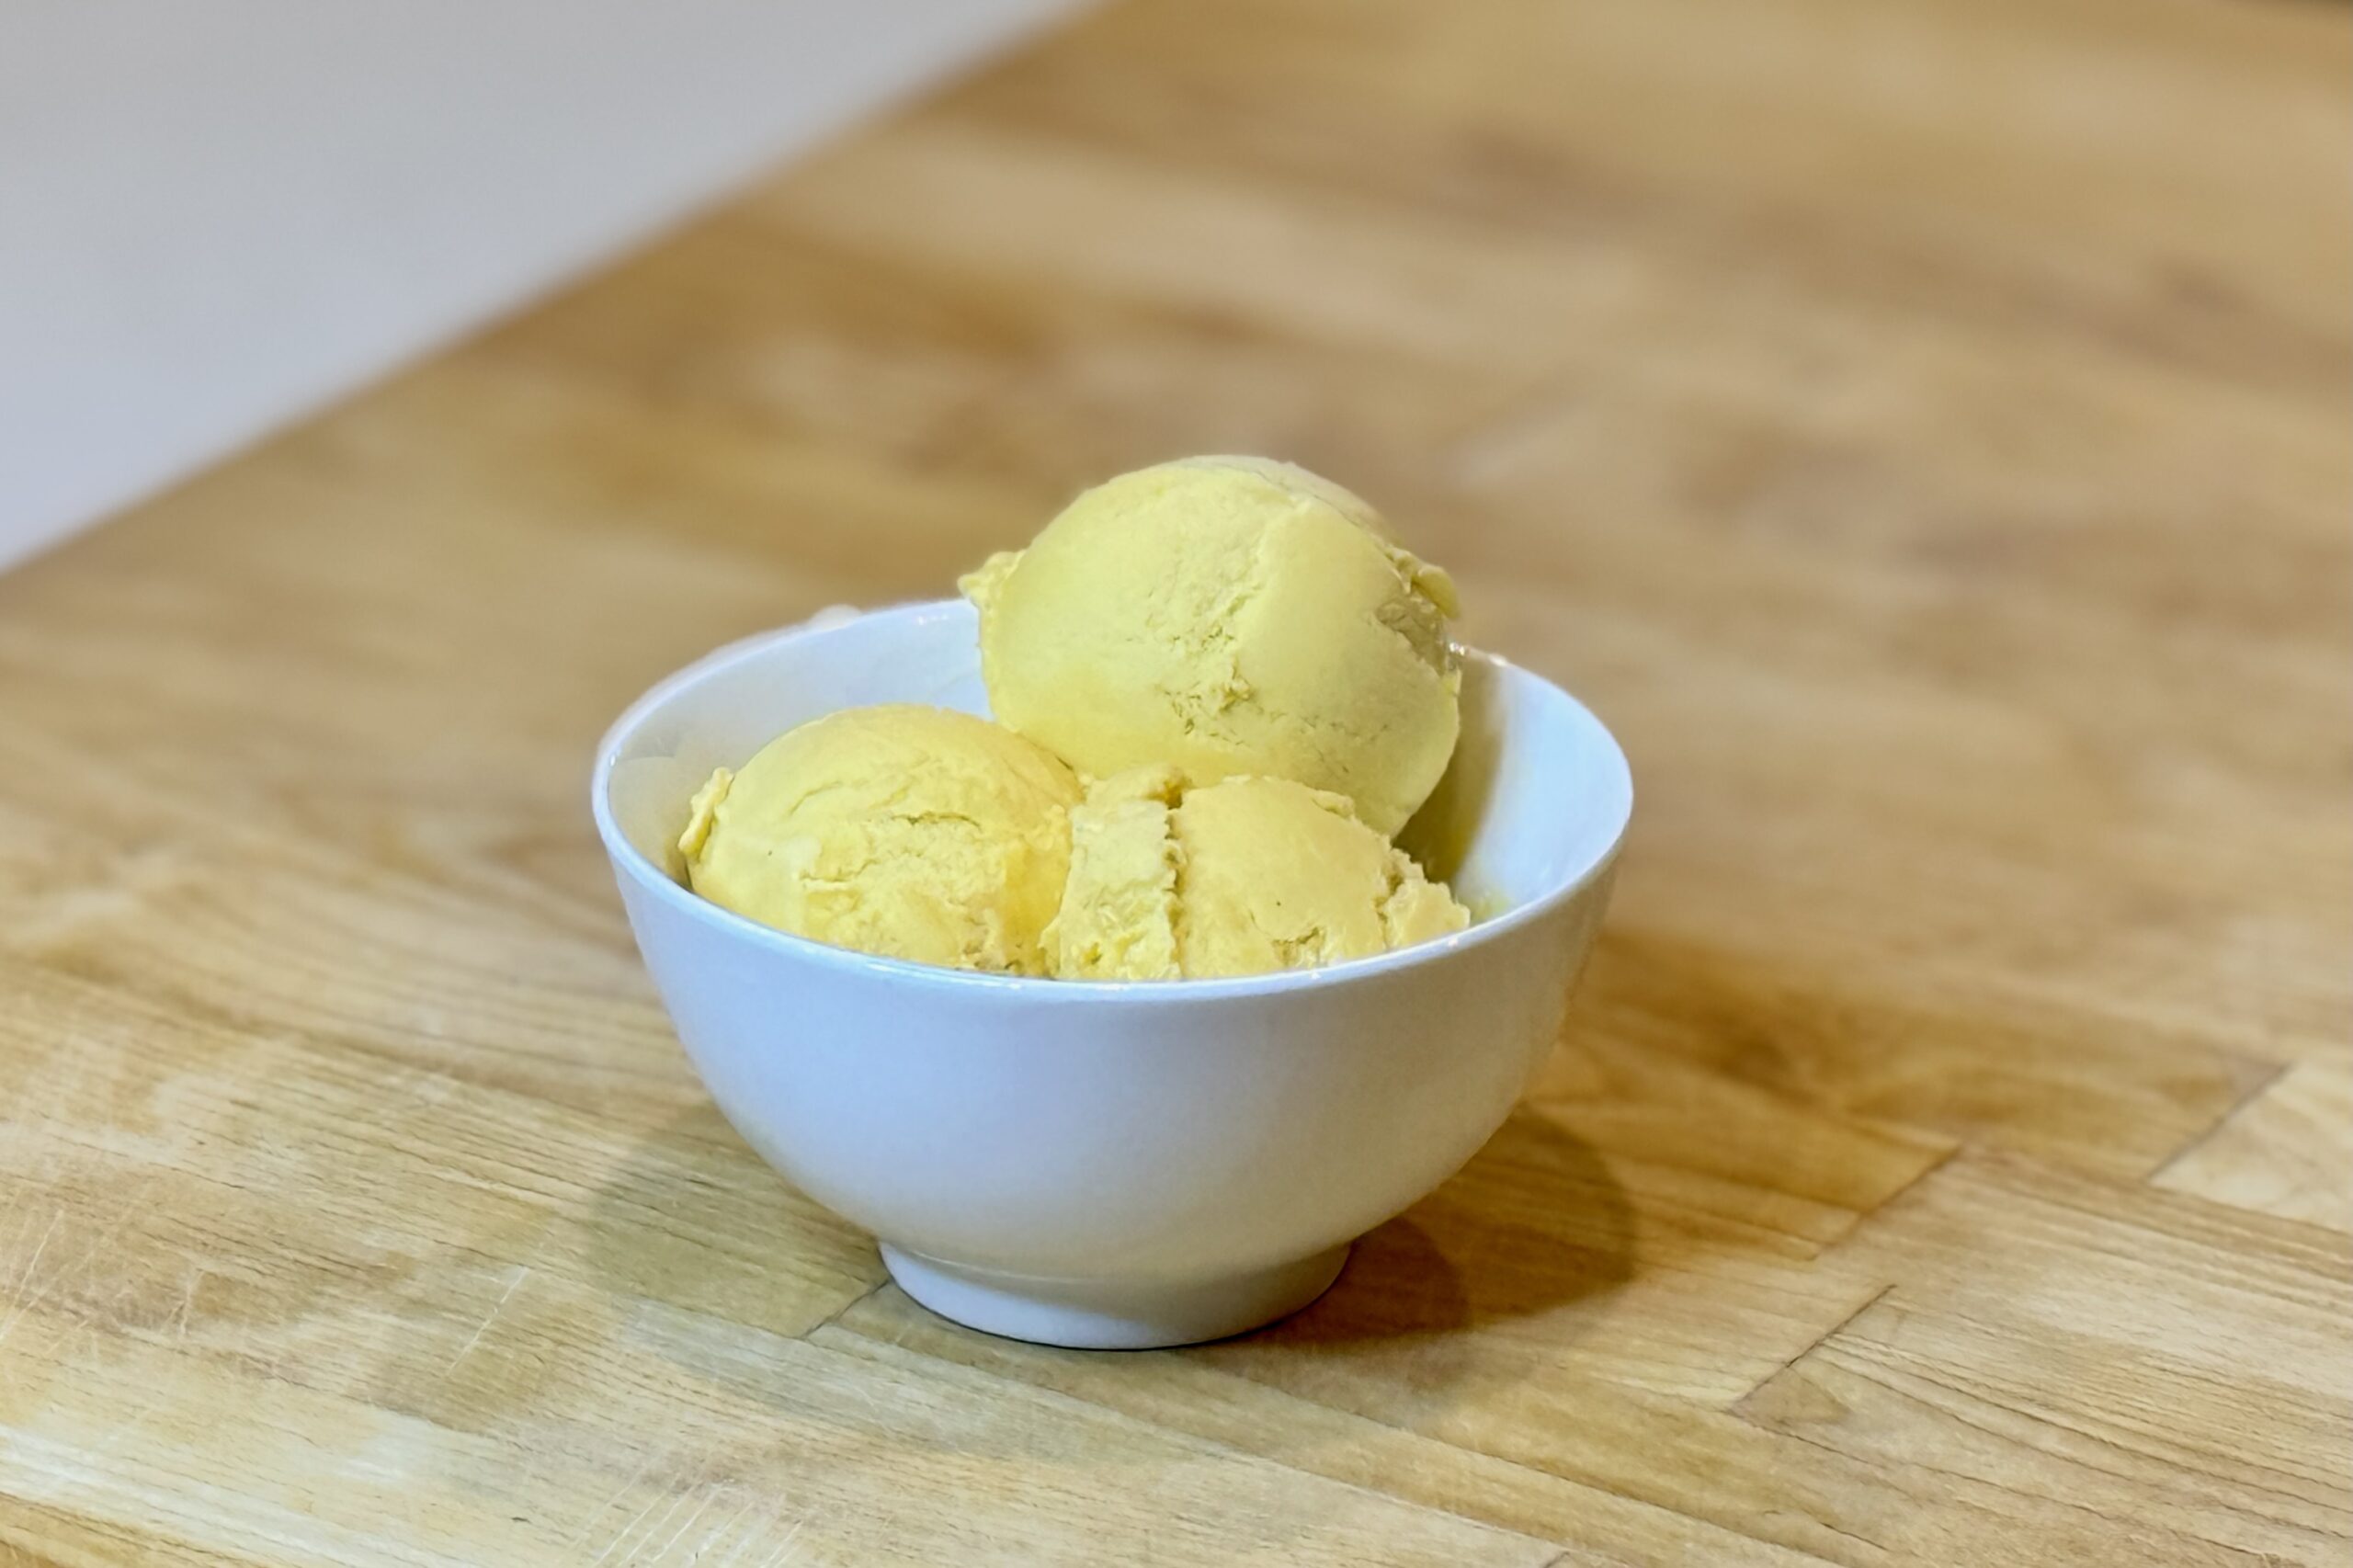
    Chocolate and chile are a natural combination, but ghost pepper brings something especially interesting to this ice cream. Its surprisingly fruity flavor works beautifully with dark chocolate and coconut, while the heat builds slowly after each bite. Keeping the chocolate restrained allows all three flavors to come through, creating a rich chocolate ice cream with noticeable coconut and a warm ghost pepper finish.


    Ingredients

    • 1 (13.66 oz / 403 ml) can full-fat coconut milk
    • 1 cup (240 g) whole milk
    • ⅔ cup (135 g) granulated sugar, divided
    • ¼ cup (22 g) Guittard Cocoa Rouge cocoa powder
    • about ⅞ oz (25 g) dark Belgian chocolate, finely shaved or chopped
    • 4 large egg yolks
    • ¼ tsp table salt
    • ½ tsp vanilla bean paste
    • 1 g fresh ghost pepper

    Directions

    Prepare the Chocolate Base

    In a medium saucepan, whisk together the cocoa powder and ⅓ cup (about 67 g) of the sugar. Whisk in about ½ cup (120 ml) of the coconut milk until smooth. Heat over medium-low heat, whisking occasionally, until the mixture reaches about 150°F (66°C). Add the ghost pepper and dark chocolate, stirring until the chocolate is completely melted. Stir in the remaining coconut milk, whole milk, and salt.

    Prepare the Custard

    In a separate bowl, whisk the egg yolks with the remaining sugar until smooth. Slowly whisk some of the warm chocolate mixture into the yolks to temper them. Gradually whisk the tempered yolks back into the saucepan. Continue heating gently, stirring frequently. Once the ghost pepper flavor and heat are noticeable, strain the mixture to remove the pepper and return the custard to the saucepan. Continue cooking, stirring constantly, until the custard reaches 175°F (79°C). Remove from the heat and stir in the vanilla bean paste.

    Chill and Churn

    Cool the custard, then cover and refrigerate until thoroughly chilled, preferably at least 6 hours or overnight. Churn according to your ice cream maker’s instructions. Transfer to a freezer-safe container and freeze until firm enough to scoop.

    Yield: About 1 quart (950 ml).


    Notes

    Preparation

    • Ghost peppers are extremely hot. Wear gloves while handling them and avoid touching your face or eyes.
    • The ghost pepper is infused in the warm custard and then removed before the custard reaches its final temperature. This gives you more control over the finished heat than leaving pieces of pepper in the ice cream.
    • The chocolate arrives first, while the ghost pepper heat remains almost hidden by the cold. As the ice cream melts and the cold sensation fades, the heat begins to emerge and builds into a warm, lingering finish.
    • Using only 25 g dark chocolate is intentional. The cocoa powder provides most of the chocolate flavor while the small amount of dark chocolate adds richness without overwhelming the coconut or fruity character of the ghost pepper.

    Variations

    • Hotter Ghost Pepper: Increase the ghost pepper to 1.5 g for a more assertive, lingering heat. This is the amount used in the original test batch.
    • Milder: Remove the ghost pepper earlier during the custard preparation once the desired level of heat is reached.
    • Cinnamon: Lightly sprinkle the ice cream with ground cinnamon just before serving. The cinnamon complements the chocolate and ghost pepper while adding a warm aromatic note.

    Serving Suggestions

    • Serve on its own to appreciate the progression from chocolate and coconut to the slowly building ghost pepper heat.
    • Pair with a warm brownie for a richer chocolate dessert.
    • A small pinch of flaky salt over the finished ice cream can provide contrast to the chocolate and subtle sweetness.

    Make-Ahead & Storage

    • The custard can be prepared a day ahead and refrigerated overnight before churning.
    • Store the finished ice cream tightly covered in the freezer. For the best texture, allow very firm ice cream to soften briefly at room temperature before scooping.
  • Shoarma Burgers

    Shoarma Burgers

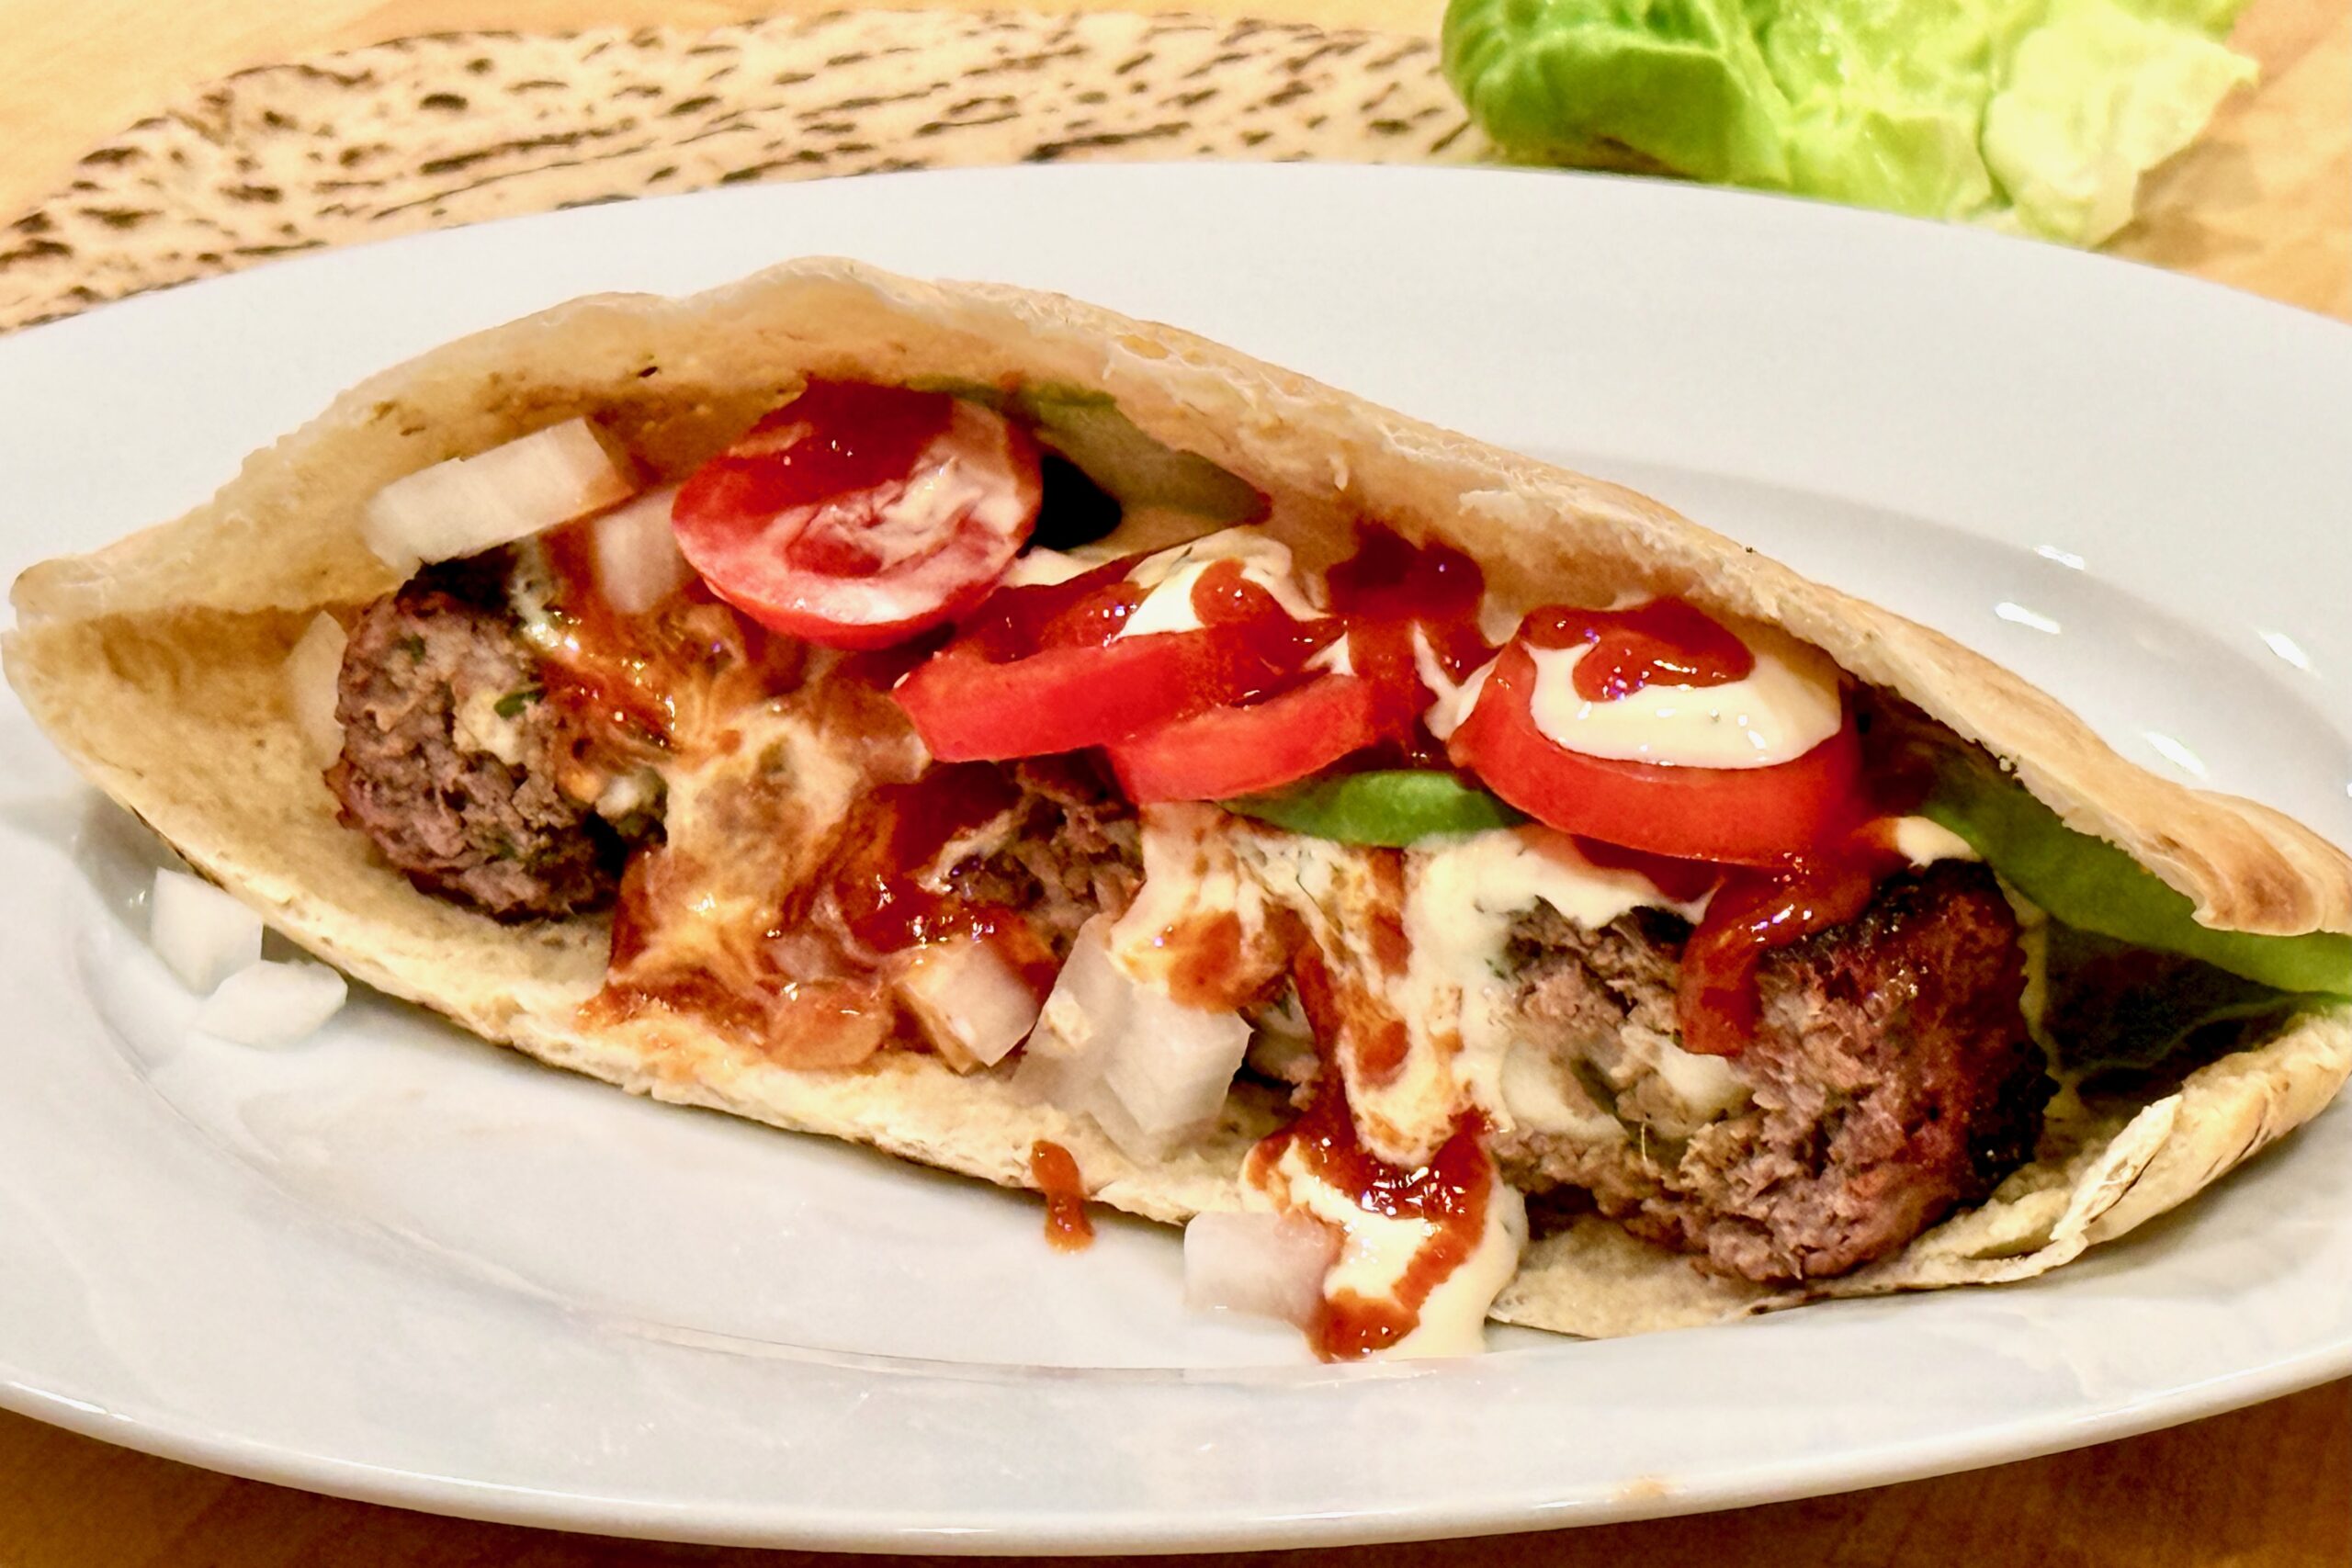
    These cheese-stuffed shoarma burgers have been my son’s favorite dinner for years. The beef-and-pork patties are seasoned with Dutch shoarma kruiden, grilled over charcoal, and served in warm pita with butter lettuce, ripe tomatoes, shoarmasaus, knoflooksaus, and sambal oelek at the table. Fill them with mild fresh mozzarella or tangy goat cheese—or make some of each, as we usually do.


    Ingredients

    Shoarma Burgers

    • 2 lb (907 g) ground beef
    • 1 lb (454 g) ground pork
    • 1 tbsp sambal oelek
    • 1½ tbsp finely chopped or grated fresh garlic
    • 1 tbsp grated fresh ginger
    • 2 tsp table salt
    • 3.5 g MSG
    • 4 tbsp shoarma kruiden
    • ¼ cup (60 g) plain yogurt
    • ¼ cup (60 ml) finely chopped fresh cilantro
    • Fresh sliced mozzarella, 0.9–1.1 oz (25–30 g), or goat cheese, 1.1–1.2 oz (30–35 g), per burger

    For Serving

    • 7 pita breads or hamburger buns
    • butter lettuce leaves
    • ripe sliced tomatoes, preferably garden tomatoes
    • shoarmasaus
    • knoflooksaus
    • lime wedges
    • sambal oelek

    Directions

    Prepare the Sauces

    Prepare the shoarmasaus and knoflooksaus at least 4 hours before serving, preferably the night before, so their flavors have time to develop.

    Mix the Meat

    Place the ground beef, ground pork, sambal oelek, garlic, ginger, salt, MSG, shoarma kruiden, yogurt, and cilantro in a large bowl. Mix thoroughly by hand until the seasonings are evenly distributed and the meat becomes cohesive and slightly tacky. A portion pressed together should hold its shape without cracking or crumbling. Keep the mixture as cold as possible while working.

    Fill and Shape the Patties

    Divide the meat mixture into 7 equal portions. Working with one portion at a time, place approximately half in the bottom of a burger press or shape it by hand to create a solid base. Place 0.9–1.1 oz (25–30 g) fresh sliced mozzarella or 1.1–1.2 oz (30–35 g) goat cheese in the center, leaving a generous border around the cheese. Cover completely with the remaining meat and form into a thick patty, approximately 8.8 oz (250 g) including the filling.

    Smooth and gently compress the exterior. Carefully inspect the top, bottom, and edges, pinching closed every seam or opening through which the cheese could escape. Repeat with the remaining meat and cheese.

    Chill the Patties

    Arrange the formed patties on a covered tray and refrigerate for at least 1 hour before grilling.

    Prepare the Charcoal Grill

    Prepare a charcoal grill for two-zone cooking, with a hot direct-heat area and a cooler indirect-heat area. Clean and lightly oil the grill grate.

    Grill the Burgers

    Place the chilled patties over direct heat and grill until well browned. Turn carefully without pressing down with a spatula. If the exteriors brown before the centers are cooked, move the patties to the cooler side of the grill, close the lid, and finish over indirect heat.

    Cook until the meat surrounding the cheese reaches 160°F (71°C). Insert an instant-read thermometer horizontally through the side of each patty, aiming for the meat rather than the cheese filling. Transfer to a platter and rest for 3–5 minutes.

    Finish and Assemble

    Squeeze a lime wedge lightly over each rested burger. Warm the pita bread briefly on the grill, then fill each pita with a burger, butter lettuce, ripe sliced tomato, shoarmasaus, and knoflooksaus. Hamburger buns may be substituted for the pita. Serve immediately with additional sambal oelek and lime wedges at the table.

    Yield: 7 burgers.


    Notes

    Preparation

    • Fresh mozzarella creates a mild, melty center and is generally preferred by younger children.
    • Goat cheese provides a tangier, more pronounced filling.
    • Keep the cheese cold and compact in the center of each patty to make the burgers easier to seal.
    • A burger press makes the stuffed patties easier to shape, but they can also be formed and sealed by hand.
    • Mixing until the meat becomes slightly tacky helps the large patties hold together on the grill.
    • Do not press the patties with a spatula while grilling, as this can force the cheese through the sealed exterior.

    Make-Ahead & Storage

    • The sauces are best prepared the day before serving.
    • The patties may be formed, covered, and refrigerated earlier the same day.
    • Refrigerate leftover cooked burgers in an airtight container up to 3 days.
  • Shoarmasaus – Dutch Red Shawarma Sauce

    Shoarmasaus – Dutch Red Shawarma Sauce

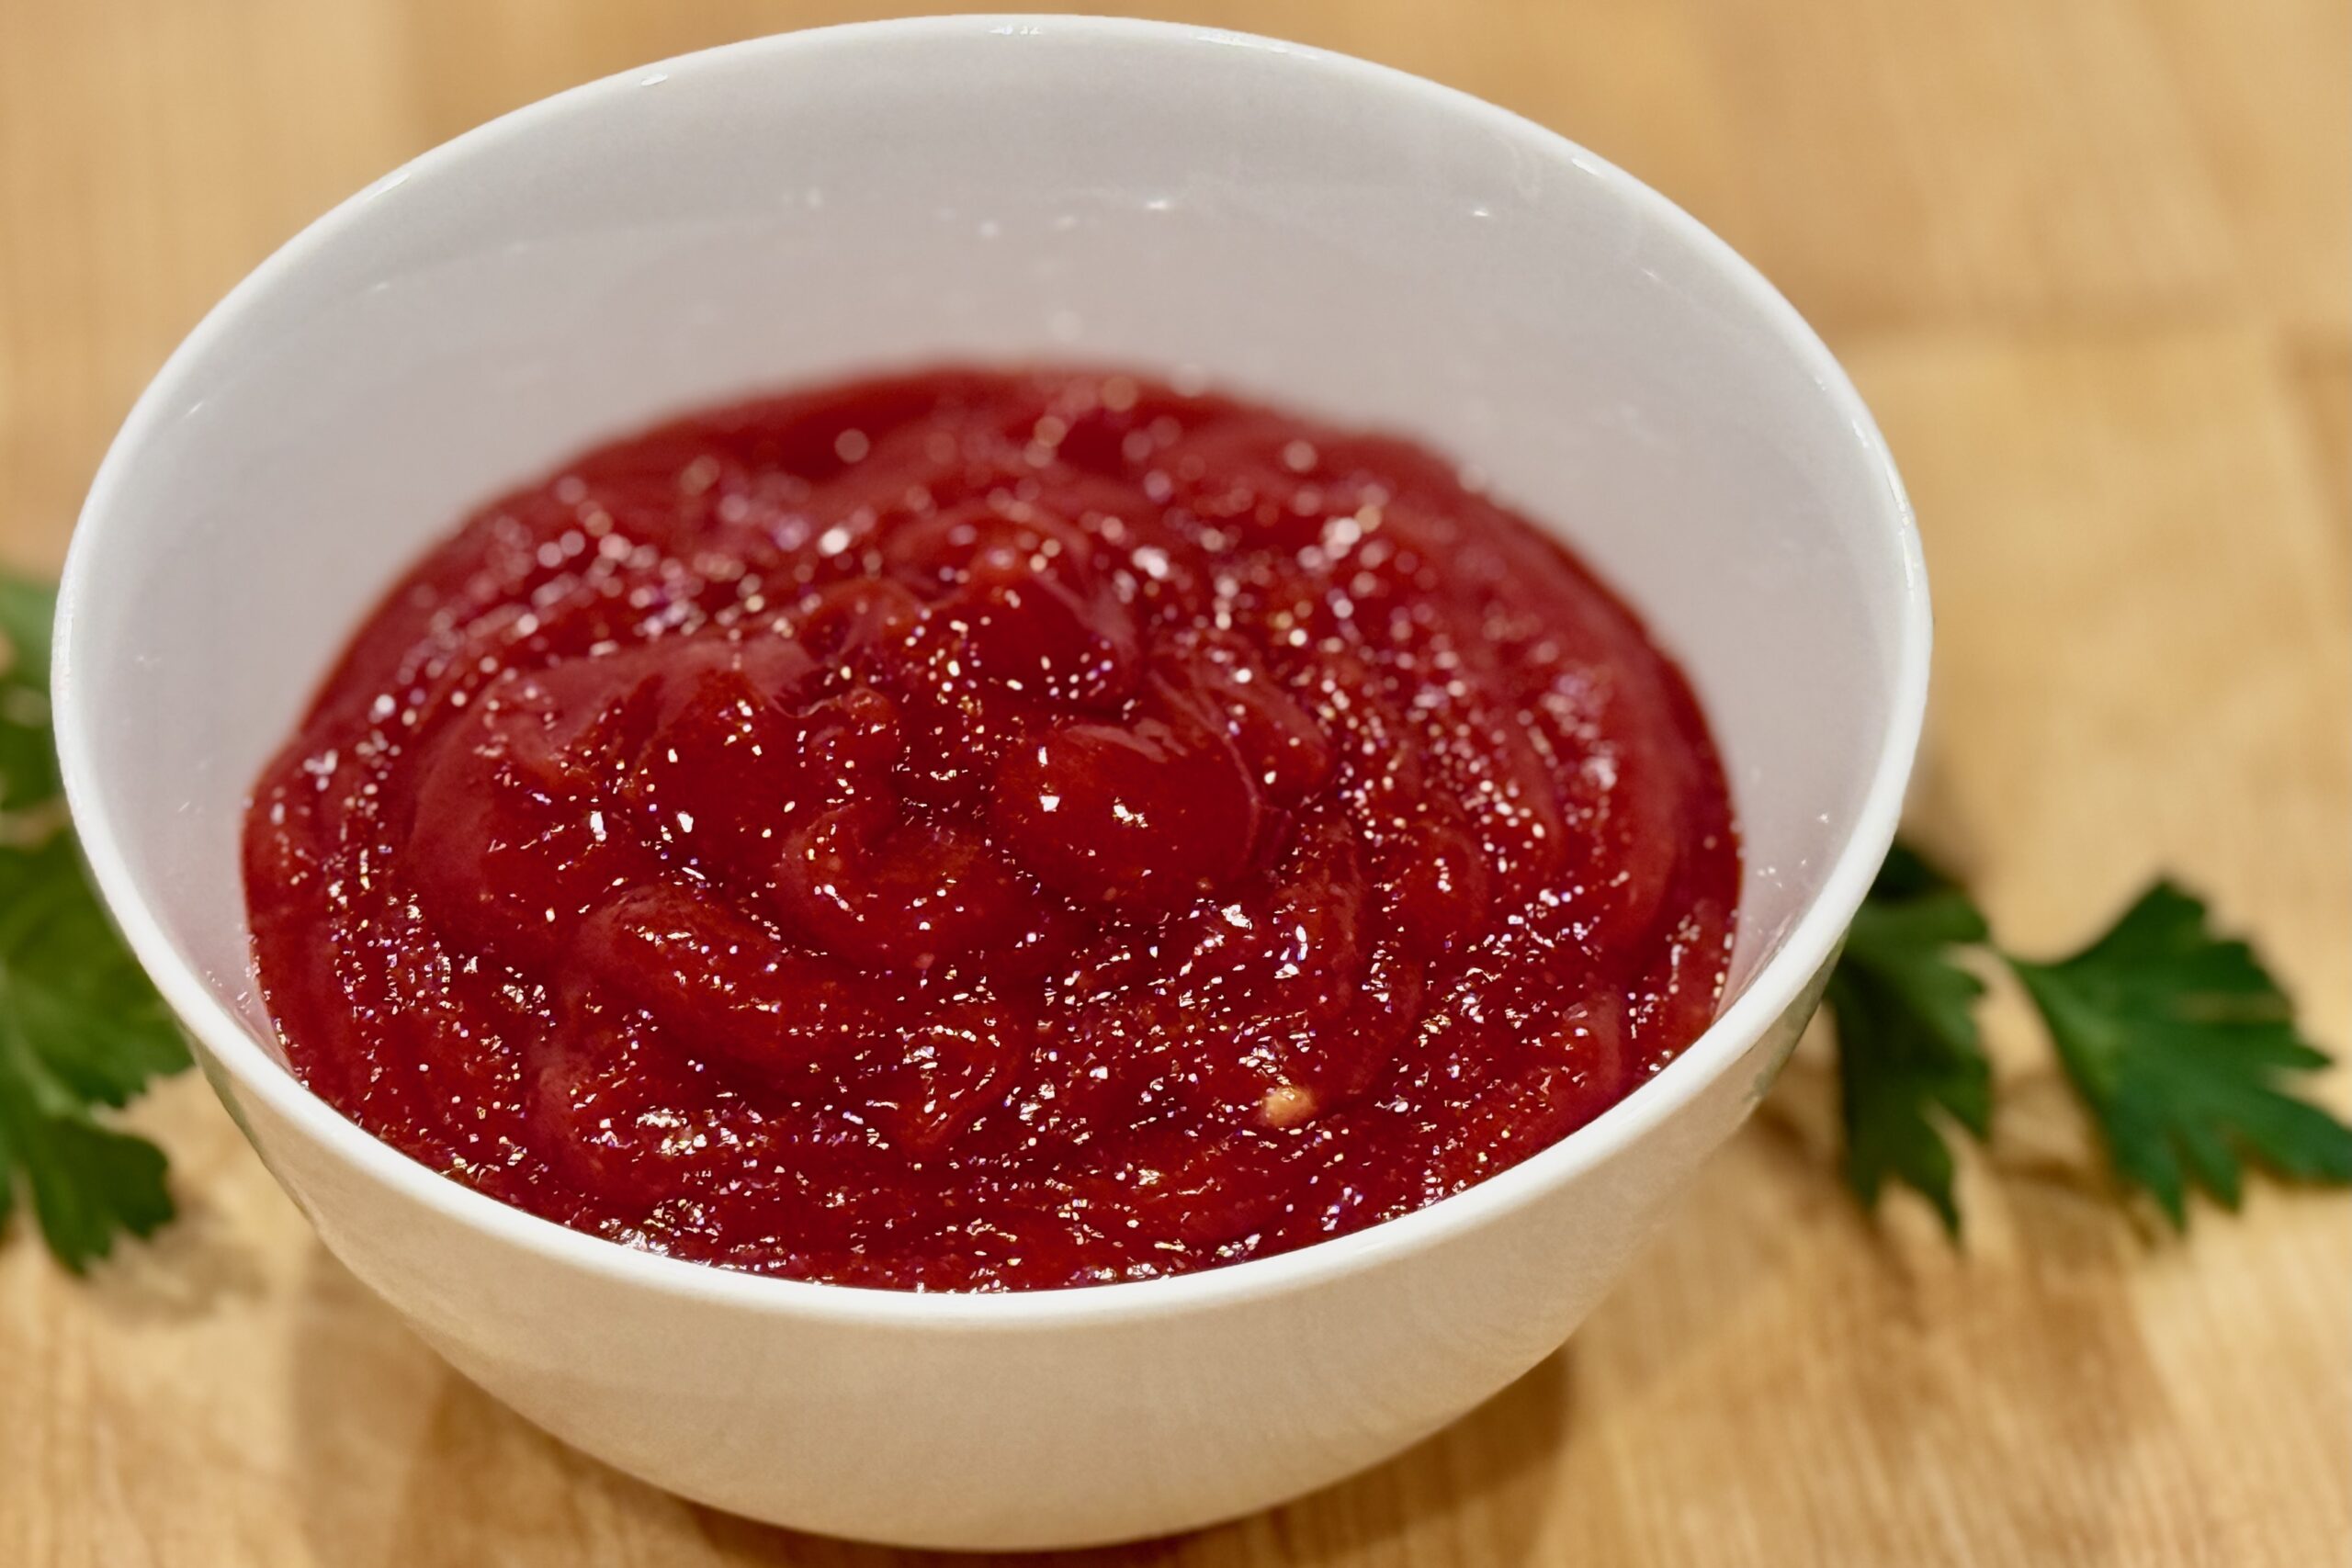
    This Dutch shoarmasaus is the mild red tomato sauce served alongside knoflooksaus at shoarma shops and snack bars across the Netherlands. Lightly sweet, gently tangy, and intentionally restrained, it is designed to balance spiced meat without competing for attention. If you are looking for the other classic Dutch red snackbar sauces, try Kerrieketchup – Dutch Curry Ketchup for patat speciaal, or Poestasaus – Spicy Dutch Kebab Sauce for a chili-forward kick more common in döner and kebab shops.


    Ingredients

    • ¾ cup tomato ketchup
    • 1½ tbsp tomato paste
    • 2 tbsp water, plus more as needed after chilling
    • 1–1½ tsp sugar
    • ½ tsp sweet paprika
    • ¼ tsp onion powder
    • ¼ tsp mild curry powder
    • pinch sambal oelek or cayenne (optional)
    • ¼ tsp table salt, or to taste
    • 1 tbsp white or apple cider vinegar

    Directions

    Combine the Sauce

    Combine the ketchup, tomato paste, water, sugar, paprika, onion powder, curry powder, sambal oelek or cayenne (if using), and salt in a small saucepan. Whisk until smooth.

    Cook the Sauce

    Cook over medium-low heat, stirring frequently, until the sauce just begins to simmer. Reduce the heat to low and cook gently for 5 minutes, stirring often. Do not allow the sauce to boil vigorously or reduce heavily.

    Add the Vinegar

    Remove the saucepan from the heat and stir in the vinegar. Taste and adjust the salt, sugar, or vinegar as needed. The sauce should be lightly sweet and tangy, with mild background warmth rather than pronounced heat.

    Cool and Chill

    Cool completely, then cover and refrigerate for at least 4 hours, preferably overnight. Once thoroughly chilled, stir well and thin with 1–2 tbsp additional water if needed.


    Notes

    Preparation

    • This sauce is intentionally mild; heat should be barely perceptible, if present at all.
    • The brief cooking time mellows the tomato paste and allows the paprika, curry powder, and onion powder to blend into the sauce without developing a heavy, barbecue-style flavor.
    • Adding the vinegar after cooking preserves its brightness.
    • The curry powder provides a warm background note that balances the paprika without turning the sauce into curry ketchup.
    • No garlic is added by design, preserving contrast with knoflooksaus.
    • Always make final seasoning and consistency adjustments after the sauce is completely cold.

    Serving Suggestions

    • Serve alongside Dutch-style shoarma with knoflooksaus.
    • Drizzle over pita sandwiches, fries, or grilled meats.
    • Offer sambal oelek at the table for those who prefer extra heat.

    Variations

    • Classic Snackbar Style: Thin with 1–2 additional tbsp water after chilling and use only 1 tsp sugar.
    • Deeper Tomato Flavor: Add an extra ½ tbsp tomato paste and a few additional drops of vinegar.
    • Late-Night Shoarmazaak: Increase the sambal oelek to ½ tsp for a gently warming finish.
    • Curry-Forward House Sauce: Increase the mild curry powder to ½ tsp for a more noticeable curry note.

    Make-Ahead & Storage

    • Best made at least 4 hours ahead; the flavor improves overnight.
    • Refrigerate in an airtight container up to 1 week.
    • Stir well before serving and thin with a little water if needed.
  • Shoarma Kruiden — Dutch-Inspired Shawarma Spice Mix

    Shoarma Kruiden — Dutch-Inspired Shawarma Spice Mix

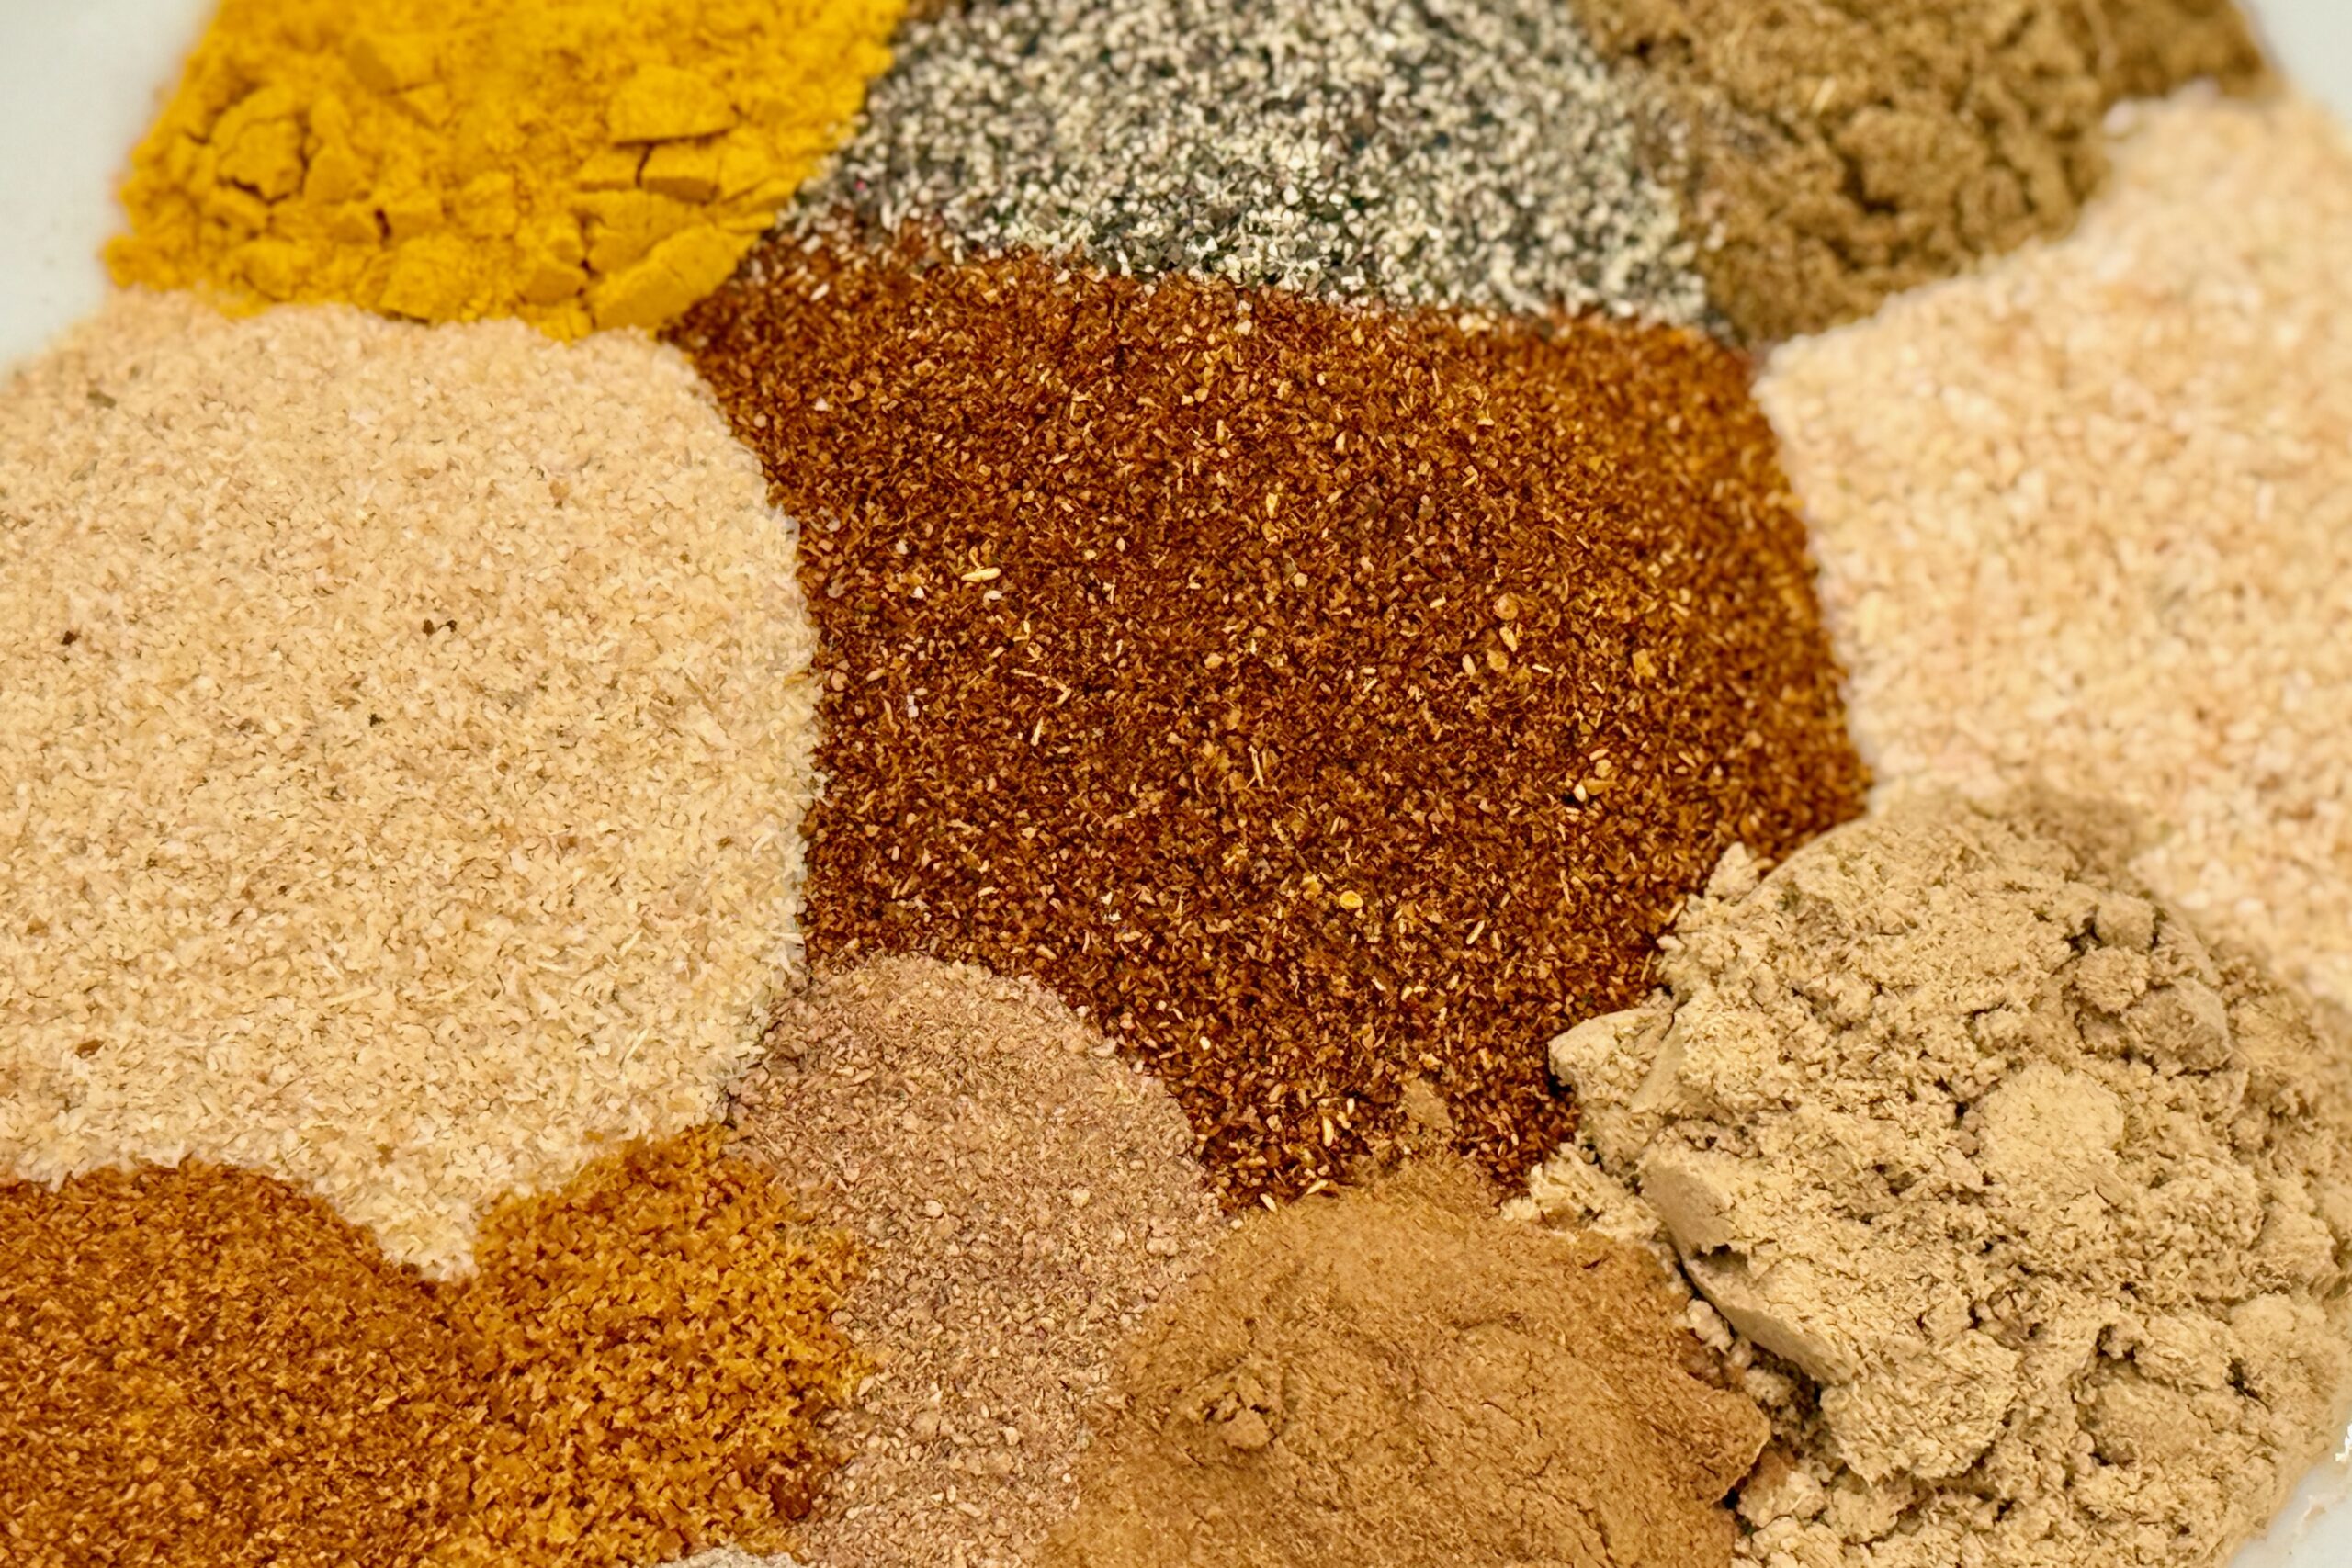
    This shoarma kruiden blend captures the warm, paprika-forward flavor of Dutch shoarma shops—perfect for keeping on hand so you can quickly season meat for broodje shoarma, wraps, and grilled dishes whenever the craving hits.


    Ingredients

    Paprika Base

    • 2 tbsp paprika
    • 2 tsp garlic powder
    • 2 tsp onion powder

    Warm, Savory Spices

    • 2 tsp ground coriander
    • 1½ tsp ground cumin
    • 1 tsp ground ginger
    • ¾ tsp lovage leaf powder
    • ⅛ tsp ground fenugreek seed
    • ⅜ tsp ground allspice
    • ½ tsp ground cinnamon
    • ½ tsp ground black pepper
    • ¼ tsp ground nutmeg
    • ⅛ tsp ground mace
    • ⅛ tsp ground cloves

    Color & Heat

    • ½ tsp turmeric
    • ¼ tsp cayenne pepper (adjust to taste)

    Optional (Authentic for Some Shops)

    • ⅛ tsp ground fennel

    Directions

    Prepare the Spice Mix

    In a small bowl, combine the paprika, garlic powder, onion powder, coriander, cumin, ginger, lovage, fenugreek, allspice, cinnamon, black pepper, nutmeg, mace, cloves, turmeric, cayenne, and fennel (if using). Mix thoroughly until the spices are evenly blended.

    Transfer the shoarma kruiden to an airtight jar or spice container. Label and store in a cool, dark cupboard.

    For general use, plan on about 1 tbsp shoarma kruiden per 1 lb (450 g) meat, adjusting to taste.


    Notes

    Preparation

    • This blend is intentionally prepared without salt, since many Dutch shoarma shops season the meat separately. Salt your meat to taste before or during cooking.
    • For the most vibrant flavor, use fresh spices and replace the mix every 6 months or so; older spices are still safe but lose potency over time.
    • If your spices are coarse or slightly clumpy, you can pulse the finished blend a few times in a spice grinder to create a finer, more uniform texture.
    • Because this mix is quite aromatic, store it in a well-sealed container away from light and heat to preserve its Dutch shoarma character.

    Serving Suggestions

    • Use about 1 tbsp shoarma kruiden per 1 lb (450 g) thinly sliced chicken thigh, pork shoulder, turkey, or lamb for classic Dutch-style shoarma.
    • For a dry-style preparation common in shoarma shops, toss the seasoned meat with 1–2 tbsp neutral oil and cook in a hot skillet or on a griddle until browned and lightly crisp at the edges.
    • For a simple wet marinade, combine 1 tbsp shoarma kruiden with 1 tbsp oil or plain yogurt and 1 tsp lemon juice per 1 lb (450 g) meat. Marinate 1–12 hours before cooking.
    • Serve the cooked meat in warm pita or Turkish bread as a broodje shoarma, with shredded lettuce, tomato, onion, and Dutch-style garlic sauce (knoflooksaus).
    • This blend also works well for sheet-pan dinners, grilled skewers, or roasted vegetables for a Dutch shoarma-inspired twist.

    Variations

    • Sweeter Dutch-Snackbar Style: Add 1 tsp sugar to the full batch of shoarma kruiden. The sugar will lightly caramelize on the griddle and echo the slightly sweeter flavor of some late-night shoarma shops.
    • Spicier (Rotterdam-Lean): Increase the cayenne to ½–¾ tsp for a more assertive heat while still keeping the overall Dutch flavor profile.
    • Warmer Dutch-Indo Aroma: For a slightly richer, Amsterdam-leaning warmth, increase the ginger to 1½ tsp and the mace to ¼ tsp, keeping the other spices the same.
    • Salted Convenience Blend: If you prefer an all-in-one seasoning, you can add 1 tbsp table salt to the full batch. When using this salted version, reduce or omit any additional salt added directly to the meat.

    Make-Ahead & Storage

    • Prepare a double or triple batch and store it in a tightly sealed jar so you always have shoarma kruiden ready for quick meals.
    • For best flavor, use within about 6 months; the blend will remain safe beyond that, but the aromatics will gradually lose intensity.
    • If you live in a hot climate, you can store the jar in the refrigerator or freezer to help preserve the essential oils in the spices.
    • Always use a clean, dry measuring spoon when scooping from the jar to prevent moisture from clumping the spices.
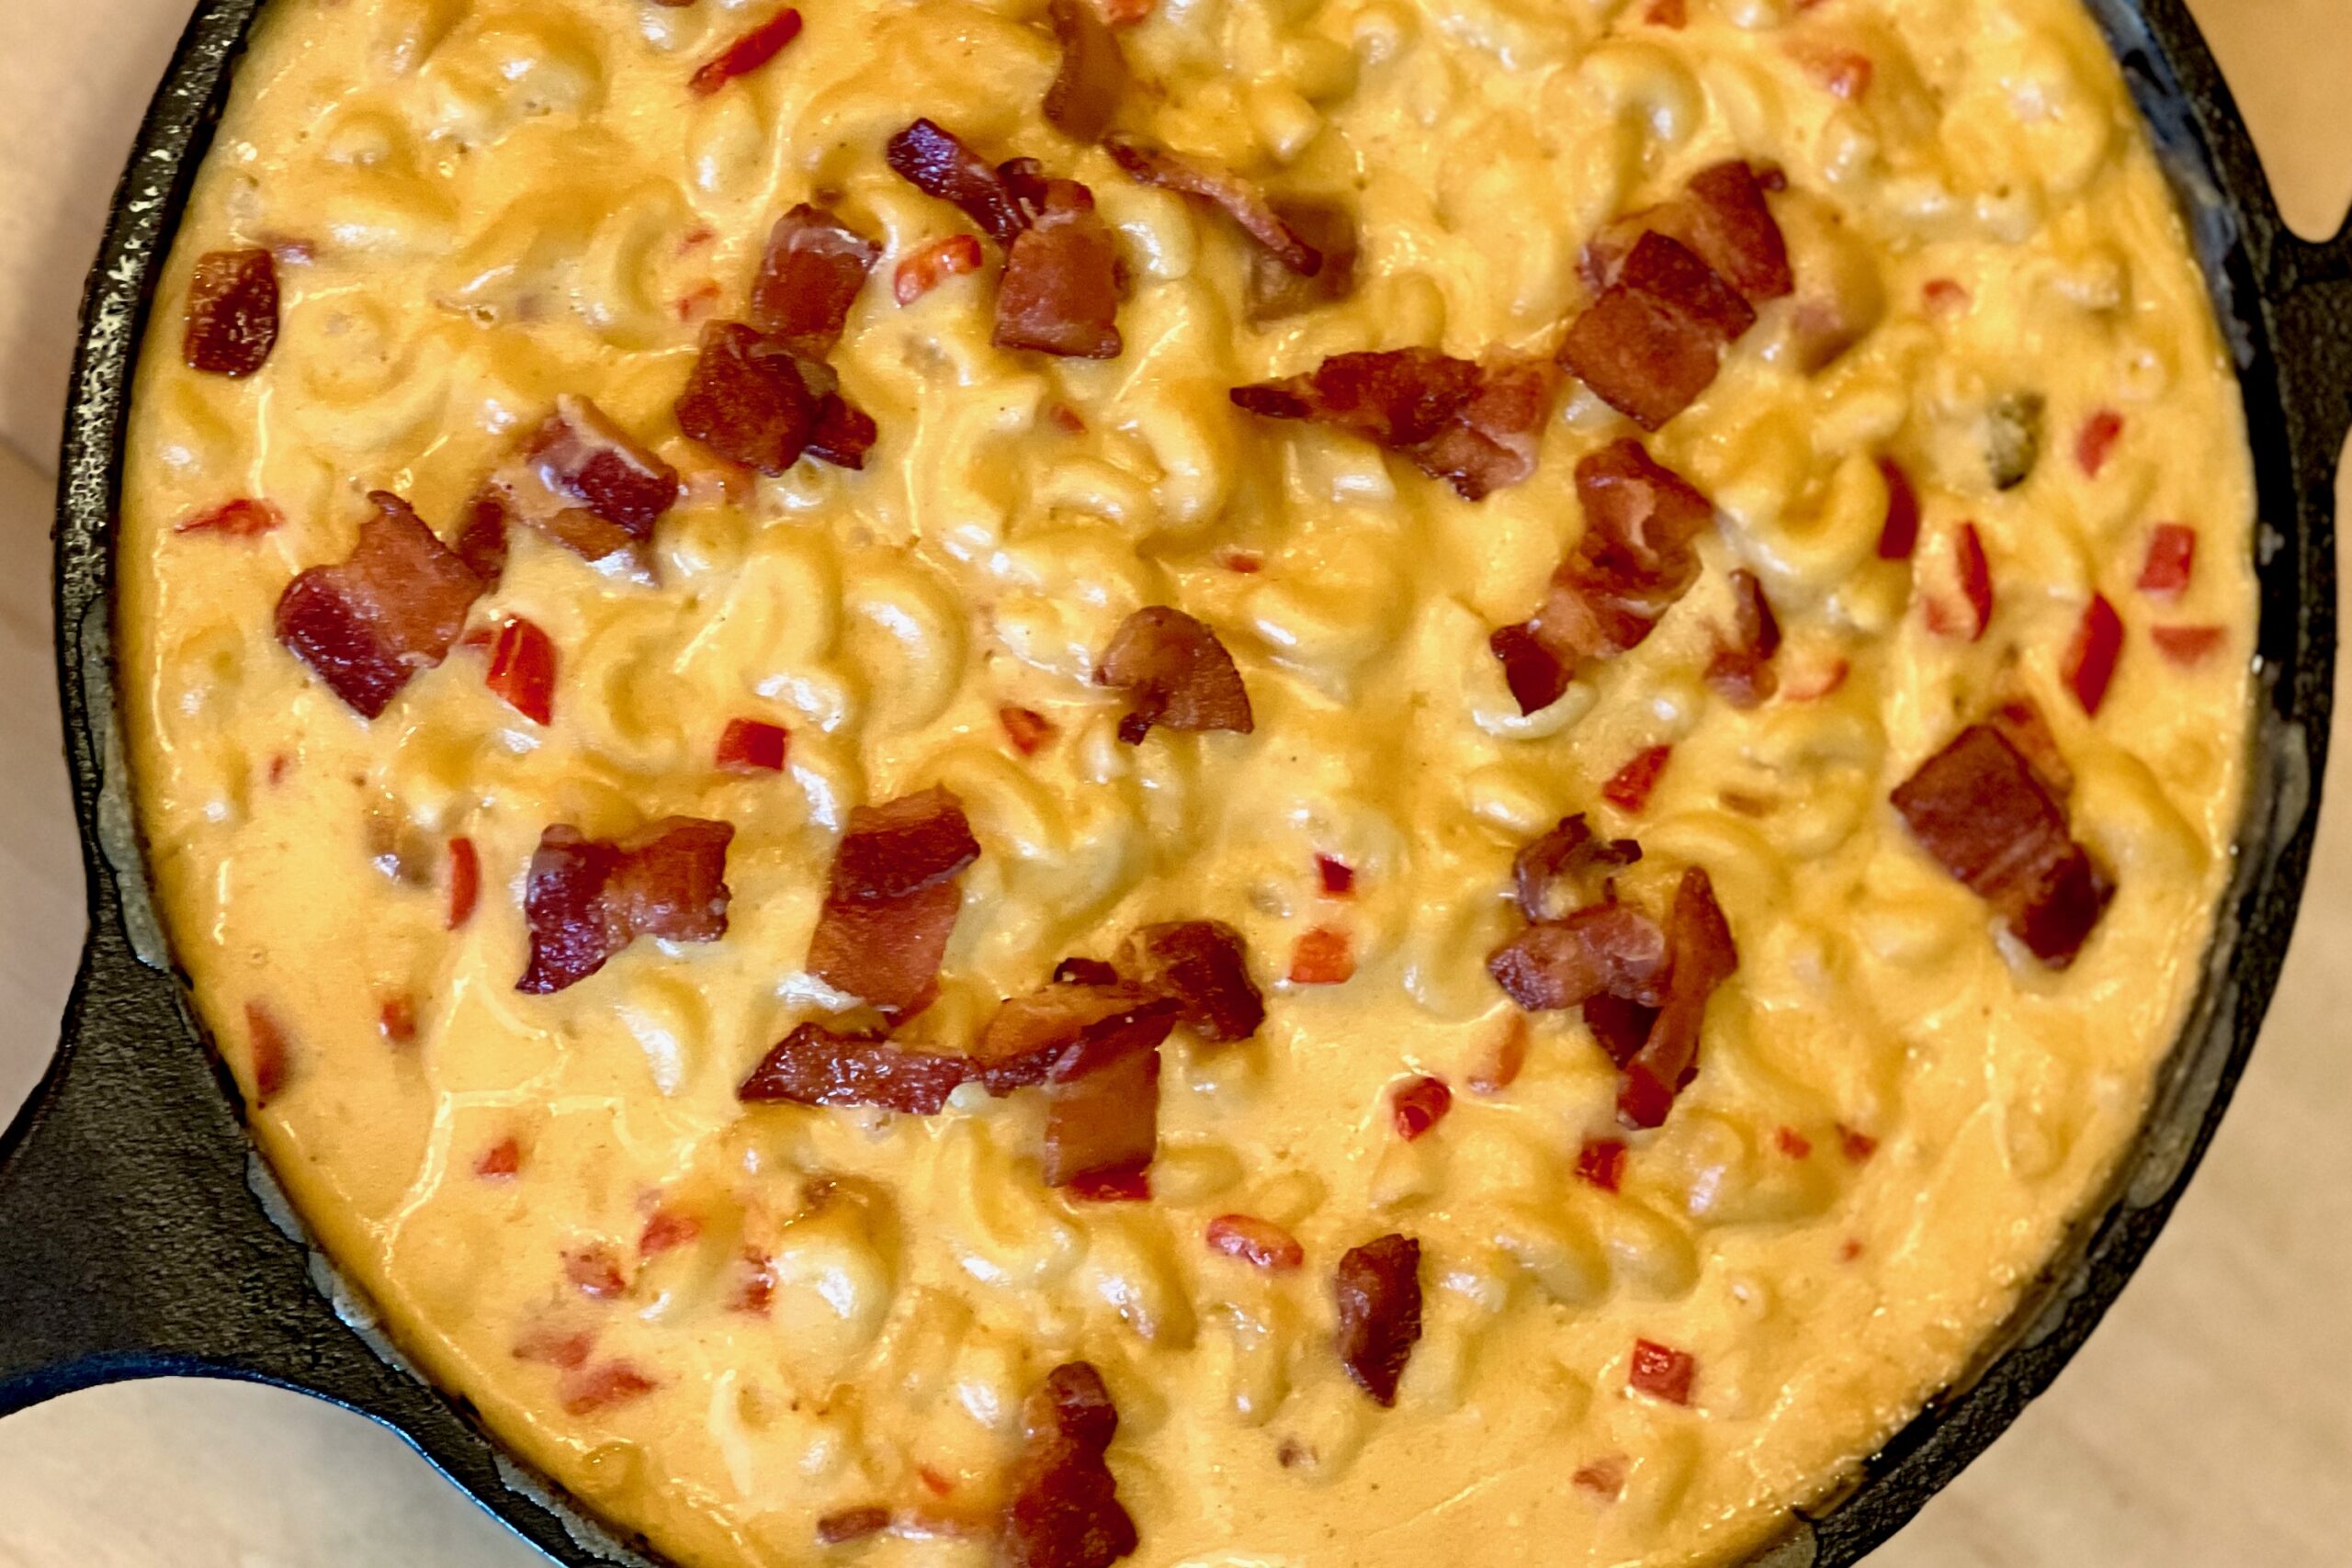
  • Jalapeño-Bacon Smoked Mac & Cheese

    Jalapeño-Bacon Smoked Mac & Cheese

    Smoky, creamy, and loaded with layers of bold flavor, our family’s Jalapeño Bacon Smoked Mac & Cheese takes this comfort classic to the next level. A silky, stabilized cheese sauce coats tender pasta, balanced by the heat of jalapeños, the savoriness of crisp bacon, and often covered in a golden layer of broiled cheese. It’s indulgent yet refined—the kind of mac and cheese that steals the show at any family gathering.


    Ingredients

      Pasta Base

    • 1 lb elbow macaroni
    • salt, for boiling
    • Bacon & Jalapeños

    • 1 lb thick-cut bacon, chopped
    • 1½ cups jalapeños, finely diced with seeds & veins removed
    • 1 tbsp reserved bacon fat
    • Cheese Sauce

    • ¼ cup butter
    • ⅓ cup all-purpose flour
    • ½ tsp smoked paprika
    • ½ tsp dry mustard
    • ½ tsp onion powder
    • ¼ tsp garlic powder
    • 4 cups whole milk
    • 1½ cups heavy cream
    • 1½ tsp sodium citrate
    • 8 oz cream cheese, cubed
    • 8 oz sharp cheddar, grated
    • 8 oz colby jack, grated
    • 4 oz gouda, grated
    • 4 oz emmentaler, grated
    • salt and pepper, to taste
    • Garnish

    • reserved crispy bacon
    • thin jalapeño slices or fresh chives (optional)

    Directions

    Cook the Pasta

    Bring a large pot of salted water to a boil. Add macaroni and cook 2–3 minutes less than al dente, leaving it slightly firm. Drain and rinse under cold water to halt cooking; set aside.

    Prepare the Bacon & Jalapeños

    In a large skillet, cook bacon over medium heat until crisp. Remove with a slotted spoon and drain on paper towels, reserving about 1 tbsp rendered fat.

    Add diced jalapeños to the reserved bacon fat and sauté 2–3 minutes until fragrant and slightly softened. Set aside, reserving some bacon for garnish.

    Make the Roux & Base

    In a large saucepan or cast-iron skillet, melt butter over medium heat. Whisk in flour, smoked paprika, dry mustard, onion powder, and garlic powder; cook 1–2 minutes, whisking constantly until fragrant and lightly golden.

    Gradually whisk in milk and cream until smooth and combined.

    Incorporate Sodium Citrate

    Whisk in sodium citrate until fully dissolved. Bring the mixture just below a simmer—do not boil—to create the base for a smooth, stable sauce.

    Add the Cheeses

    Remove the pan from heat. Add cream cheese, stirring until melted and smooth. Gradually whisk in the grated cheeses in small handfuls, allowing each addition to melt before adding the next. Season to taste with salt and pepper; the sauce should be glossy and pourable.

    Combine

    Fold in cooked bacon (reserve a handful for garnish) and sautéed jalapeños. Add pasta and stir to coat evenly.

    If the sauce thickens too much, stir in a splash of reserved pasta water or milk to loosen.

    Smoke the Mac & Cheese

    Preheat pellet grill to 165°F / 74°C. Transfer mac and cheese to a greased 12-inch cast-iron pan or baking dish. Smoke uncovered for 1–2 hours, stirring after 15 and 30 minutes for even flavor absorption.

    Increase temperature to 225°F / 107°C for the final 15 minutes to slightly tighten and toast the surface.

    Cheese Finish

    Removing from the smoker and sprinkle a thin, even layer of shredded cheddar or gouda over the top. Place under a broiler for 2–4 minutes, watching closely, until golden and bubbling with crisp edges.

    Let rest 5–10 minutes before serving.

    Garnish & Serve

    Top with reserved crispy bacon and garnish with thin jalapeño slices or fresh chives. Serve warm, directly from the skillet for best presentation.


    Notes

    Preparation

    • sodium citrate ensures a stable, silky sauce that resists separation, even during smoking or reheating.
    • cold-smoking the cheese before grating adds a deeper, more developed smoke flavor.
    • a pinch of chipotle powder or smoked salt can be used to enhance depth without adding much heat.
    • let the mac and cheese rest briefly before serving to help the sauce set slightly.

    Serving Suggestions

    • serve alongside barbecue favorites like smoked ribs, pulled pork, or brisket with our Dr Pepper Barbecue Sauce.
    • use leftovers as a rich filling for grilled cheese sandwiches or baked stuffed peppers.
    • top with additional crisp bacon or caramelized onions for added texture and flavor.

    Make-Ahead & Storage

    • refrigerate up to 4 days in an airtight container.
    • reheat gently in the oven or smoker at low temperature; avoid direct stovetop reheating after cheese is added.
    • freeze up to 2 months; thaw overnight in the refrigerator before reheating.
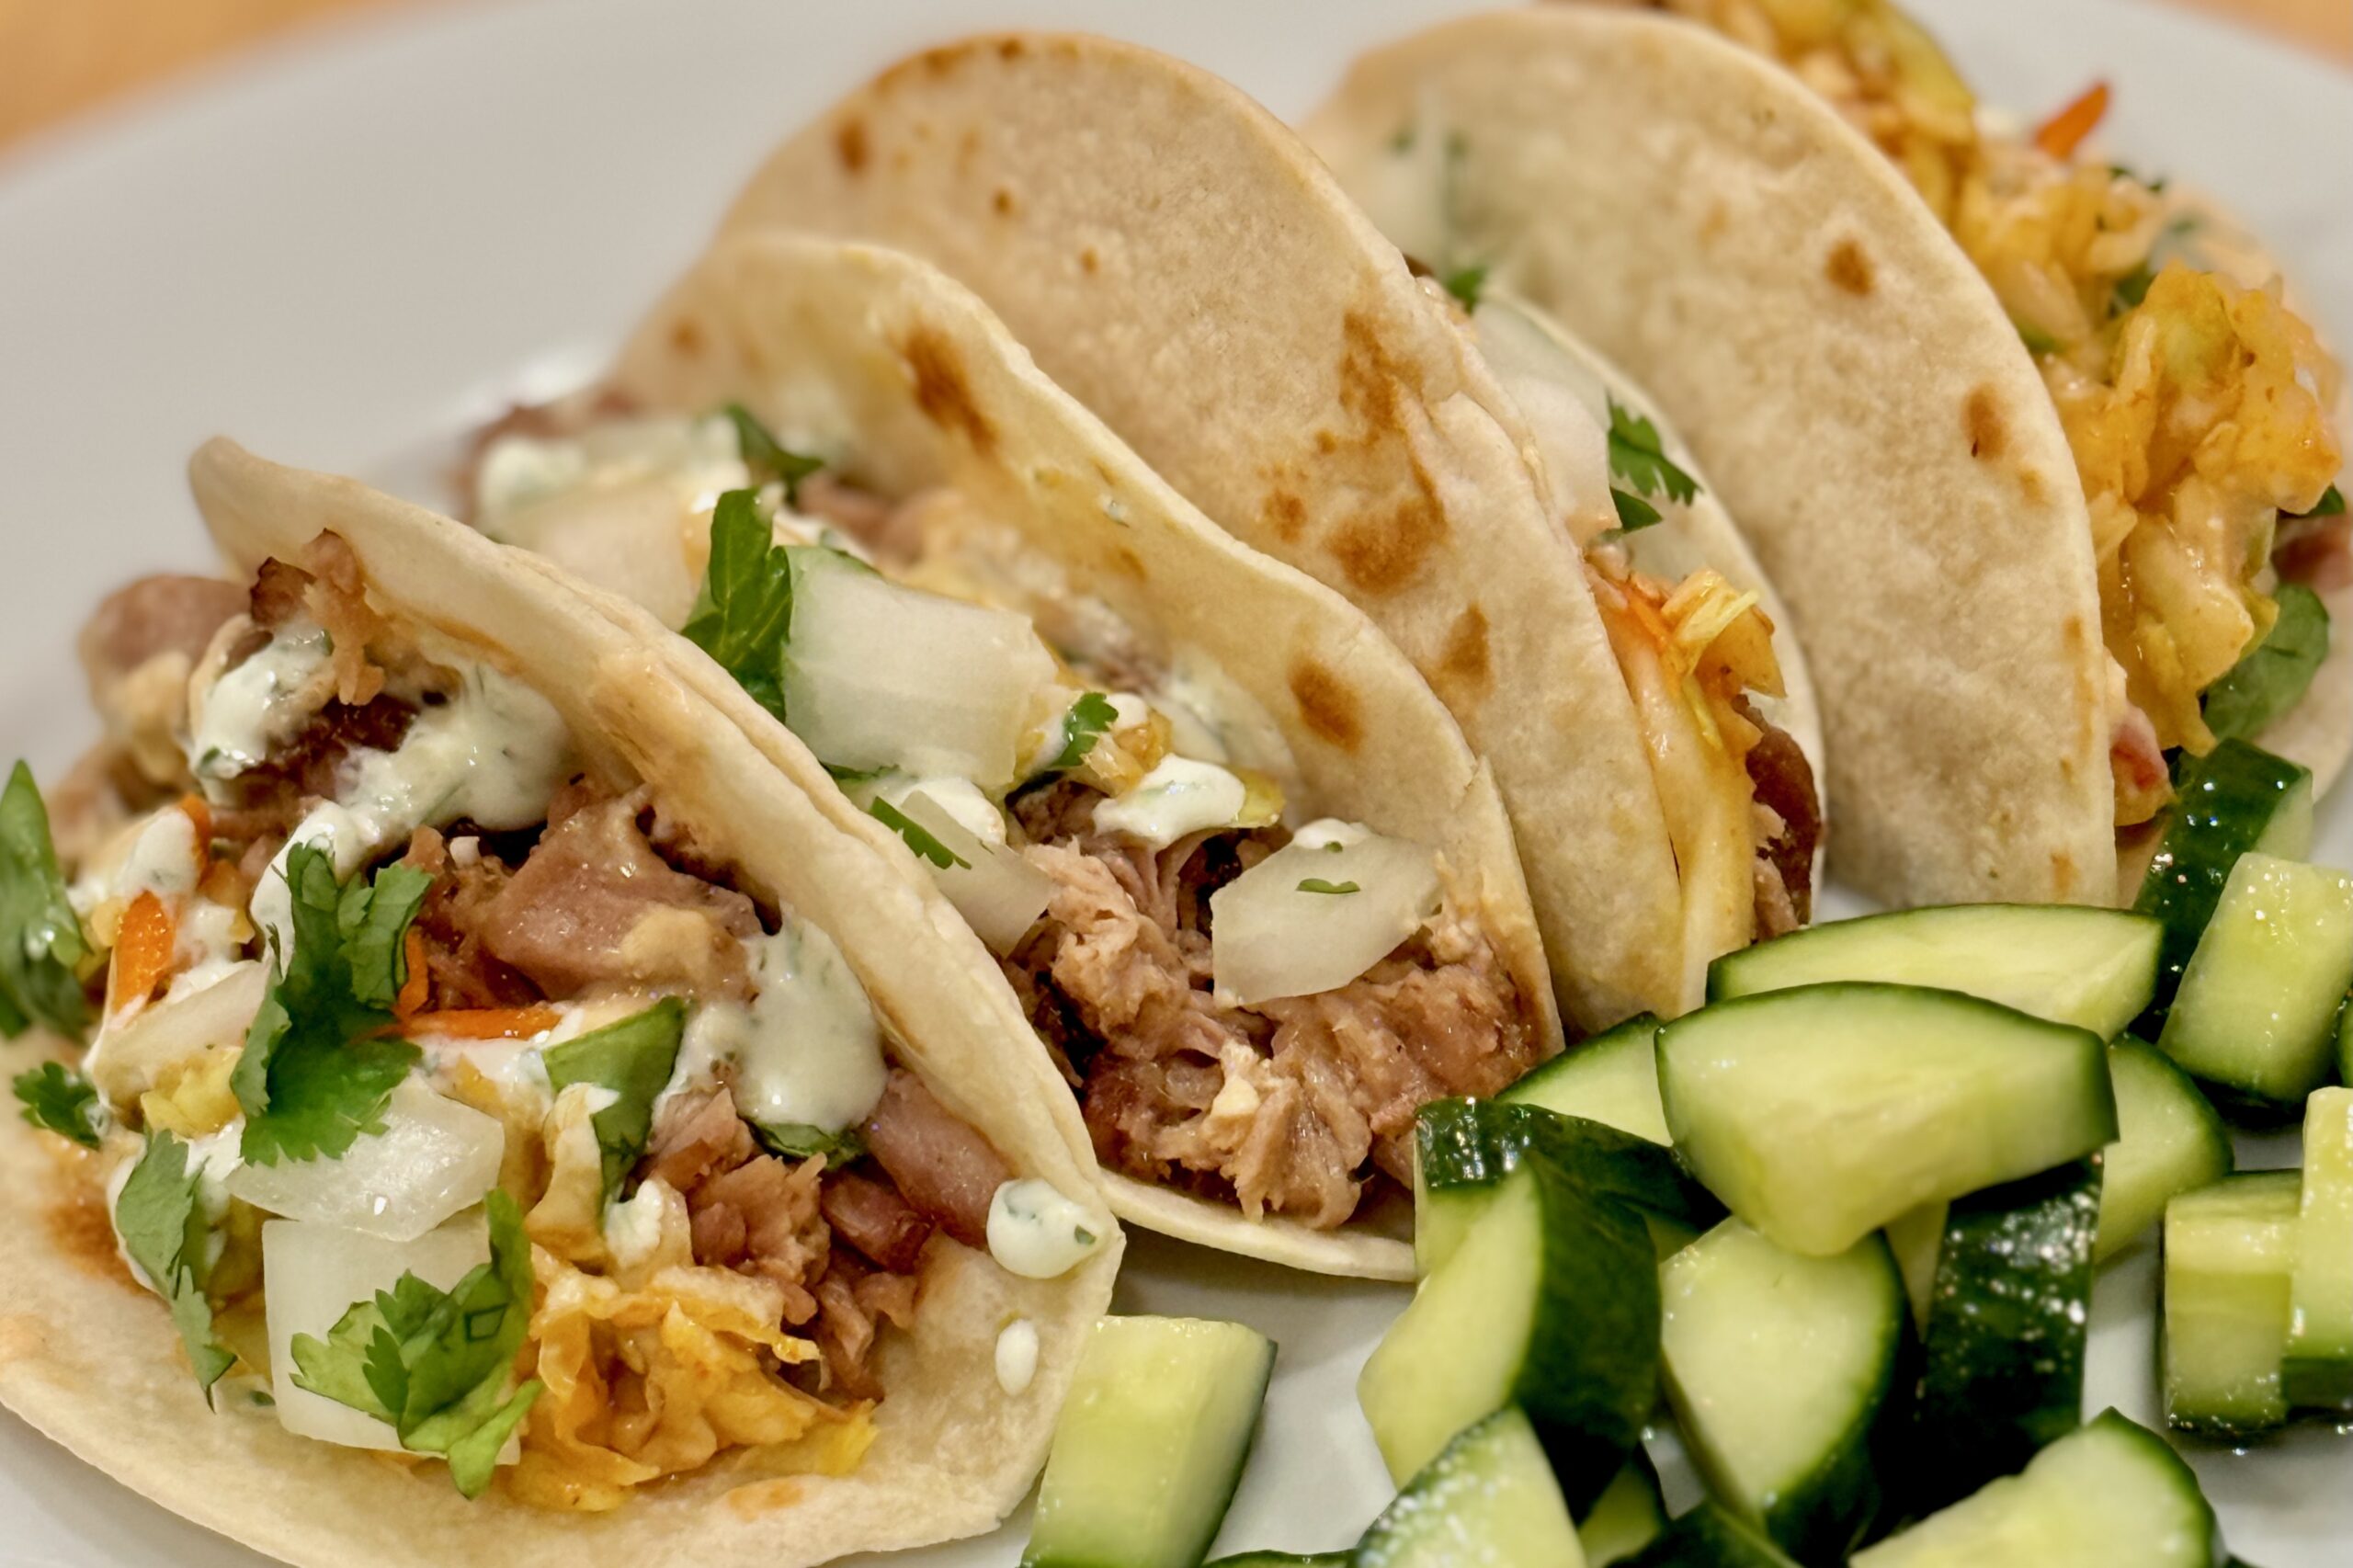
  • Korean Pulled-Pork Tacos

    Korean Pulled-Pork Tacos

    Inspired by the flavors of Korean bulgogi and Mexican street tacos, this fusion dish brings together tender sous-vide pork shoulder marinated in a sweet-savory Korean-style sauce, then shredded, crisped, and served in warm tortillas with fresh toppings. The result is rich umami, bright acidity, and a touch of heat—echoing the street-food creativity that made Korean tacos famous. It’s also fast becoming one of our family’s most requested Sunday dinners, especially when served with cilantro lime rice made with a hint of coconut milk. Around our table, there’s still a friendly debate over which is better—corn tortillas for their texture, or soft flour tortillas that soak up every drop of sauce.


    Ingredients

    • 3 lb boneless pork shoulder, trimmed of excess fat and silver skin

    Marinade:

    • ⅓ cup sugar
    • 2 tsp ajinomoto (optional)
    • 4 tsp onion powder
    • 1 tsp black pepper
    • 2 tbsp garlic, finely chopped
    • 4 tsp sambal oelek
    • 3 tbsp sesame oil
    • ⅔ cup mirin
    • ½ cup soy sauce
    • 1–1½ tsp liquid smoke

    Finishing Brush:

    • ½ cup reserved marinade + ½ cup honey

    Creamy Drizzle:

    • ¼ cup reserved marinade base
    • 1 cup Greek yogurt
    • 2–3 tbsp fresh lime juice (adjust to taste)
    • 1 tsp gochujang or extra sambal (optional)
    • or substitute Cilantro Lime Crema

    Pickled Cucumber (and Optional Daikon):

    • 1 medium cucumber (or cucumber + daikon/radish), thinly sliced
    • 2 tbsp rice vinegar
    • 1 tsp sugar
    • ¼ tsp table salt
    • ½ tsp sesame oil

    Sriracha Slaw:

    • 2 cups shredded cabbage (green or mixed)
    • 1 cup shredded carrot
    • 2 tbsp lime juice
    • 1 tbsp sesame oil
    • 2–3 tbsp sriracha (to taste)
    • 2 tsp sugar (to taste)
    • ½ tsp ajinomoto (optional)
    • salt, to taste

    To Serve:

    • Corn or Flour tortillas (8–10, warmed)
    • Chopped fresh cilantro
    • Toasted sesame seeds
    • Diced raw onion
    • Lime wedges

    Directions

    Marinate the Pork

    Mix all marinade ingredients. Reserve ¾ cup of the mixture: ½ cup for the finishing brush, ¼ cup for the creamy drizzle. Add the remaining marinade to the pork in a sealed bag. Refrigerate 8–12 hours.

    Sous-Vide the Pork

    Heat sous-vide bath to 165°F (74°C). Cook sealed pork 18–24 hours. This produces a tender, shreddable texture.

    Make the Pickled Cucumber

    Combine cucumber with vinegar, sugar, salt, and sesame oil. Rest 10–15 minutes; drain lightly.

    Make the Sriracha Slaw

    Toss cabbage and carrot with lime juice, sesame oil, sriracha, and salt.

    Make the Creamy Drizzle

    Whisk ¼ cup reserved marinade with yogurt, lime juice, and optional gochujang or sambal.

    Shred and Crisp the Pork

    Remove pork and reserve cooking juices. Shred pork. Spread on sheet pan and brush with the finishing mixture. Broil until edges crisp. Drizzle ⅓–½ cup of the reserved cooking juices over pork to keep it moist.

    Assemble the Tacos

    Warm tortillas. Layer pork, pickled cucumber, and slaw. Top with the creamy drizzle (or Cilantro Lime Crema). Garnish with cilantro, sesame seeds, onion, and lime.


    Notes

    Preparation

    • Use evenly sized pork pieces for consistent sous-vide cooking.
    • Reserved cooking juices add essential moisture and depth.
    • Monitor broiling closely—honey burns fast.

    Serving Suggestions

    • Serve with cilantro-lime rice, sliced avocado, cabbage slaw, pickled onions, and sprinkled with sesame seeds.
    • Substitute Cilantro Lime Crema for the creamy drizzle, or as another flavorful addition—the combination of both sauces is delicious.
    • A squeeze of fresh lime brightens the flavors.

    Variations

    • Swap pork shoulder for boneless beef short ribs.
    • Use corn tortillas for a lighter street-taco style.
    • Increase sambal or gochujang for extra heat.

    Make-Ahead & Storage

    • Sous-vide pork can be made 1 day ahead; chill in ice bath before refrigerating.
    • Store shredded pork with 2–3 tbsp cooking juices; refrigerate 3–4 days or freeze 2–3 months.
    • Briefly re-broil to restore crisp edges before serving.
  • Sweet Potato Gnocchi

    Sweet Potato Gnocchi

    After our family took a cooking class together—where we learned to make and shape classic gnocchi—we gathered again on a Sunday evening and had a light-bulb moment: what if we made gnocchi with roasted sweet potatoes? Roasting the sweet potatoes deepens their flavor and keeps the dumplings light yet richly savory. Finished in a nutty browned butter and crisp sage leaves, each pillowy bite evokes cozy autumn warmth—without drifting into dessert territory.


    Ingredients

    • Gnocchi:

    • 2 lb (900 g) orange-flesh sweet potatoes (about 2 large)
    • 1 large egg yolk
    • ¾–1 cup (90–120 g) all-purpose flour, plus more for dusting (start with ¾ cup)
    • ½ tsp table salt
    • ¼ tsp white pepper (or black pepper)
    • pinch nutmeg (optional; up to ⅛ tsp)
    • 2–3 tbsp finely grated parmesan (optional; adds savory depth)
    • semolina or additional flour, for dusting the tray
    • To Serve:

    • 1 batch Browned Butter & Sage Sauce
    • finely grated parmesan, for finishing (optional)

    Directions

    Roast the Sweet Potatoes

    Roast sweet potatoes at 400ºF (205ºC) until completely tender, 45–60 minutes. Split open and let steam escape for 10–15 minutes to reduce moisture. Scoop out the flesh.

    Rice and Cool

    Pass warm sweet potato flesh through a ricer (or mash very thoroughly). Measure 2 packed cups (450–500 g). Spread briefly on a sheet pan to steam off residual moisture, then cool until just warm.

    Make the Dough

    In a bowl, combine sweet potato, egg yolk, salt, pepper, optional nutmeg, and parmesan. Sprinkle ¾ cup (90 g) flour over the top. Fold gently with a bench scraper or spatula until a soft dough forms. It should be supple and just slightly tacky. If sticky, add flour 1 tbsp at a time.

    Test for Texture

    Bring a small pot of well-salted water to a boil. Roll and boil a small test nugget. If it falls apart or tastes mushy, knead in 1 tbsp flour and test again. Avoid overworking the dough.

    Shape the Gnocchi

    Lightly flour the counter and divide dough into four pieces. Roll each into a ¾-inch (2 cm) rope and cut into ¾-inch (2 cm) pieces. Optionally roll on a gnocchi board or fork. Transfer pieces to a semolina- or flour-dusted sheet pan.

    Boil

    Bring a large pot of well-salted water to a boil. Cook gnocchi in batches. They will sink, then float. Cook 30–60 seconds after floating, then lift gently with a spider directly into a warm bowl.

    Serve

    Toss gently with Browned Butter & Sage Sauce, loosening with a splash of cooking water as needed. Finish with parmesan and serve immediately.


    Notes

    Preparation

    • Roasting reduces moisture and prevents dense or gummy dough.
    • Flour amounts vary based on moisture. Add just enough to make dough manageable.
    • A potato ricer ensures the lightest texture; avoid food processors, which make puree gluey.
    • Nutmeg is optional. Keep to a tiny pinch for a savory balance.
    • Parmesan in the dough deepens savoriness and firms texture slightly.

    Serving Suggestions

    • Classic pairing: Browned Butter & Sage Sauce.
    • Also works with simple garlic–olive oil or a light gorgonzola cream.
    • Top with toasted breadcrumbs for added texture.

    Variations

    • Add 1–2 tbsp minced fresh herbs (sage, thyme, chives) to the dough.
    • Use purple sweet potatoes for a more earthy, colorful version; flour amount may vary.
    • Add ¼ cup ricotta for softer, pillowy gnocchi (increase flour slightly).

    Make-Ahead & Storage

    • Freeze uncooked gnocchi on a floured tray, then store in freezer bags up to 2 months. Boil from frozen; add 1–2 minutes to cook time.
    • Refrigerate cooked gnocchi lightly coated in oil up to 2 days. Rewarm gently in sauce.
    • Refrigerate raw dough tightly wrapped up to 24 hours; dust with a little flour if it hydrates.
  • Mango Gelato

    Mango Gelato

    This bright and silky gelato captures the pure flavor of ripe mangoes in classic Italian style—smooth, dense, and refreshingly balanced. The natural sweetness of the fruit shines through a light dairy base, while a touch of vanilla or spiced rum adds warmth and depth. Each scoop feels like a taste of summer, golden, fragrant, and intensely mango-forward.


    Ingredients

      Base:

    • 2 cups ripe mango purée (strained to remove fibers; from about 3–4 large mangoes or 16 oz frozen mango)
    • 1 cup whole milk
    • ¼ cup heavy cream
    • ⅔ cup sugar
    • ⅛ tsp xanthan gum (stabilizer)
    • 1 tbsp fresh lemon juice
    • pinch table salt
    • ½ tsp vanilla extract (optional; rounds flavor)
    • 1 tbsp spiced rum (optional; softens texture and adds warmth)

    Directions

    Prepare the Mango Purée

    Peel and cube ripe mangoes, or use thawed frozen mango chunks. Purée until completely smooth in a blender or food processor, then strain through a fine mesh sieve to remove fibers. Measure 2 cups purée, cover, and refrigerate.

    Make the Dairy Base

    In a small saucepan, whisk together milk, cream, sugar, and salt. Heat gently over medium heat until steaming and the sugar is fully dissolved. Remove from heat and cool slightly, about 10–15 minutes.

    Combine & Stabilize

    In a blender, combine the cooled milk mixture, mango purée, lemon juice, vanilla, and rum (if using). Sprinkle xanthan gum evenly over the surface and immediately blend on high for 30–45 seconds until emulsified and slightly thickened.

    Chill the Base

    Transfer to a covered container and refrigerate until very cold, at least 4 hours or overnight for best texture.

    Churn & Freeze

    Churn the chilled base in an ice cream maker according to manufacturer instructions until thick and velvety. Transfer to a container and freeze 3–4 hours to firm fully.


    Notes

    Preparation

    • Xanthan gum improves creaminess and prevents iciness; a little goes a long way.
    • Lemon juice brightens the mango flavor and balances natural sweetness.
    • If mangoes are less sweet, increase sugar slightly (up to ¾ cup total).
    • For a richer variation, substitute coconut milk for the whole milk.

    Serving Suggestions

    • Serve with diced fresh mango or mango coulis for extra fruit intensity.
    • Top with toasted coconut flakes or macadamia nuts for added texture.
    • Pair with lime cookies or shortbread for contrast.

    Make-Ahead & Storage

    • Refrigerate the blended base for up to 2 days before churning.
    • Store churned gelato in an airtight container for up to 1 week.
    • Allow to soften at room temperature for 5–10 minutes before scooping.