Bags of Spices

Favorite Recipes

American

Home-cooking classics, holiday staples, and recipes that feel like home.

  • Dark Chocolate Almond Fudge Ribbon Ice Cream

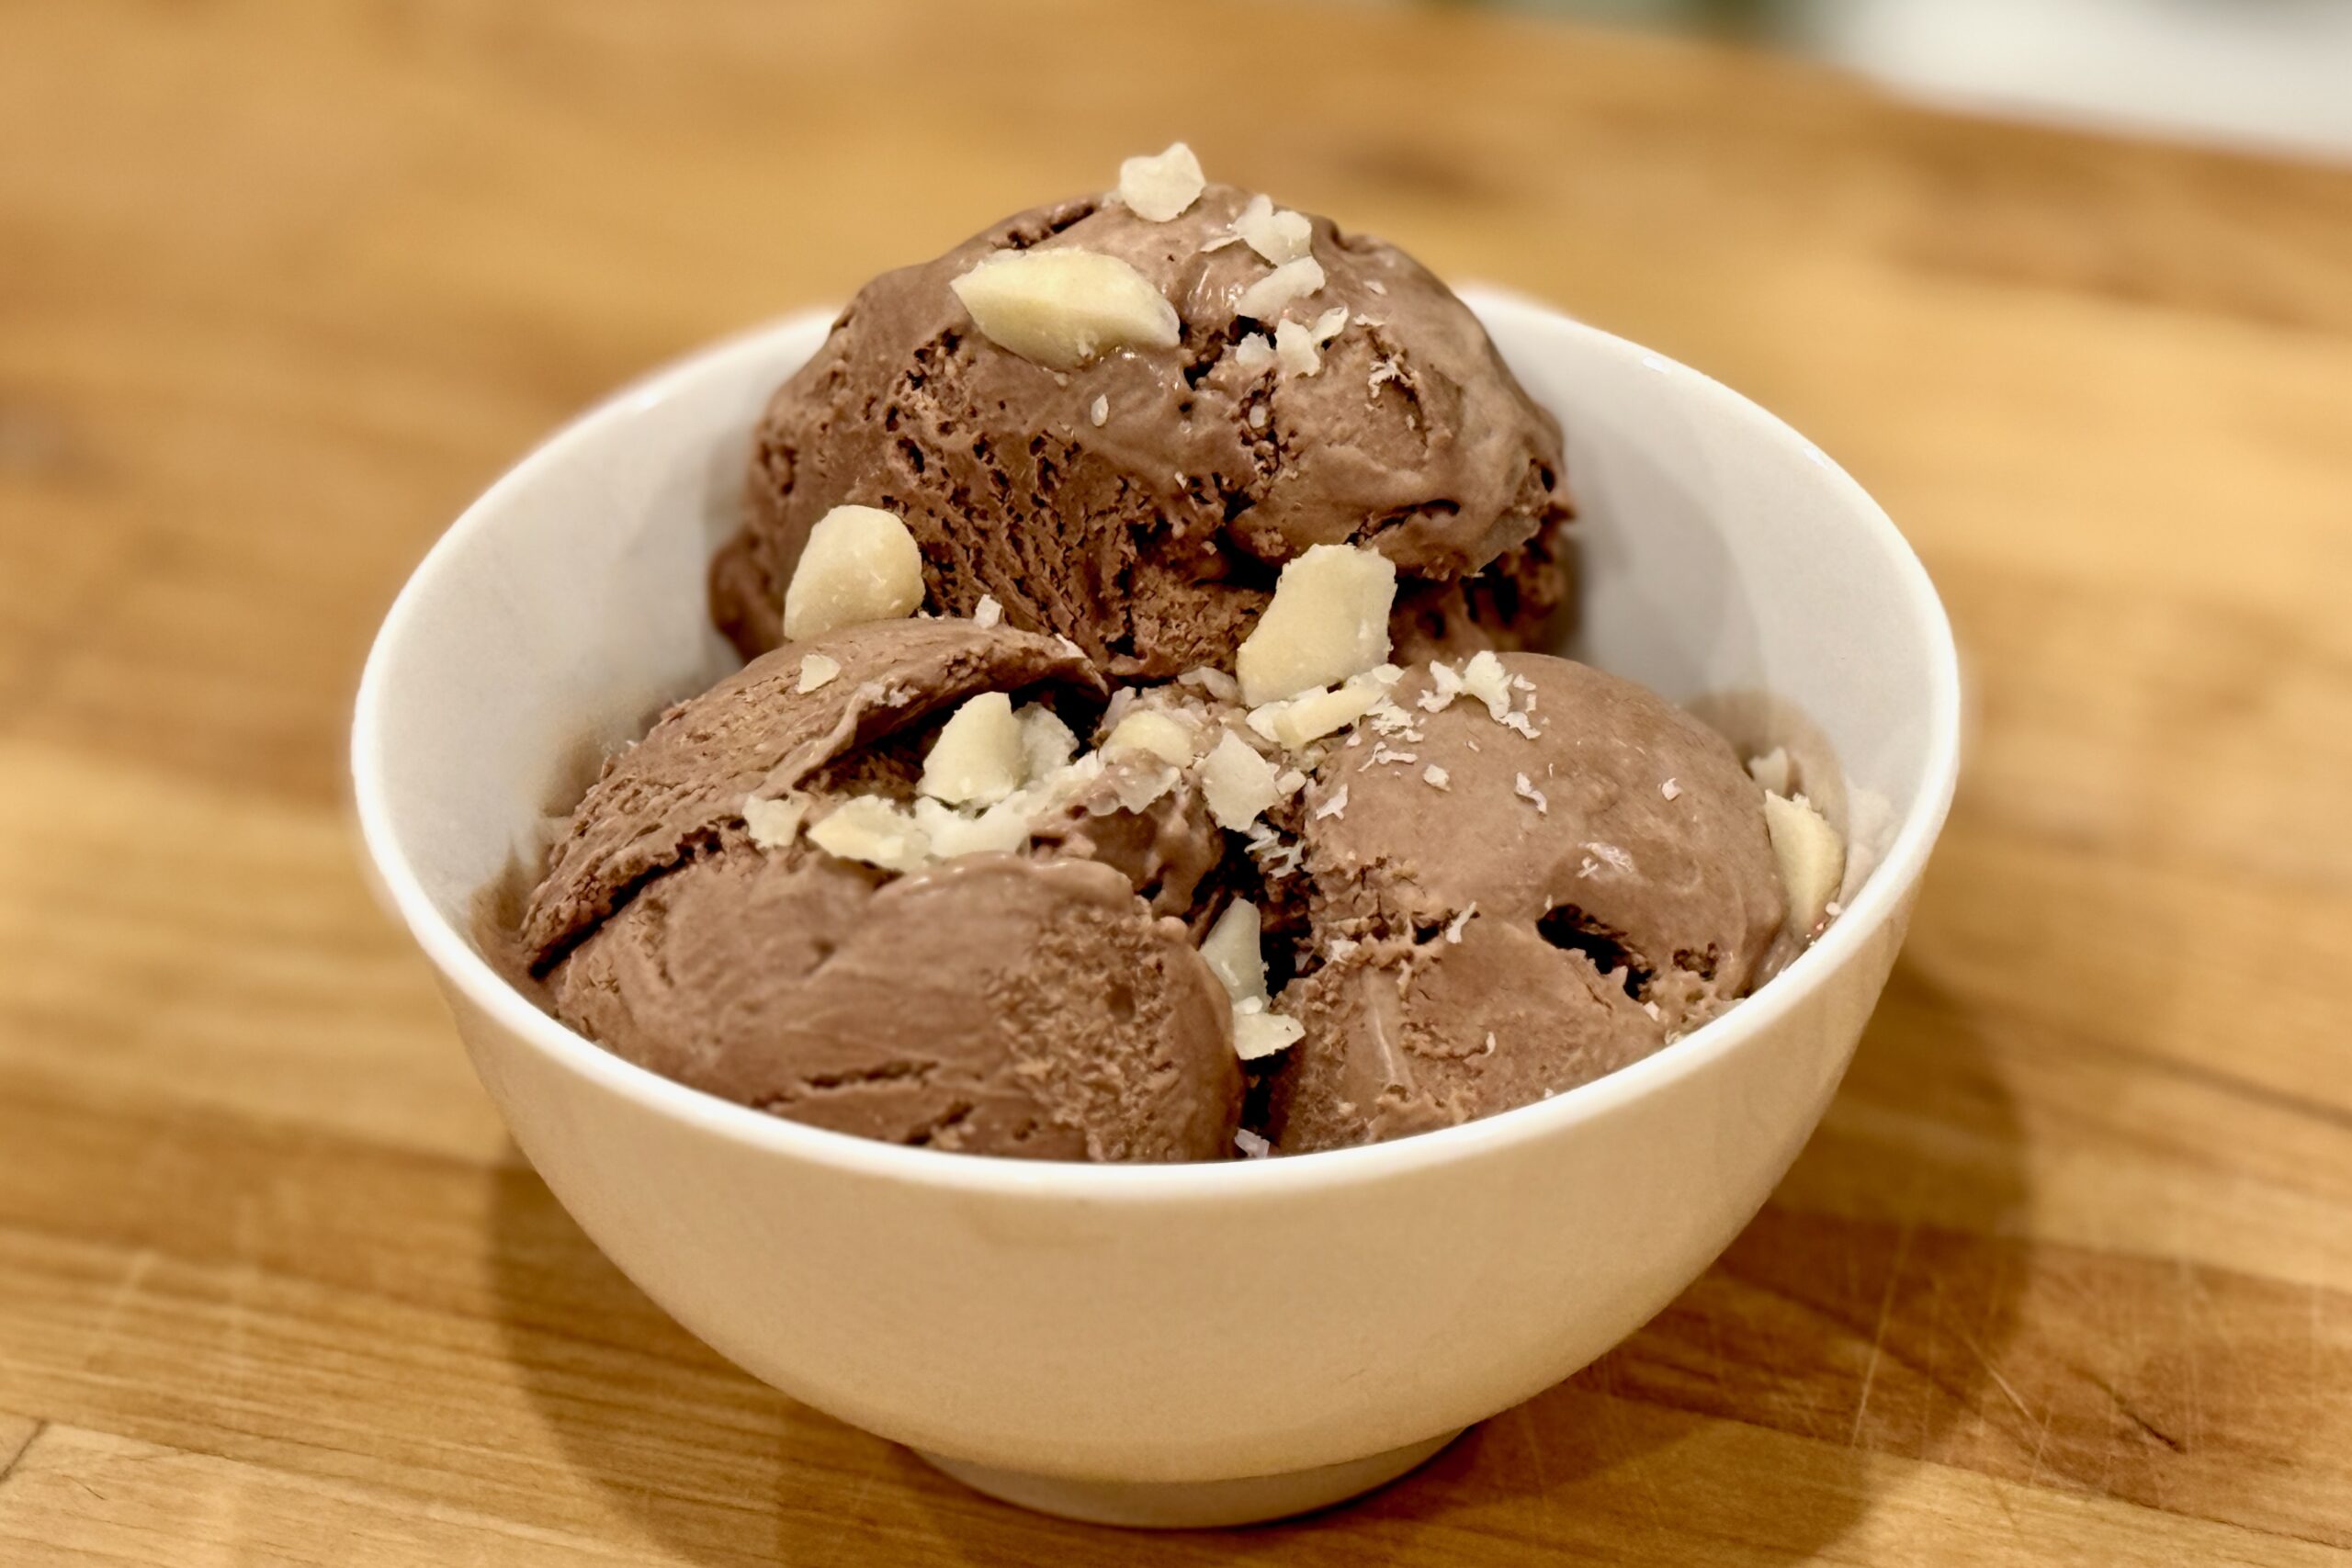
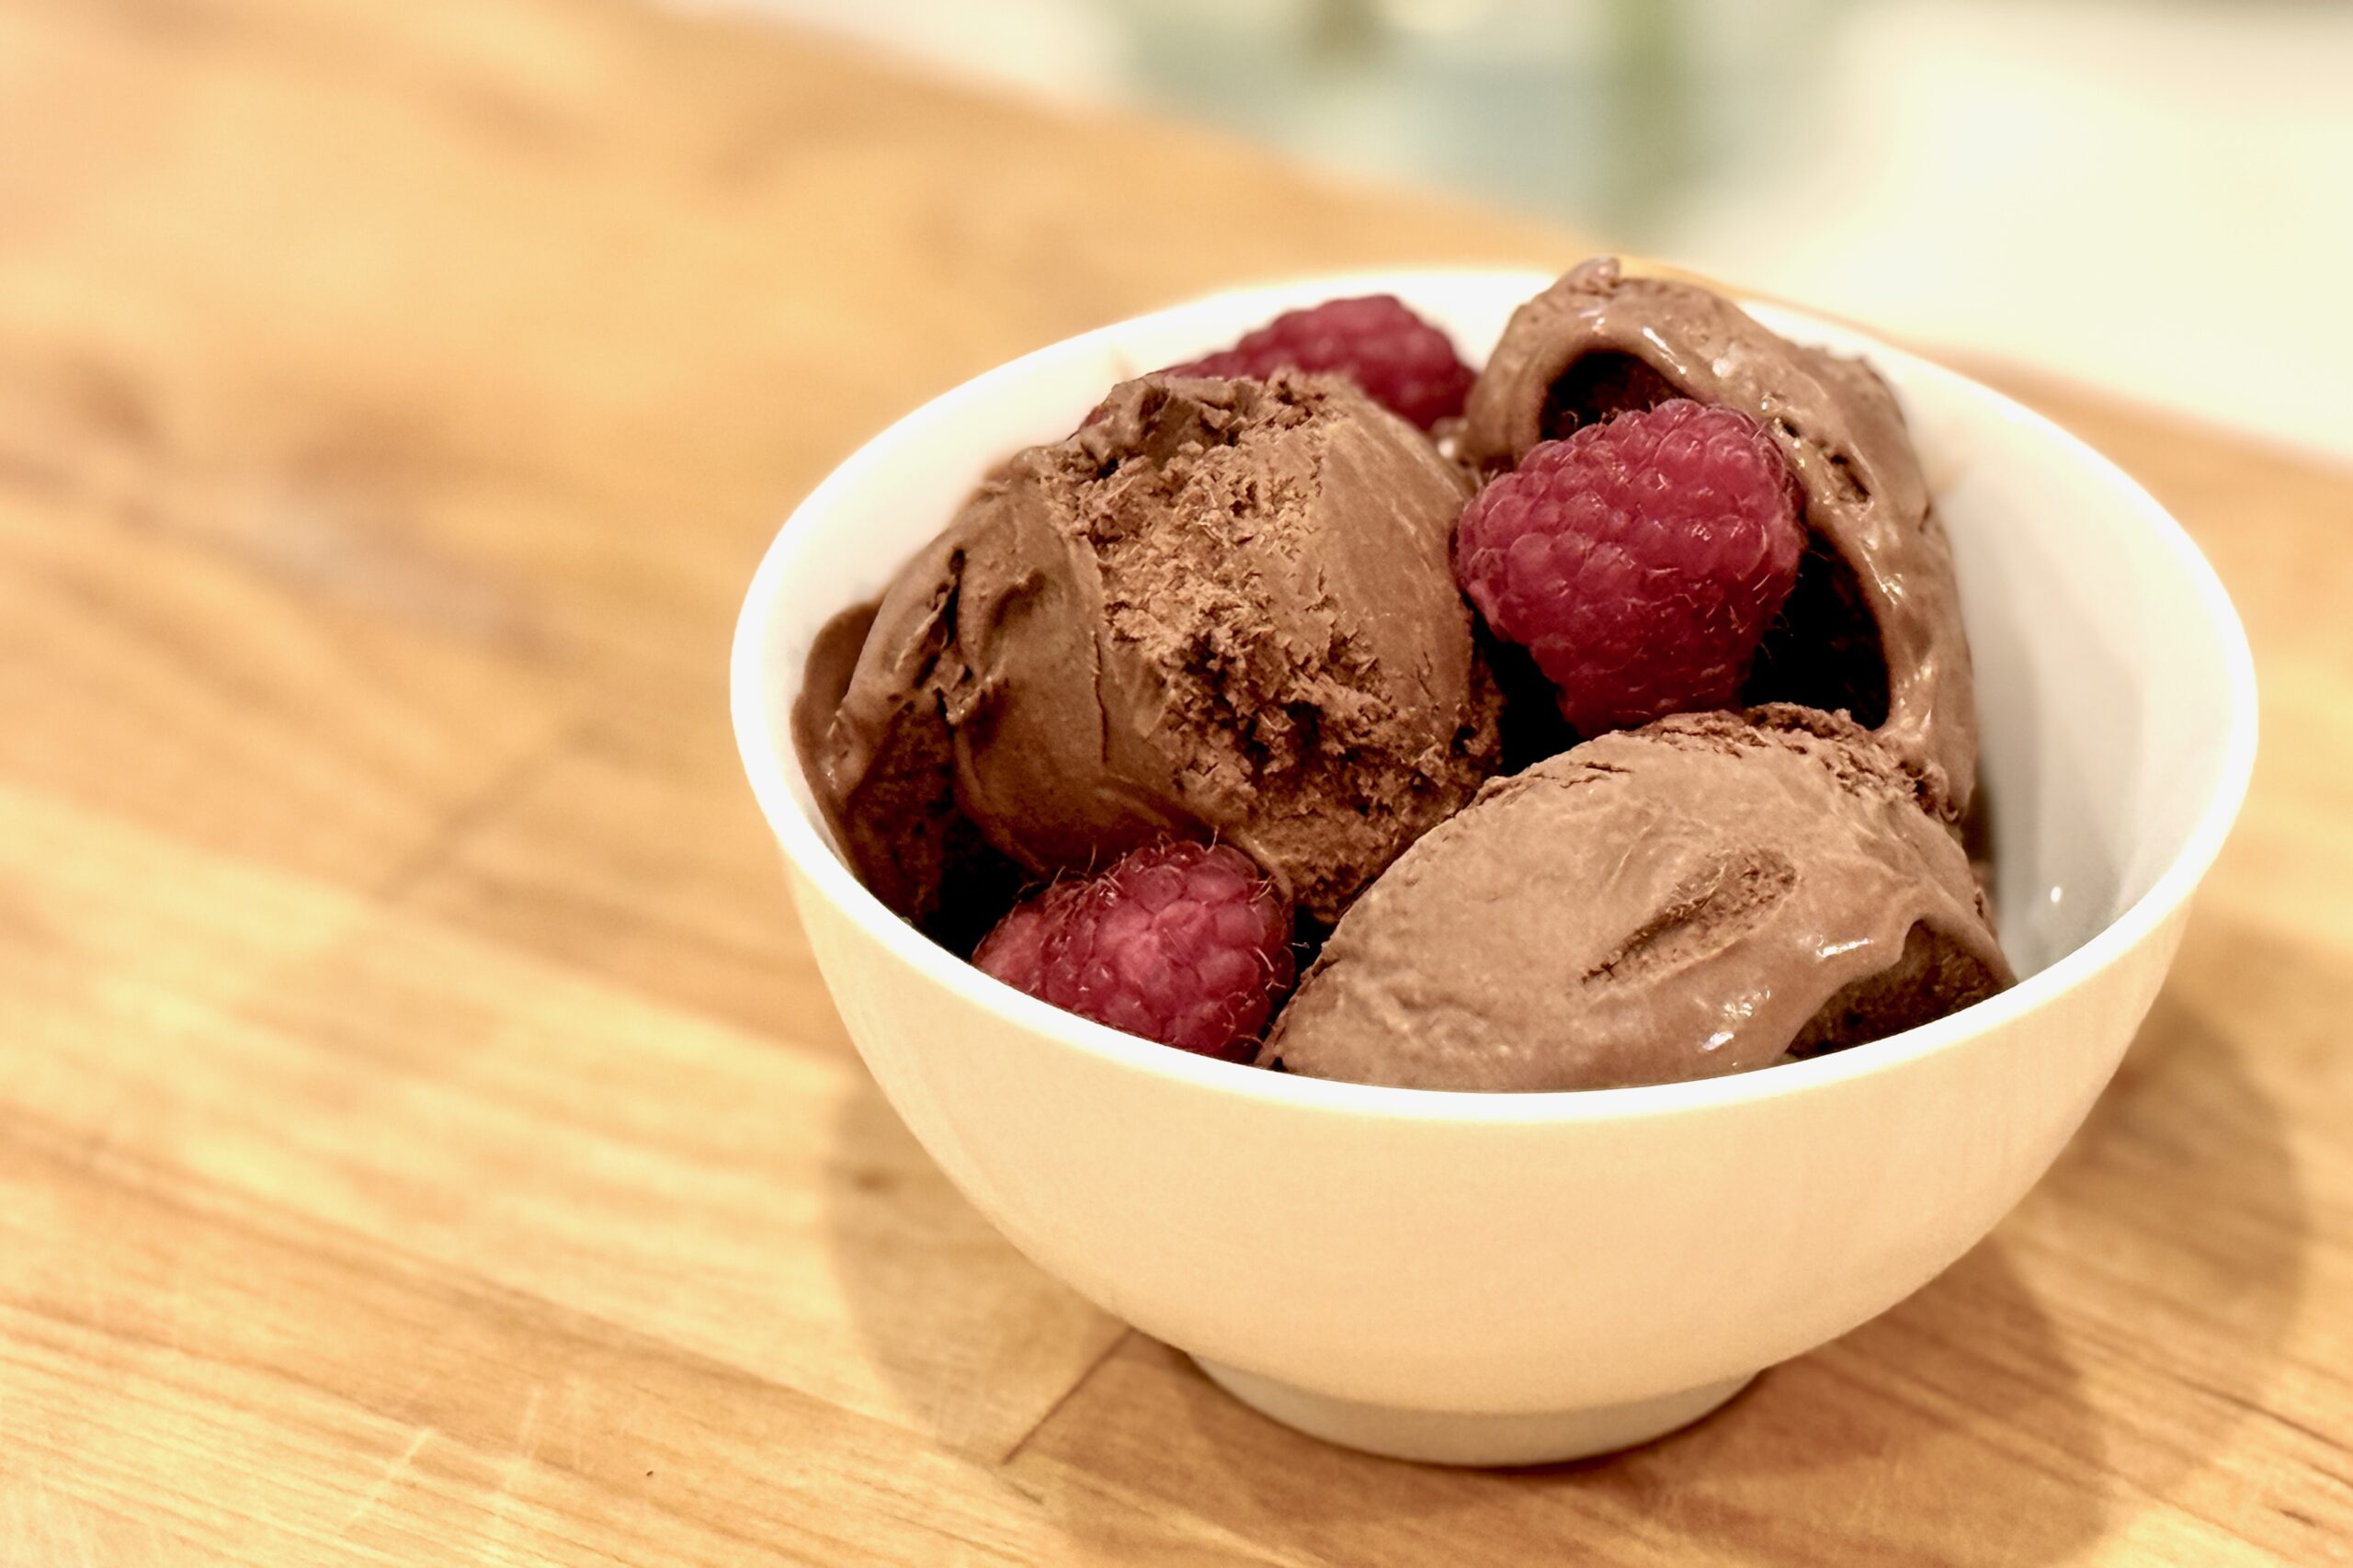
    Dark Chocolate Almond Fudge Ribbon Ice Cream

    Deep, velvety chocolate ice cream brightened with a touch of espresso and balanced by creamy buttermilk, swirled with a glossy chocolate–almond fudge ribbon that stays silky even when frozen. The result is rich, spoonable, and layered with dark chocolate flavor and fragrant almond.


    Ingredients

      Chocolate Custard Base

    • 2 cups heavy cream
    • 1 cup whole milk
    • ½ cup sugar, divided
    • 5 egg yolks
    • 4 oz bittersweet chocolate (60–70%), finely chopped
    • 2 tbsp unsweetened cocoa powder
    • ½ tsp instant espresso powder
    • ½ tsp vanilla extract
    • pinch table salt
    • ½ cup cold buttermilk (added after cooking)
    • Chocolate–Almond Fudge Ribbon

    • ½ cup sugar
    • ⅓ cup unsweetened cocoa powder (Dutch-process recommended)
    • ⅓ cup heavy cream
    • ¼ cup water
    • 2 tbsp light corn syrup
    • 2 tbsp butter
    • ¾–1 tsp almond extract (to taste)
    • ½ tsp vanilla extract
    • pinch table salt
    • Optional Garnish

    • Chopped toasted almonds
    • Flaky sea salt

    Directions

    Prepare the Chocolate Custard Base

    In a saucepan, whisk together the milk, cream, cocoa powder, ¼ cup sugar, espresso powder, and salt. Warm over medium heat until steaming and the sugar dissolves. Remove from heat and whisk in the chopped chocolate until smooth.

    In a separate bowl, whisk the egg yolks with the remaining ¼ cup sugar until thick and pale. Slowly temper with ½ cup of the warm chocolate mixture, whisking constantly, then return everything to the saucepan.

    Cook over low heat, stirring constantly, until the custard coats the back of a spoon (170–175°F / 77–80°C). Do not boil. Strain through a fine mesh sieve into a clean bowl, then stir in the vanilla. Allow to cool slightly, then stir in the cold buttermilk. Chill completely, preferably overnight.

    Make the Chocolate–Almond Fudge Ribbon

    In a small saucepan, whisk together sugar, cocoa powder, water, and corn syrup. Bring to a gentle simmer and cook for 1–2 minutes. Remove from heat; whisk in butter, cream, vanilla, almond extract, and salt. Let cool completely, then refrigerate until thickened but still pourable.

    Churn and Layer

    Churn the chilled chocolate custard in an ice cream maker according to the manufacturer’s instructions. As you transfer it to a container, alternate layers of ice cream and thin ribbons of the fudge sauce. Swirl lightly with a butter knife for a marbled effect without overmixing. Freeze 4–6 hours until firm.


    Notes

    Preparation

    • Chill the fudge ribbon fully before layering; warm sauce will sink instead of ribboning.
    • For a deeper chocolate profile, replace 1 tbsp cocoa with 1 tbsp Dutch-process cocoa.
    • Increase almond extract up to 1 tsp to intensify almond flavor.

    Serving Suggestions

    • Top with chopped toasted almonds for crunch.
    • Add flaky sea salt for contrast and brightness.
    • Serve with biscotti, chocolate cake, or espresso in an affogato.

    Variations

    • Mocha Almond: Increase espresso powder to 1 tsp.
    • Black Forest: Replace almond extract with kirsch; swirl in cherry compote.
    • Chocolate–Orange: Add ½ tsp orange zest; replace almond extract with orange extract.

    Make-Ahead & Storage

    • Refrigerate churn-ready custard up to 48 hours.
    • Store churned ice cream up to 1 week for best texture.
    • Let stand 5–10 minutes before serving for optimal scoopability.
  • Beer  Battered Halibut

    Beer Battered Halibut

    Each year I attended the same trade show in London. While I love the city, I didn’t love traveling without my wife—especially this trip because it always fell during her birthday week. The year we decided she’d come along was eventful, to say the least. But before we get to London, some backstory.

    Pregnancy was not something that came easy for us. A lot of very fun attempts, but at least to that point, no resulting pregnancies. Before we left I shared a dream where while in London she’d told me she was pregnant. We laughed as we continued to prepare for the trip.

    Wile I worked the show, my beautiful bride explored the city. On her birthday, we met up after my work day to celebrate with a delicious dinner followed by the theatre to see ‘Les Misérables’—an unforgettable night!

    Back at the hotel, she disappeared into the bathroom. Moments later I heard her voice, “I think we’re pregnant.” I laughed—until she rounded the corner with a pregnancy test, the two pink lines unmistakable. That London trip became our first family journey with our two sons. Later, five and seven years after the whirlwind of welcoming twins, we were blessed with two beautiful daughters, completing our little family.

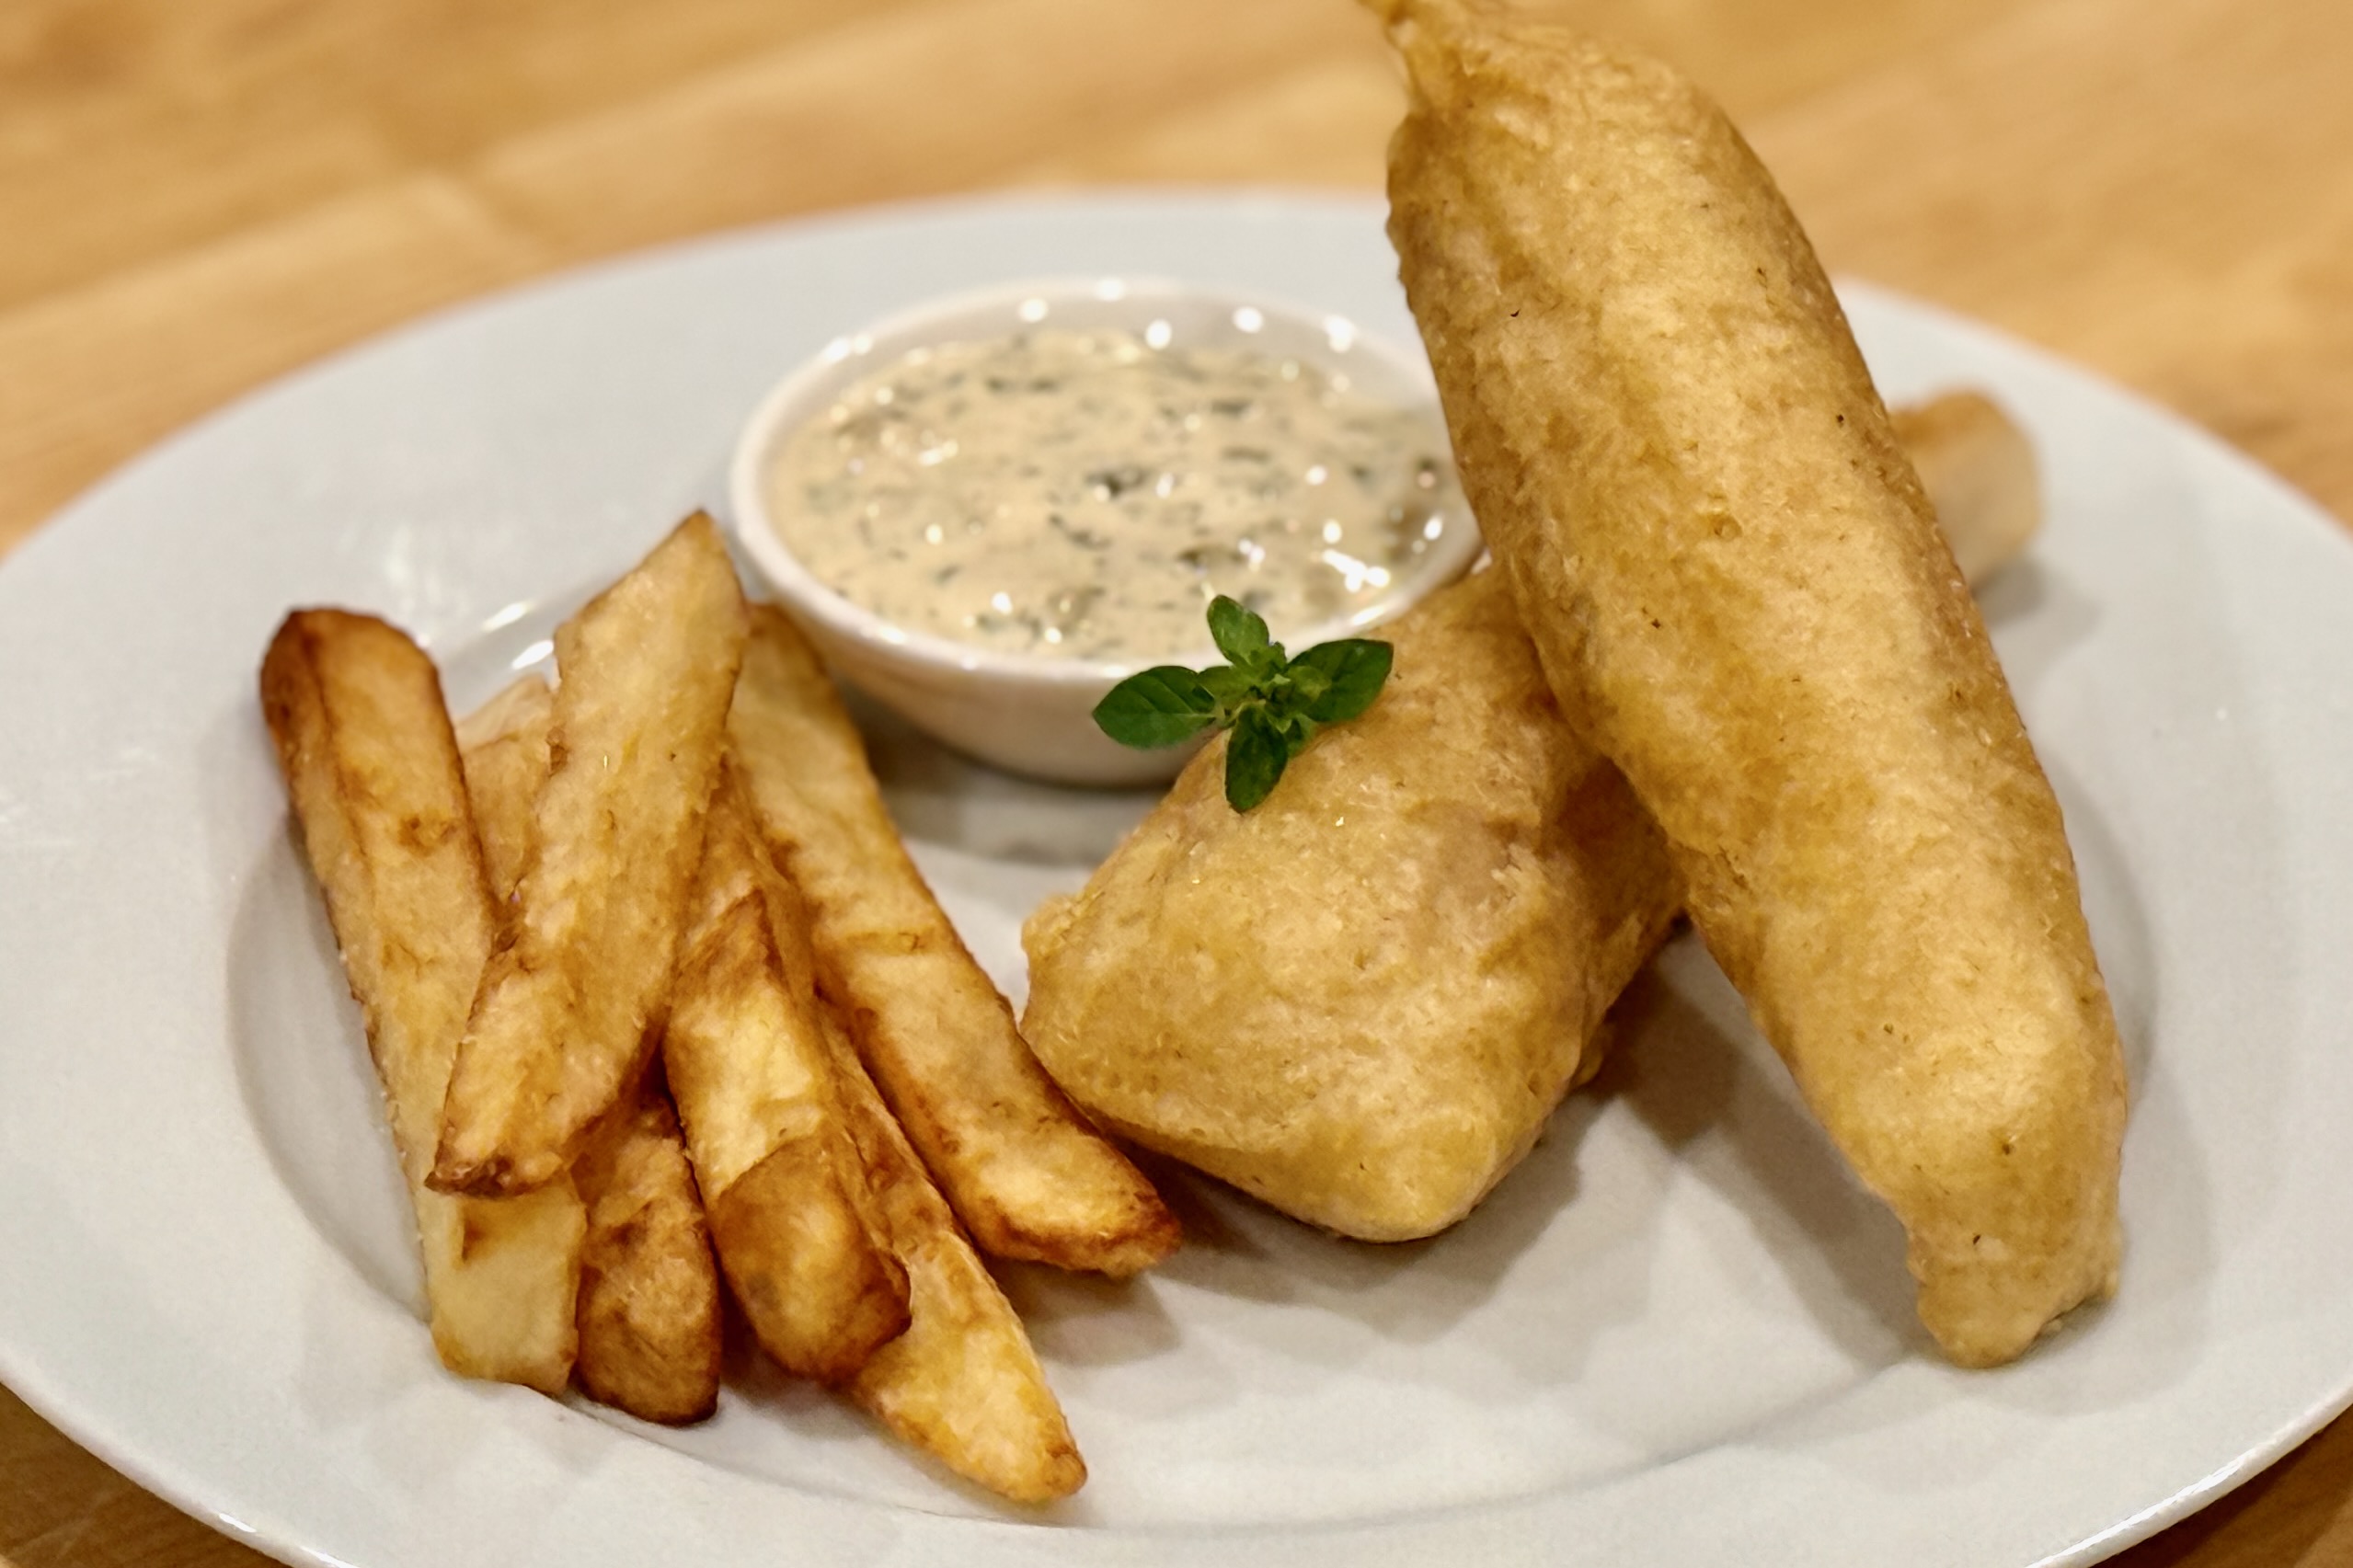
    As a remembrance of our London getaway, and our life-changing news, I created this recipe; my not-so-authentic version of fish and chips.


    Ingredients

    • 4–6 halibut filet portions
    • 1½ cups (185g) all-purpose flour, plus extra for coating filets
    • 1¼ cups (160g) corn starch
    • 2 tsp baking powder
    • ½ tsp table salt
    • ½ tsp white pepper (optional)
    • 1 can (16 oz / 475 ml) light beer
    • Optional Batter Add-Ins:

      • garlic powder
      • onion powder
      • paprika
      • shoarma spice blend
      • Old Bay

    Directions

    Prepare the Fish:

    Preheat 2″ to 3″ of neutral oil in a skillet or deep fryer to 350º–375ºF. Coat cold halibut filets on all sides with flour; place on a wire rack set over a baking sheet and refrigerate.

    Make the Batter:

    In a large bowl, whisk together flour, corn starch, baking powder, salt, and white pepper. Whisk in enough ice-cold beer to reach the consistency of a thin pancake batter. Refrigerate the batter for 10 minutes to rest and chill.

    Fry the Halibut:

    Dip each filet into the chilled batter and allow excess to drip off. Fry for 1–2 minutes per side, or until crispy and deep golden brown.

    Transfer to a wire rack and immediately sprinkle lightly with salt. Allow the oil temperature to return to 350º–375ºF before frying the next batch.

    Serve hot with Belgian frites, tartar sauce, and/or malt vinegar.


    Notes

    Preparation

    • Keeping the fish cold is essential—cold fillets meeting hot oil creates the highest-crisp batter.
    • Use ice-cold beer. Colder batter expands more rapidly when fried, creating a lighter, airier crust.
    • Halibut works beautifully, but cod, haddock, or rockfish are excellent alternatives.
    • To prevent sticking, make sure your oil is at temp before adding the first piece.

    Serving Suggestions

    • Serve with tartar sauce, malt vinegar, or a squeeze of fresh lemon.
    • Belgian-style frites or hand-cut fries complement the crispy halibut perfectly.
    • A quick cabbage slaw with lemon and dill keeps the plate light and balanced.

    Variations

    • Add ½ tsp paprika or smoked paprika for a deeper color and warmth.
    • Shoarma spice or Old Bay give a fun twist while keeping the classic texture.
    • Substitute half the beer with sparkling water for an extra-light batter.
    • For heat, add a pinch of cayenne or chili powder.

    Make-Ahead & Storage

    Fish and chips are best eaten immediately, but here are some tips:

    • If needed, keep fried pieces warm on a wire rack in a 225ºF oven for up to 20 minutes.
    • Leftovers may be reheated in an air fryer at 375ºF for 4–6 minutes to restore crispness.
    • Batter can be mixed dry (without beer) up to 2 days ahead; just whisk in cold beer before frying.
  • Tartar Sauce

    Tartar Sauce

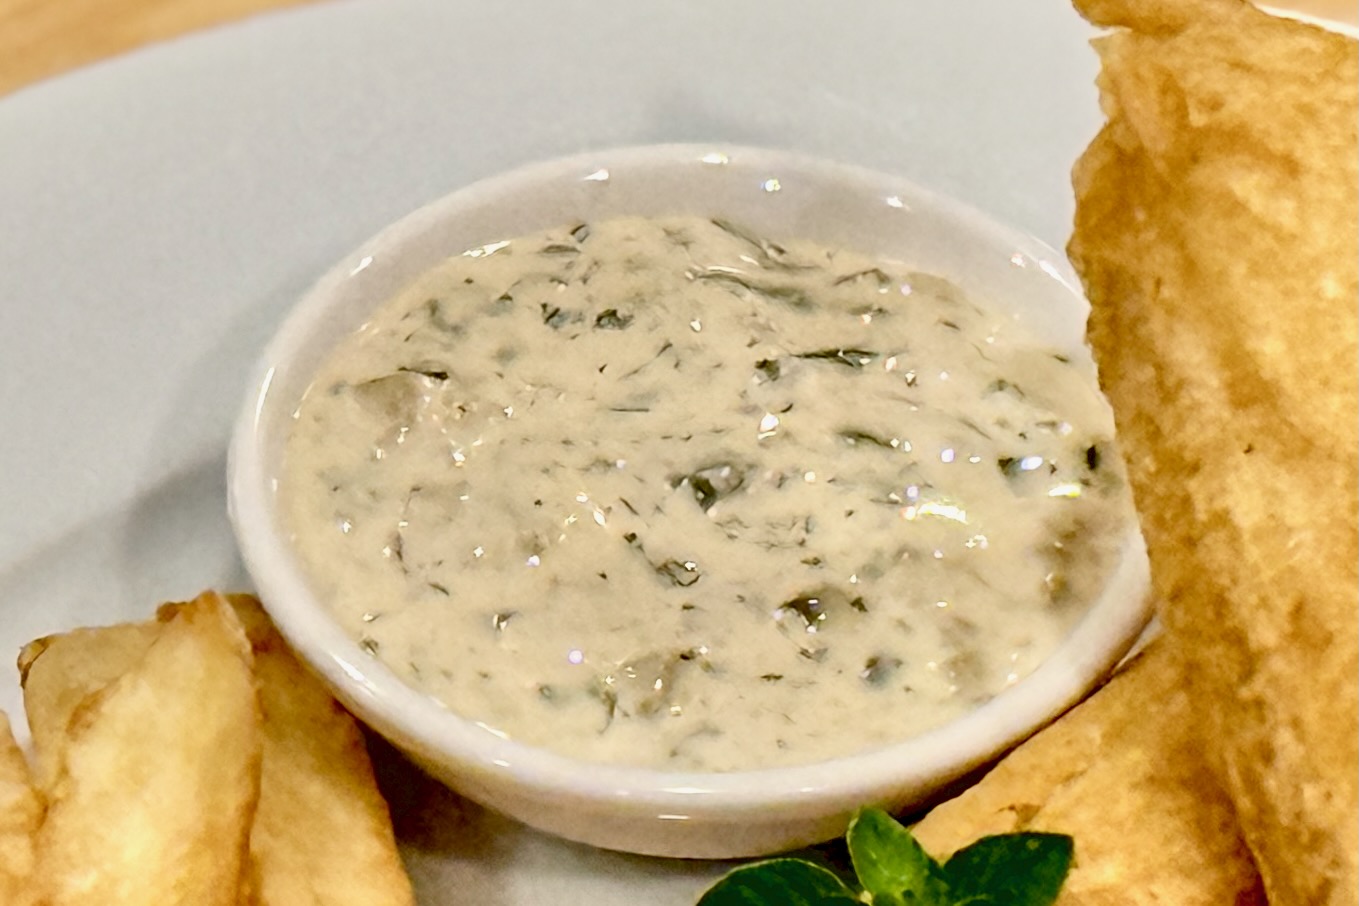
    This creamy, tangy tartar sauce comes together in minutes and tastes far fresher than anything store-bought. Bright citrus, briny capers, and herbs make it a perfect companion for fried fish, crab cakes, or roasted vegetables.


    Ingredients

    • 1 cup mayonnaise
    • ½ cup dill relish
    • 1 tbsp capers, rinsed and chopped
    • 1 tbsp fresh parsley (or 1 tsp dried)
    • 1 small shallot, finely chopped (or ½ tsp onion powder)
    • 1 tbsp lemon or lime juice
    • 1 tsp lemon or lime zest
    • 2 tsp Worcestershire sauce
    • 1 tsp Dijon mustard
    • ¼ tsp Tapatío hot sauce
    • salt & pepper, to taste
    • Optional Add-Ins

    • 1 tbsp fresh tarragon (or 1 tsp dried)
    • ½ tbsp fresh dill (or ½ tsp dried)
    • 1 tsp honey
    • ¼ cup crème fraîche or sour cream

    Directions

    Mix the Sauce

    Whisk together all ingredients in a bowl until well combined.

    Chill for at least 1 hour before serving to let the flavors meld.


    Notes

    Preparation

    • Please taste and adjust acidity—add more citrus juice if serving with rich fried foods.
    • For a chunkier texture, use whole dill pickles and hand-chop them instead of relish.
    • Fresh herbs brighten the sauce significantly, but dried herbs still work well.

    Serving Suggestions

    • Serve with Beer Battered Halibut, fish sticks, crab cakes, or shrimp.
    • Use as a spread for fish sandwiches or grilled chicken.
    • Try as a dip for roasted potatoes or fries.

    Variations

    • Swap dill relish for chopped cornichons for a sharper, French-style flavor.
    • Add a pinch of smoked paprika for a subtle smoky note.
    • Fold in a spoonful of crème fraîche for a lighter, silkier version.

    Make-Ahead & Storage

    • Keeps 4–5 days in the refrigerator in an airtight container.
    • Stir before serving, as some separation is normal.
    • Not suitable for freezing due to the mayonnaise base.
  • Maple Whipped Cream

    Maple Whipped Cream

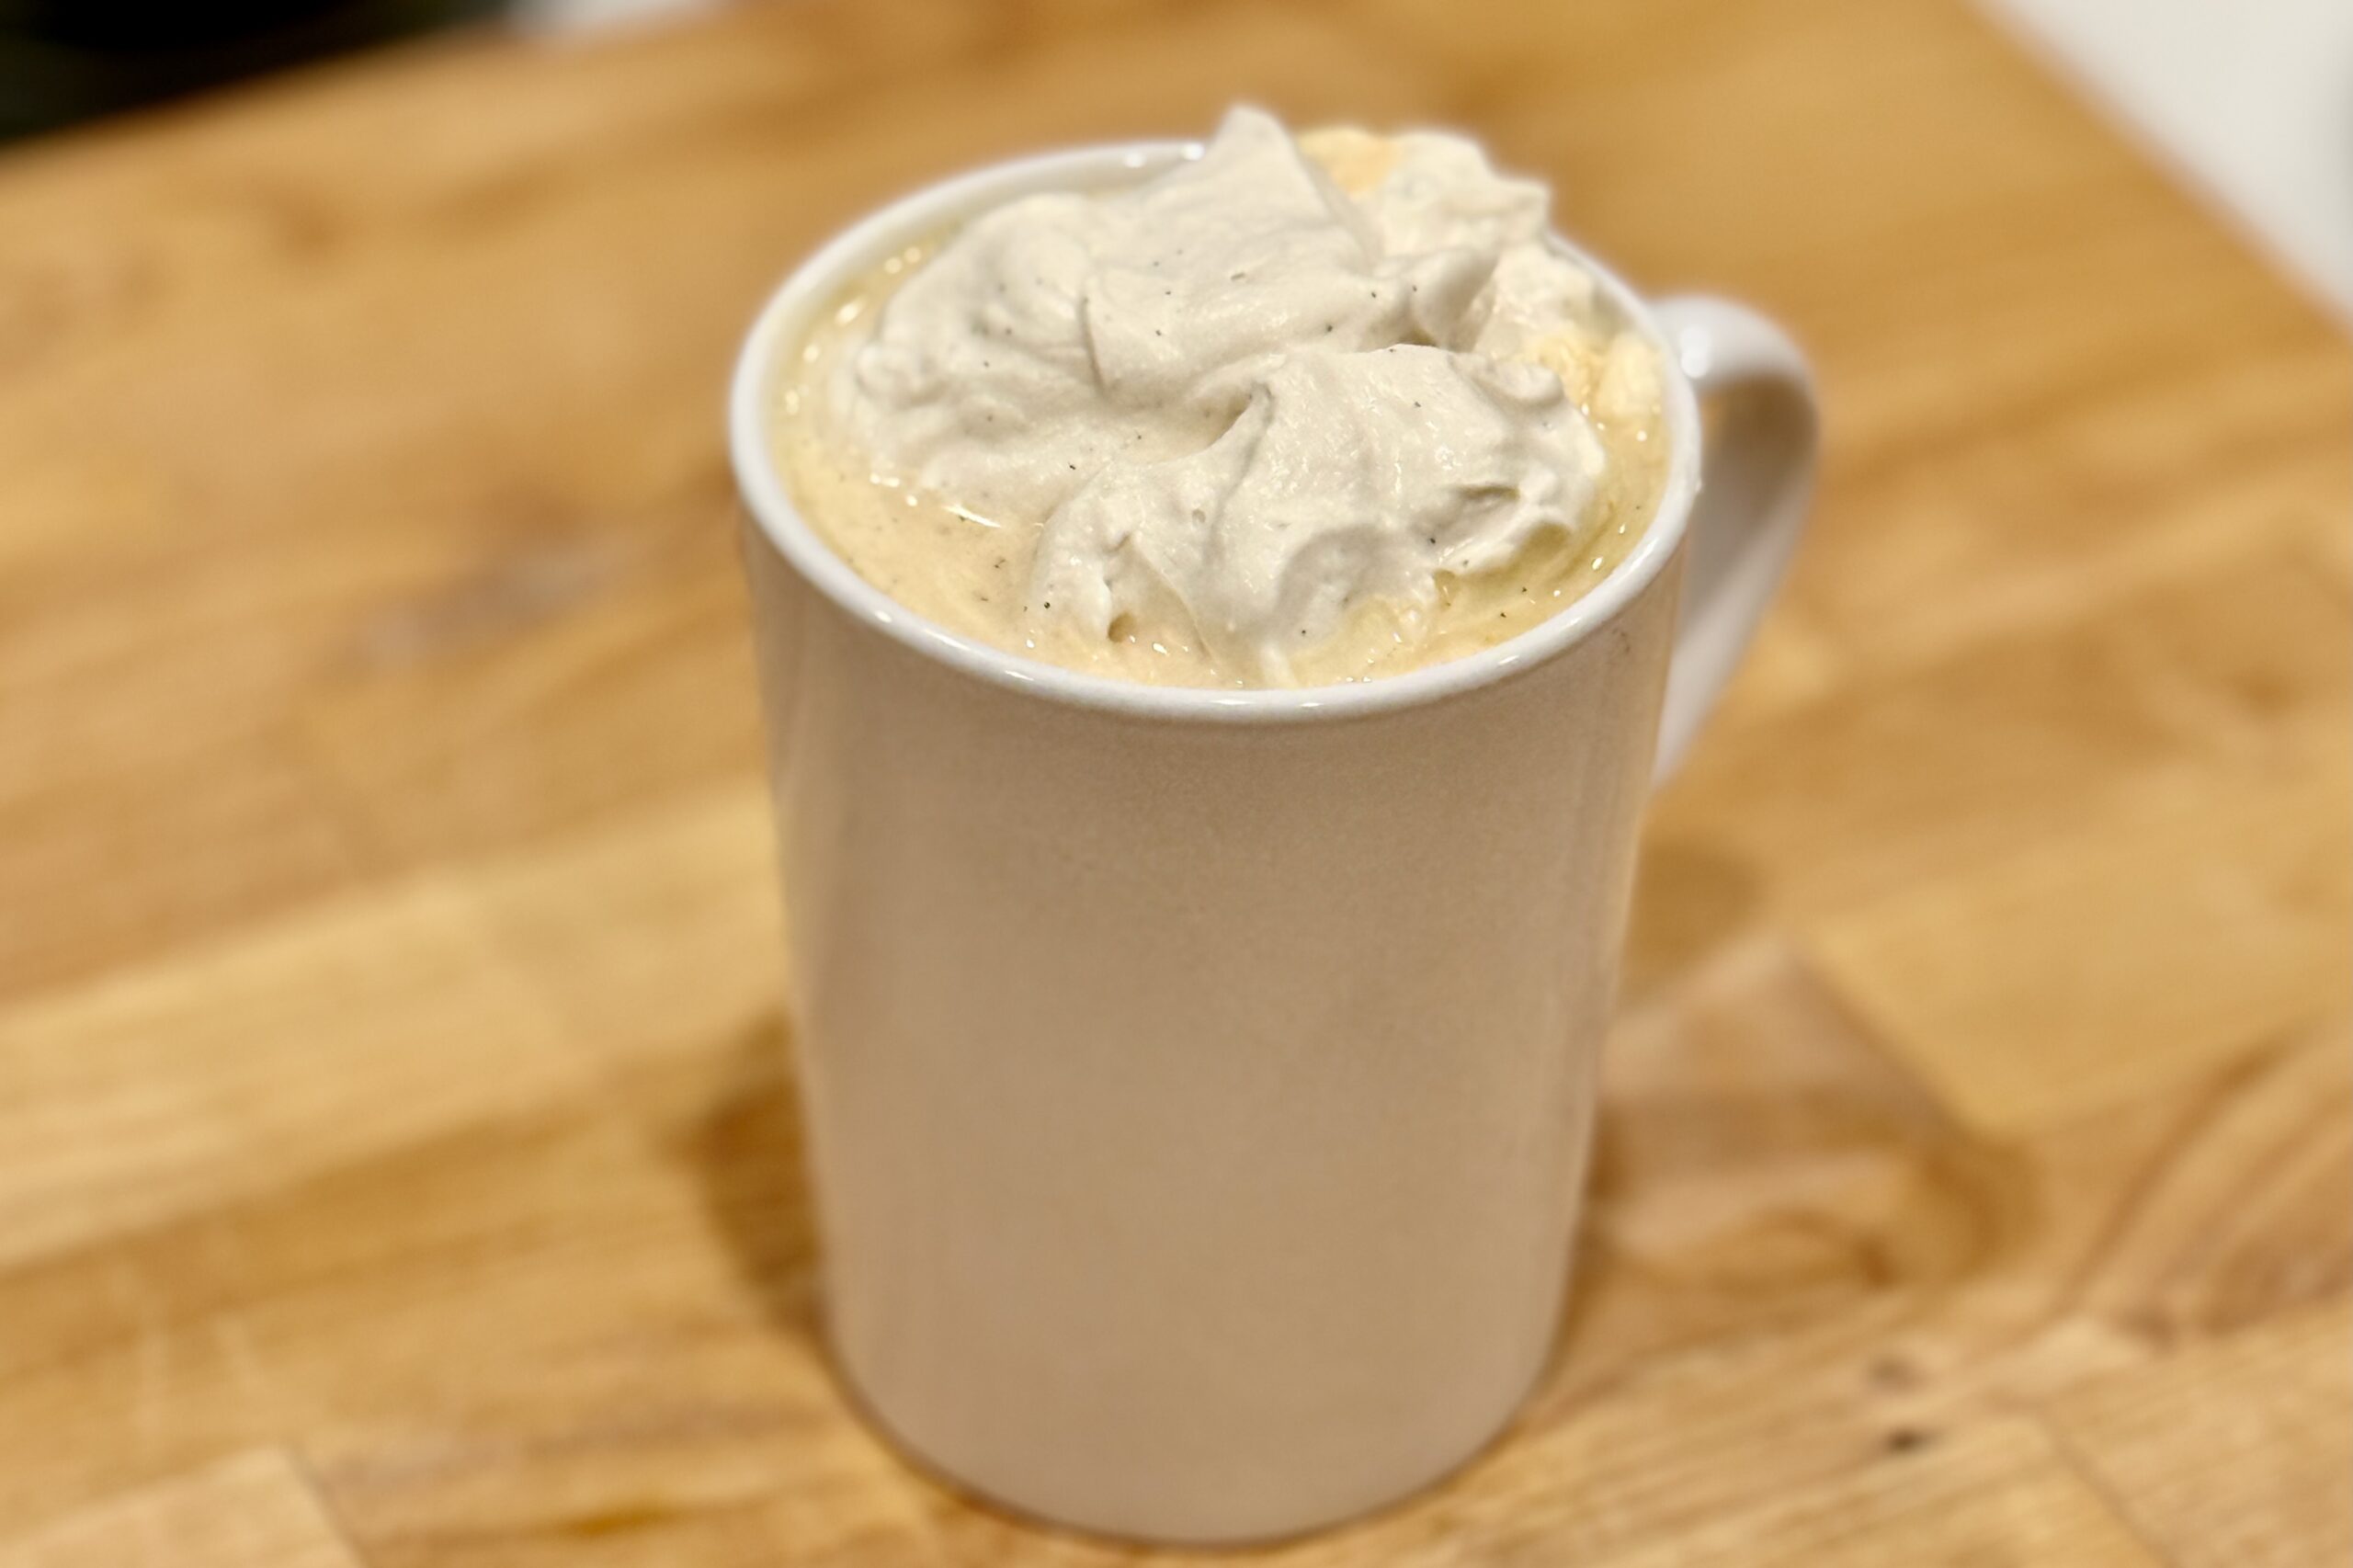
    Maple whipped cream is one of those simple upgrades that instantly feels special. Sweetened naturally with pure maple syrup, it brings a warm, woodsy depth you can’t get from powdered sugar alone. It’s perfect on pumpkin desserts, fall cakes, waffles, pies, hot chocolate, and cozy holiday drinks — anywhere you want a little real maple character without overpowering the main dish.


    Ingredients

      Base Whipped Cream

    • 1 cup heavy whipping cream, cold
    • 2–3 tbsp pure maple syrup (Grade A dark/robust preferred), warmed and cooled
    • ½ tsp vanilla extract
    • ½ tsp vanilla bean paste (for flecks)
    • Pinch of table salt (added during syrup warming)
    • Optional Stabilizer

    • ½ tsp gelatin bloomed in 1 tbsp cold water, melted and cooled
    • Scaling Options

      • Half Batch: ½ cup cream + 1–1½ tbsp maple syrup; scale remaining ingredients accordingly.
      • Double Batch: 2 cups cream + 4–6 tbsp maple syrup; double stabilizer if using.

    Directions

    Warm the Maple Syrup

    Place the maple syrup in a small saucepan and warm just until steaming. Add the pinch of table salt and stir until fully dissolved. Remove from heat and allow to cool completely.

    Whip the Cream

    Combine the cold heavy cream, cooled maple syrup, vanilla extract, and vanilla bean paste in a mixing bowl. If using gelatin, drizzle in the cooled melted gelatin as you begin whipping.

    Beat with a hand mixer (or whisk vigorously by hand) until soft to medium peaks form.

    Adjust & Serve

    Taste and add more maple syrup if needed. Serve immediately, or refrigerate up to 24 hours and re-whip lightly before use.

    Variations

    Customize the flavor to pair with different desserts or drinks:

    • Cinnamon-Maple: Add ⅛–¼ tsp ground cinnamon to the cream before whipping.
    • Maple-Bourbon or Maple-Rum: Add 1–2 tsp spirit to the maple syrup before warming; simmer 20–30 seconds to cook off alcohol, then cool.
    • Orange-Maple: Fold in ½ tsp finely grated orange zest after whipping.
    • Salted Maple: Increase salt to ⅛–¼ tsp (added during syrup warming).
    • Berry-Infused Maple: Warm 2 tbsp maple syrup with 1–2 tbsp crushed berries; simmer 1–2 minutes, strain, cool, and substitute for plain maple syrup.
    • Browned-Butter Maple: Brown 1–2 tbsp butter until golden and nutty; cool until just warm, whisk into the maple syrup during the warming step, then cool completely before whipping.

    Notes

    Preparation

    • Warming the maple syrup enhances flavor and dissolves the salt smoothly.
    • Vanilla bean paste adds flavor and appealing flecks throughout the cream.
    • Gelatin optional stabilizer helps the whipped cream hold up longer on pies, cakes, and drinks.

    Serving Suggestions

    • Serve on our family’s Pumpkin Spice Steamer, pumpkin milk, pies, crisps, spice cakes, waffles, or hot chocolate.
    • A great topping for fall desserts and holiday gatherings.

    Variations

    • Try the browned-butter version with apple or pear desserts.
    • Berry-infused maple pairs nicely with chocolate or vanilla bases.

    Make-Ahead & Storage

    • Whipped cream can be stored up to 24 hours; re-whip lightly to refresh texture.
    • Stabilized versions hold their shape longer and are good for piping.
  • Grandma Lena’s Green Beans

    Grandma Lena’s Green Beans

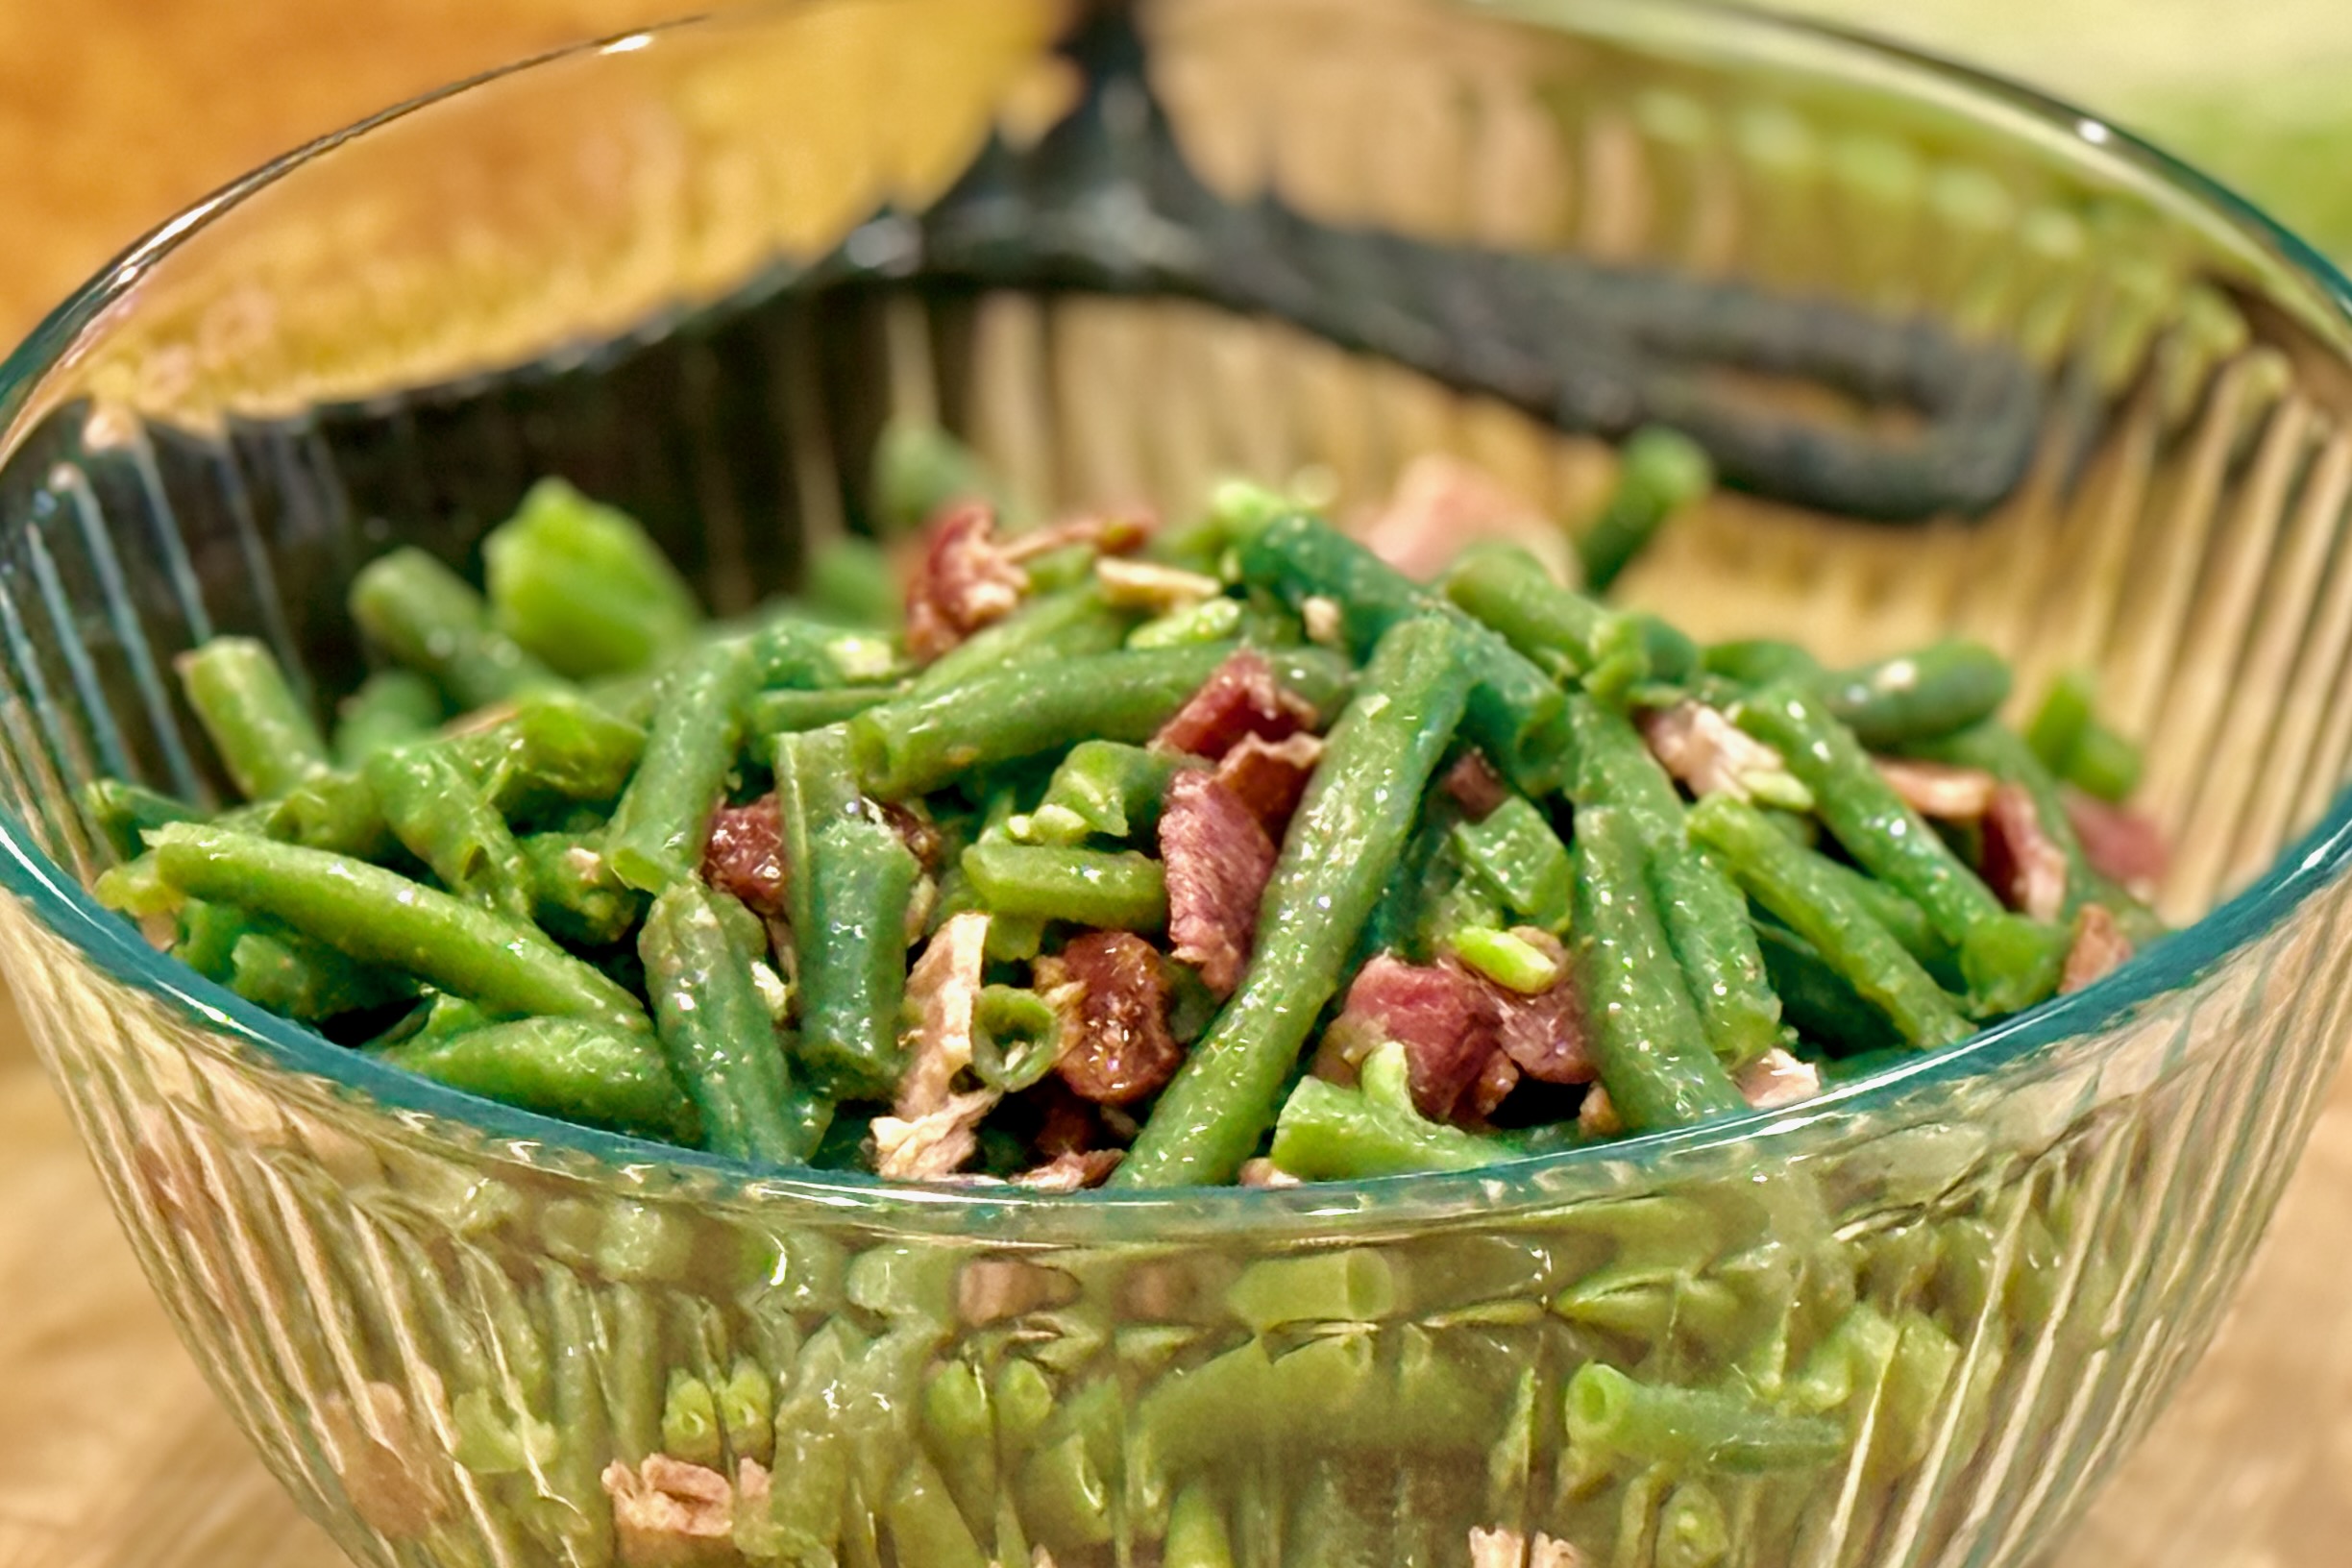
    Grandma Lena’s green beans were a fixture at family dinners. She always made them with flat Italian green beans when she could find them, simmering them slowly with bacon until they became perfectly tender and full of flavor. They were never sautéed, never buried under a cream sauce, and never meant to steal the spotlight. Instead, they quietly complemented everything else on the table. Today I still follow Grandma Lena’s method of seasoning the beans through the cooking broth, but finish them with a little butter, reserved bacon drippings, and freshly crisped bacon for a richer finish that honors the original while adding just a little extra depth.


    Ingredients

    • 2 lbs fresh green beans, trimmed
    • 4 slices thick-cut bacon
    • Water, enough to cover the beans (about 6–8 cups)
    • 1 tsp Better Than Bouillon Roasted Chicken Base
    • ½ tsp liquid smoke
    • Pinch of MSG (optional)
    • 6 slices thick-cut bacon, cooked until crisp and chopped
    • 1 tbsp butter
    • 1–2 tsp reserved bacon drippings
    • Freshly ground black pepper, to taste

    Directions

    Prepare the cooking broth.

    Place 4 slices of bacon in a Dutch oven or large saucepan and cover with water. Bring to a gentle simmer and cook for about 30 minutes to create a flavorful broth.

    Stir in the Better Than Bouillon, liquid smoke, and optional MSG until dissolved.

    Cook the beans.

    Add the green beans to the simmering broth. Continue cooking until the beans reach your preferred tenderness, about 20–25 minutes for tender-crisp beans or 35–45 minutes for a more traditional Southern-style texture.

    While the beans cook, prepare 6 additional slices of bacon until crisp. Reserve 1–2 teaspoons of the bacon drippings, then chop the bacon into bite-sized pieces.

    Finish the beans.

    Remove and discard the simmered bacon. Drain the beans, reserving 2–3 tablespoons of the cooking broth in the pot.

    Add the butter and reserved bacon drippings, tossing until the butter melts and the beans are lightly coated.

    Fold in the chopped crispy bacon and season with freshly ground black pepper to taste. Serve immediately.


    Notes

    Preparation Tips

    Taste the cooking broth before adding the green beans. It should taste well-seasoned with a gentle smoky bacon flavor. The broth is what seasons the beans from the inside out, so a flavorful broth produces flavorful beans.

    Grandma Lena always used flat Italian (Romano) green beans when they were available. Their meatier texture and slightly sweeter, less grassy flavor make them especially well suited to slow simmering. Because they’re often difficult to find, regular fresh green beans are an excellent substitute and are what we usually use today.

    Serving Suggestions

    These green beans are especially good alongside barbecue, roast beef, ham, fried chicken, meatloaf, or holiday dinners. They pair beautifully with mashed potatoes, cornbread, baked beans, and other traditional family favorites.

    Variations

    For a pork-free version, omit the simmered bacon and increase the liquid smoke slightly if desired. Finish the beans with butter and serve without the crispy bacon, or substitute cooked smoked turkey for a similar flavor profile.

    Make-Ahead & Storage

    The beans may be cooked several hours ahead and refrigerated in a small amount of the cooking broth. Reheat gently, then finish with the butter, bacon drippings, and crispy bacon just before serving. Leftovers keep well in the refrigerator for up to 4 days.