Bags of Spices

Favorite Recipes

North American

Comfort from the Americas — barbecue, Mexican street food, Tex-Mex, Southern specialties, and regional favorites.

  • Red Cabbage Salad

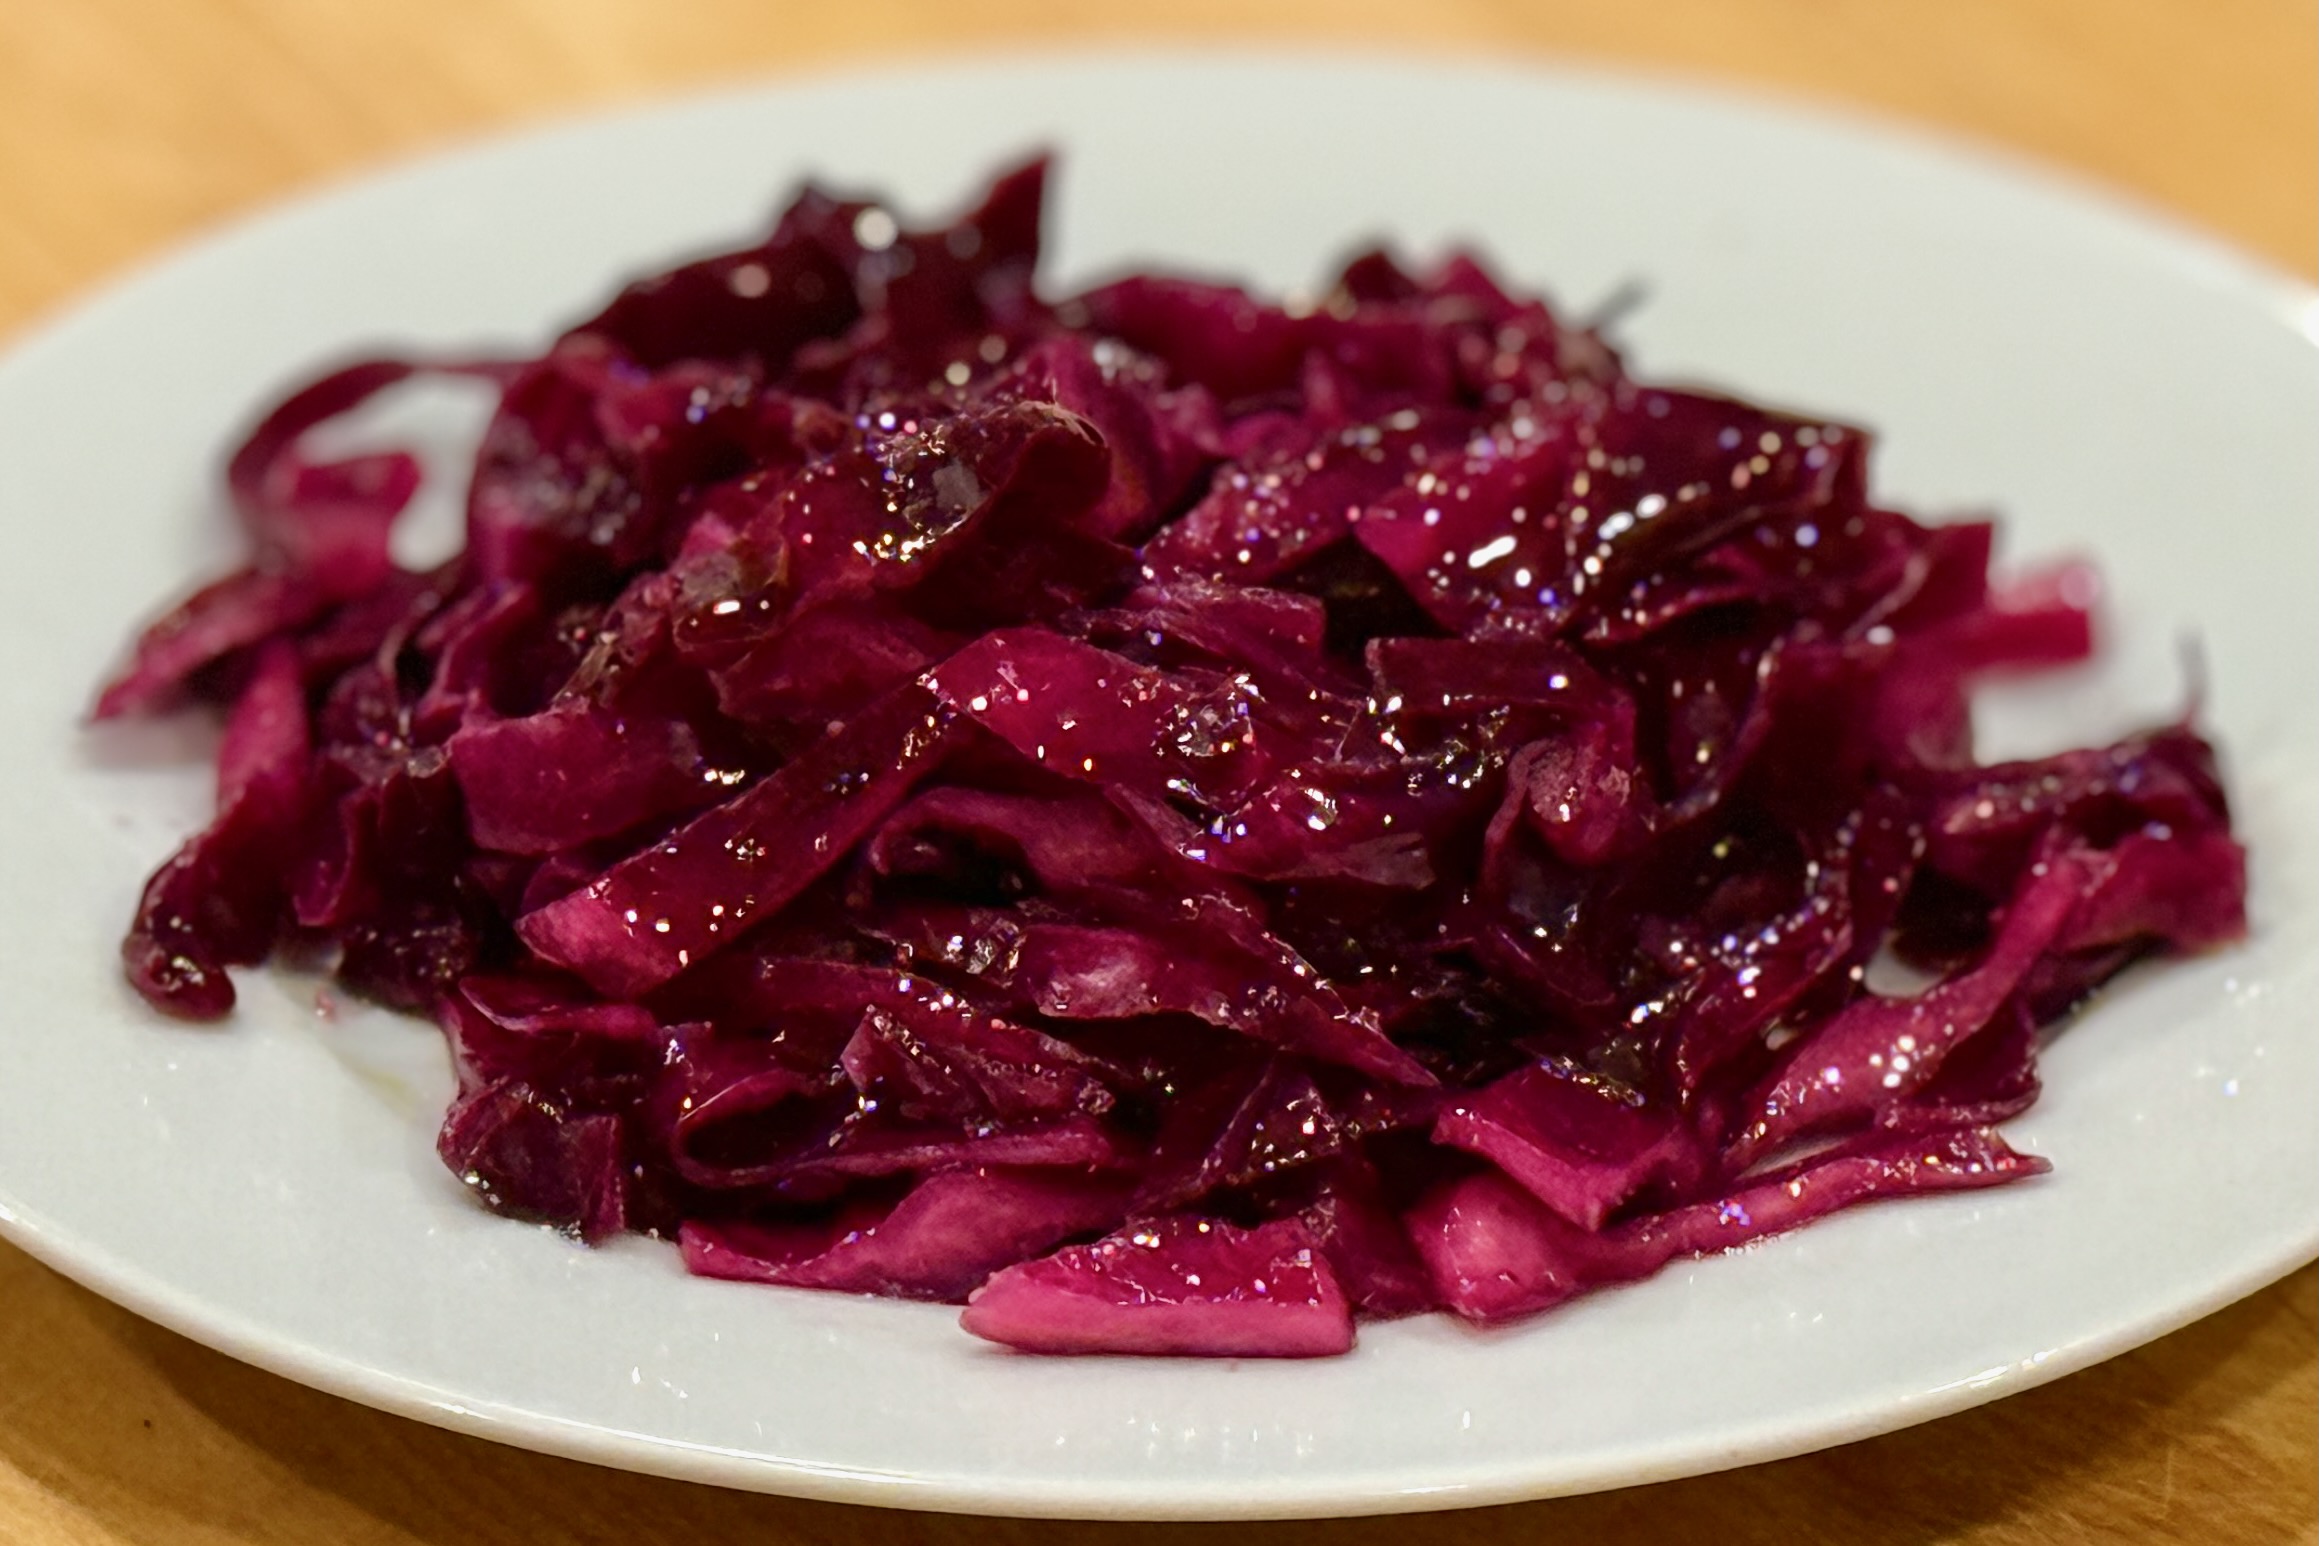
    Red Cabbage Salad

    This bright, sweet-tangy red cabbage salad is inspired by the legendary version served at North Woods Inn in Southern California. Its deep purple color, crunchy texture, and bold seasoning come from long marination and a perfectly balanced vinegar-sugar brine—just like the classic steakhouse favorite.


    Ingredients

    • 1 head red cabbage, shredded
    • ¾ cup seasoned rice vinegar
    • ½ cup sugar
    • 1½ tsp onion powder
    • 1 tsp Lawry’s seasoned salt
    • ½ tsp black pepper
    • ⅛ tsp garlic powder
    • ⅛ tsp celery seed (optional)
    • 1–1½ tsp table salt (for dry brine; not part of marinade)
    • ½ cup avocado oil (or canola or vegetable oil)

    Directions

    Dry Brine the Cabbage

    Toss the shredded cabbage with 1–1½ tsp table salt and let rest for 30–45 minutes. This softens the leaves slightly and helps them absorb the marinade more evenly.

    Rinse lightly under cold water, then drain thoroughly and pat or spin dry.

    Marinate

    In a large resealable container, combine the seasoned rice vinegar, sugar, onion powder, Lawry’s seasoned salt, black pepper, garlic powder, and celery seed (if using).

    Add the cabbage to the container, press out excess air, seal, and refrigerate for at least 8 hours and up to 4 days, turning occasionally to ensure even marination.

    The cabbage will deepen in color and develop the signature sweet-tangy North Woods flavor as it rests.

    Finish

    Add the avocado oil (or canola or vegetable oil) about 1 hour before serving and toss well to coat.


    Notes

    Preparation

    Dry brining is key for achieving the slightly softened yet crisp texture typical of the North Woods Inn salad. Don’t skip the rinse—it prevents the final salad from becoming too salty.

    For best flavor, allow at least 8 hours of marination, though the salad reaches peak texture and flavor on days 2–3.

    Optional celery seed adds a classic steakhouse-style background note but is not essential.

    Serving Suggestions

    Serve chilled alongside grilled or roasted meats, steakhouse entrées, or hearty sandwiches.

    Pairs especially well with rich dishes that benefit from sweet-tart contrast.

    Variations

    For a slightly lighter flavor, replace 2–3 tbsp of the seasoned rice vinegar with plain rice vinegar.

    For a richer mouthfeel, add the oil earlier (4–6 hours before serving), though the cabbage will soften more quickly.

    Make-Ahead & Storage

    This salad improves with time and can be prepared up to 4 days in advance.

    Once the oil is added, it is best enjoyed within 24 hours for peak texture.

    Store refrigerated in an airtight container.

  • Blueberry Cheesecake Ice Cream

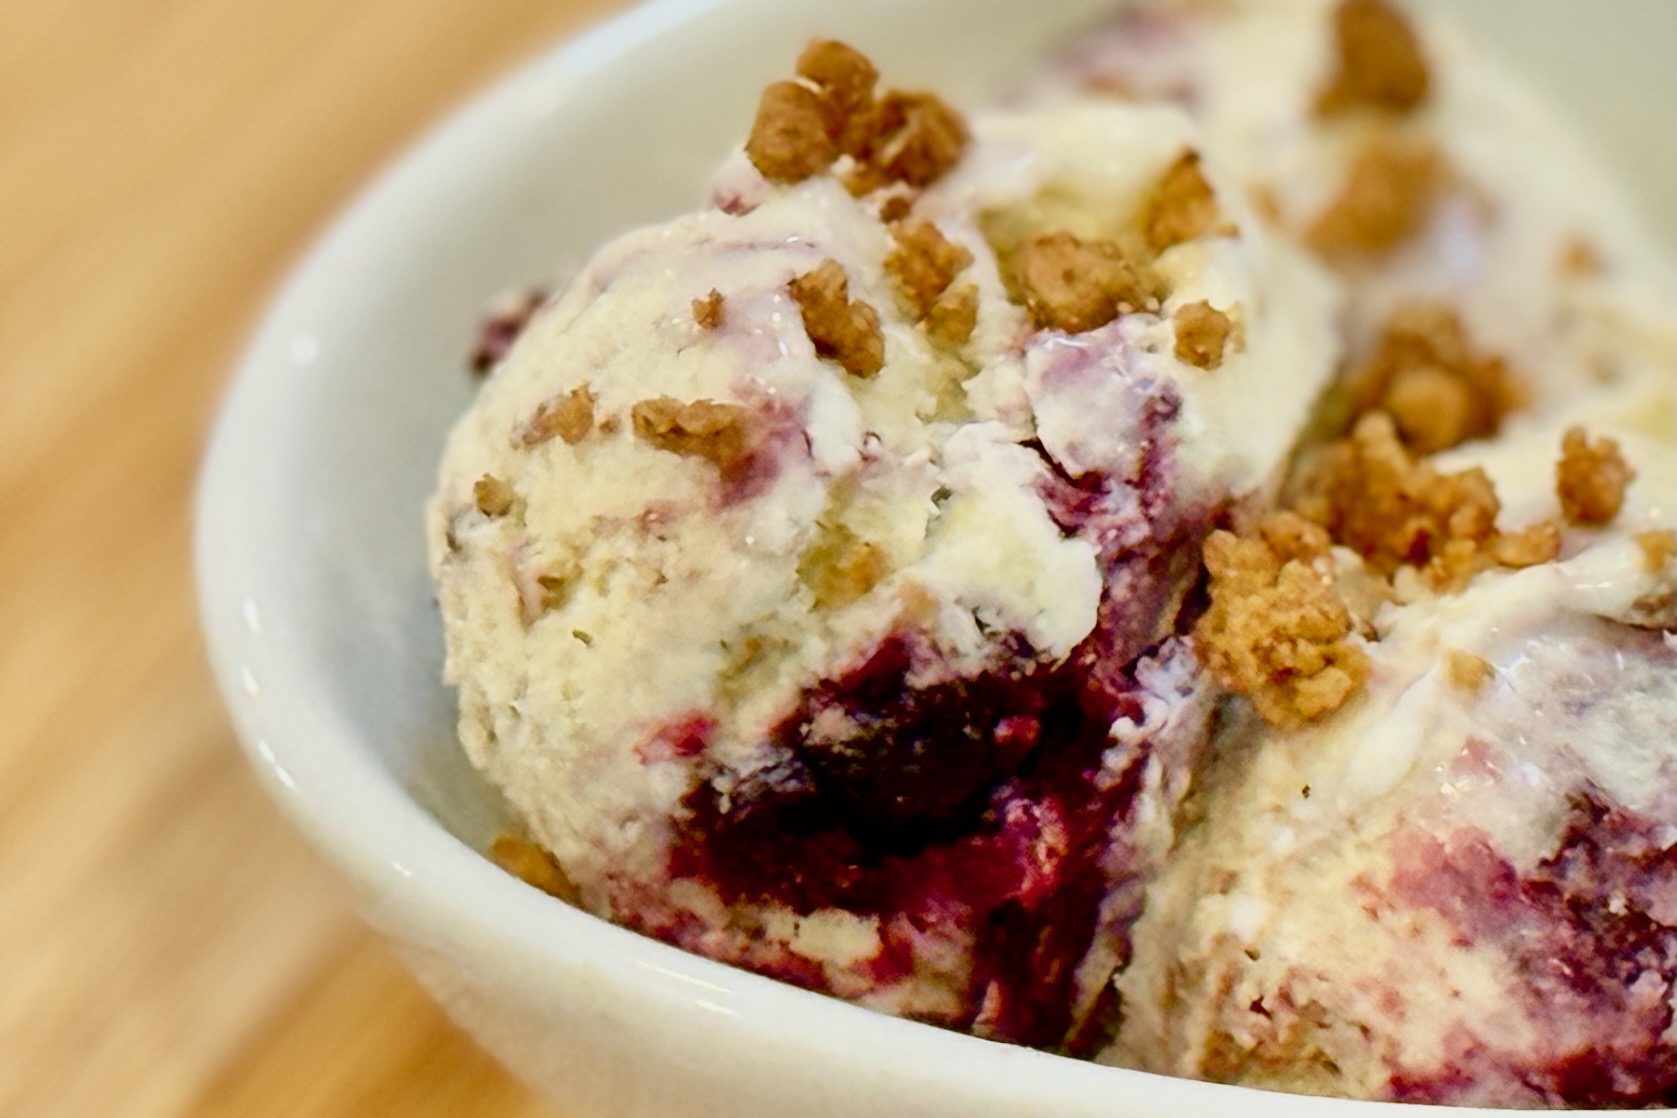
    Blueberry Cheesecake Ice Cream

    This Blueberry Cheesecake Ice Cream captures all the comfort and flavor of a classic cheesecake in frozen form—tangy, creamy, and just sweet enough. A silky cream cheese custard base provides authentic cheesecake flavor, balanced by a bright blueberry swirl and crunchy browned-butter graham crumble that evokes a perfectly toasted crust.


    Ingredients

    Blueberry Swirl

    • ¼ cup sugar
    • 1 tbsp cornstarch
    • ½ cup water
    • 1¼ cups blueberries (fresh or frozen)
    • 1 tbsp lemon juice
    • pinch table salt

    Browned Butter Graham Crumble

    • 2 cups graham cracker crumbs
    • 1 tbsp sugar
    • ½ tsp cinnamon
    • ½ cup (1 stick) unsalted butter
    • ½ tsp vanilla extract
    • pinch table salt

    Cheesecake Ice Cream Base

    • 6 oz cream cheese, softened
    • 1½ cups whole milk
    • 1½ cups heavy cream
    • ¾ cup sugar
    • 4 egg yolks
    • ½ tsp vanilla extract
    • 1 tsp lemon zest (optional)
    • pinch table salt

    Directions

    Prepare the Blueberry Swirl

    In a small saucepan, combine sugar, cornstarch, and salt. Gradually whisk in water until smooth, then stir in blueberries and lemon juice.

    Bring to a gentle boil and simmer for 5–6 minutes, stirring occasionally, until thickened and jam-like.

    Cool completely before using.

    Make the Browned Butter Graham Crumble

    In a small saucepan over medium heat, melt butter and cook, swirling occasionally, until it turns golden and smells nutty (about 4–5 minutes). Immediately remove from heat and stir in vanilla and a pinch of salt.

    In a large bowl, combine graham cracker crumbs, sugar, and cinnamon. Pour the browned butter mixture over the crumbs and stir until evenly coated.

    Spread on a parchment-lined baking sheet and bake at 350°F for 10–12 minutes, stirring once, until fragrant and lightly toasted. Cool completely, then crumble into small clusters.

    For best texture, spread the cooled crumble on a parchment-lined baking sheet and freeze for 20–30 minutes before mixing into the ice cream.

    Prepare the Cheesecake Ice Cream Base

    In a saucepan, warm milk and cream over medium heat until steaming.

    In a separate bowl, whisk yolks and sugar until pale and thick. Slowly temper with ½ cup of the warm milk mixture, whisking constantly, then return everything to the saucepan.

    Cook gently over low heat, stirring constantly, until the custard coats the back of a spoon (170–175°F / 77–80°C).

    Remove from heat and whisk in cream cheese, vanilla, lemon zest, and salt until smooth. Strain through a fine mesh sieve if needed for texture.

    Chill thoroughly, preferably overnight.

    Churn & Assemble

    Churn the chilled custard in an ice cream maker according to the manufacturer’s instructions. When nearly finished, fold in the frozen graham crumble.

    In a freezer-safe container, layer the churned ice cream with alternating spoonfuls of blueberry swirl and additional crumble.

    Swirl gently with a butter knife (do not overmix). Freeze until firm.


    Notes

    Preparation

    • Freeze the graham crumble before folding it into the ice cream to help preserve crunch and prevent softening.
    • Chilling the blueberry swirl thoroughly helps prevent it from bleeding into the custard during layering.
    • For an extra-cheesecake tang, replace ¼ cup of the milk with buttermilk (stir it in after cooking the custard).
    • Browning the butter is essential for a warm, nutty aroma that mimics a true cheesecake crust.

    Serving Suggestions

    • Serve with fresh blueberries, strawberries, or raspberries.
    • Add a drizzle of warm blueberry sauce for a sundae-style presentation.
    • Top with extra graham crumble for added texture.

    Variations

    • Swap the blueberries for raspberries, strawberries, or blackberries using the same proportions.
    • Add a **lemon cheesecake** twist by doubling the lemon zest and adding 1 tsp lemon juice to the custard after cooking.
    • For a swirl-forward ice cream, increase the blueberry mixture to 1½× the recipe.

    Make-Ahead & Storage

    • Refrigerate the custard base for up to 2 days before churning.
    • Store the blueberry swirl for up to 1 week in the refrigerator.
    • Keep graham crumble at room temperature for 3 days, or freeze for longer storage.
    • Store churned ice cream in an airtight container for up to 1 week for best texture.
  • Chiles Rellenos

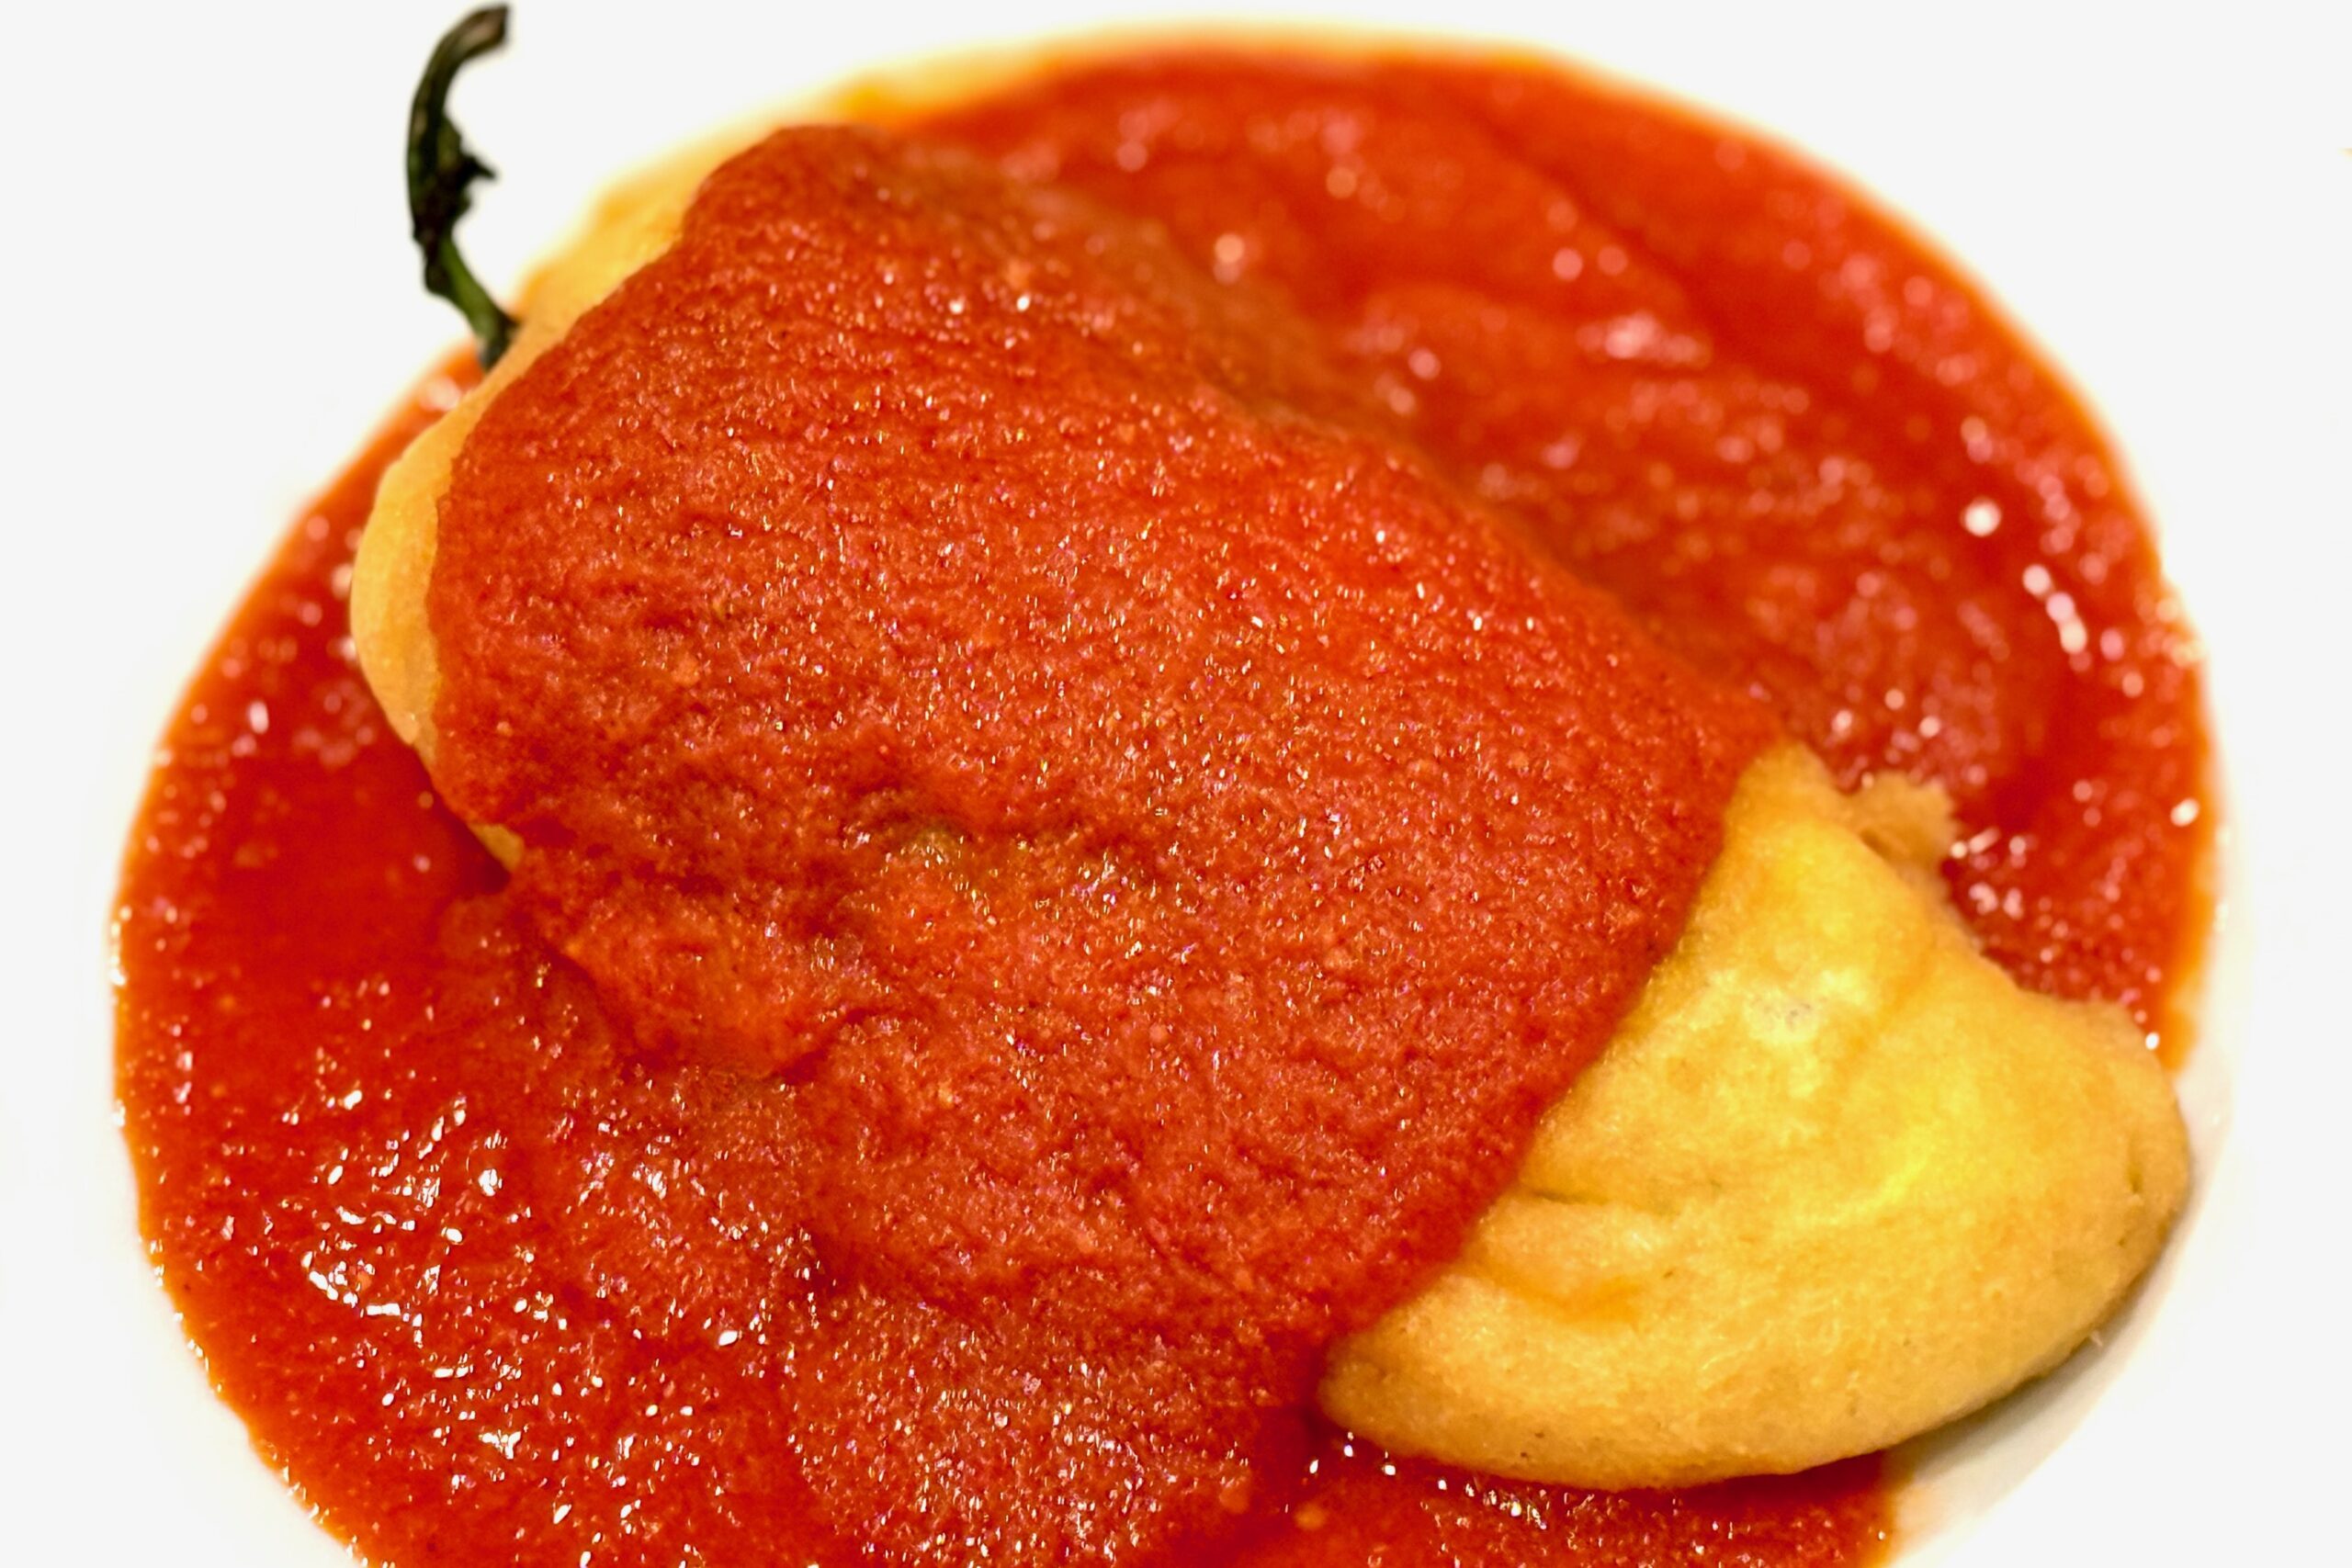
    Chiles Rellenos

    Chiles Rellenos are a Huggins Family Favorite! This recipe combines classic techniques with a modern twist, birria. Meat filled rellenos are commonly stuffed with a pork or beef picadillo; or even shrimp, chicken, or chorizo. The key to this recipe getting the batter consistency right (see note #3 below). Learning that little secret made all the difference in the world!


    Ingredients

      Chiles

    • 6 large poblano chiles
    • 12 oz Monterey Jack, mozzarella, Oaxaca, or queso fresco, cut into sticks
    • 12 oz Birria de Rez, prepared and shredded (optional)
    • Skewers or toothpicks (optional, for sealing)
    • Batter

    • 6 eggs (1 per chile), yolks and whites separated
    • ¼ tsp cream of tartar
    • 3 tbsp flour (½ tbsp per chile)
    • Pinch of table salt
    • Sauce

    • ½ medium onion, chopped
    • 2–3 cloves garlic
    • 5 ripe Roma tomatoes
    • ½ tsp Mexican oregano
    • 1 tbsp tomato bouillon with chicken
    • 3 tbsp avocado oil
    • 1–2 tbsp tomato paste
    • Salt & pepper, to taste

    Directions

    Prepare the Chiles

    Over an open flame, char the chiles until blackened on all sides. Place in a sealed bag and allow to steam for 15 minutes.

    Use your fingers or a butter knife to gently scrape off the skin, taking care not to tear the flesh. Avoid rinsing the chiles under water, as this can cause splitting.

    Make a vertical slit toward the top of each chile to remove the seeds but leave the veins intact to help the chile hold its shape.

    Stuff with cheese or a mixture of cheese and Birria de Rez. If needed, secure the opening with toothpicks.

    Dust each stuffed chile lightly with flour to help the batter adhere.

    Make the Batter & Fry

    Heat oil to 350°F.

    Beat egg whites with cream of tartar until they reach a stage between soft and stiff peaks—thick, with structure, but the peaks should droop slightly when lifted.

    In a separate bowl, mix together yolks, flour, and salt. Gently fold this mixture into the beaten whites until just combined.

    Hold each chile by the stem and dip into the batter, coating completely.

    Fry in the hot oil, spooning oil over the top to set the batter. Turn and cook until golden on both sides, about 2–3 minutes per side. Drain on paper towels.

    Make the Sauce

    Sauté the onions and garlic in a skillet until softened. Roast the tomatoes under a broiler or in a hot skillet until lightly charred; add to a blender.

    Add oregano and bouillon to the blender and process until smooth.

    Heat the oil in a deep skillet until shimmering, then pour in the blended tomato mixture and bring to a boil.

    Reduce heat to medium-low and simmer for 10–15 minutes, or until the sauce reduces by half and thickens.

    Whisk in the tomato paste and return to a gentle simmer for 1–2 minutes to bloom the paste and deepen the flavor.

    Adjust seasoning with salt and pepper. If needed, thin with a splash of chicken broth or water. Keep warm.

    Plate

    Spread a pool of warm sauce onto a plate. Place the chile relleno on top and spoon additional sauce over it.

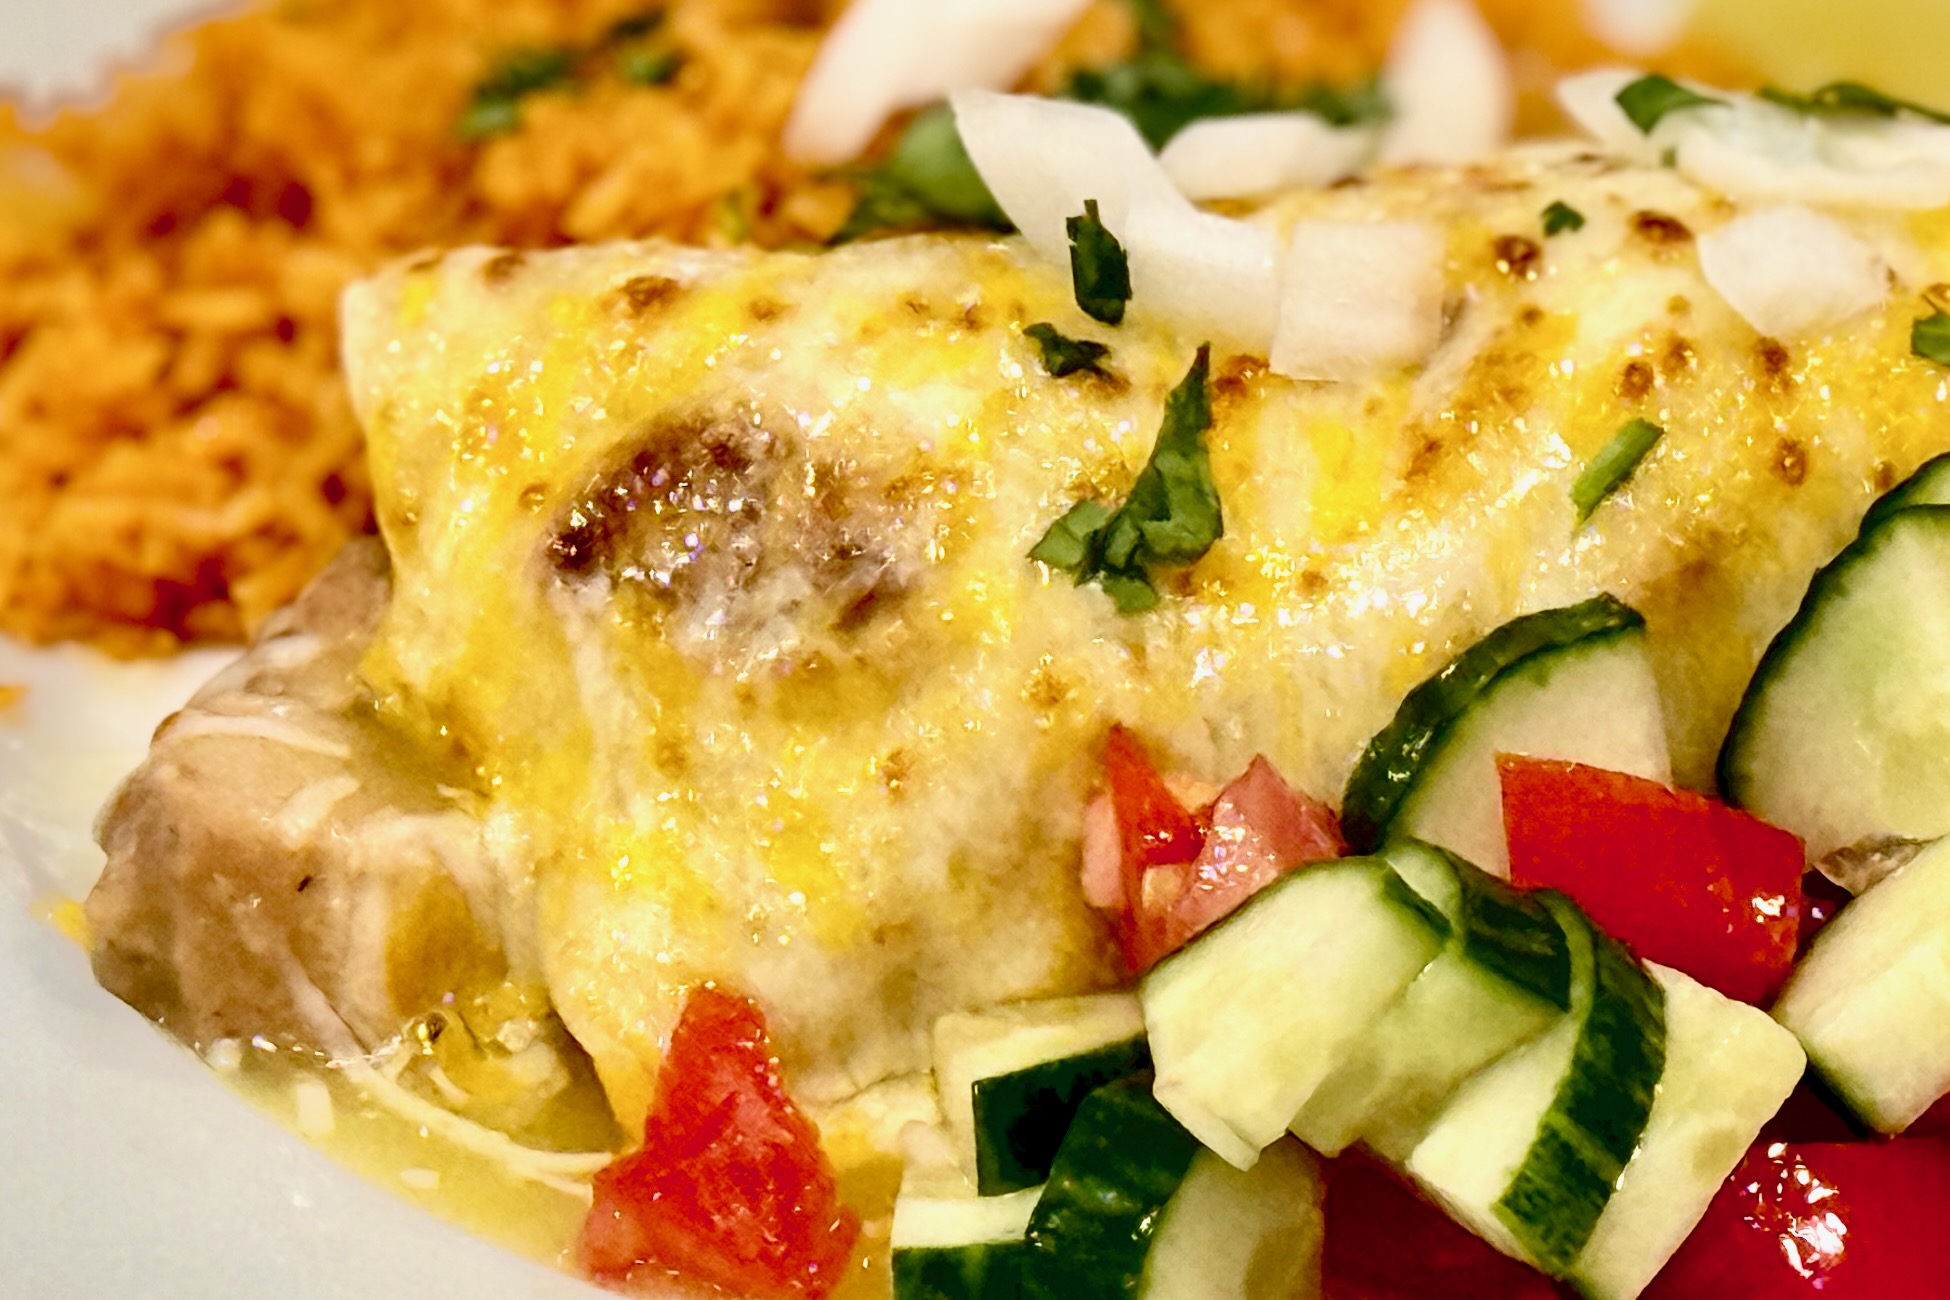
    Optional garnishes: crema, olive oil drizzle, chopped cilantro, crumbled cotija, or a lime wedge. Serve with Mexican Rice, Refried Beans, and warm Flour Tortillas; or remove the stem and wrap in a burrito with beans, diced onion, tomato, cilantro, a little sauce, and Salsa Verde.


    Notes

    Preparation

    • Choose large, flat poblano chiles for easier roasting and stuffing. Anaheim, Hatch, pasilla, or canned whole green chiles also work.
    • You may substitute two 14.5-oz cans of fire-roasted tomatoes for the fresh Roma tomatoes.
    • Batter consistency is critical. The whites should be thick with soft-drooping peaks. Optionally, add ½ tsp baking powder per ½ cup flour for extra lift.

    Serving Suggestions

    • Serve over a generous layer of tomato sauce for the most traditional presentation.
    • Top with crema, cilantro, cotija, or a squeeze of lime.
    • Pair with rice, beans, and warm tortillas.
    • For a burrito-style relleno, remove the stem and wrap with refried beans, sauce, onion, tomato, and cilantro.

    Variations

    • Cheese-only rellenos for a traditional vegetarian version.
    • Birria- or picadillo-filled rellenos for a heartier option.
    • Shrimp or chicken fillings for a coastal Mexican variation.

    Make-Ahead & Storage

    • Chiles can be roasted and peeled up to 2 days ahead.
    • Sauce keeps well refrigerated for 3–4 days and freezes for up to 2 months.
    • Fried rellenos reheat well in a 350ºF oven for 10–12 minutes.
  • German Chocolate Cake — Bakery Structure with Box Convenience

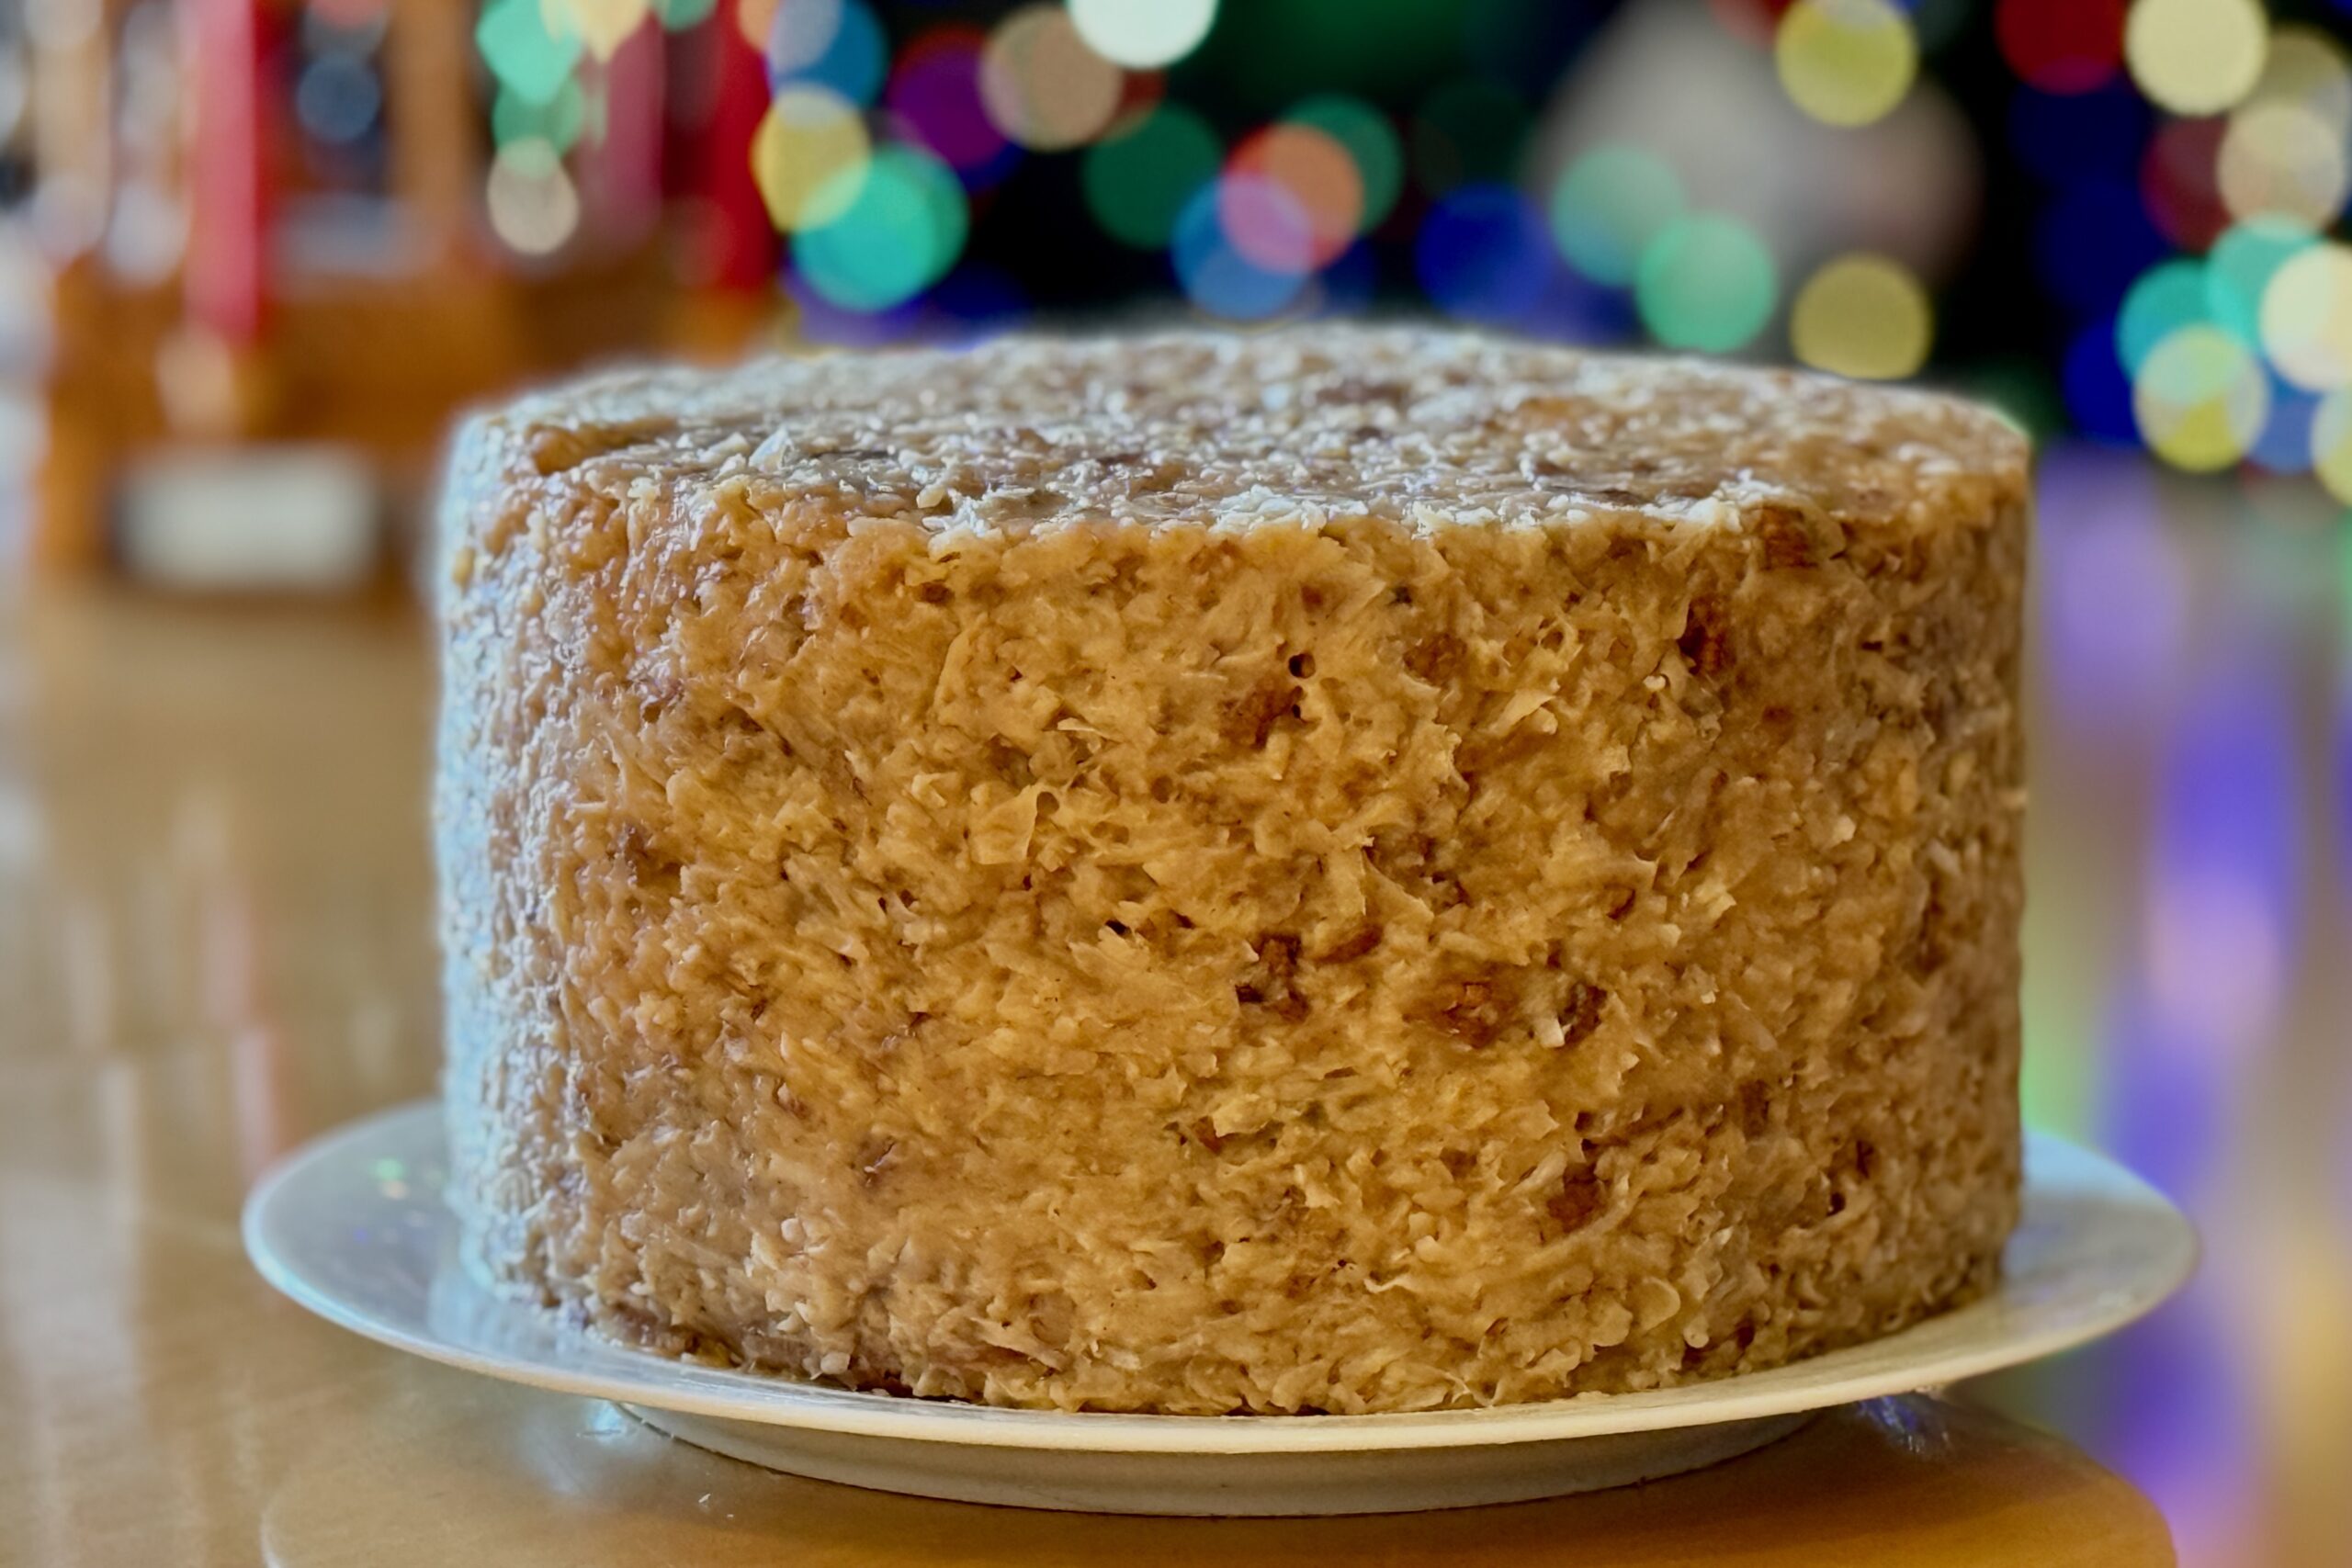
    German Chocolate Cake — Bakery Structure with Box Convenience

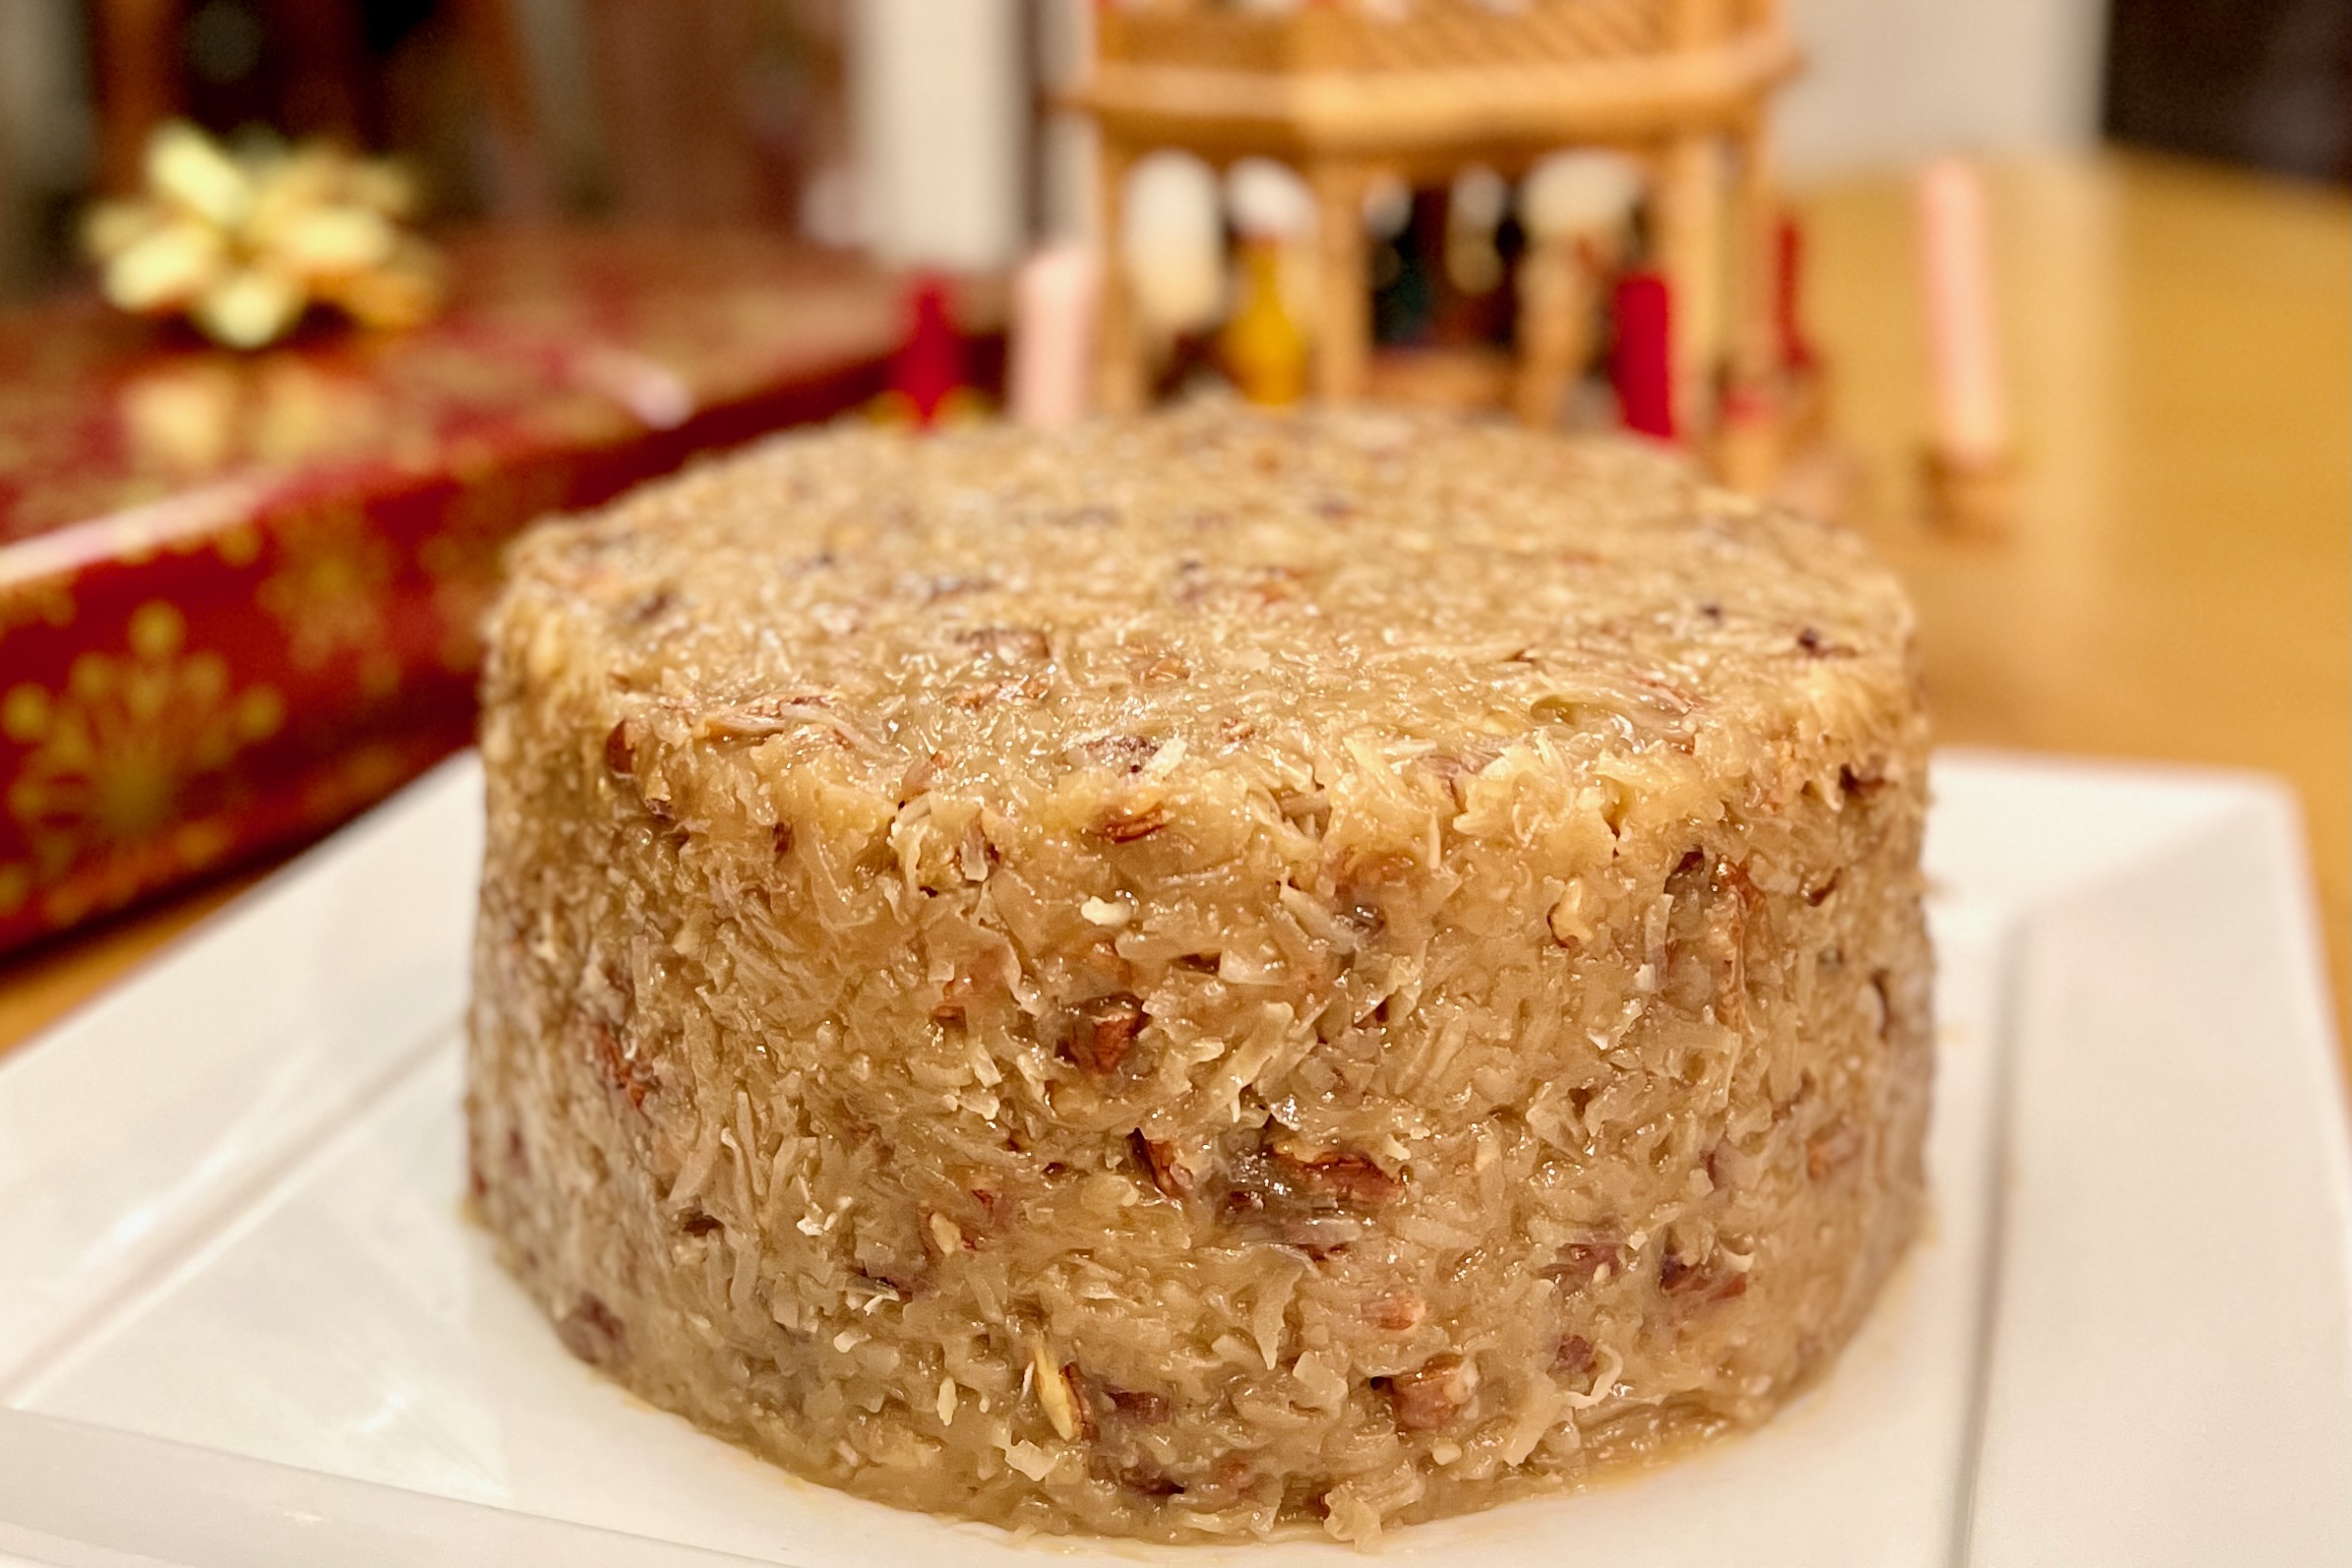
    Every year on my wife’s birthday, there’s only one request — German chocolate cake. It’s become one of our family traditions, the kind of ritual you never change because it carries as much sentiment as flavor. But over time I also realized that while boxed mixes make the process easy, they often fall short of the tall layers, defined slices, and deep chocolate-and-coconut flavor we’ve come to expect. So this version became the answer: a handful of smart upgrades that turn a simple mix into something closer scratch-made, with richer flavor, a sturdier crumb, and bakery-worthy presentation. The layers bake up taller and slice beautifully, the frosting wraps the cake without slipping, and the whole thing feels celebratory without adding hours of prep. It’s the shortcut I make every year for my wife, and the version that finally gives us the flavor we love with the structure a three-layer cake needs.


    Ingredients

    Cake Layers

    • 1 boxed German chocolate cake mix (prefer one that calls for milk; if not, substitute whole milk for the water)
    • 1 cup (240 ml) whole milk (use 2–3 tbsp less than the package amount if milk is listed)
    • 1 cup (225 g) melted butter plus 2 tbsp (28 g) extra
    • 4–5 large eggs (two more than the box calls for; 4 for softer crumb, 5 for maximum stability)
    • ½ cup (60 g) all-purpose flour
    • 1 tbsp (8 g) cornstarch
    • ½ tsp baking powder
    • 1 tbsp Dutch-process cocoa powder
    • ½ tsp instant espresso powder (enhances chocolate depth without adding coffee flavor)
    • 1 tsp powdered gelatin, bloomed in 1 tbsp warm water
    • 2 tbsp (30 g) sour cream or Greek yogurt

    Coconut–Pecan Frosting

    • 8 egg yolks
    • 2 cans (each 12 oz / 354 ml) evaporated milk
    • 3 cups (600 g) sugar
    • 1½ cups (340 g / 3 sticks) butter
    • 5⅓ cups (about 400 g) unsweetened shredded coconut (sweetened coconut also works with no measurement changes; frosting will simply be sweeter)
    • 3 cups (300 g) chopped pecans
    • 2 tbsp finely ground pecans
    • ½ tsp table salt
    • 1 tbsp (15 ml) vanilla extract

    Directions

    Prepare the Cake Layers

    Bloom the gelatin by sprinkling it over 1 tbsp warm water in a small bowl. Let stand 5 minutes to fully hydrate. If the gelatin has set very firmly, gently warm it in the microwave for a few seconds until fluid before adding to the batter.

    Preheat the oven to 320°F (160°C). Grease three 8-inch round cake pans lightly and dust with flour, then line the bottoms with parchment rounds for best release and to help prevent overbrowning on the base.

    In a medium bowl, whisk together the cake mix, all-purpose flour, cornstarch, baking powder, Dutch-process cocoa powder, and instant espresso powder until evenly combined.

    In a separate large bowl, whisk together the melted butter, eggs, milk, bloomed (and fluid) gelatin, and sour cream or Greek yogurt until smooth.

    Add the dry ingredients to the wet ingredients and mix just until incorporated. Avoid overbeating to keep the crumb tender.

    Divide the batter evenly among the three prepared pans, smoothing the tops.

    Bake for about 24–30 minutes, or until the tops spring back lightly when touched, a toothpick inserted in the center comes out with moist crumbs (not wet batter), and the internal temperature in the center of each layer registers around 195°F (90°C) for the best balance of structure and moisture.

    Cool the cakes in the pans for 10 minutes, then turn out onto wire racks to cool completely. For the cleanest slices, wrap and chill the cooled layers before assembly.

    Make the Frosting

    In a large saucepan, whisk together the egg yolks and evaporated milk until smooth and well combined.

    Add the sugar and butter to the pan.

    Cook over medium heat, stirring constantly, until the mixture reaches a gentle simmer. Once simmering, continue to cook for about 12 minutes, stirring frequently to prevent scorching and to develop a thicker, more stable frosting.

    Remove the pan from the heat and stir in the salt first, making sure it dissolves fully in the warm mixture.

    Add the vanilla extract and stir until fully incorporated.

    Stir in the chopped pecans, finely ground pecans, and shredded coconut until evenly distributed.

    Allow the frosting to cool completely; it will thicken significantly as it cools and will be much easier to spread on the cake.

    Assemble the Cake

    If needed, level the chilled cake layers using a serrated knife so they stack evenly.

    Place the first layer on a serving plate. Spread a very thin “seal coat” of frosting over the top to trap crumbs, then chill briefly. Follow with a more generous layer of frosting for the filling.

    Repeat with the second layer: add the layer, apply a thin seal coat, chill briefly, then spread on a full layer of frosting.

    Place the third layer on top and apply a thin coat of frosting over the top and sides to lock in crumbs. Chill briefly again, then finish with a final, even layer of frosting over the top and sides. The extended cook time and finely ground pecans help the frosting cling well to the sides.

    Chill the assembled cake for at least 2 hours (or overnight) before slicing for the cleanest, bakery-style cuts.


    Notes

    Preparation

    • Choose a German chocolate cake mix that calls for milk when possible. If your mix uses water, substitute whole milk and reduce the amount slightly (about 2–3 tbsp less than the listed water volume).
    • The added Dutch-process cocoa and espresso powder deepen the chocolate flavor without making the cake taste like coffee, helping the chocolate stand up to the rich coconut–pecan frosting.
    • Using 4 eggs will give a slightly softer crumb, while using 5 eggs increases structure and height, which is ideal for very clean slices and tall layers.
    • Fully blooming the gelatin and incorporating it with the wet ingredients strengthens the slice without making the cake dense or rubbery. If the gelatin sets too firmly, gently warm it until fluid before whisking it into the wet mixture.
    • This cake was tested at a higher altitude using dark metal pans and a baking temperature of 320°F (160°C), with doneness judged by the spring of the cake, a clean toothpick with moist crumbs, and an internal temperature around 195°F (90°C) in the center of each layer.
    • Frosting distribution: For evenly layered, bakery-style assembly, divide the frosting into four equal portions. Use about 25% between the first and second layers, 25% between the second and third layers, 25% on top of the cake, and the remaining 25% for the sides.

    Serving Suggestions

    • For the cleanest, restaurant-style slices, cut the cake while it is well chilled using a thin, sharp knife dipped in hot water and wiped dry between cuts.
    • Let individual slices rest at room temperature for 10–15 minutes before serving so the crumb and frosting soften slightly and the flavors bloom.
    • This cake pairs nicely with lightly sweetened vanilla or coconut ice cream, or with a dollop of softly whipped cream to balance the richness.

    Make-Ahead & Storage

    • Cake layers can be baked, cooled, wrapped tightly, and refrigerated for up to 2 days or frozen for up to 1 month before assembly.
    • The coconut–pecan frosting can be made up to 2–3 days in advance and stored in an airtight container in the refrigerator. Bring it to a cool room temperature and stir until spreadable before using.
    • The fully assembled cake should be stored covered in the refrigerator and is best enjoyed within 3–4 days.
    • Extra frosting can be refrigerated for up to 1 week or frozen for longer storage; it works well as a topping for brownies, cupcakes, or ice cream.

  • Buckeyes

    Buckeyes

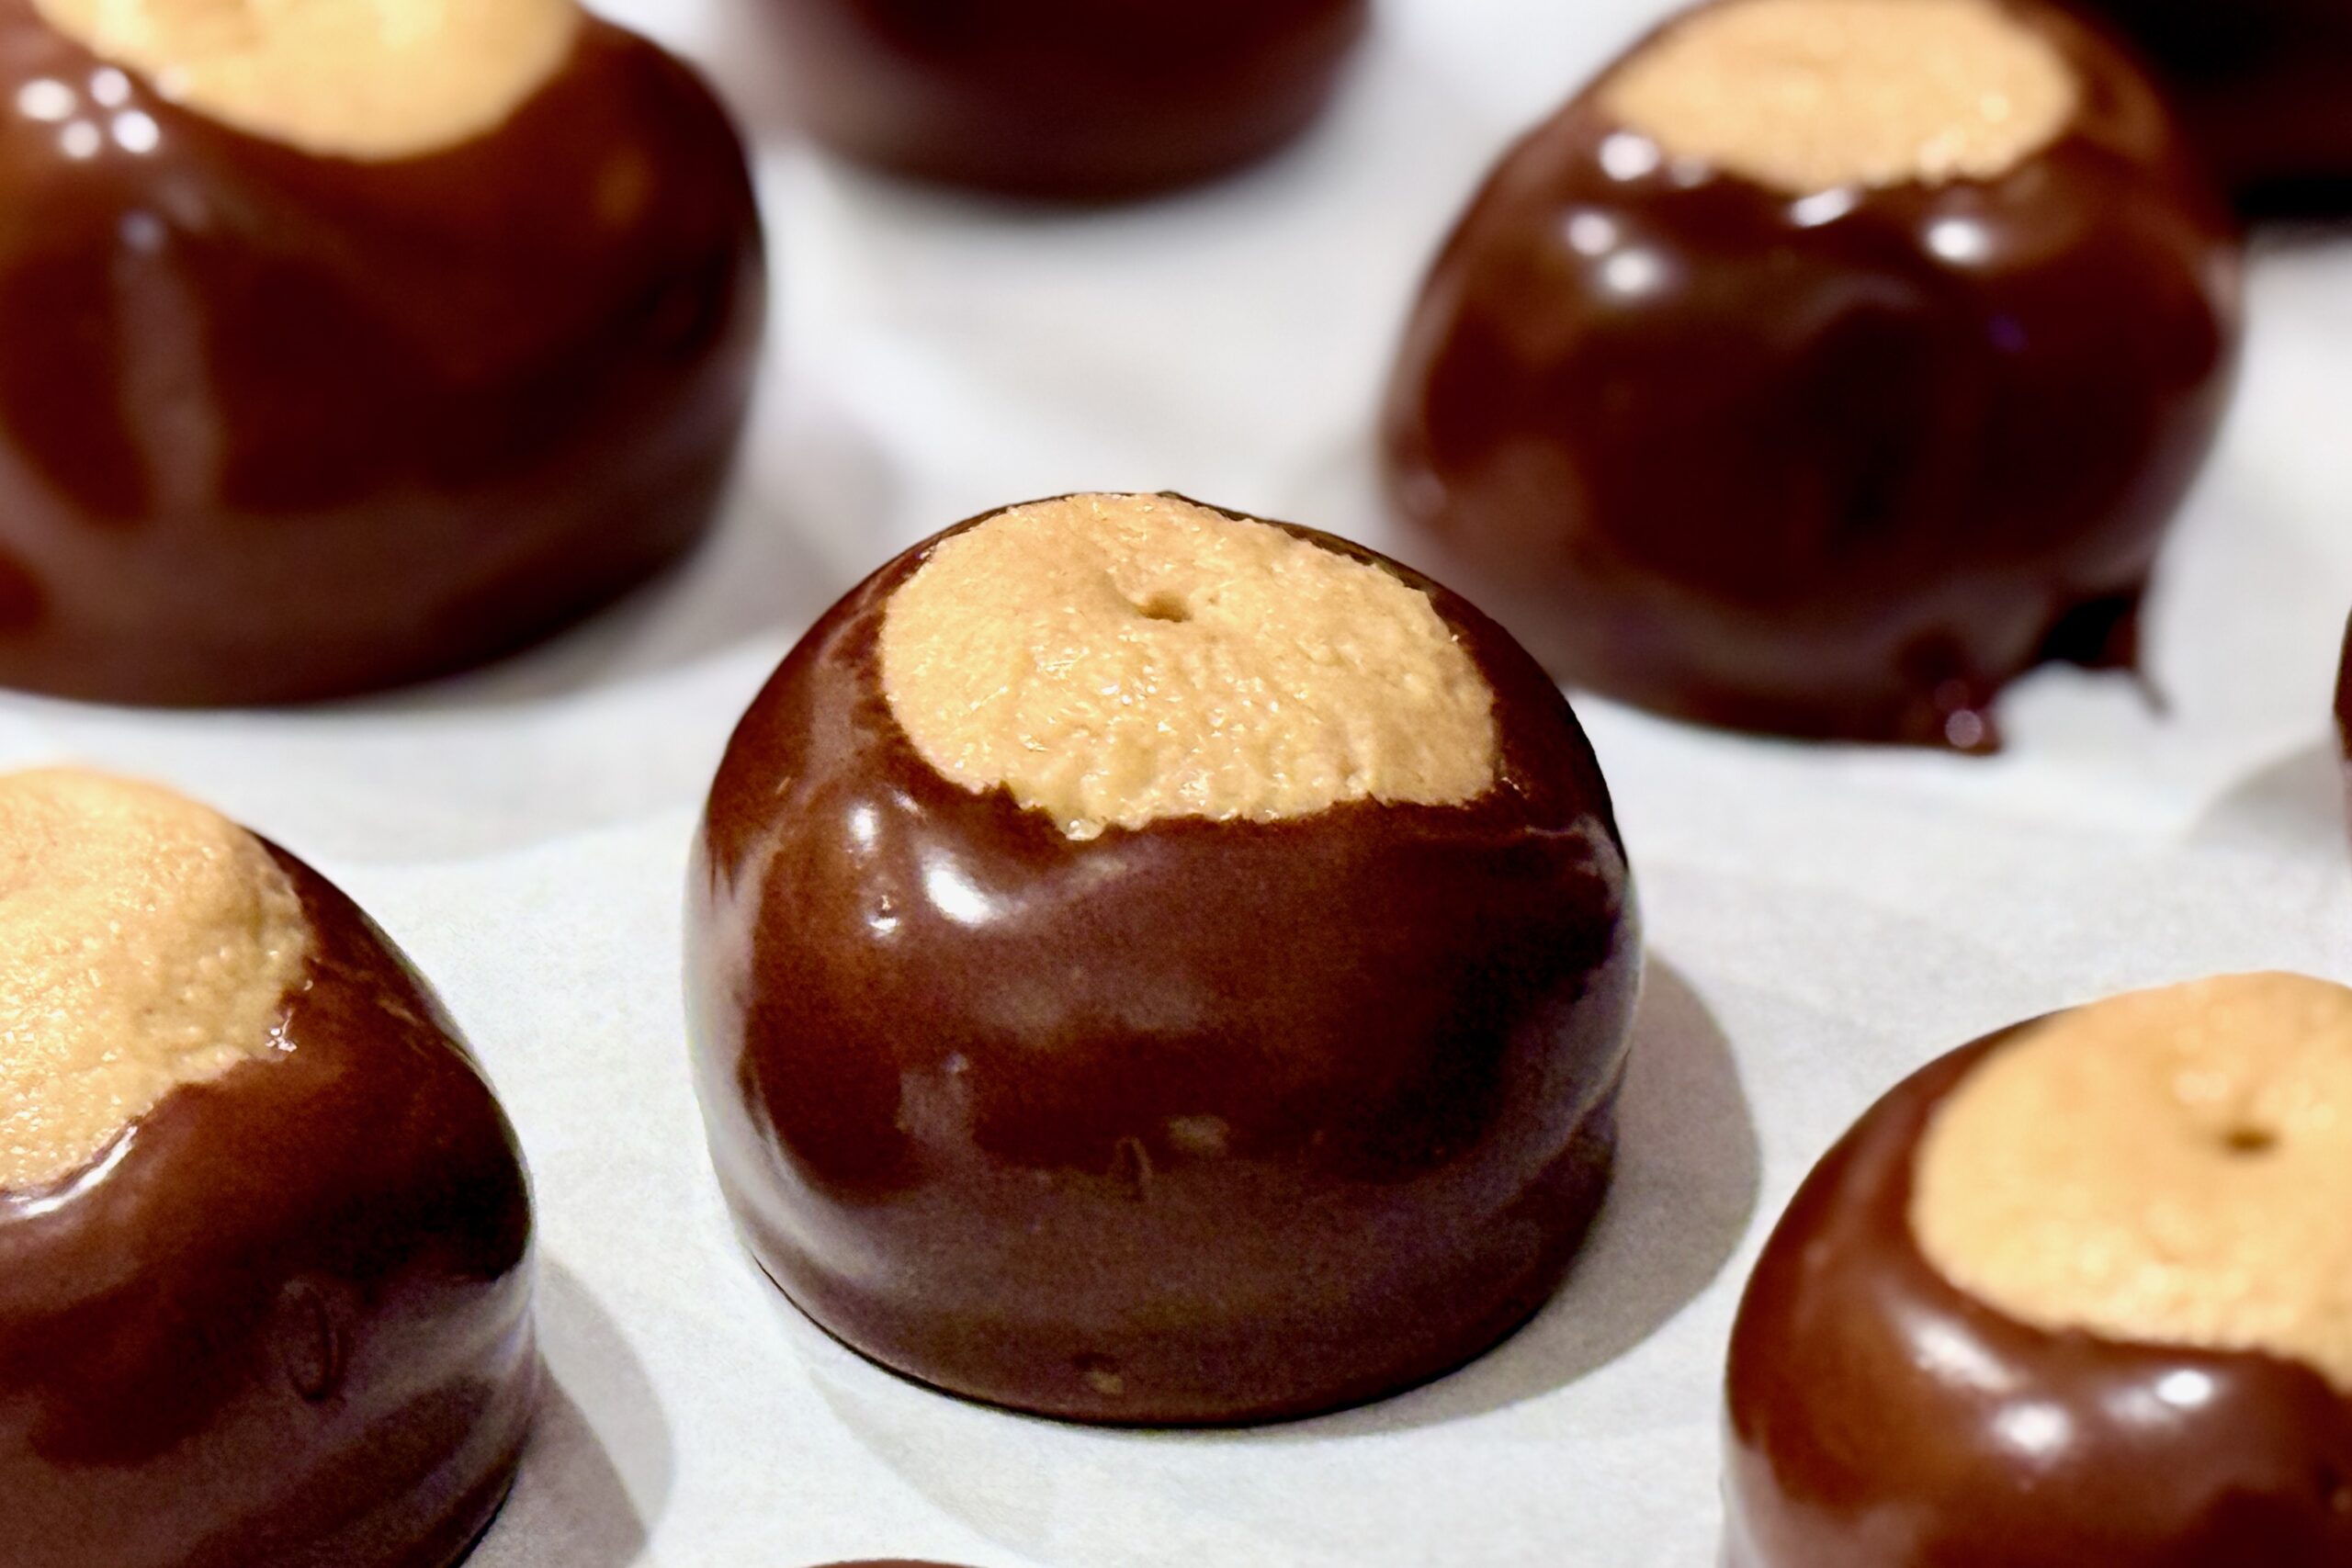
    These classic peanut-butter-and-chocolate Buckeyes are rich, creamy, and nostalgic—perfect for holidays, family gatherings, or anytime you want an easy, crowd-pleasing treat with minimal fuss.


    Ingredients

    • 1 cup creamy peanut butter
    • ½ cup butter, softened
    • ½ tsp vanilla
    • ¼ tsp table salt
    • 2½ cups confectioners sugar
    • 12 oz (340g) semisweet chocolate chips
    • 1 tsp vegetable shortening

    Directions

    Make the Peanut Butter Centers

    In the bowl of a stand mixer, combine peanut butter, butter, vanilla, and salt. Mix on medium speed until just combined.

    Reduce speed to low and slowly mix in confectioners sugar in installments until a soft dough forms.

    Refrigerate to firm slightly (15–20 minutes).

    Shape

    Line a baking sheet with parchment paper. Scoop the dough into 1 tbsp portions and roll into smooth balls.

    Insert a toothpick into the top of each ball and freeze until solid (about 1 hour).

    Melt the Chocolate

    Place chocolate chips and shortening into a microwave-safe bowl. Microwave in 30-second increments, stirring between each, until mostly melted (2–3 minutes). Stir until completely smooth.

    Dip & Finish

    Dip each peanut butter ball into the chocolate, coating about ⅔ of the way up. Return to the parchment.

    Refrigerate until the chocolate is set and the centers are no longer frozen.

    Remove toothpicks. Optionally smooth over the tops to cover the hole. Serve chilled or at room temperature.


    Notes

    Preparation

    • For the smoothest texture, be sure the butter is fully softened before mixing.
    • Creamy commercial peanut butter (like Jif or Skippy) gives the most consistent results.
    • If the dough seems too soft to roll, chill longer or add up to ¼ cup additional confectioners sugar.

    Serving Suggestions

    • Serve as a holiday treat, on dessert trays, or as sweet bites for parties.
    • They pair beautifully with hot cocoa, coffee, or cold milk.

    Variations

    • Dip fully in chocolate for “chocolate-covered peanut butter balls.”
    • Use dark chocolate or milk chocolate instead of semisweet.
    • Add ¼ tsp almond extract to the peanut butter mixture for a subtle twist.
    • Top with flaky sea salt before the chocolate sets for a sweet-salty finish.

    Make-Ahead & Storage

    These candies store exceptionally well and are perfect for preparing ahead of time.

    • Refrigerator: Store in an airtight container for 2 weeks.
    • Freezer: Freeze for up to 3 months; thaw in the fridge before serving.
    • Do not store at warm room temperatures—chocolate may soften or bloom.
  • Salsa Verde

    Salsa Verde

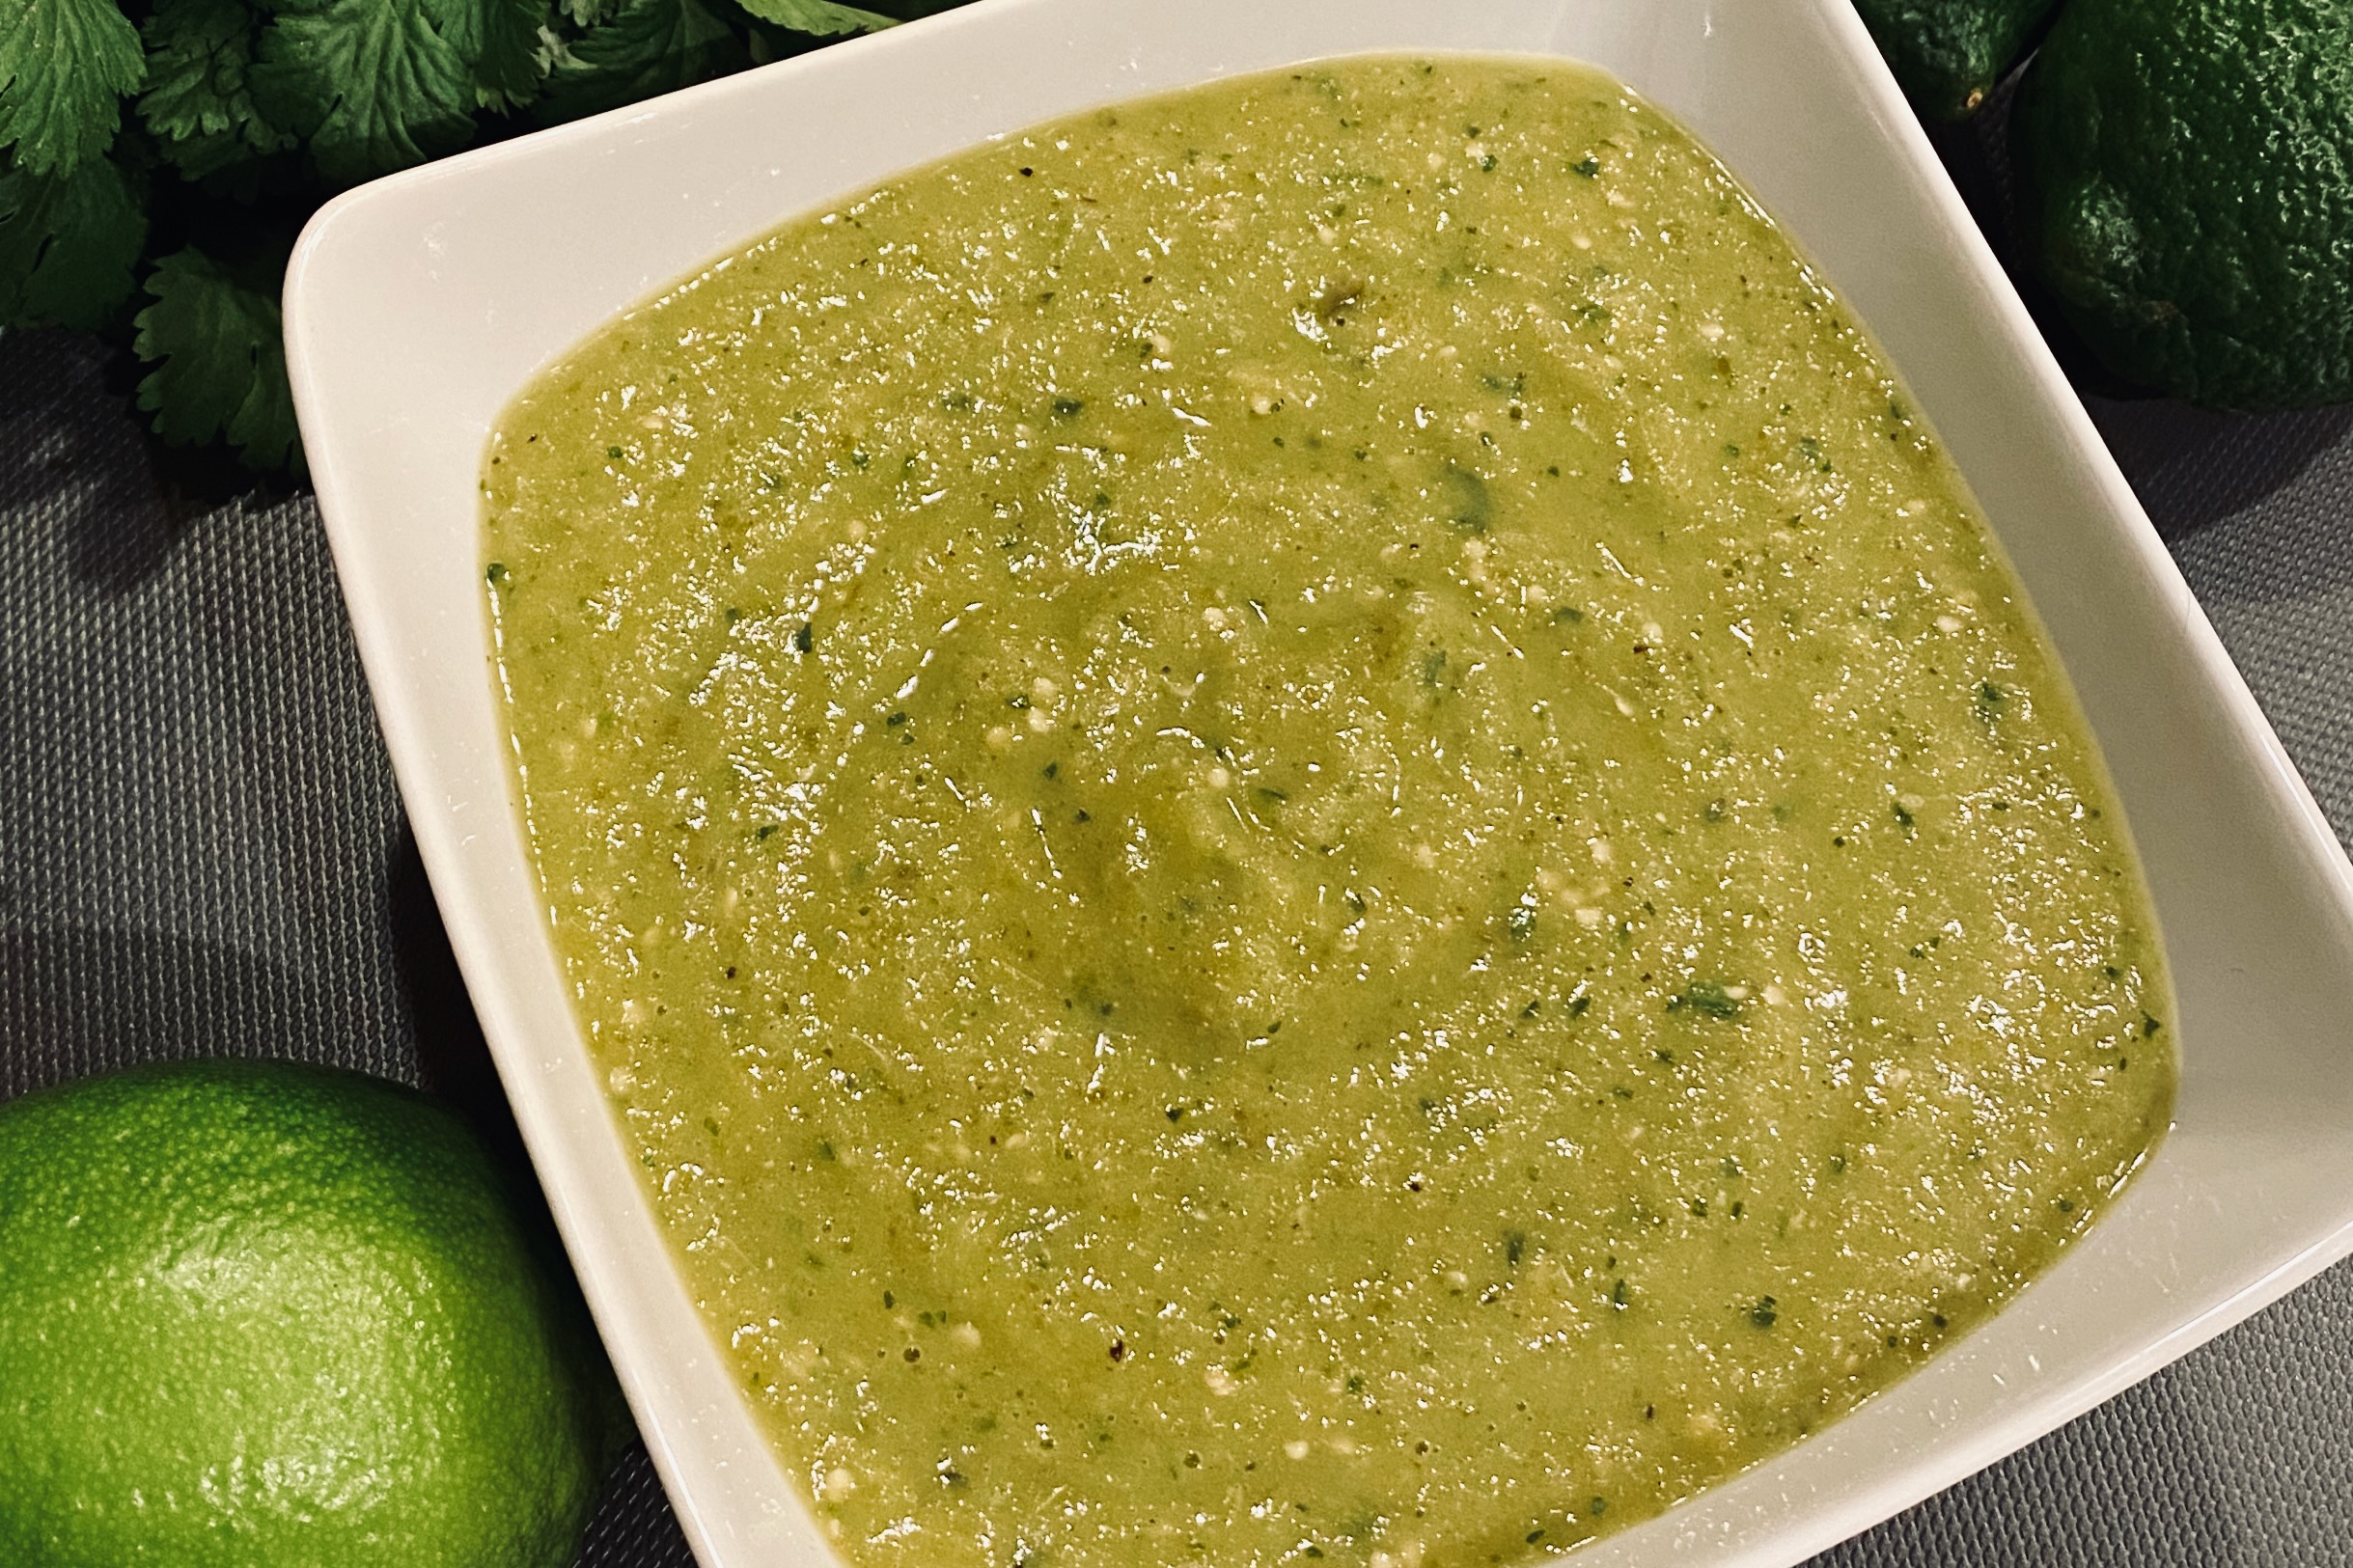
    Taquitos are high on the list of Huggins Family most loved foods. And, our favorites come from the little stand on Olvera Street in downtown Los Angeles, Cielito Lindo, where taquitos were invented in the mid 1930s. Every trip home to Southern California includes a trek downtown for Combination #1: 3 Taquitos, Beans and Cheese. The taquitos are smothered in “guacamole”. Cielito Lindo’s version of guacamole is a delicious green salsa that you can’t help but dream about. This recipe is the closest I’ve come to replicating its flavor.


    Ingredients

    • 1 can (28 oz) tomatillos, drained
    • 1 bottle (40 oz) roasted green chiles, mild
    • ½ onion, sliced
    • 4–5 whole garlic cloves
    • 1 bunch cilantro (stems and leaves)
    • 1–2 avocados (optional)
    • 1–2 tbsp avocado oil
    • 1½ tsp table salt, plus more to taste

    Directions

    Broil the Aromatics

    Separate the onion into segments and tuck the whole garlic cloves underneath them. Broil until the onion edges are charred and nearly black on some spots, and the garlic is softened and lightly browned.

    Blend

    Add the broiled onion and garlic to a blender along with the drained tomatillos, roasted green chiles (drain whole green chiles), cilantro, avocado oil, and optional avocado. Blend until completely smooth.

    Adjust Seasoning

    Add 1½ tsp salt, then taste and adjust as needed. Depending on your green chiles, you may need a bit more—most batches end up around 2 tsp total.

    Chill and Serve

    Chill for one hour or more before serving. Serve with tacos, taquitos, burritos, or tortilla chips.


    Cielito Lindo’s Home Version

    After working for some time to recreate Cielito Lindo’s recipe, I learned from Pam that Cielito Lindo published a home version of their guacamole. The recipe can be found below, with some very minor alterations.

    Ingredients

    • 8 fresh chiles gueritos (yellow chiles), seeded and deveined
    • 5 cloves garlic, chopped
    • 15 medium tomatillos, peeled and halved
    • 2½ cups cilantro, chopped
    • 6 cups water
    • 2 medium avocados
    • 4 tsp table salt

    Directions

    In a large pan, combine chiles, garlic, tomatillos, cilantro, and water; bring to boil. Lower heat to medium and cook for 5 minutes.

    Remove mixture from water and place in blender; reserve water. Add avocado and salt to blender. Blend, adding water in small installments and blend until smooth.

    Place in refrigerator overnight to allow flavors to meld. Adjust salt, if necessary.

  • German Chocolate Cake Ice Cream

    German Chocolate Cake Ice Cream

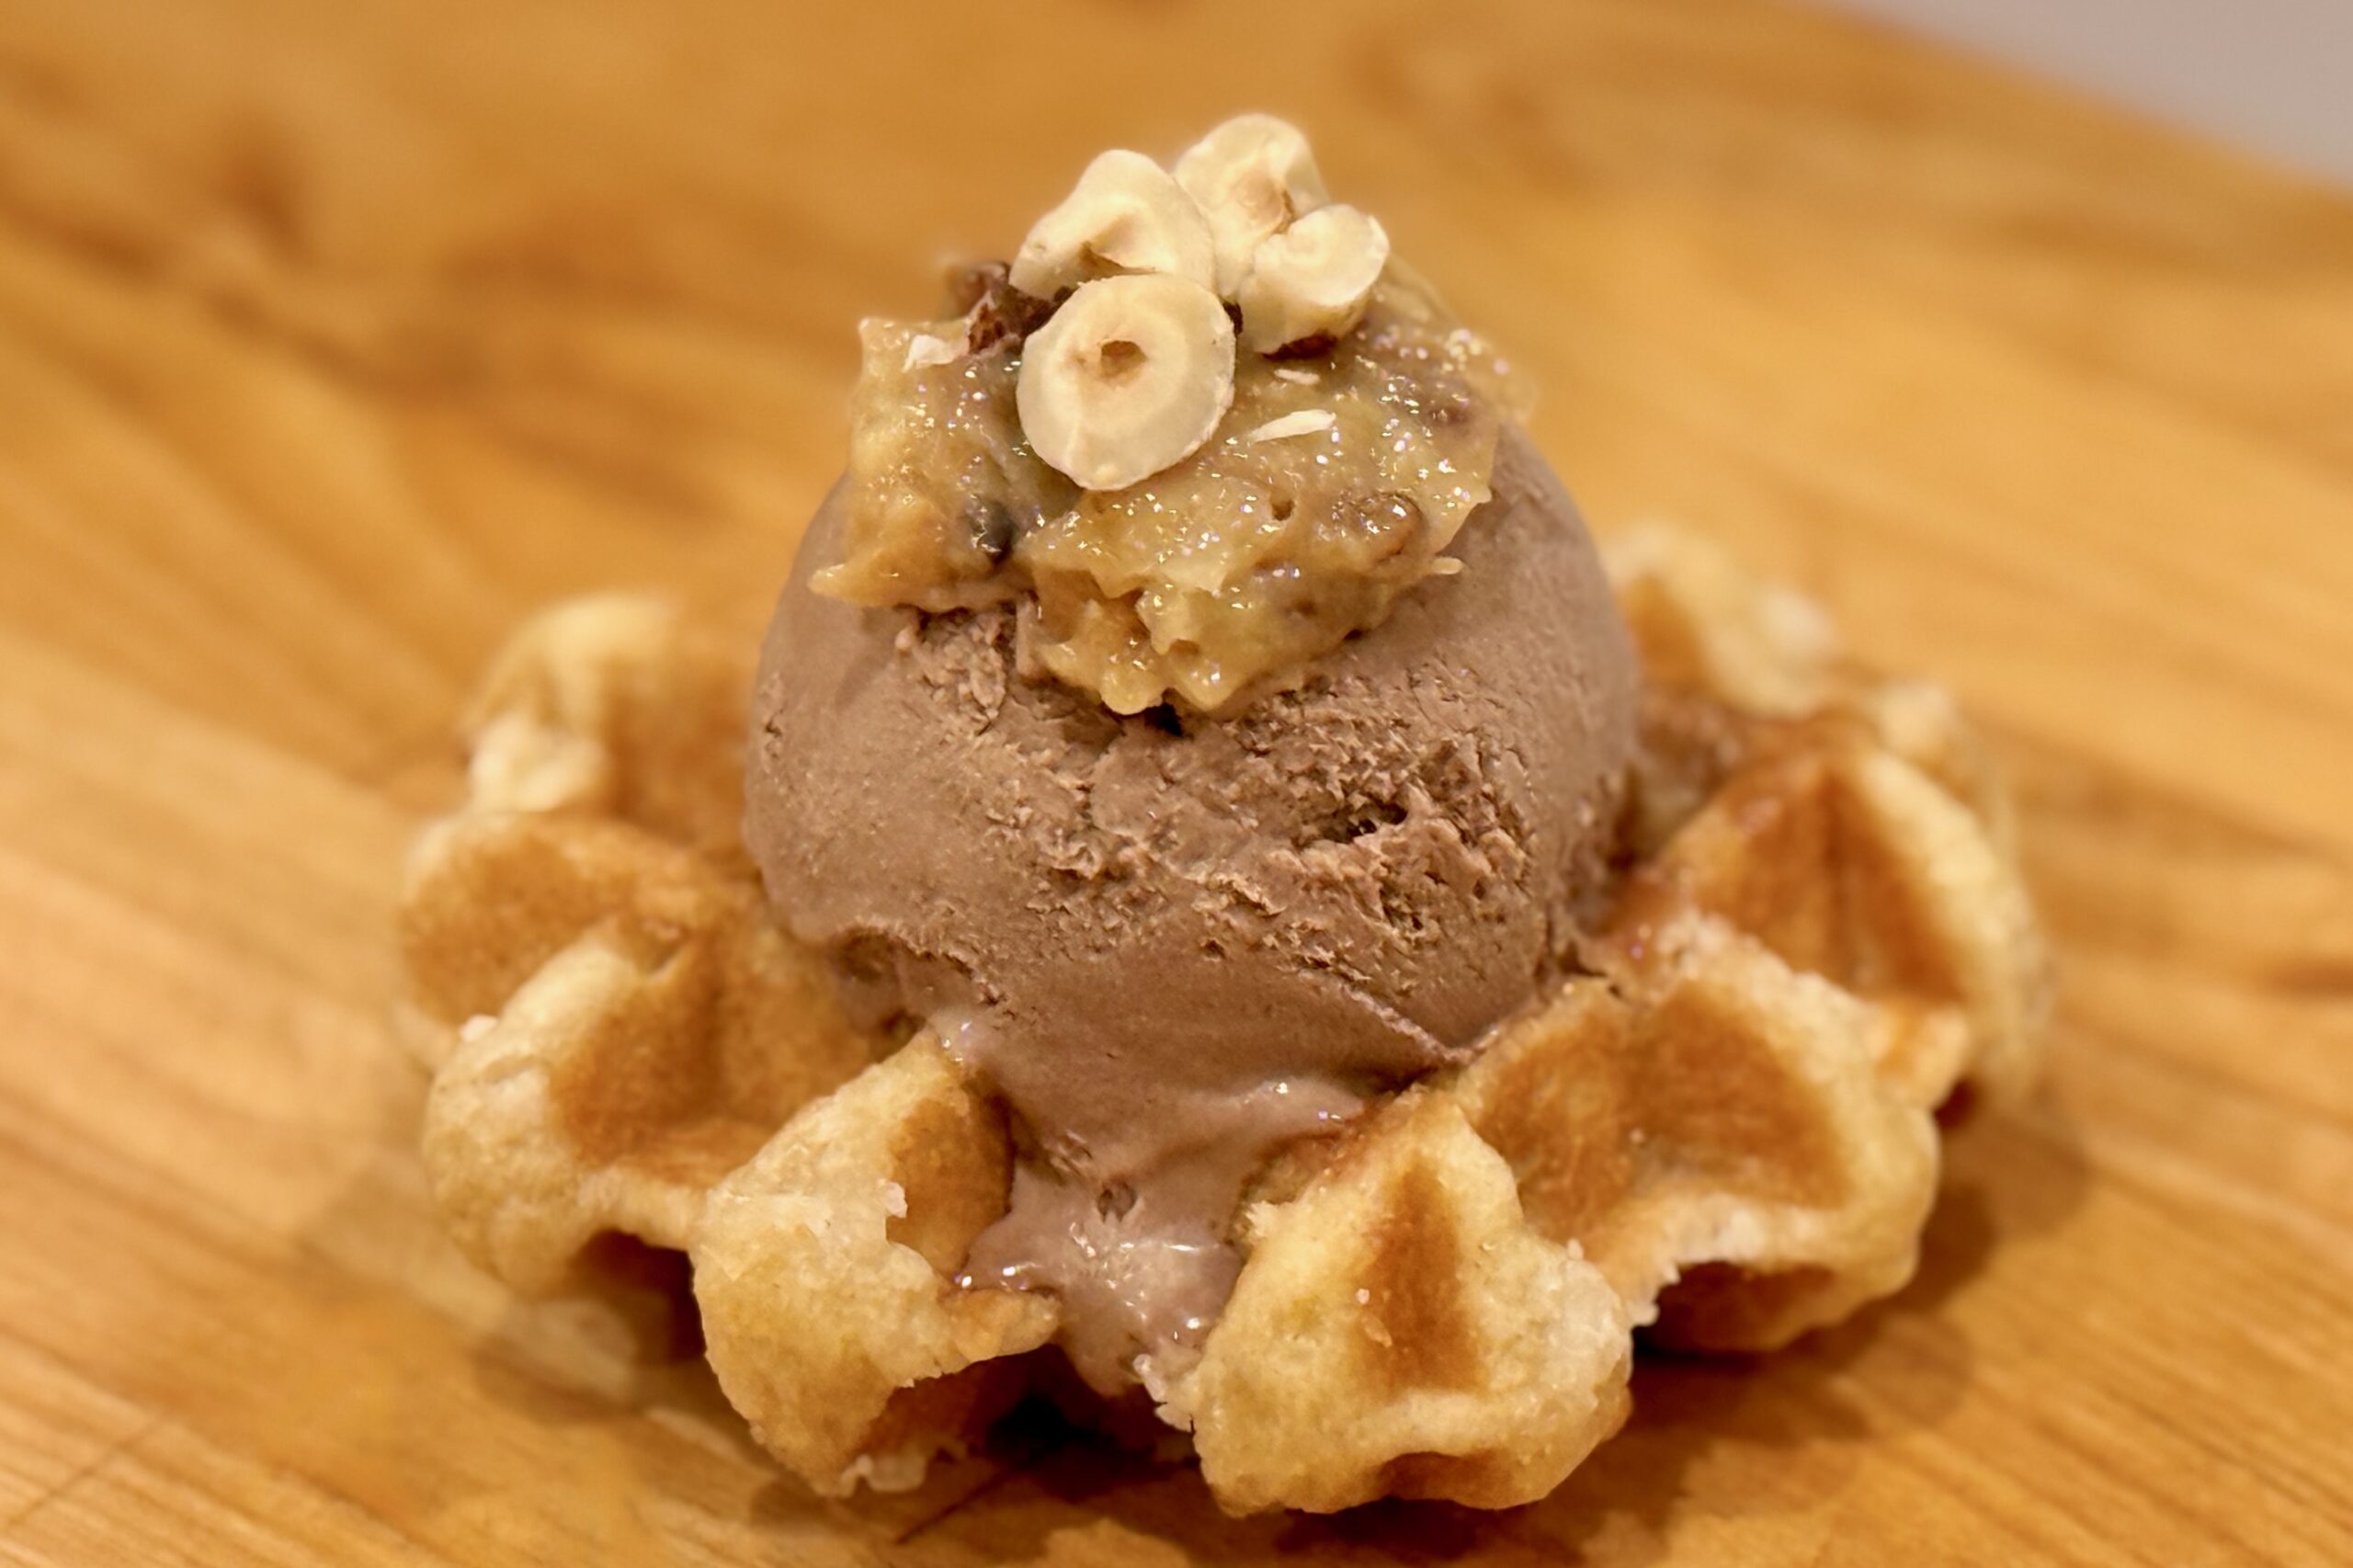
    Hearing the name German Chocolate Cake has always made me smile, especially knowing that this “not-so-German German Chocolate Cake” is actually an American invention. Its mild, sweet chocolate and caramel-laced coconut-pecan frosting were staples of family celebrations, and those flavors translate beautifully into ice cream. This version captures the essence of the classic cake with a softer milk chocolate base and a swirl of silky coconut-pecan frosting, giving you all the nostalgia in a cold, creamy scoop.


    Ingredients

      German Chocolate-Style Ice Cream Base

    • 1½ cups heavy cream
    • 1½ cups whole milk
    • ½ cup sugar
    • ¼ cup light brown sugar
    • 4 large egg yolks
    • ¼ tsp table salt
    • 2 oz milk chocolate, finely chopped
    • 2 oz semisweet chocolate (55–60%), finely chopped
    • 1 tbsp cocoa powder (Dutch-process preferred)
    • 1 tsp vanilla extract
    • Coconut–Pecan Frosting Swirl

    • ⅓ cup evaporated milk
    • ⅓ cup sugar
    • 2 tbsp butter
    • 1 large egg yolk
    • ⅛ tsp table salt
    • ¼ tsp vanilla extract
    • ⅓ cup sweetened shredded coconut, lightly toasted
    • ⅓ cup toasted pecans, chopped fine
    • Optional Mix-In

    • ½–1 cup brownie pieces, very cold or frozen

    Directions

    Make the Ice Cream Base

    In a medium saucepan, heat the heavy cream, whole milk, and cocoa powder over medium heat, whisking until smooth. Bring just to steaming.

    In a separate bowl, whisk together the egg yolks, sugar, brown sugar, and salt. Slowly ladle in about 1 cup of the hot dairy mixture while whisking constantly to temper the yolks.

    Return the tempered mixture to the saucepan. Stir over medium-low heat until the custard thickens slightly and reaches 175–178°F (80–81°C).

    Remove from heat and add the milk chocolate and semisweet chocolate. Let sit for 1 minute, then whisk smooth.

    Strain through a fine-mesh sieve into a clean container, stir in the vanilla, and refrigerate until fully chilled (at least 4 hours or overnight).

    Toast the Coconut

    Spread shredded coconut on a parchment-lined baking sheet. Toast at 325°F for 6–8 minutes, stirring once, until just lightly golden at the edges. Cool completely before using.

    Alternatively, dry-toast in a skillet over medium heat, stirring constantly, until lightly golden.

    Prepare the Coconut–Pecan Frosting Swirl

    In a small saucepan, whisk together evaporated milk, sugar, egg yolk, and salt. Add the butter and cook over medium-low heat, stirring constantly, until slightly thickened (4–6 minutes). Do not allow a hard boil.

    Remove from heat and stir in vanilla, toasted coconut, and chopped pecans.

    Cool completely, then refrigerate until thick, cold, and spoonable.

    Churn & Assemble

    Churn the chilled chocolate base in an ice cream maker until it reaches soft-serve texture.

    Spoon a layer of ice cream into a container, add thin ribbons of the coconut–pecan swirl, and gently feather it in with a spoon. Repeat layers until filled.

    If using brownies, fold them in during the layering stage. Freeze 3–4 hours to firm.


    Notes

    Preparation

    • Lightly toasting the coconut adds deeper caramel notes and improves texture, keeping it tender rather than chewy when frozen.
    • The chocolate blend (milk + semisweet + cocoa) recreates the classic sweetness of Baker’s German Sweet Chocolate.
    • The frosting swirl is intentionally softer and less sugary than traditional cake frosting so it remains scoopable when frozen.
    • For stronger coconut flavor, add an extra 1–2 tbsp toasted coconut to the swirl.
    • Altitude Adjustments: At high altitude (~4,750 ft), custards thicken slightly faster; monitor temperature closely. At sea level, follow standard heating cues.

    Serving Suggestions

    • Serve with warm brownie pieces or chocolate cake crumbs.
    • A drizzle of caramel sauce enhances the classic cake flavor.
    • Top with toasted coconut for visual flair and extra texture.

    Variations

    • Make it more caramel-forward by adding 1–2 tbsp caramel sauce during layering.
    • Increase pecans to ½ cup for a nuttier finish.
    • Swirl in a thin ribbon of chocolate fudge for a richer cake-like texture.

    Make-Ahead & Storage

    • Store ice cream in an airtight container for up to 1 week for best texture.
    • The frosting swirl can be made up to 3 days ahead and kept refrigerated.
    • For longer storage, press parchment directly against the ice cream surface to minimize ice crystals.
  • Carnitas

    Carnitas

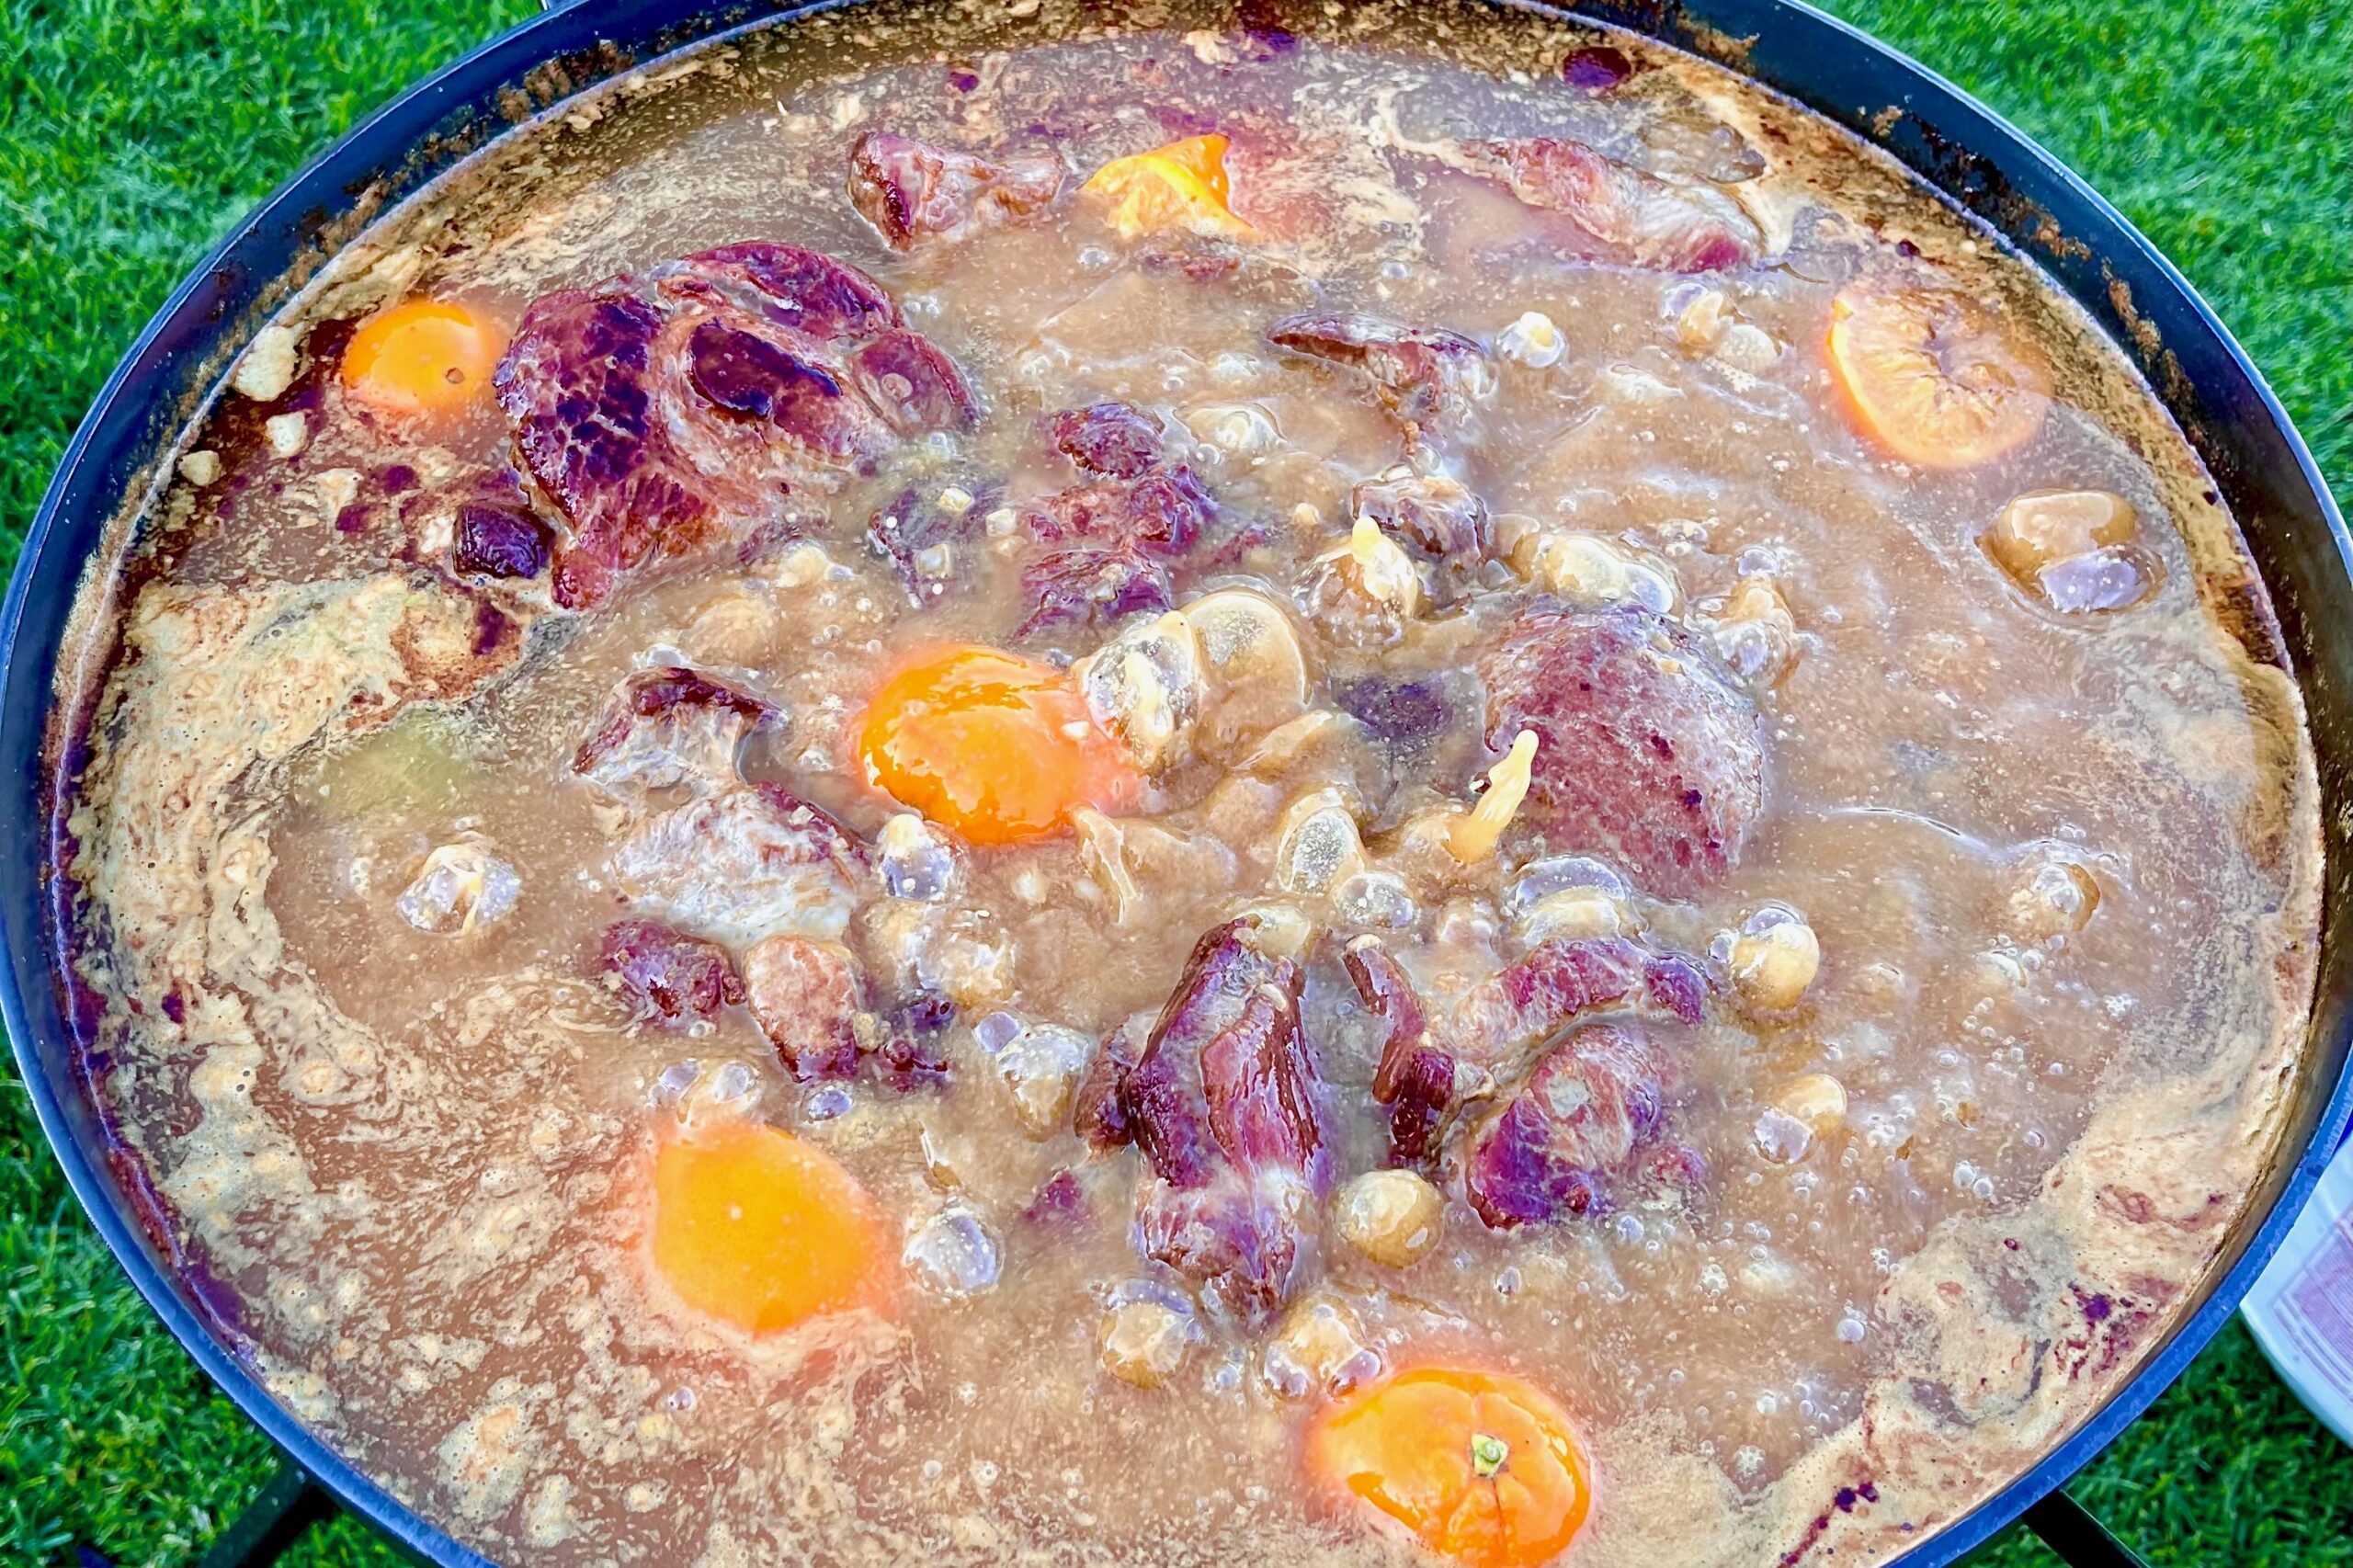
    These carnitas take inspiration from traditional Michoacán-style cooking—slow-simmered in rich pork fat, brightened with citrus, and finished until the edges are irresistibly crisp. Whether cooked in a cowboy wok over an open flame or in a Dutch oven on the stovetop, this method delivers deeply savory, tender pork with the classic crispy bits that make great street-taco carnitas unforgettable.


    Ingredients

    • 8 lbs pork shoulder, cut into 4-inch chunks
    • 8 lbs lard (or enough to submerge pork by at least ¾)
    • 4 tbsp table salt, divided (2 tbsp sprinkled directly over the pork, 2 tbsp dissolved in ½ cup hot water)
    • ½ cup hot water
    • 1 can evaporated milk
    • 1 bottle Coca-Cola
    • Juice of 3 oranges (at least ½ cup), plus the halved oranges
    • 2–3 bay leaves
    • 15–20 whole garlic cloves, peeled
    • ½ onion, cut into wedges
    • Yield: Approximately 4.5–5 lbs carnitas (about 20–24 tacos, using 1.5–2 oz meat per street taco or 2.5–3 oz for larger tacos)

    Directions

    Season the Pork

    Sprinkle 2 tbsp salt evenly over the pork and let sit for at least 30 minutes at room temperature. Dissolve the remaining 2 tbsp salt in ½ cup hot water and set aside.

    For deeper seasoning, you can salt the pork 12–24 hours ahead: sprinkle the 2 tbsp salt over the pork, cover or leave uncovered for lightly dried edges, and refrigerate. Remove from the refrigerator 30–45 minutes before cooking.

    Initial Frying (Browning Stage)

    In a large discada (cowboy wok/plow disk) or deep Dutch oven, heat the lard to 350°F over medium heat. Add the pork in a single layer—working in batches if needed to avoid overcrowding—and cook, turning every 15 minutes, until the surfaces are deep golden brown, about 30–45 minutes.

    Prepare to Add Liquids (Safety Step)

    Reduce heat to low, then turn off the heat completely and let the lard cool until the bubbling subsides, 2–3 minutes, to reduce boil-over risk. Once the fat is calm, carefully add the evaporated milk, Coca-Cola, the salted water, freshly squeezed orange juice, the halved oranges, bay leaves, garlic cloves, and onion wedges.

    Slow Simmer (Confit Stage)

    Return heat to medium-low and maintain a gentle simmer (around 225°F), with small, lazy bubbles breaking around the edges. Cook until the pork is fork-tender and most of the liquid has evaporated, allowing the milk and Coke sugars to caramelize, about 1.5–2 hours. Stir every 20–30 minutes during the final reduction to prevent scorching.

    Finish & Crisp

    Once the liquid has fully reduced, remove and discard the bay leaves, citrus halves, and onion wedges. The pork will begin frying again in the rendered fat. Increase the heat slightly and crisp the carnitas to your preferred texture, turning occasionally until browned, crispy on the edges, and easily shreddable. Shred or chop into bite-sized pieces and serve hot.


    Notes

    Preparation

    • Salting the pork 12–24 hours in advance deepens the seasoning and can improve browning; just be sure to bring the pork toward room temperature before cooking.
    • Use enough lard to submerge the pork by at least ¾ for even cooking and browning, especially in a deep Dutch oven.
    • Always allow the lard to stop actively bubbling before adding liquids to reduce the risk of boil-over or splattering.
    • During the confit stage, aim for a gentle simmer with small bubbles around the edges of the pot rather than a vigorous boil.
    • As the liquid reduces and the sugars caramelize, stir periodically to prevent scorching on the bottom of the pan.
    • Handling this much volume can be a challenge. I always use my rimmed Discada (aka Cowboy Wok or Disco). The specific tools I use are listed on my kitchen tools page.

    Serving Suggestions

    For tacos, serve warm carnitas in heated corn tortillas with diced onion, chopped cilantro, crumbled queso fresco, and homemade Salsa Verde or Chile de Árbol Salsa.

    • Serve with lime wedges for brightness.
    • Brush tortillas lightly with pork fat before warming for taquería-style flavor.
    • Add a sprinkle of flaky salt right before serving.
    • For extra-crispy edges, reheat portions on a hot plancha or cast-iron skillet until sizzling.

    Variations

    • Pressure Cooker Shortcut: For a faster version, season the pork as directed and place it in a pressure cooker or Instant Pot with the orange juice, halved oranges, bay leaves, garlic, onion, and about 1 cup water (omit the lard, Coke, and evaporated milk at this stage). Cook on high pressure for 35 minutes, then allow a natural release. Once tender, transfer the drained pork to a large pan with lard, Coke, and evaporated milk, then simmer and fry as directed to caramelize and crisp the edges.

    Make-Ahead & Storage

    • Cool carnitas to room temperature, then refrigerate in an airtight container with some of the cooking fat spooned over the top for up to 4–5 days.
    • For longer storage, freeze cooled carnitas (with a thin layer of fat) in freezer-safe bags or containers for up to 3 months. Thaw overnight in the refrigerator before reheating.
    • To reheat, warm carnitas in a skillet over medium to medium-high heat with a spoonful of reserved fat, spreading the meat into an even layer and allowing the edges to crisp before stirring.
    • Reheated carnitas often develop even better texture and flavor after a second round of crisping.
  • Bananas Foster

    Bananas Foster

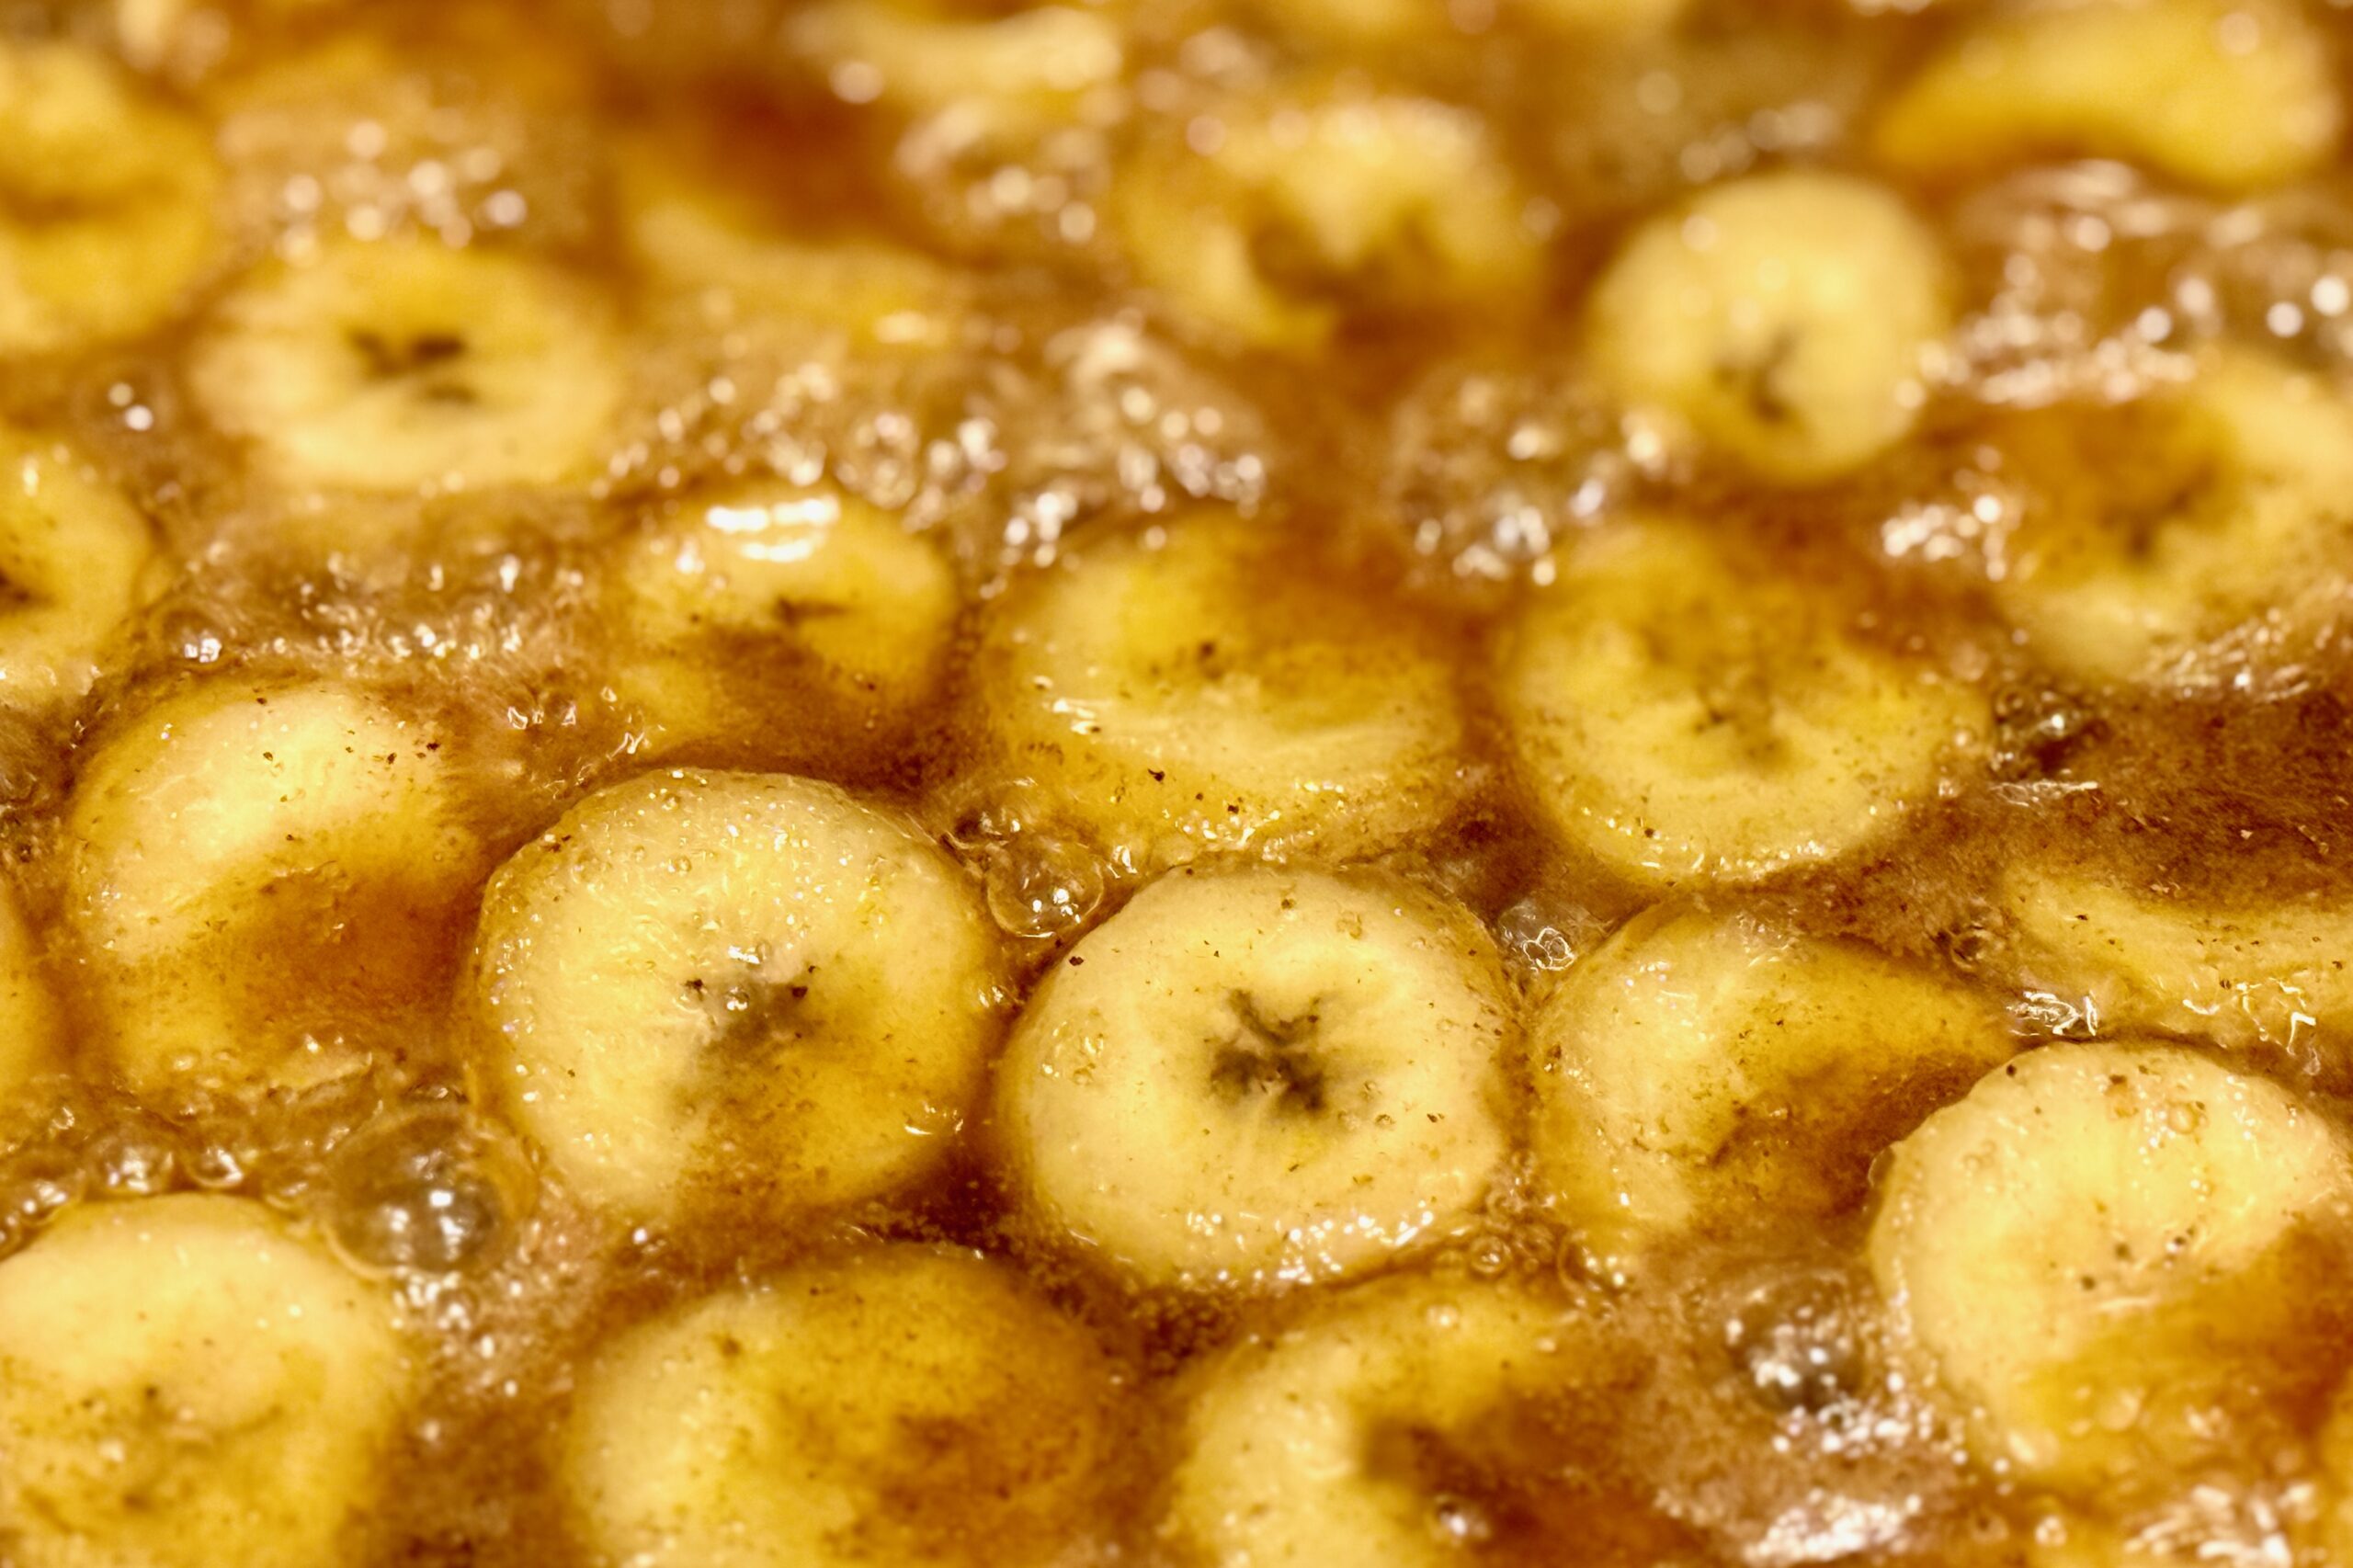
    Rich, buttery, and unmistakably indulgent, this Bananas Foster brings a taste of New Orleans to your table. Created in 1951 at Brennan’s in the French Quarter—at the height of the city’s banana-import boom and named for civic leader Richard Foster—it’s crafted from ripe bananas, rich caramel, rum, and banana liqueur. The flambéed presentation still thrills diners today, while the warm bananas and syrupy sauce spooned over creamy vanilla ice cream evoke both drama and comfort. In our family, it’s a go-to when we want something classic, bold, and effortlessly shared—every bite layered with caramel sweetness, a hint of cinnamon, and the smooth warmth of rum, all wrapped up in an experience that can make a simple dinner feel like a celebration.


    Ingredients

    • 2 tbsp butter
    • ¼ cup packed brown sugar
    • ⅛ tsp ground cinnamon
    • 1 banana, firm-ripe, sliced lengthwise or into thick rounds
    • ¼ cup crème de banane (banana liqueur)
    • 3 tbsp Grand Marnier (or other orange liqueur)
    • 3 tbsp dark or amber rum
    • vanilla ice cream, for serving

    Directions

    Prepare the Sauce:

    In a large sauté pan over medium heat, melt butter. Stir in brown sugar and cinnamon, cooking until the sugar dissolves and the mixture bubbles into a smooth caramel (1–2 minutes).

    Add the Liqueurs and Bananas:

    Stir in crème de banane and Grand Marnier. Bring just to a gentle boil, then add sliced banana. Cook for about 2–3 minutes, turning occasionally until the bananas are lightly caramelized but still hold their shape.

    Flambé the Rum:

    Remove the pan from the flame before adding rum. Carefully ignite using a long lighter or match, allowing the flames to subside naturally. Return to the stovetop and simmer for 30–60 seconds until the raw alcohol flavor cooks off and the sauce slightly thickens.

    Serve:

    Spoon the warm bananas and caramel sauce over vanilla ice cream. Serve immediately.


    Notes

    Preparation

    • Use firm, ripe bananas so they hold their shape during cooking.
    • For a deeper caramel flavor, cook the sugar mixture an extra minute before adding the liqueurs.
    • If you prefer not to flambé, simmer the rum gently for a few minutes to cook off the alcohol instead.

    Serving Suggestions

    • Serve over classic vanilla ice cream, or try butter pecan for extra richness.
    • For a brunch twist, serve over pancakes, waffles, or French toast.
    • Top with toasted pecans or a light sprinkle of sea salt for added texture and contrast.

    Variations

    • For a tropical version, substitute some or all of the rum with coconut rum.
    • Add a splash of pineapple juice for a lighter, fruitier finish.
    • Use plantains instead of bananas for a heartier, more caramel-forward dessert.

    Make-Ahead & Storage

    • This dessert is best prepared and served immediately for optimal texture and presentation.
    • If you need to make ahead, prepare the sauce up to the flambé step, cool, and refrigerate up to 1 day; rewarm gently, add fresh bananas, and finish before serving.
  • Alabama White Barbecue Sauce

    Alabama White Barbecue Sauce

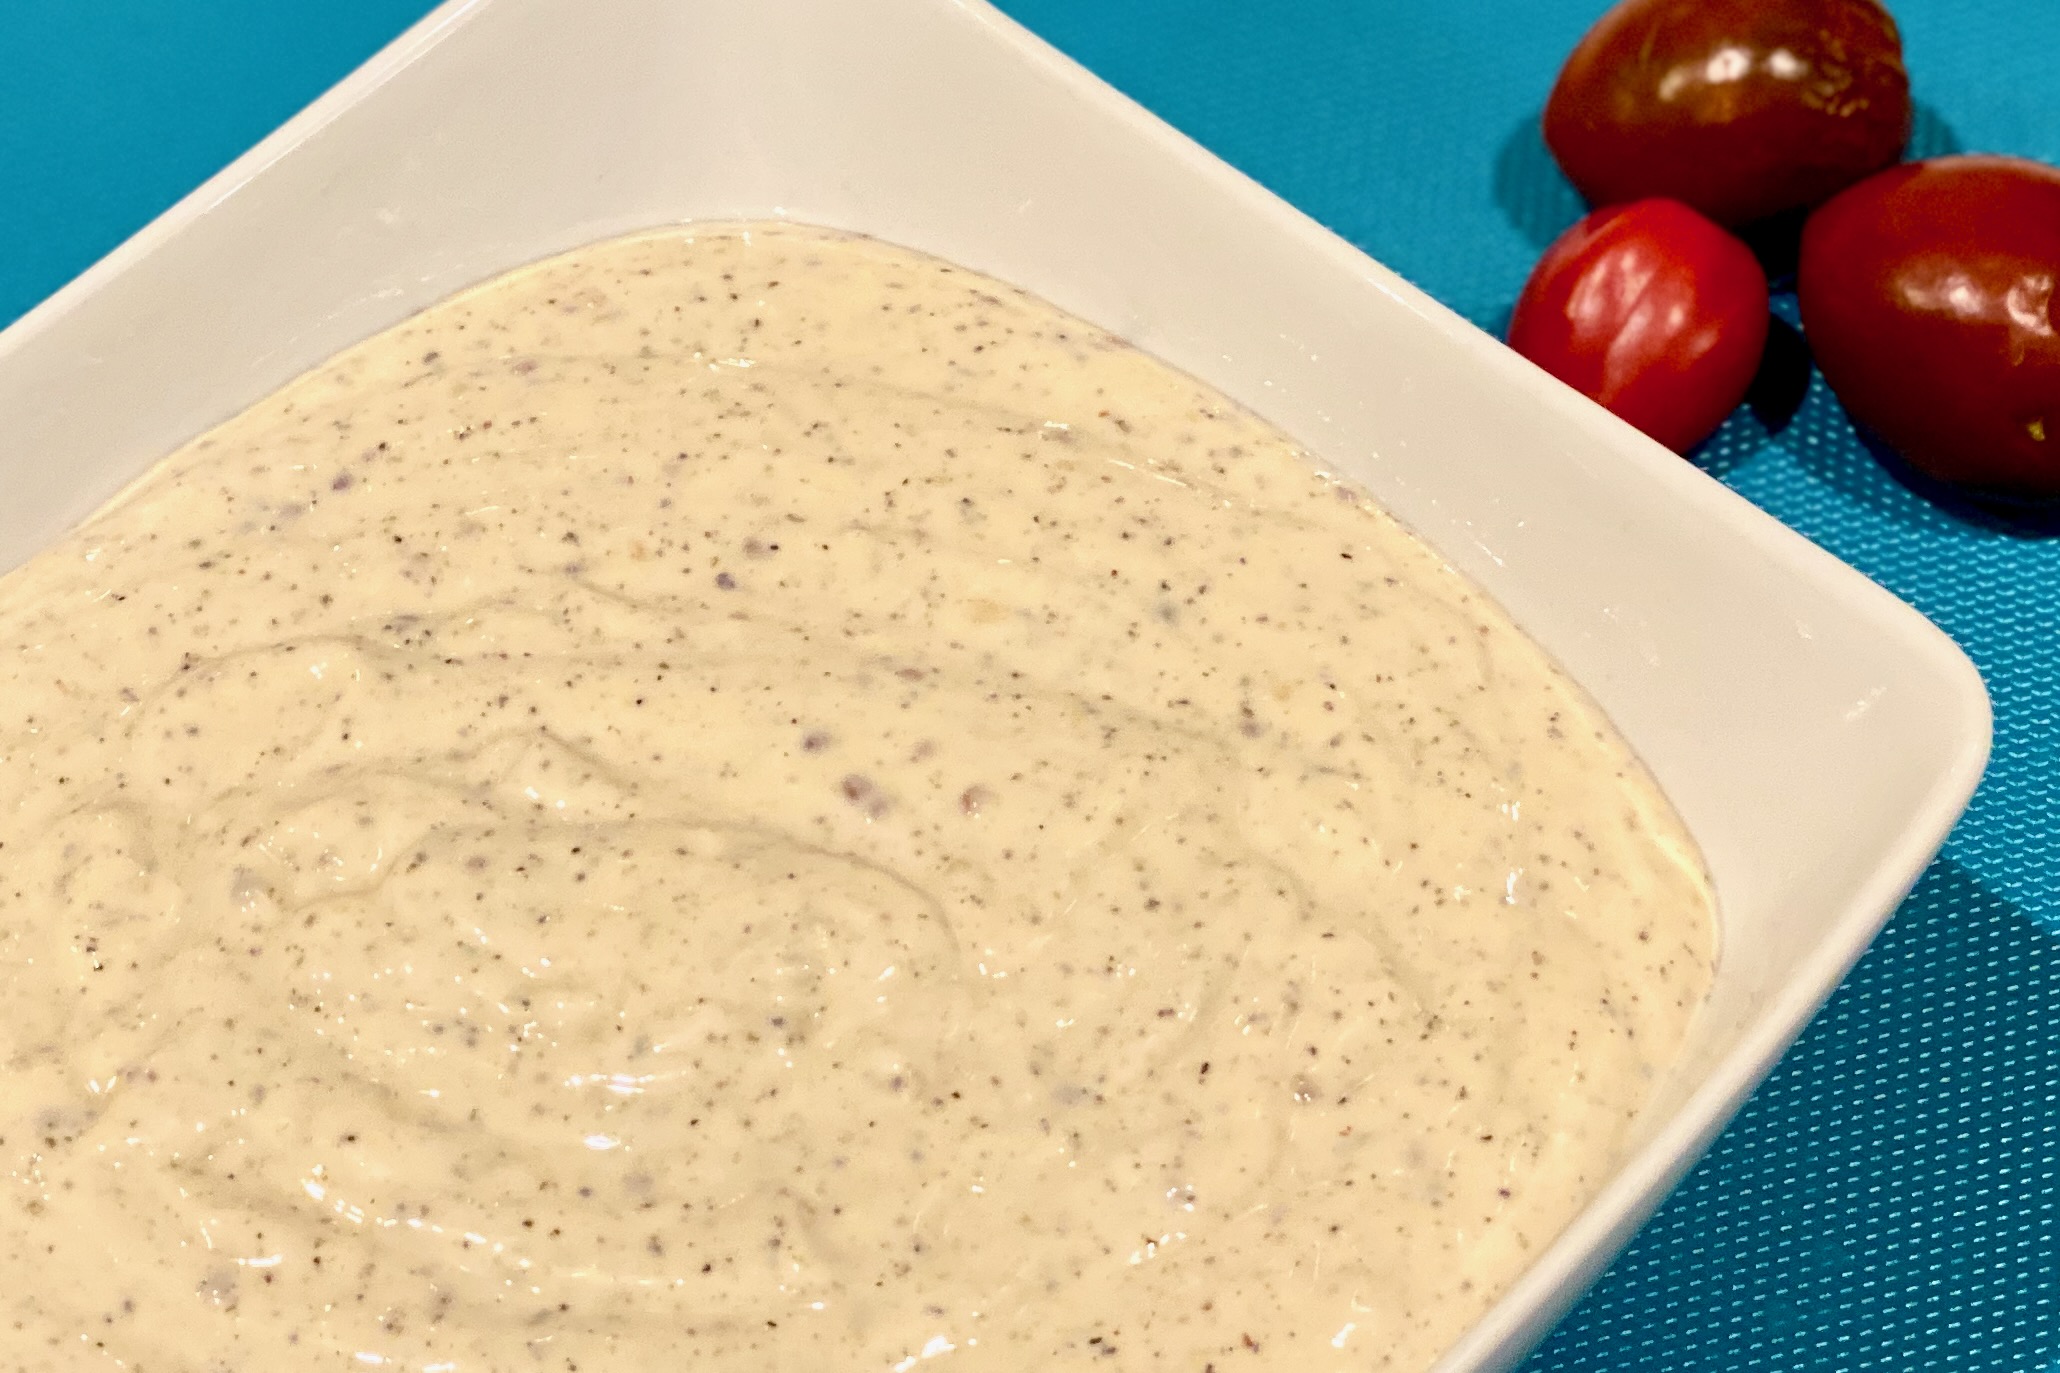
    Alabama white barbecue sauce is one of those condiments that quietly steals the show—sharp, peppery, and creamy enough to cling to smoked chicken and pulled pork without ever feeling heavy. This version leans into that classic tang with apple cider vinegar, stone-ground mustard, horseradish, and plenty of black pepper, plus just enough optional sweetness and umami to round the bite. It’s the kind of sauce people remember after a cookout and ask for by name, whether you’re brushing it on grilled chicken thighs, serving it alongside ribs, or drizzling it over a piled-high pulled pork sandwich.


    Ingredients

    • 1 cup (about 230 g) mayonnaise
    • 3 tbsp (45 ml) apple cider vinegar
    • 1½ tbsp (22 ml) prepared stone-ground mustard
    • 2-3 tsp prepared horseradish, to taste
    • 2 tsp coarsely ground black pepper, lightly toasted
    • ¾ tsp table salt
    • ½ tsp garlic powder
    • ¾ tsp onion powder
    • ¾ tsp Worcestershire sauce
    • ½ tsp hot sauce (such as Louisiana-style), or to taste
    • ½–1 tsp honey or sugar, to taste (optional, recommended)
    • ½ tsp fresh lemon juice (optional, for brightness)
    • ⅛ tsp MSG or 1–2 tsp dill pickle brine (optional, for extra depth)

    Directions

    Mix the Sauce

    Place the coarsely ground black pepper in a small dry skillet over medium-low heat and toast for 20–30 seconds, just until fragrant. Remove from heat and let cool slightly.

    In a medium bowl, whisk together the mayonnaise, apple cider vinegar, stone-ground mustard, horseradish, black pepper, salt, garlic powder, onion powder, Worcestershire sauce, hot sauce, honey or sugar (if using), lemon juice (if using), and either MSG or dill pickle brine (if using) until completely smooth and well combined.

    Adjust and Chill

    Taste and adjust seasoning: add a splash more vinegar for extra tang, a bit more honey or sugar to round the acidity, or additional hot sauce and horseradish for more heat. The sauce should taste slightly sharper and more intense than you want it to finish, as the flavors will mellow while chilling.

    Cover and refrigerate for at least 2 hours, preferably overnight, to allow the flavors to blend and the pepper to soften. Stir well before serving. Use within about 1 week.

    Yield: About 1¼ cups (300 ml), 10–12 servings.


    Notes

    Preparation

    • Use a good-quality, full-fat mayonnaise for best texture and flavor; reduced-fat mayo will make the sauce thinner and less stable.
    • Prepared horseradish varies in strength—start on the low end and add more to taste once everything is mixed.
    • The optional honey or sugar doesn’t make the sauce noticeably sweet; it simply softens the acidity and heat for a more rounded, restaurant-style finish.
    • Toasting the black pepper is optional but enhances its aroma and adds a slightly deeper, smokier note.

    Variations

    • Salad Dressing: For a creamy, tangy salad dressing, whisk in 2–3 tbsp buttermilk per 1 cup of sauce until pourable. Adjust salt and pepper to taste.
    • Sandwich Spread: For a slightly looser spread for sandwiches or pulled pork, whisk in about 1 tbsp buttermilk per 1 cup of sauce, or simply use the sauce as-is.
    • Extra-Spicy Version: Increase the hot sauce to 1–1½ tsp, add more horseradish to taste, and consider a pinch of cayenne for a lingering heat.
    • Smoky Version: Add ⅛–¼ tsp smoked paprika or a few drops of liquid smoke for a subtle smoky note.
    • Herb Variation: Stir in 1–2 tbsp finely chopped fresh parsley, chives, or dill just before serving for a fresher, greener profile.

    Serving Suggestions

    • Brush over grilled or smoked chicken during the last 3–5 minutes of cooking, then serve extra on the side for dipping.
    • Drizzle over pulled pork sandwiches or use as a sandwich spread in place of plain mayonnaise.
    • Serve as a dipping sauce for smoked turkey, ribs, or grilled vegetables.
    • Thin slightly with water or buttermilk to create a drizzle for grain bowls, roasted potatoes, or chopped salads.

    Make-Ahead & Storage

    • This sauce is best made at least a few hours in advance; overnight chilling gives the most balanced flavor.
    • Store in an airtight container in the refrigerator for up to 1 week, stirring before each use.
    • Because the base is mayonnaise, do not freeze; the emulsion will break once thawed.
    • Always use clean utensils when dipping into the sauce to maximize its shelf life.
  • Southern Sweet Potato Ice Cream

    Southern Sweet Potato Ice Cream

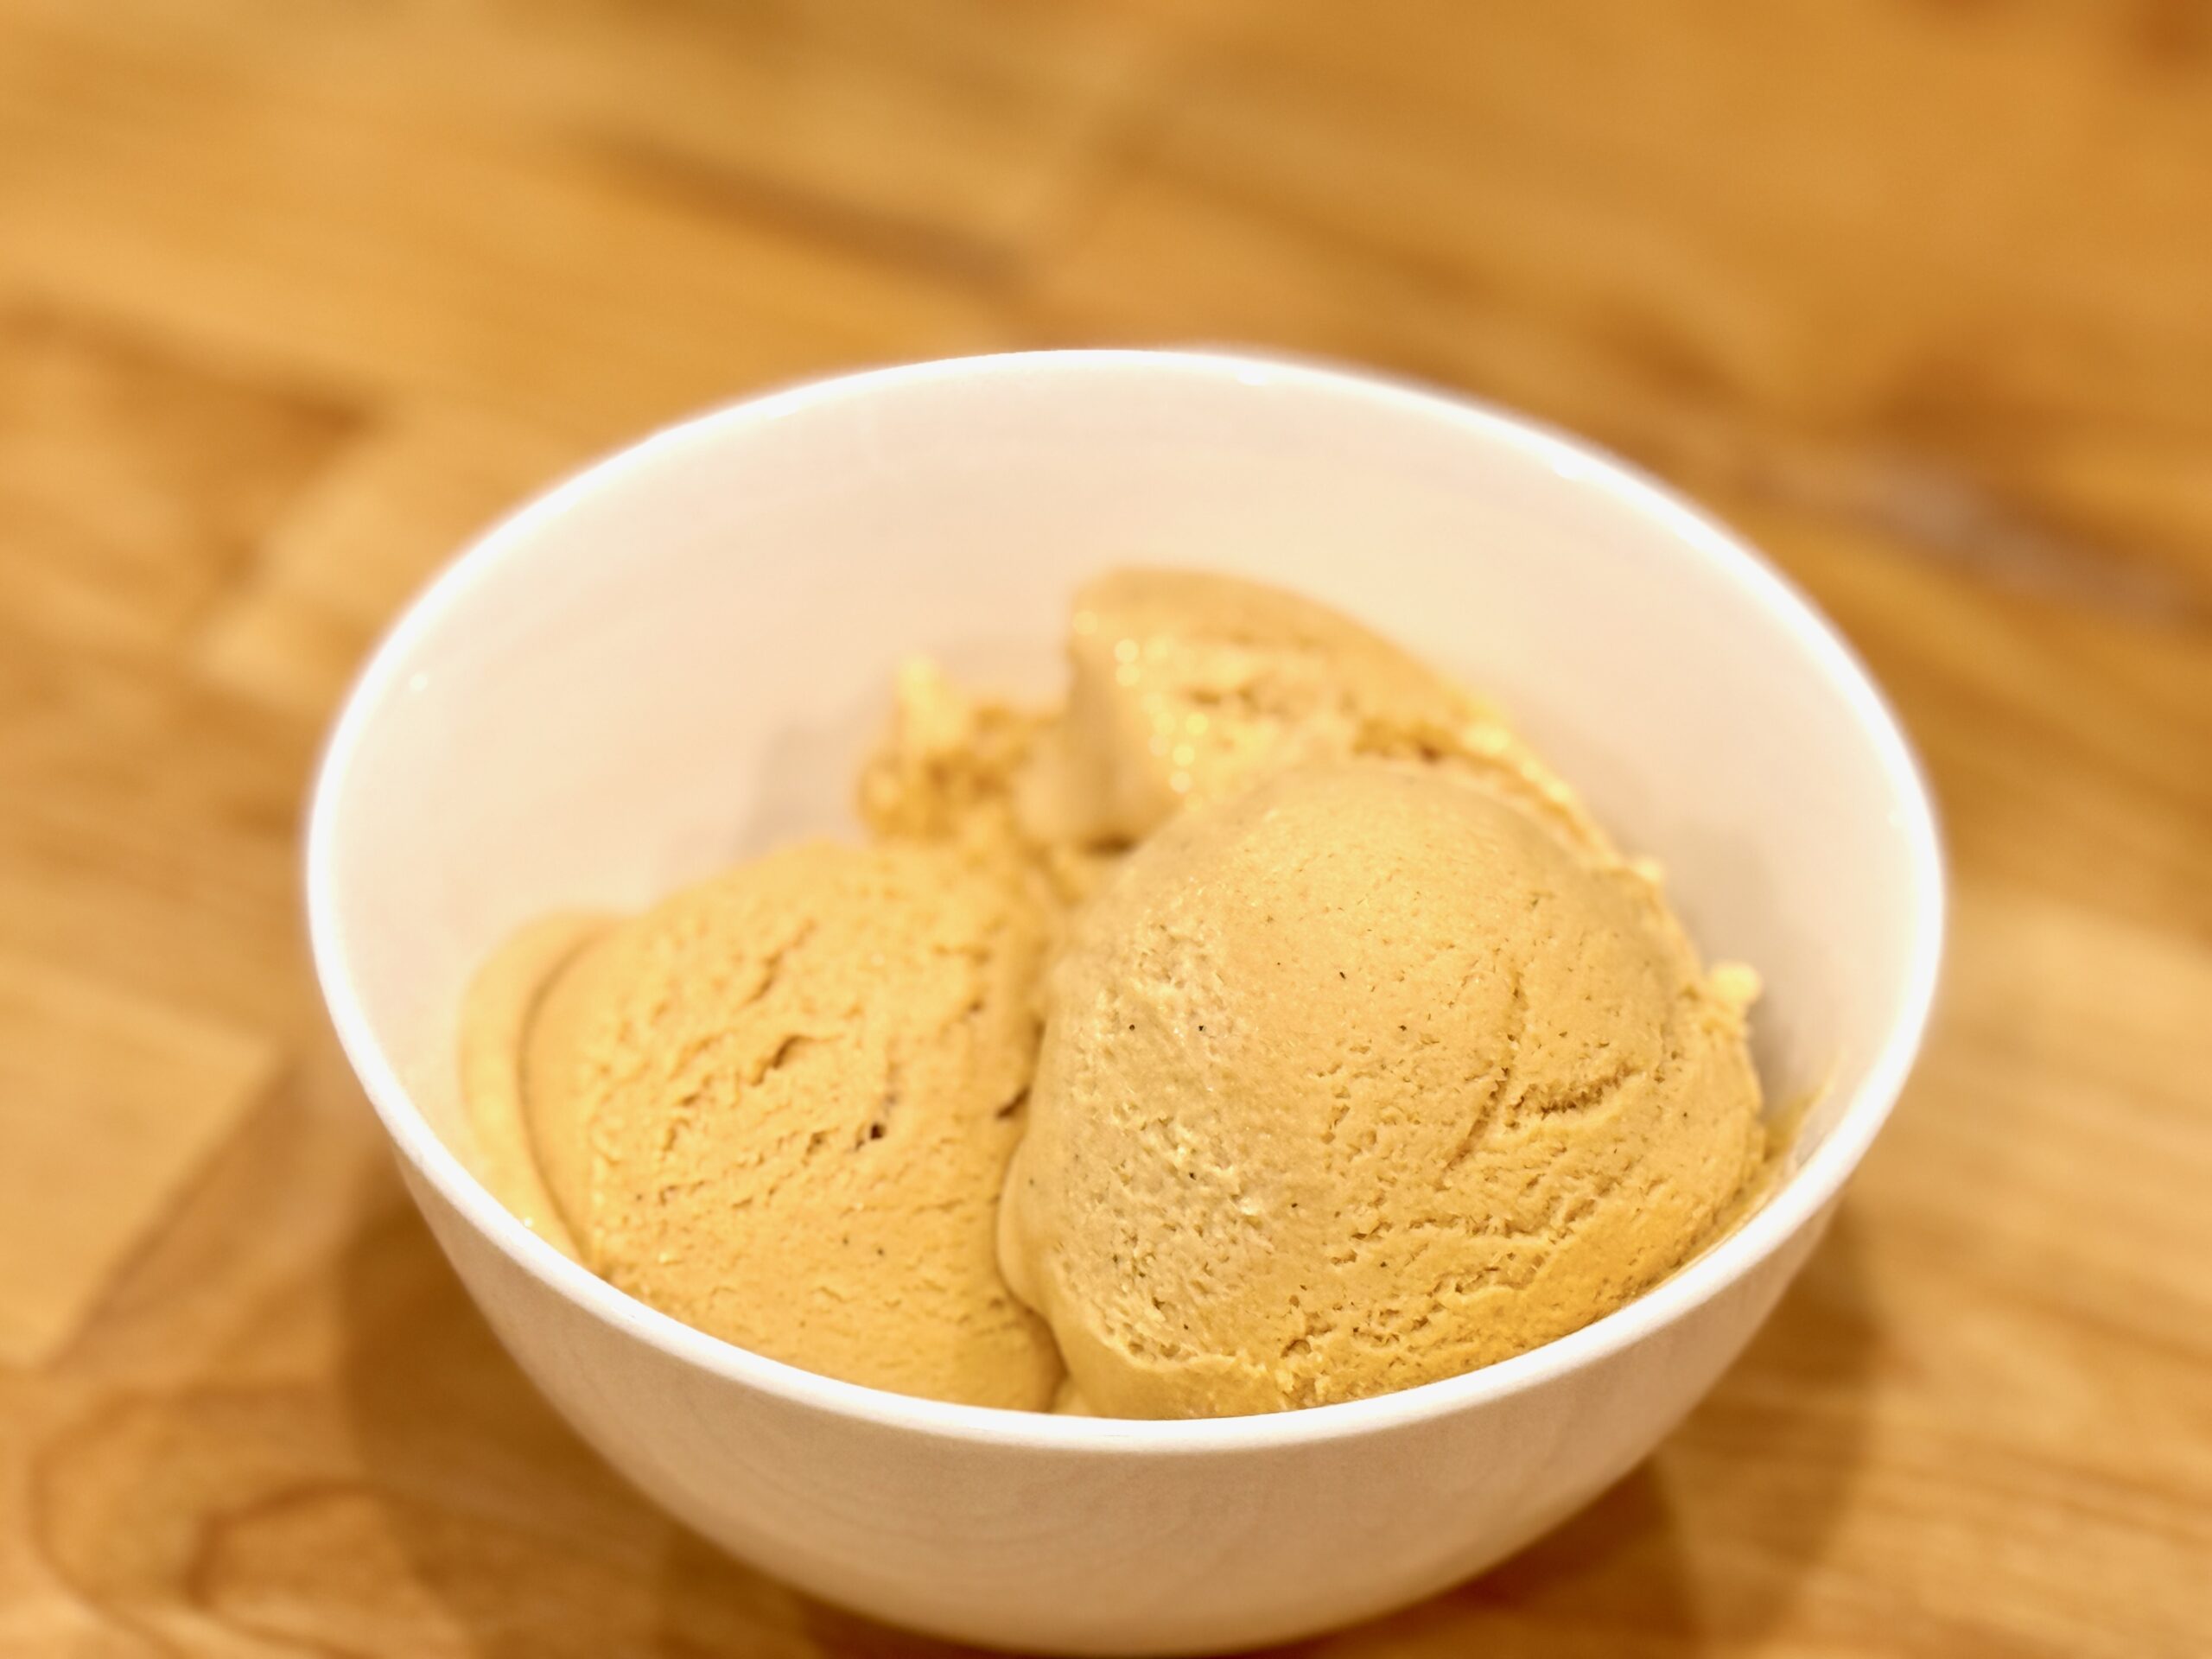
    Hearing the name Southern Sweet Potatoes has always made me smile—especially because it carries the warmth of Great Grandma Lena’s kitchen and the familiar aroma of roasted sweet potatoes, brown sugar, and butter. Turning those same comforting flavors into an ice cream feels a little unexpected, but the result is pure Southern magic: a silky sweet-potato custard ribboned with buttery praline cream and studded with crisp pecan pralines. It’s everything we love about the holiday casserole—just in a frozen, spoon-ready form.


    Ingredients

    Sweet Potato Ice Cream Base

    • 1 cup roasted sweet potato purée (from about 1 large roasted sweet potato)
    • 1 cup heavy cream
    • 1 cup whole milk
    • ¾ cup brown sugar
    • 4 large egg yolks
    • 2 tbsp unsalted butter
    • 2 tbsp buttermilk
    • 1 tsp vanilla extract
    • ½ tsp table salt
    • ⅛ tsp cinnamon (optional; keep subtle)
    • ⅛ tsp xanthan gum (optional, for extra smooth texture)

    Praline-Cream Swirl

    • ¼ cup unsalted butter
    • 6 tbsp brown sugar
    • 2 tbsp heavy cream
    • ½ tsp table salt
    • 1 tsp vanilla extract

    Mix-Ins

    • 1 cup chopped pecan pralines, frozen before use

    Directions

    Prepare the Sweet Potato Purée

    Roast a whole sweet potato at 400ºF (200ºC) until very soft, about 45–60 minutes. Scoop out the flesh and purée until completely smooth. Measure 1 cup and set aside.

    Make the Custard Base

    In a medium saucepan, whisk together brown sugar, egg yolks, and salt until well combined. Add the milk and cream and cook over medium heat, stirring constantly, until the custard thickens enough to coat the back of a spoon (170–175ºF / 77–80ºC). Do not boil.

    Remove from heat and whisk in the butter, sweet potato purée, vanilla, buttermilk, and cinnamon (if using). If using xanthan gum, sprinkle it in while blending with an immersion blender to avoid clumping.

    Chill the base for at least 4 hours or overnight.

    Make the Praline-Cream Swirl

    In a small saucepan, melt the butter with the brown sugar and cream. Simmer 1–2 minutes until lightly thickened. Remove from heat, stir in salt and vanilla, and cool completely. Refrigerate until cold.

    Churn & Assemble

    Churn the chilled sweet potato custard in an ice cream maker according to manufacturer instructions. When nearly finished, fold in the chopped frozen praline pecans.

    As you transfer the ice cream to a container, alternate layers of sweet potato ice cream and thin ribbons of praline-cream swirl. Gently marble with a butter knife and freeze until firm.


    Notes

    Preparation

    • Roasting sweet potatoes concentrates their natural sweetness and deepens flavor.
    • Adding buttermilk after cooking the custard keeps its flavor bright and prevents curdling.
    • Pecan pralines should be fully frozen before folding in to maintain crunch.
    • Keep the praline-cream swirl cold but pourable for clean ribbons.

    Serving Suggestions

    • Serve on its own as a holiday-inspired treat.
    • Pair with pecan pie, pumpkin pie, or warm apple crisp.
    • Add extra pralines or a warm caramel drizzle for richer servings.
    • Great with the Praline-Cream Swirl or just sprinkled with chopped pralines or roasted pecans.

    Variations

    • Add a toasted marshmallow swirl for a “sweet potato casserole” twist.
    • Use browned butter instead of regular butter in the custard for deeper caramel notes.
    • Swap praline pecans for toasted pecans if you prefer less sweetness.

    Make-Ahead & Storage

    • Ice cream keeps up to 2 months in an airtight container.
    • Store praline-cream swirl separately up to 1 week refrigerated or 2 months frozen.
    • Let ice cream sit at room temperature 5–10 minutes before scooping for best texture.
  • Crêpes

    Crêpes

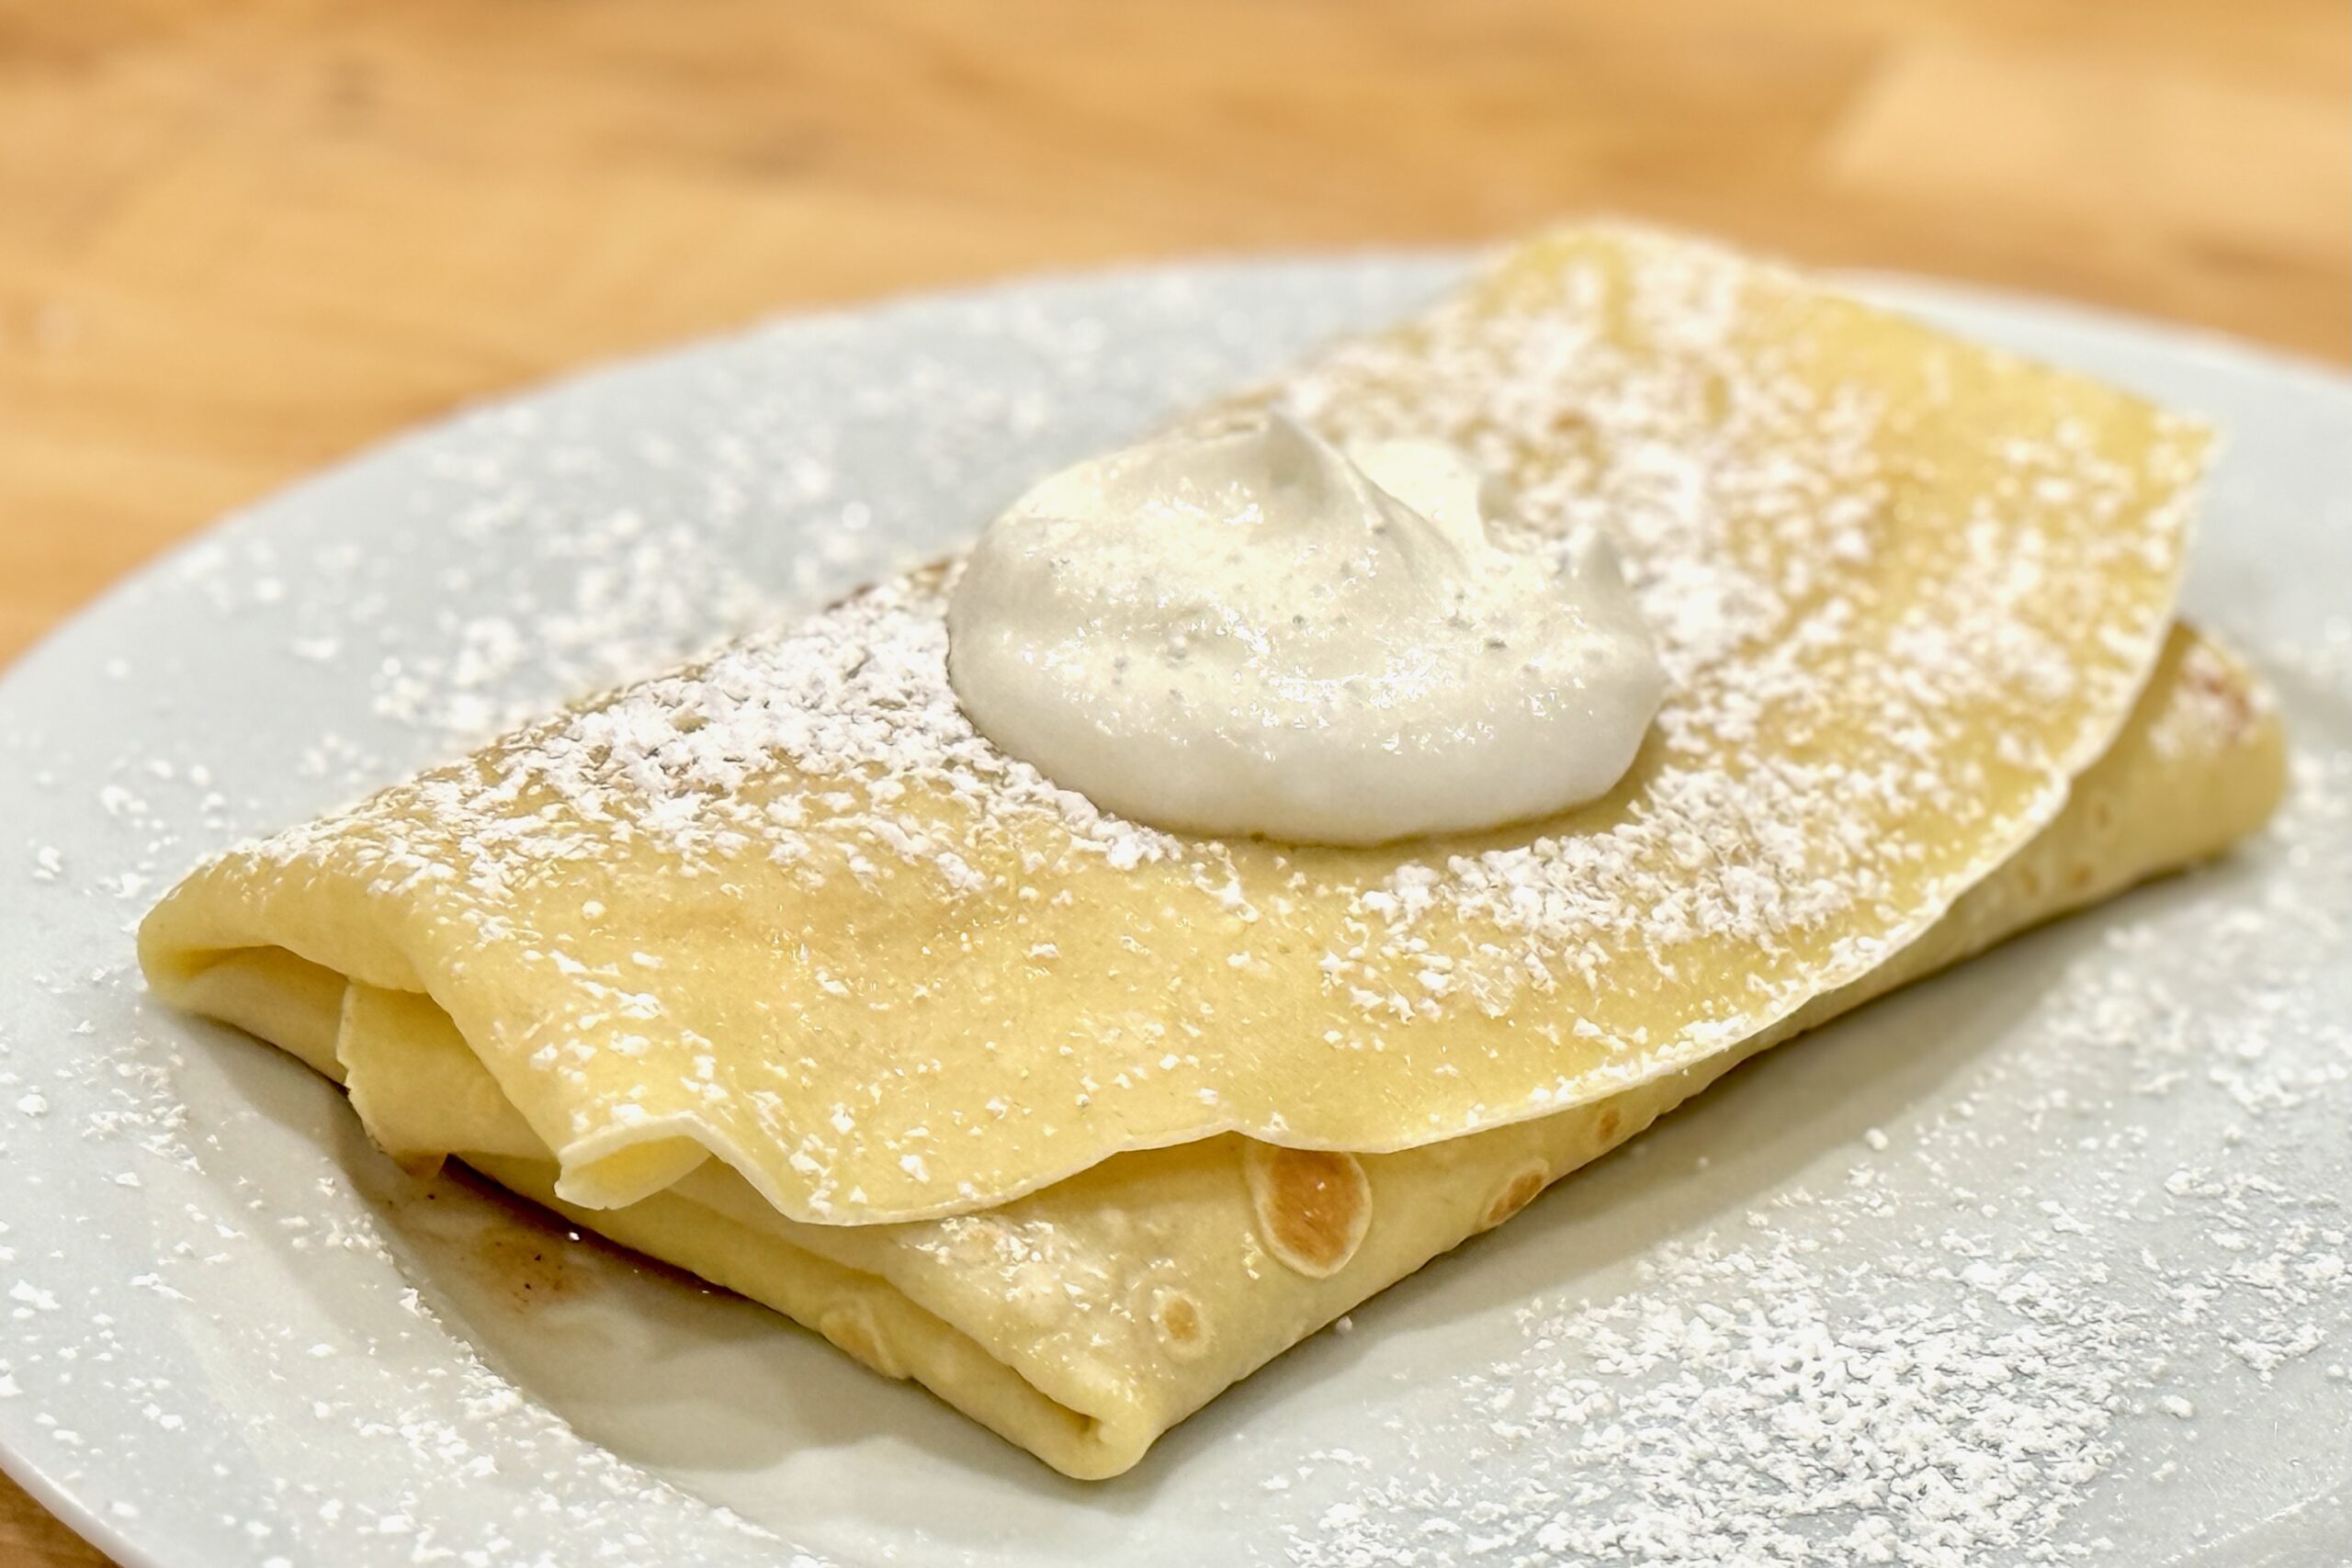
    Light, delicate, and endlessly versatile, these classic French crêpes strike the perfect balance between tender centers and gently crisped edges. This refined version builds on traditional technique with small upgrades—like melted butter in the batter, a touch of sugar for browning, and a splash of water for that signature lace-like edge—making them ideal for both sweet and savory fillings.


    Ingredients

    • 4 large eggs
    • 1½ cups milk
    • ¼ cup water
    • 1¼ cups flour
    • ¼ tsp table salt
    • 2 tbsp melted butter
    • 1 tsp sugar (optional, for browning)

    Directions

    Make the Batter

    In a large mixing bowl, whisk together flour, salt, and sugar (if using).

    Make a well in the center. Add eggs and about half of the milk. Whisk from the center outward, slowly drawing in the flour until a smooth, thick paste forms.

    Add remaining milk and the water; whisk until completely smooth.

    Whisk in melted butter until incorporated.

    Rest the Batter

    Strain through a fine-mesh sieve to remove any remaining lumps. Let the batter rest for at least 30 minutes, or refrigerate up to overnight. If resting overnight, thin with a splash of milk before cooking if it has thickened.

    Cook the Crêpes

    Heat a nonstick or crêpe pan over medium heat and brush lightly with melted butter.

    Pour about ¼ cup of batter into the center of the pan and immediately swirl to coat the bottom in a thin, even layer.

    Cook until the top surface looks dry and the edges lift from the pan. Flip and cook briefly on the second side.

    Repeat, brushing the pan with more butter as needed.


    Notes

    Preparation

    • Resting the batter relaxes gluten and improves spreadability and tenderness.
    • The splash of water helps create crisp, lacy edges—a classic French technique.
    • For savory crêpes, omit the sugar; for dessert crêpes, you may increase it to 2 tsp.
    • Altitude (~4,750 ft): Batter may thicken slightly during resting. Add 1–2 tbsp extra milk as needed before cooking.

    Serving Suggestions

    • Sweet: lemon and sugar, fresh berries, Nutella, jam, honey, or pastry cream.
    • Savory: ham and cheese, sautéed mushrooms, spinach and gruyère, or smoked salmon with crème fraîche.

    Variations

    • Add ½ tsp vanilla or 1 tbsp rum for dessert crêpes.
    • Swap ¼ cup of milk for ¼ cup heavy cream for richer, more custardy crêpes.
    • Use buckwheat flour for a rustic Breton-style crêpe (best for savory fillings).

    Make-Ahead & Storage

    • Refrigerate cooked crêpes for up to 3 days with parchment between each layer.
    • Freeze for up to 2 months; thaw and warm briefly in a pan before serving.
    • Batter can be made up to 24 hours ahead; stir and thin with milk before cooking if needed.
  • Carne Asada Tacos

    Carne Asada Tacos

    Carne asada tacos are all about bold, bright flavors—citrus, chiles, and fire meeting the smoky heat of the grill. This version brings together a vibrant, well-balanced marinade, a hot charcoal sear, and classic taquería toppings for tacos that taste like they came straight from a late-night stand in Mexico. Served with warm corn tortillas, diced onion, fresh cilantro, and your choice of salsa verde or chile de árbol salsa, these tacos are simple, deeply flavorful, and perfect for any cookout.


    Ingredients

      Marinade

    • ½ cup cilantro, roughly chopped
    • ⅓ cup avocado oil
    • ¼ cup soy sauce
    • ¼ cup orange juice
    • 2 tbsp lime juice (see note for overnight marinade)
    • 1 jalapeño, minced
    • 3–4 garlic cloves, crushed
    • 2–3 tbsp grated white onion
    • 1 tsp cumin
    • 1 tsp chipotle chili powder
    • 1 tsp ancho chili powder
    • ½ tsp mexican oregano
    • ⅛ tsp cinnamon
    • 1–2 tbsp Mexican Coke (optional, enhances caramelization)
    • 1 tsp Worcestershire sauce
    • Optional Dry Substitutions (If Fresh Aromatics Are Unavailable)

    • ½ tsp garlic powder (instead of fresh garlic)
    • ½ tsp onion powder (instead of fresh onion)
    • Meat

    • 1–2 lbs flank or skirt steak
    • ½–1 tsp kosher salt, for seasoning before grilling
    • Finishings

    • Corn tortillas
    • 1 white onion, diced
    • 1 bunch cilantro, stemmed and chopped
    • Salsa Verde or Chile de Árbol Salsa
    • Limes, cut into wedges

    Directions

    Prepare the Marinade

    In a bowl, combine cilantro, avocado oil, soy sauce, orange juice, lime juice, jalapeño, garlic, grated onion, cumin, chipotle chili powder, ancho chili powder, oregano, cinnamon, Mexican Coke (if using), and Worcestershire sauce.

    Mix well to blend.

    Marinate the Steak

    Place steak in a resealable plastic bag or shallow dish and pour the marinade over the top. Seal or cover tightly, pressing out excess air.

    Marinate for 2–4 hours.

    For overnight marinating, reduce lime juice to 1 tbsp to avoid surface mushiness.

    Preheat the Grill

    Heat a charcoal grill to very high heat (550–650°F) for proper searing.

    Grill the Steak

    Remove the steak from the marinade and pat completely dry with paper towels for better browning. Season both sides with ½–1 tsp kosher salt.

    Place the steak on the grill and turn it every minute for even charring. Grill until medium-rare (130–135°F), about 6–8 minutes total, though thinner pieces may finish sooner.

    Optional:

    • Boil ¼ cup reserved marinade for 1 minute and lightly baste the steak during the final minute of cooking for deeper color and flavor.

    Rest and Slice

    Let the steak rest for 5–10 minutes to allow juices to redistribute.

    Slice thinly on the bias, making sure to cut against the grain for maximum tenderness.

    Assemble the Tacos

    Warm corn tortillas until soft and pliable.

    Fill with sliced steak and top with diced onion, chopped cilantro, your choice of salsa verde or chile de árbol salsa, and a squeeze of lime.


    Notes

    Preparation

    • Skirt steak is more traditional for carne asada and tends to grill quickly with excellent flavor, though flank steak also works beautifully. Cutting on the bias gives each slice more surface area, enhancing tenderness and making the meat easier to layer into tacos.
    • If using the optional Mexican Coke, it adds caramelization and depth without making the marinade taste sweet.

    Serving Suggestions

    • Great with Mexican Rice, Refried Beans, or Lime-Pickled Red Onions.
    • Offer both salsas—verde for brightness, chile de árbol for heat.

    Variations

    • Add a pinch of smoked paprika for a subtle smoky note without overpowering the grill flavor.
    • Swap jalapeño for serrano for more heat.

    Make-Ahead & Storage

    • Marinade can be made 2–3 days in advance.
    • Leftover carne asada keeps 3 days refrigerated.
    • Reheat sliced steak briefly in a hot skillet to avoid drying out.
  • Pumpkin Spice Steamer

    Pumpkin Spice Steamer

    This cozy pumpkin-spice drink, adapted from Aunt Laurie’s holiday favorite, fills the kitchen with warmth and nostalgia. Creamy, fragrant, and gently spiced, it’s perfect for Thanksgiving, Sinterklaas, and Christmas gatherings—or any chilly evening.


    Ingredients

    • 5 cups whole milk (or 4 cups milk + 1 cup half-and-half)
    • ⅓ cup sugar (adjust to taste)
    • ¾ cup pumpkin purée (not pie filling)
    • ½ tsp pumpkin pie spice
    • ½ tsp vanilla extract
    • Pinch of salt
    • Optional: 2 tbsp nonfat dry milk powder (adds creaminess)
    • Optional: ⅛ tsp xanthan gum (improves texture and body)
    • Whipped cream, for serving
    • Optional: ground cinnamon or nutmeg, for garnish

    Directions

    Heat the Base

    In a medium saucepan, whisk together the milk, sugar, pumpkin purée, pumpkin pie spice, and salt. If using nonfat dry milk powder or xanthan gum, whisk them in thoroughly at this stage. Warm gently over medium heat, stirring frequently, until the mixture is hot and steaming but not boiling.

    Finish and Serve

    Remove from heat and stir in the vanilla extract. Whisk or blend briefly with an immersion blender until lightly frothy. Pour into mugs, top with whipped cream, and sprinkle with a touch of cinnamon or nutmeg, if desired.

    Optional Variation

    For a richer drink, replace 1 cup of milk with half-and-half or add 1 tbsp butter before serving. For an extra aromatic touch, garnish with a cinnamon stick or star anise.


    Notes

    Preparation

    • Do not allow the mixture to boil—this helps maintain a smooth texture and prevents scorching.
    • Whisk dry milk powder and xanthan gum well before heating to avoid clumping.
    • A small pinch of salt enhances the pumpkin and spice notes while balancing sweetness.

    Serving Suggestions

    • Serve as a warm holiday drink for Thanksgiving, Sinterklaas, or Christmas gatherings.
    • Top with Maple Whipped Cream, or traditional whipped cream and a dusting of cinnamon or nutmeg for presentation.
    • Pairs well with pumpkin pie, spice cake, or gingerbread cookies.

    Make-Ahead & Storage

    • The spiced milk mixture can be prepared a few hours in advance and reheated gently before serving.
    • Store leftovers in the refrigerator for up to 2 days; reheat slowly over low heat, whisking to restore texture.
  • Buttermilk Biscuits

    Buttermilk Biscuits

    Tall, flaky, and tender, these buttermilk biscuits are our elevated take on a classic Southern staple. Grated butter, gentle folds, and a blast of high heat create dramatic layers, while buttermilk adds subtle tang and softness. Perfect for Sunday breakfast, sausage gravy, or warm from the oven with a generous swipe of butter.


    Ingredients

      Biscuits

    • 4 cups self-rising flour
    • 1–2 tbsp sugar (optional)
    • ¾ cup unsalted butter, grated and frozen 10–15 minutes
    • ¼ cup shortening (optional, adds tenderness)
    • 1 large egg (or omit for fluffier, more delicate biscuits)
    • 1½ cups buttermilk, plus more as needed
    • ½ tsp table salt (recommended for flavor balance)
    • Glaze

    • 1 egg, beaten
    • 1 tbsp buttermilk

    Directions

    Prepare the Dough

    Preheat oven to 475ºF (245ºC). Line a baking sheet with parchment paper.

    Whisk together self-rising flour, sugar (if using), and salt. Add grated frozen butter and shortening; toss lightly to distribute.

    Stir in the egg (if using), then add buttermilk. Mix gently with a wooden spoon until just combined; add an extra tablespoon of buttermilk at a time only if the dough seems dry.

    Fold & Shape

    Turn dough onto a lightly floured surface. Pat into a rough rectangle about ¾″ thick. Fold the right third over the center, then the left third (like an envelope). Pat back to ¾″, then repeat the fold 2–3 more times.

    Pat to a final thickness of about 1″. Cut biscuits with a sharp cutter, pressing straight down without twisting. Gather scraps, pat gently, and re-cut.

    Arrange biscuits on the prepared baking sheet with sides touching for higher rise.

    Glaze & Bake

    Whisk together egg and buttermilk; brush lightly over the tops.

    Bake at 475ºF for 5 minutes, then reduce heat to 450ºF (no need to open the oven) and bake 6–8 minutes more, or until deeply golden.

    Brush hot biscuits with melted butter. Let rest 5 minutes before serving.


    Notes

    Preparation

    • Freezing the grated butter helps create dramatic layers and prevents premature melting.
    • Using both butter and shortening gives restaurant-quality flakiness and tenderness.
    • For the tallest biscuits, keep dough cold and handle it as little as possible.
    • Patting dough to 1″ thickness produces higher, fluffier biscuits.
    • If substituting all-purpose flour for self-rising flour: use 1 cup all-purpose flour + 1½ tsp baking powder + ¼ tsp salt per cup. For this recipe: 4 cups all-purpose flour + 6 tsp (2 tbsp) baking powder + 1 tsp salt.

    Serving Suggestions

    • Serve with Sausage Gravy and fried eggs for a classic Southern breakfast.
    • Pair with honey butter, jam, or sorghum molasses.
    • Split and toast leftovers for sandwiches.

    Variations

    • Cheddar & chive biscuits: fold in 1 cup shredded cheddar and ¼ cup chopped chives.
    • Sweet cream biscuits: omit egg and substitute sweet cream for buttermilk.
    • Cinnamon–brown sugar biscuits: add 1 tsp cinnamon and increase sugar to 3 tbsp.

    Make-Ahead & Storage

    • Refrigerate cut, unbaked biscuits up to 1 day; bake straight from fridge.
    • Freeze unbaked biscuits up to 1 month; bake from frozen, adding 2–3 minutes.
    • Baked biscuits keep 2–3 days at room temperature; reheat at 350ºF for 5–7 minutes.
  • Buttermilk Substitutes

    Buttermilk Substitutes

    When a recipe calls for buttermilk and there’s none in the refrigerator, choose either of these two simple substitutes. The yogurt version is smooth, tangy, and closest to cultured buttermilk, while the milk-and-acid version is a convenient alternative made with ingredients you may already have.


    Option 1: Yogurt & Milk

    Ingredients

    • ¾ cup plain yogurt
    • ½ cup milk, adjusted as needed for consistency
    • ⅛ tsp table salt

    Directions

    Whisk the yogurt, milk, and salt together until smooth and pourable, adjusting the milk as needed. Measure out the amount of buttermilk called for in your recipe.

    Yield: About 1¼ cups.


    Option 2: Milk & Lemon Juice or Vinegar

    Ingredients

    • 1 tbsp lemon juice or white vinegar
    • milk, enough to make 1 cup total

    Directions

    Place the lemon juice or vinegar in a measuring cup. Add enough milk to bring the total volume to 1 cup, then stir.

    Allow the mixture to stand for 5–10 minutes. Stir before using.

    Yield: 1 cup.


    Notes

    Preparation

    • Use unsweetened plain yogurt. The amount of milk needed will depend on the thickness of the yogurt; thick Greek yogurt may need more.
    • Increase or decrease either recipe as needed, keeping the same proportions.
    • These are quick alternatives for recipes that call for buttermilk; neither method makes cultured buttermilk.
  • Oven-Fried Fries

    Oven-Fried Fries

    Crisp on the outside and tender inside, these simple oven-fried fries are a quick family favorite. They deliver the satisfying crunch of classic fries without deep-frying—perfect for weeknight burgers, sandwiches, or snacking straight from the pan.


    Ingredients

    • potatoes, peeled and sliced
    • vegetable oil
    • salt, to taste

    Directions

    Prep the Oven

    Preheat oven to 450ºF. Lightly oil a baking sheet.

    Coat the Potatoes

    Place sliced potatoes on the baking sheet and drizzle with vegetable oil. Rub the potatoes together with your hands to evenly coat them.

    Bake

    Spread potatoes into a single even layer. Bake for 25–35 minutes, flipping after about 15 minutes, until golden and browned.


    Notes

    Preparation

    • For extra-crisp fries, soak sliced potatoes in cold water for 20–30 minutes, then dry thoroughly before oiling.
    • Be sure the potatoes are in a single layer to ensure even browning.
    • Season immediately after baking so the salt adheres well.

    Serving Suggestions

    • Serve with burgers, sandwiches, grilled meats, or alongside homemade chicken tenders.
    • Pair with fry sauce, ketchup, chipotle mayo, ranch, or garlic aioli.
    • Finish with chopped herbs such as parsley, chives, or rosemary for added aroma.

    Variations

    • Toss with garlic powder, smoked paprika, or black pepper before baking.
    • Make “steak fries” by cutting potatoes thicker and baking slightly longer.
    • Use Yukon Golds for a creamy interior or Russets for maximum crispness.

    Make-Ahead & Storage

    • Best served immediately for maximum crispness.
    • To reheat, bake at 425ºF for 8–10 minutes to refresh texture.
    • Leftovers can be stored in an airtight container in the refrigerator for up to 3 days.
  • German Chocolate Cake — From Scratch

    German Chocolate Cake — From Scratch

    The not-so-German, German Chocolate Cake is actually an American classic. The recipe comes from a Texas homemaker, Mrs. Clay, whose cake calling for German’s Sweet Chocolate was first published in the Dallas Morning News in 1957. German’s Sweet Chocolate itself was created much earlier, in 1852, by Samuel German—an American baker of English descent—for Baker’s Chocolate Company. Originally known as “German’s Chocolate Cake,” the possessive was eventually dropped, but the cake’s rich flavor and nostalgic charm have endured for generations.


    Ingredients

      Cake

    • 2¼ cups all-purpose flour
    • 1 pkg (4 oz) Baker’s German sweet chocolate
    • ½ cup water
    • 1 tsp baking soda
    • ¼ tsp table salt
    • 1 cup (2 sticks) butter, softened
    • 2 cups sugar
    • 4 eggs, separated
    • 1 tsp vanilla extract
    • 1 cup buttermilk
    • ⅛ tsp espresso powder (optional, enhances chocolate flavor)
    • Frosting

    • 4 egg yolks
    • 1 can (12 oz) evaporated milk
    • 1½ tsp vanilla extract
    • 1½ cups sugar
    • ¾ cup (1½ sticks) butter
    • 2⅔ cups unsweetened shredded coconut
    • 1½ cups pecans, chopped
    • ¼ tsp table salt (optional, to balance sweetness)

    Directions

    Prepare the Cake

    Preheat oven to 350°F (175°C). Line the bottoms of three 9-inch round cake pans with parchment or wax paper and lightly grease the sides.

    Microwave chocolate and water in a heatproof bowl for 1½–2 minutes, stirring every 30 seconds until almost melted. Stir until smooth and set aside to cool slightly.

    In a medium bowl, whisk together flour, baking soda, salt, and espresso powder (if using). Set aside.

    In a large mixing bowl, beat butter and sugar with an electric mixer on medium speed until light and fluffy, about 3 minutes. Add egg yolks one at a time, mixing well after each addition. Blend in melted chocolate and vanilla.

    Add the flour mixture alternately with the buttermilk, beginning and ending with flour, and beat until just combined.

    In a separate bowl, beat egg whites until soft peaks form. Gently fold into the batter using a spatula until evenly incorporated.

    Bake

    Divide batter evenly among prepared pans. Bake for 30 minutes or until a toothpick inserted in the center comes out clean. Immediately run a thin knife around the edges to loosen the cakes.

    Cool in pans for 15 minutes, then remove from pans and transfer to wire racks. Discard parchment and cool completely before frosting.

    Make the Frosting

    In a medium saucepan, whisk together egg yolks, evaporated milk, and vanilla until blended. Add sugar and butter. Cook over medium heat, stirring constantly, until the mixture thickens and turns golden brown (about 12 minutes).

    Remove from heat and stir in coconut, pecans, and salt (if using). Mix well and cool completely before spreading. The frosting will thicken as it cools.

    Assemble the Cake

    Spread frosting between layers and on top of the cake. Garnish with extra pecans if desired. This recipe yields about 16 servings. (For generous layers, we often double the frosting recipe — a must for a three-layer cake!)


    Notes

    Preparation

    • Ensure chocolate has cooled slightly before mixing into batter to prevent scrambling the eggs.
    • Adding espresso powder enhances chocolate depth without changing flavor.
    • Frosting thickens as it cools—spread only when fully cooled for best texture.
    • Double the frosting for a three-layer cake.

    Serving Suggestions

    • Serve at room temperature for the best flavor and texture.
    • Top with extra toasted pecans or a drizzle of melted chocolate for an elegant finish.

    Make-Ahead & Storage

    • Frosting can be made up to 3 days in advance; refrigerate and bring to room temperature before using.
    • Cake layers freeze beautifully—wrap individually and freeze up to 2 months. Thaw completely before frosting.
    • Store frosted cake covered at room temperature for up to 2 days, or refrigerated for up to 5 days.

    Shortcut Option

    • For a simpler approach with equally impressive results, try our German Chocolate Cake — Bakery Structure with Box Convenience, which upgrades a boxed mix for richer flavor, taller layers, and beautifully clean slices.
  • Chile Verde Burritos

    Chile Verde Burritos

    The 9th of 11, Grandma grew up in a large family that loved to sing together while washing dishes after a delicious meal. Nobody ever walked away hungry–a tradition that continues to this day. Every year Grandma’s family would meet for a week-long family reunion. Our family and Uncle Jay’s (#10 of 11) would never miss. We’d always extend the reunion by a week, spending extra time with Uncle Jay, Aunt Barbara, and their four kids. Our adventures were so memorable that many of my favorite childhood memories include Uncle Jay’s family. The first time I remember eating these burritos was at a dinner in their home in San Jose. I still drool a little every time I think about it! This recipe is a variation of Uncle Jay’s, adapted for the Instant Pot. While his original uses red Los Palmas sauce, my version uses green enchilada sauce and a flavorful braising liquid seasoned with citrus, chiles, and spices. Pressure cooking produces tender, flavorful pork while making the recipe easier to prepare for a larger group.


    Ingredients

    • 3–4 lb (1.4–1.8 kg) pork shoulder (½ of a boneless shoulder)
    • 1 tbsp (15 ml) lard plus 2 tbsp (30 ml) avocado oil, divided
    • 2 large onions, chopped
    • 1 recipe Refried Beans
    • 1 can, 7 oz (198 g), Ortega diced green chiles, undrained
    • 1–2 cups (240–475 ml) homemade green enchilada sauce (or Los Palmas), to taste
    • jack cheese, grated
    • flour tortillas

    Braising Liquid

    • 1½ cups (355 ml) chicken broth
    • ½ cup (about 15 g) cilantro
    • ⅓ cup (80 ml) avocado oil
    • ¼ cup (60 ml) soy sauce
    • ¼ cup (60 ml) orange juice
    • 2 tbsp (30 ml) lime juice
    • 2 tsp salt
    • 1 jalapeño, minced
    • 1 tsp cumin
    • 1 tsp chipotle chili powder
    • 1 tsp ancho chili powder
    • ½ tsp garlic powder
    • ½ tsp onion powder
    • ½ tsp Mexican oregano
    • ¼ tsp cinnamon

    For Serving

    • diced white onion and chopped cilantro, to taste (optional)

    For Smothered Burritos (Optional)

    • 1 can, 28 oz (794 g), Los Palmas green enchilada sauce
    • 1 tbsp (12 g) sugar
    • ⅓ cup (80 ml) reserved braising liquid
    • ¼–½ tsp xanthan gum

    Directions

    Braise

    Slice pork shoulder into chunks of about 1 lb (454 g) each. In an Instant Pot, combine all braising liquid ingredients.

    In a skillet, heat 1 tbsp (15 ml) avocado oil and 1 tbsp (15 ml) lard; brown pork chunks on all sides and place in braising liquid.

    Place lid on Instant Pot and close steam vent. Process on high pressure for 45 minutes.

    Allow pressure to release naturally for 30 minutes.

    Combine Ingredients

    Add an additional 1 tbsp (15 ml) avocado oil to skillet and heat until shimmering. Add onion and sauté until softened and slightly browned.

    Place refried beans in a large mixing bowl; stir in sautéed onions, green chiles, and enchilada sauce.

    Remove meat from braising liquid and cut into chunks or shred; stir into refried bean mixture.

    Serve

    Serve rolled in a warm tortilla with grated jack cheese, diced white onion, and chopped cilantro.

    Serve with Salsa Verde, a side of Mexican Rice, and a tomato-cucumber salad with Espiau’s Vinaigrette.

    For smothered burritos, heat one 28 oz (794 g) can of Los Palmas green enchilada sauce. Add 1 tbsp (12 g) sugar and ⅓ cup (80 ml) of the remaining braising liquid; heat to boiling. Whisk in ¼–½ tsp xanthan gum to thicken slightly. Spoon some into the burrito, then smother with sauce and cheese; broil to melt.

    Yield: 8–10 servings.


    Notes

    Preparation

    • The seasoned braising liquid gives the pork a rich, well-developed flavor during pressure cooking, making this recipe especially convenient for serving large groups.
    • For a milder filling, use only 1 cup (240 ml) enchilada sauce; for richer sauciness, use the full 2 cups (475 ml).
    • Be sure to sauté the onions until lightly browned—this adds sweetness and depth to the bean mixture.
    • The original version of this family recipe can be found here: Original Chile Verde Burritos.

    Variations

    • Chicken: Substitute half the pork with chicken thighs for a lighter filling.
    • Hatch Chiles: Use Hatch green chiles in place of Ortega for a smokier, more robust flavor.
    • Extra Heat: To make it spicier, add an extra minced jalapeño to the bean mixture.

    Serving Suggestions

    • Great served with Mexican Rice, Salsa Verde, and plenty of fresh cilantro.
    • For a crowd, keep tortillas warm in a low oven and serve burrito fillings buffet-style.

    Make-Ahead & Storage

    • Filling can be prepared 1–2 days in advance; flavor improves as it rests.
    • Store filling separately from tortillas to prevent sogginess.
    • Leftovers freeze well for up to 3 months—thaw and reheat gently before serving.
  • Buttermilk Syrup

    Buttermilk Syrup

    Rich, creamy, and lightly caramelized, this buttermilk syrup is a warm, velvety topping for pancakes, waffles, or French toast. It bubbles up as it cooks, creating a smooth, frothy texture that perfectly balances sweetness with a hint of tang from the buttermilk.


    Ingredients

    • 1½ cups sugar
    • ¾ cup buttermilk
    • ½ cup butter
    • 2 tbsp corn syrup (optional)
    • 1 tsp baking soda
    • 2 tsp vanilla extract

    Directions

    Cook the Syrup

    In a large saucepan, combine all ingredients except baking soda and vanilla. Stir constantly over medium heat until the mixture reaches a steady boil.

    Boil for about 3½ minutes, watching carefully — the syrup will foam up once baking soda is added, so ensure your saucepan is large enough to accommodate expansion.

    Finish and Serve

    Remove from heat and whisk in baking soda and vanilla extract. Stir until the mixture becomes frothy and smooth. Serve warm over pancakes, waffles, or French toast.


    Notes

    Preparation

    • Use a large saucepan (at least 3 quarts) since the syrup will triple in volume when baking soda is added.
    • Thickness control: The 3½-minute boil is the baseline. For a thicker syrup, extend the boil to 4–5 minutes before adding baking soda; for a lighter/thinner syrup, boil 2½–3 minutes. It will thicken further as it cools, so rewarm gently to loosen before serving.
    • Whisk continuously after adding baking soda to achieve a light, foamy texture.

    Serving Suggestions

    • Serve warm over French toast, pancakes, waffles, or crêpes.
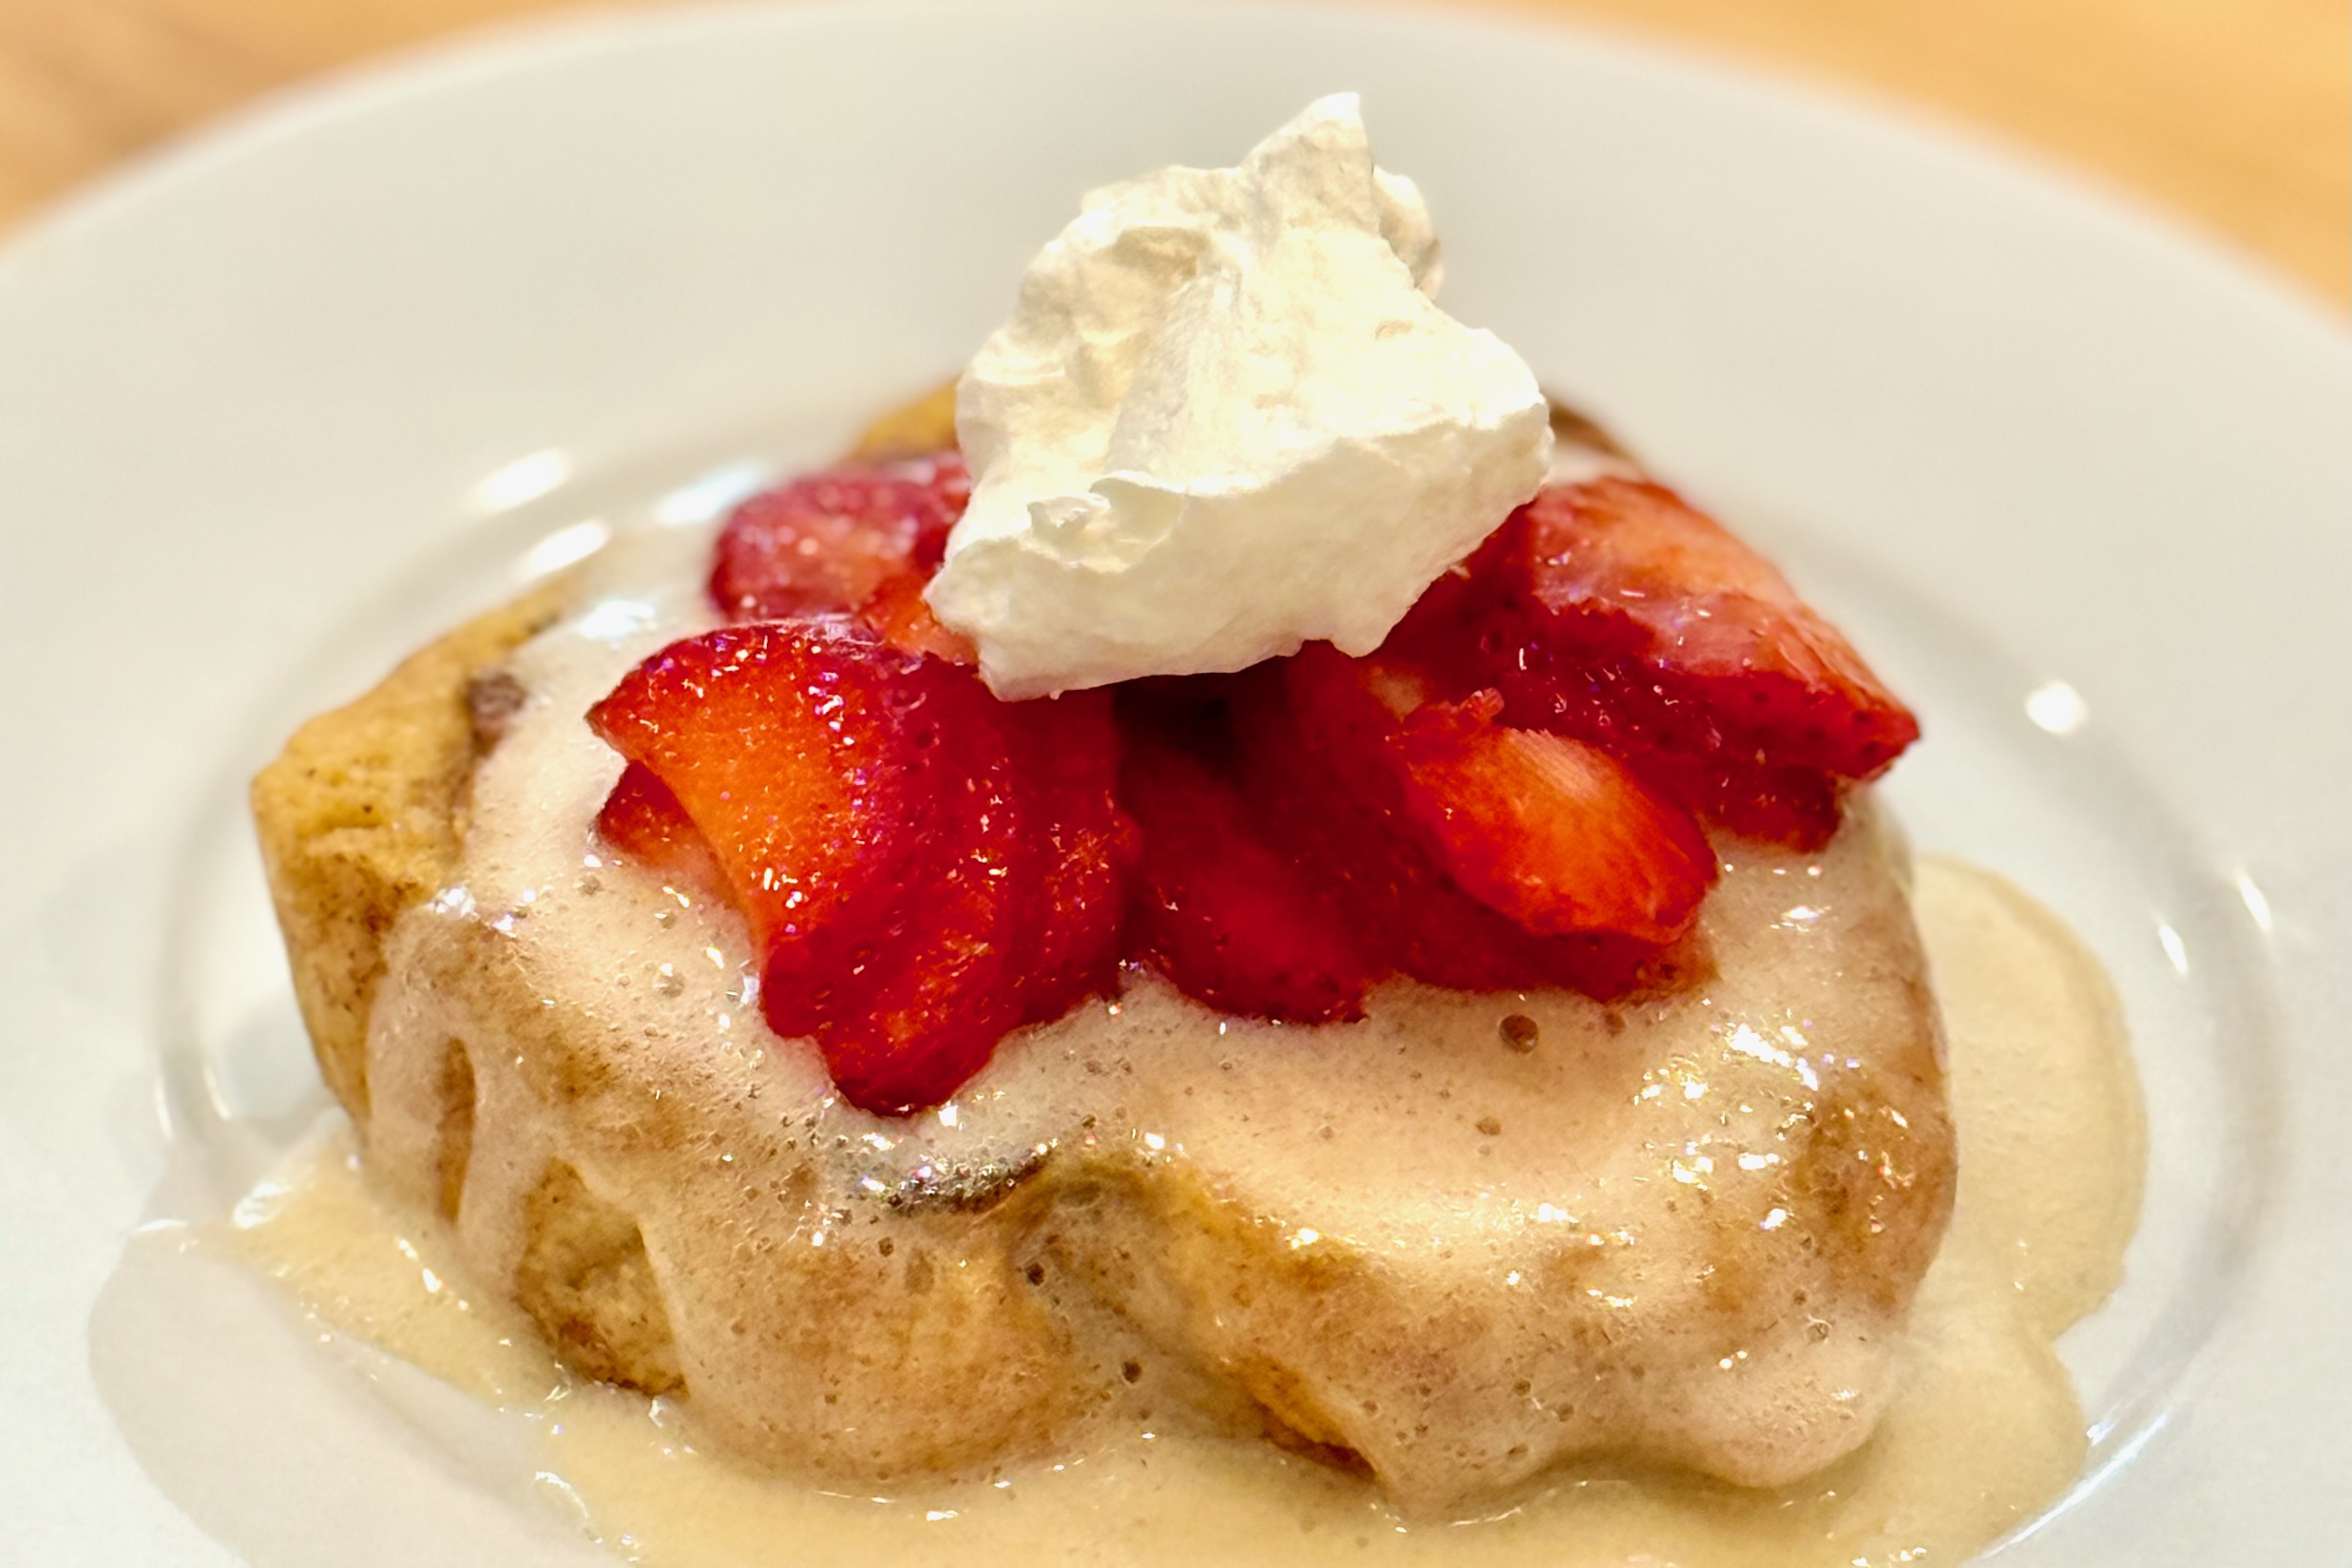
    • Top French toast made with chunky cinnamon bread and garnish with strawberries and whipped cream for a restaurant-style brunch.

    Variations

    • Maple Buttermilk Syrup: Substitute maple syrup for corn syrup.
    • Orange Buttermilk Syrup: Stir in 1 tsp orange zest after adding vanilla extract.
    • Coconut Buttermilk Syrup: Reduce vanilla extract to ½ tsp and add ½ tsp coconut flavoring.

    Make-Ahead & Storage

    • Store in an airtight container in the refrigerator for up to 1 week.
    • Reheat gently on the stovetop or in the microwave, stirring before serving.
    • Do not boil again after reheating to preserve its smooth, creamy consistency.