Bags of Spices

Favorite Recipes

Extracts & Infusions

Slow-crafted flavor foundations—extracts, infused oils, and spirits that capture and concentrate essential flavors for use across sweet and savory cooking.

  • Ghost Pepper Hot Honey

    Ghost Pepper Hot Honey

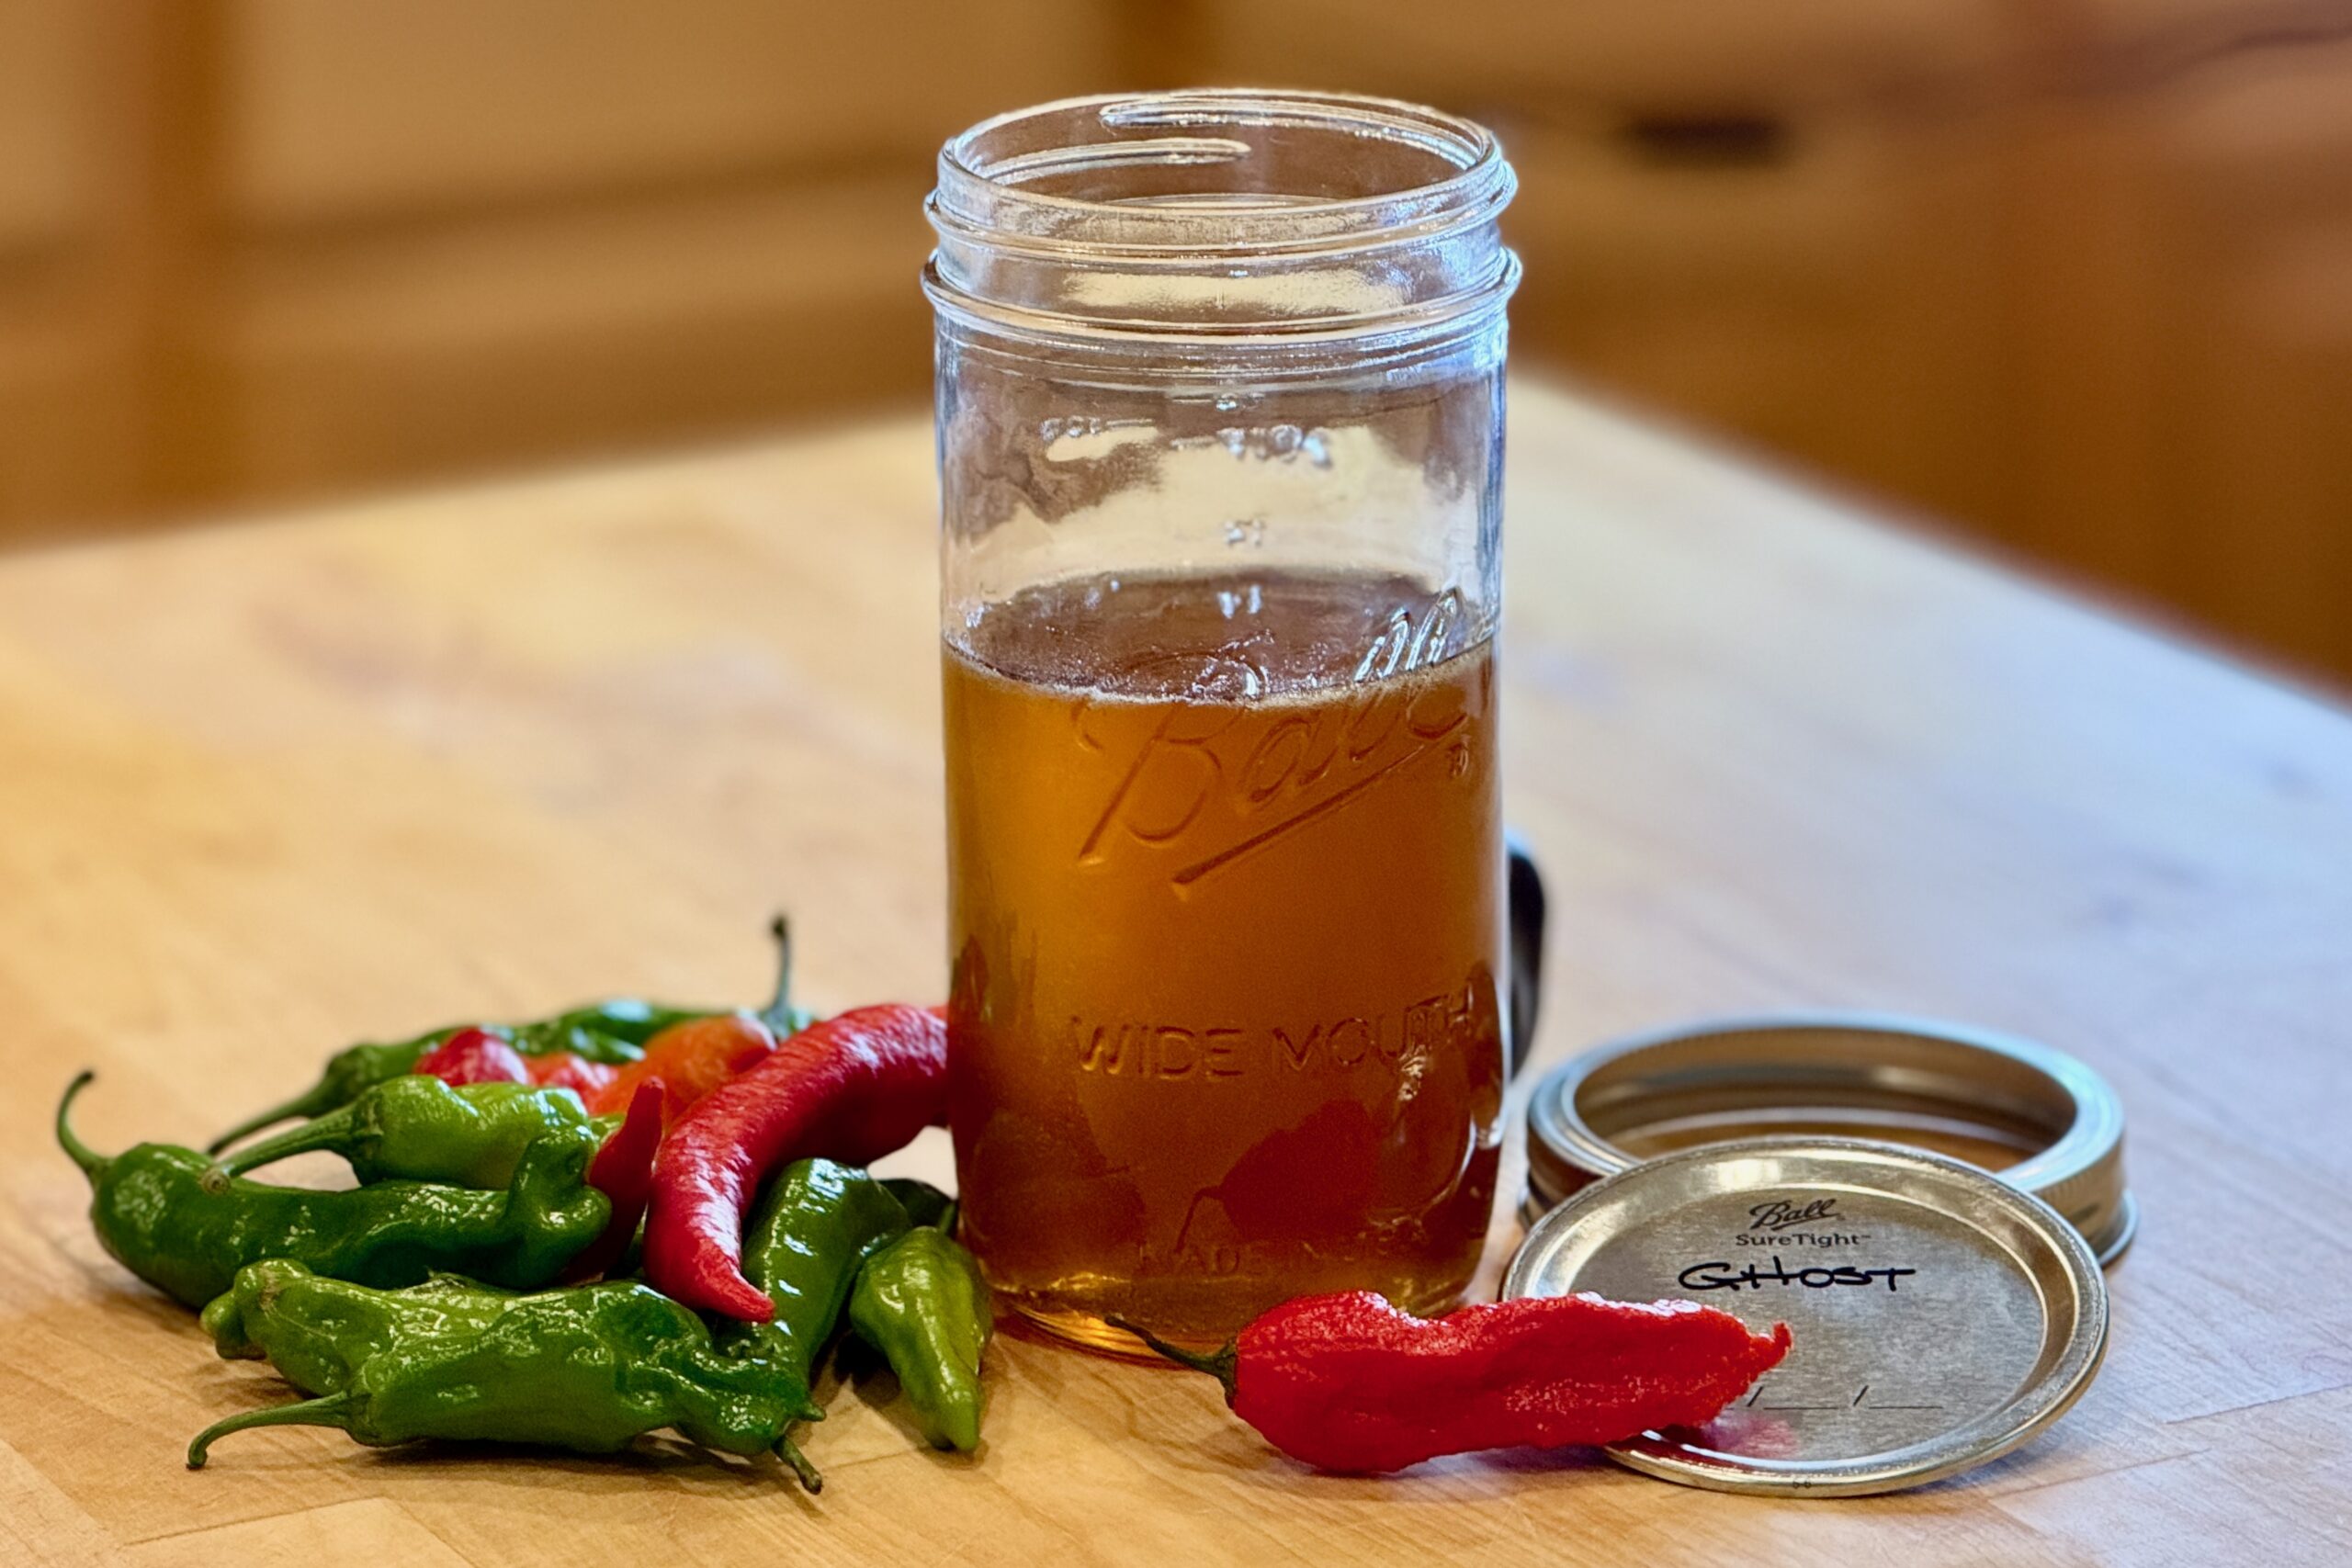
    This ghost pepper hot honey has become my favorite version because ghost peppers bring more than intense heat—they have a surprisingly fruity character that comes through beautifully in the honey. The first taste begins sweet and fragrant, then the heat gradually builds and lingers. Holding the sous vide bath at a gentle 130°F (54°C) infuses the pepper while helping preserve more of the raw honey’s natural flavor, enzymes, and antioxidant compounds than a higher-temperature infusion. The result is especially good on pizza, fried chicken, biscuits, barbecue, and anywhere a little sweetness and serious heat belong together.


    Ingredients

    • 16 oz (455 g) unfiltered raw honey
    • 1 fresh ghost pepper
    • Pinch of table salt (optional)

    Directions

    Prepare the Jar

    Lightly bruise the ghost pepper with the side of a knife without cutting it open. Add the honey, ghost pepper, and optional salt to a small mason jar. Seal the jar finger-tight so pressure can equalize during the infusion.

    Infuse Sous Vide

    Set a sous vide bath to 130°F (54°C). Submerge the jar and infuse for 2 hours.

    Strain and Store

    Remove the jar from the water bath and let it cool just enough to handle comfortably. Remove the ghost pepper and strain the honey through a fine-mesh strainer.

    For a cleaner finish and better consistency, strain again through cheesecloth or a coffee filter before transferring to a clean jar for storage.

    Yield: 16 oz (455 g).


    Notes

    Preparation

    • Bruising the pepper allows its fruity flavor and heat to infuse the honey without releasing as much capsaicin as cutting it open.
    • If your honey is very thick or lightly crystallized, it may loosen naturally during the infusion.
    • Wear gloves when handling ghost peppers, and avoid touching your face or eyes afterward.
    • The heat may seem moderate at first but builds noticeably after tasting.

    Variations

    • For less heat, shorten the infusion time.
    • For considerably more heat, cut the ghost pepper open before infusing.

    Serving Suggestions

    • Drizzle over fried chicken, pizza, roasted vegetables, cornbread, or biscuits.
    • Use as a finishing touch for pulled pork, brisket, grilled chicken, or ribs.
    • Stir a small amount into barbecue sauce, vinaigrettes, marinades, or a mango lassi for balanced sweetness and heat.

    Make-Ahead & Storage

    • Store in a clean jar in the refrigerator for the best shelf life.
    • If the honey crystallizes in storage, warm the jar gently in hot water until fluid again.
    • Because this recipe uses fresh pepper, thorough straining is important for stability and consistency.
  • Vanilla Extract

    Vanilla Extract

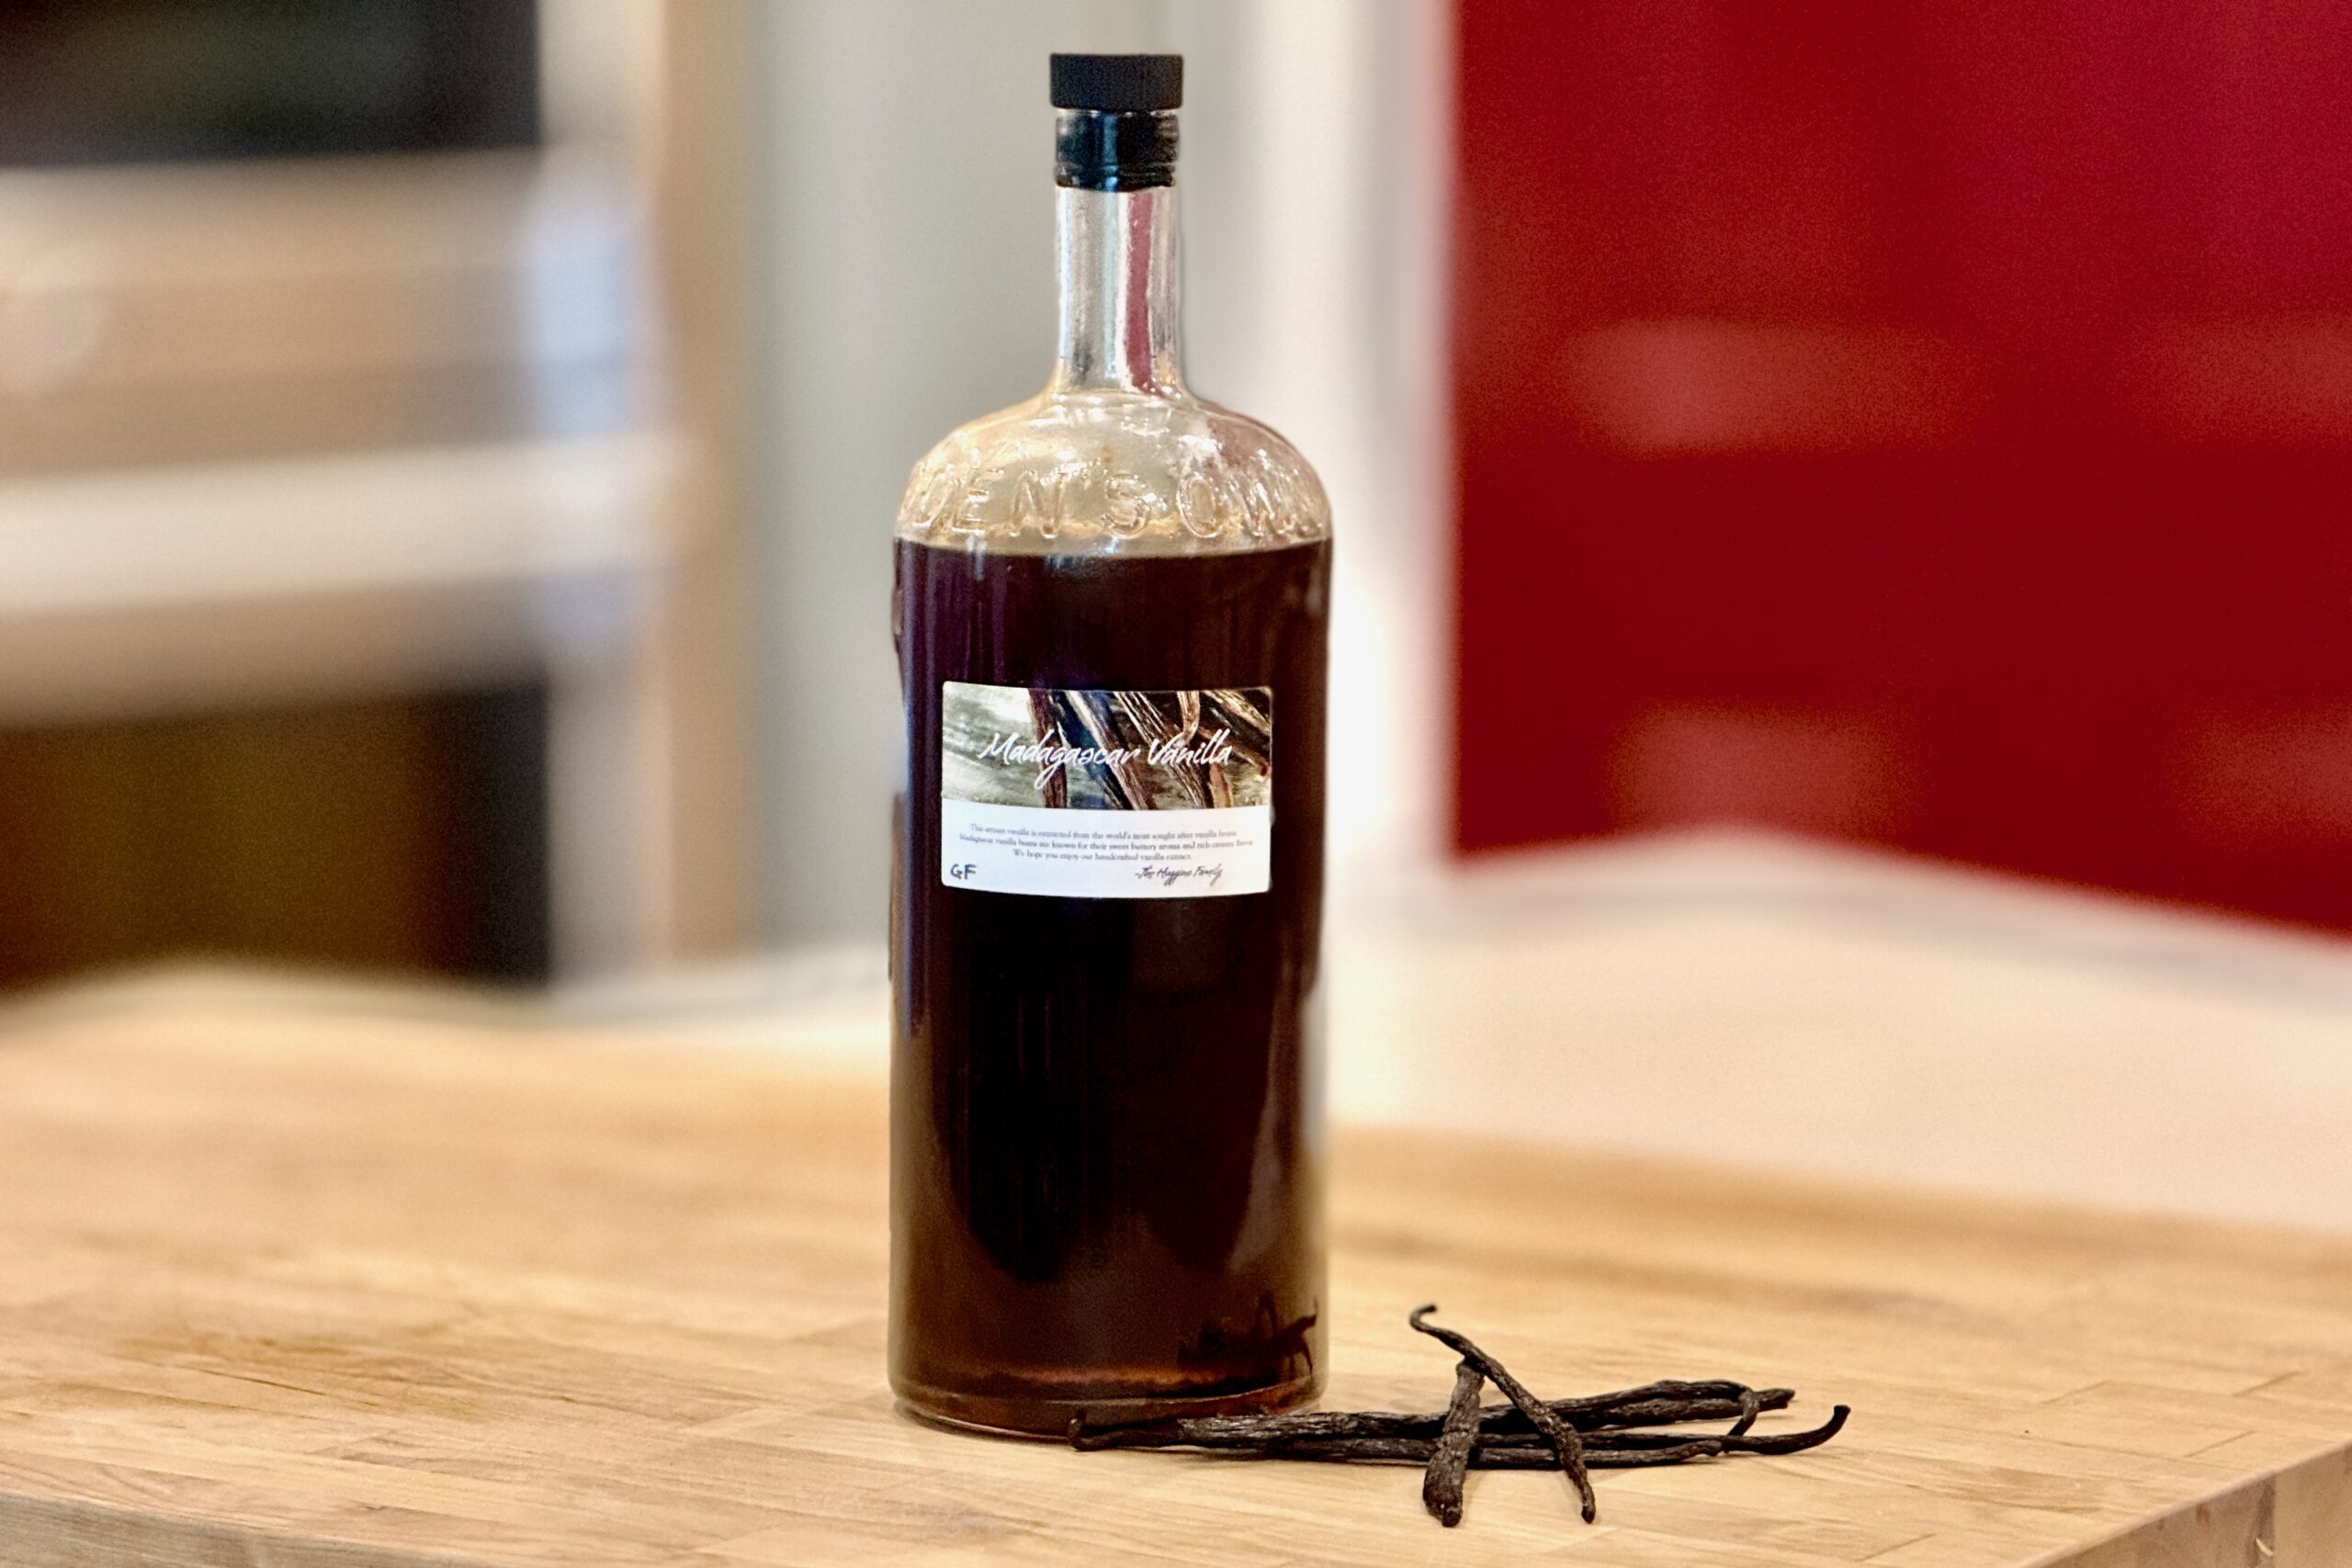
    Homemade vanilla extract is one of those quiet staples that rewards patience. Made with just two ingredients—vanilla beans and liquor—it develops a deep, rounded flavor over time that far surpasses most store-bought versions. Our method uses a practical single-fold-style ratio of vanilla beans to liquor, giving a reliable starting point whether you’re making a small bottle or scaling up for gifts or long-term use.


    Ingredients

    • 12.7 fl oz (375 ml) vodka (or light rum or bourbon)
    • 1⅓ oz (37.5 g) vanilla beans

    Directions

    Prepare the Beans

    Beginning just below the curved end of each vanilla bean, split the pod lengthwise, leaving the top intact.

    The split beans can also be cut into 1–2 inch (2.5–5 cm) segments to increase surface area and improve extraction.

    Combine

    Place the prepared vanilla beans into the liquor.

    Seal the bottle and shake well.

    Extract

    Store in a cool, dark place.

    Shake daily for the first 2 weeks to help initiate extraction.

    After that, shake every few days for an additional 6 weeks.

    Finish

    Begin tasting the extract after about 8 weeks. For a fuller, more rounded flavor, allow it to mature for several additional months.

    Yield: About 12.7 fl oz (375 ml) vanilla extract.


    Notes

    Preparation

    • Use liquor that is at least 70 proof (35% alcohol) for proper extraction.
    • Vodka produces a clean, neutral extract; bourbon and rum add subtle background flavor. Madagascar Bourbon-type beans tend toward a rich, classic flavor, while Tahitian beans often have more floral notes; origins and individual batches vary.
    • For best results, use a glass bottle with a tight-fitting lid.
    • For home batches, use 0.1 g vanilla beans per 1 ml liquor—for example, 37.5 g beans for 375 ml liquor. The commercial single-fold standard is based on beans at a specified moisture content and the volume of finished extract; wetter beans require a higher bean weight.

    Variations

    • Double-Fold Extract: double the vanilla bean weight for a more concentrated extract.
    • Blended Spirits: Blend different spirits, such as vodka and bourbon, for a layered flavor profile.
    • Bean Origins: Use beans from different origins to explore flavor differences, from deeper cocoa-like notes to brighter floral tones.

    Serving Suggestions

    • Use in baking, custards, ice cream, and sauces.
    • Add a splash to whipped cream or oatmeal for extra depth.

    Make-Ahead & Storage

    • Keep the bottle tightly sealed in a cool, dark place, away from heat and sunlight. Keep the beans submerged in the liquor while extracting.
    • Adding liquor dilutes the extract. For a new full-strength batch, add fresh beans in the same bean-to-liquor ratio and allow time for extraction.
    • Beans can be reused for a second batch, though the flavor will be lighter.
    • For scaling, use 0.35 oz (10 g) beans per 3.4 fl oz (100 ml) liquor, 0.88 oz (25 g) per 8.5 fl oz (250 ml), 1.76 oz (50 g) per 16.9 fl oz (500 ml), 2.65 oz (75 g) per 25.4 fl oz (750 ml), or 3.53 oz (100 g) per 33.8 fl oz (1 liter).
  • Habanero Hot Honey

    Habanero Hot Honey

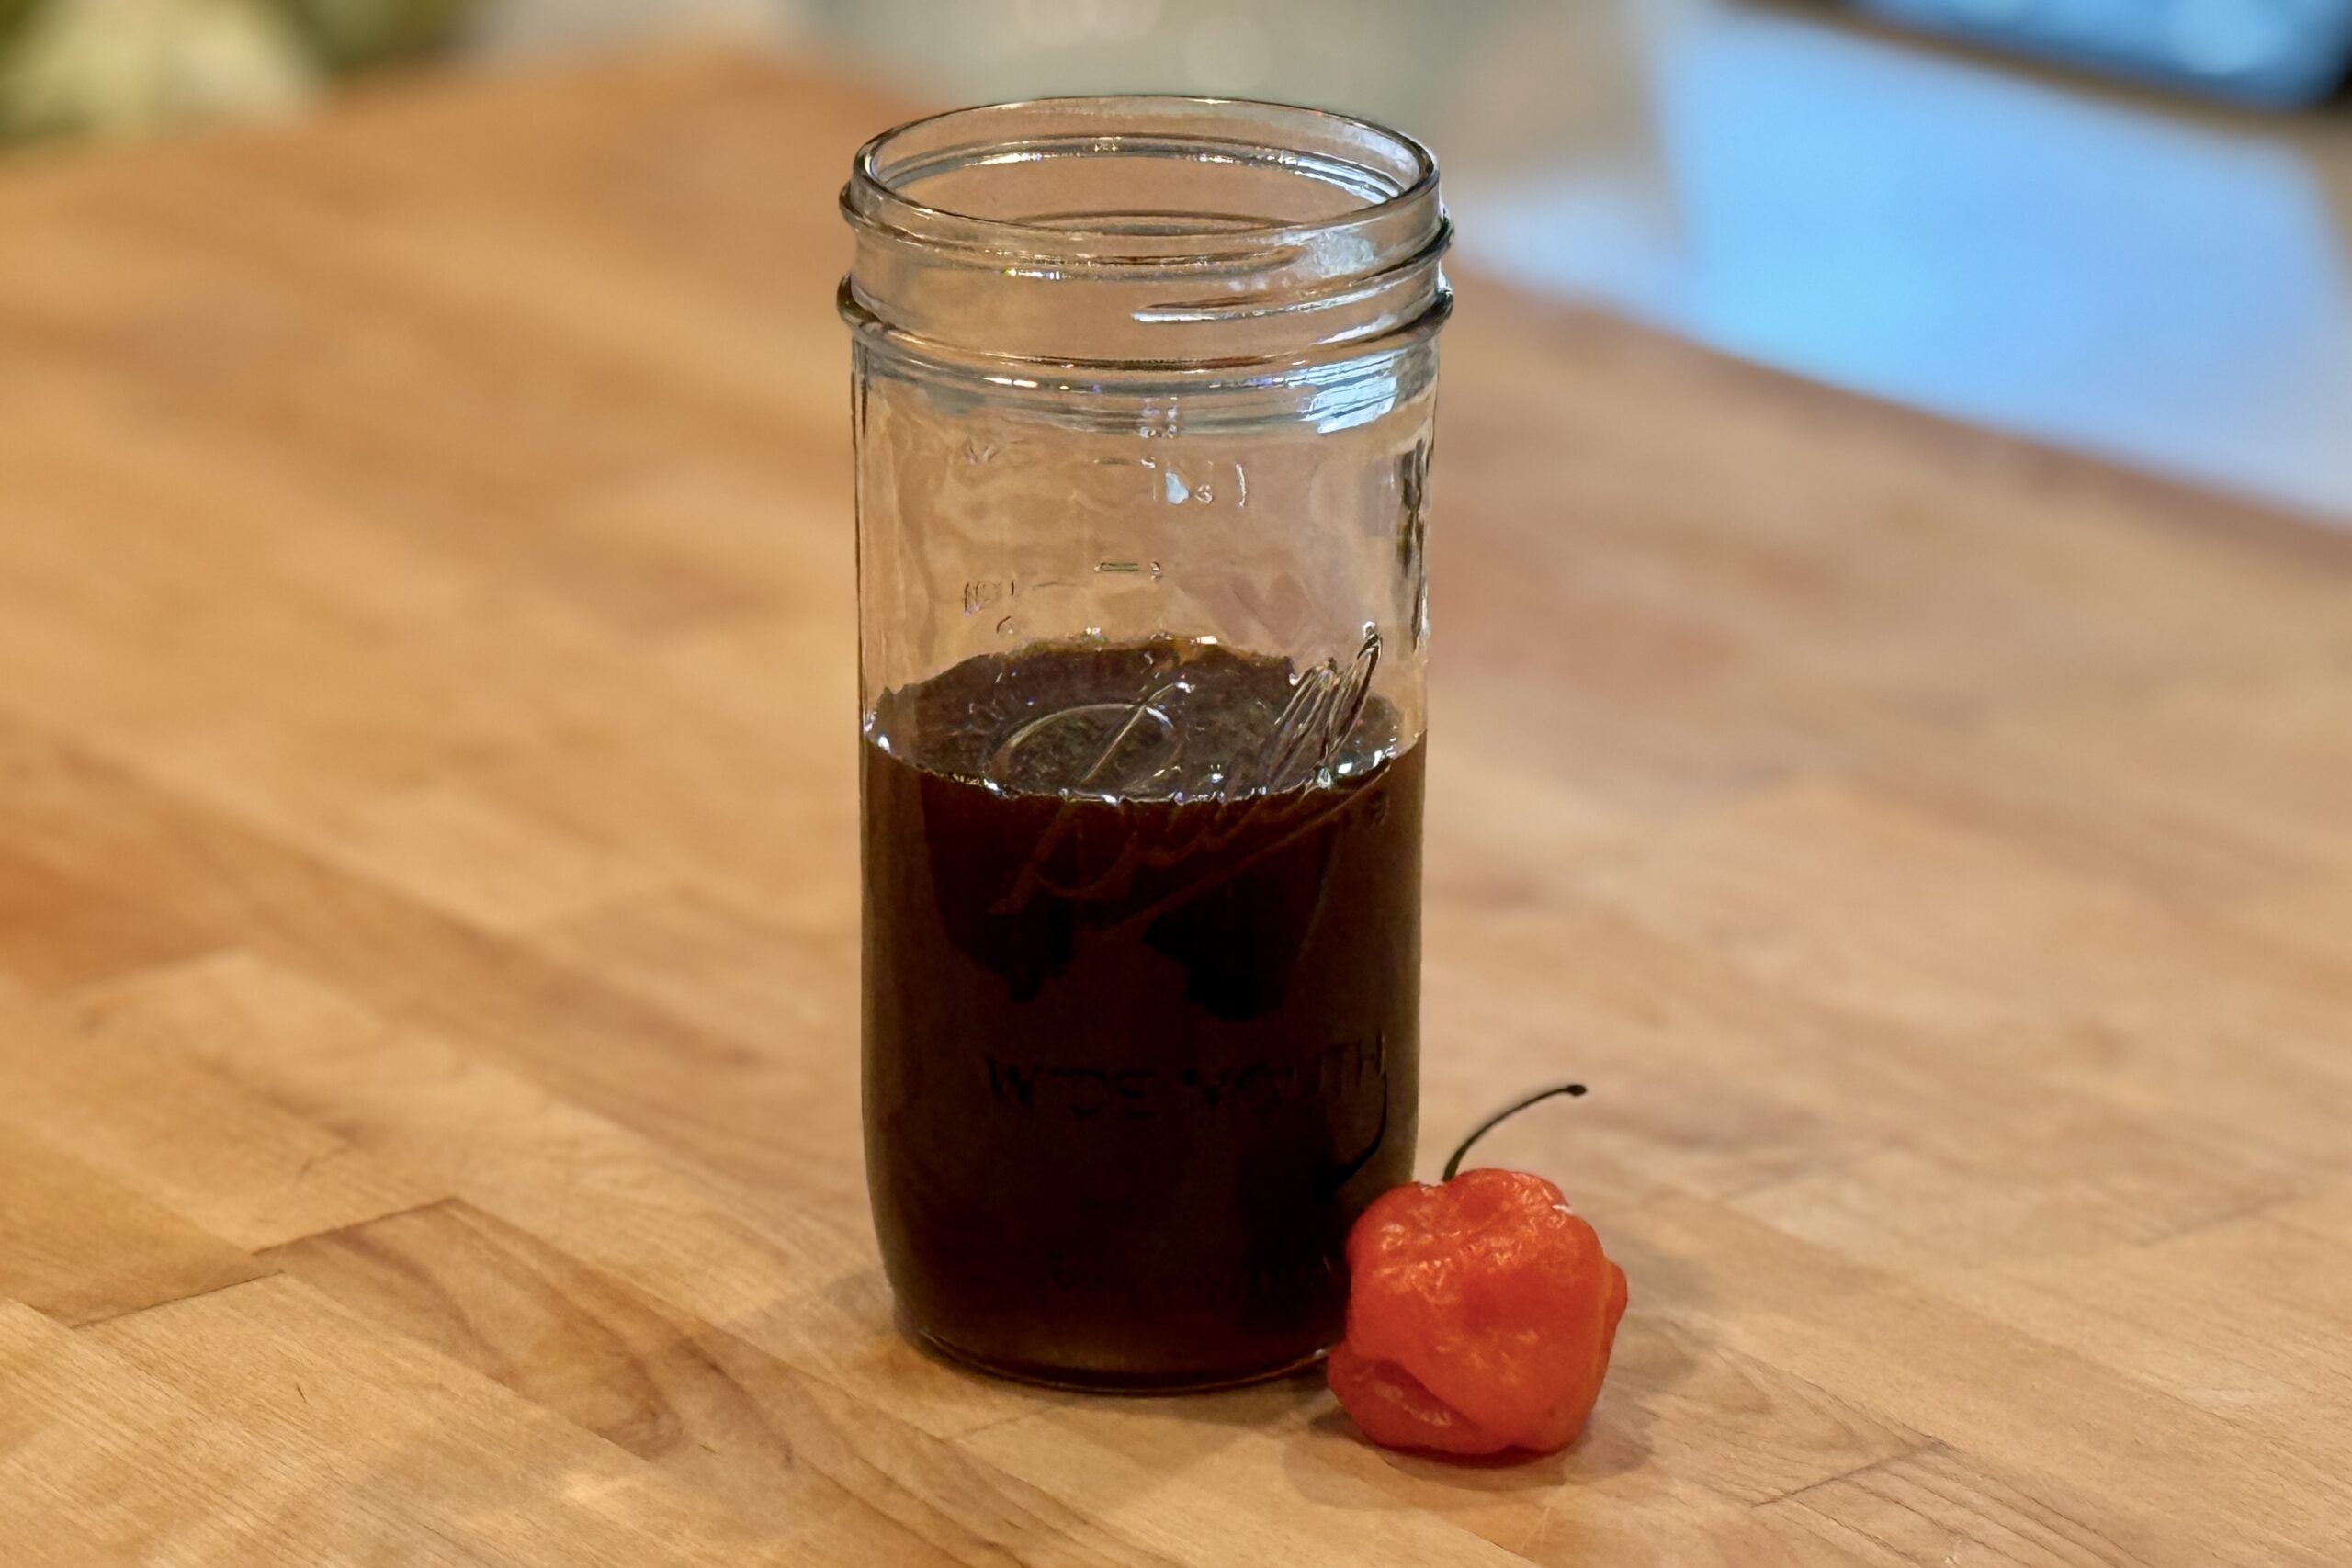
    This habanero hot honey is simple, versatile, and built for flexibility. A gentle sous vide infusion brings a clean, balanced heat while preserving the natural character of the honey, making it just as useful for drizzling over fried chicken, biscuits, or pizza as it is for building into barbecue sauces and finishing glazes. Because the base stays intentionally clean—just honey, habanero, and an optional pinch of salt—it can be adjusted to fit whatever you’re cooking.


    Ingredients

    • 1 cup (240 ml) unfiltered honey
    • 1 fresh habanero, halved
    • Pinch of table salt (optional)

    Directions

    Prepare the Jar

    Add the honey, habanero, and optional salt to a small mason jar. Seal the jar finger-tight so pressure can equalize during the infusion.

    Infuse Sous Vide

    Set a sous vide bath to 130°F (54°C). Submerge the jar and infuse for 2 hours.

    Strain and Store

    Remove the jar from the water bath and let it cool just enough to handle comfortably. Strain out the habanero through a fine-mesh strainer.

    For a cleaner finish and better consistency, strain again through cheesecloth or a coffee filter before transferring to a clean jar for storage.

    Yield: About 1 cup (240 ml).


    Notes

    Preparation

    • Leave the seeds in for a hotter infusion, or remove some or all of them for a milder result.
    • If your honey is very thick or lightly crystallized, it may loosen naturally during the infusion.
    • Wear gloves when handling habaneros, and avoid touching your face or eyes afterward.
    • This recipe is designed as a base ingredient, so the flavor stays clean and flexible for later adjustments.

    Variations

    • Milder: use only ½ habanero or shorten the infusion time slightly.
    • Hotter: use a longer infusion or a second habanero.

    Serving Suggestions

    • Drizzle over fried chicken, pizza, roasted vegetables, cornbread, or biscuits.
    • Use as a finishing touch for pulled pork, brisket, grilled chicken, or ribs.
    • Stir a small amount into barbecue sauce, vinaigrettes, or marinades for balanced sweetness and heat.

    Make-Ahead & Storage

    • Store in a clean jar in the refrigerator for the best shelf life.
    • If the honey crystallizes in storage, warm the jar gently in hot water until fluid again.
    • Because this recipe uses fresh pepper, thorough straining is important for stability and consistency.
  • Garlic Oil

    Garlic Oil

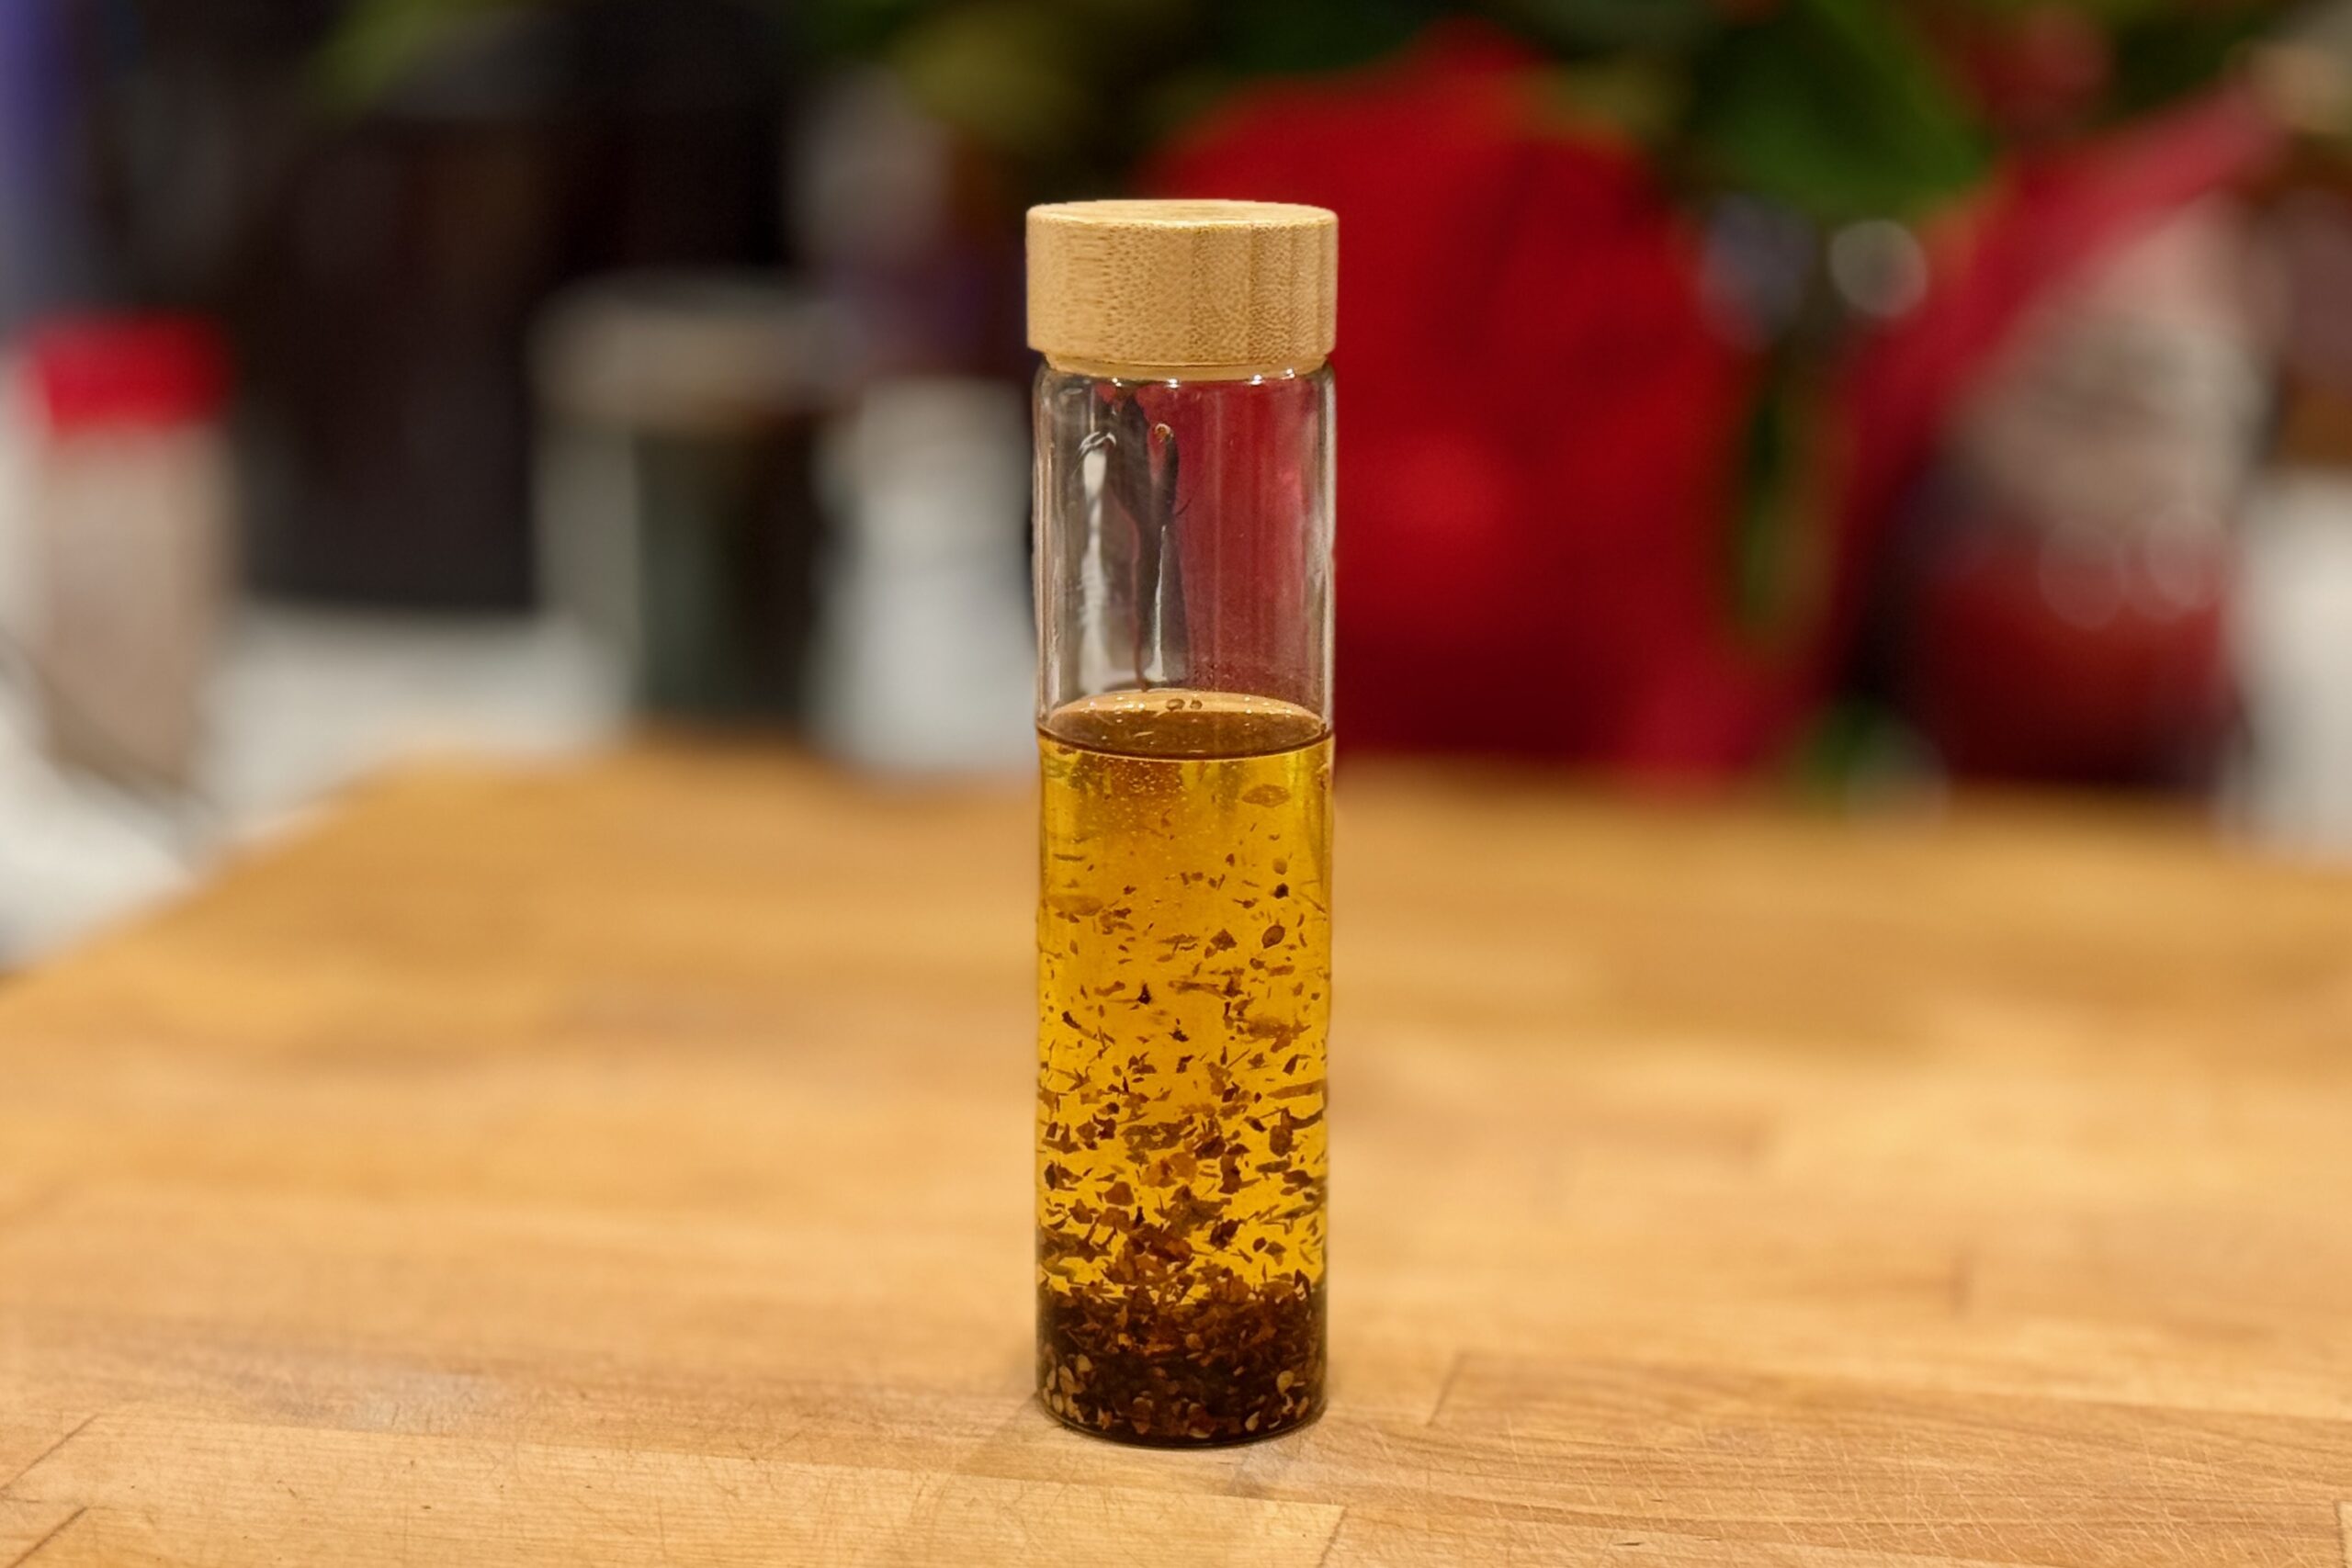
    Garlic oil is one of those quiet kitchen staples that shows up everywhere once you start using it. Gently infused with fresh garlic, it brings a warm, aromatic richness to everything from pasta and vegetables to pizza and grilled meats. The chili variation builds on that same foundation, adding a layered heat that’s perfect for noodles, dumplings, and stir-fried dishes—simple, versatile, and worth keeping on hand.


    Ingredients

    • 1 cup neutral oil (canola, vegetable, or light olive oil)
    • 6–8 cloves garlic, thinly sliced

    Optional Aromatics

    • ½ tsp crushed red pepper flakes, for light heat
    • ½ tsp dried herbs, such as oregano, basil, or thyme
    • 1 small sprig fresh rosemary

    Chili Garlic Oil Variation

    • 2 tbsp crushed red pepper flakes
    • 1 tbsp minced shallots or dried minced onion
    • 1 tsp sesame seeds, optional

    Directions

    Prepare the Ingredients

    Peel and thinly slice the garlic. If using optional aromatics, measure and set them aside.

    Infuse the Oil

    Place the oil and sliced garlic in a small saucepan or skillet over low heat.

    Heat gently, allowing the garlic to slowly release its flavor into the oil.

    • For mild flavor, cook until small bubbles form and the garlic turns pale golden, about 8–10 minutes.
    • For deeper flavor, continue cooking until the garlic reaches a rich golden brown, about 12–15 minutes, without letting it burn.

    Make Chili Garlic Oil (Variation)

    Remove the saucepan from heat and let the oil cool for 1–2 minutes.

    Add the following directly to the hot oil:

    • Crushed red pepper flakes
    • Minced shallots or onion
    • Sesame seeds, if using

    Allow the mixture to sizzle lightly for 30–60 seconds, then cool completely.

    Cool and Strain (Plain Garlic Oil)

    For plain garlic oil, let the oil cool completely, then strain out the garlic and any solids if a clear oil is desired.

    Store

    Transfer to a clean, dry jar.

    • Plain garlic oil – refrigerate for up to 2 weeks.
    • Chili garlic oil – refrigerate for up to 1 month.

    Notes

    Preparation

    • For food safety, always refrigerate garlic-infused oil to reduce the risk of botulism.
    • Let refrigerated oil come to room temperature before using to restore full aroma and pourable texture.
    • Use low heat during infusion—high heat can burn the garlic and create bitterness.

    Serving Suggestions

    • Drizzle over pasta, grilled vegetables, or roasted meats.
    • Brush onto pizza dough for a garlic oil base before baking.
    • Use the chili variation for noodles, dumplings, or fried rice.

    Variations

    • Add herbs such as rosemary or thyme during infusion for a Mediterranean-style oil.
    • Blend a small amount of sesame oil into the finished chili version for a deeper, nutty flavor.
    • Infuse with a strip of lemon peel for a fresh, aromatic note.

    Make-Ahead & Storage

    • Store in a sealed container in the refrigerator immediately after cooling.
    • Do not leave garlic oil at room temperature for extended periods.
    • Discard if any cloudiness, off odors, or signs of spoilage develop.