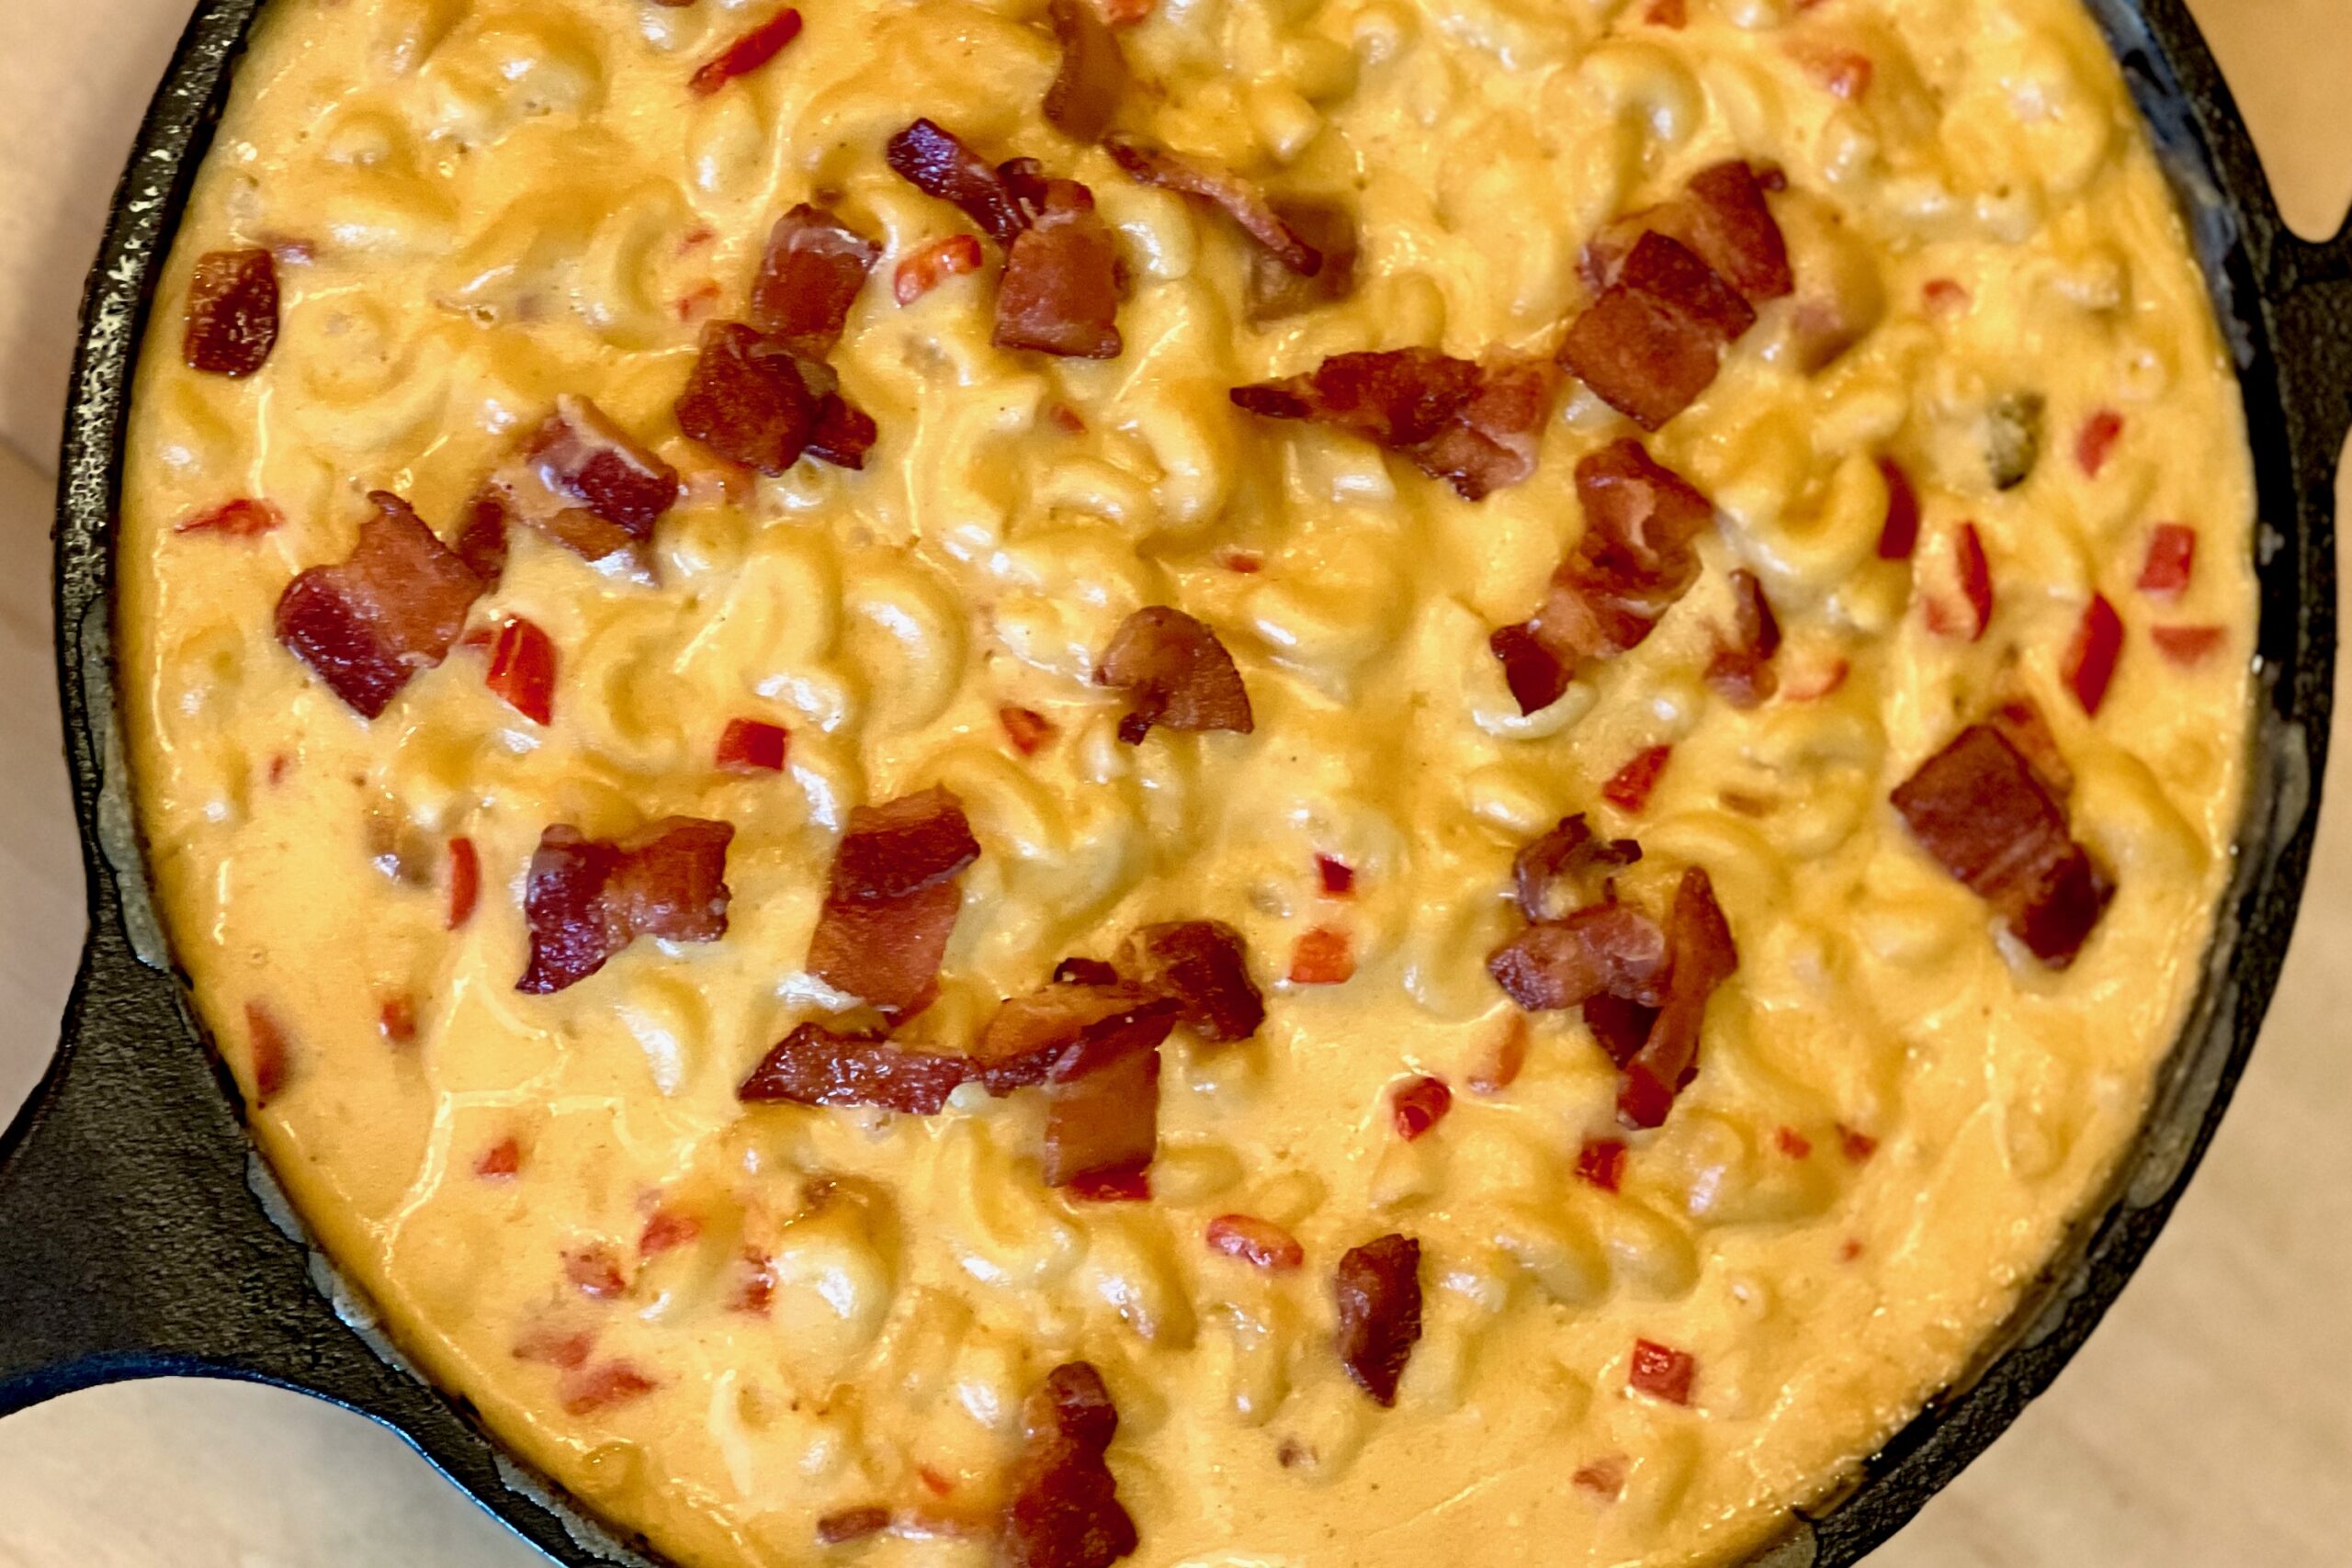
Smoky, creamy, and loaded with layers of bold flavor, our family’s Jalapeño Bacon Smoked Mac & Cheese takes this comfort classic to the next level. A silky, stabilized cheese sauce coats tender pasta, balanced by the heat of jalapeños, the savoriness of crisp bacon, and often covered in a golden layer of broiled cheese. It’s indulgent yet refined—the kind of mac and cheese that steals the show at any family gathering.
Ingredients
Pasta Base
- 1 lb elbow macaroni
- salt, for boiling
Bacon & Jalapeños
- 1 lb thick-cut bacon, chopped
- 1½ cups jalapeños, finely diced with seeds & veins removed
- 1 tbsp reserved bacon fat
Cheese Sauce
- ¼ cup butter
- ⅓ cup all-purpose flour
- ½ tsp smoked paprika
- ½ tsp dry mustard
- ½ tsp onion powder
- ¼ tsp garlic powder
- 4 cups whole milk
- 1½ cups heavy cream
- 1½ tsp sodium citrate
- 8 oz cream cheese, cubed
- 8 oz sharp cheddar, grated
- 8 oz colby jack, grated
- 4 oz gouda, grated
- 4 oz emmentaler, grated
- salt and pepper, to taste
Garnish
- reserved crispy bacon
- thin jalapeño slices or fresh chives (optional)
Directions
Cook the Pasta
Bring a large pot of salted water to a boil. Add macaroni and cook 2–3 minutes less than al dente, leaving it slightly firm. Drain and rinse under cold water to halt cooking; set aside.
Prepare the Bacon & Jalapeños
In a large skillet, cook bacon over medium heat until crisp. Remove with a slotted spoon and drain on paper towels, reserving about 1 tbsp rendered fat.
Add diced jalapeños to the reserved bacon fat and sauté 2–3 minutes until fragrant and slightly softened. Set aside, reserving some bacon for garnish.
Make the Roux & Base
In a large saucepan or cast-iron skillet, melt butter over medium heat. Whisk in flour, smoked paprika, dry mustard, onion powder, and garlic powder; cook 1–2 minutes, whisking constantly until fragrant and lightly golden.
Gradually whisk in milk and cream until smooth and combined.
Incorporate Sodium Citrate
Whisk in sodium citrate until fully dissolved. Bring the mixture just below a simmer—do not boil—to create the base for a smooth, stable sauce.
Add the Cheeses
Remove the pan from heat. Add cream cheese, stirring until melted and smooth. Gradually whisk in the grated cheeses in small handfuls, allowing each addition to melt before adding the next. Season to taste with salt and pepper; the sauce should be glossy and pourable.
Combine
Fold in cooked bacon (reserve a handful for garnish) and sautéed jalapeños. Add pasta and stir to coat evenly.
If the sauce thickens too much, stir in a splash of reserved pasta water or milk to loosen.
Smoke the Mac & Cheese
Preheat pellet grill to 165°F / 74°C. Transfer mac and cheese to a greased 12-inch cast-iron pan or baking dish. Smoke uncovered for 1–2 hours, stirring after 15 and 30 minutes for even flavor absorption.
Increase temperature to 225°F / 107°C for the final 15 minutes to slightly tighten and toast the surface.
Cheese Finish
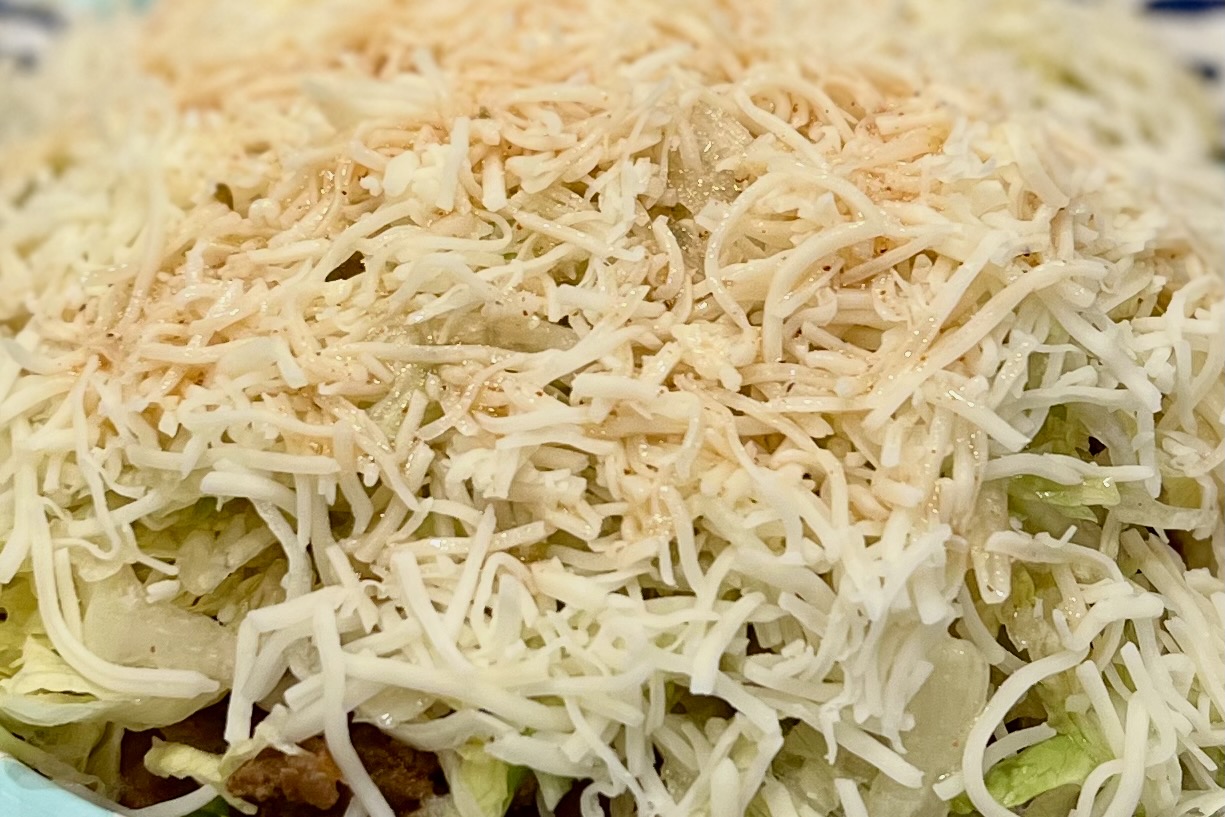
Removing from the smoker and sprinkle a thin, even layer of shredded cheddar or gouda over the top. Place under a broiler for 2–4 minutes, watching closely, until golden and bubbling with crisp edges.
Let rest 5–10 minutes before serving.
Garnish & Serve
Top with reserved crispy bacon and garnish with thin jalapeño slices or fresh chives. Serve warm, directly from the skillet for best presentation.
Notes
Preparation
- sodium citrate ensures a stable, silky sauce that resists separation, even during smoking or reheating.
- cold-smoking the cheese before grating adds a deeper, more developed smoke flavor.
- a pinch of chipotle powder or smoked salt can be used to enhance depth without adding much heat.
- let the mac and cheese rest briefly before serving to help the sauce set slightly.
Serving Suggestions
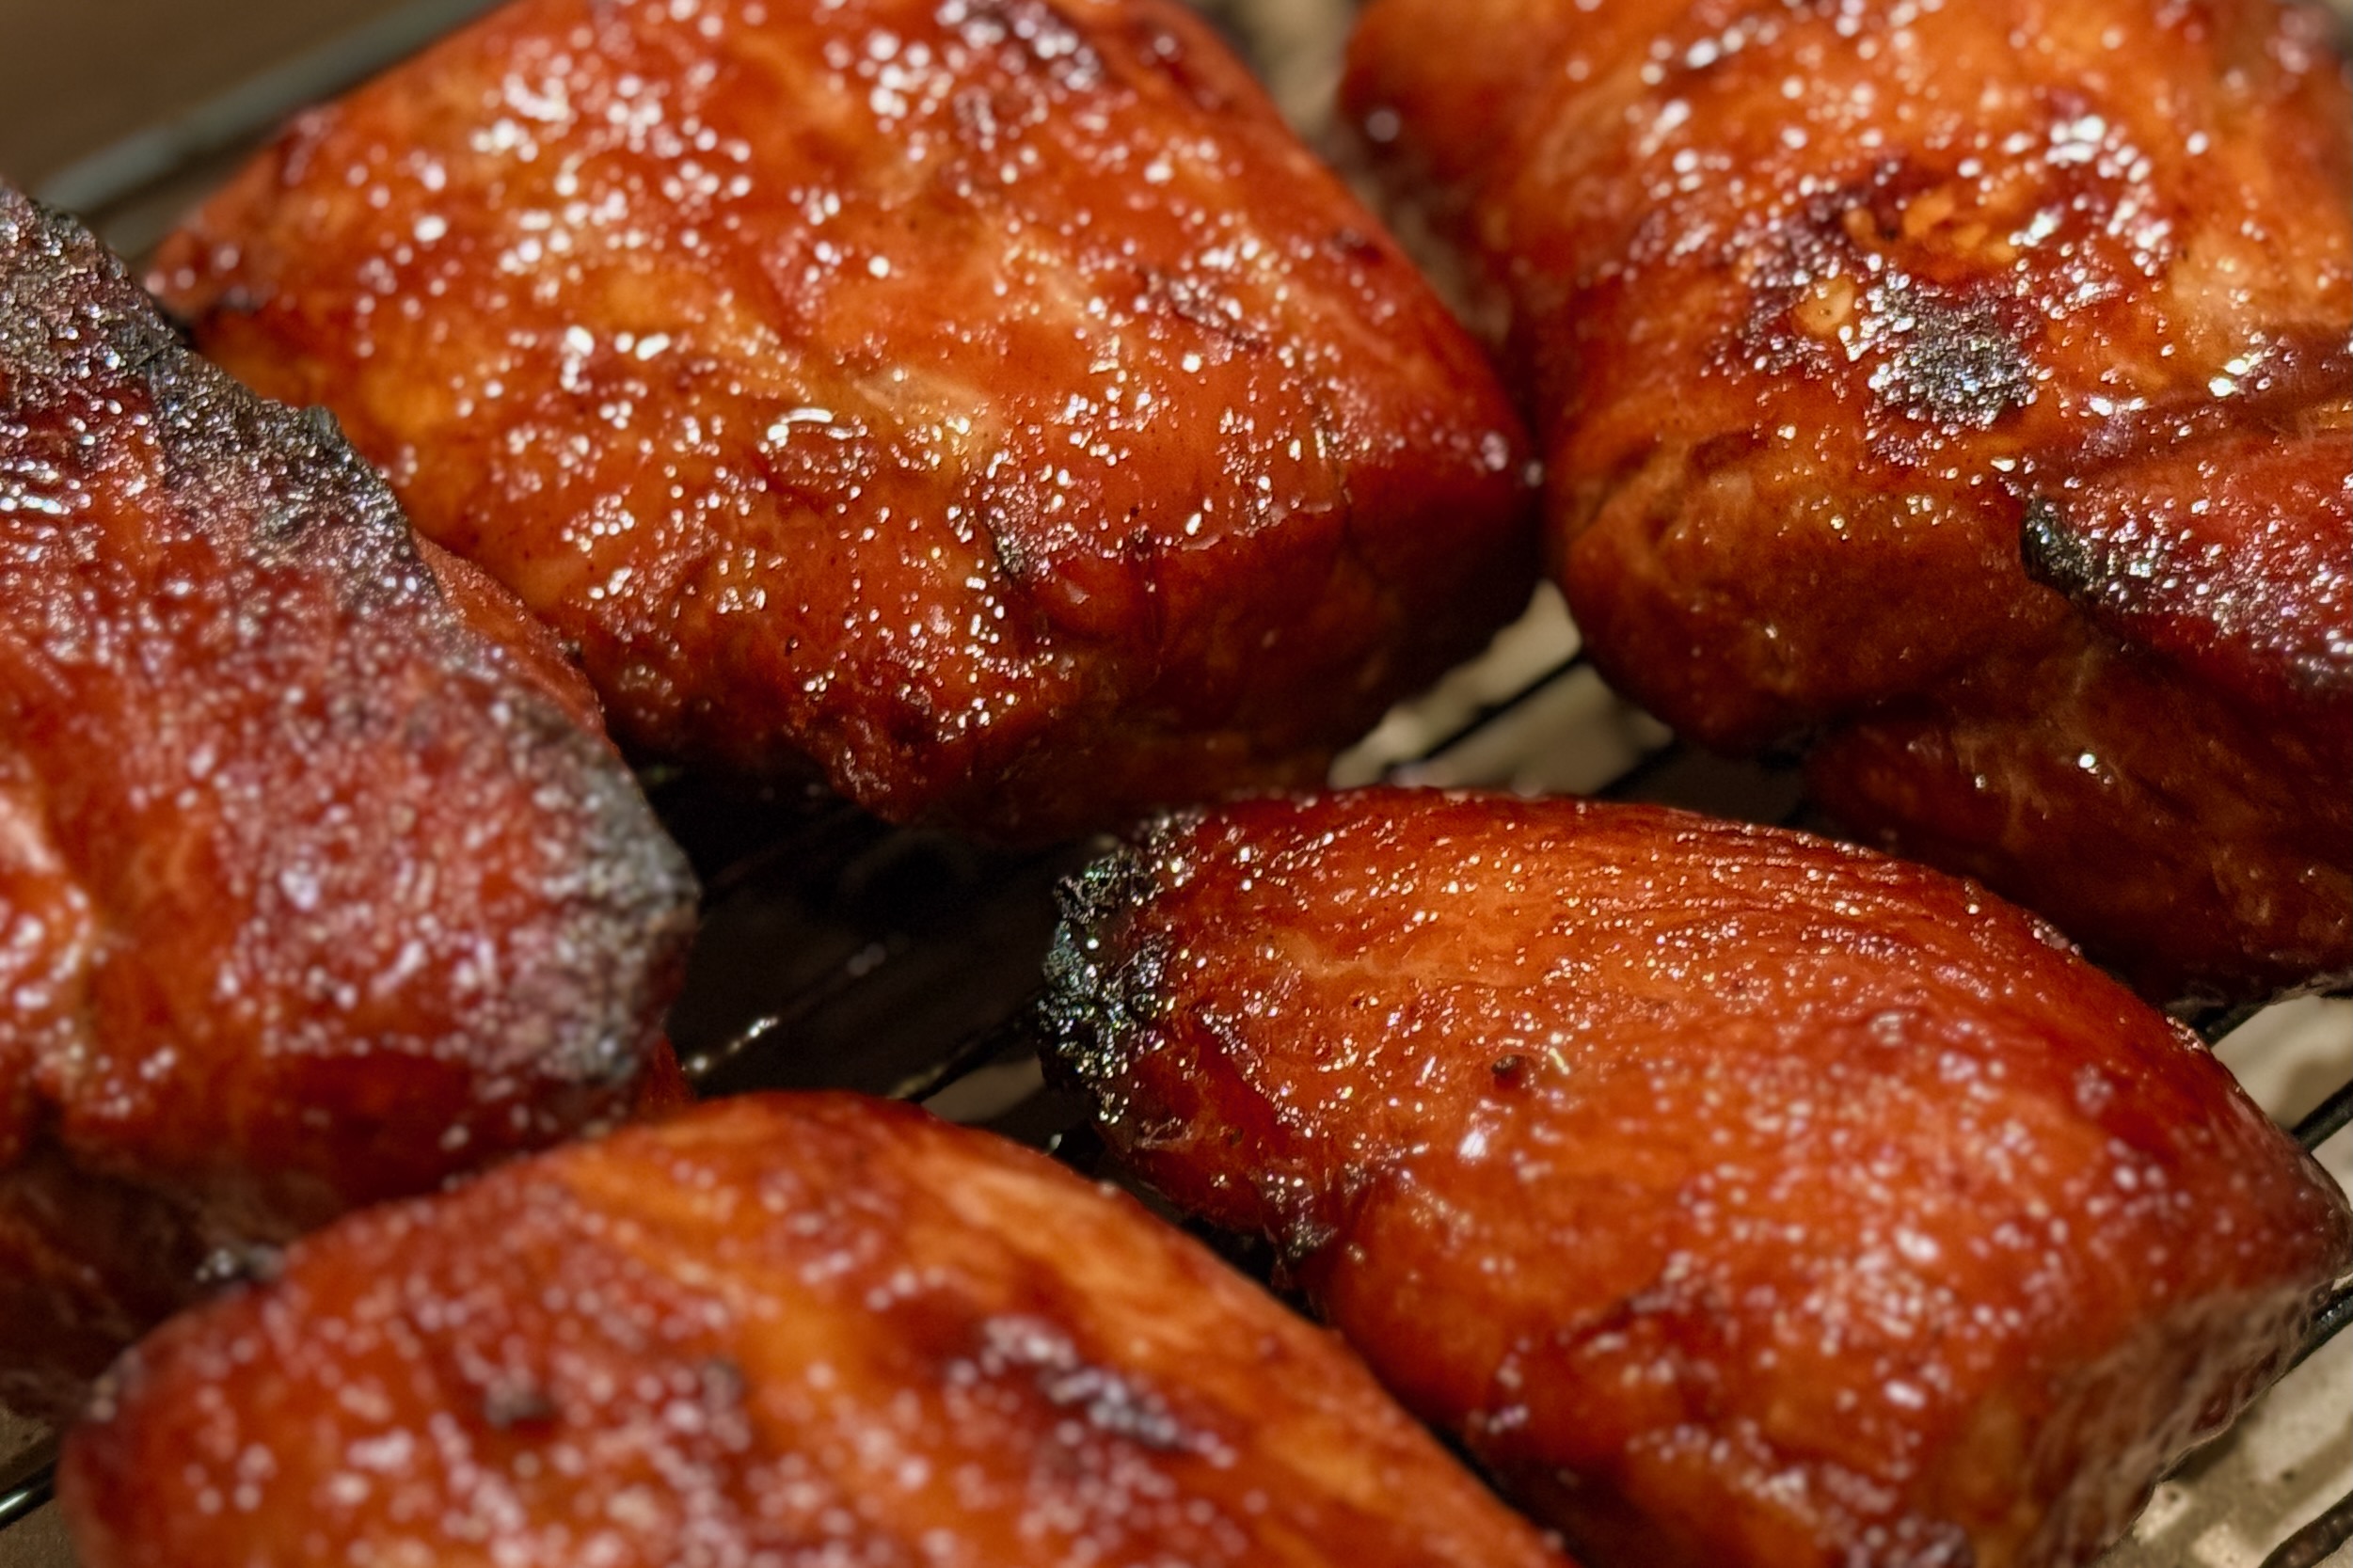
- serve alongside barbecue favorites like smoked ribs, pulled pork, or brisket.
- use leftovers as a rich filling for grilled cheese sandwiches or baked stuffed peppers.
- top with additional crisp bacon or caramelized onions for added texture and flavor.
Make-Ahead & Storage
- refrigerate up to 4 days in an airtight container.
- reheat gently in the oven or smoker at low temperature; avoid direct stovetop reheating after cheese is added.
- freeze up to 2 months; thaw overnight in the refrigerator before reheating.