Bags of Spices

Favorite Recipes

Sides

Vegetables, starches, casseroles, comfort foods, and easy table-fillers.

  • Cilantro Lime Rice

    Cilantro Lime Rice

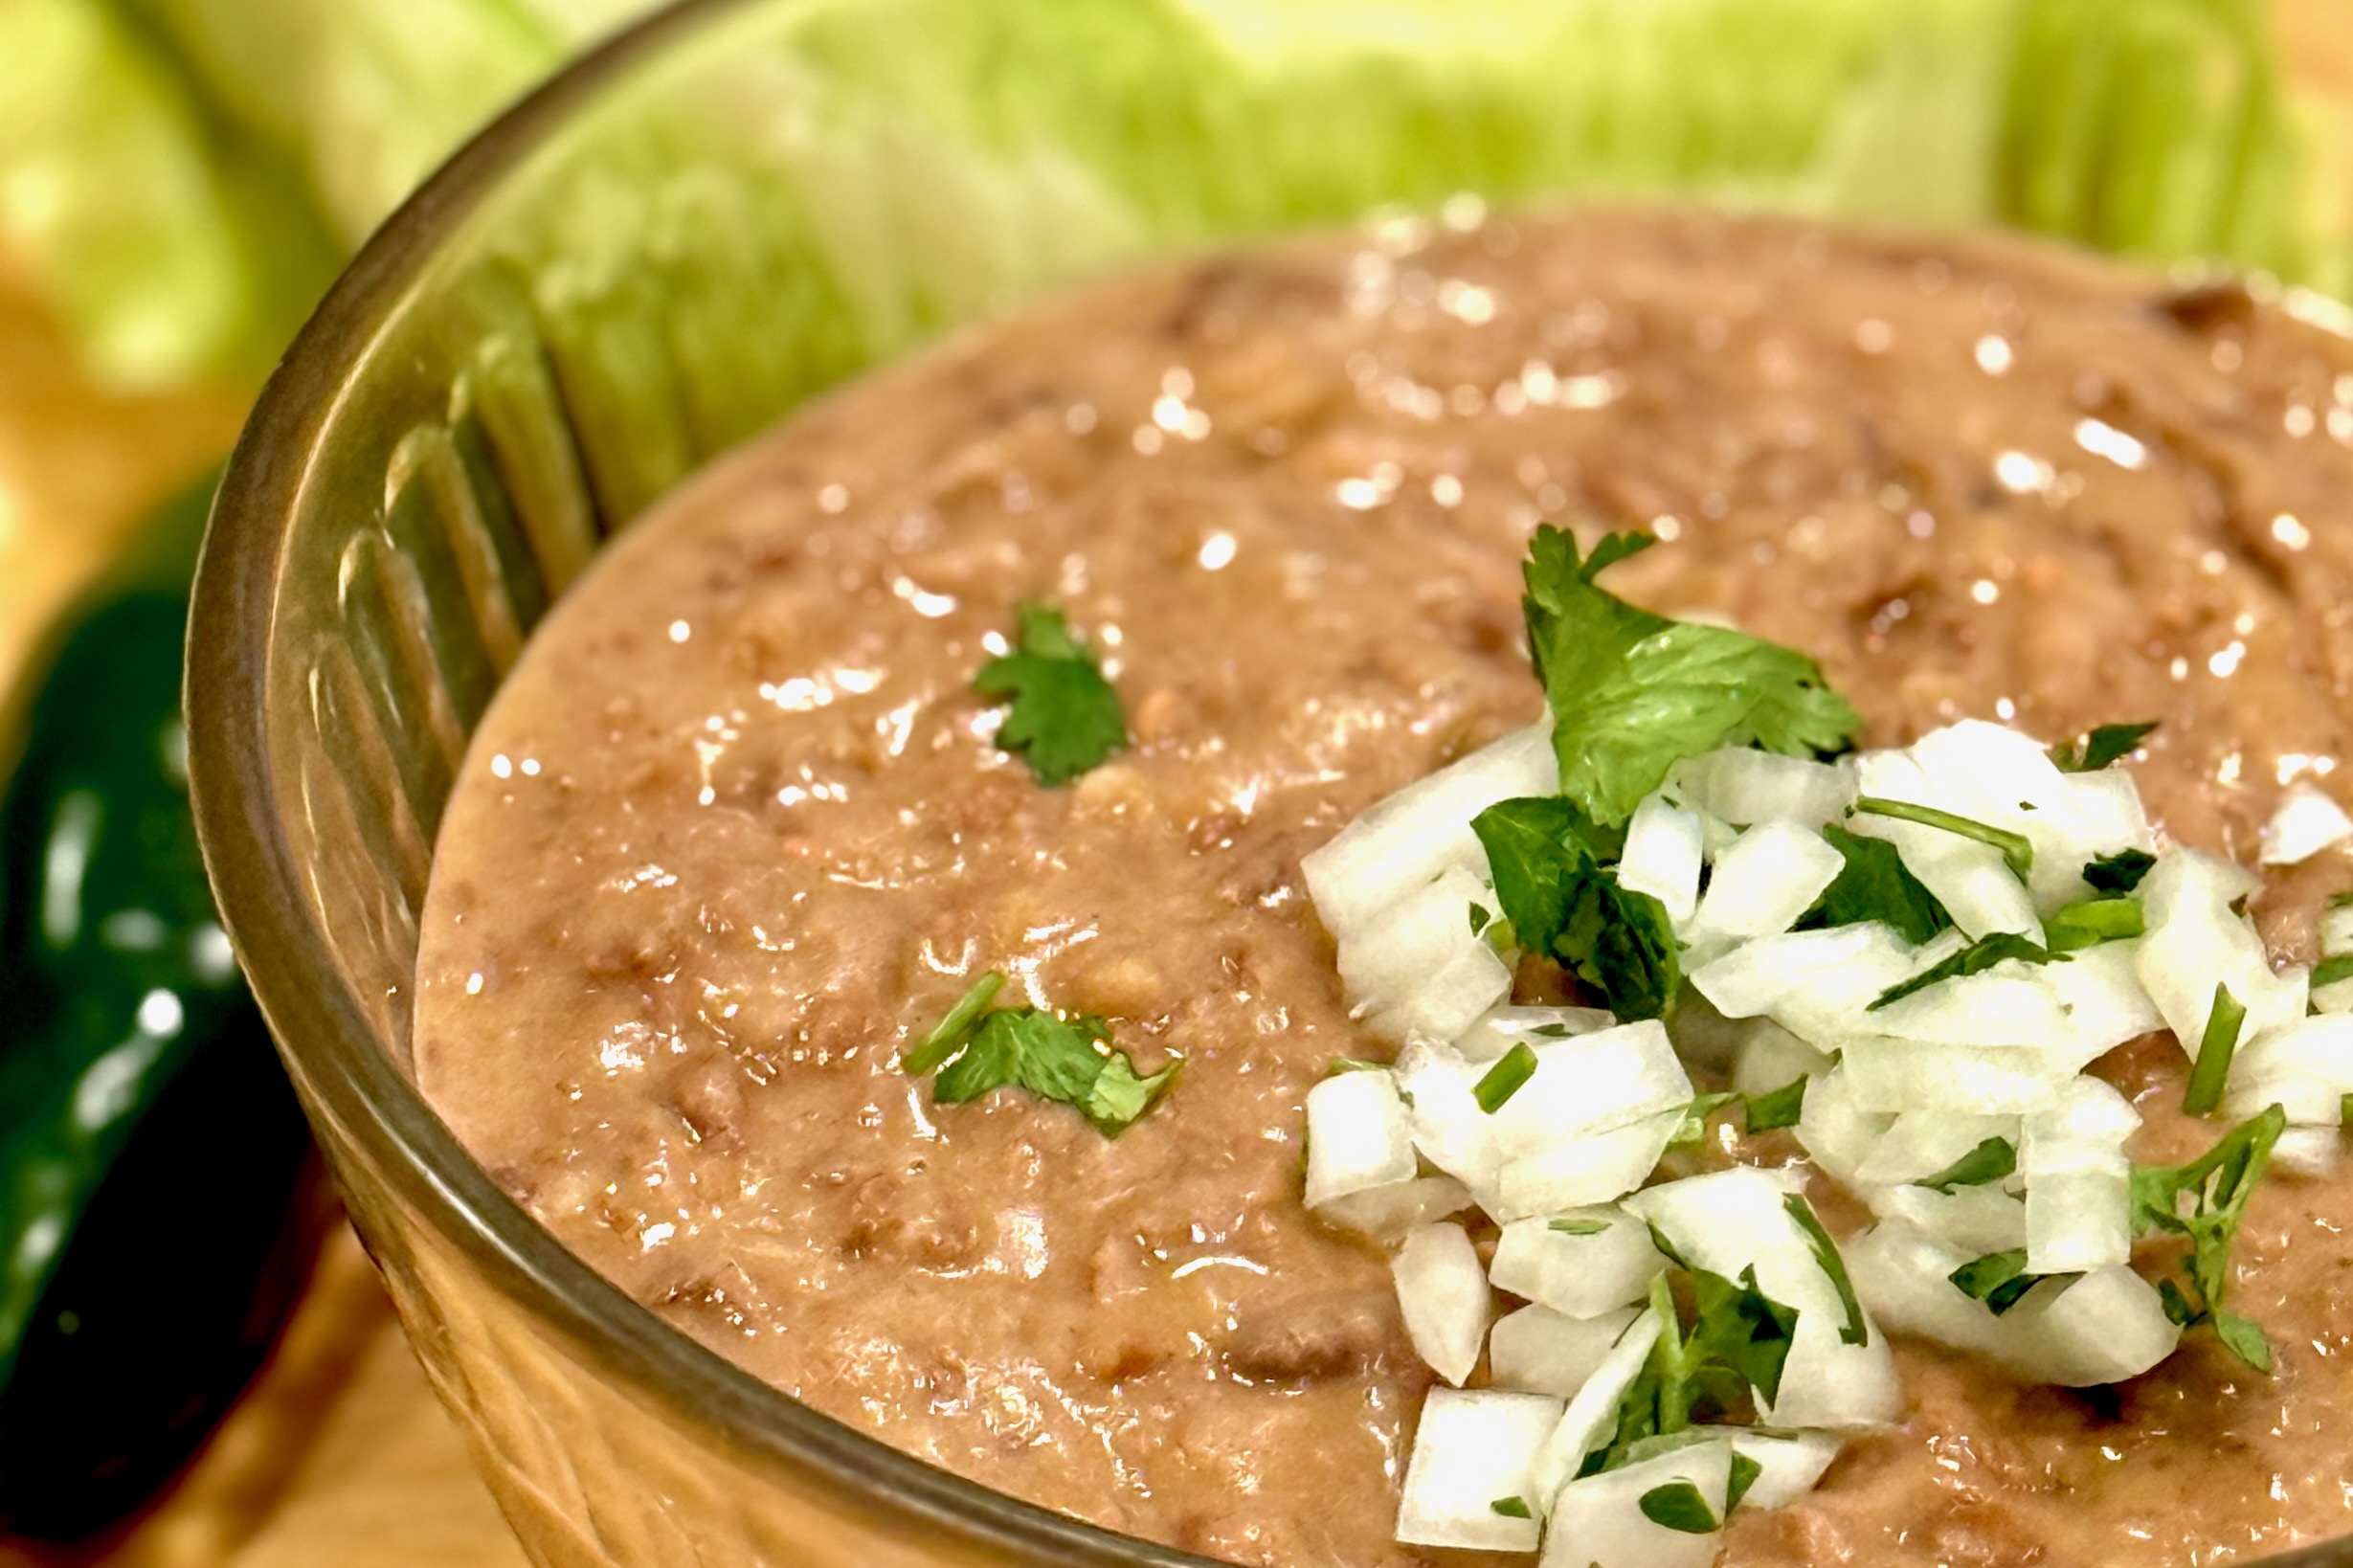
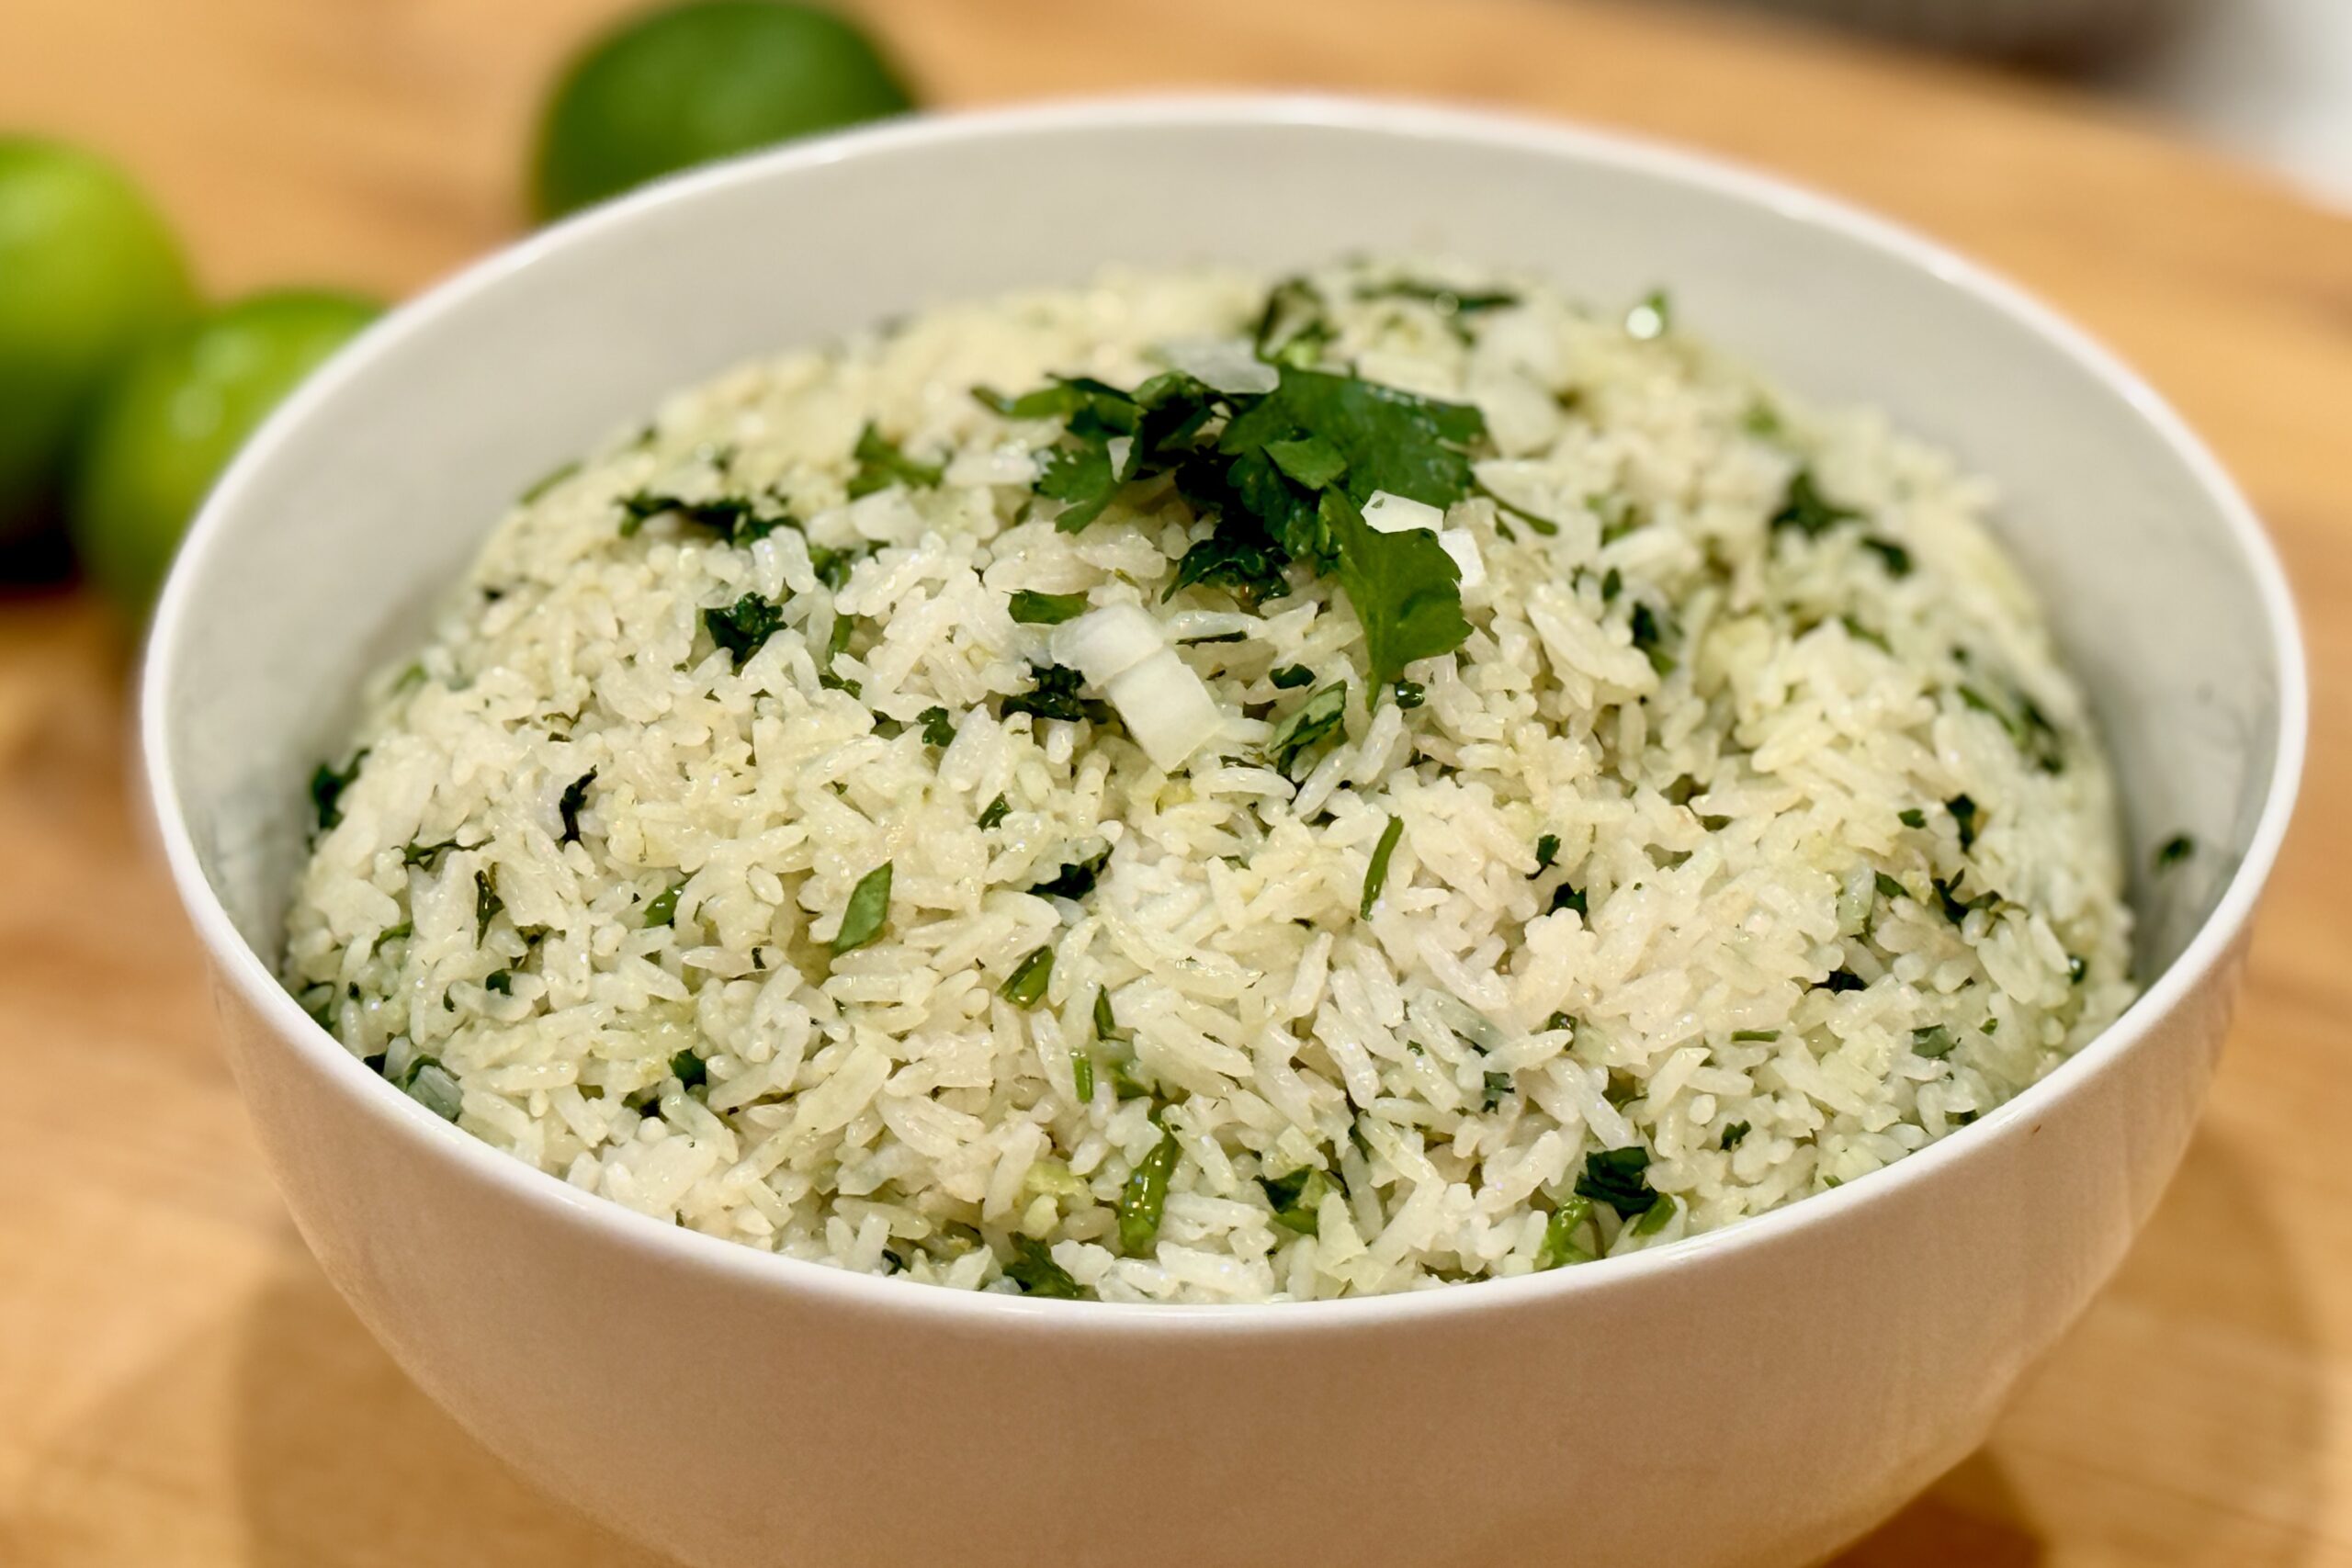
    Fluffy jasmine rice infused with fresh lime and cilantro—simple, bright, and perfectly balanced to complement tacos, grilled meats, or saucy dishes. A touch of butter enhances richness while the zest and juice keep every bite fresh and aromatic. Click here for the Instant Pot version of this recipe.


    Ingredients

    • 1 cup jasmine rice, rinsed and drained
    • 1 tbsp butter
    • 1½ cups chicken broth (or vegetable broth)
    • 1 clove garlic, minced (optional)
    • Zest of 1 lime
    • 1–1½ tbsp fresh lime juice (to taste)
    • ½ cup cilantro leaves, finely chopped
    • ⅛ tsp sugar (to round acidity)
    • Salt to taste

    Directions

    Toast the Rice

    In a saucepan or rice cooker insert, melt butter over medium heat. Add rice (and garlic, if using) and sauté 2–3 minutes until grains appear glossy and lightly golden.

    Cook the Rice

    Add broth and a generous pinch of salt. Stir once, bring to a simmer, then cover and reduce heat to low. Cook for 15 minutes, then remove from heat and let stand, covered, for 10 minutes to finish steaming.

    Finish with Lime and Cilantro

    In a small pan, warm lime zest with a few drops of butter until aromatic (optional but enhances flavor).

    Fluff rice gently with a fork and fold in lime zest, lime juice, cilantro, and sugar. Taste and adjust salt or lime as desired.

    Serve

    Serve warm as a side or base for tacos, grilled meats, or saucy dishes where a bright, citrusy accent balances richness.


    Notes

    Preparation

    • Rinse jasmine rice until water runs mostly clear to remove excess starch and keep grains fluffy.
    • Let cooked rice rest 10 minutes before fluffing to allow steam to redistribute for perfect texture.
    • Warming lime zest in butter releases aromatic oils and coats grains more evenly.
    • Adjust lime and salt balance at the end—rice should taste bright but not sharp.

    Serving Suggestions

    • Pairs beautifully with tacos, fajitas, or grilled seafood.
    • Excellent base for burrito bowls or enchilada platters.
    • Top with extra cilantro and a sprinkle of lime zest for presentation.

    Variations

    • Subtle Coconut Version: Replace ¼ cup of broth with ¼ cup unsweetened coconut milk (1¼ cups broth + ¼ cup coconut milk). Adds gentle creaminess and a faint coconut aroma while maintaining lime-cilantro brightness.
    • Coconut-Forward Version: Replace ½ cup of broth with ½ cup coconut milk (1 cup broth + ½ cup coconut milk). Creates a richer, tropical flavor—use 2 tbsp lime juice and season more assertively with salt.
    • Use coconut versions for fusion dishes like Korean Pulled-Pork Tacos, jerk chicken, or grilled shrimp where a creamy contrast enhances spice and smoke.

    Make-Ahead & Storage

    • Cooked rice can be held warm for up to 30 minutes before adding lime and cilantro.
    • Refrigerate leftovers in an airtight container up to 3 days; reheat gently with a drizzle of broth or water to restore moisture.
    • Fresh cilantro and lime juice should always be added just before serving for best color and flavor.
  • Braised Fennel

    Braised Fennel

    This elegant side transforms fennel’s natural sweetness into something truly special. Lightly caramelized and gently braised with shallots, garlic, and white wine, the tender fennel is finished with butter, lemon zest, and fresh fennel fronds for a glossy, aromatic dish worthy of any restaurant table.


    Ingredients

    • 2–3 fennel bulbs, trimmed and quartered lengthwise (cores intact)
    • 2 tbsp olive oil or butter
    • 1 shallot, thinly sliced
    • 1 clove garlic, thinly sliced
    • ¼ cup dry white wine or 1 tbsp lemon juice
    • 1 cup chicken stock
    • ½ tsp honey (optional)
    • 1 tbsp butter (for finishing)
    • salt and freshly ground black pepper, to taste
    • zest of ½ lemon, for garnish
    • chopped fennel fronds or parsley, for garnish

    Directions

    Brown the Fennel

    In a large sauté pan, heat olive oil or butter over medium-high heat. Add fennel quarters cut-side down and cook until deeply golden on both cut sides, about 3–4 minutes per side. Remove and set aside.

    Build the Aromatic Base

    Add shallot and garlic to the pan; sauté 30 seconds, just until fragrant. Deglaze with white wine (or lemon juice), scraping up any browned bits.

    Braise

    Add chicken stock and honey, if using. Return fennel to the pan, cut-side up. Bring to a simmer, reduce heat to low, and cover. Braise gently for 15–20 minutes, turning once, until fennel is tender but still holds its shape.

    Glaze & Finish

    Remove the lid and simmer uncovered for 5–7 minutes more, allowing the liquid to reduce into a glossy glaze. Stir in butter off heat to finish the sauce and season with salt and pepper.

    Serve

    Transfer fennel to a serving dish and drizzle with the reduced pan juices. Garnish with lemon zest and chopped fennel fronds or parsley before serving.


    Notes

    Preparation

    • Proper browning is essential—golden edges enhance both flavor and appearance.
    • Use vegetable stock for a vegetarian version.
    • Finishing with butter gives the glaze a rich, silky texture.

    Serving Suggestions

    • Serve as a side with roasted chicken, fish, or creamy polenta.
    • For a richer presentation, finish with freshly grated Parmesan or a drizzle of aged balsamic.
    • Add a sprinkle of toasted breadcrumbs or flaky salt for texture.

    Make-Ahead & Storage

    • Can be braised up to 1 day ahead; cool and refrigerate in its cooking liquid.
    • Reheat gently over low heat, spooning juices over the fennel to re-glaze.
    • Best served warm, but can also be enjoyed at room temperature as part of an antipasto spread.
  • Refried Beans

    Refried Beans

    Rich, creamy, and deeply savory, our family’s recipe for refried beans captures the heart of traditional Mexican cooking with a fraction of the usual time. Each bite balances earthy depth and a hint of sweetness from slow-simmered pinto beans. Whether tucked inside burritos, layered beside Mexican rice, or served simply with warm tortillas, they bring comfort and authenticity to any meal—and once you’ve made them this way, you may never reach for canned beans again.


    Ingredients

      Beans

    • 2 cups dry pinto beans, rinsed and drained
    • 1 onion, diced (or 1 tbsp onion powder)
    • 1 tsp table salt
    • ½ tsp ground cumin
    • 5 cups chicken broth or water
    • Fat (Choose One or a Blend)

    • 2–3 tbsp avocado oil, lard, butter, or a combination
    • Optional Flavor Boosters

    • ¼ cup Mexican Tomato Sauce (recommended for deeper flavor)
    • OR ½ tsp soy sauce or Maggi (for umami depth without tomato flavor)
    • Optional Add-Ins

    • ⅛ tsp Mexican oregano
    • 1 tsp garlic powder (add after cooking)
    • 1 sachet ham bouillon or sazón (optional, for savory richness)

    Directions

    Sauté Aromatics (Optional but Recommended)

    Using the Sauté function, heat 1 tbsp of the fat in the Instant Pot. Add diced onion and cook 2–3 minutes until translucent and fragrant. If using onion powder, add during the Mash step.

    Deglaze with a splash of broth if any browning occurs.

    Cook the Beans

    Add pinto beans, broth, cumin, and salt to the pot. (If using butter, reserve it for after cooking.) If using Mexican Tomato Sauce for integrated flavor, stir it in now—or stir it in later during the refry step as a finisher.

    Set to Pressure Cook – High for 60 minutes. When complete, allow natural release for 10–15 minutes, then release remaining pressure manually.

    Mash or Refry

    Drain beans lightly, reserving at least ½ cup of the cooking liquid. For classic mashed texture, return beans to the pot, add fat, and mash to desired smoothness using a potato masher, hand mixer, or immersion blender. Add liquid as needed for consistency.

    For authentic refried texture, heat remaining fat in a large skillet over medium-high heat. Add beans and mash directly in the pan, stirring occasionally until thickened and slightly toasty (about 5 minutes). Stir in reserved broth as needed for a silky, spreadable consistency. If using Mexican Tomato Sauce as a finisher, add 2–3 tbsp during this stage and cook until slightly reduced and glossy.

    Rest and Serve

    For best flavor, refrigerate overnight and reheat before serving. The beans thicken slightly as they cool, deepening both flavor and texture.


    Notes

    Preparation

    • For richer flavor, add ¼ cup Mexican Tomato Sauce or ½ tsp soy sauce/Maggi during cooking or mashing (omit if serving entrées with green sauce bases).
    • Mashing the beans in hot fat develops a nutty flavor and glossy, restaurant-style finish.
    • Reserve some cooking liquid and add as needed to reach your preferred consistency.
    • Beans improve overnight as flavors meld and starches set.

    Serving Suggestions

    Make-Ahead & Storage

    • Refrigerate up to 5 days in an airtight container.
    • Freeze up to 3 months; thaw overnight in the refrigerator before reheating.
    • Reheat gently on the stovetop or in the microwave, adding a splash of broth or water to loosen if thickened.