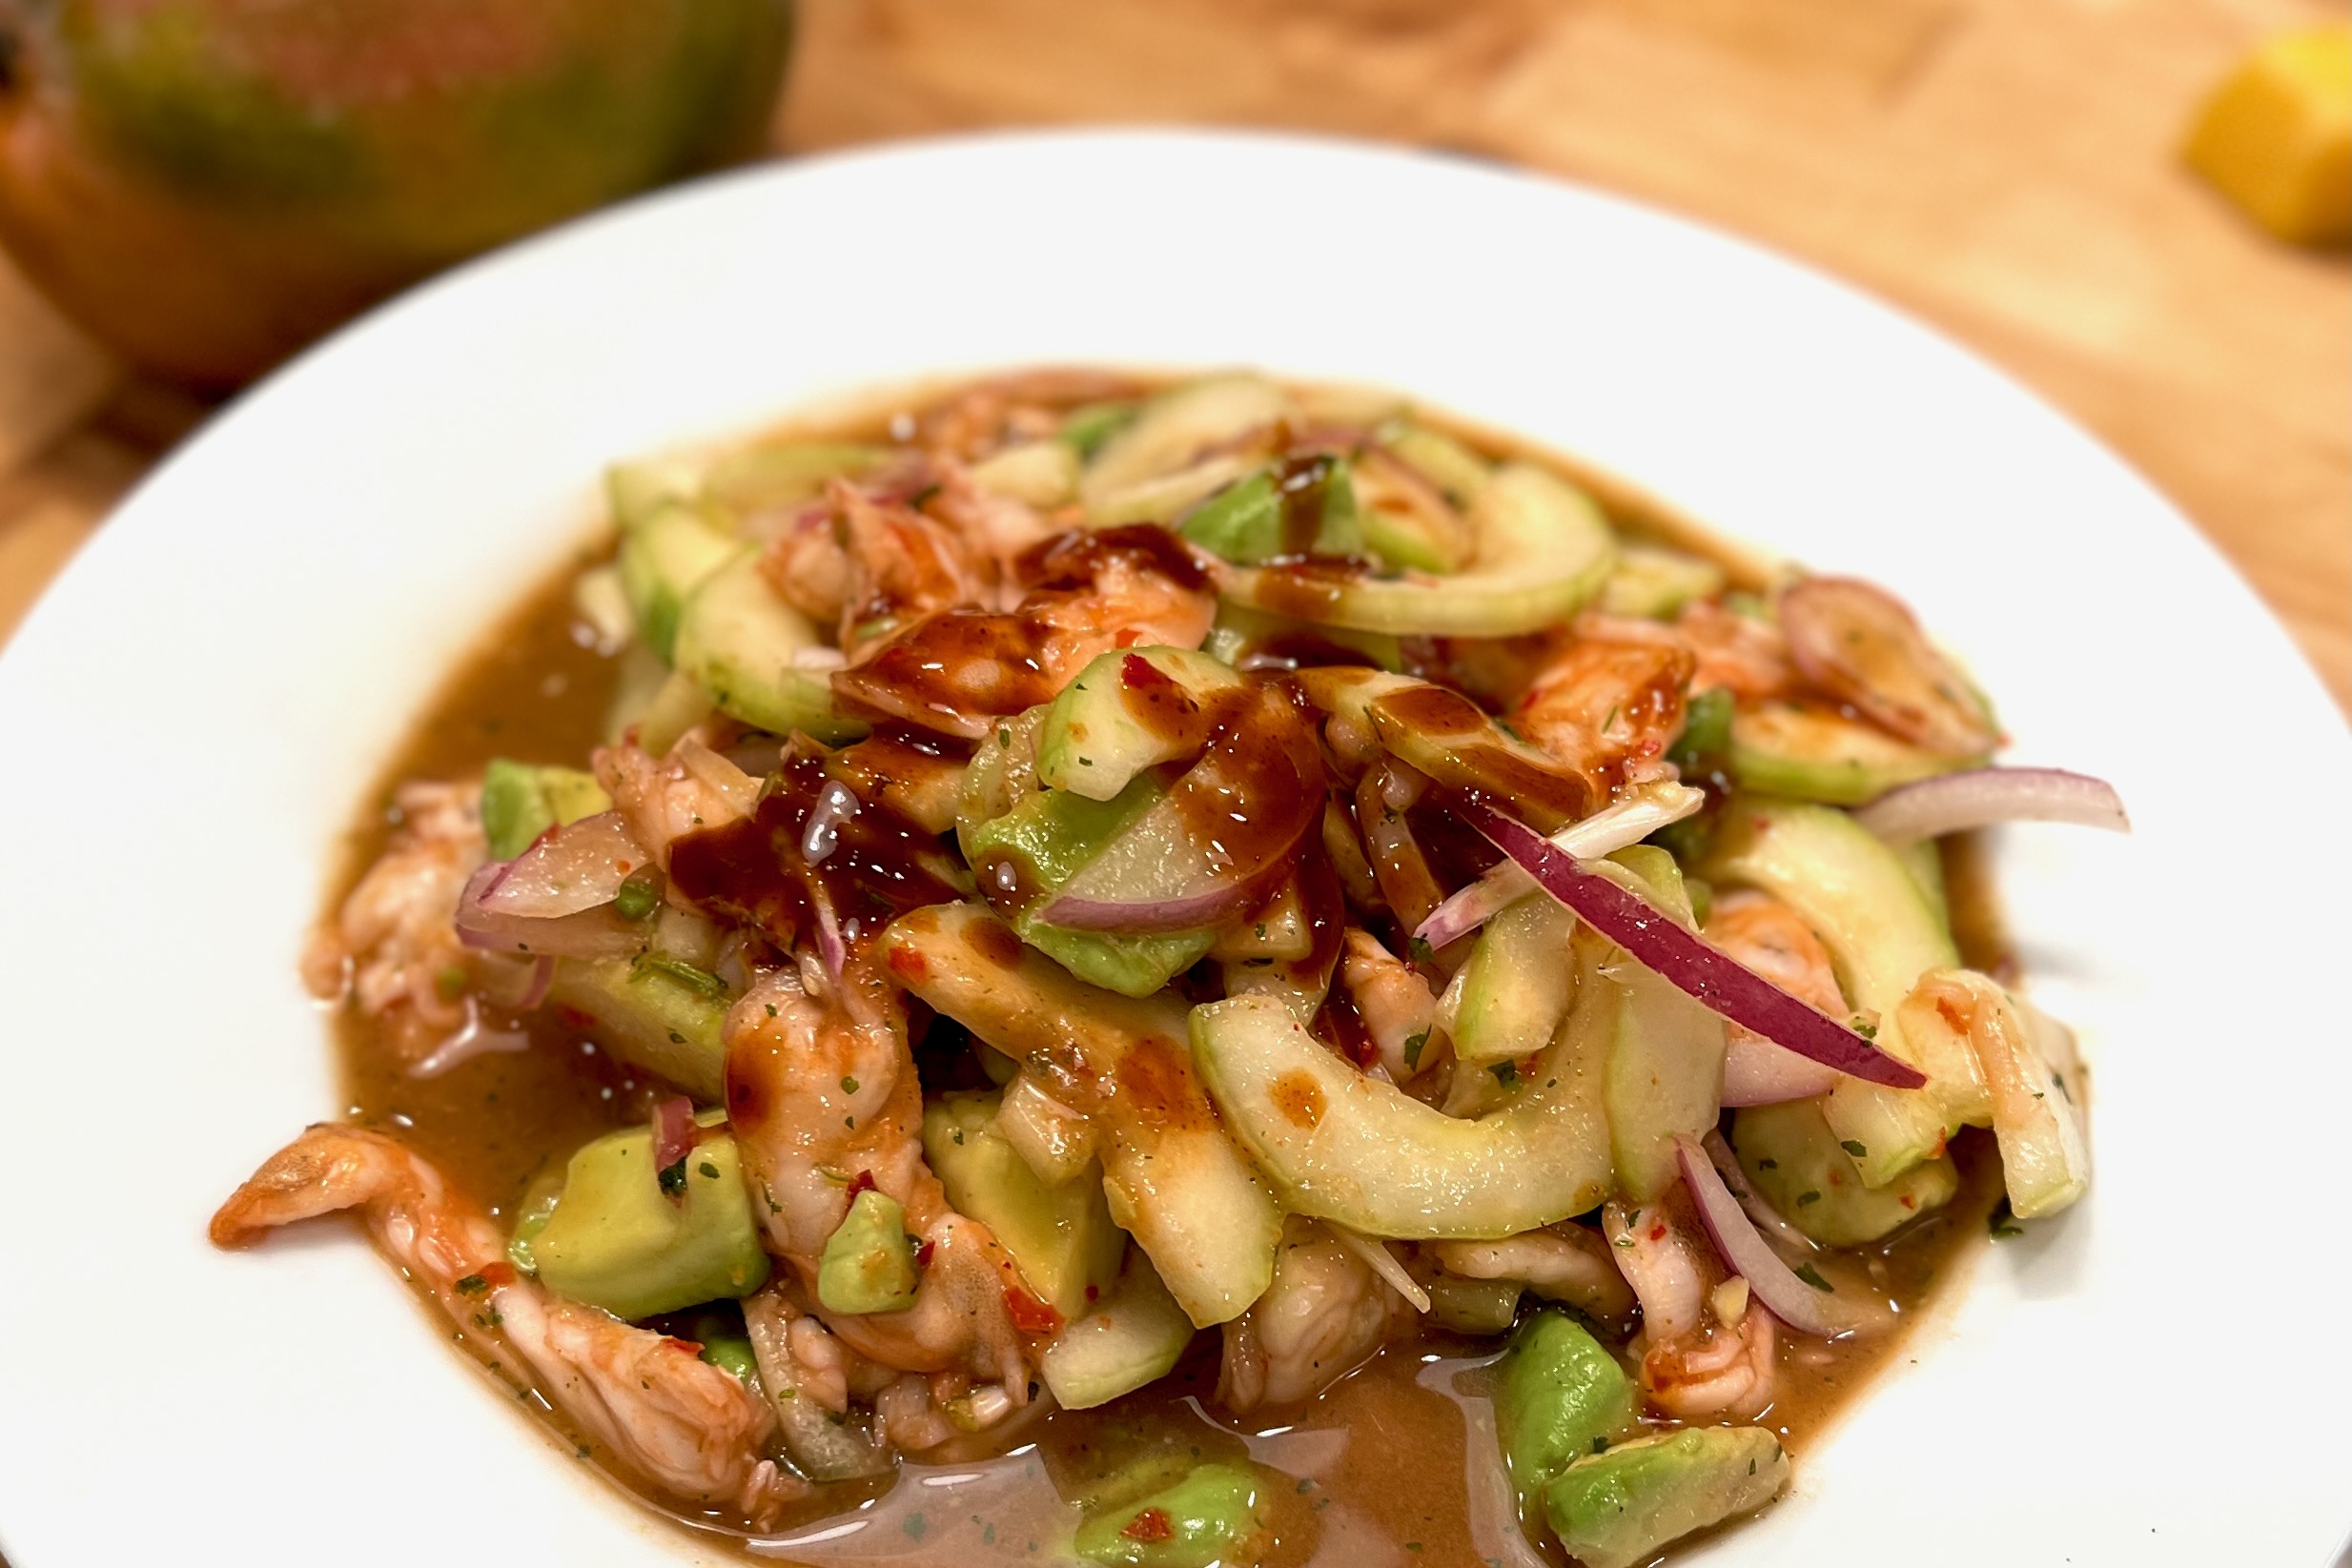
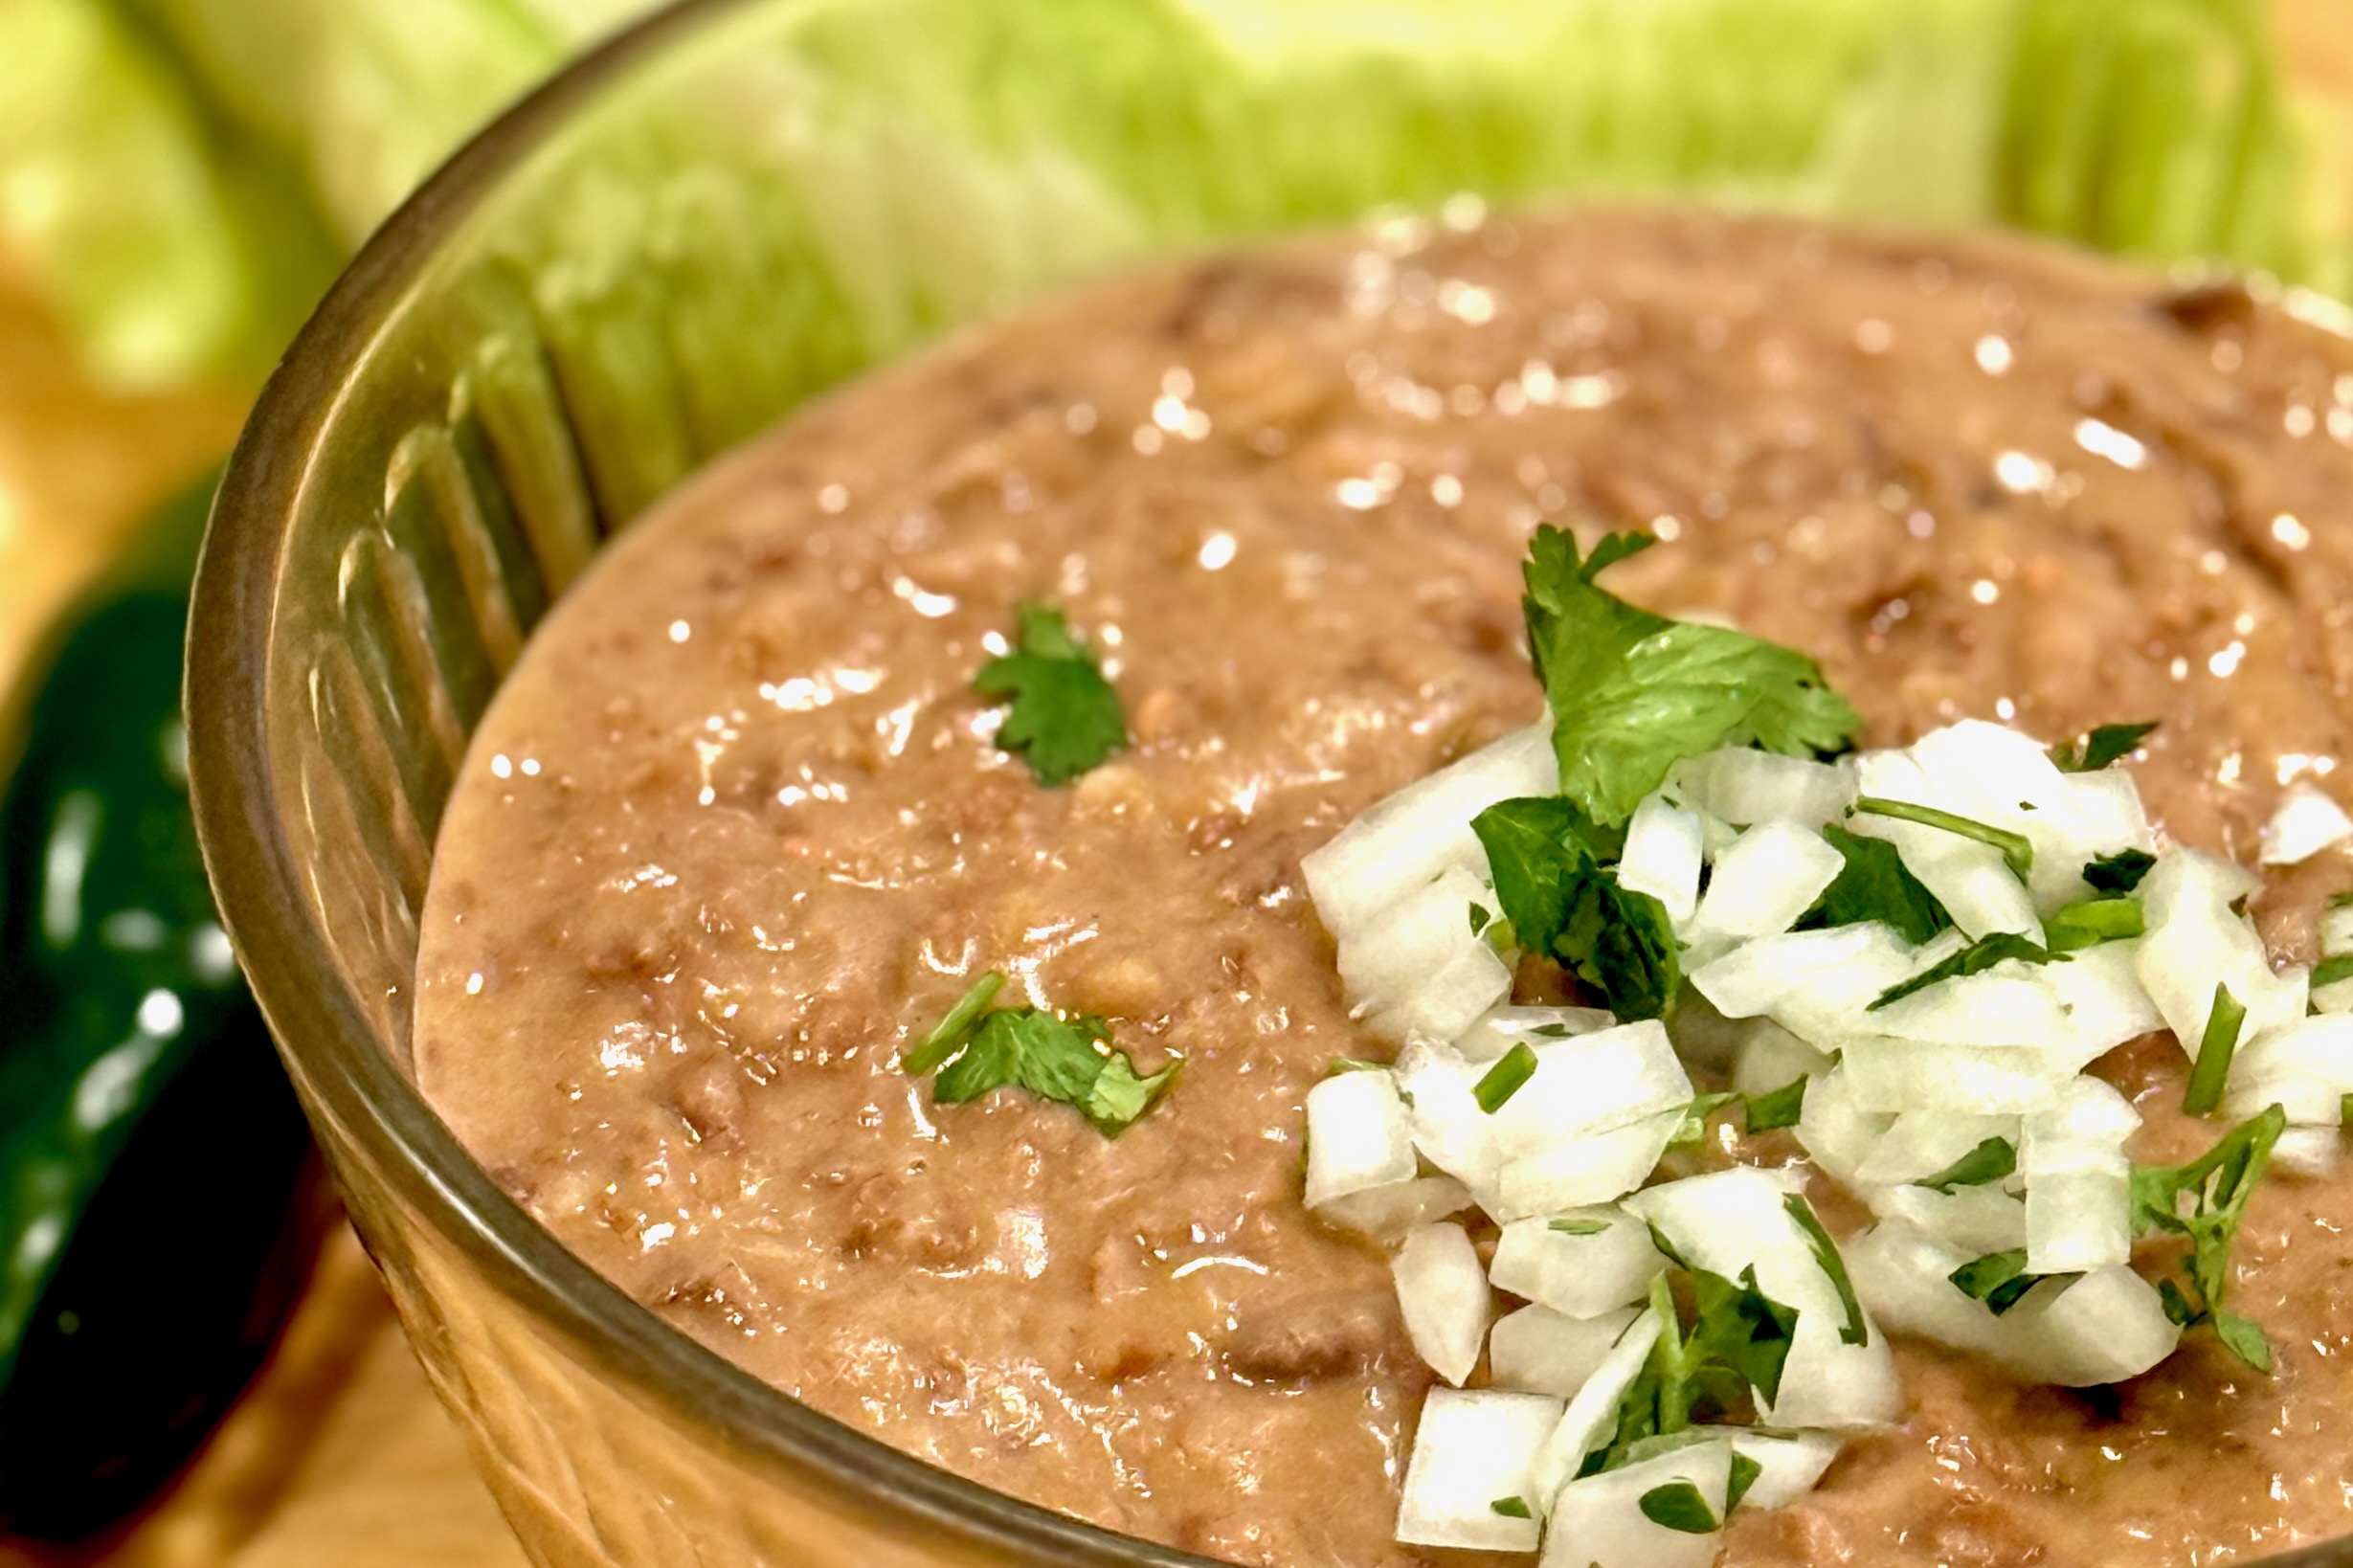
Our family’s take on northern Mexican aguachile rojo: quick-blanched shrimp finished in fresh lime, a vivid red base of toasted dried chiles and Camaronazo, and a crisp bed of cucumber, red onion, cilantro, and just-ripe avocado. Bright, spicy, and ice-cold—made to serve immediately with tostadas, salsa negra, and wedges of lime.
Ingredients
Shrimp & Lime Cure
- 2 lb large raw shrimp, peeled, deveined, halved lengthwise
- 1 cup fresh lime juice (just enough to cover shrimp)
- 2 tsp table salt, divided (to season curing liquid and sauce)
Vegetables & Herbs
- 1 red onion, very thinly sliced
- 3 cucumbers, thin half-moons
- 3 avocados, diced (add just before serving)
- ½ bunch cilantro, chopped, plus leaves for garnish
- radishes, thinly sliced (garnish, optional)
- lime wedges, for serving
Red Base
- 24–28 oz Camaronazo spicy tomato cocktail with shrimp
- 4 dried chiles de árbol
- 2 dried pequín chiles
- 1 dried guajillo chile
- 1 clove garlic
- ¼ tsp chicken bouillon powder (Knorr-style), or to taste
Optional Balancers
- ½ tsp sugar (to soften bitterness from toasted chiles)
- 1–2 tbsp soy sauce or Maggi seasoning (depth; Sinaloan style)
- 2–3 tbsp cold water (only if base is too thick)
Directions
Blanch and Cure the Shrimp
Bring a pot of well-salted water to a gentle boil. Add shrimp and blanch 10–15 seconds—just until edges blush pink—then immediately transfer to an ice bath to stop cooking. Drain well and pat dry.
Place shrimp in a shallow bowl and pour in just enough fresh lime juice to cover. Refrigerate 20–25 minutes, stirring once halfway, until opaque and slightly firm. Avoid over-marinating.
Soak the Onion
Soak sliced red onion in ice water for 10 minutes to mellow sharpness and keep a crisp bite; drain thoroughly.
Toast & Hydrate the Chiles
Toast árbol, pequín, and guajillo chiles in a dry skillet over medium heat until fragrant, ~30 seconds per side. Remove stems and most seeds.
Soak guajillo in hot water 10 minutes to soften; reserve a spoonful of soaking liquid.
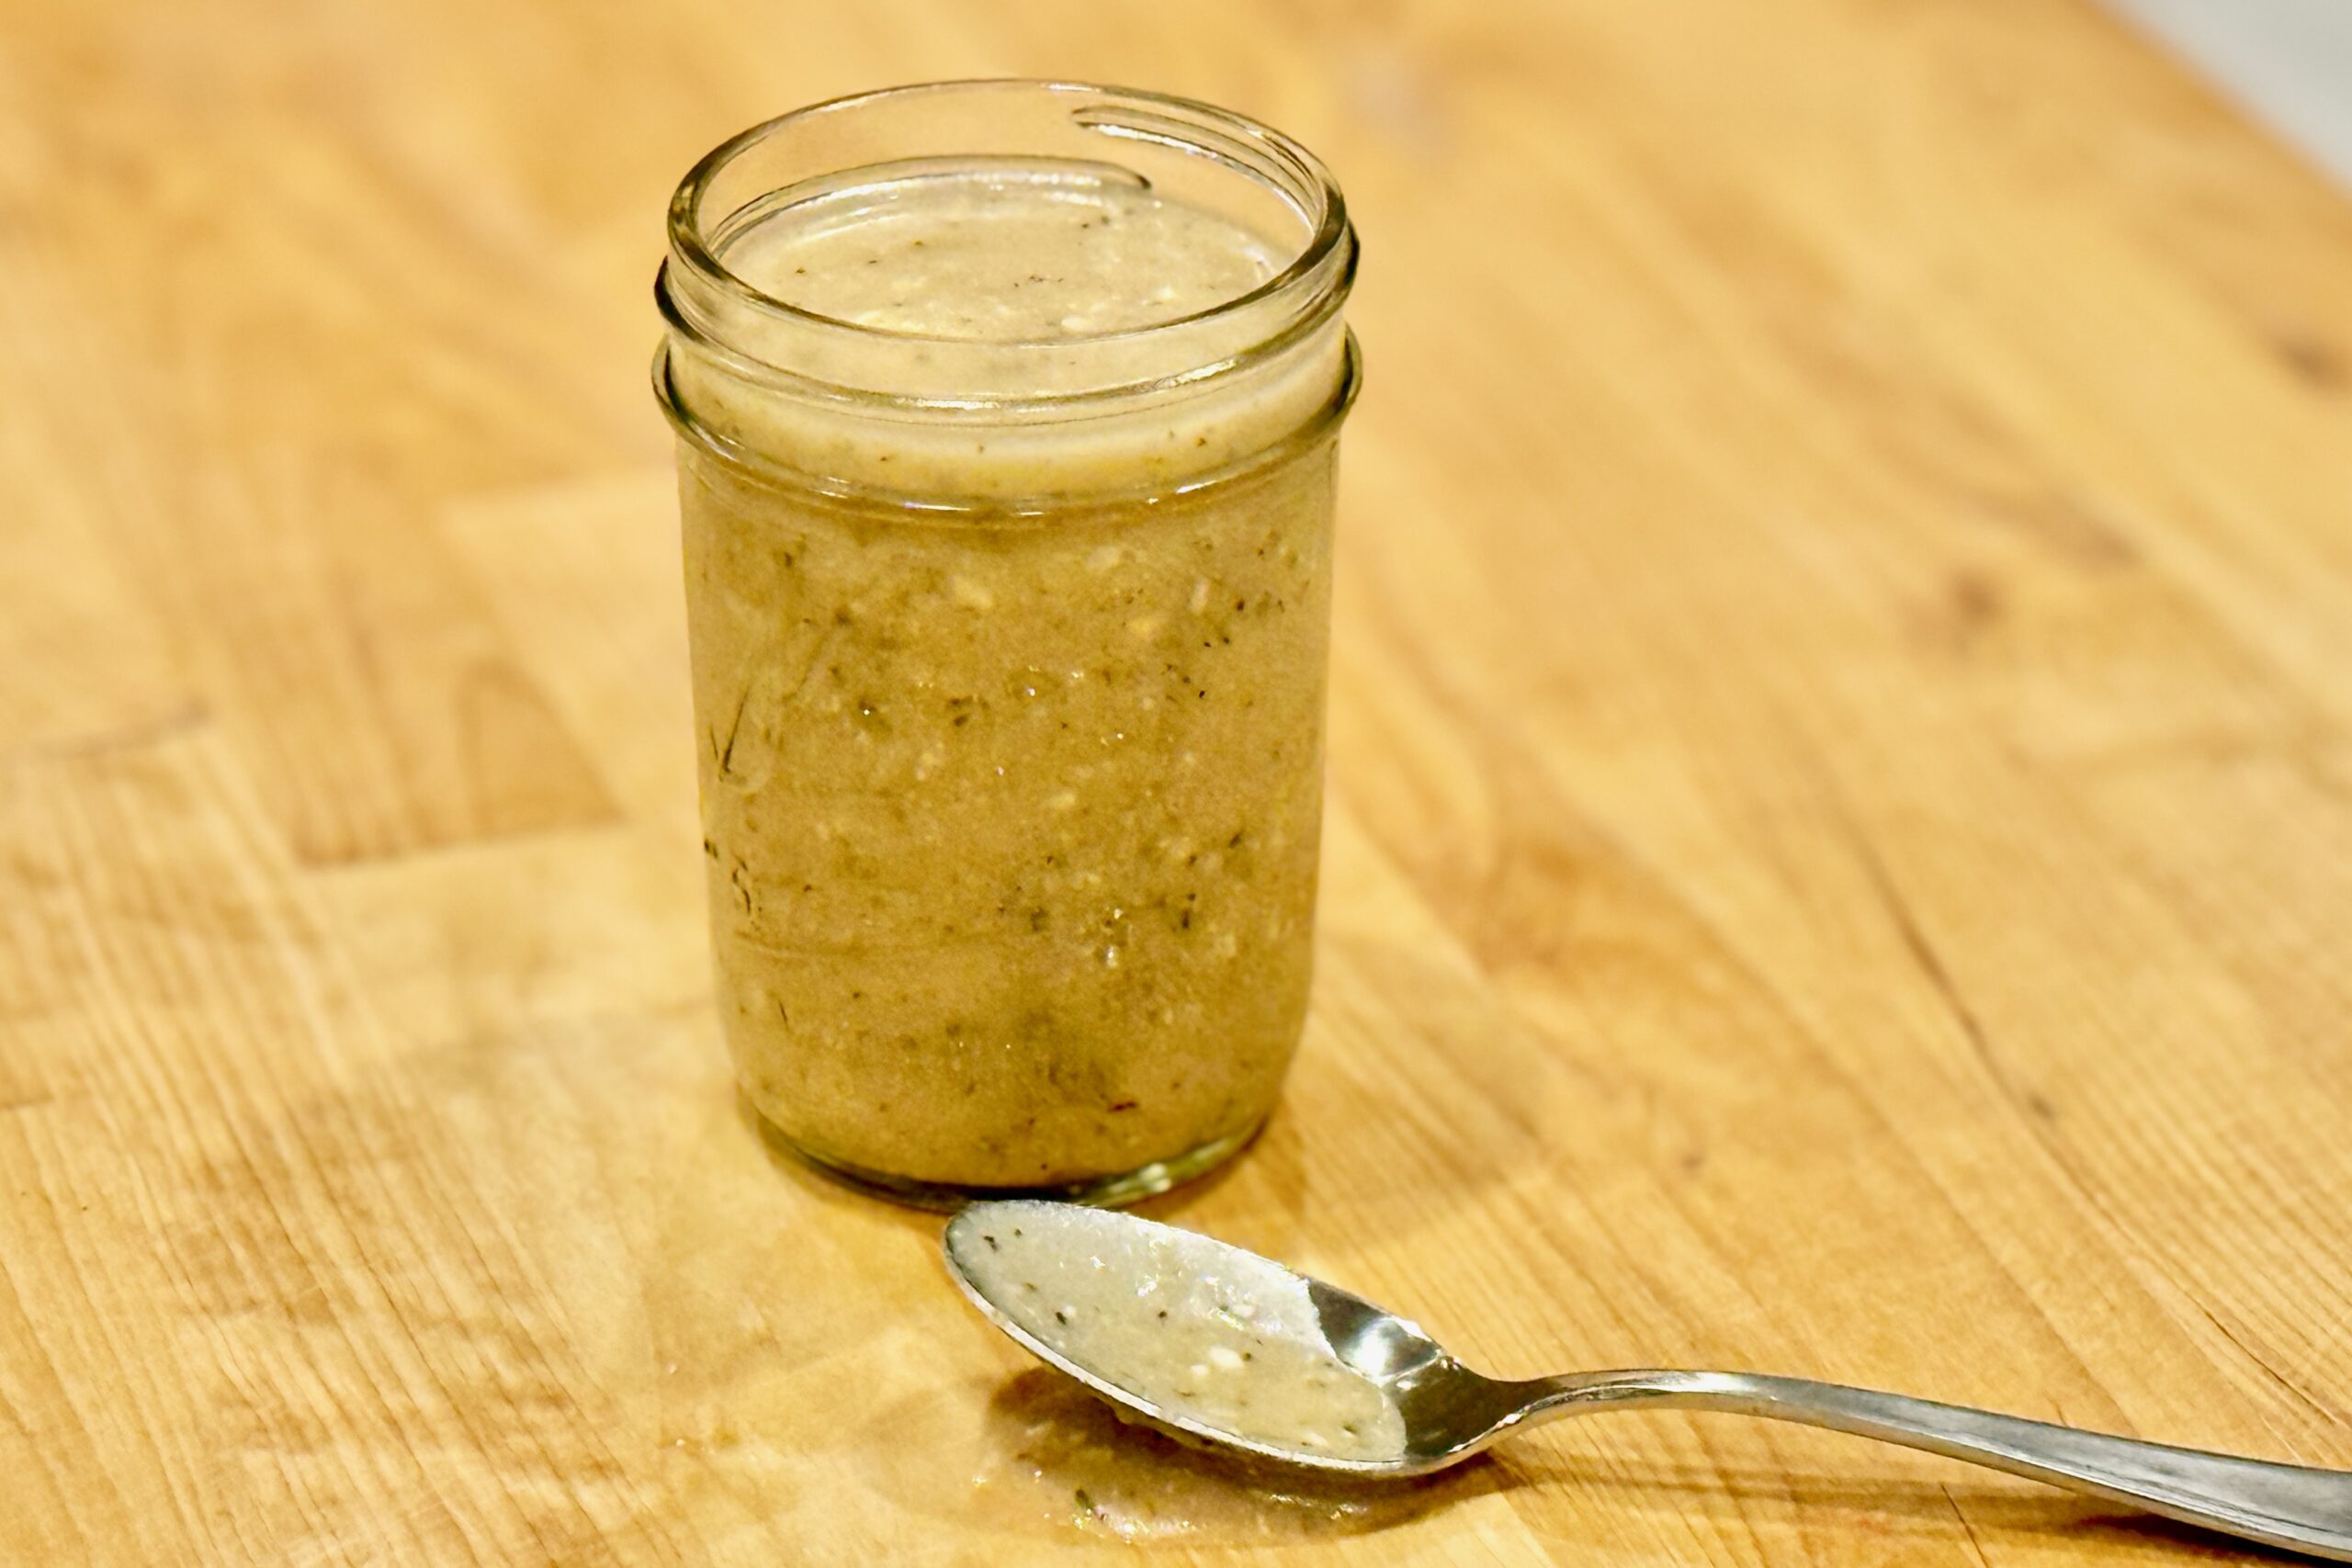
Blend the Red Base
Blend about ¼ of the Camaronazo with toasted chiles, garlic, 1 tsp of the salt, chicken bouillon, and a splash of guajillo soaking liquid until completely smooth and vivid red.
Add remaining Camaronazo and optional soy sauce or Maggi; pulse to combine. If using, add sugar to round bitterness.
If the base is too thick, add 2–3 tbsp cold water. If it tastes too sweet, brighten with more lime. Taste and adjust salt at the end.
Combine the Vegetables
In a large chilled bowl, mix cucumber, drained onion, and chopped cilantro. Pour in the red base and stir to coat evenly.
Finish with Shrimp & Avocado
Add the cured shrimp along with their lime marinade; fold gently to combine so the broth stays bright and balanced.
Add avocado just before serving and fold lightly to keep the cubes intact.
Serve
Serve immediately in chilled bowls or on tostadas. Garnish with cilantro leaves, sliced radish, and lime wedges; drizzle with salsa negra or salsa macha if desired.
Notes
Preparation
- Blanching locks in a crisp, restaurant-quality texture; the short lime cure finishes the “cook” without turning mushy.
- Toast all dried chiles briefly to deepen flavor and color; soak guajillo for a smoother blend.
- Onion soak: 10 minutes in ice water keeps texture while taming harshness.
- If the base is too thick, add 2–3 tbsp cold water; if sweetness dominates, add a squeeze of lime; always taste and adjust salt at the end.
- Add avocado only at the end to prevent bruising and mushiness.
Serving Suggestions
- Serve with crisp tostadas (not just chips) for structure and crunch.
- Add thinly sliced radish and extra cilantro leaves for color and freshness.
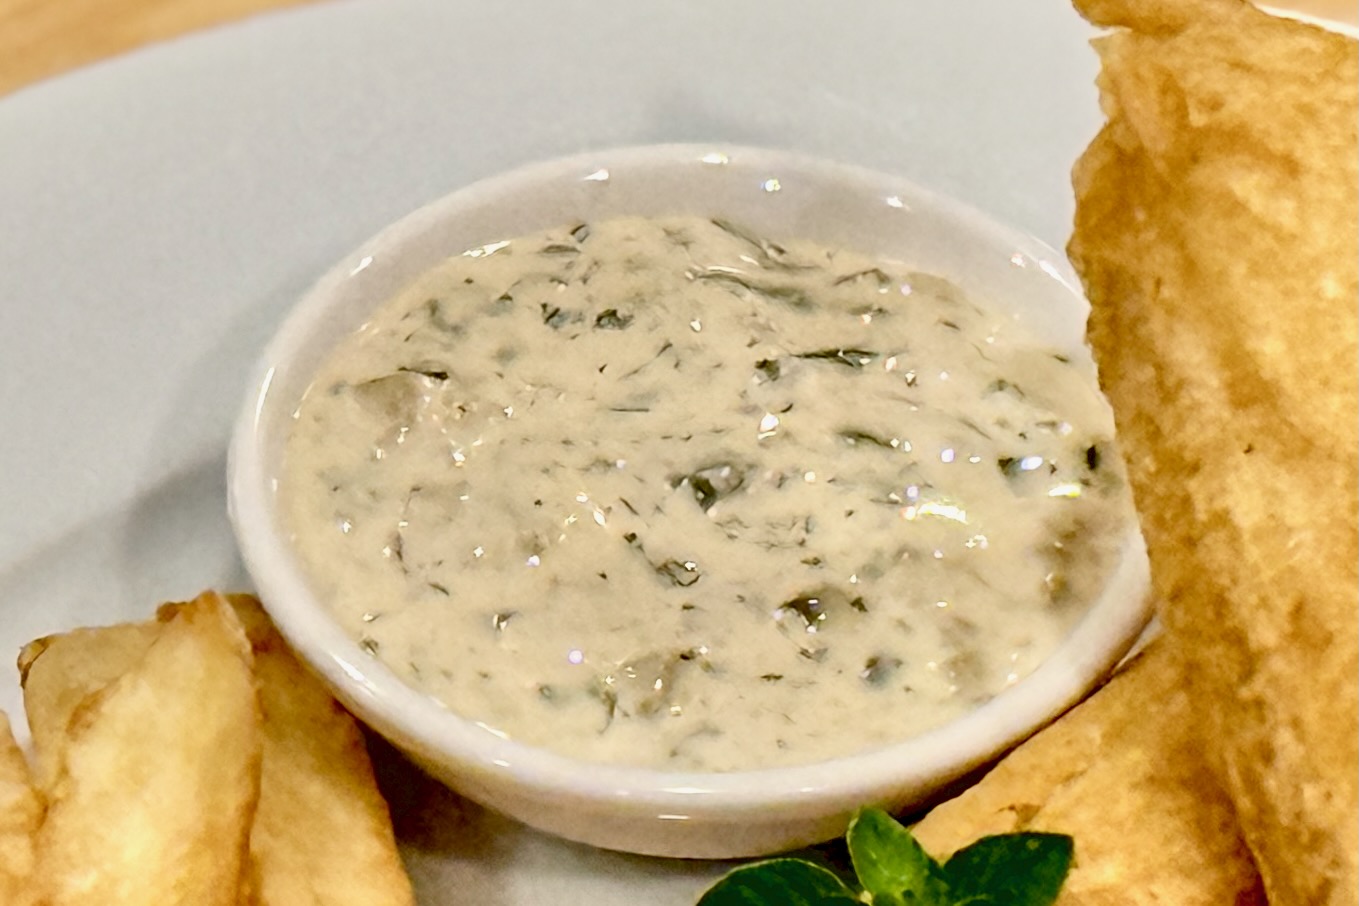
- Offer salsa negra or salsa macha for a glossy, smoky-spicy drizzle.
- Pass extra lime wedges at the table for last-second brightness.
Variations
- Soy sauce or Maggi (1–2 tbsp) adds savory depth common in Sinaloan versions—use to taste.
- A pinch of sugar (½ tsp) can smooth bitterness from well-toasted chiles.
- For extra heat, add another árbol or a small amount of the chile seeds; for milder heat, reduce árbol/pequín.
Make-Ahead & Storage
- The red chile base can be blended up to 1 day ahead; keep refrigerated and whisk before using.
- Blanch shrimp and chill the onion/cucumber ahead, but cure shrimp in lime and add avocado just before serving.
- Best served immediately once assembled; leftovers lose texture quickly—consume the same day.