Bags of Spices

Favorite Recipes

Source

A fun way to explore recipes by who shared or inspired them — family, friends, and loved ones.

  • Chicken Fajitas

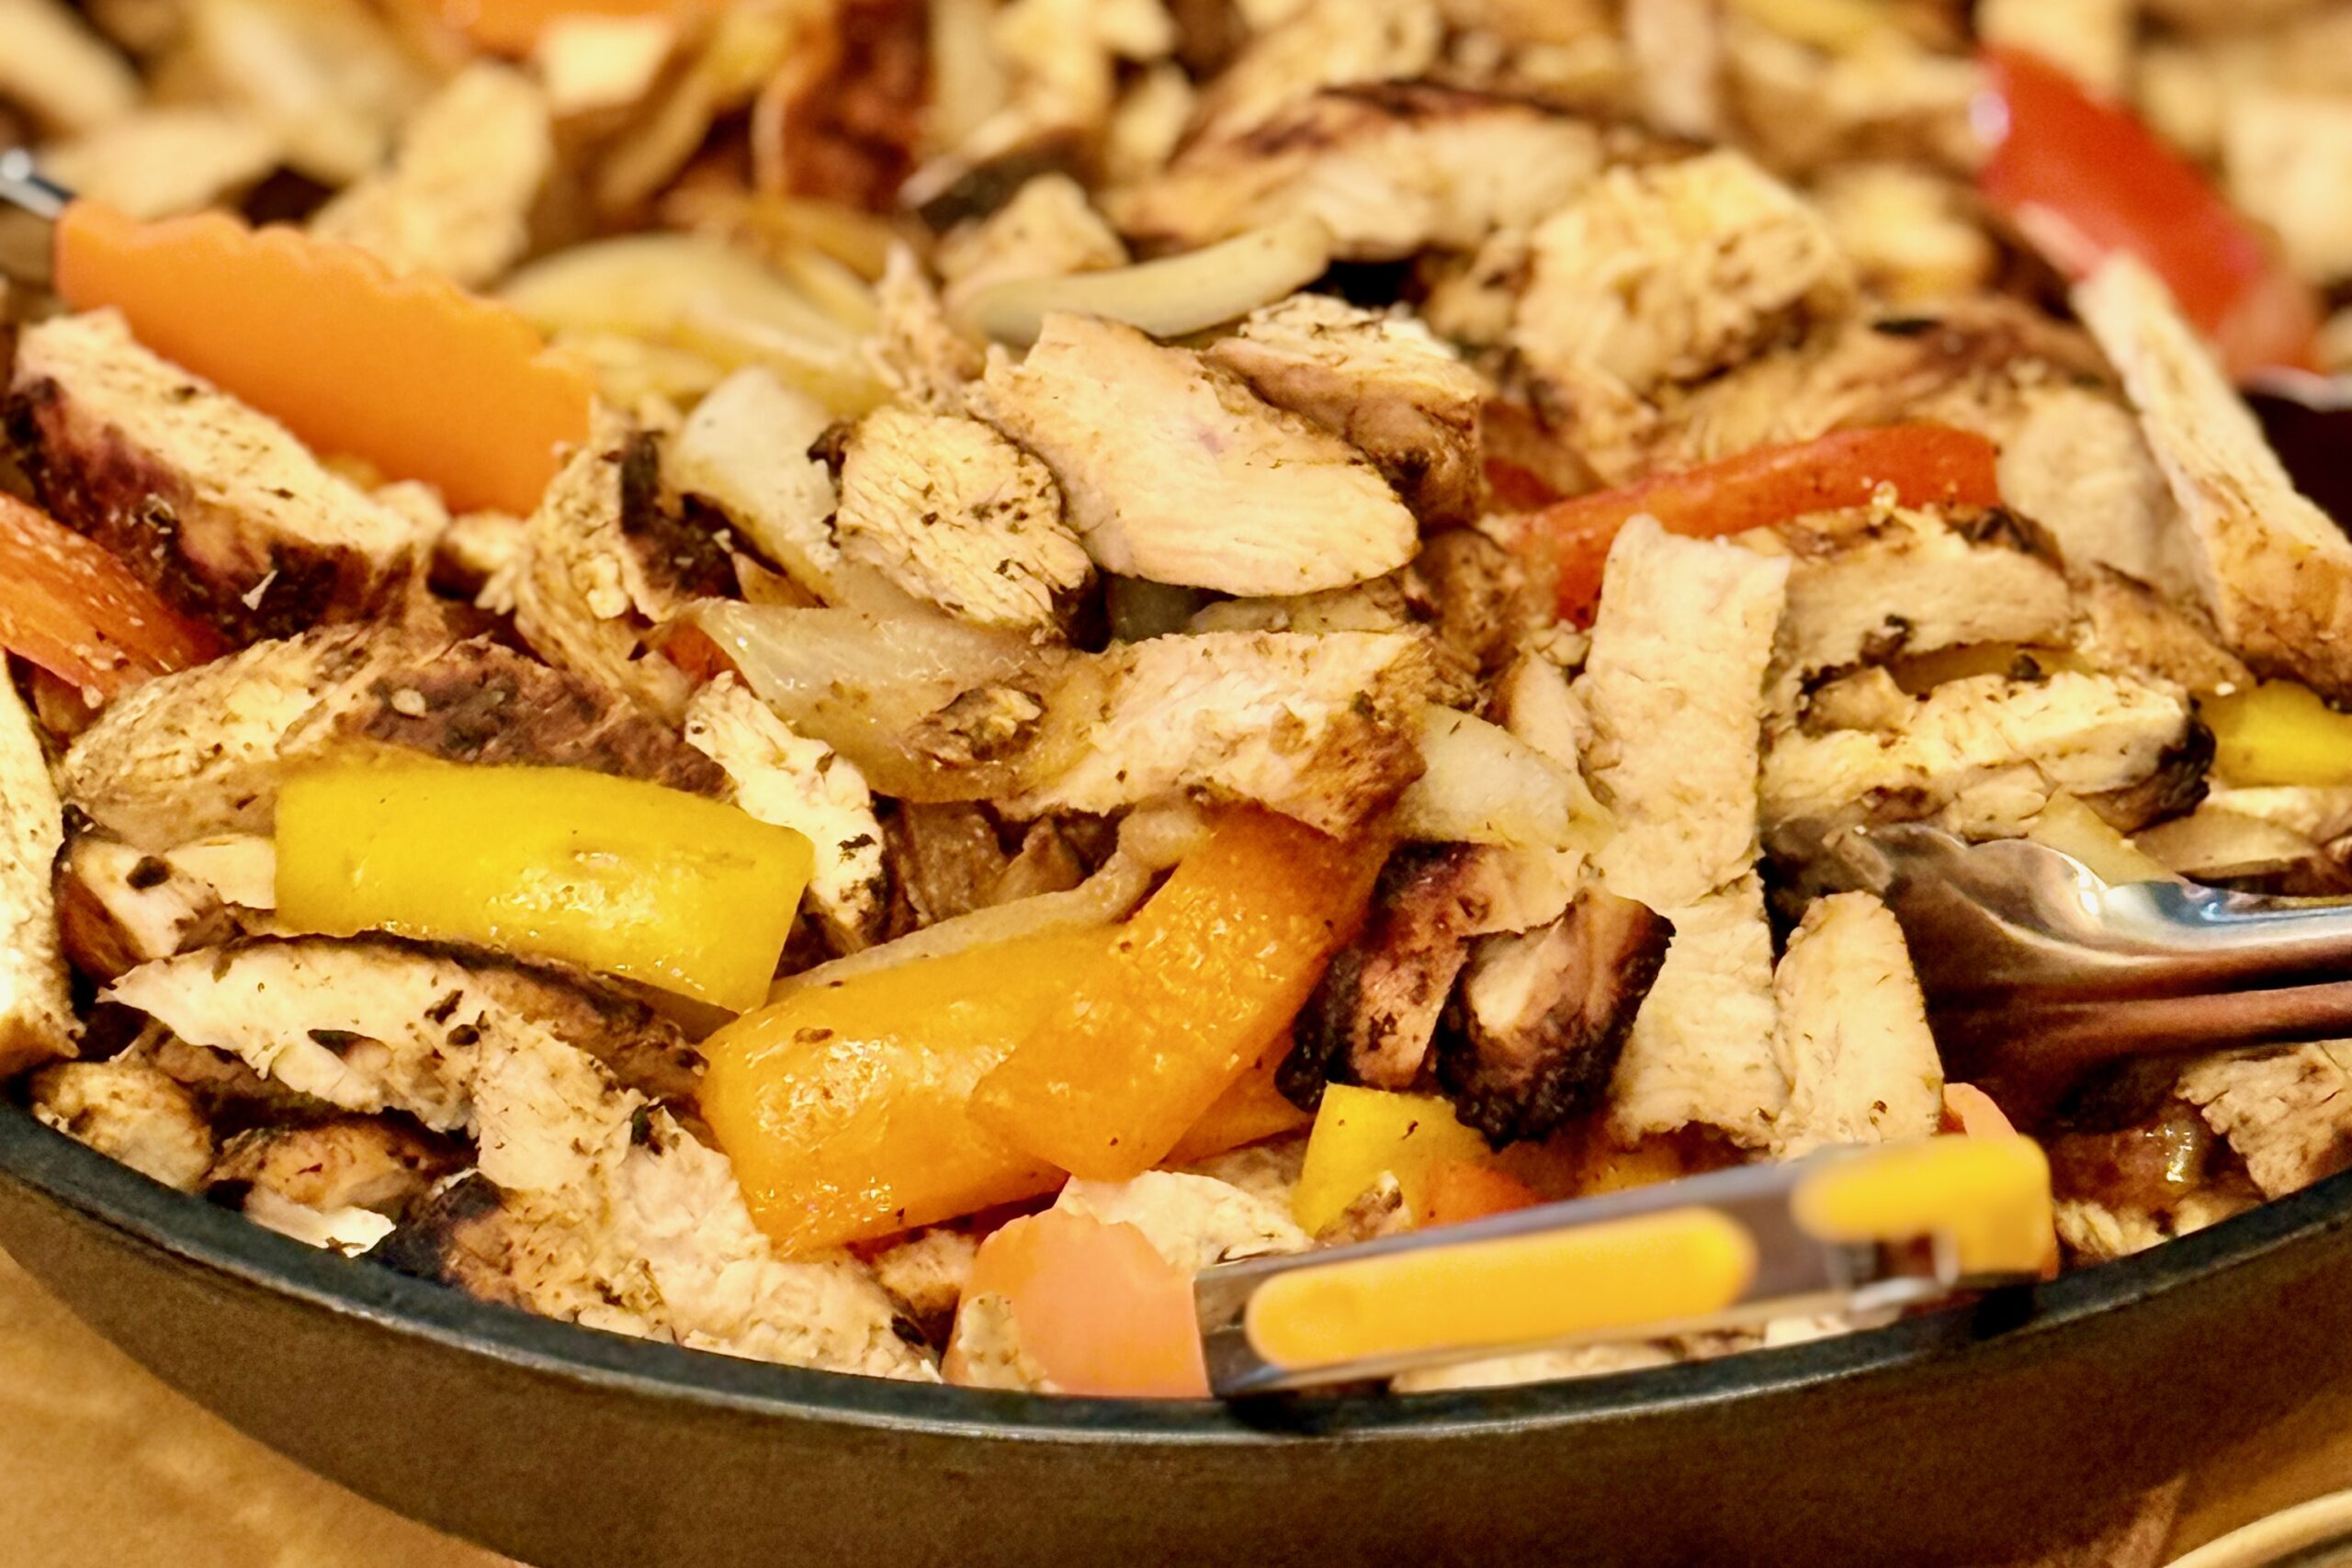
    Chicken Fajitas

    Juicy, smoky chicken tossed with sizzling peppers and onions—these restaurant-style fajitas bring the flavor and drama of a classic Mexican grill to your table. Balanced citrus marinade, caramelized edges, and a final squeeze of lime create a bright, sizzling finish.


    Ingredients

    • 1½ lbs skinless, boneless chicken thighs and/or breasts (1 part thighs and 1 part breasts recommended)
    • Marinade

    • 3 tbsp canola oil
    • 2 tbsp lime juice
    • 1 tbsp orange juice
    • 1 tbsp soy sauce
    • 1 tbsp water
    • 2 garlic cloves, minced
    • ½ tsp chipotle chile powder
    • 1 tsp ancho chile powder
    • 1½ tsp ground cumin
    • ¼ tsp ground coriander
    • ¹⁄₁₆ tsp ground cinnamon
    • 1 tsp smoked paprika
    • 1 tsp dried Mexican oregano
    • 1 tsp kosher salt
    • ½ tsp black pepper
    • 1 tsp brown sugar (optional, helps caramelization)
    • ½ tsp liquid smoke (optional, if not cooking over charcoal)
    • Vegetables

    • 1 red bell pepper, sliced
    • 1 green bell pepper, sliced
    • 1 yellow bell pepper, sliced
    • 1 large white onion, sliced
    • 1–2 tbsp oil
    • Pinch of kosher salt
    • Squeeze of lime juice
    • To Serve

    • Warm flour tortillas
    • Pico de gallo
    • Guacamole or avocado slices
    • Crema or sour cream
    • Shredded cheese (cheddar, Monterey Jack, or Oaxaca)
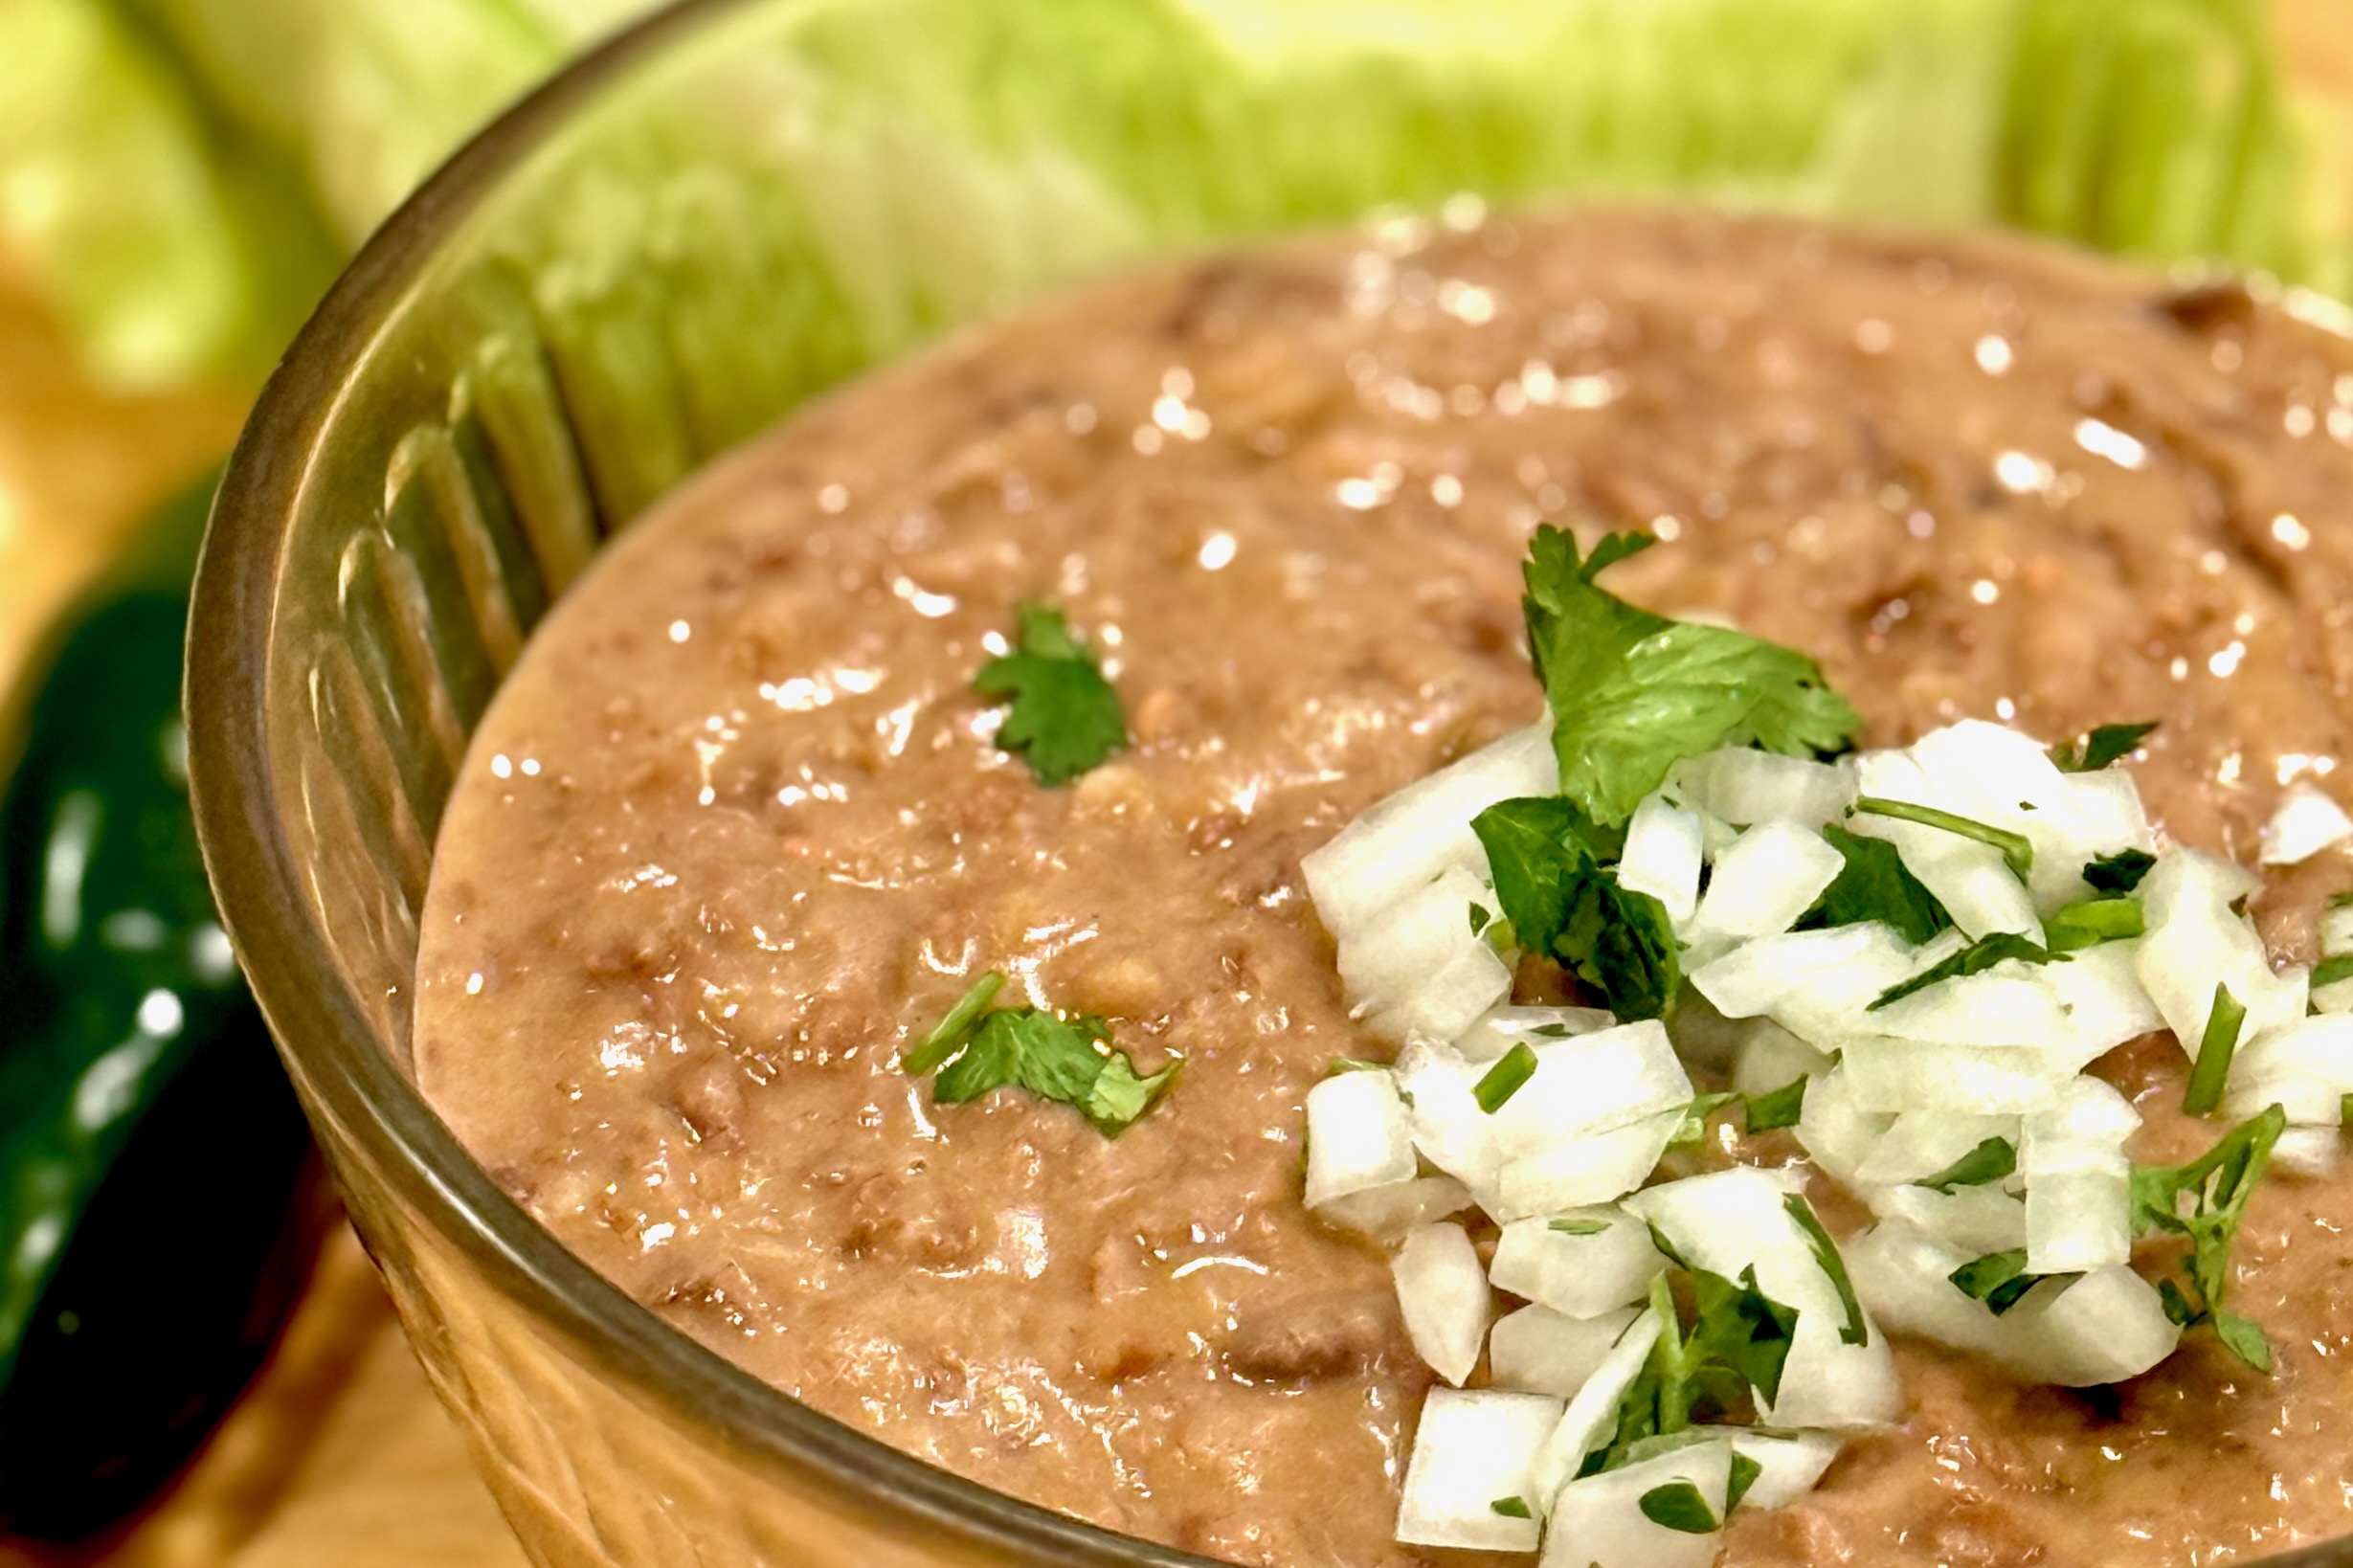
    • Refried Beans
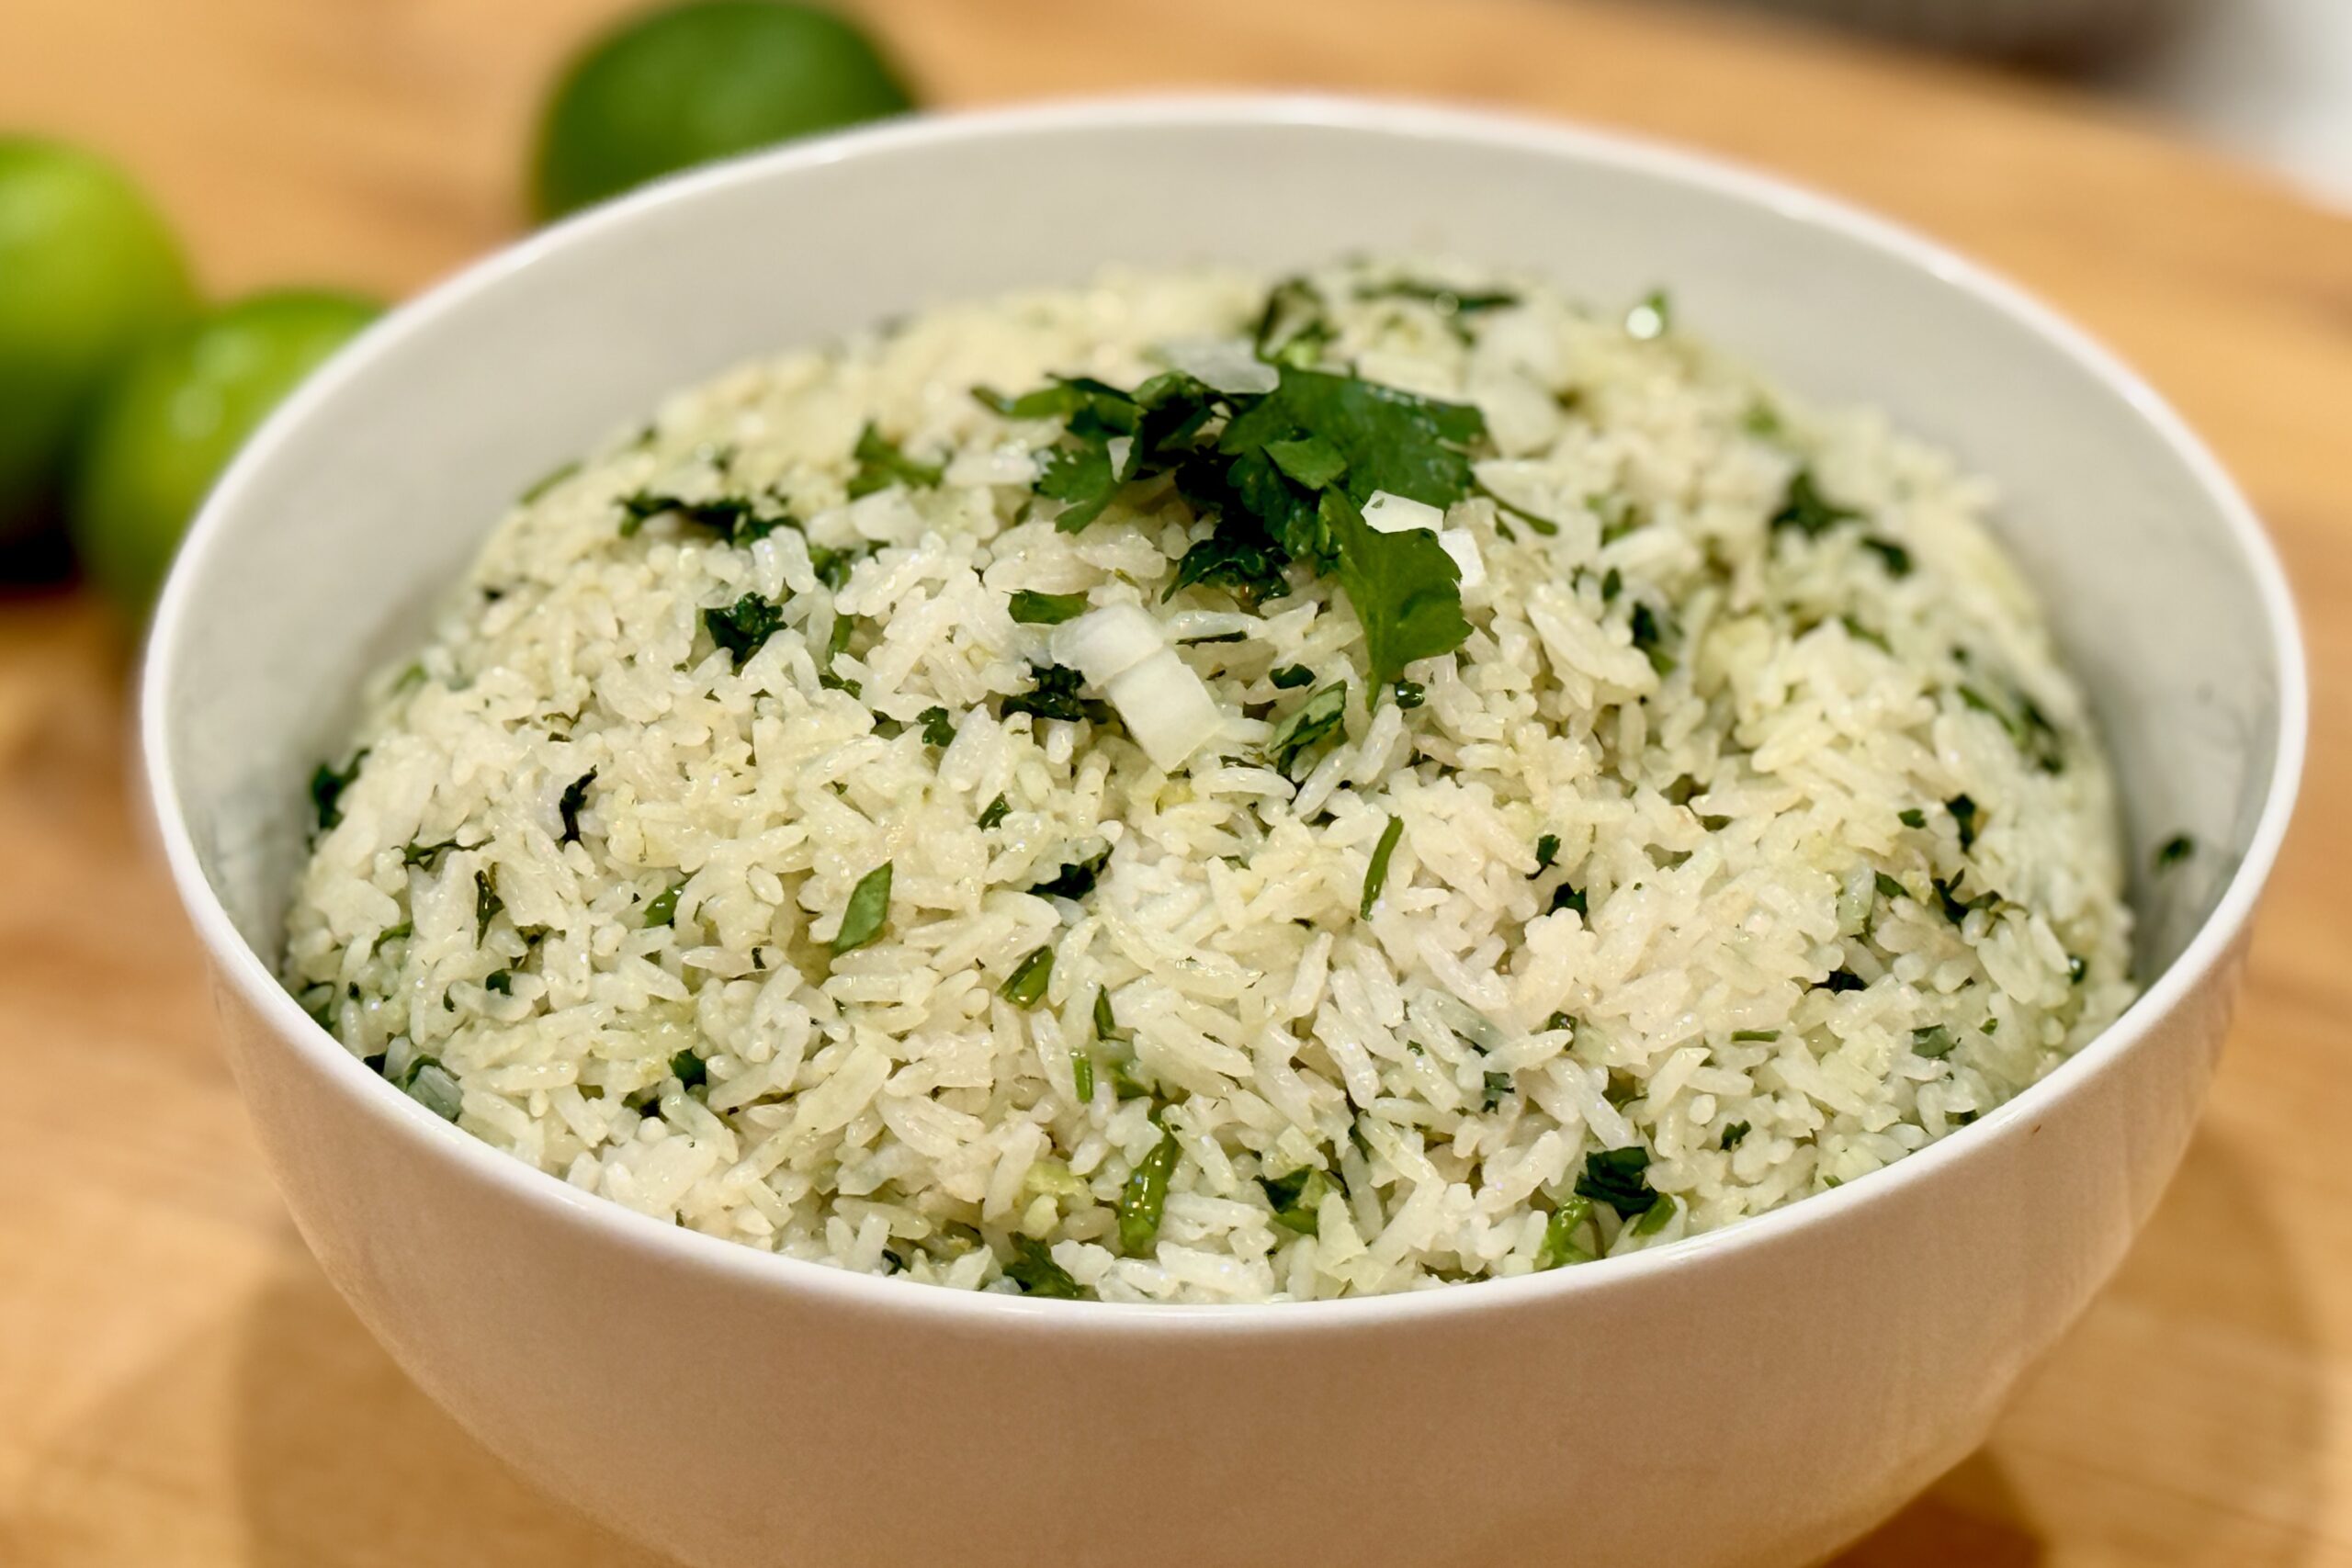
    • Mexican Rice
    • Fresh lime wedges
    • Fresh cilantro, chopped
    • Cotija cheese, crumbled (optional for garnish)

    Directions

    Marinate the Chicken

    Combine marinade ingredients in a bowl or resealable container. Add chicken and coat thoroughly, reserving 1–2 tbsp of the marinade for use later with the vegetables.

    Cover and refrigerate for 4–12 hours, turning occasionally.

    Prepare the Serving Skillet

    Preheat oven to 450–500°F (230–260°C). Place a large cast-iron fajita platter or skillet in the oven to heat for at least 15 minutes before serving.

    Cook the Chicken

    Heat a grill or cast-iron skillet over high heat. Cook chicken until nicely charred on the outside and reaches 160–165°F internally.

    Transfer to a plate, tent loosely with foil, and rest 5 minutes. Slice into thin strips across the grain.

    Caramelize and Combine

    Return the hot skillet to the stove (or use the same grill pan). Add sliced chicken and about 1 tbsp of the reserved marinade. Toss over high heat for 30–45 seconds to lightly caramelize and glaze the edges. Remove from heat and keep warm.

    Cook the Vegetables

    In a separate large skillet (or grill pan), heat 1–2 tbsp oil over high heat. Add sliced peppers and onions. Cook until blistered and tender-crisp, stirring occasionally, about 4–5 minutes.

    Add a pinch of salt and a squeeze of lime juice at the end of cooking for brightness and balance.

    Assemble and Serve

    Combine the vegetables with the sliced chicken. Carefully remove the preheated cast-iron skillet from the oven and transfer the chicken and peppers into it.

    Add a final squeeze of fresh lime juice—the skillet will sizzle and steam. Serve immediately on a heat-safe surface with warmed tortillas and all accompaniments.

    Garnish

    Sprinkle with fresh chopped cilantro and a light dusting of cotija cheese just before serving.


    Notes

    Preparation

    • The balanced 3:3 oil-to-citrus ratio prevents over-acidification and improves browning.
    • Adding 1 tbsp water ensures even coating and full marinade coverage.
    • Optional liquid smoke adds authentic char aroma when not using a charcoal grill.
    • A brief toss of sliced chicken in reserved marinade creates a restaurant-style glossy finish.
    • Seasoning vegetables with salt and lime at the end enhances flavor and color.
    • The sizzling lime finish releases steam and aroma when the hot skillet hits the table.

    Serving Suggestions

    • Serve with warm tortillas, Mexican rice, and refried beans.
    • Offer pico de gallo, guacamole, crema, or cheese for build-your-own fajitas.
    • Top with extra cilantro, cotija, and a squeeze of lime just before serving.

    Make-Ahead & Storage

    • Marinate chicken up to 12 hours in advance for maximum flavor.
    • Cooked chicken and vegetables can be refrigerated for up to 3 days.
    • Reheat gently in a skillet or oven before serving; add a squeeze of lime to refresh flavor.
  • Browned Butter Sage Sauce

    Browned Butter Sage Sauce

    A quick, elegant sauce that pairs beautifully with ricotta or potato gnocchi. Simple to prepare, it highlights the nutty aroma of browned butter and the earthy perfume of fresh sage. When served with gnocchi, a pinch of nutmeg in the dough adds warm, slightly sweet notes that complement the savory depth of the sage. This classic combination appears throughout Italian cooking—in pasta, meatballs, gnocchi, and creamy soups—where sage contributes its herbaceous edge and nutmeg lends a subtle, cozy warmth.


    Ingredients

    • 6 tbsp unsalted butter (85 g)
    • 8–10 fresh sage leaves
    • ⅛ tsp table salt (or to taste)
    • freshly ground black pepper (to taste)
    • 2 tbsp grated parmesan (optional, for finishing)
    • ½ tsp lemon juice (optional, brightens flavor)

    Directions

    Brown the Butter

    In a medium skillet or saucepan, melt the butter over medium heat. Add the sage leaves and cook, swirling occasionally, until the butter turns deep golden and smells nutty, about 4–5 minutes. The sage will crisp slightly as it fries.


    Finish the Sauce

    Remove from heat and stir in salt, black pepper, and lemon juice if using. Serve the sage leaves whole or remove them depending on preference.


    Serve

    Toss hot, drained gnocchi directly in the pan with the brown butter sauce until evenly coated. Serve immediately with freshly grated parmesan.


    Notes

    Preparation

    • Watch closely—brown butter goes from nutty to burnt quickly. Remove from heat as soon as the milk solids turn golden.
    • Create a silkier sauce by swirling in 1–2 tbsp pasta or gnocchi cooking water to form a light emulsion.
    • For deeper sage flavor, crisp the leaves for an extra 30 seconds before removing the pan from heat.

    Serving Suggestions

    • Drizzle over ricotta gnocchi, potato gnocchi, or sweet potato gnocchi.
    • Excellent on cheese ravioli, butternut squash ravioli, or spinach ravioli.
    • Also delicious over roasted vegetables, grilled chicken, or sautéed mushrooms.

    Variations

    • Garlic Brown Butter: Add one lightly crushed garlic clove to the skillet during browning; remove before serving.
    • Brown Butter & Walnut: Stir in ¼ cup toasted chopped walnuts for added crunch.
    • Lemon-Sage Butter: Increase lemon juice to 1 tsp and add ½ tsp lemon zest for brightness.

    Make-Ahead & Storage

    • Best served immediately after browning.
    • Refrigerate leftover sauce up to 3 days; rewarm gently over low heat before serving.
    • Sage leaves soften in storage—crisp fresh leaves separately if reheating.
  • Maple Whipped Cream

    Maple Whipped Cream

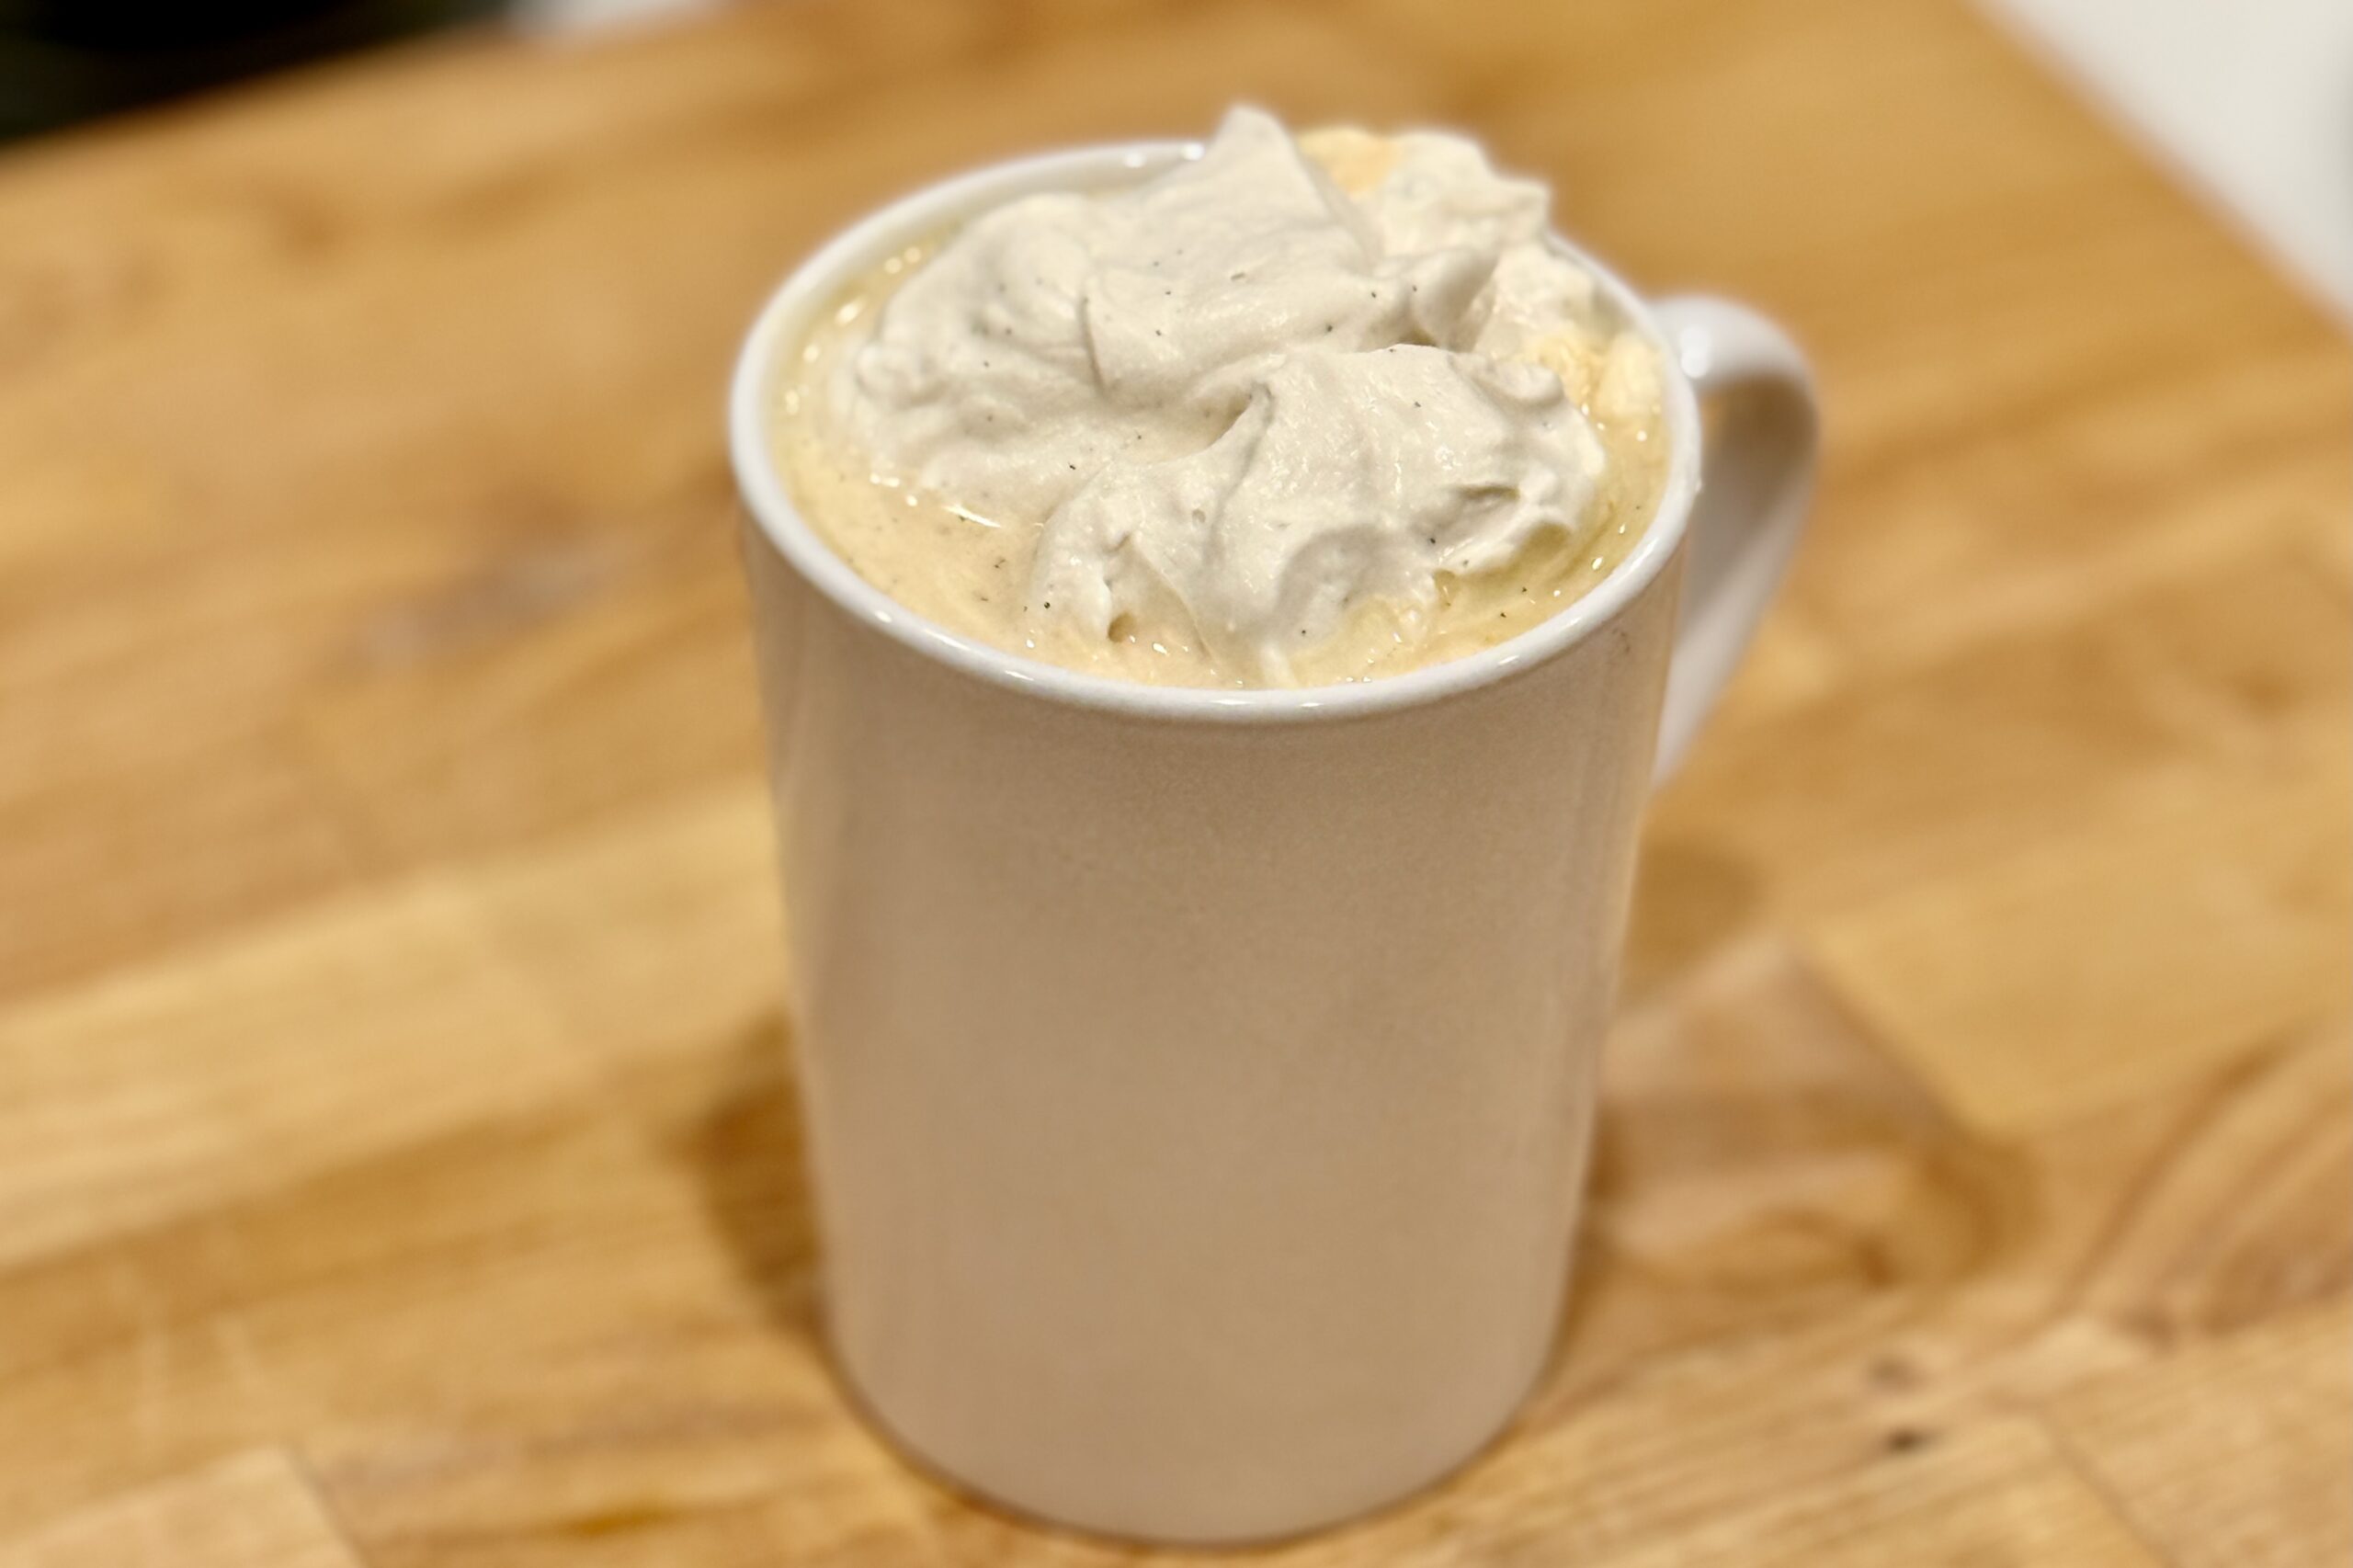
    Maple whipped cream is one of those simple upgrades that instantly feels special. Sweetened naturally with pure maple syrup, it brings a warm, woodsy depth you can’t get from powdered sugar alone. It’s perfect on pumpkin desserts, fall cakes, waffles, pies, hot chocolate, and cozy holiday drinks — anywhere you want a little real maple character without overpowering the main dish.


    Ingredients

      Base Whipped Cream

    • 1 cup heavy whipping cream, cold
    • 2–3 tbsp pure maple syrup (Grade A dark/robust preferred), warmed and cooled
    • ½ tsp vanilla extract
    • ½ tsp vanilla bean paste (for flecks)
    • Pinch of table salt (added during syrup warming)
    • Optional Stabilizer

    • ½ tsp gelatin bloomed in 1 tbsp cold water, melted and cooled
    • Scaling Options

      • Half Batch: ½ cup cream + 1–1½ tbsp maple syrup; scale remaining ingredients accordingly.
      • Double Batch: 2 cups cream + 4–6 tbsp maple syrup; double stabilizer if using.

    Directions

    Warm the Maple Syrup

    Place the maple syrup in a small saucepan and warm just until steaming. Add the pinch of table salt and stir until fully dissolved. Remove from heat and allow to cool completely.

    Whip the Cream

    Combine the cold heavy cream, cooled maple syrup, vanilla extract, and vanilla bean paste in a mixing bowl. If using gelatin, drizzle in the cooled melted gelatin as you begin whipping.

    Beat with a hand mixer (or whisk vigorously by hand) until soft to medium peaks form.

    Adjust & Serve

    Taste and add more maple syrup if needed. Serve immediately, or refrigerate up to 24 hours and re-whip lightly before use.

    Variations

    Customize the flavor to pair with different desserts or drinks:

    • Cinnamon-Maple: Add ⅛–¼ tsp ground cinnamon to the cream before whipping.
    • Maple-Bourbon or Maple-Rum: Add 1–2 tsp spirit to the maple syrup before warming; simmer 20–30 seconds to cook off alcohol, then cool.
    • Orange-Maple: Fold in ½ tsp finely grated orange zest after whipping.
    • Salted Maple: Increase salt to ⅛–¼ tsp (added during syrup warming).
    • Berry-Infused Maple: Warm 2 tbsp maple syrup with 1–2 tbsp crushed berries; simmer 1–2 minutes, strain, cool, and substitute for plain maple syrup.
    • Browned-Butter Maple: Brown 1–2 tbsp butter until golden and nutty; cool until just warm, whisk into the maple syrup during the warming step, then cool completely before whipping.

    Notes

    Preparation

    • Warming the maple syrup enhances flavor and dissolves the salt smoothly.
    • Vanilla bean paste adds flavor and appealing flecks throughout the cream.
    • Gelatin optional stabilizer helps the whipped cream hold up longer on pies, cakes, and drinks.

    Serving Suggestions

    • Serve on our family’s Pumpkin Spice Steamer, pumpkin milk, pies, crisps, spice cakes, waffles, or hot chocolate.
    • A great topping for fall desserts and holiday gatherings.

    Variations

    • Try the browned-butter version with apple or pear desserts.
    • Berry-infused maple pairs nicely with chocolate or vanilla bases.

    Make-Ahead & Storage

    • Whipped cream can be stored up to 24 hours; re-whip lightly to refresh texture.
    • Stabilized versions hold their shape longer and are good for piping.
  • Grandma Lena’s Green Beans

    Grandma Lena’s Green Beans

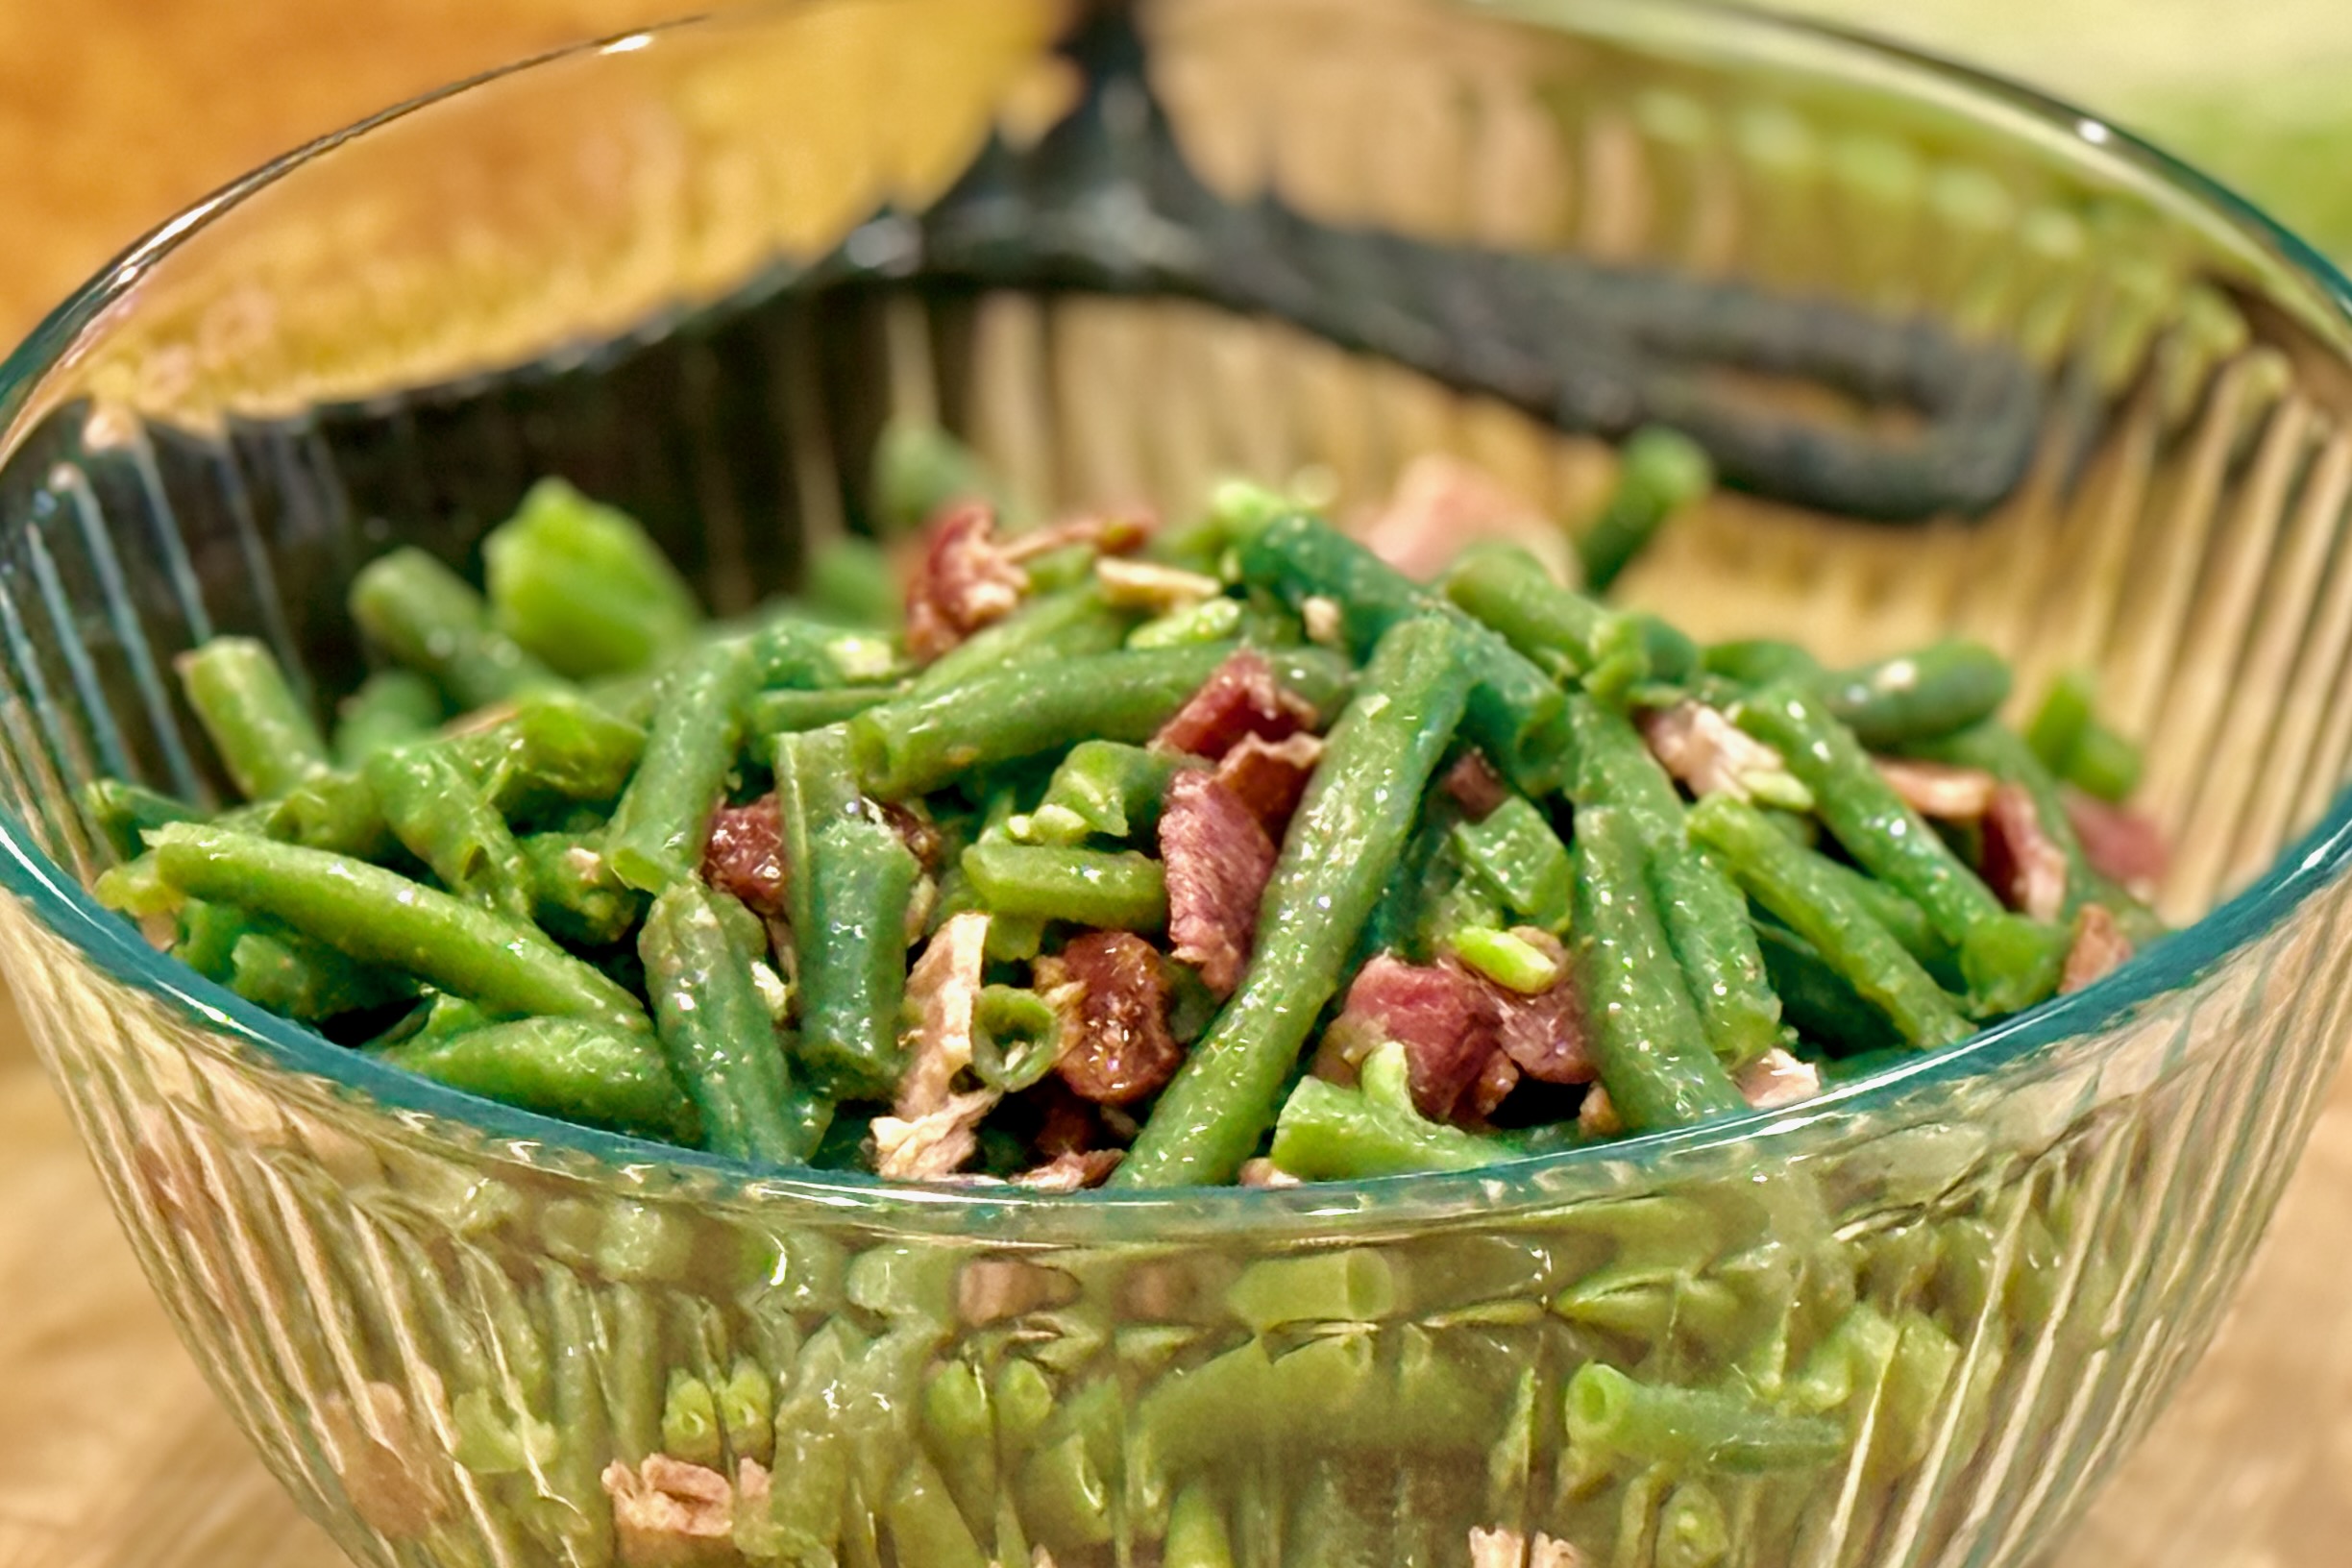
    Grandma Lena’s green beans were a fixture at family dinners. She always made them with flat Italian green beans when she could find them, simmering them slowly with bacon until they became perfectly tender and full of flavor. They were never sautéed, never buried under a cream sauce, and never meant to steal the spotlight. Instead, they quietly complemented everything else on the table. Today I still follow Grandma Lena’s method of seasoning the beans through the cooking broth, but finish them with a little butter, reserved bacon drippings, and freshly crisped bacon for a richer finish that honors the original while adding just a little extra depth.


    Ingredients

    • 2 lbs fresh green beans, trimmed
    • 4 slices thick-cut bacon
    • Water, enough to cover the beans (about 6–8 cups)
    • 1 tsp Better Than Bouillon Roasted Chicken Base
    • ½ tsp liquid smoke
    • Pinch of MSG (optional)
    • 6 slices thick-cut bacon, cooked until crisp and chopped
    • 1 tbsp butter
    • 1–2 tsp reserved bacon drippings
    • Freshly ground black pepper, to taste

    Directions

    Prepare the cooking broth.

    Place 4 slices of bacon in a Dutch oven or large saucepan and cover with water. Bring to a gentle simmer and cook for about 30 minutes to create a flavorful broth.

    Stir in the Better Than Bouillon, liquid smoke, and optional MSG until dissolved.

    Cook the beans.

    Add the green beans to the simmering broth. Continue cooking until the beans reach your preferred tenderness, about 20–25 minutes for tender-crisp beans or 35–45 minutes for a more traditional Southern-style texture.

    While the beans cook, prepare 6 additional slices of bacon until crisp. Reserve 1–2 teaspoons of the bacon drippings, then chop the bacon into bite-sized pieces.

    Finish the beans.

    Remove and discard the simmered bacon. Drain the beans, reserving 2–3 tablespoons of the cooking broth in the pot.

    Add the butter and reserved bacon drippings, tossing until the butter melts and the beans are lightly coated.

    Fold in the chopped crispy bacon and season with freshly ground black pepper to taste. Serve immediately.


    Notes

    Preparation Tips

    Taste the cooking broth before adding the green beans. It should taste well-seasoned with a gentle smoky bacon flavor. The broth is what seasons the beans from the inside out, so a flavorful broth produces flavorful beans.

    Grandma Lena always used flat Italian (Romano) green beans when they were available. Their meatier texture and slightly sweeter, less grassy flavor make them especially well suited to slow simmering. Because they’re often difficult to find, regular fresh green beans are an excellent substitute and are what we usually use today.

    Serving Suggestions

    These green beans are especially good alongside barbecue, roast beef, ham, fried chicken, meatloaf, or holiday dinners. They pair beautifully with mashed potatoes, cornbread, baked beans, and other traditional family favorites.

    Variations

    For a pork-free version, omit the simmered bacon and increase the liquid smoke slightly if desired. Finish the beans with butter and serve without the crispy bacon, or substitute cooked smoked turkey for a similar flavor profile.

    Make-Ahead & Storage

    The beans may be cooked several hours ahead and refrigerated in a small amount of the cooking broth. Reheat gently, then finish with the butter, bacon drippings, and crispy bacon just before serving. Leftovers keep well in the refrigerator for up to 4 days.