Bags of Spices

Favorite Recipes

Other

Sweets that don’t fit neatly into categories — candies, chocolates, pastries, and unique indulgences.

  • Buckeyes

    Buckeyes

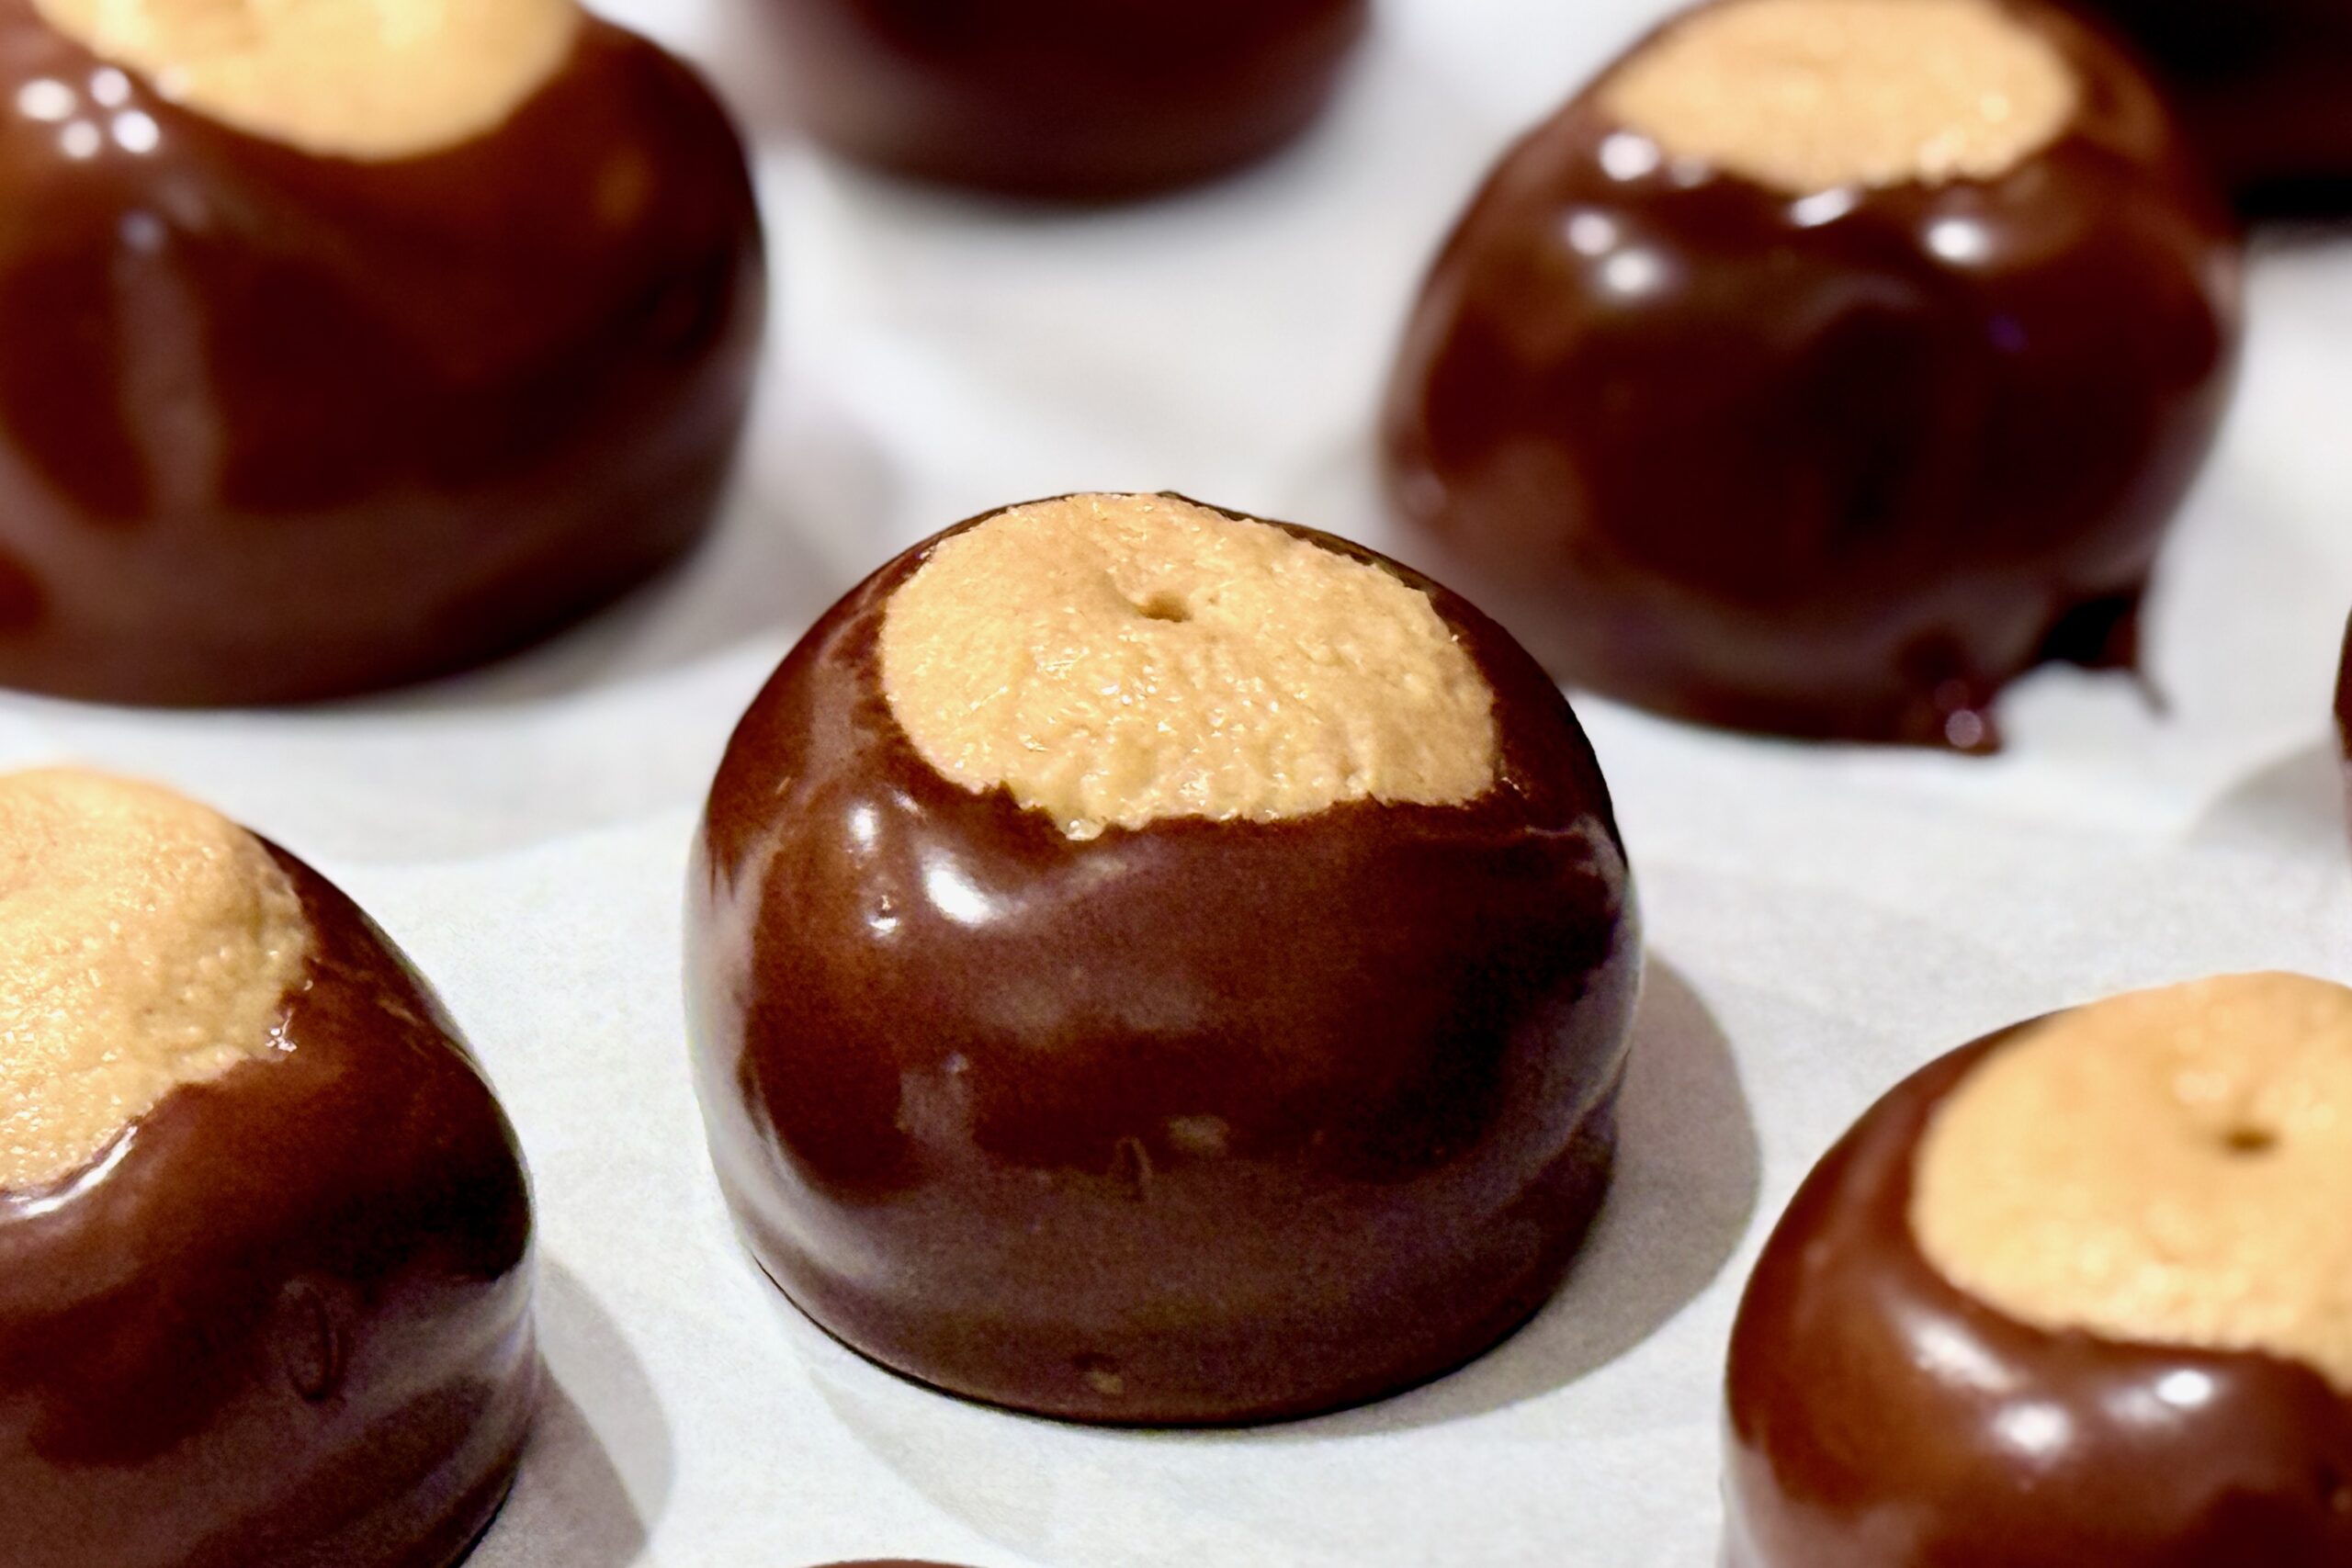
    These classic peanut-butter-and-chocolate Buckeyes are rich, creamy, and nostalgic—perfect for holidays, family gatherings, or anytime you want an easy, crowd-pleasing treat with minimal fuss.


    Ingredients

    • 1 cup creamy peanut butter
    • ½ cup butter, softened
    • ½ tsp vanilla
    • ¼ tsp table salt
    • 2½ cups confectioners sugar
    • 12 oz (340g) semisweet chocolate chips
    • 1 tsp vegetable shortening

    Directions

    Make the Peanut Butter Centers

    In the bowl of a stand mixer, combine peanut butter, butter, vanilla, and salt. Mix on medium speed until just combined.

    Reduce speed to low and slowly mix in confectioners sugar in installments until a soft dough forms.

    Refrigerate to firm slightly (15–20 minutes).

    Shape

    Line a baking sheet with parchment paper. Scoop the dough into 1 tbsp portions and roll into smooth balls.

    Insert a toothpick into the top of each ball and freeze until solid (about 1 hour).

    Melt the Chocolate

    Place chocolate chips and shortening into a microwave-safe bowl. Microwave in 30-second increments, stirring between each, until mostly melted (2–3 minutes). Stir until completely smooth.

    Dip & Finish

    Dip each peanut butter ball into the chocolate, coating about ⅔ of the way up. Return to the parchment.

    Refrigerate until the chocolate is set and the centers are no longer frozen.

    Remove toothpicks. Optionally smooth over the tops to cover the hole. Serve chilled or at room temperature.


    Notes

    Preparation

    • For the smoothest texture, be sure the butter is fully softened before mixing.
    • Creamy commercial peanut butter (like Jif or Skippy) gives the most consistent results.
    • If the dough seems too soft to roll, chill longer or add up to ¼ cup additional confectioners sugar.

    Serving Suggestions

    • Serve as a holiday treat, on dessert trays, or as sweet bites for parties.
    • They pair beautifully with hot cocoa, coffee, or cold milk.

    Variations

    • Dip fully in chocolate for “chocolate-covered peanut butter balls.”
    • Use dark chocolate or milk chocolate instead of semisweet.
    • Add ¼ tsp almond extract to the peanut butter mixture for a subtle twist.
    • Top with flaky sea salt before the chocolate sets for a sweet-salty finish.

    Make-Ahead & Storage

    These candies store exceptionally well and are perfect for preparing ahead of time.

    • Refrigerator: Store in an airtight container for 2 weeks.
    • Freezer: Freeze for up to 3 months; thaw in the fridge before serving.
    • Do not store at warm room temperatures—chocolate may soften or bloom.
  • Bananas Foster

    Bananas Foster

    Rich, buttery, and unmistakably indulgent, this Bananas Foster brings a taste of New Orleans to your table. Created in 1951 at Brennan’s in the French Quarter—at the height of the city’s banana-import boom and named for civic leader Richard Foster—it’s crafted from ripe bananas, rich caramel, rum, and banana liqueur. The flambéed presentation still thrills diners today, while the warm bananas and syrupy sauce spooned over creamy vanilla ice cream evoke both drama and comfort. In our family, it’s a go-to when we want something classic, bold, and effortlessly shared—every bite layered with caramel sweetness, a hint of cinnamon, and the smooth warmth of rum, all wrapped up in an experience that can make a simple dinner feel like a celebration.


    Ingredients

    • 2 tbsp butter
    • ¼ cup packed brown sugar
    • ⅛ tsp ground cinnamon
    • 1 banana, firm-ripe, sliced lengthwise or into thick rounds
    • ¼ cup crème de banane (banana liqueur)
    • 3 tbsp Grand Marnier (or other orange liqueur)
    • 3 tbsp dark or amber rum
    • vanilla ice cream, for serving

    Directions

    Prepare the Sauce:

    In a large sauté pan over medium heat, melt butter. Stir in brown sugar and cinnamon, cooking until the sugar dissolves and the mixture bubbles into a smooth caramel (1–2 minutes).

    Add the Liqueurs and Bananas:

    Stir in crème de banane and Grand Marnier. Bring just to a gentle boil, then add sliced banana. Cook for about 2–3 minutes, turning occasionally until the bananas are lightly caramelized but still hold their shape.

    Flambé the Rum:

    Remove the pan from the flame before adding rum. Carefully ignite using a long lighter or match, allowing the flames to subside naturally. Return to the stovetop and simmer for 30–60 seconds until the raw alcohol flavor cooks off and the sauce slightly thickens.

    Serve:

    Spoon the warm bananas and caramel sauce over vanilla ice cream. Serve immediately.


    Notes

    Preparation

    • Use firm, ripe bananas so they hold their shape during cooking.
    • For a deeper caramel flavor, cook the sugar mixture an extra minute before adding the liqueurs.
    • If you prefer not to flambé, simmer the rum gently for a few minutes to cook off the alcohol instead.

    Serving Suggestions

    • Serve over classic vanilla ice cream, or try butter pecan for extra richness.
    • For a brunch twist, serve over pancakes, waffles, or French toast.
    • Top with toasted pecans or a light sprinkle of sea salt for added texture and contrast.

    Variations

    • For a tropical version, substitute some or all of the rum with coconut rum.
    • Add a splash of pineapple juice for a lighter, fruitier finish.
    • Use plantains instead of bananas for a heartier, more caramel-forward dessert.

    Make-Ahead & Storage

    • This dessert is best prepared and served immediately for optimal texture and presentation.
    • If you need to make ahead, prepare the sauce up to the flambé step, cool, and refrigerate up to 1 day; rewarm gently, add fresh bananas, and finish before serving.
  • Vanilla Poached Pears

    Vanilla Poached Pears

    Delicate Bosc pears are gently poached in a fragrant blend of Pinot Gris, vanilla, and cinnamon, then filled with a silky vanilla bean pastry cream. Served upright with a drizzle of reduced poaching syrup, these elegant pears make a stunning and lightly indulgent finale to any meal.


    Ingredients

      Pears

    • 1 bottle (750 ml) Pinot Gris
    • 1 cup water
    • ¾ cup sugar
    • 1–2 vanilla beans, split and seeded
    • ¼ tsp ground cinnamon
    • 6 Bosc pears, peeled with stems intact
    • Crème Pâtissière Filling

    • 1 cup whole milk
    • 1 vanilla bean, split and seeded (or 1 tsp pure vanilla extract)
    • 3 egg yolks
    • ¼ cup sugar
    • 2 tbsp cornstarch
    • 1 tbsp butter
    • Pinch of salt
    • Optional: ¼ cup lightly whipped cream, folded in after chilling for a softer texture

    Directions

    Poach the Pears

    In a large saucepan, combine Pinot Gris, water, sugar, vanilla seeds and pods, and cinnamon. Bring to a gentle boil over medium-high heat.

    Core pears from the bottom, keeping stems intact. Lower heat to maintain a steady simmer and add pears to the liquid. Cover and poach 30 minutes, or until tender when pierced with a skewer.

    Using a slotted spoon, transfer pears to a shallow dish, standing them upright. Refrigerate until cool.

    Return the poaching liquid to high heat and reduce to about 1 cup (20–25 minutes). Strain and chill for serving.

    Prepare the Crème Pâtissière

    In a saucepan, heat milk, vanilla bean seeds and pod (if using), and salt just to a simmer. Remove from heat; steep 10 minutes. Remove pod.

    In a bowl, whisk egg yolks, sugar, and cornstarch until pale and smooth.

    Gradually whisk in some of the warm milk to temper, then return mixture to the saucepan.

    Cook over medium heat, whisking constantly, until thickened and just beginning to bubble (1–2 minutes).

    Remove from heat and whisk in butter until smooth. Transfer to a bowl; cover surface with plastic wrap. Chill completely (about 1 hour).

    For a lighter texture, fold in whipped cream before using.

    Fill and Serve

    Cut a thin slice from the base of each chilled pear so it stands upright.

    Spoon or pipe the chilled crème pâtissière into the cored centers of the pears.

    Drizzle each pear with a few spoonfuls of the cooled poaching syrup. Serve upright on dessert plates, optionally garnished with a few vanilla bean flecks or edible flowers.


    Notes

    Preparation

    • The poaching syrup can be made ahead and refrigerated for up to 1 week.
    • The pastry cream can be prepared 1 day in advance; stir gently before using.
    • To help pears stand upright, cut a small flat section from the base before filling and plating.

    Serving Suggestions

    • Serve as a light finish to an elegant dinner, paired with crisp white wine or sparkling water.
    • Garnish with whipped cream, toasted almonds, or a sprig of mint for added presentation.

    Variations

    • Substitute crème fraîche or lightly sweetened whipped cream for a lighter filling.
    • Use Bartlett or Anjou pears instead of Bosc for a softer texture and milder flavor.

    Make-Ahead & Storage

    • Assemble pears up to 4 hours before serving; keep refrigerated until ready to plate.
    • Leftovers may be refrigerated up to 2 days; drizzle with syrup just before serving.
  • Soft Pretzels

    Soft Pretzels

    These homemade soft pretzels bake up golden brown, chewy, and buttery—just like the ones from a pretzel shop. The dough can be made quickly for a same-day bake or rested in the refrigerator for a richer, malty flavor and more authentic bakery-style texture.


    Ingredients

    • 1½ cups warm water (105–110°F)
    • 1 packet (2¼ tsp) active dry or instant yeast
    • 1 tsp table salt
    • 1 tbsp brown sugar (or 1 tbsp barley malt syrup for classic flavor)
    • 1 tbsp butter, melted and slightly cooled
    • 3½–4 cups all-purpose flour
    • ½ cup baking soda (see note for enhanced version)
    • 9 cups water
    • kosher or coarse sea salt, for topping
    • 2 tbsp butter, melted (for brushing after baking)

    Optional Egg Wash (for Soft, Glossy Pretzels)

    • 1 egg, beaten with 1 tbsp water

    Directions

    Prepare the Dough

    In a large bowl, combine warm water and yeast. Let stand for about 1 minute until slightly foamy. Stir in table salt, brown sugar, and melted butter.

    Add 3½ cups of flour, one cup at a time, mixing with a wooden spoon until a soft dough forms. If dough is sticky, add up to ½ cup more flour gradually until smooth and slightly tacky but not wet.

    Knead and Rest

    Turn dough onto a lightly floured surface and knead for about 3 minutes until elastic and uniform. Shape into a ball.

    • Quick Version: Cover lightly and let rest for 10 minutes before shaping.
    • Bakery-Style Version: Cover the bowl with plastic wrap and refrigerate 1–2 hours (or up to overnight). Bring to room temperature for 10–15 minutes before shaping.

    Shape the Pretzels

    Preheat oven to 425°F (220°C). Line baking sheets with parchment paper or silicone baking mats.

    Divide dough into 8–10 equal pieces (about 90–100 g each). Roll each piece into a 20-inch rope and twist into a pretzel shape. Place on prepared baking sheets.

    Boil in Baking Soda Solution

    In a large pot, bring 9 cups water and ½ cup baking soda to a gentle boil. For deeper color, bake the baking soda first (spread on a tray and bake at 250°F for 1 hour) before adding it to the water.

    Drop pretzels, one or two at a time, into the boiling solution for 20–25 seconds. Remove with a slotted spoon, drain well, and place on prepared baking sheets.

    Top and Bake

    For traditional bakery-style pretzels, sprinkle with kosher or coarse sea salt immediately after boiling, then bake as directed.

    For a softer, fair-style pretzel, brush with the optional egg wash before sprinkling with salt. Bake for 11–13 minutes, or until deep golden brown with a shiny crust and soft interior.

    Finish

    Brush warm pretzels with melted butter immediately after baking for a glossy finish and tender bite. Serve warm with mustard, cheese sauce, or butter.


    Notes

    Preparation

    • Lower hydration (3½ cups flour to 1½ cups liquid) produces the classic tight, chewy crumb.
    • A short cold ferment (1–2 hours) develops malty depth and improves shaping.
    • Bake baking soda before boiling for more intense pretzel color and flavor.
    • Brushing with butter right after baking adds shine and a soft finish without dulling color.

    Egg Wash vs. Baking Soda Finish

    • Without Egg Wash (Traditional): Deep mahogany color, chewy crust, classic pretzel flavor.
    • With Egg Wash (Soft & Glossy): Lighter golden color, slightly softer texture, mild sheen.
    • Both versions can be brushed with melted butter after baking for extra flavor and softness.

    Serving Suggestions

    • Serve warm with mustard, cheese dip, or honey butter.
    • Top with coarse salt, everything bagel seasoning, or cinnamon sugar for sweet pretzels.
    • Use smaller portions to make pretzel bites or sandwich rolls.

    Make-Ahead & Storage

    • Shaped pretzels can be refrigerated for up to 6 hours before boiling.
    • Freeze shaped, unboiled pretzels up to 1 month; boil directly from frozen before baking.
    • Store baked pretzels airtight up to 2 days; reheat at 350°F for 5–7 minutes to refresh.
  • Bua Loy Nam Khing

    Bua Loy Nam Khing

    This comforting Thai dessert pairs soft, chewy sesame glutinous balls with a fragrant, mildly spicy ginger syrup. Served warm, it is soothing, aromatic, and especially welcome on cool evenings or after a rich meal. The ginger broth is simple but deeply flavorful, highlighting the contrast between the syrup’s warmth and the tender, nutty rice balls.


    Ingredients

      Sesame Glutinous Balls:

    • 1 recipe Sesame Glutinous Balls, prepared (or one 15-count package frozen sesame glutinous balls)
    • Ginger Syrup:

    • 7 cups (1650 ml) water
    • 2 cups (400 g) packed brown sugar (or use half brown sugar, half palm sugar for a more traditional flavor)
    • ¼ tsp table salt
    • 4 inches (10 cm) fresh ginger, peeled, sliced into coins, and lightly bruised
    • Garnish:

    • 1–2 tsp toasted sesame seeds

    Directions

    Make the Ginger Syrup

    In a medium pot, bring the water to a boil. Add the sugars and salt, stirring until dissolved. Reduce heat to a gentle simmer, then add the bruised ginger slices. Simmer 15–25 minutes until the syrup becomes fragrant, slightly spicy, and a deep amber color. Taste and adjust for strength; simmer longer for stronger ginger flavor.

    Finish the Dessert

    Remove from heat and strain out the ginger slices. Add the prepared sesame glutinous balls to the warm syrup and allow them to heat through for 2–3 minutes.

    Serve

    Ladle the warm syrup and glutinous balls into small bowls. Sprinkle with toasted sesame seeds and serve immediately.


    Notes

    Preparation

    • Palm sugar deepens the flavor and gives the syrup a more traditional Thai character.
    • Lightly bruising the ginger releases more flavor without overpowering the syrup.
    • If using frozen sesame balls, boil them until they float before adding to the syrup.

    Serving Suggestions

    • Add a splash of coconut milk for a creamy variation.
    • Serve with extra toasted sesame seeds for added aroma.
    • Pair with fresh fruit like sliced pear or steamed pumpkin for contrast.

    Make-Ahead & Storage

    • Ginger syrup keeps up to 5 days refrigerated.
    • Store glutinous balls separately to maintain texture.
    • Rewarm syrup gently; add balls immediately before serving.
  • Maple Whipped Cream

    Maple Whipped Cream

    Maple whipped cream is one of those simple upgrades that instantly feels special. Sweetened naturally with pure maple syrup, it brings a warm, woodsy depth you can’t get from powdered sugar alone. It’s perfect on pumpkin desserts, fall cakes, waffles, pies, hot chocolate, and cozy holiday drinks — anywhere you want a little real maple character without overpowering the main dish.


    Ingredients

      Base Whipped Cream

    • 1 cup heavy whipping cream, cold
    • 2–3 tbsp pure maple syrup (Grade A dark/robust preferred), warmed and cooled
    • ½ tsp vanilla extract
    • ½ tsp vanilla bean paste (for flecks)
    • Pinch of table salt (added during syrup warming)
    • Optional Stabilizer

    • ½ tsp gelatin bloomed in 1 tbsp cold water, melted and cooled
    • Scaling Options

      • Half Batch: ½ cup cream + 1–1½ tbsp maple syrup; scale remaining ingredients accordingly.
      • Double Batch: 2 cups cream + 4–6 tbsp maple syrup; double stabilizer if using.

    Directions

    Warm the Maple Syrup

    Place the maple syrup in a small saucepan and warm just until steaming. Add the pinch of table salt and stir until fully dissolved. Remove from heat and allow to cool completely.

    Whip the Cream

    Combine the cold heavy cream, cooled maple syrup, vanilla extract, and vanilla bean paste in a mixing bowl. If using gelatin, drizzle in the cooled melted gelatin as you begin whipping.

    Beat with a hand mixer (or whisk vigorously by hand) until soft to medium peaks form.

    Adjust & Serve

    Taste and add more maple syrup if needed. Serve immediately, or refrigerate up to 24 hours and re-whip lightly before use.

    Variations

    Customize the flavor to pair with different desserts or drinks:

    • Cinnamon-Maple: Add ⅛–¼ tsp ground cinnamon to the cream before whipping.
    • Maple-Bourbon or Maple-Rum: Add 1–2 tsp spirit to the maple syrup before warming; simmer 20–30 seconds to cook off alcohol, then cool.
    • Orange-Maple: Fold in ½ tsp finely grated orange zest after whipping.
    • Salted Maple: Increase salt to ⅛–¼ tsp (added during syrup warming).
    • Berry-Infused Maple: Warm 2 tbsp maple syrup with 1–2 tbsp crushed berries; simmer 1–2 minutes, strain, cool, and substitute for plain maple syrup.
    • Browned-Butter Maple: Brown 1–2 tbsp butter until golden and nutty; cool until just warm, whisk into the maple syrup during the warming step, then cool completely before whipping.

    Notes

    Preparation

    • Warming the maple syrup enhances flavor and dissolves the salt smoothly.
    • Vanilla bean paste adds flavor and appealing flecks throughout the cream.
    • Gelatin optional stabilizer helps the whipped cream hold up longer on pies, cakes, and drinks.

    Serving Suggestions

    • Serve on our family’s Pumpkin Spice Steamer, pumpkin milk, pies, crisps, spice cakes, waffles, or hot chocolate.
    • A great topping for fall desserts and holiday gatherings.

    Variations

    • Try the browned-butter version with apple or pear desserts.
    • Berry-infused maple pairs nicely with chocolate or vanilla bases.

    Make-Ahead & Storage

    • Whipped cream can be stored up to 24 hours; re-whip lightly to refresh texture.
    • Stabilized versions hold their shape longer and are good for piping.