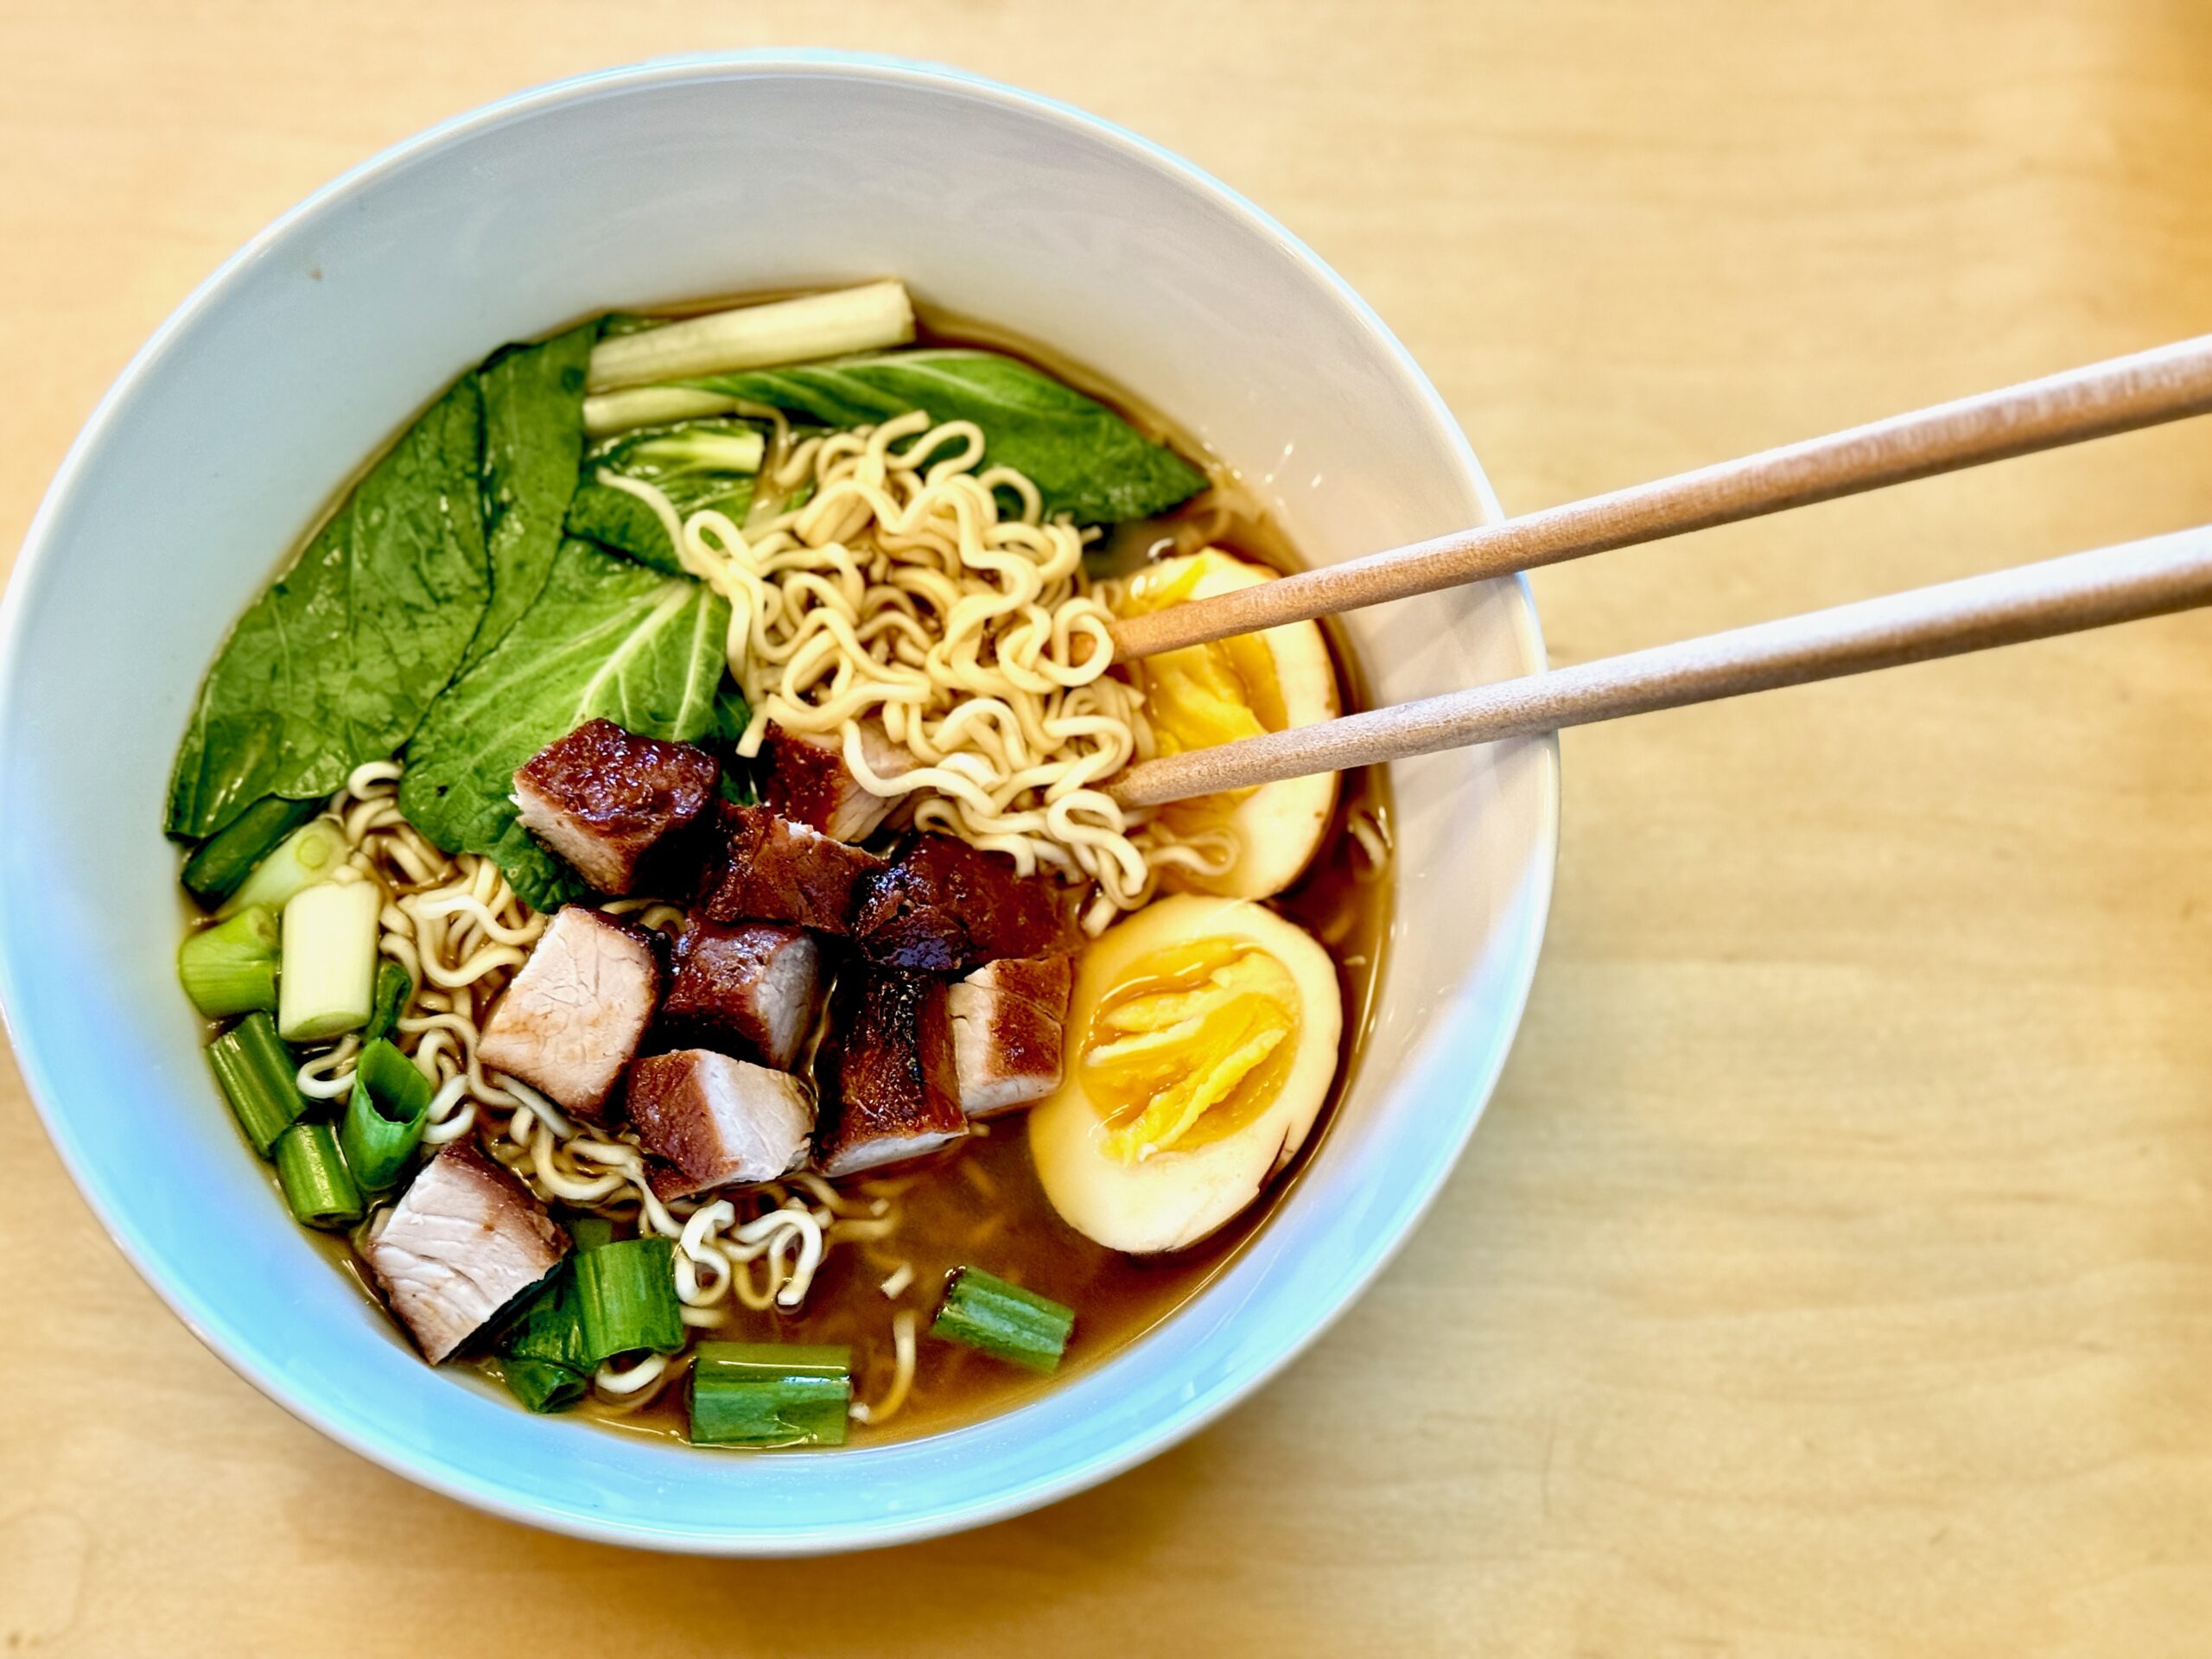
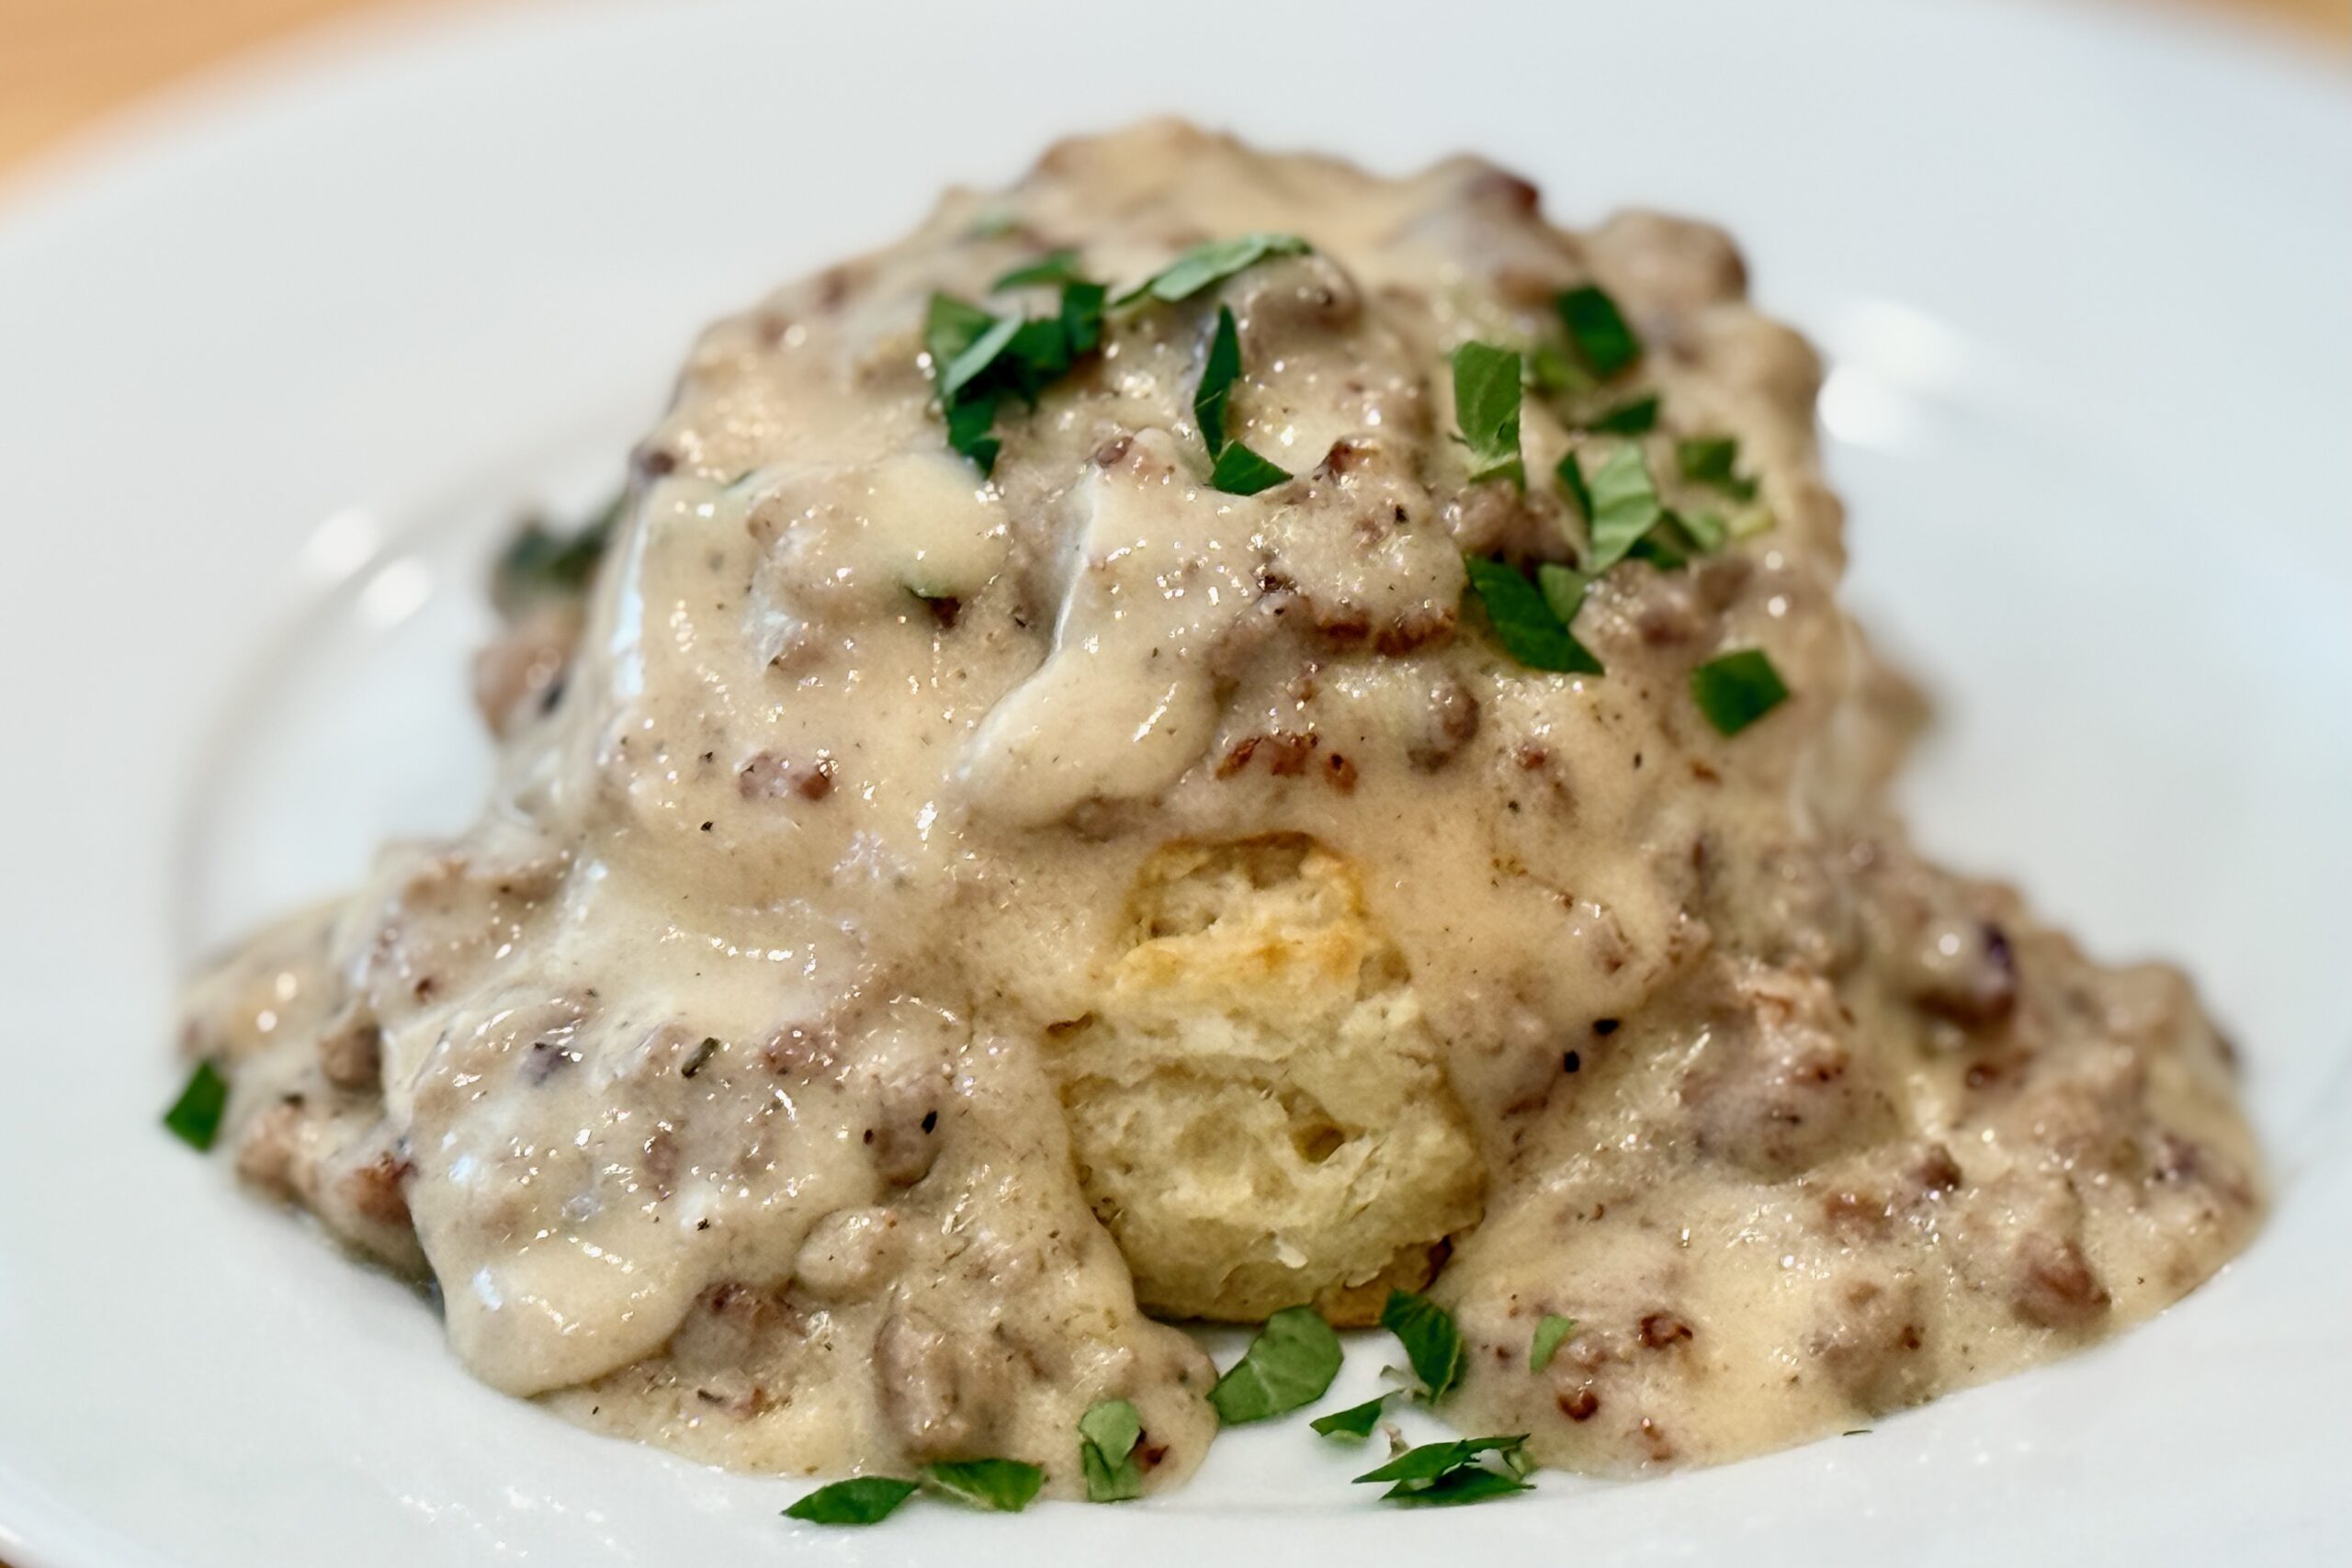
This modular ramen guide gives you several broth options, multiple tare (seasoning sauces), and a flexible set of toppings so you can build your ideal bowl—light and clear, rich and creamy, or deeply savory with miso or soy. To prepare a delicious bowl of ramen, choose one of the three broths and combine it with one of the four tare (flavoring sauces). Finish your bowl with items from the Prepare to Serve section or with your own favorite toppings.
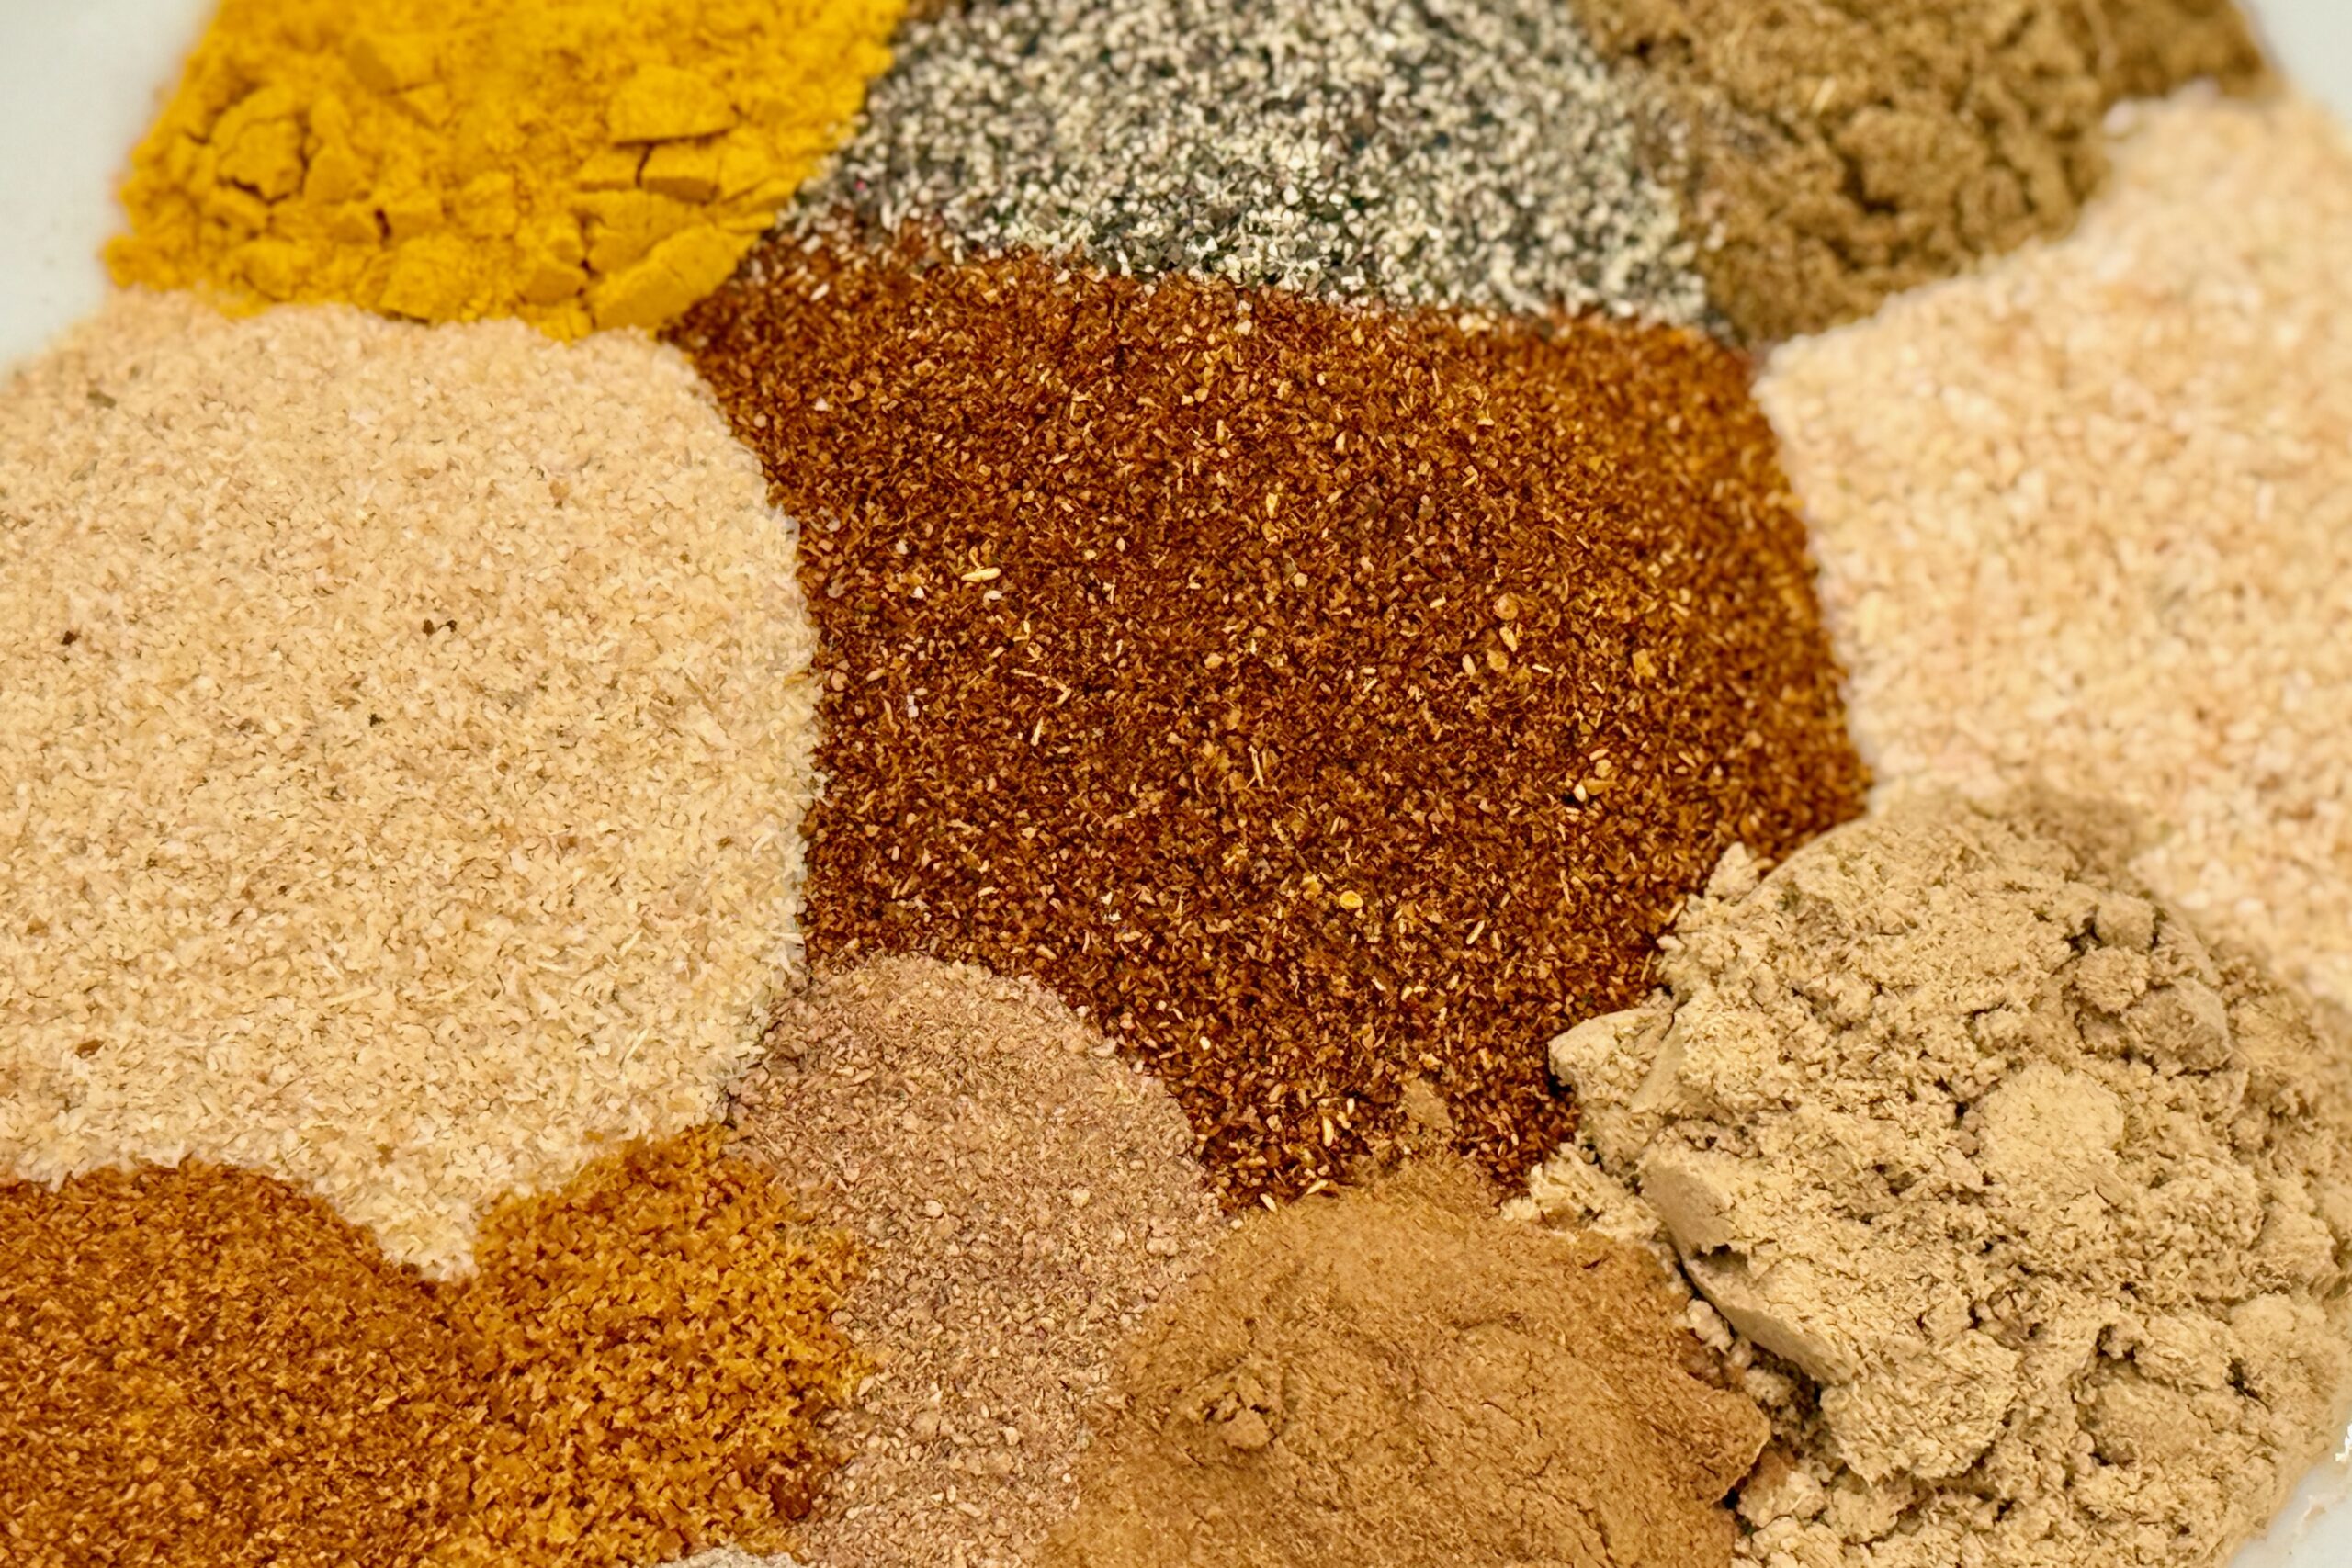
Ingredients
Chicken Broth
- 1 rotisserie chicken carcass, most skin and meat removed
- ½ onion, quartered
- ½ tbsp garlic, minced
- 1 oz ginger, thinly sliced
- 2 green onions, quartered
- ½ cup sake
- 3 qt cold water
- 3 packets (¼ oz each) gelatin, bloomed on ½ cup cold water
Chicken & Dashi Broth
- 1 recipe mizudashi
- 1 recipe chicken broth (above)
Chicken & Pork Broth
- 1 recipe chicken broth or chicken & dashi broth
- 1–1½ tbsp (or 3–4 cubes) pork bouillon
- 1 tbsp lard
- ½ tsp xanthan gum
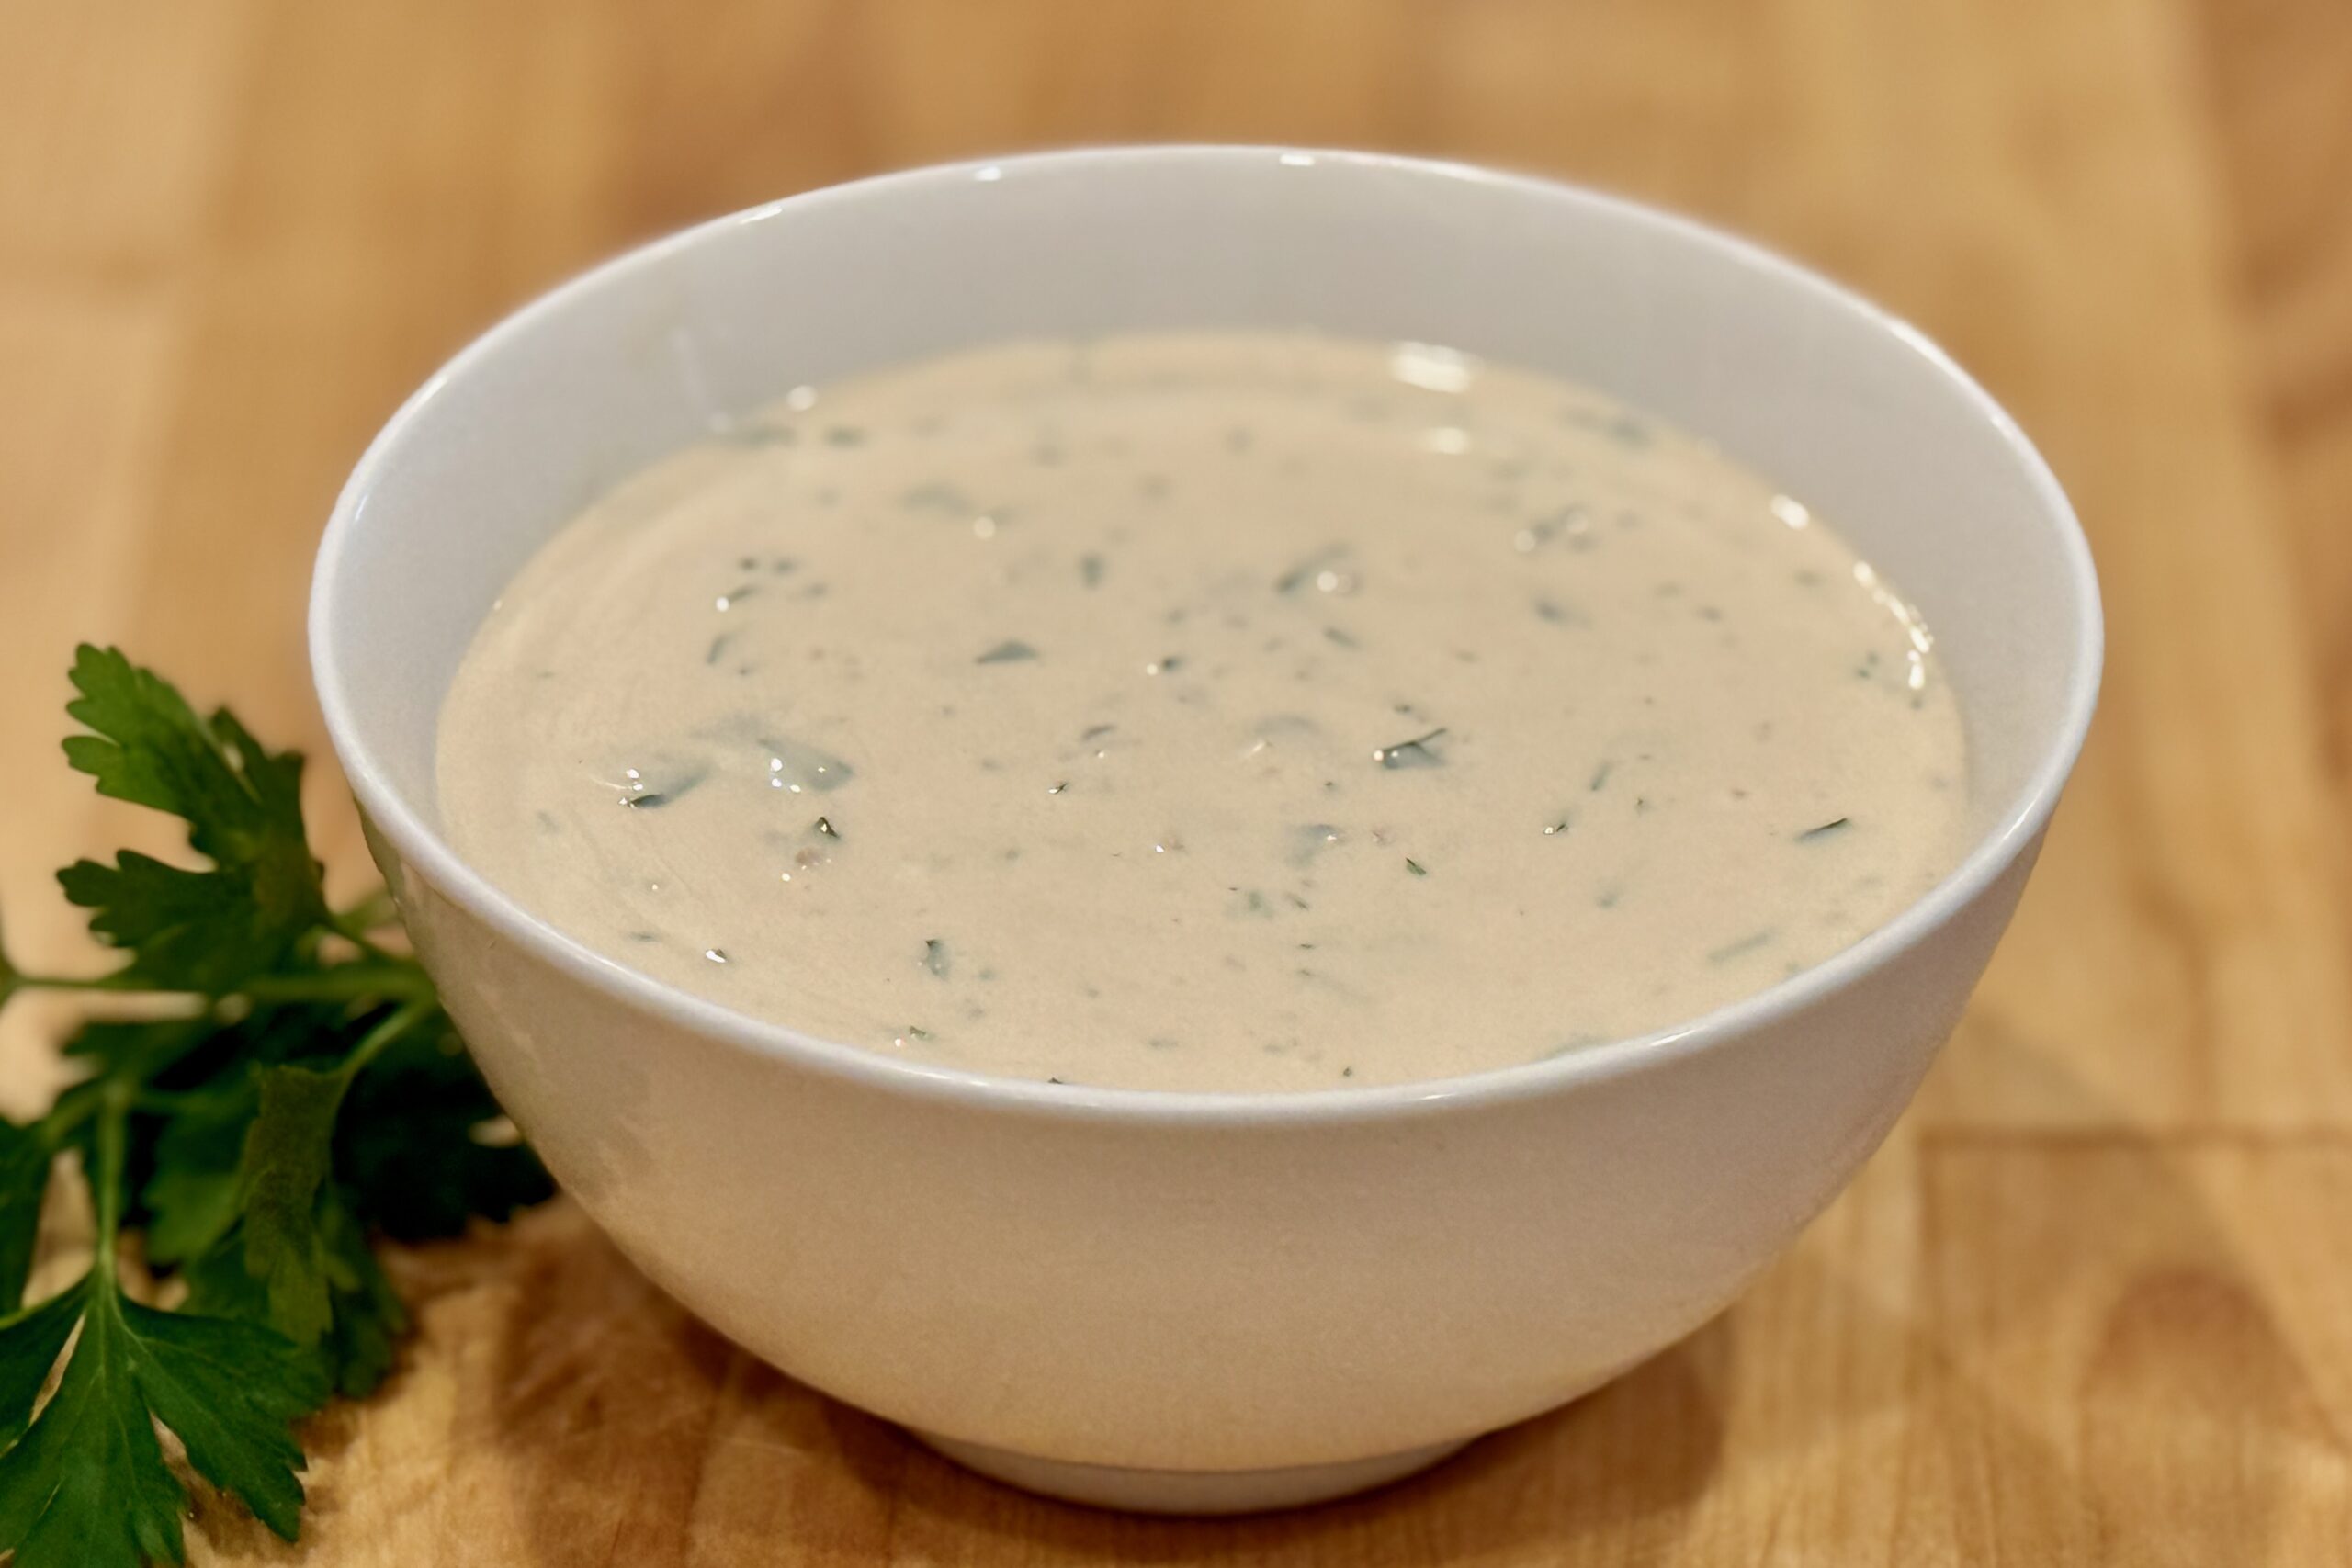
Shio Tare
- ¼ cup dashi
- 2 tbsp sake
- 1 tbsp mirin
- 1 tbsp salt
Shoyu Tare
- ¼ cup dashi
- ¼ cup soy sauce
- 2 tbsp sake
- 2 tbsp mirin
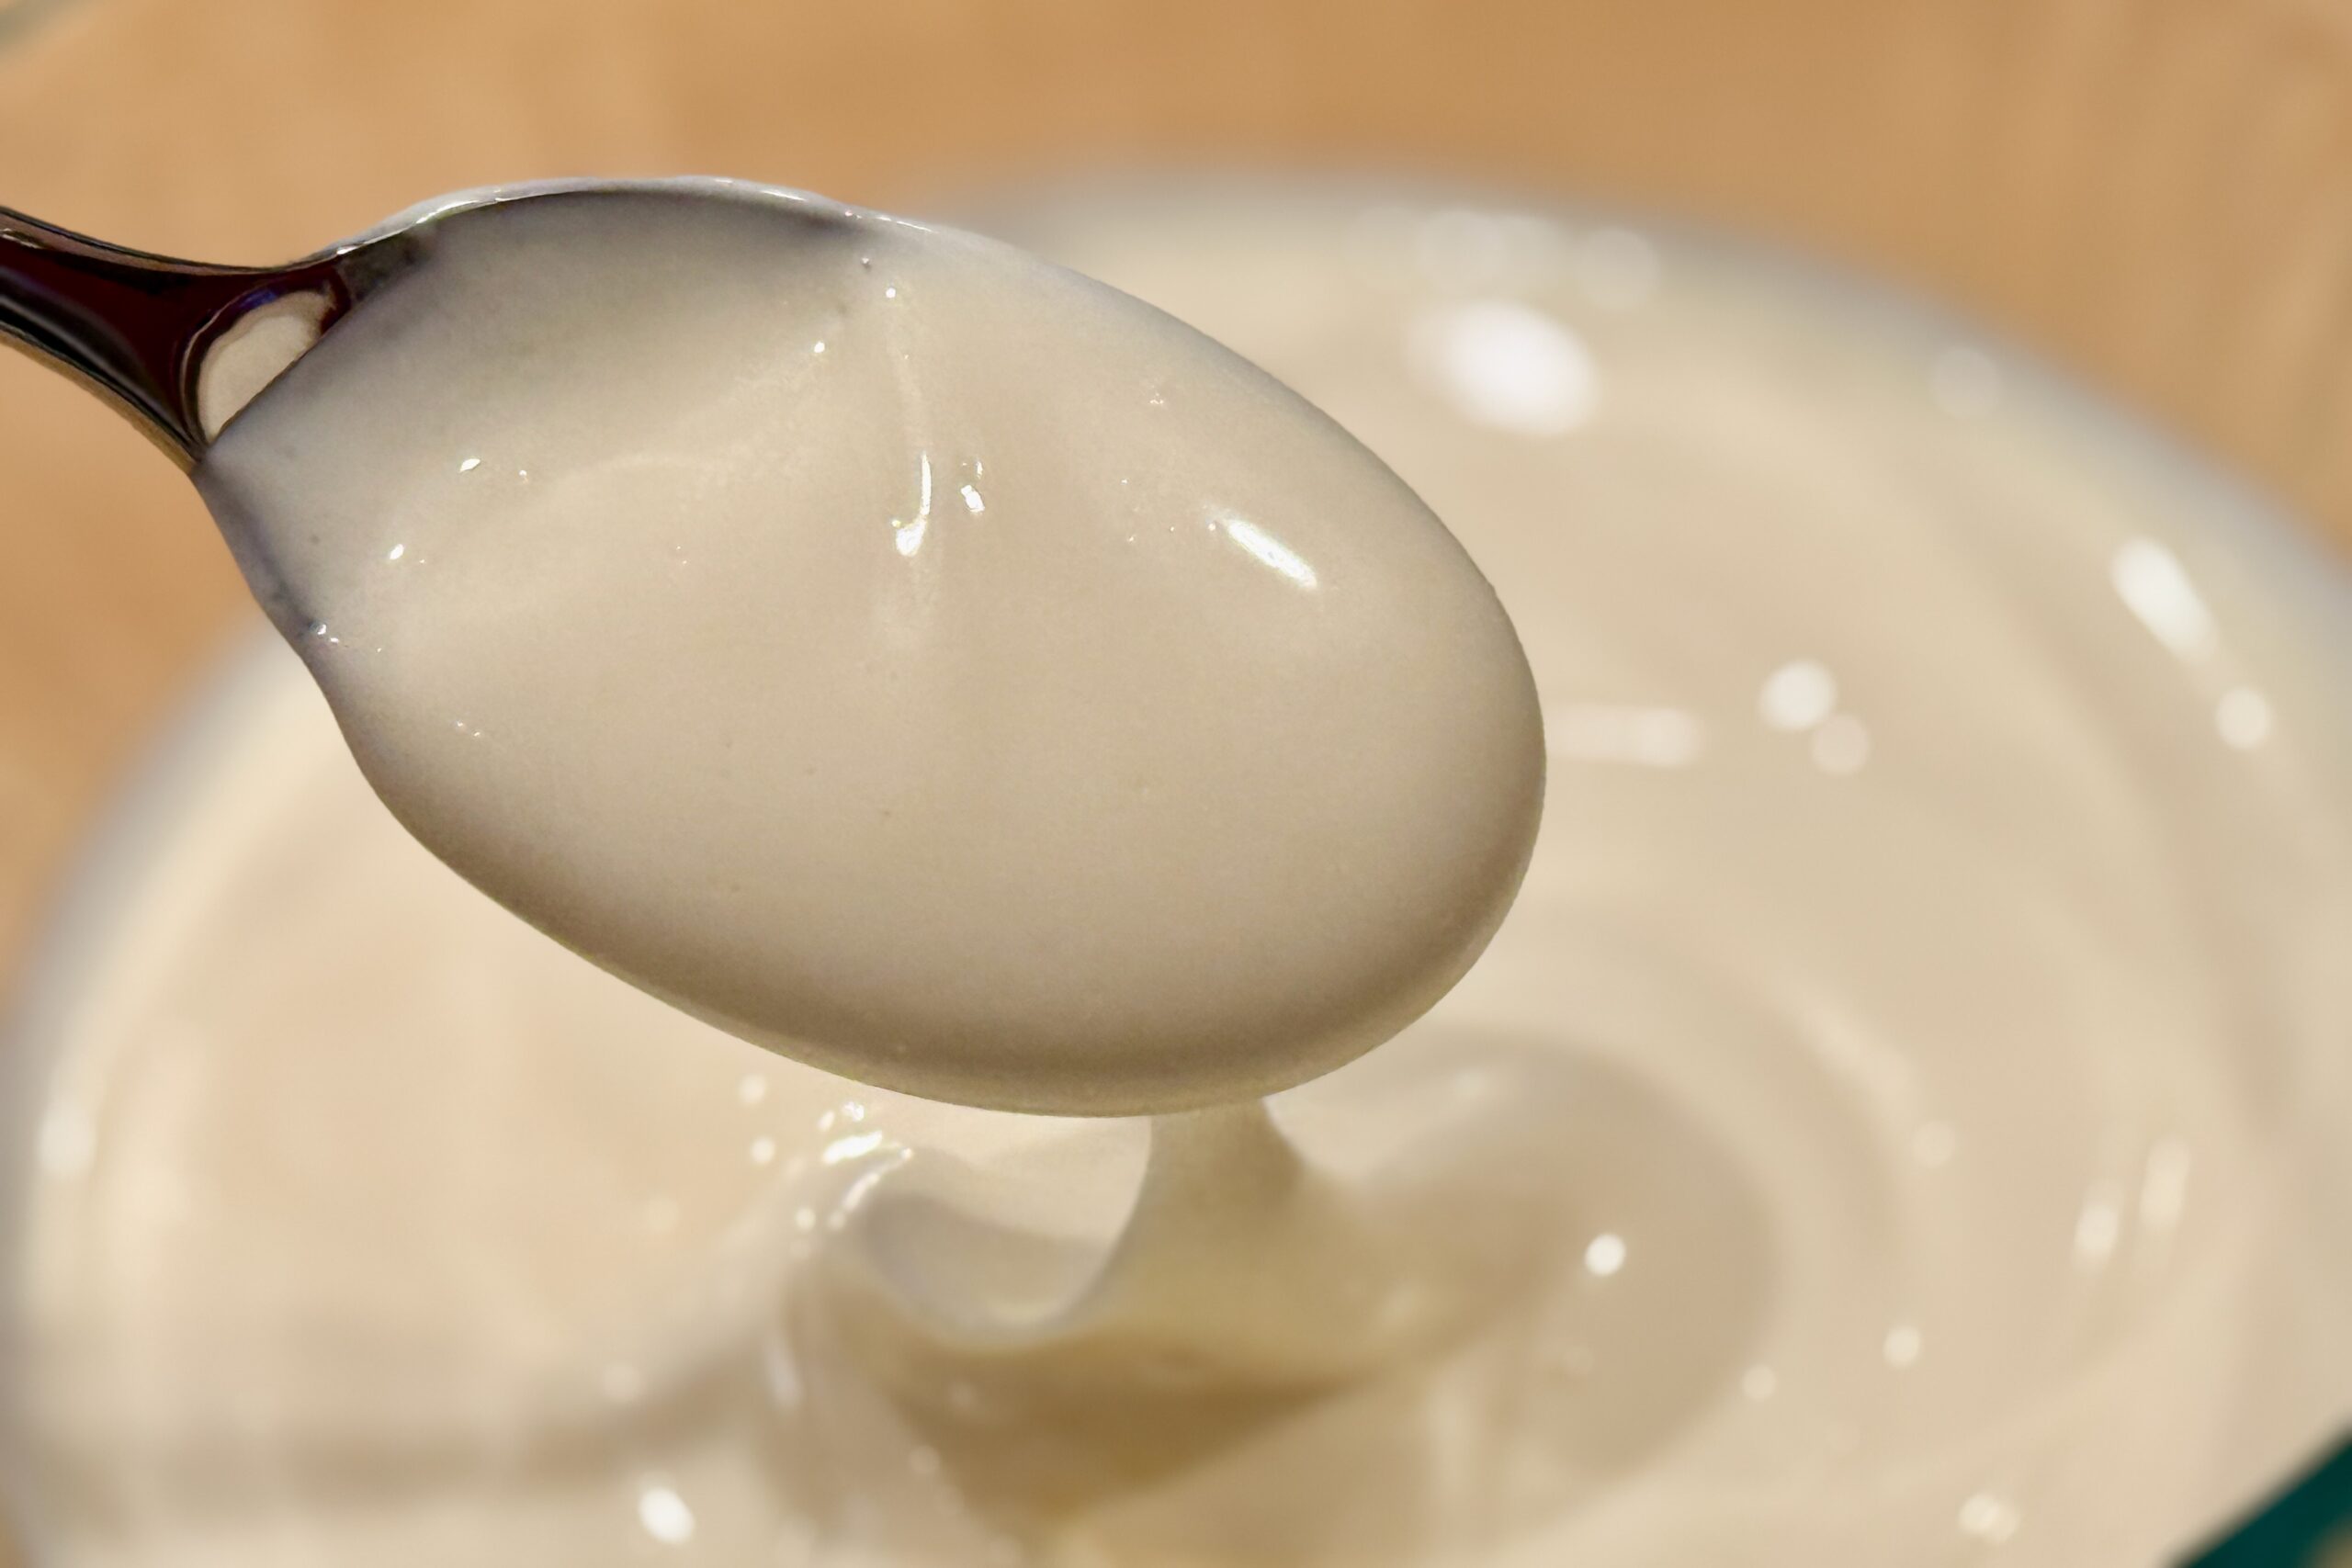
Miso Tare
- ½ onion, finely chopped
- 1 clove garlic, minced
- 1 tbsp ginger, finely minced
- 1 green onion, white portion only
- 2 tbsp smooth peanut butter
- 1 tbsp sake
- 2 tbsp mirin
- 1 tsp rayu chili oil
- ½ cup white miso paste
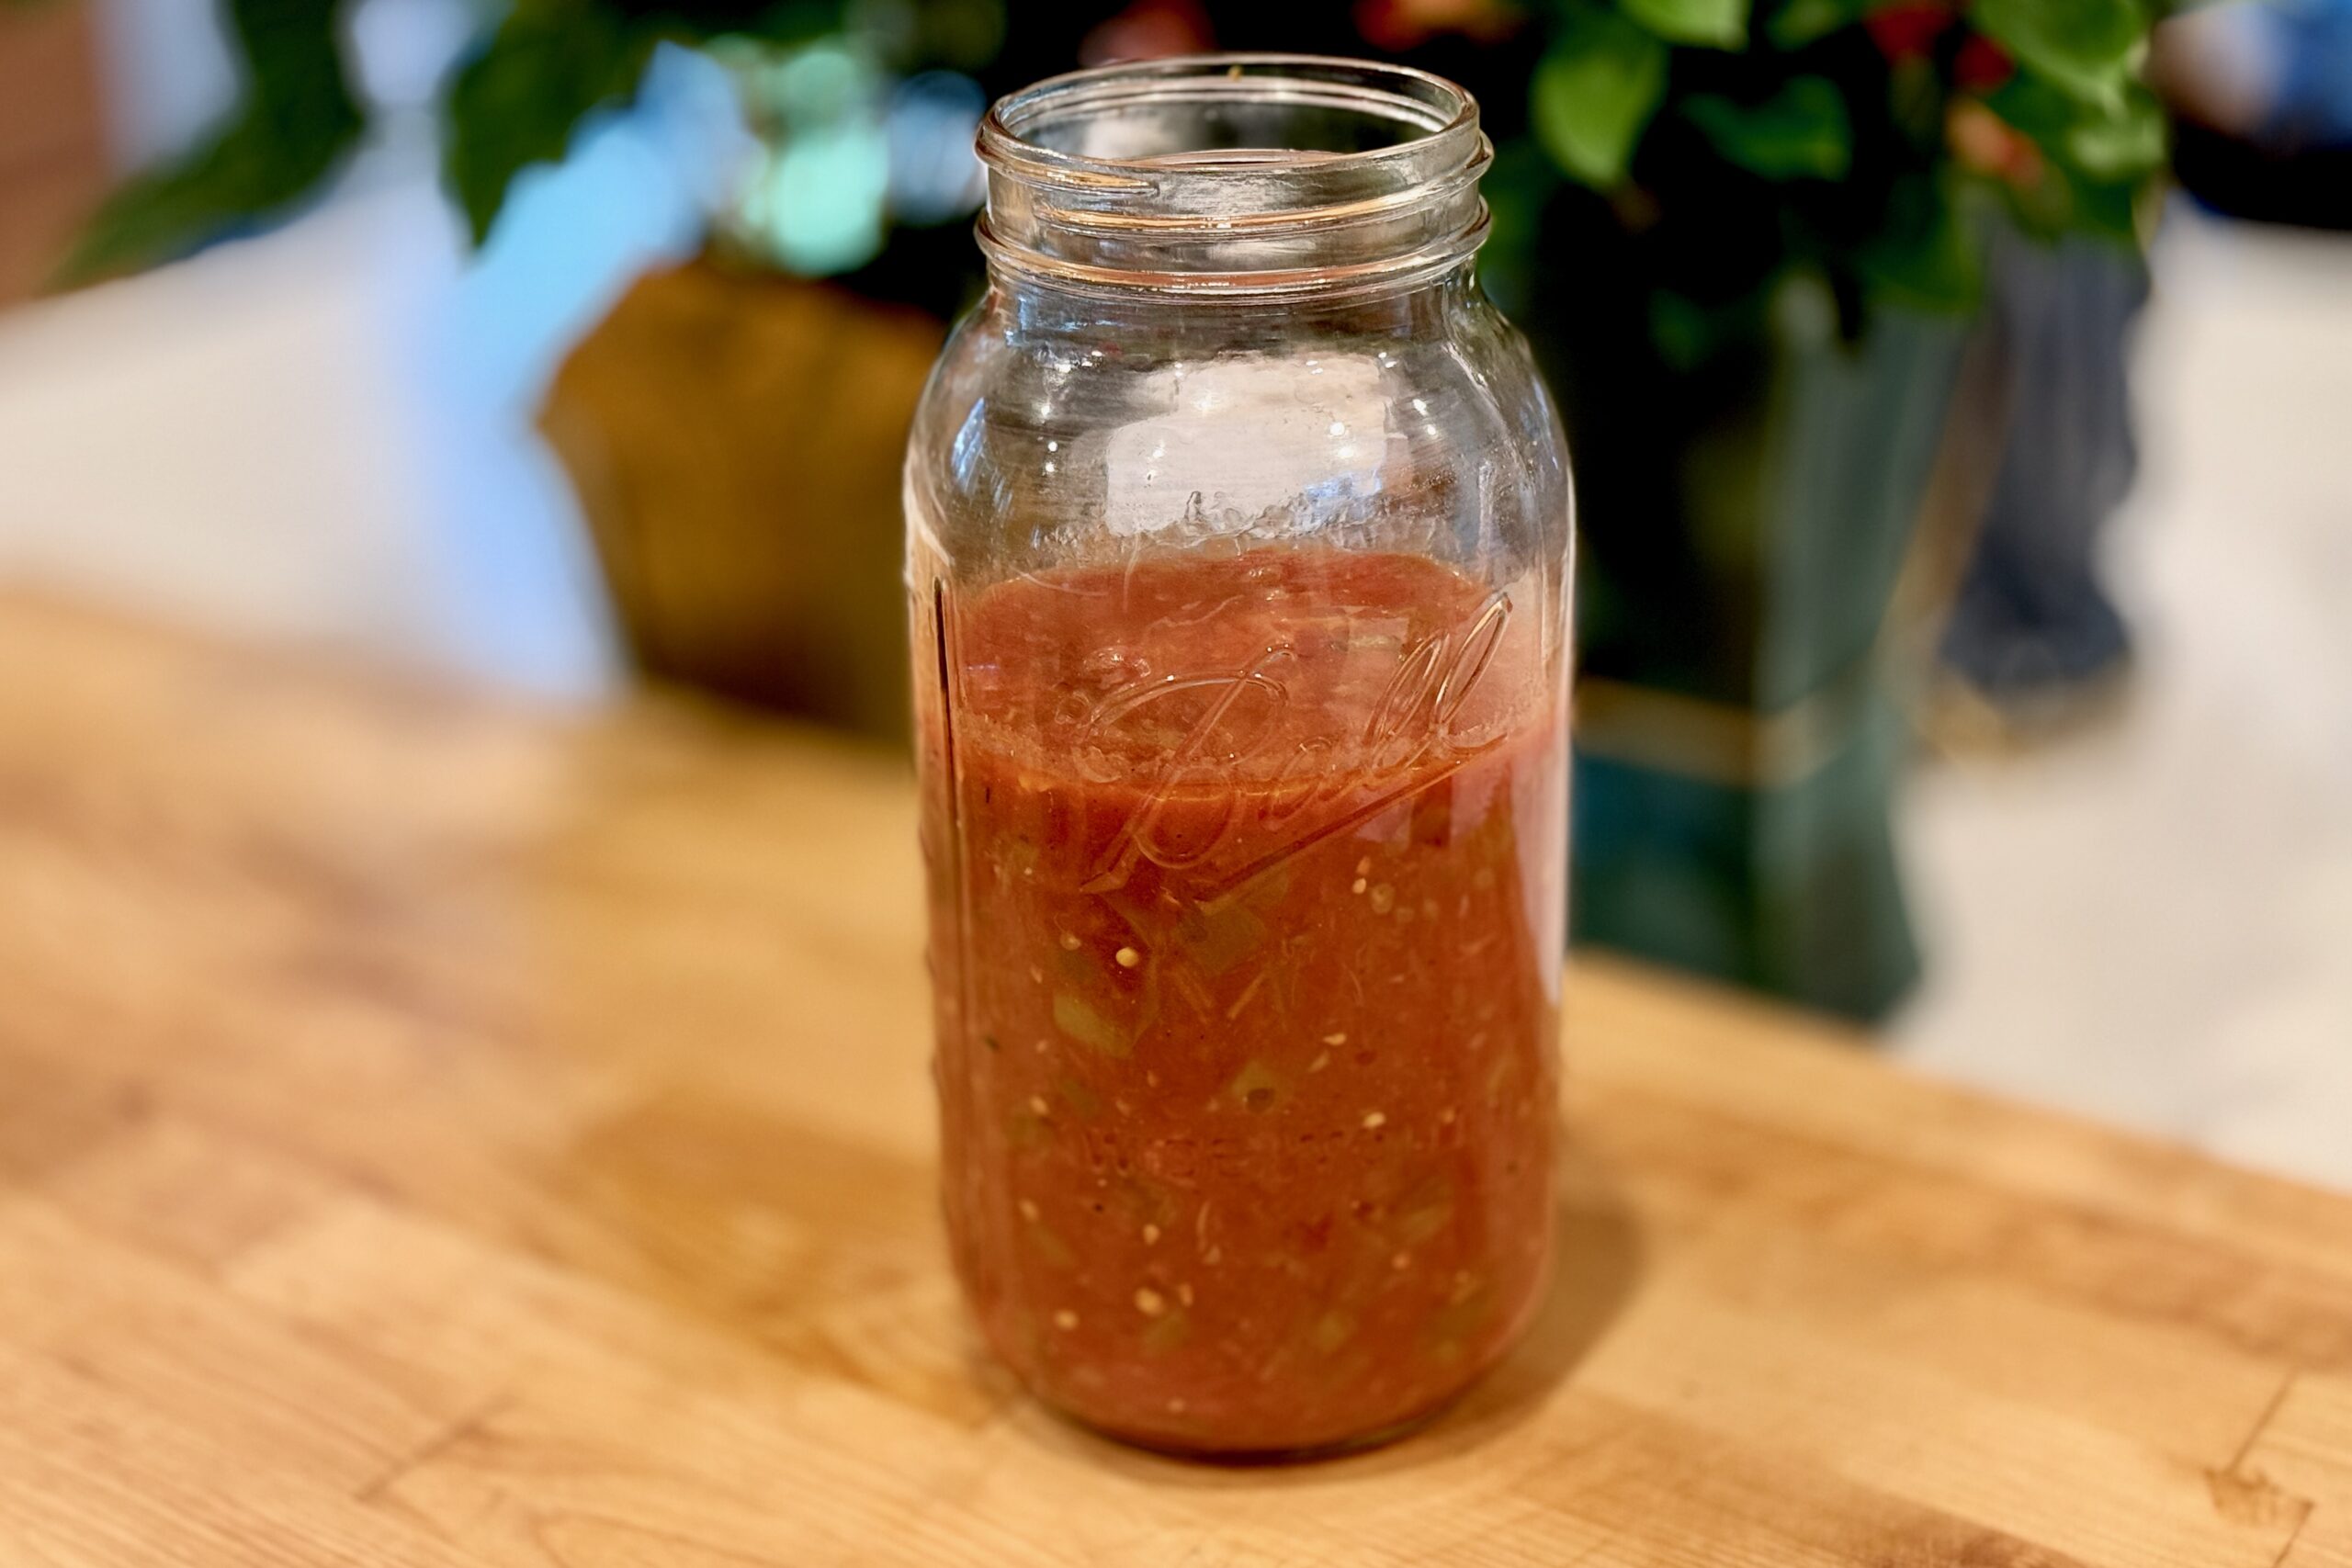
Char Siu Tare
Prepare to Serve
- Traditional ramen noodles
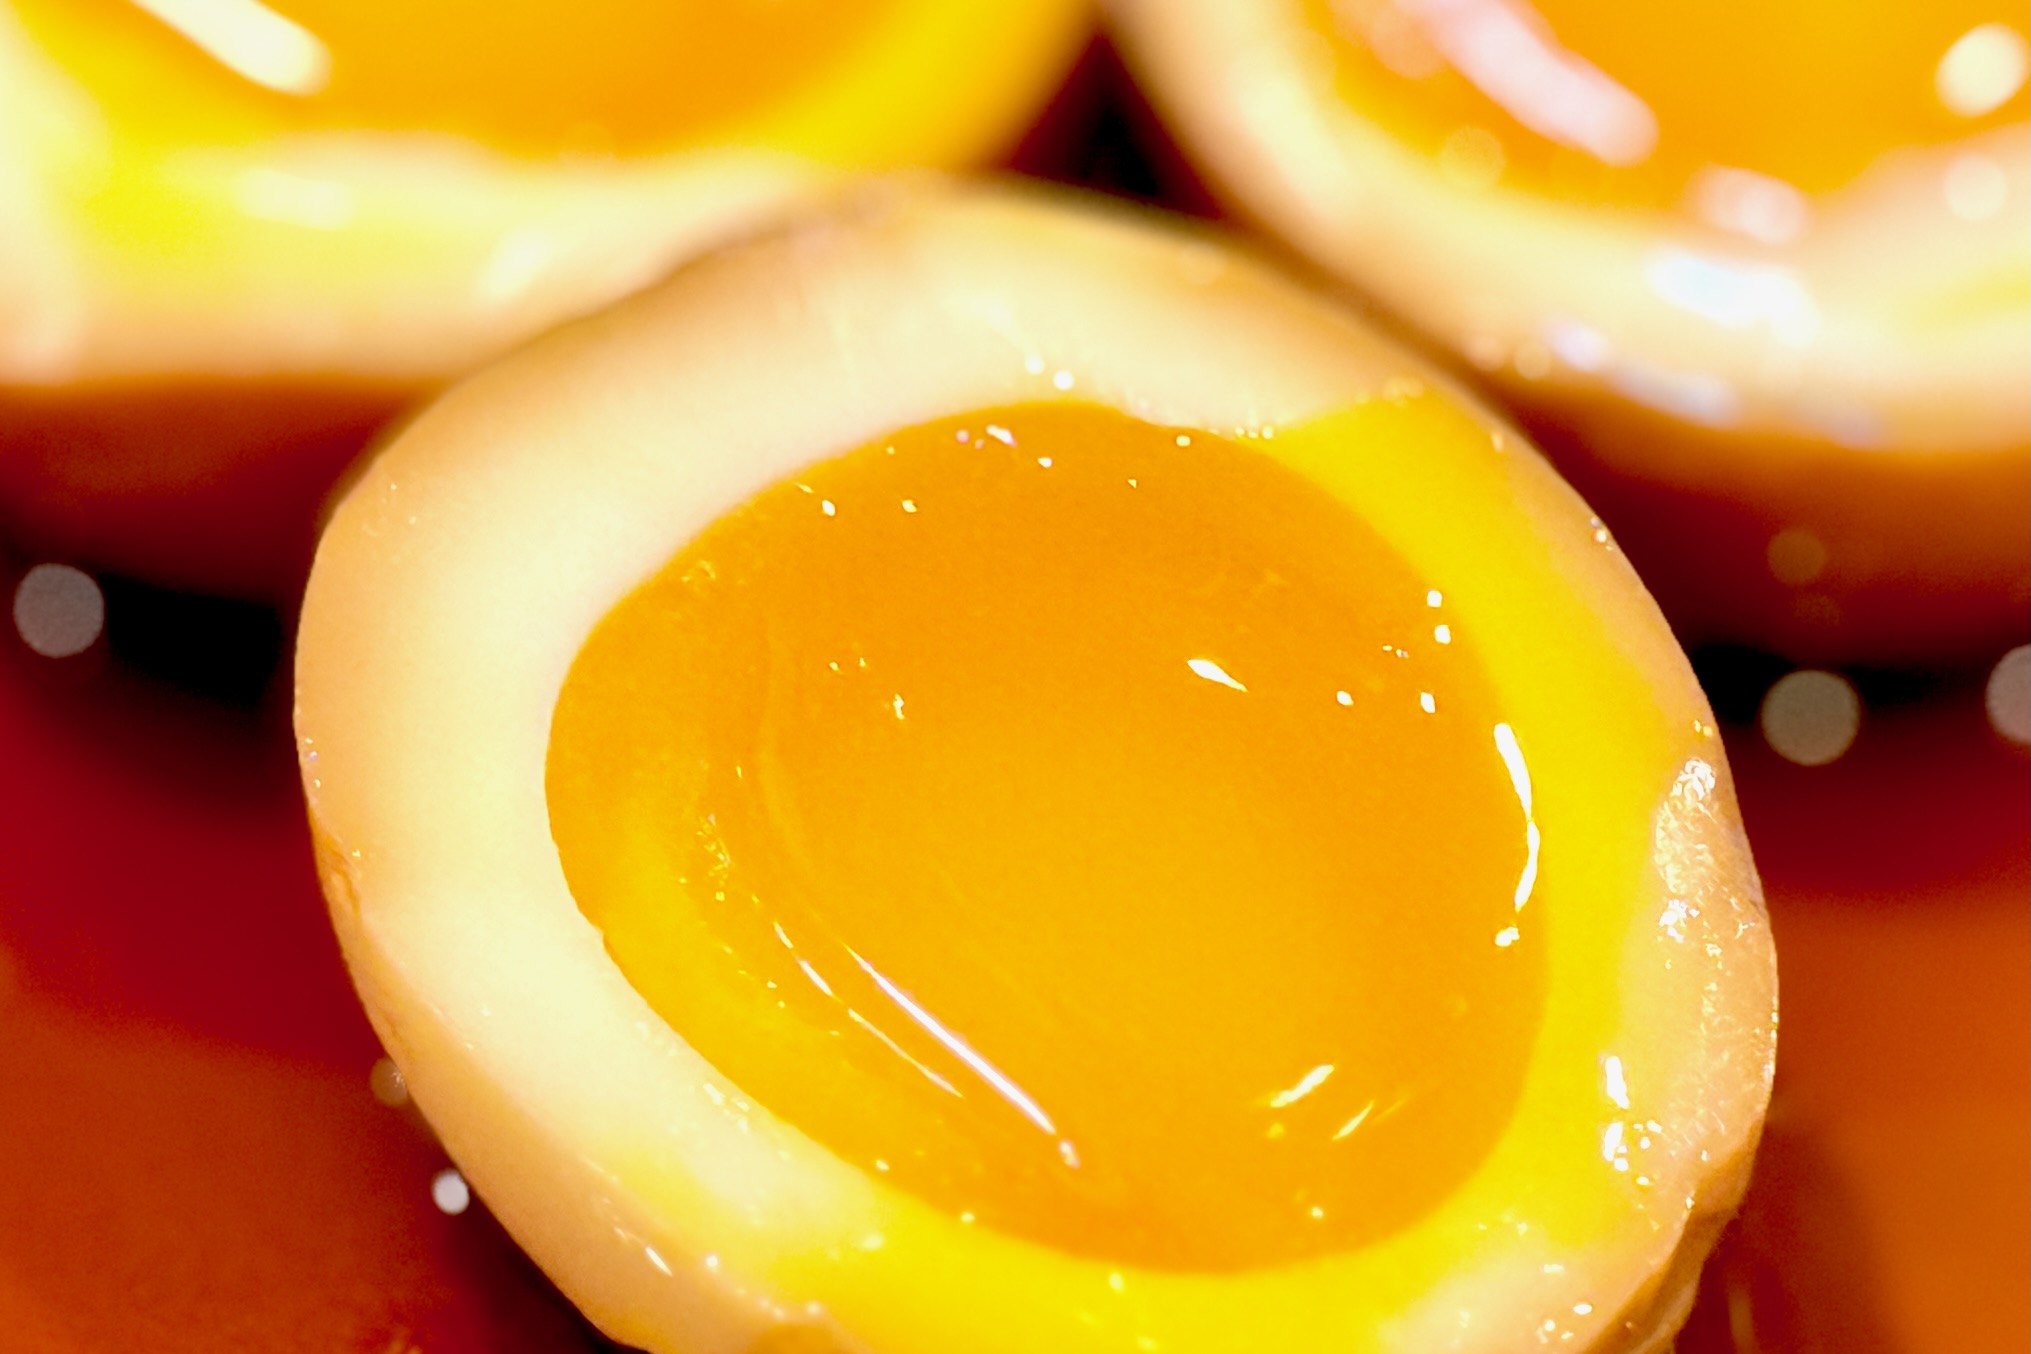
- Ajitsuke tamago (soft-boiled marinated egg)
- Diced char siu
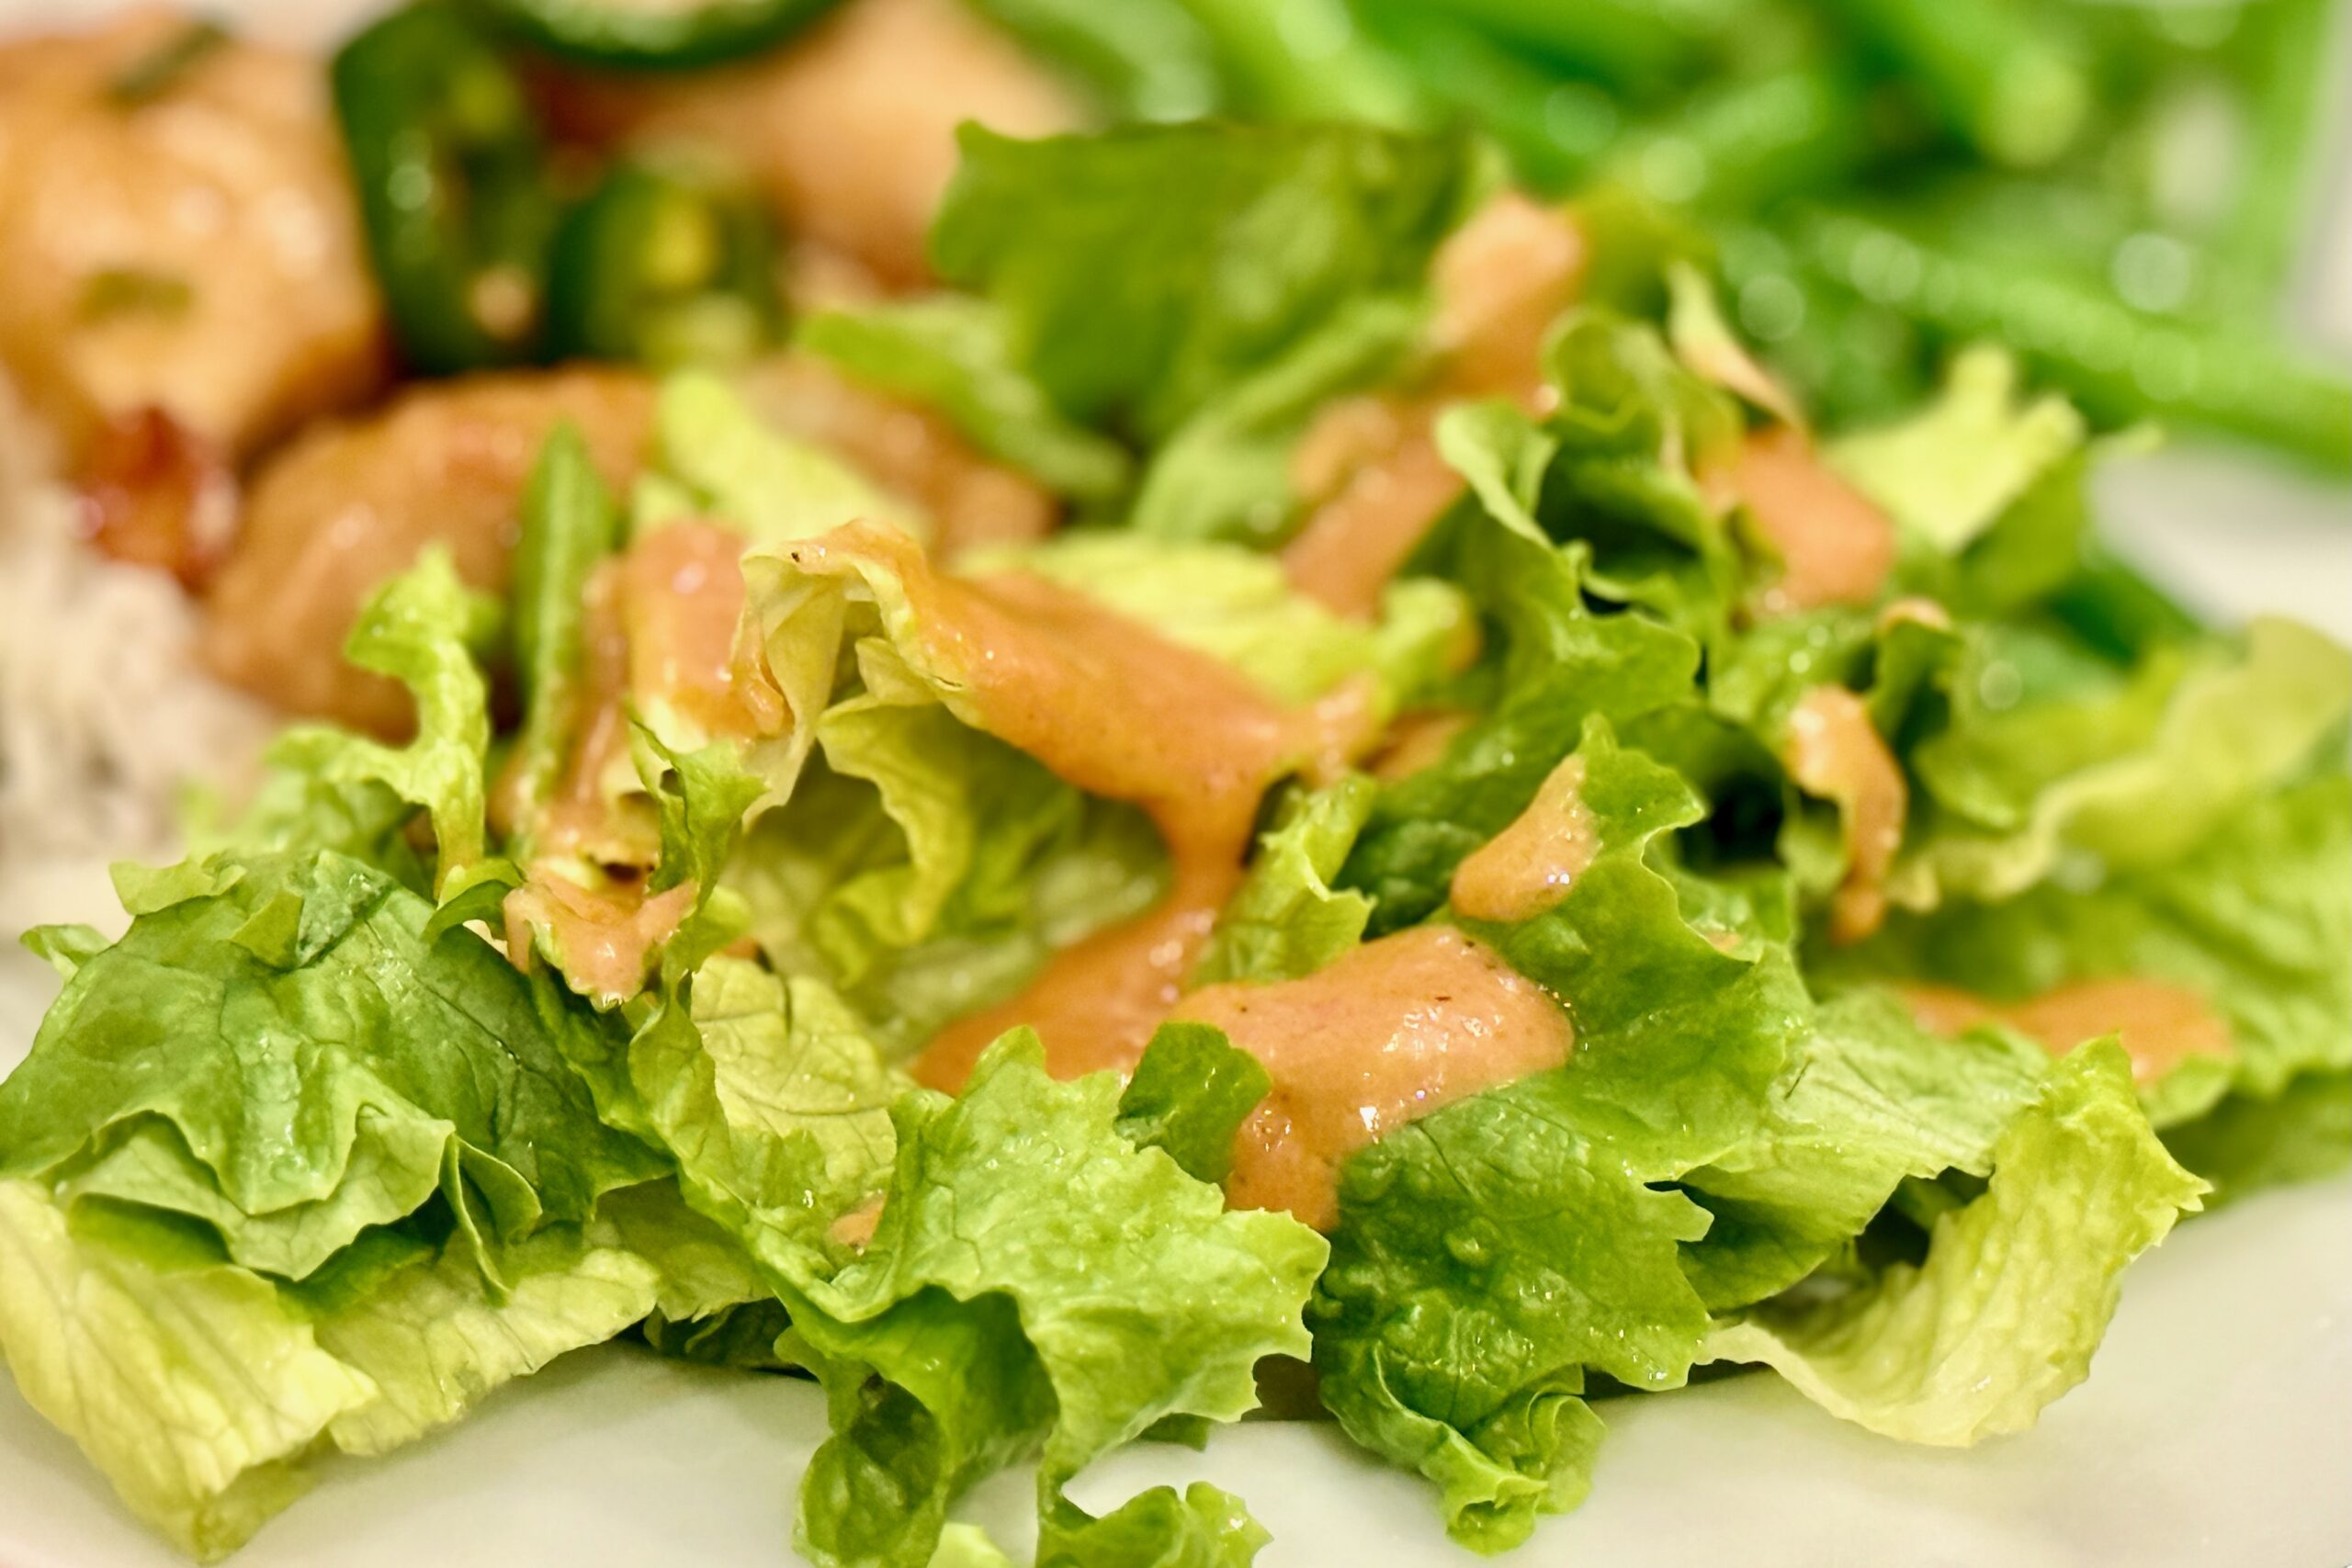
- Sliced green onion
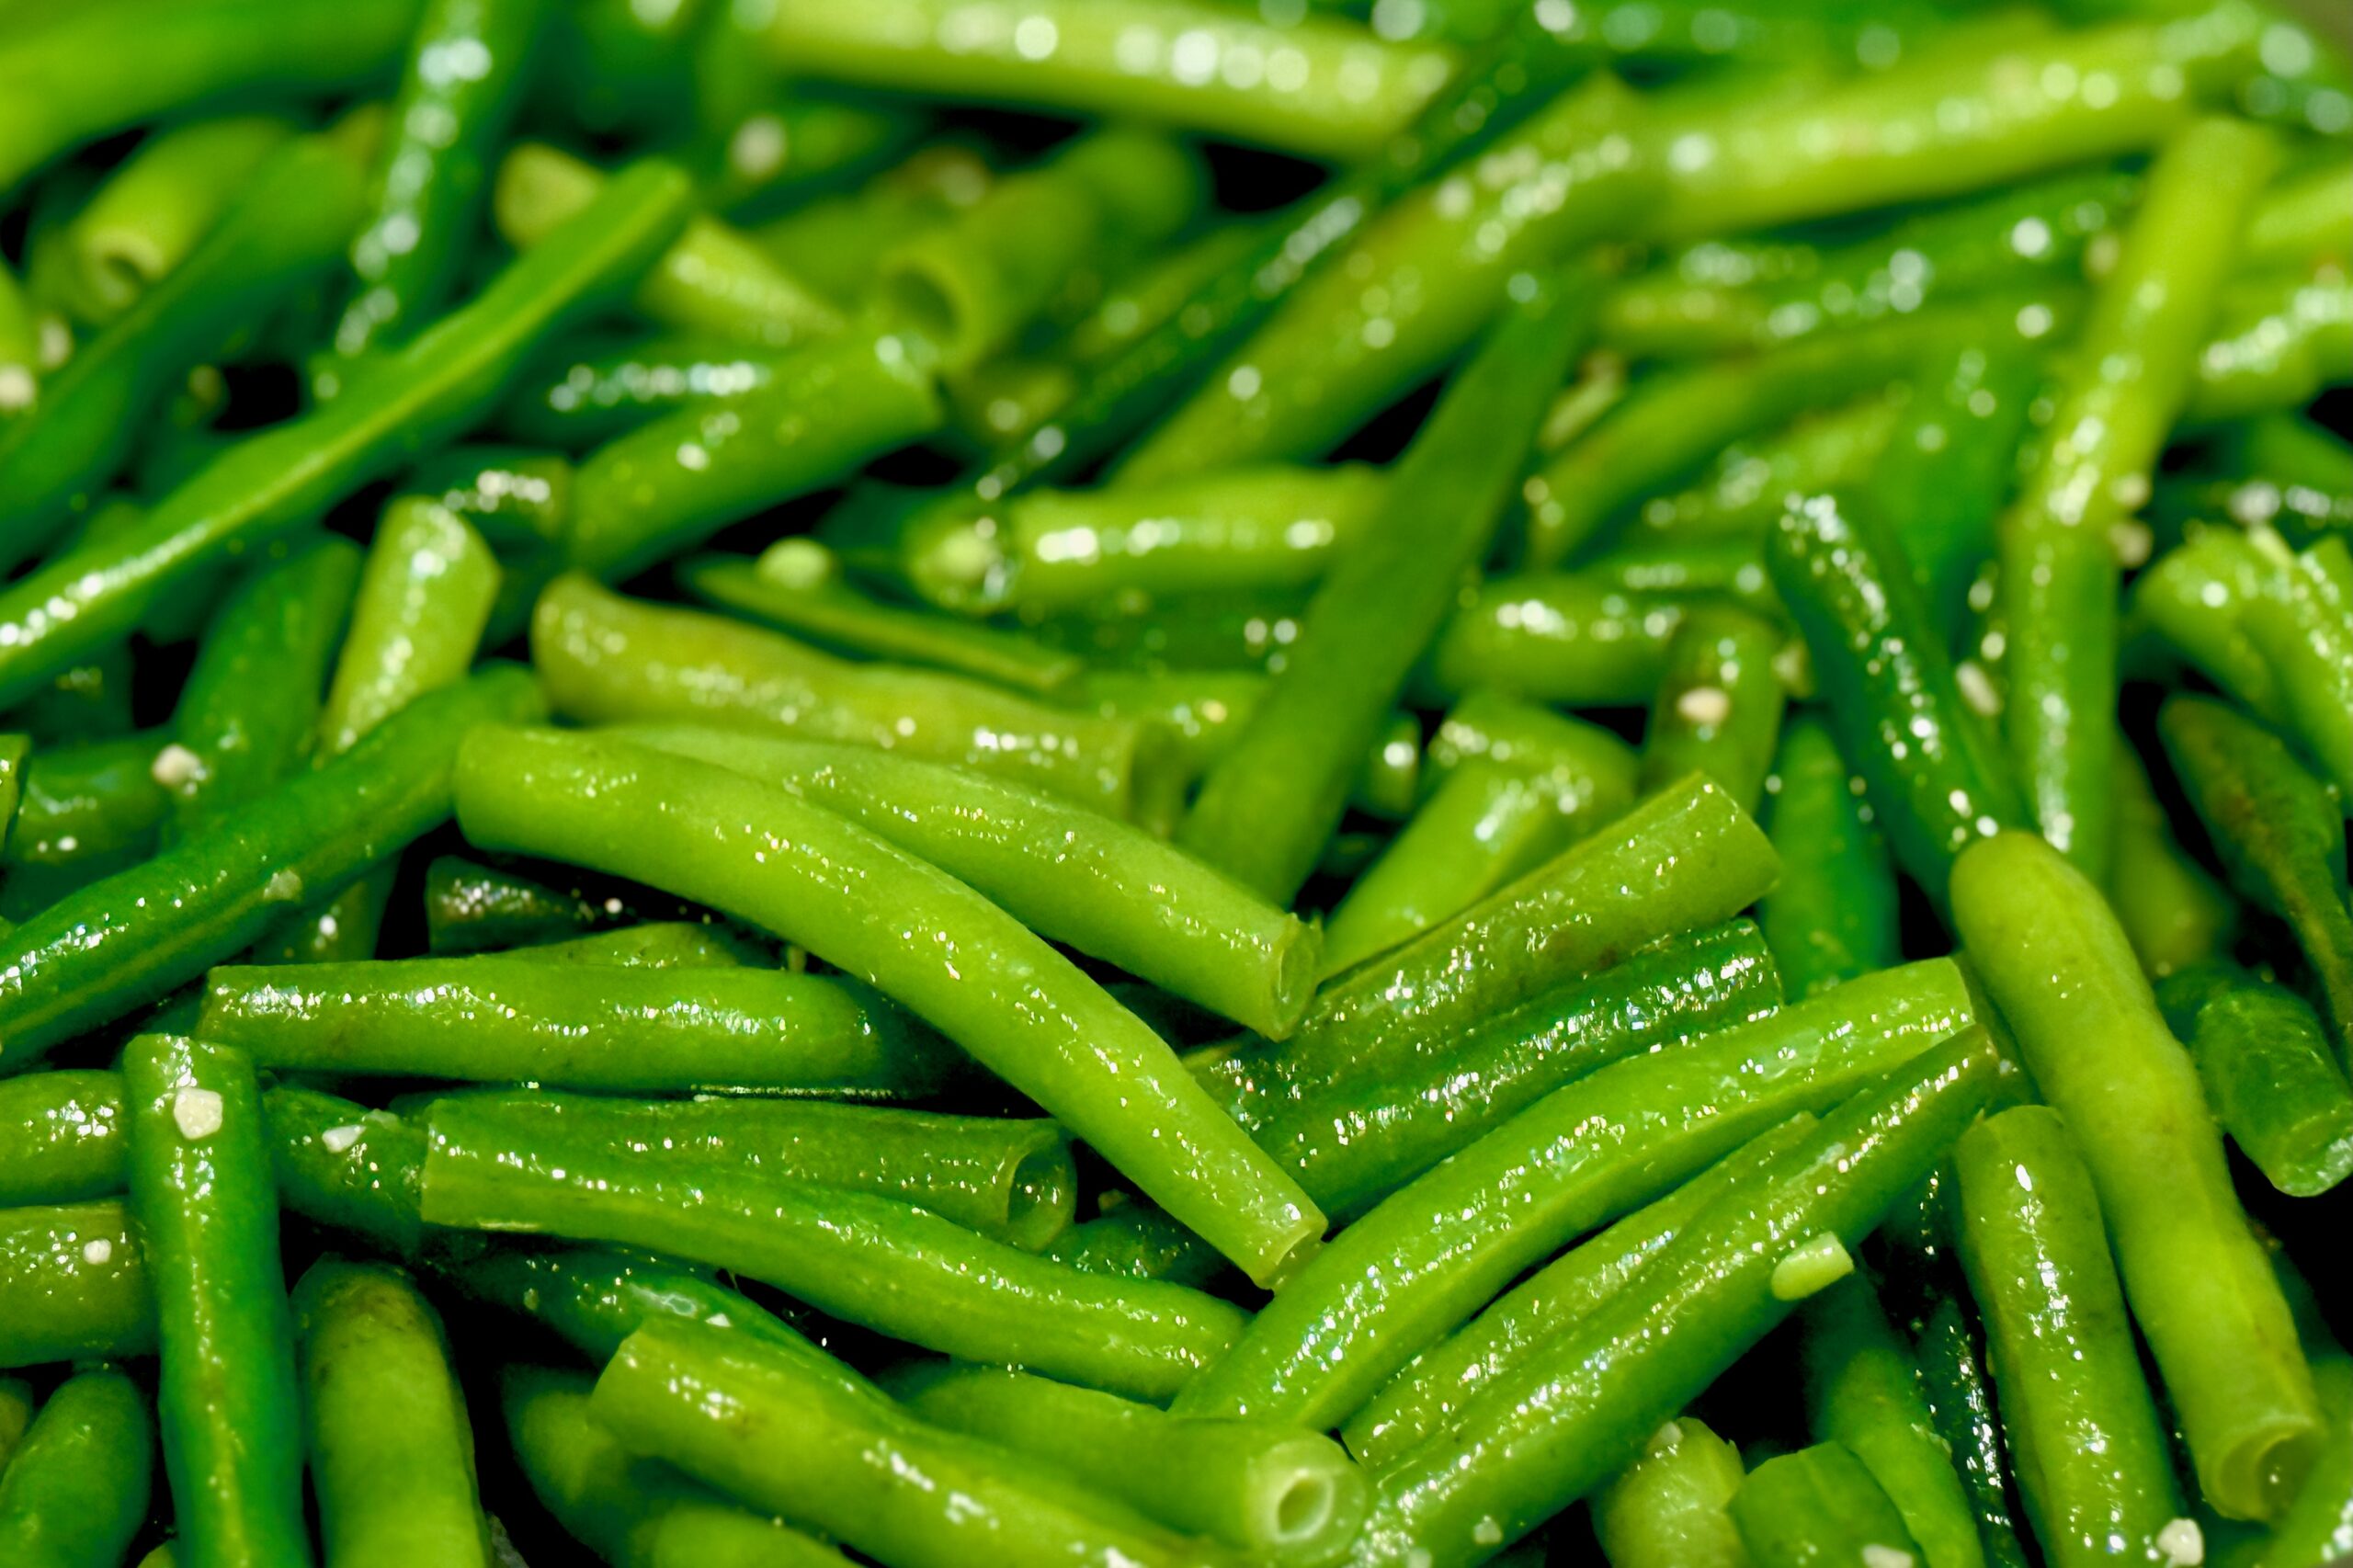
- Bok choy
- Nori sheets
- Menma (fermented bamboo shoots)
- Thinly sliced onion
Directions
Make the Chicken Broth
Place the chicken carcass, onion, garlic, ginger, green onions, and sake into an Instant Pot. Add water to the maximum fill line. Using the sauté function, heat and simmer for about 30 minutes, skimming off any foam or impurities.
Secure the lid and pressure cook on high for 45 minutes. Allow pressure to release naturally for at least 30 minutes.
Strain broth through a lined fine-mesh strainer and discard solids. Adjust with water if the broth is overly strong. Stir in the bloomed gelatin until fully dissolved.
Make the Chicken & Dashi Broth
Combine 2 parts dashi with 3 parts chicken broth in a pot. Heat until small bubbles form but do not boil. Simmer gently for 10 minutes or up to 2 hours to intensify flavor, monitoring to prevent boiling or over-reduction.
Make the Chicken & Pork Broth
Dissolve pork bouillon into hot broth. Mix lard with xanthan gum until smooth and lump-free. Add to the broth and blend with an immersion blender until emulsified.
Make Shio Tare
Combine dashi, sake, mirin, and salt in a saucepan over low heat. Simmer until salt dissolves. Use 2–3 tbsp tare per 2 cups broth.
Make Shoyu Tare
Combine dashi, soy sauce, sake, and mirin in a saucepan over low heat. Simmer briefly. For deeper flavor, make 1 day ahead. Use 2–3 tbsp tare per 2 cups broth.
Make Miso Tare
Blend onion, garlic, ginger, green onion, peanut butter, sake, mirin, and rayu until creamy. Cook the mixture in a saucepan over low heat for about 3 minutes. Remove from heat, stir in miso, and blend until smooth. Use 2–3 tbsp tare per 2 cups broth and blend into broth with an immersion blender.
Use Char Siu Tare
Use 2–3 tbsp tare per 2 cups broth.
Assemble the Ramen
Cook ramen noodles according to package directions or your preferred texture.
Combine your chosen broth with your chosen tare, starting with about 2 tbsp tare per 2 cups broth and adjusting to taste.
Add noodles to bowls, ladle broth over the top, and finish with desired toppings.
Notes
Preparation
- Adding bloomed gelatin to the chicken broth enhances body and gives a collagen-rich texture similar to tonkotsu.
- Skimming foam during the initial simmer produces a clearer broth but may be skipped if cloudiness is acceptable.
- The chicken & pork broth provides a simplified method to mimic tonkotsu without long boiling of pork bones.
- Lard added to the pork broth contributes richness and a silky mouthfeel typical of pork-based ramen.
- Xanthan gum helps emulsify fats into the broth for a smoother texture.
Serving Suggestions
- Customize toppings with mushrooms, corn, sautéed greens, chili crisp, or flavored oils.
- Increase tare for a saltier, more intense bowl or reduce for a lighter profile.
Variations
- Use mushroom dashi for a vegetarian-friendly broth base.
- Add a small amount of sesame paste to miso tare for a richer Hokkaido-style bowl.
- Infuse the broth with garlic oil, chili oil, or schmaltz for additional complexity.
Make-Ahead & Storage
- Broths keep refrigerated for 4–5 days or frozen for up to 3 months.
- Tare keeps refrigerated for 1–2 weeks; miso tare lasts longest due to its salt content.
- Store toppings separately for best texture.