Bags of Spices

Favorite Recipes

American

  • Southern-Style Brown Gravy

    Southern-Style Brown Gravy

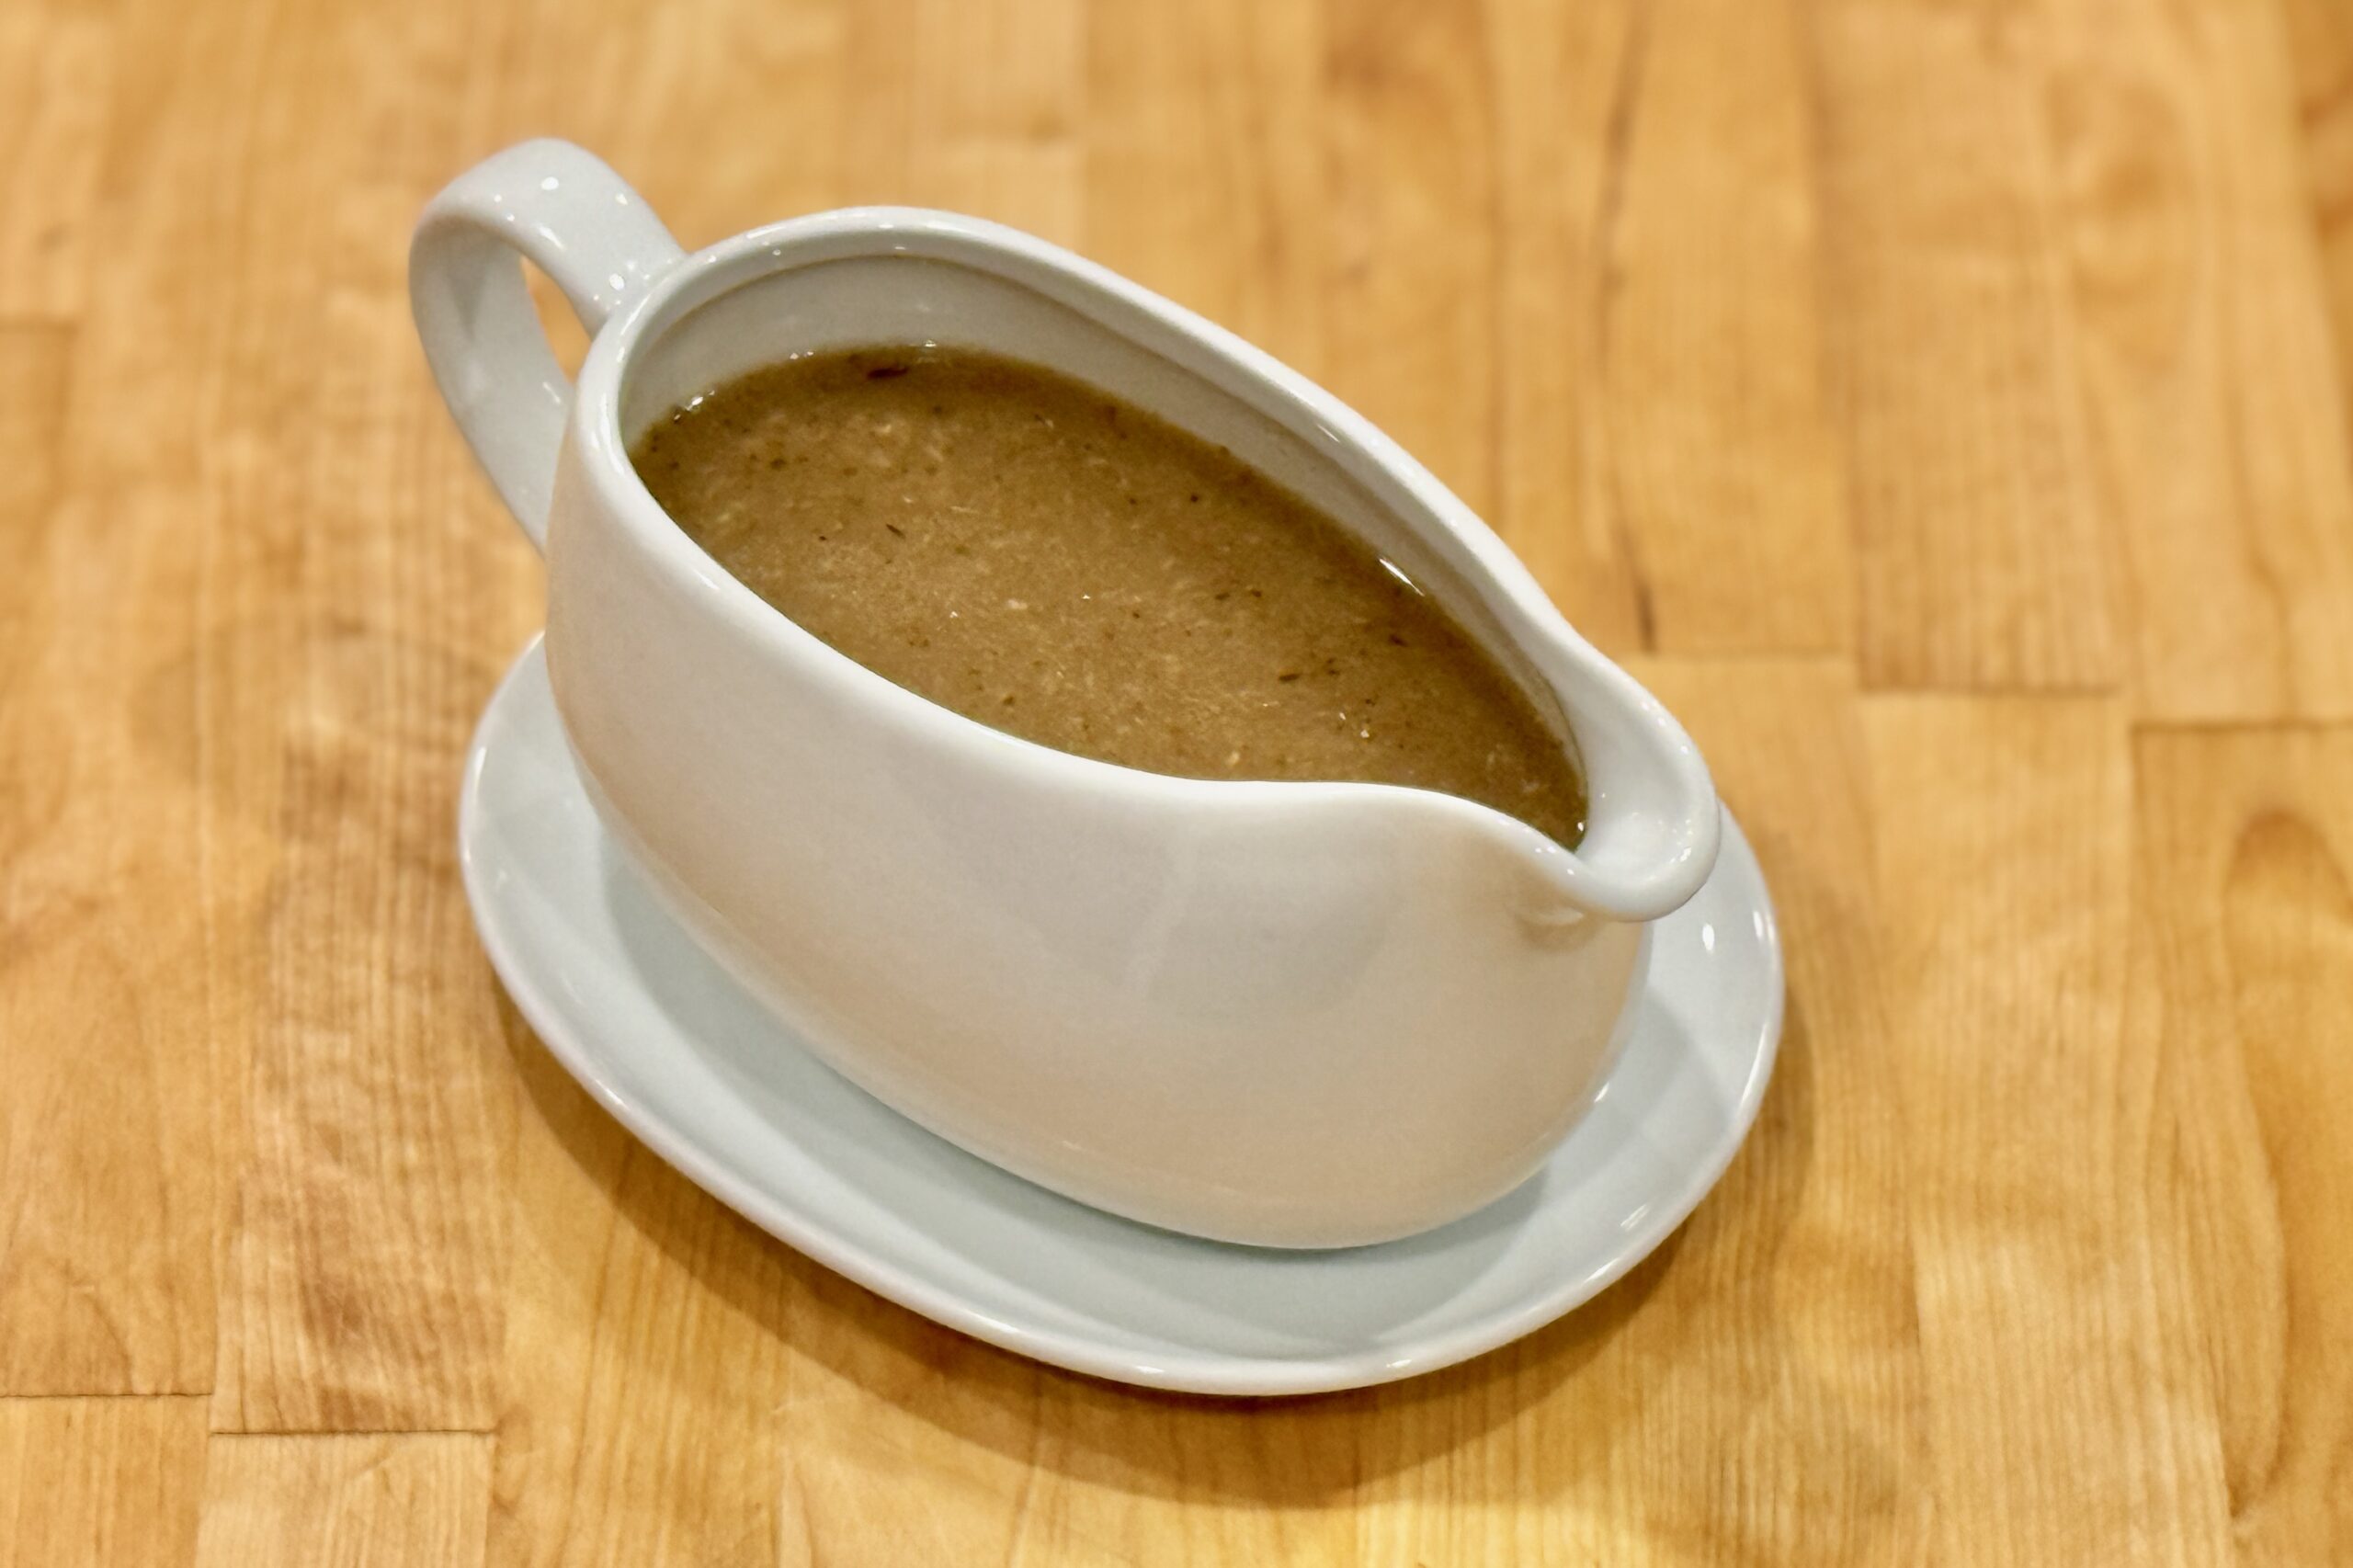
    Rich, savory, and silky smooth, this Southern-style brown gravy combines beef and chicken base for perfectly balanced depth. A touch of butter adds luxurious body, while optional MSG and soy sauce enhance umami. Choose your preferred thickener—each yields a slightly different texture, from velvety to glossy restaurant-style richness.


    Ingredients

    • 2½ cups boiling water
    • 1½ tbsp beef base
    • 1½ tbsp chicken base
    • ½ tsp onion powder
    • ½ tsp black pepper
    • ¼ tsp dried sage
    • ⅛ tsp dried thyme
    • ⅛ tsp dried marjoram (or rosemary)
    • ½ tsp MSG (Aji-no-moto, Accent, etc.), optional but highly recommended
    • 2–3 tbsp butter
    • Meat drippings, fat skimmed (optional)
    • ½ tsp soy sauce, Worcestershire sauce, or coconut aminos (optional, to taste)
    • Choose One Thickening Method

      • Potato Starch (silky consistency): Mix 2 tbsp potato starch with 2 tbsp cold water to form a slurry; whisk into simmering gravy until thickened.
      • Cornstarch + Xanthan Gum (stable): Mix 2 tbsp cornstarch + ⅛ tsp xanthan gum with 2 tbsp cold water; whisk thoroughly, then whisk into simmering gravy. The xanthan gum can be omitted, but the gravy will be more stable and glossy if included.
      • Clear Jel (silky & stable): For regular Clear Jel (not instant), mix 2 tbsp Clear Jel with 2 tbsp cold water and whisk into simmering gravy until smooth. This is my go-to method.

    Directions

    Prepare the Broth

    In a medium saucepan, combine boiling water, beef base, chicken base, onion powder, black pepper, sage, thyme, marjoram, and MSG (if using). Stir in meat drippings, if available, and bring to a boil over medium-high heat.

    Thicken the Gravy

    Stir your chosen slurry to recombine, then slowly whisk it into the simmering broth in a thin, steady stream. Cook 1–2 minutes, whisking constantly, until the gravy thickens and becomes smooth.

    Finish and Adjust

    Remove from heat and whisk in butter until fully incorporated. Taste and adjust seasoning as needed. If too salty, add a splash of water or chicken broth. Stir in soy sauce, Worcestershire sauce, or coconut aminos for extra depth, if desired. If too thick, whisk in a little hot water or broth; if too thin, add a small amount of slurry and simmer until thickened.


    Notes

    Preparation

    • Potato starch creates a soft, silky finish; Clear Jel gives the most stable, restaurant-quality texture.
    • Adding both beef and chicken bases produces the most balanced flavor—rich but not overpowering.
    • For a more chicken-forward flavor, use 2 tbsp chicken base and 1 tbsp beef base; for beef-forward flavor, use 2 tbsp beef base and 1 tbsp chicken base.
    • Better Than Bouillon bases work especially well for this recipe.

    Serving Suggestions

    • Perfect alongside mashed potatoes, chicken-fried steak, meatloaf, or Semmelknödel (Bavarian bread dumplings).
    • Use as a finishing gravy for roast beef or pork, or as a dipping sauce for biscuits.

    Make-Ahead & Storage

    • This gravy reheats beautifully and can be prepared in advance for convenience.
    • Refrigerate in an airtight container for up to 4 days.
    • Reheat gently on the stove over low heat, whisking to restore texture.
    • For longer storage, freeze for up to 2 months; thaw overnight in the refrigerator and reheat slowly.
  • Jalapeño-Bacon Smoked Mac & Cheese

    Jalapeño-Bacon Smoked Mac & Cheese

    Smoky, creamy, and loaded with layers of bold flavor, our family’s Jalapeño Bacon Smoked Mac & Cheese takes this comfort classic to the next level. A silky, stabilized cheese sauce coats tender pasta, balanced by the heat of jalapeños, the savoriness of crisp bacon, and often covered in a golden layer of broiled cheese. It’s indulgent yet refined—the kind of mac and cheese that steals the show at any family gathering.


    Ingredients

      Pasta Base

    • 1 lb elbow macaroni
    • salt, for boiling
    • Bacon & Jalapeños

    • 1 lb thick-cut bacon, chopped
    • 1½ cups jalapeños, finely diced with seeds & veins removed
    • 1 tbsp reserved bacon fat
    • Cheese Sauce

    • ¼ cup butter
    • ⅓ cup all-purpose flour
    • ½ tsp smoked paprika
    • ½ tsp dry mustard
    • ½ tsp onion powder
    • ¼ tsp garlic powder
    • 4 cups whole milk
    • 1½ cups heavy cream
    • 1½ tsp sodium citrate
    • 8 oz cream cheese, cubed
    • 8 oz sharp cheddar, grated
    • 8 oz colby jack, grated
    • 4 oz gouda, grated
    • 4 oz emmentaler, grated
    • salt and pepper, to taste
    • Garnish

    • reserved crispy bacon
    • thin jalapeño slices or fresh chives (optional)

    Directions

    Cook the Pasta

    Bring a large pot of salted water to a boil. Add macaroni and cook 2–3 minutes less than al dente, leaving it slightly firm. Drain and rinse under cold water to halt cooking; set aside.

    Prepare the Bacon & Jalapeños

    In a large skillet, cook bacon over medium heat until crisp. Remove with a slotted spoon and drain on paper towels, reserving about 1 tbsp rendered fat.

    Add diced jalapeños to the reserved bacon fat and sauté 2–3 minutes until fragrant and slightly softened. Set aside, reserving some bacon for garnish.

    Make the Roux & Base

    In a large saucepan or cast-iron skillet, melt butter over medium heat. Whisk in flour, smoked paprika, dry mustard, onion powder, and garlic powder; cook 1–2 minutes, whisking constantly until fragrant and lightly golden.

    Gradually whisk in milk and cream until smooth and combined.

    Incorporate Sodium Citrate

    Whisk in sodium citrate until fully dissolved. Bring the mixture just below a simmer—do not boil—to create the base for a smooth, stable sauce.

    Add the Cheeses

    Remove the pan from heat. Add cream cheese, stirring until melted and smooth. Gradually whisk in the grated cheeses in small handfuls, allowing each addition to melt before adding the next. Season to taste with salt and pepper; the sauce should be glossy and pourable.

    Combine

    Fold in cooked bacon (reserve a handful for garnish) and sautéed jalapeños. Add pasta and stir to coat evenly.

    If the sauce thickens too much, stir in a splash of reserved pasta water or milk to loosen.

    Smoke the Mac & Cheese

    Preheat pellet grill to 165°F / 74°C. Transfer mac and cheese to a greased 12-inch cast-iron pan or baking dish. Smoke uncovered for 1–2 hours, stirring after 15 and 30 minutes for even flavor absorption.

    Increase temperature to 225°F / 107°C for the final 15 minutes to slightly tighten and toast the surface.

    Cheese Finish

    Removing from the smoker and sprinkle a thin, even layer of shredded cheddar or gouda over the top. Place under a broiler for 2–4 minutes, watching closely, until golden and bubbling with crisp edges.

    Let rest 5–10 minutes before serving.

    Garnish & Serve

    Top with reserved crispy bacon and garnish with thin jalapeño slices or fresh chives. Serve warm, directly from the skillet for best presentation.


    Notes

    Preparation

    • sodium citrate ensures a stable, silky sauce that resists separation, even during smoking or reheating.
    • cold-smoking the cheese before grating adds a deeper, more developed smoke flavor.
    • a pinch of chipotle powder or smoked salt can be used to enhance depth without adding much heat.
    • let the mac and cheese rest briefly before serving to help the sauce set slightly.

    Serving Suggestions

    • serve alongside barbecue favorites like smoked ribs, pulled pork, or brisket.
    • use leftovers as a rich filling for grilled cheese sandwiches or baked stuffed peppers.
    • top with additional crisp bacon or caramelized onions for added texture and flavor.

    Make-Ahead & Storage

    • refrigerate up to 4 days in an airtight container.
    • reheat gently in the oven or smoker at low temperature; avoid direct stovetop reheating after cheese is added.
    • freeze up to 2 months; thaw overnight in the refrigerator before reheating.
  • Soft Pretzels

    Soft Pretzels

    These homemade soft pretzels bake up golden brown, chewy, and buttery—just like the ones from a pretzel shop. The dough can be made quickly for a same-day bake or rested in the refrigerator for a richer, malty flavor and more authentic bakery-style texture.


    Ingredients

    • 1½ cups warm water (105–110°F)
    • 1 packet (2¼ tsp) active dry or instant yeast
    • 1 tsp table salt
    • 1 tbsp brown sugar (or 1 tbsp barley malt syrup for classic flavor)
    • 1 tbsp butter, melted and slightly cooled
    • 3½–4 cups all-purpose flour
    • ½ cup baking soda (see note for enhanced version)
    • 9 cups water
    • kosher or coarse sea salt, for topping
    • 2 tbsp butter, melted (for brushing after baking)

    Optional Egg Wash (for Soft, Glossy Pretzels)

    • 1 egg, beaten with 1 tbsp water

    Directions

    Prepare the Dough

    In a large bowl, combine warm water and yeast. Let stand for about 1 minute until slightly foamy. Stir in table salt, brown sugar, and melted butter.

    Add 3½ cups of flour, one cup at a time, mixing with a wooden spoon until a soft dough forms. If dough is sticky, add up to ½ cup more flour gradually until smooth and slightly tacky but not wet.

    Knead and Rest

    Turn dough onto a lightly floured surface and knead for about 3 minutes until elastic and uniform. Shape into a ball.

    • Quick Version: Cover lightly and let rest for 10 minutes before shaping.
    • Bakery-Style Version: Cover the bowl with plastic wrap and refrigerate 1–2 hours (or up to overnight). Bring to room temperature for 10–15 minutes before shaping.

    Shape the Pretzels

    Preheat oven to 425°F (220°C). Line baking sheets with parchment paper or silicone baking mats.

    Divide dough into 8–10 equal pieces (about 90–100 g each). Roll each piece into a 20-inch rope and twist into a pretzel shape. Place on prepared baking sheets.

    Boil in Baking Soda Solution

    In a large pot, bring 9 cups water and ½ cup baking soda to a gentle boil. For deeper color, bake the baking soda first (spread on a tray and bake at 250°F for 1 hour) before adding it to the water.

    Drop pretzels, one or two at a time, into the boiling solution for 20–25 seconds. Remove with a slotted spoon, drain well, and place on prepared baking sheets.

    Top and Bake

    For traditional bakery-style pretzels, sprinkle with kosher or coarse sea salt immediately after boiling, then bake as directed.

    For a softer, fair-style pretzel, brush with the optional egg wash before sprinkling with salt. Bake for 11–13 minutes, or until deep golden brown with a shiny crust and soft interior.

    Finish

    Brush warm pretzels with melted butter immediately after baking for a glossy finish and tender bite. Serve warm with mustard, cheese sauce, or butter.


    Notes

    Preparation

    • Lower hydration (3½ cups flour to 1½ cups liquid) produces the classic tight, chewy crumb.
    • A short cold ferment (1–2 hours) develops malty depth and improves shaping.
    • Bake baking soda before boiling for more intense pretzel color and flavor.
    • Brushing with butter right after baking adds shine and a soft finish without dulling color.

    Egg Wash vs. Baking Soda Finish

    • Without Egg Wash (Traditional): Deep mahogany color, chewy crust, classic pretzel flavor.
    • With Egg Wash (Soft & Glossy): Lighter golden color, slightly softer texture, mild sheen.
    • Both versions can be brushed with melted butter after baking for extra flavor and softness.

    Serving Suggestions

    • Serve warm with mustard, cheese dip, or honey butter.
    • Top with coarse salt, everything bagel seasoning, or cinnamon sugar for sweet pretzels.
    • Use smaller portions to make pretzel bites or sandwich rolls.

    Make-Ahead & Storage

    • Shaped pretzels can be refrigerated for up to 6 hours before boiling.
    • Freeze shaped, unboiled pretzels up to 1 month; boil directly from frozen before baking.
    • Store baked pretzels airtight up to 2 days; reheat at 350°F for 5–7 minutes to refresh.
  • Chocolate Mocha Ice Cream

    Chocolate Mocha Ice Cream

    Deeply rich and smooth chocolate ice cream infused with bold espresso and a subtle tang of buttermilk for balance. The result is café-level mocha flavor—decadent yet refined—with a clean, refreshing finish that highlights both the chocolate and espresso notes.


    Ingredients

    • Chocolate–Mocha Custard:

    • 2 cups heavy cream
    • ½ cup whole milk
    • ½ cup buttermilk (added after cooking)
    • ½ cup sugar, divided
    • 5 egg yolks
    • 4 oz bittersweet or semisweet chocolate (60–70%), finely chopped
    • 2 tbsp unsweetened cocoa powder
    • 2 tsp instant espresso powder, divided (see directions)
    • ½ tsp vanilla extract
    • pinch table salt

    Directions

    Make the Chocolate Base

    In a medium saucepan, whisk together whole milk, cream, ¼ cup sugar, cocoa powder, 1½ tsp espresso powder, and salt. Warm gently over medium heat until steaming and the sugar dissolves. Remove from heat and whisk in the chopped chocolate until smooth.

    Temper the Yolks

    In a separate bowl, whisk egg yolks with the remaining ¼ cup sugar until pale and thick. Slowly temper with ½ cup of the warm chocolate mixture, whisking constantly, then return everything to the saucepan.

    Cook the Custard

    Cook gently over low heat, stirring constantly, until the custard coats the back of a spoon (170–175°F / 77–80°C). Do not boil.

    Finish the Flavoring

    Strain through a fine mesh sieve into a clean bowl. Stir in vanilla. Dissolve the remaining ½ tsp espresso powder in 1 tbsp hot water or cream, then whisk it into the warm custard for a final espresso boost.

    Add the Buttermilk & Chill

    Allow the custard to cool slightly, then stir in the buttermilk. Cover and chill thoroughly—at least 4 hours or overnight.

    Churn

    Churn the chilled base in an ice cream maker according to the manufacturer’s instructions. Transfer to a container and freeze until firm.


    Notes

    Preparation

    • Buttermilk adds brightness and keeps the mocha flavor balanced.
    • For a sweeter, richer result, replace the buttermilk with whole milk.
    • For a darker mocha profile, add 1 tsp more espresso powder or swap 1 oz chocolate for unsweetened baking chocolate.
    • For an ultra-smooth texture, whisk in ⅛ tsp xanthan gum while the base is warm (before chilling).

    Serving Suggestions

    • Serve affogato-style with a shot of hot espresso.
    • Pair with biscotti, chocolate cake, or almond cookies.
    • Top with shaved dark chocolate for extra intensity.

    Variations

    • Add ½ cup chocolate-covered espresso beans during the last minute of churning.
    • For a mocha-ripple version, swirl in ½ cup chocolate-fudge sauce before freezing.
    • For a tiramisu-inspired twist, add 1 tbsp mascarpone to the warm custard before chilling.

    Make-Ahead & Storage

    • Refrigerate the unchurned base up to 2 days before freezing.
    • Store churned ice cream in an airtight container up to 1 week.
    • For ideal scooping, let rest at room temperature 5–10 minutes before serving.
  • Cilantro-Lime Crema

    Cilantro-Lime Crema

    Smooth, tangy, and fresh—this cilantro-lime crema adds a bright, herby finish to tacos, enchiladas, grilled meats, and especially Chilaquiles Verdes. The balance of sour cream and mayonnaise gives it a silky texture that clings beautifully while staying light and refreshing.


    Ingredients

    • ¾ cup sour cream
    • ¼ cup mayonnaise
    • ½ cup fresh cilantro (leaves plus tender stems)
    • 1½ tbsp lime juice (plus ½ tsp reserved for finishing)
    • 1 tsp lime zest
    • 1 small clove garlic, grated or minced
    • ¼ tsp table salt
    • 1–2 tbsp water, as needed to thin

    Optional Add-Ins

    • ½ small jalapeño (seeded) for mild heat and vibrant color
    • 1 tsp pickled jalapeño brine for extra tang and brightness
    • A few drops chipotle adobo liquid for a smoky, savory variation

    Directions

    Blend the Crema

    Combine sour cream, mayonnaise, cilantro, lime juice, lime zest, garlic, salt, and 1 tbsp water in a blender or small food processor.

    Pulse several times, then blend until smooth and light green. If too thick, add more water a teaspoon at a time until the crema reaches a drizzleable consistency.

    Finish and Adjust

    Stir in the reserved ½ tsp lime juice for a burst of fresh citrus at the end. Taste and adjust seasoning—add more salt or lime juice to balance tang and creaminess.

    For a thinner drizzle, whisk in an extra splash of water.

    Serve or Chill

    Transfer to an airtight container and refrigerate for at least 30 minutes to let flavors meld. Stir before using. Serve cold or at cool room temperature.


    Notes

    Preparation

    • Combining sour cream and mayonnaise gives the crema a silky body that clings beautifully to food.
    • Include cilantro stems for extra aroma and a brighter green hue.
    • Blend briefly (10–15 seconds) to preserve color; over-blending can dull the green.
    • Add reserved lime juice at the end to refresh flavor after blending.

    Serving Suggestions

    • Drizzle over tacos, enchiladas, burrito bowls, or grilled meats.
    • Perfect accompaniment for Chilaquiles Verdes.
    • Use as a dipping sauce for vegetables or empanadas.

    Variations

    • Add ½ small jalapeño for mild heat and brighter color.
    • Blend in ¼ avocado for a creamier, thicker crema; reduce water slightly.
    • For smoky flavor, replace garlic with ½ tsp chipotle adobo sauce.

    Make-Ahead & Storage

    • Refrigerate in an airtight container up to 5 days; stir before serving.
    • Flavor deepens after a few hours as the lime and garlic infuse.
    • Not suitable for freezing—fresh herbs and dairy will separate.
  • Beer  Battered Halibut

    Beer Battered Halibut

    Each year I attended the same trade show in London. While I love the city, I didn’t love traveling without my wife—especially this trip because it always fell during her birthday week. The year we decided she’d come along was eventful, to say the least. But before we get to London, some backstory.

    Pregnancy was not something that came easy for us. A lot of very fun attempts, but at least to that point, no resulting pregnancies. Before we left I shared a dream where while in London she’d told me she was pregnant. We laughed as we continued to prepare for the trip.

    Wile I worked the show, my beautiful bride explored the city. On her birthday, we met up after my work day to celebrate with a delicious dinner followed by the theatre to see ‘Les Misérables’—an unforgettable night!

    Back at the hotel, she disappeared into the bathroom. Moments later I heard her voice, “I think we’re pregnant.” I laughed—until she rounded the corner with a pregnancy test, the two pink lines unmistakable. That London trip became our first family journey with our two sons. Later, five and seven years after the whirlwind of welcoming twins, we were blessed with two beautiful daughters, completing our little family.

    As a remembrance of our London getaway, and our life-changing news, I created this recipe; my not-so-authentic version of fish and chips.


    Ingredients

    • 4–6 halibut filet portions
    • 1½ cups (185g) all-purpose flour, plus extra for coating filets
    • 1¼ cups (160g) corn starch
    • 2 tsp baking powder
    • ½ tsp table salt
    • ½ tsp white pepper (optional)
    • 1 can (16 oz / 475 ml) light beer
    • Optional Batter Add-Ins:

      • garlic powder
      • onion powder
      • paprika
      • shoarma spice blend
      • Old Bay

    Directions

    Prepare the Fish:

    Preheat 2″ to 3″ of neutral oil in a skillet or deep fryer to 350º–375ºF. Coat cold halibut filets on all sides with flour; place on a wire rack set over a baking sheet and refrigerate.

    Make the Batter:

    In a large bowl, whisk together flour, corn starch, baking powder, salt, and white pepper. Whisk in enough ice-cold beer to reach the consistency of a thin pancake batter. Refrigerate the batter for 10 minutes to rest and chill.

    Fry the Halibut:

    Dip each filet into the chilled batter and allow excess to drip off. Fry for 1–2 minutes per side, or until crispy and deep golden brown.

    Transfer to a wire rack and immediately sprinkle lightly with salt. Allow the oil temperature to return to 350º–375ºF before frying the next batch.

    Serve hot with Belgian frites, tartar sauce, and/or malt vinegar.


    Notes

    Preparation

    • Keeping the fish cold is essential—cold fillets meeting hot oil creates the highest-crisp batter.
    • Use ice-cold beer. Colder batter expands more rapidly when fried, creating a lighter, airier crust.
    • Halibut works beautifully, but cod, haddock, or rockfish are excellent alternatives.
    • To prevent sticking, make sure your oil is at temp before adding the first piece.

    Serving Suggestions

    • Serve with tartar sauce, malt vinegar, or a squeeze of fresh lemon.
    • Belgian-style frites or hand-cut fries complement the crispy halibut perfectly.
    • A quick cabbage slaw with lemon and dill keeps the plate light and balanced.

    Variations

    • Add ½ tsp paprika or smoked paprika for a deeper color and warmth.
    • Shoarma spice or Old Bay give a fun twist while keeping the classic texture.
    • Substitute half the beer with sparkling water for an extra-light batter.
    • For heat, add a pinch of cayenne or chili powder.

    Make-Ahead & Storage

    Fish and chips are best eaten immediately, but here are some tips:

    • If needed, keep fried pieces warm on a wire rack in a 225ºF oven for up to 20 minutes.
    • Leftovers may be reheated in an air fryer at 375ºF for 4–6 minutes to restore crispness.
    • Batter can be mixed dry (without beer) up to 2 days ahead; just whisk in cold beer before frying.
  • Tartar Sauce

    Tartar Sauce

    This creamy, tangy tartar sauce comes together in minutes and tastes far fresher than anything store-bought. Bright citrus, briny capers, and herbs make it a perfect companion for fried fish, crab cakes, or roasted vegetables.


    Ingredients

    • 1 cup mayonnaise
    • ½ cup dill relish
    • 1 tbsp capers, rinsed and chopped
    • 1 tbsp fresh parsley (or 1 tsp dried)
    • 1 small shallot, finely chopped (or ½ tsp onion powder)
    • 1 tbsp lemon or lime juice
    • 1 tsp lemon or lime zest
    • 2 tsp Worcestershire sauce
    • 1 tsp Dijon mustard
    • ¼ tsp Tapatío hot sauce
    • salt & pepper, to taste
    • Optional Add-Ins

    • 1 tbsp fresh tarragon (or 1 tsp dried)
    • ½ tbsp fresh dill (or ½ tsp dried)
    • 1 tsp honey
    • ¼ cup crème fraîche or sour cream

    Directions

    Mix the Sauce

    Whisk together all ingredients in a bowl until well combined.

    Chill for at least 1 hour before serving to let the flavors meld.


    Notes

    Preparation

    • Please taste and adjust acidity—add more citrus juice if serving with rich fried foods.
    • For a chunkier texture, use whole dill pickles and hand-chop them instead of relish.
    • Fresh herbs brighten the sauce significantly, but dried herbs still work well.

    Serving Suggestions

    • Serve with beer-battered halibut, fish sticks, crab cakes, or shrimp.
    • Use as a spread for fish sandwiches or grilled chicken.
    • Try as a dip for roasted potatoes or fries.

    Variations

    • Swap dill relish for chopped cornichons for a sharper, French-style flavor.
    • Add a pinch of smoked paprika for a subtle smoky note.
    • Fold in a spoonful of crème fraîche for a lighter, silkier version.

    Make-Ahead & Storage

    • Keeps 4–5 days in the refrigerator in an airtight container.
    • Stir before serving, as some separation is normal.
    • Not suitable for freezing due to the mayonnaise base.