Bags of Spices

Favorite Recipes

Barbecue Side

  • Smokehouse Cole Slaw

    Smokehouse Cole Slaw

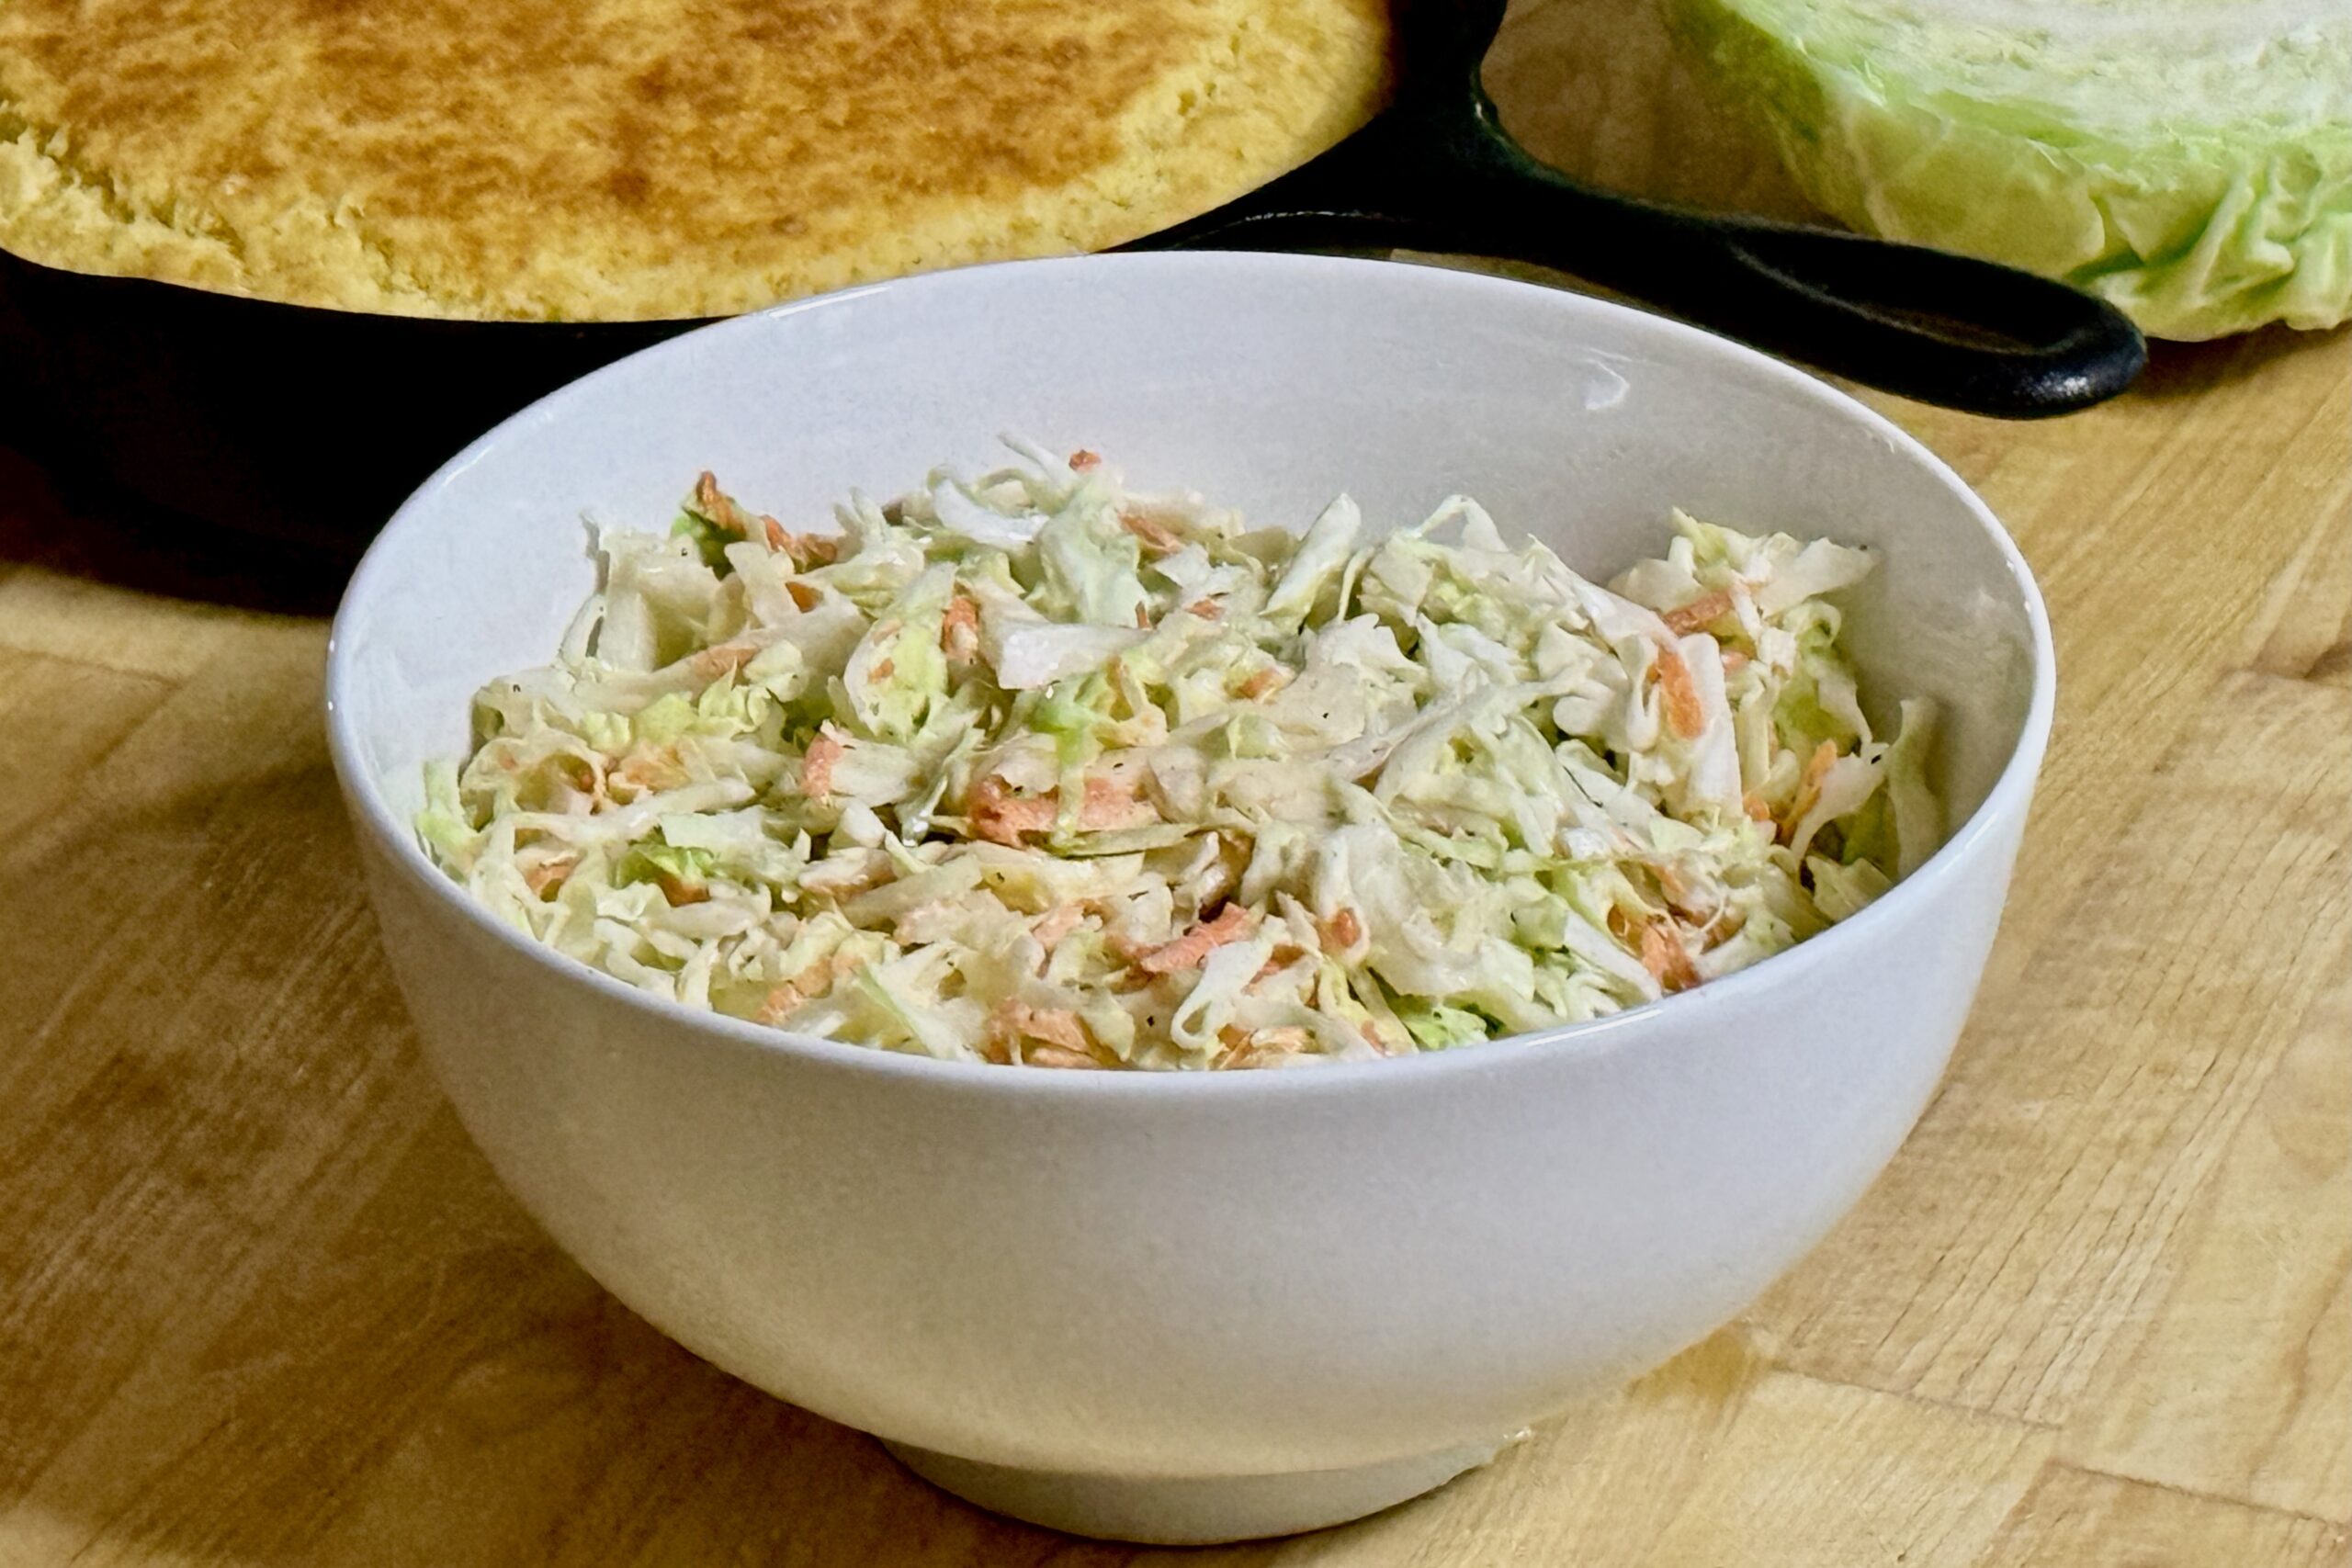
    Our creamy smokehouse cole slaw is simple, classic, and exactly the kind of side dish that belongs next to a tray of barbecue. The dressing is sweet, tangy, and familiar, with enough apple cider vinegar, mustard, lemon, and black pepper to give it a bright, lively finish that perfectly balances rich smoked meats. A small amount of MSG adds extra savoriness without changing its classic character, while the cabbage and carrots stay crisp and refreshing after a good rest in the refrigerator.


    Ingredients

    • ¼ tsp dry mustard
    • ¼ tsp table salt
    • ¼ cup (50 g) sugar
    • 2 tbsp (30 ml) apple cider vinegar
    • 1 tsp (5 ml) lemon juice
    • 1 cup (230 g) mayonnaise
    • ¼ tsp celery seed (optional)
    • ¼ tsp MSG
    • ½ tsp black pepper
    • 1–2 tbsp (10–20 g) very finely grated shallot or ¼ tsp onion powder (optional)
    • 24 oz (680 g) cabbage, finely shredded
    • ¼ cup (about 25 g) carrots, grated

    Directions

    Make the Dressing

    Whisk together the dry mustard, table salt, sugar, apple cider vinegar, and lemon juice until the sugar is mostly dissolved.

    Add the mayonnaise, celery seed (if using), MSG, black pepper, and the grated shallot or onion powder (if using). Whisk until smooth, then let the dressing rest for 15–20 minutes before using to allow the flavors to meld.

    Dress the Slaw

    Place the shredded cabbage and grated carrots in a large bowl.

    Add the dressing and toss until the vegetables are evenly coated.

    Chill

    Cover and refrigerate for at least 2 hours before serving, stirring once before serving if needed.

    Yield: Approximately 8 servings.


    Notes

    Preparation

    • Use the full 2 tbsp (30 ml) apple cider vinegar for a bright, barbecue-friendly slaw. For a slightly milder, sweeter version, reduce the vinegar to 1½ tbsp (22 ml).
    • The optional shallot adds a subtle savory depth. If you don’t have one on hand, ¼ tsp onion powder is an excellent substitute.
    • For the best texture, shred the cabbage fairly fine so the dressing coats evenly without feeling heavy.
    • Freshly ground black pepper gives the dressing the brightest flavor, though pre-ground pepper also works well.

    Variations

    • Deli-Style: Add the optional celery seed for a more old-fashioned slaw flavor.
    • Extra-Peppery: Increase the black pepper to ¾ tsp.
    • Vinegar-Based: Toss the cabbage and carrots with Espiau’s Vinaigrette instead of the mayonnaise dressing.

    Serving Suggestions

    • Serve alongside pulled pork, smoked chicken, ribs, brisket, or burgers with our Dr Pepper Barbecue Sauce.
    • This slaw also makes an excellent topping for pulled pork or smoked chicken sandwiches, adding cool crunch and bright acidity.

    Make-Ahead & Storage

    • This slaw is best after resting for at least 2 hours and is at its crispest the day it is made.
    • Store covered in the refrigerator for up to 2 days. Stir before serving, as the cabbage will naturally release a small amount of liquid.
    • For the freshest texture, prepare the dressing and vegetables separately, then combine them 2–4 hours before serving.
  • Smokehouse Street Corn

    Smokehouse Street Corn

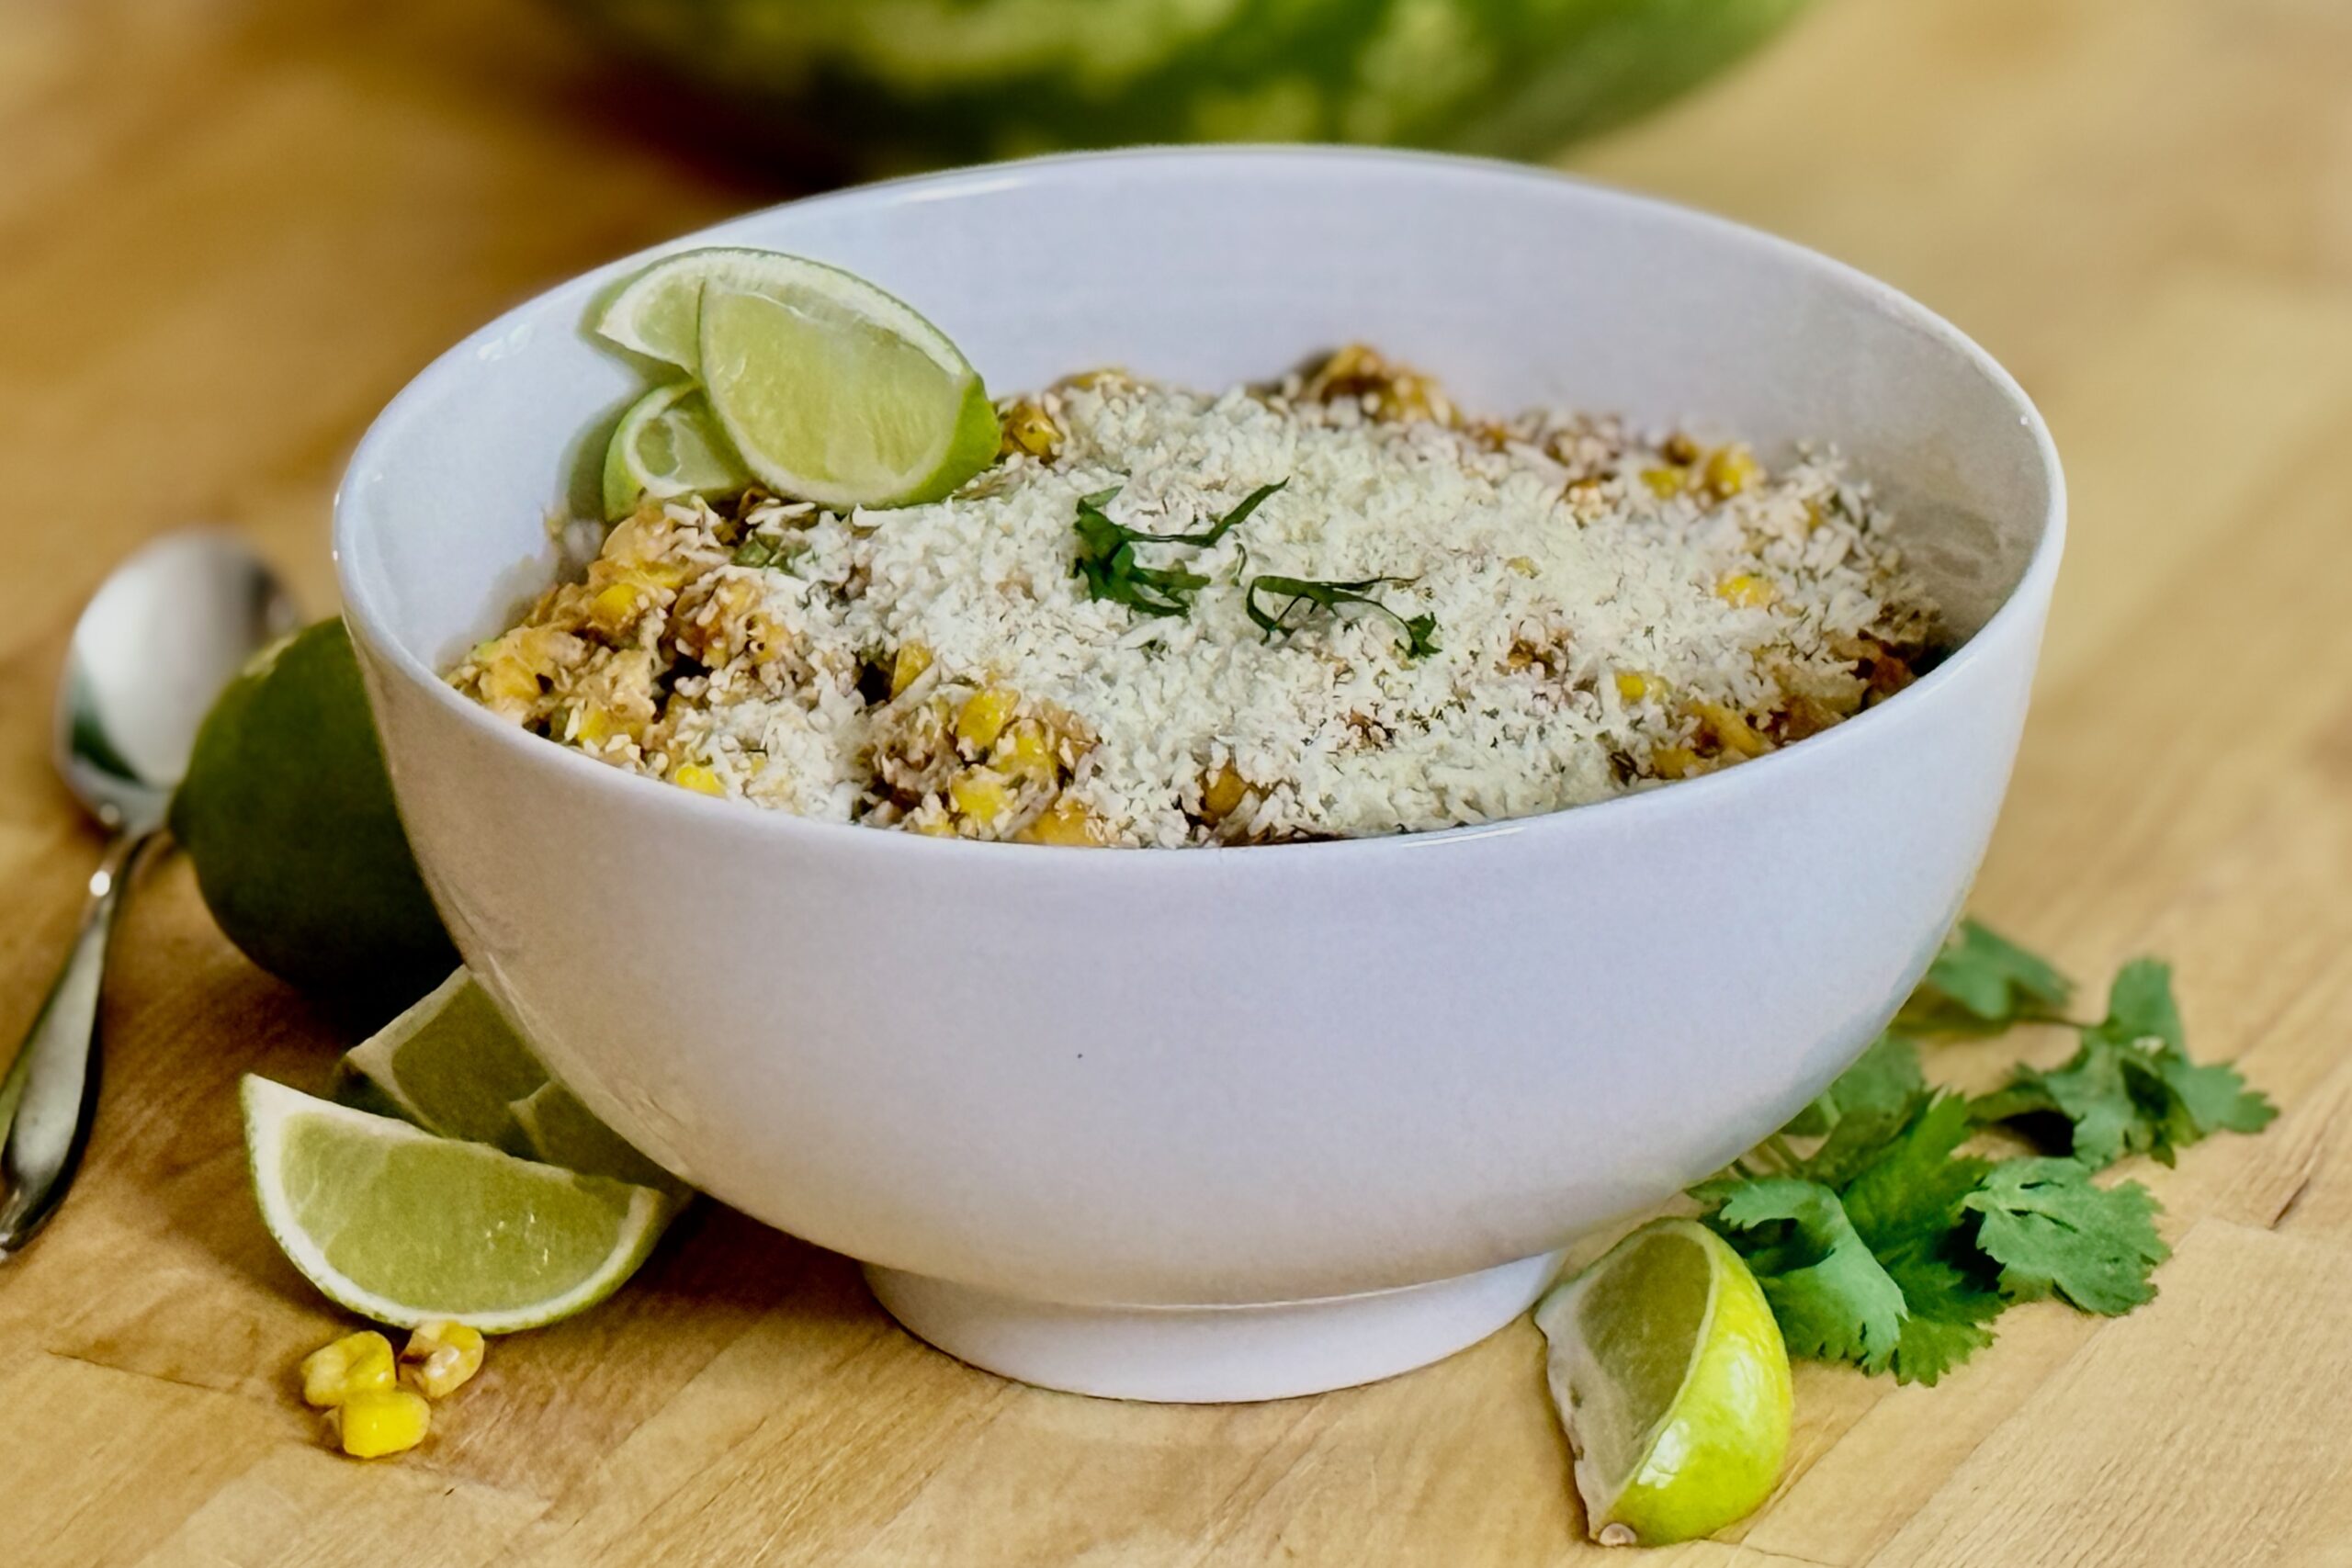
    Inspired by Mexican street corn but crafted for the barbecue table, this Smokehouse Street Corn has quickly become one of our family’s favorite side dishes. Sweet corn is charred until deeply caramelized, then tossed with browned butter, smoky chipotle, Better Than Bouillon Roasted Chicken Base, fresh jalapeño, lime, Cotija, and just enough creamy dressing to tie everything together without hiding the corn itself. The result is rich, savory, smoky, bright, and just a little spicy—the perfect companion for ribs, brisket, pulled pork, or grilled chicken.


    Ingredients

    Corn

    • 2 lb (910 g) frozen sweet corn (do not thaw)
    • 2 tbsp (30 ml) avocado oil
    • 1 medium jalapeño, finely diced

    Dressing

    • ¼ cup (55 g) mayonnaise
    • ¼ cup (60 g) sour cream
    • 1 tsp Dijon mustard
    • 2 cloves garlic, finely grated
    • 1 tsp Worcestershire sauce
    • 1 tsp lime zest
    • 1½ tbsp (22 ml) fresh lime juice
    • ¼ tsp freshly ground black pepper
    • ¼ tsp MSG (optional, but recommended)

    Browned Butter Seasoning

    • 3 tbsp (42 g) unsalted butter
    • ½ tsp Better Than Bouillon Roasted Chicken Base
    • ½ tsp chipotle chile powder
    • ½ tsp smoked paprika
    • ¼ tsp ground cumin

    Finish

    • ¾ cup (about 85 g) crumbled Cotija cheese, divided
    • 2 green onions, thinly sliced
    • ¼ cup (about 4 g) chopped fresh cilantro
    • Table salt, to taste
    • Lime wedges, for serving

    Directions

    Prepare the Dressing

    In a medium bowl, whisk together the mayonnaise, sour cream, Dijon mustard, garlic, Worcestershire sauce, lime zest, lime juice, black pepper, and MSG (if using). Refrigerate while preparing the corn.

    Char the Corn

    Heat a large cast-iron skillet over high heat until very hot. Add the avocado oil, then immediately add the frozen corn in an even layer. Leave the corn undisturbed for 3–4 minutes. Continue cooking another 6–8 minutes, stirring only every couple of minutes, until roughly one-third of the kernels have developed deep brown spots.

    Cook the Jalapeño

    Stir in the diced jalapeño and continue cooking for 3–4 minutes until softened and beginning to char. Transfer the corn mixture to a large serving bowl.

    Brown the Butter

    Reduce the heat to medium. Add the butter to the empty skillet and cook until the milk solids become deep golden brown and smell nutty, about 2–3 minutes.

    Bloom the Spices

    Stir the Better Than Bouillon Roasted Chicken Base, chipotle chile powder, smoked paprika, and cumin into the browned butter. Cook for 20–30 seconds, stirring constantly. Immediately pour the seasoned browned butter over the warm corn and toss well to coat.

    Finish the Corn

    Let the corn cool for about one minute. Fold in the prepared dressing, half of the Cotija cheese, the green onions, and cilantro until everything is lightly coated.

    Serve

    Transfer to a serving bowl if needed. Sprinkle with the remaining Cotija cheese and serve with fresh lime wedges. Taste before serving and season with table salt as needed.

    Yield: Approximately 8 servings.


    Notes

    Preparation

    • Do not thaw the corn. Cooking it directly from frozen allows the moisture to evaporate before the kernels begin to caramelize.
    • Resist stirring too often. Letting the corn sit against the hot skillet creates the smoky, charred flavor that defines this dish.
    • Watch the butter carefully while browning. It should smell nutty and become deep golden, but not burnt.
    • Blooming the Better Than Bouillon Roasted Chicken Base with the spices in the browned butter gives the corn a rich, savory depth that blends beautifully with the smoky chipotle.
    • This recipe was tested with ½ teaspoon Better Than Bouillon Roasted Chicken Base and required just a small pinch of table salt at the end for perfect balance.

    Variations

    • More Heat: Use two jalapeños or leave more of the seeds intact.
    • Queso Fresco: Substitute queso fresco if Cotija isn’t available, though Cotija provides the best salty finish.
    • Spicier Smokehouse Corn: Add a pinch of cayenne.

    Serving Suggestions

    Make-Ahead & Storage

    • The dressing can be prepared up to 2 days ahead.
    • The finished corn can be made several hours in advance and gently rewarmed before serving. Add a fresh squeeze of lime and a little extra Cotija just before serving for the brightest flavor.
    • Store leftovers refrigerated for up to 3 days.
  • Dr Pepper Baked Beans

    Dr Pepper Baked Beans

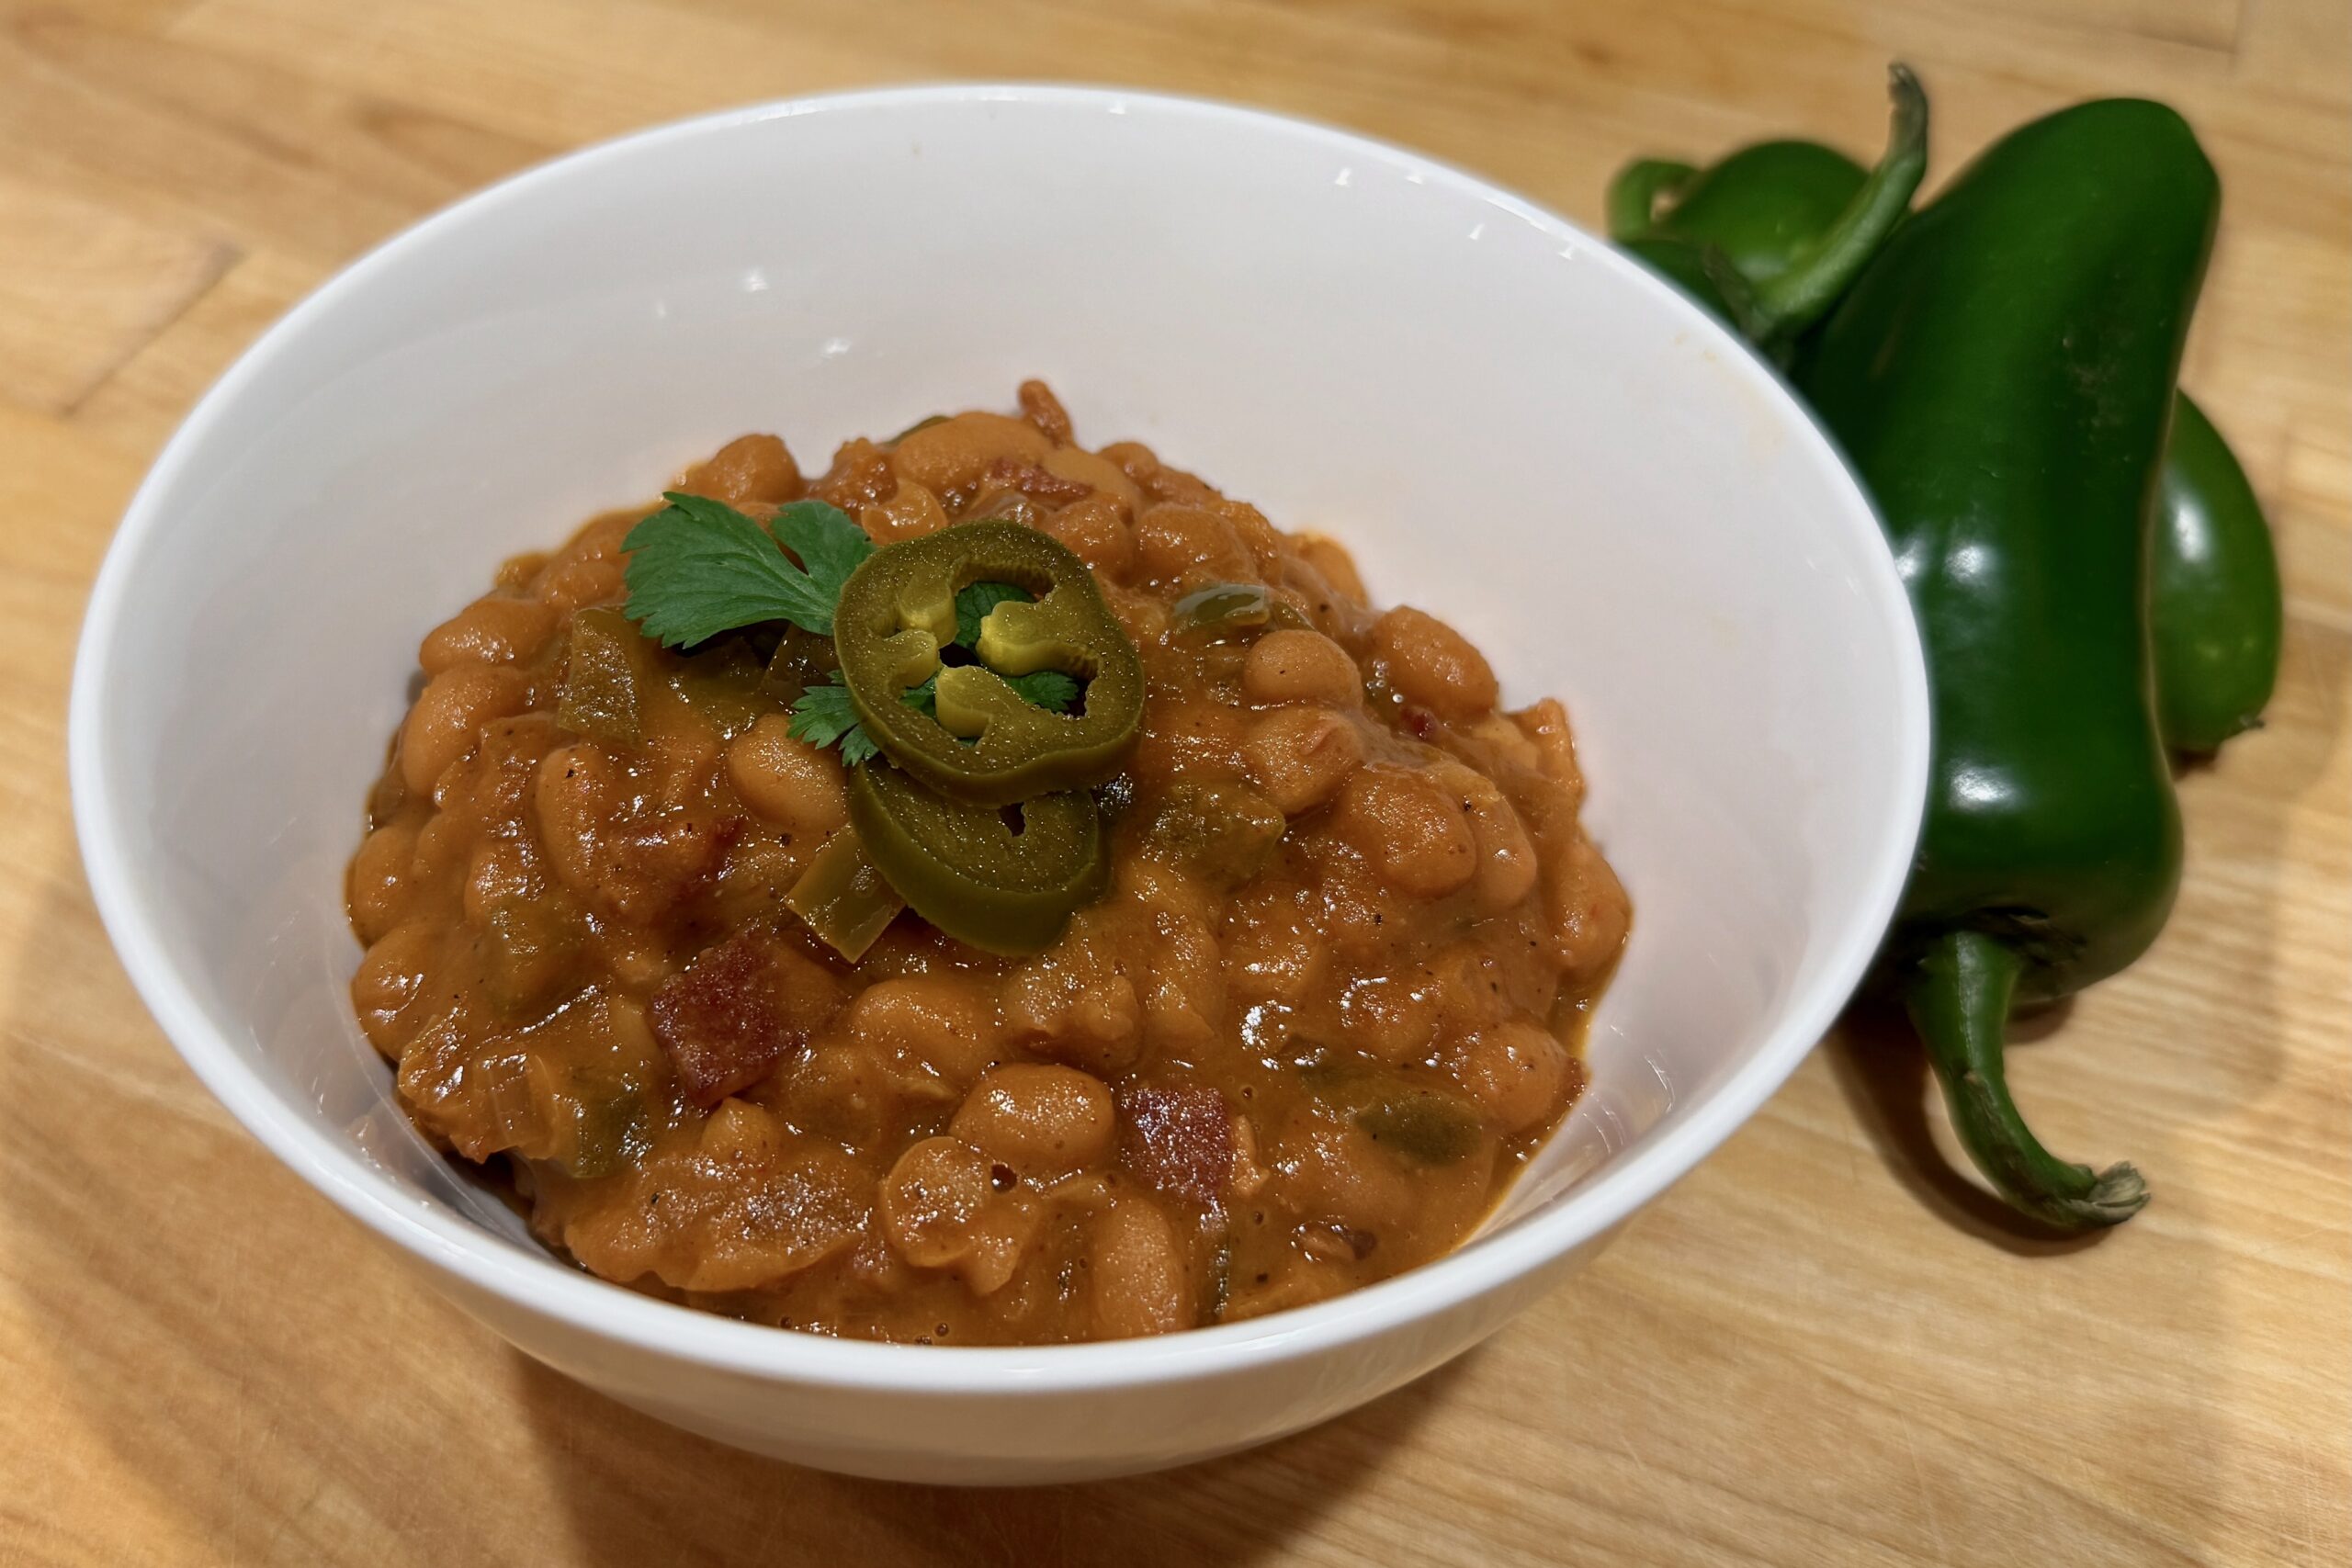
    Inspired by the sweet, smoky profile of our Dr Pepper Barbecue Sauce, these baked beans are built for deep flavor and balanced texture from the start. Navy beans are cooked until just tender, then simmered in a rich sauce of reduced Dr Pepper, bacon, onion, molasses, tomato paste, and chipotle. Finished with layered acidity, the result is bold, glossy, and barbecue-ready—perfect alongside pulled pork, smoked meats, and a full backyard spread.


    Ingredients

    Beans

    • 2 cups, 1 lb (454 g), navy beans
    • Water, for cooking

    Dr Pepper Base

    • 1 bottle, 20 fl oz (591 ml), Dr Pepper, divided

    Sauce And Seasoning

    • ½ cup (120 g) ketchup
    • ¼ cup (80 g) molasses
    • 1 tbsp (21 g) honey
    • 2 tbsp (33 g) tomato paste
    • 1 tbsp hickory liquid smoke
    • 1 tbsp liquid aminos
    • 1½ tsp fish sauce
    • 1 tsp dry mustard
    • 1 tsp prepared yellow mustard
    • 1¼ tsp chipotle chili powder
    • ½ tsp garlic powder
    • ½ tsp ginger powder
    • ½ tsp galangal powder, or substitute an additional ½ tsp ginger powder
    • ½ tsp table salt, plus more to taste if needed
    • ½ tsp black pepper

    Aromatics And Bacon

    • 1 lb (454 g) thick-cut bacon, diced
    • 1 medium yellow onion, finely diced
    • 1 bell pepper, diced

    Acid And Finishing

    • 2–3 tbsp (30–45 ml) apple cider vinegar, divided
    • 1 tsp tamarind paste (optional but recommended)

    Directions

    Cook The Beans

    Rinse the beans and place them in the Instant Pot. Cover with water by 1–2 inches (2.5–5 cm).

    Cook on High Pressure for 25–28 minutes, then allow a 10-minute natural release before manually releasing the remaining pressure. Drain and set aside. Beans should be tender but still hold their shape.

    Reduce The Dr Pepper

    Pour 1 cup (240 ml) of the Dr Pepper into a small saucepan and simmer over medium heat until reduced to a thick syrup, about 10–15 minutes. Set aside. Reserve the remaining Dr Pepper for the sauce.

    Build The Flavor Base

    Using the Instant Pot on Sauté mode or a large heavy pot on the stove, cook the bacon until rendered and lightly crisp. Transfer the bacon to a plate and reserve, leaving about 2–3 tbsp (30–45 ml) bacon fat in the pot.

    Add the onion with a small pinch of salt and cook for 8–12 minutes, stirring occasionally, until softened and lightly golden.

    Add the bell pepper and cook for 2–3 minutes, until slightly softened.

    Add the tomato paste and cook for 1–2 minutes, stirring constantly, until slightly darkened and fragrant.

    Build The Sauce

    Add the reduced Dr Pepper syrup, the remaining Dr Pepper, ketchup, molasses, honey, liquid smoke, liquid aminos, fish sauce, dry mustard, prepared mustard, chipotle chili powder, garlic powder, ginger powder, galangal powder, table salt, and black pepper.

    Stir well and bring to a simmer.

    Simmer The Beans

    Add the cooked beans and half of the bacon to the sauce.

    Simmer uncovered for 20–30 minutes, stirring occasionally, until the beans are well coated and the sauce is rich and glossy.

    Add 1 tbsp (15 ml) of the apple cider vinegar during this simmering stage, along with the tamarind paste if using.

    Finish And Balance

    Stir in the remaining bacon.

    Add the remaining 1–2 tbsp (15–30 ml) vinegar to taste, depending on how bright and tangy you want the finished beans.

    Taste and adjust with additional salt if needed. Simmer briefly to integrate, then serve.

    Yield: 10 servings.


    Notes

    Preparation

    • Cooking the beans just to tender (not soft) prevents them from breaking down during the final simmer.
    • Reducing part of the Dr Pepper separately concentrates its flavor and gives the finished sauce a deeper, more distinctive character.
    • Blooming the tomato paste in bacon fat adds richness and helps avoid a flat ketchup-heavy flavor.

    Variations

    • Using canned beans: Substitute 3½–4 cans (15–15.5 oz / 425–439 g each) navy or Great Northern beans, drained and rinsed. Skip the pressure cooking step. After building the sauce, simmer it for 10–15 minutes to thicken, then add the beans and simmer gently for just 10–15 minutes to heat through and coat without overcooking.
    • Less Sweet: If you prefer a slightly less sweet result, reduce the honey to 2 tsp.
    • Classic Acidity: For a slightly more classic profile, omit the tamarind paste and rely entirely on apple cider vinegar for the acidity.
    • Extra Barbecue Flavor: For a more pronounced barbecue character, stir in 2–3 tbsp (30–45 ml) of Dr Pepper Barbecue Sauce near the end of cooking.
    • Root Beer or Cola: Root beer or cola may be substituted for Dr Pepper, though the flavor profile will shift slightly.

    Serving Suggestions

    • Serve with smoked pulled pork, ribs, smoked chicken, or burgers.
    • This is especially good as part of a barbecue plate with cole slaw and Jalapeño-Bacon Smoked Mac & Cheese.
    • Top with extra crisp bacon, sliced green onions, chopped cilantro, pickled jalapeños, or fried shallots if desired.

    Make-Ahead & Storage

    • The flavor improves after resting overnight.
    • Refrigerate up to 4 days.
    • Reheat gently over low heat with a splash of water or Dr Pepper if needed to loosen the sauce.
    • Freeze up to 2 months. Thaw overnight in the refrigerator before reheating.