Bags of Spices

Favorite Recipes

Chocolate

  • Cinnamon Chocolate-Coconut Ice Cream

    Cinnamon Chocolate-Coconut Ice Cream

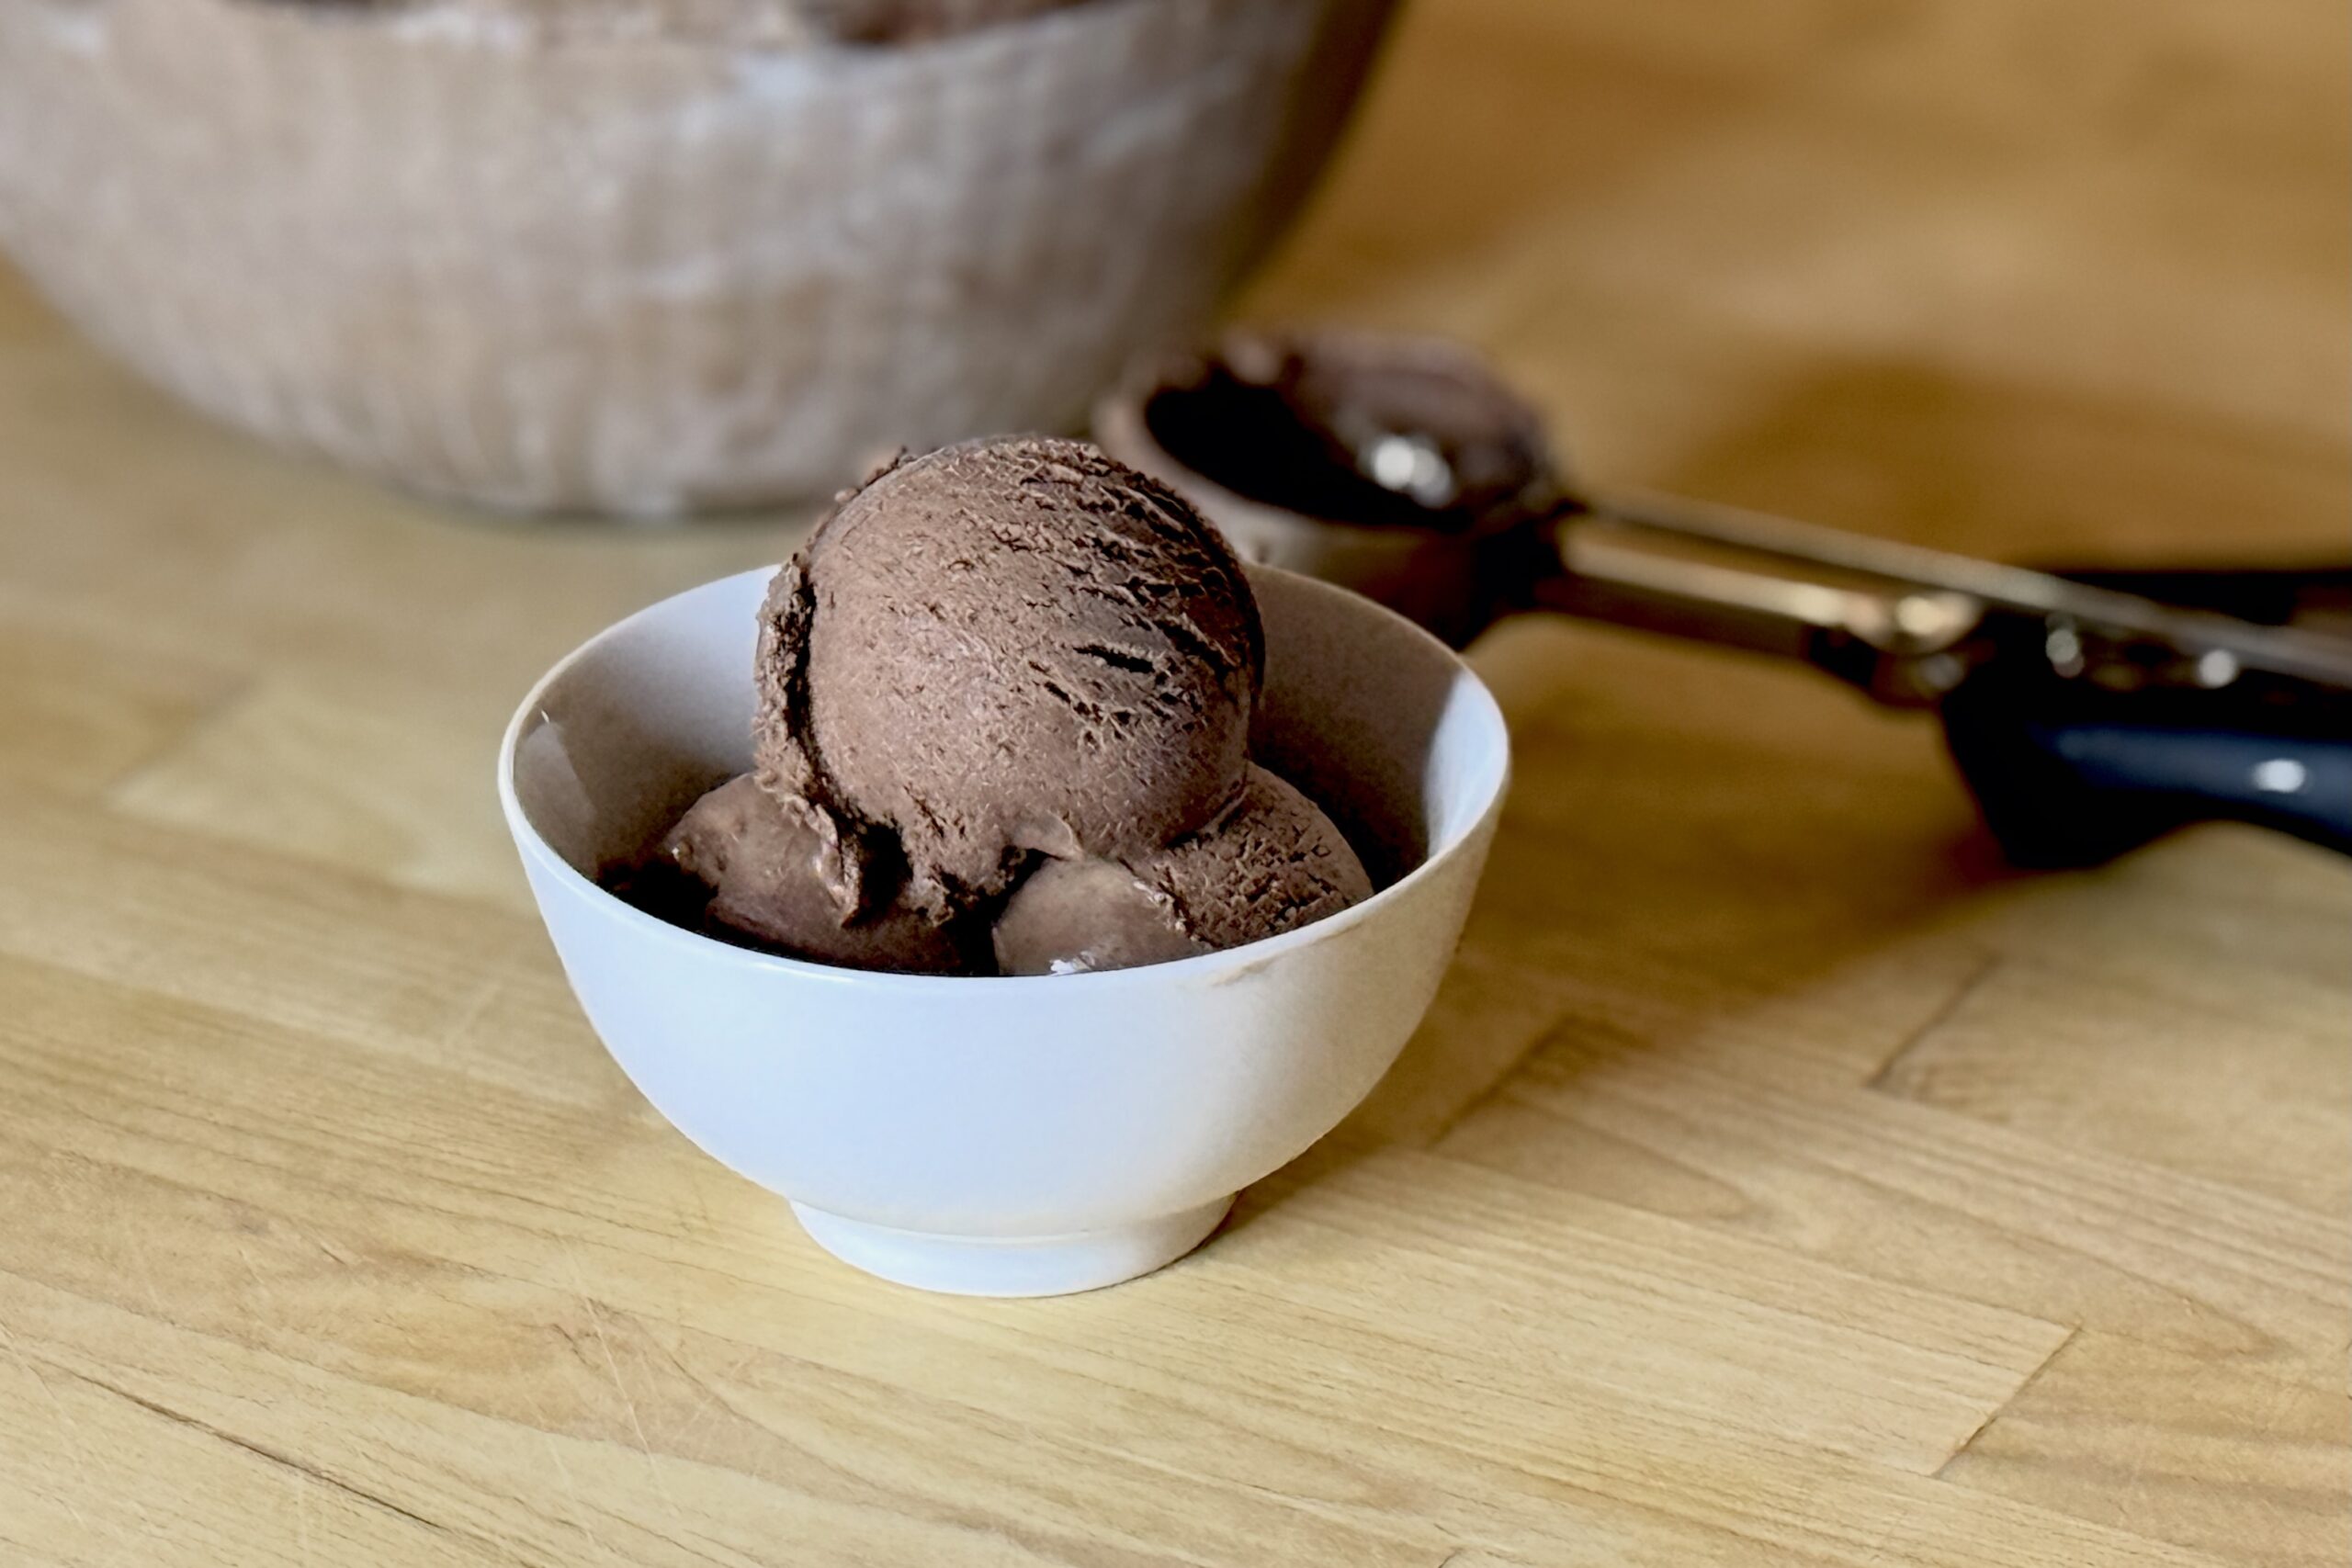
    After a Mexican meal, there’s something comforting about settling in with a cool scoop of ice cream. Chocolate and coconut make this one rich and creamy, while cinnamon adds a gentle warmth to the finish. The cinnamon gives the chocolate a little of the familiar character of Mexican hot chocolate. For a bolder dessert, the optional ghost pepper or habanero variation brings a gradual, fruity heat.


    Ingredients

    • 1 (13.66 oz / 403 ml) can full-fat coconut milk
    • 1 cup (240 g) whole milk
    • ⅔ cup (135 g) granulated sugar, divided
    • ¼ cup (22 g) unsweetened Dutch-process cocoa powder
    • 1 tsp ground cinnamon (about 2.5 g)
    • about ⅞ oz (25 g) dark chocolate, finely shaved or chopped
    • 4 large egg yolks
    • ¼ tsp table salt
    • ½ tsp vanilla bean paste

    Directions

    Prepare the Chocolate Base

    In a medium saucepan, whisk together the cocoa powder, cinnamon, and ⅓ cup (about 67 g) of the sugar. Whisk in about ½ cup (120 ml) of the coconut milk until smooth. Heat over medium-low heat, whisking occasionally, until the mixture reaches about 150°F (66°C). Add the dark chocolate and stir until completely melted. Stir in the remaining coconut milk, whole milk, and salt.

    Prepare the Custard

    In a separate bowl, whisk the egg yolks with the remaining sugar until smooth. Slowly whisk some of the warm chocolate mixture into the yolks to temper them. Gradually whisk the tempered yolks back into the saucepan. Cook over medium-low heat, stirring constantly, until the custard reaches 175°F (79°C). Do not let it boil. Remove from the heat and stir in the vanilla bean paste.

    Chill and Churn

    Cool the custard, then cover and refrigerate until thoroughly chilled, preferably at least 6 hours or overnight. Churn according to your ice cream maker’s instructions. Transfer to a freezer-safe container and freeze until firm enough to scoop.

    Yield: About 1 quart (950 ml).


    Notes

    Variations

    • Ghost Pepper or Habanero: For a spicy version, add 1 g fresh ghost pepper or 2 g fresh habanero to the chocolate base when it reaches about 150°F (66°C). Continue with the recipe. After tempering the yolks and returning them to the saucepan, heat gently until the pepper’s flavor and heat are noticeable. Strain out the pepper, return the custard to the saucepan, and cook to 175°F (79°C). The original chocolate-coconut recipe uses 1 g ghost pepper; 1.5 g gives a hotter result. Pepper heat varies, so remove it sooner for a milder flavor. Wear gloves when handling peppers.

    Serving Suggestions

    • Serve in small scoops after a Mexican meal.
    • Lightly dust each serving with ground cinnamon for extra aroma.

    Make-Ahead & Storage

    • The custard can be prepared up to 24 hours ahead and refrigerated before churning.
    • Store the finished ice cream in a tightly covered container in the freezer. Let it stand at room temperature for 5–10 minutes before scooping, if needed.
  • Double Chocolate Bundt Cake

    Double Chocolate Bundt Cake

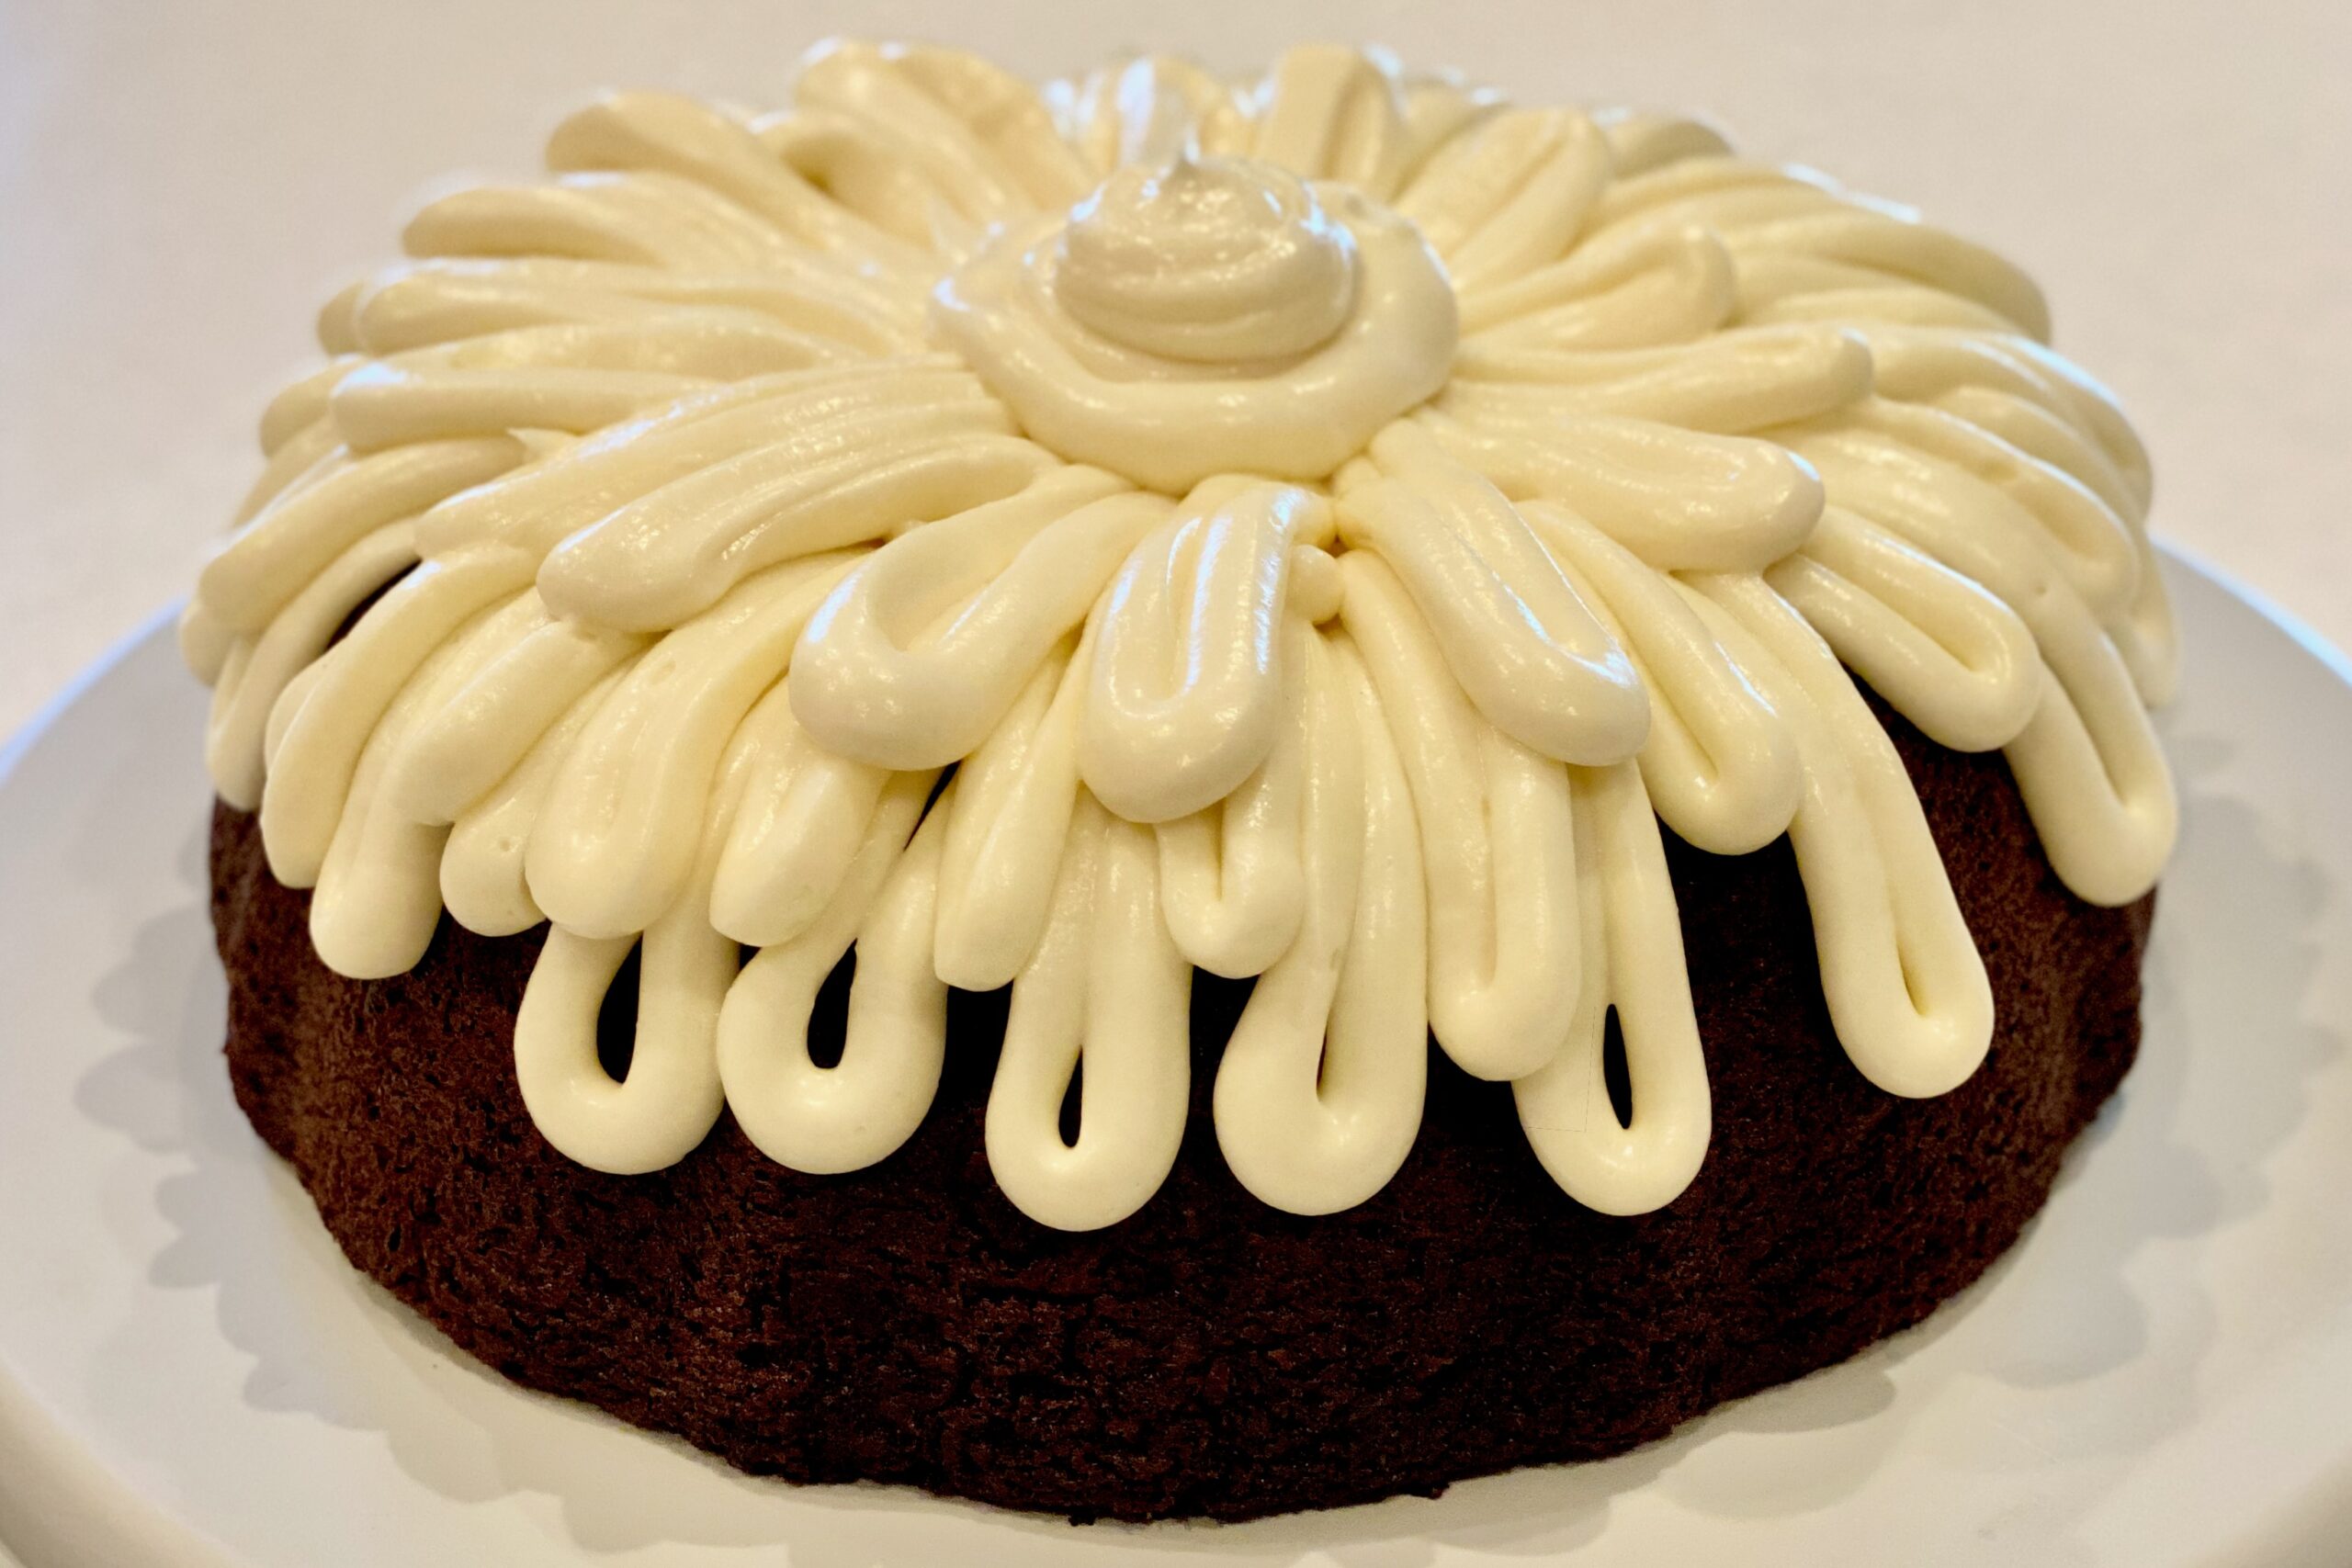
    This elevated box cake recipe transforms a simple chocolate mix into a deeply rich, ultra-moist Double Chocolate Bundt Cake with the help of sour cream, pudding, vanilla, and a touch of salt for balance. Chocolate chips melt into the tender crumb, while optional espresso powder intensifies the cocoa for bold, bakery-style flavor and a luxuriously soft texture.


    Ingredients

    • 1 pkg chocolate cake mix
    • 1 pkg (3.9 oz) instant chocolate pudding mix
    • ½ tsp table salt
    • 4 eggs
    • 1 cup sour cream
    • ½ cup water
    • ½ cup oil
    • 1 tsp vanilla extract
    • 1 tsp espresso powder (optional)
    • 1½ cups chocolate chips
    • 1 tbsp flour (for tossing chips)

    White Cream Cheese Frosting

    • 1 pkg (8 oz) cream cheese, softened
    • ¼ cup butter, softened
    • 1½ cups powdered sugar
    • 1–2 tsp vanilla extract
    • Pinch table salt

    Chocolate Frosting Option

    • 2–3 tbsp unsweetened cocoa powder

    Directions

    Prepare the Batter

    Preheat oven to 350°F. Grease the Bundt pan using your usual method.

    In a large bowl, whisk together the cake mix, pudding mix, table salt, and espresso powder (if using).

    In a separate bowl, whisk the eggs, sour cream, water, oil, and vanilla until smooth.

    Add the wet ingredients to the dry ingredients and mix just until smooth and fully combined. Do not overmix.

    Toss the chocolate chips with 1 tbsp flour, then fold them into the batter.

    Bake and Cool

    Pour batter into the prepared Bundt pan and smooth the top.

    Bake for 45–50 minutes, or until a toothpick inserted in the center comes out with moist crumbs (not wet batter).

    If the top browns too quickly, tent loosely with foil for the last 10–15 minutes.

    Cool in the pan for 20 minutes, then invert onto a rack and cool completely before frosting.

    Make the Frosting

    Beat the cream cheese and butter until smooth and creamy.

    Add the powdered sugar, vanilla, and pinch of salt, then beat until smooth. For the chocolate option, beat in 2–3 tbsp cocoa powder until fully incorporated.

    Finish

    Drizzle frosting over the cooled cake. Slice and serve.


    Notes

    Preparation

    Use room temperature eggs, sour cream, butter, and cream cheese for the smoothest batter and frosting.

    Small details make a big difference in a Bundt cake:

    • Mix just until combined to keep the crumb tender.
    • Tossing chips with flour helps them stay more evenly distributed in the Bundt.
    • Cool 20 minutes before inverting; too early can tear, too late can encourage sticking.

    Serving Suggestions

    For clean slices, chill the cake briefly after frosting, then let slices come back toward room temperature before serving.

    • Serve with fresh raspberries or strawberries for bright contrast.
    • A light dusting of powdered sugar over the frosting adds a classic Bundt finish.

    Variations

    Keep the frosting white for dramatic contrast, or turn it into a chocolate version with cocoa powder.

    • Chocolate frosting option: Beat in 2–3 tbsp unsweetened cocoa powder (add 1 tbsp powdered sugar if needed for sweetness).
    • Use mini chocolate chips for more even distribution throughout the cake.
    • Add ½ cup chopped toasted pecans or walnuts for crunch.
    • Add ¼ tsp cinnamon for subtle warmth.

    Make-Ahead & Storage

    This cake keeps well and slices nicely after a short chill.

    • Room temperature: Store covered up to 2 days.
    • Refrigerator: Store covered up to 5 days (let slices sit 15–30 minutes before serving for the best texture).
    • Freezer (unfrosted): Wrap tightly and freeze up to 2 months; thaw overnight in the fridge, then frost.
    • Frosting: Make up to 1 day ahead, refrigerate, then rewhip before using.
  • Buckeyes

    Buckeyes

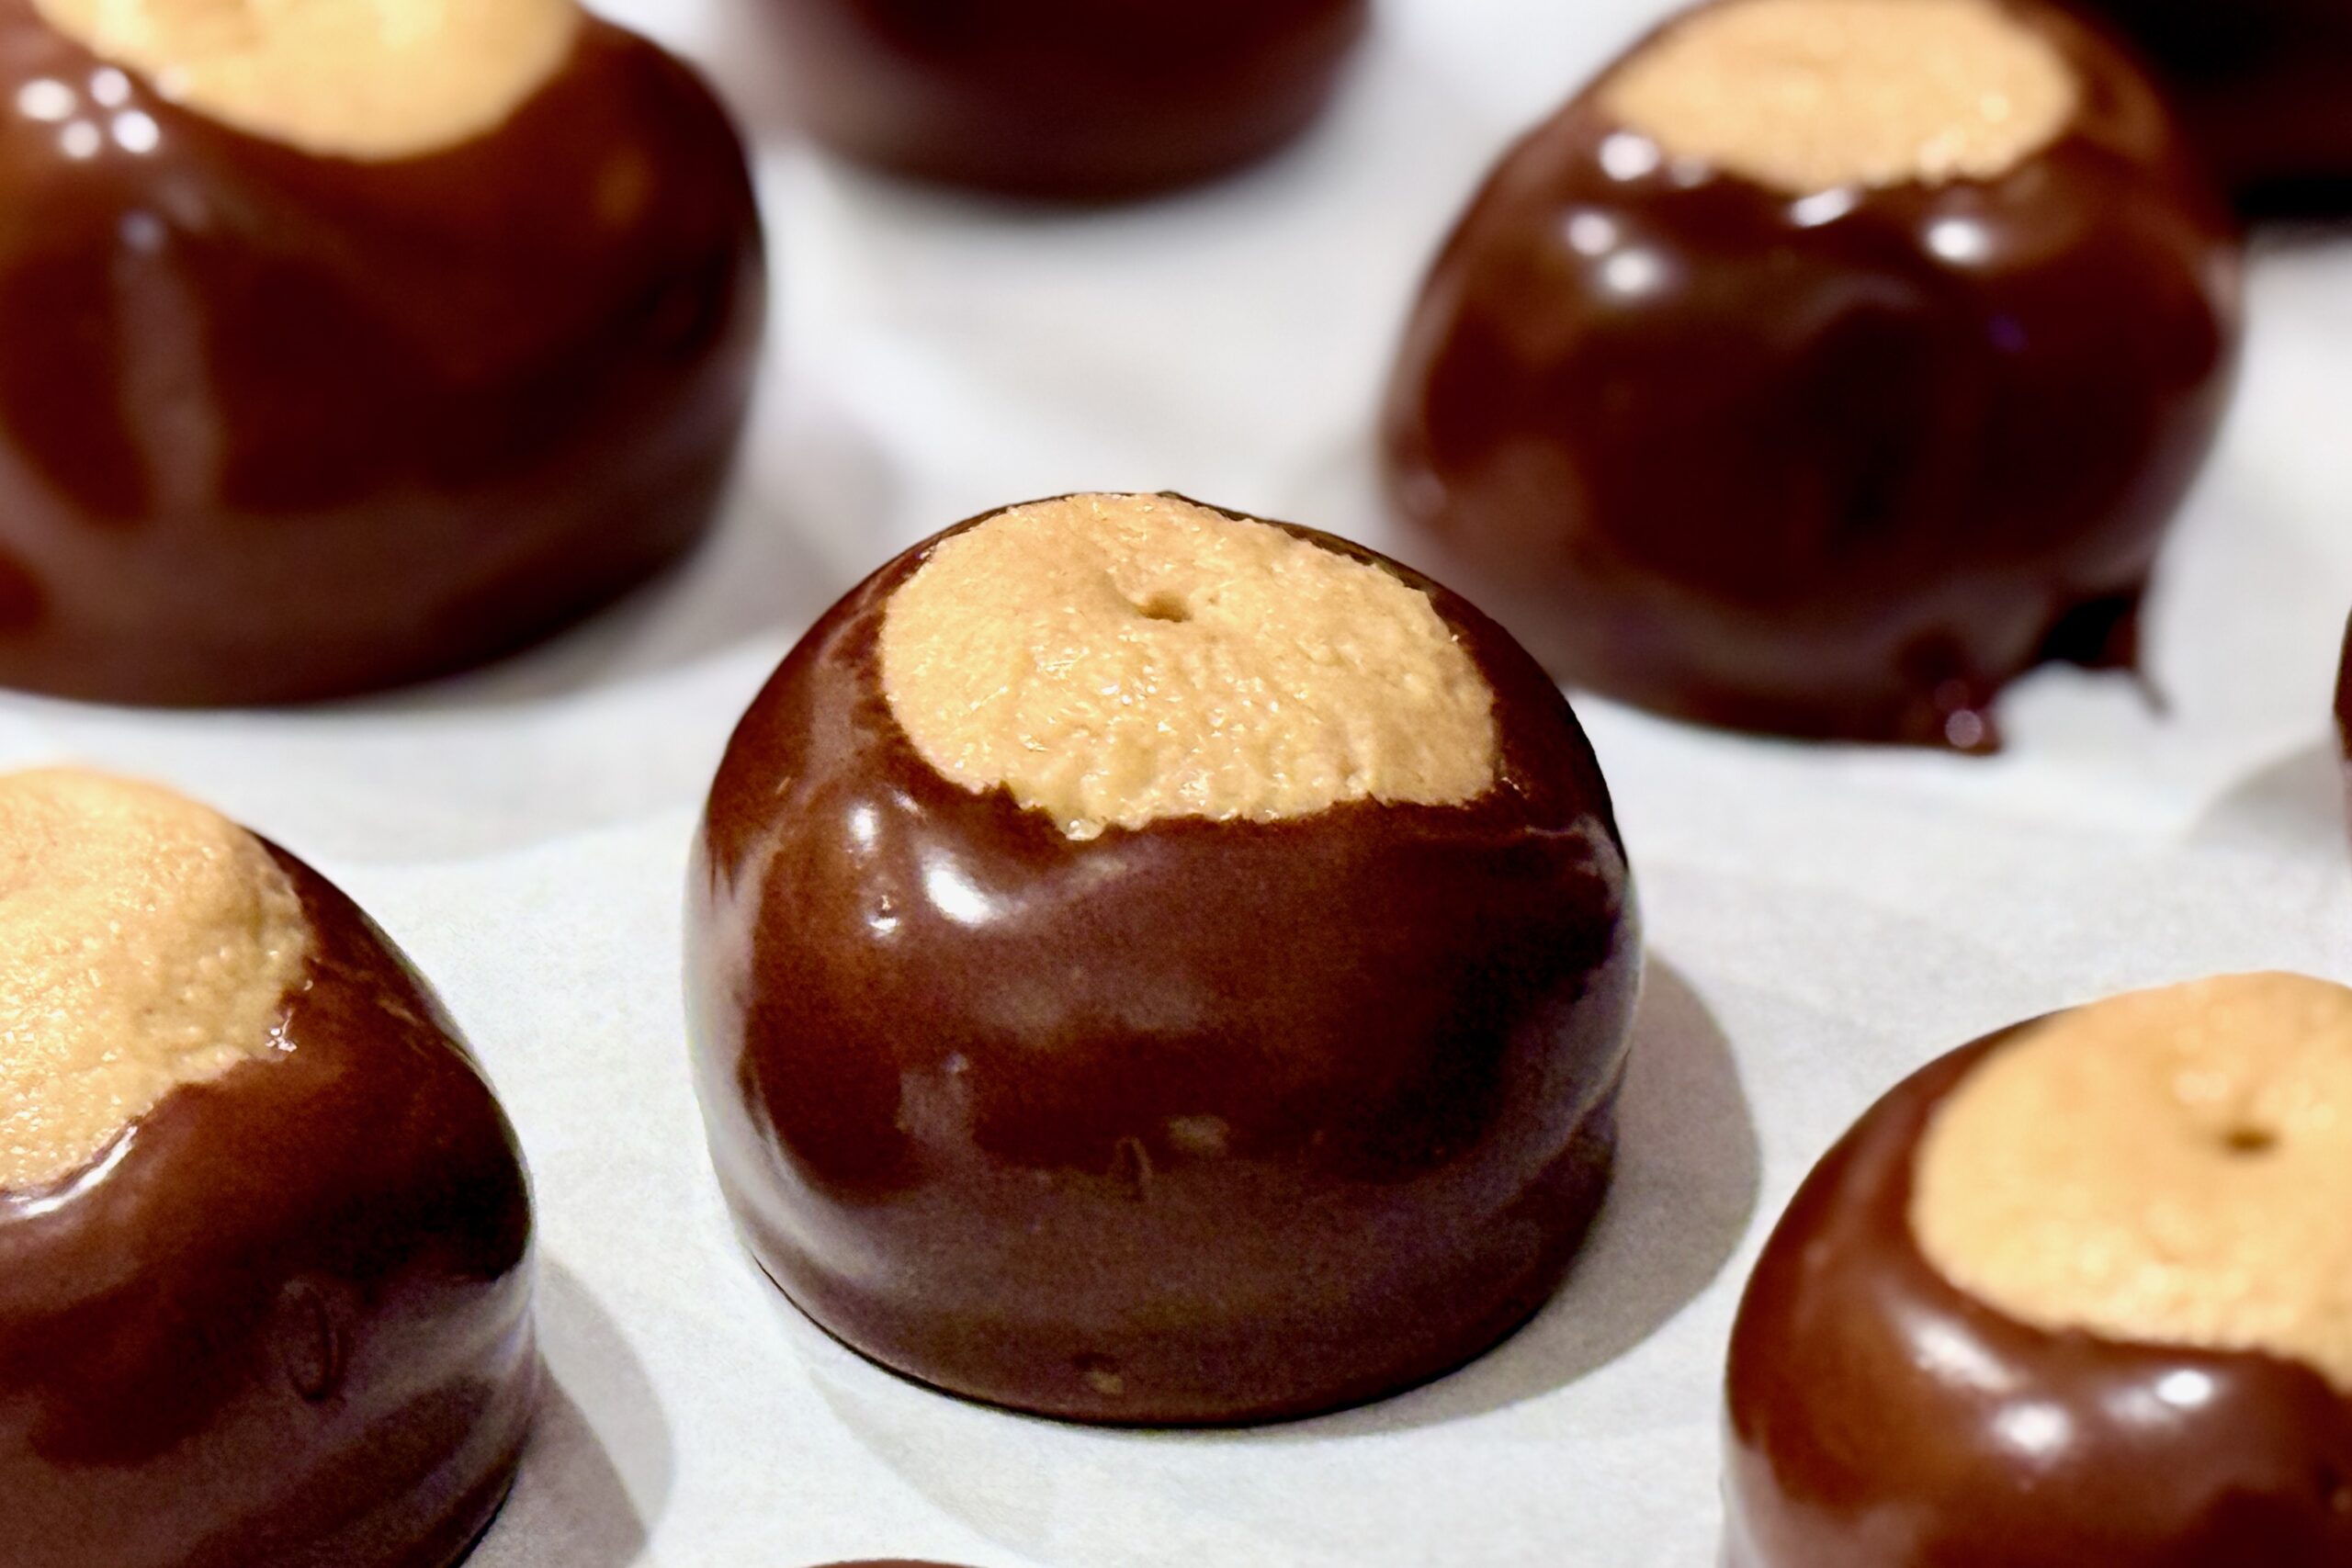
    These classic peanut-butter-and-chocolate Buckeyes are rich, creamy, and nostalgic—perfect for holidays, family gatherings, or anytime you want an easy, crowd-pleasing treat with minimal fuss.


    Ingredients

    • 1 cup creamy peanut butter
    • ½ cup butter, softened
    • ½ tsp vanilla
    • ¼ tsp table salt
    • 2½ cups confectioners sugar
    • 12 oz (340g) semisweet chocolate chips
    • 1 tsp vegetable shortening

    Directions

    Make the Peanut Butter Centers

    In the bowl of a stand mixer, combine peanut butter, butter, vanilla, and salt. Mix on medium speed until just combined.

    Reduce speed to low and slowly mix in confectioners sugar in installments until a soft dough forms.

    Refrigerate to firm slightly (15–20 minutes).

    Shape

    Line a baking sheet with parchment paper. Scoop the dough into 1 tbsp portions and roll into smooth balls.

    Insert a toothpick into the top of each ball and freeze until solid (about 1 hour).

    Melt the Chocolate

    Place chocolate chips and shortening into a microwave-safe bowl. Microwave in 30-second increments, stirring between each, until mostly melted (2–3 minutes). Stir until completely smooth.

    Dip & Finish

    Dip each peanut butter ball into the chocolate, coating about ⅔ of the way up. Return to the parchment.

    Refrigerate until the chocolate is set and the centers are no longer frozen.

    Remove toothpicks. Optionally smooth over the tops to cover the hole. Serve chilled or at room temperature.


    Notes

    Preparation

    • For the smoothest texture, be sure the butter is fully softened before mixing.
    • Creamy commercial peanut butter (like Jif or Skippy) gives the most consistent results.
    • If the dough seems too soft to roll, chill longer or add up to ¼ cup additional confectioners sugar.

    Serving Suggestions

    • Serve as a holiday treat, on dessert trays, or as sweet bites for parties.
    • They pair beautifully with hot cocoa, coffee, or cold milk.

    Variations

    • Dip fully in chocolate for “chocolate-covered peanut butter balls.”
    • Use dark chocolate or milk chocolate instead of semisweet.
    • Add ¼ tsp almond extract to the peanut butter mixture for a subtle twist.
    • Top with flaky sea salt before the chocolate sets for a sweet-salty finish.

    Make-Ahead & Storage

    These candies store exceptionally well and are perfect for preparing ahead of time.

    • Refrigerator: Store in an airtight container for 2 weeks.
    • Freezer: Freeze for up to 3 months; thaw in the fridge before serving.
    • Do not store at warm room temperatures—chocolate may soften or bloom.
  • Hot Fudge Sauce

    Hot Fudge Sauce

    This classic hot fudge sauce delivers the rich, chewy texture and glossy finish of an old-fashioned ice cream parlor fudge. Thick and silky when warm, it sets with just a hint of chew where it meets cold ice cream—perfect for sundaes or swirling into homemade ice cream. A small batch of true nostalgia, made from real chocolate, cocoa, and butter.


    Ingredients

    • ½ cup sugar
    • ⅓ cup light corn syrup
    • ⅓ cup water (for chewier texture, reduce to ¼ cup)
    • ¼ cup Dutch-process cocoa powder
    • 2 oz dark chocolate (60–70%), finely chopped
    • 2 tbsp unsalted butter
    • ¼ tsp vanilla extract
    • pinch table salt

    Directions

    Make the Fudge Base

    In a small saucepan, whisk together the sugar, corn syrup, water, and cocoa powder until smooth. Bring to a gentle boil over medium heat, stirring constantly. Continue cooking 3–5 minutes, until the mixture thickens slightly and develops a glossy sheen. Longer cooking creates a chewier, old-fashioned texture.

    Finish the Sauce

    Remove from heat and whisk in the chopped chocolate, butter, vanilla, and salt until melted and smooth. Avoid excessive stirring as the sauce cools to maintain gloss and elasticity.

    Cool & Store

    Let cool to your preferred consistency before using. The sauce thickens as it cools but should remain spoonable. For nostalgic, chewy fudge, drizzle slightly warm over cold ice cream.


    Notes

    Preparation

    • For deeper chocolate flavor, increase chopped chocolate to 3 oz.
    • Cooking the syrup mixture longer produces a chewier, more traditional fudge texture.
    • If using natural cocoa instead of Dutch-process, add ⅛ tsp baking soda during heating to neutralize acidity and preserve smoothness.
    • Use dark chocolate between 60–70% cacao for ideal balance.

    Serving Suggestions

    • Drizzle over ice cream for a glossy, chewy hot fudge topping.
    • Layer into homemade ice cream as a ripple.
    • Serve warm over brownies, cheesecake, or banana splits.
    • Pairs beautifully with peppermint, peanut butter, vanilla, or coffee ice creams.

    Make-Ahead & Storage

    • Store in a sealed jar up to 2 weeks.
    • Warm gently before serving using a double boiler or short microwave bursts.
    • If too thick after chilling, whisk in 1–2 tsp warm cream or milk to loosen.
  • Chocolate Meringues

    Chocolate Meringues

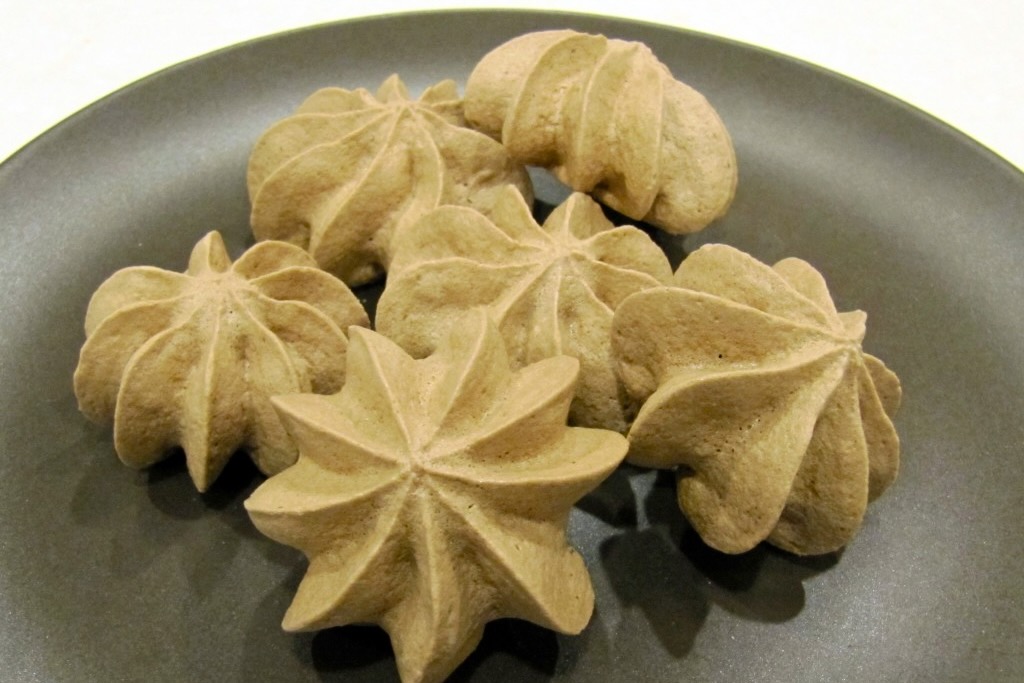
    These Chocolate Meringues are light, crisp, and deeply chocolatey—fun to make, and bakery-fancy when piped into little stars. They’ve long been part of our Christmas Eve tradition, shared alongside several other homemade cookies during an evening spent with family and friends. Our Christmas Eve typically gathers 45–75 people for dinner, a Christmas program, and a spread of treats, and these meringues are always among the first to disappear. Expect a delicate, crisp exterior with a slightly chewy center (especially when they’re fresh). For the most reliable structure and brightest chocolate flavor, use natural cocoa powder rather than Dutch process.


    Ingredients

    • 3 egg whites (room temp)
    • ¾ tsp vanilla extract
    • ¾ cup sugar
    • ¼ cup natural cocoa powder (recommended; see notes)

    Directions

    Prepare the Pan and Bag

    Preheat oven to 300°F. Line baking sheets with parchment paper and cover with foil. Fit a pastry bag with a large open star tip (i.e. #8b).

    Whip the Meringue

    Place egg whites and vanilla in a very clean stainless steel mixing bowl. Beat on low speed until bubbles begin to form on the top of the eggs (like a bubble bath).

    Increase speed to high and beat until the egg whites form soft peaks.

    Gradually add sugar, about 2 tbsp at a time, beating until stiff peaks form (egg whites will be shiny, heavy, and stiff—don’t over beat).

    Add Cocoa and Pipe

    Gently fold in cocoa by hand until evenly incorporated.

    Pipe stars about 1½ in. diameter onto the foil.

    Alternatively, drop by rounded tsp if you don’t want to pipe.

    Bake and Cool

    Bake for about 30-35 minutes, or until lightly browned.

    Remove from foil and cool on wire racks.

    Store in a non-reactive uncovered bowl.


    Notes

    Preparation

    • Use a very clean stainless steel (or glass) bowl and clean beaters—any trace of grease can prevent the egg whites from whipping properly.
    • A stand mixer (kitchenaid) works best for consistent volume and texture.
    • Do not double this recipe—larger batches are less reliable and don’t hold structure as well.
    • Natural vs Dutch-Process Cocoa: Natural cocoa is slightly acidic and helps stabilize the egg-white foam, while also providing a brighter, sharper chocolate flavor. Dutch-process cocoa is darker and smoother in flavor but can be slightly more prone to deflating if over-folded.
    • Because cocoa powder contributes to both structure and drying, this recipe is designed specifically for chocolate meringues. Plain or non-cocoa meringues require additional stabilization (such as cream of tartar) and are best treated as separate recipes.

    Serving Suggestions

    • Add to cookie trays or dessert platters for contrast alongside butter cookies, spritz, or shortbread.

    Make-Ahead & Storage

    • Store in a cool, dry place. Humidity will soften meringues over time.
    • Best enjoyed within 1–3 days, though texture may vary depending on weather and storage conditions.