Bags of Spices

Favorite Recipes

Creamy

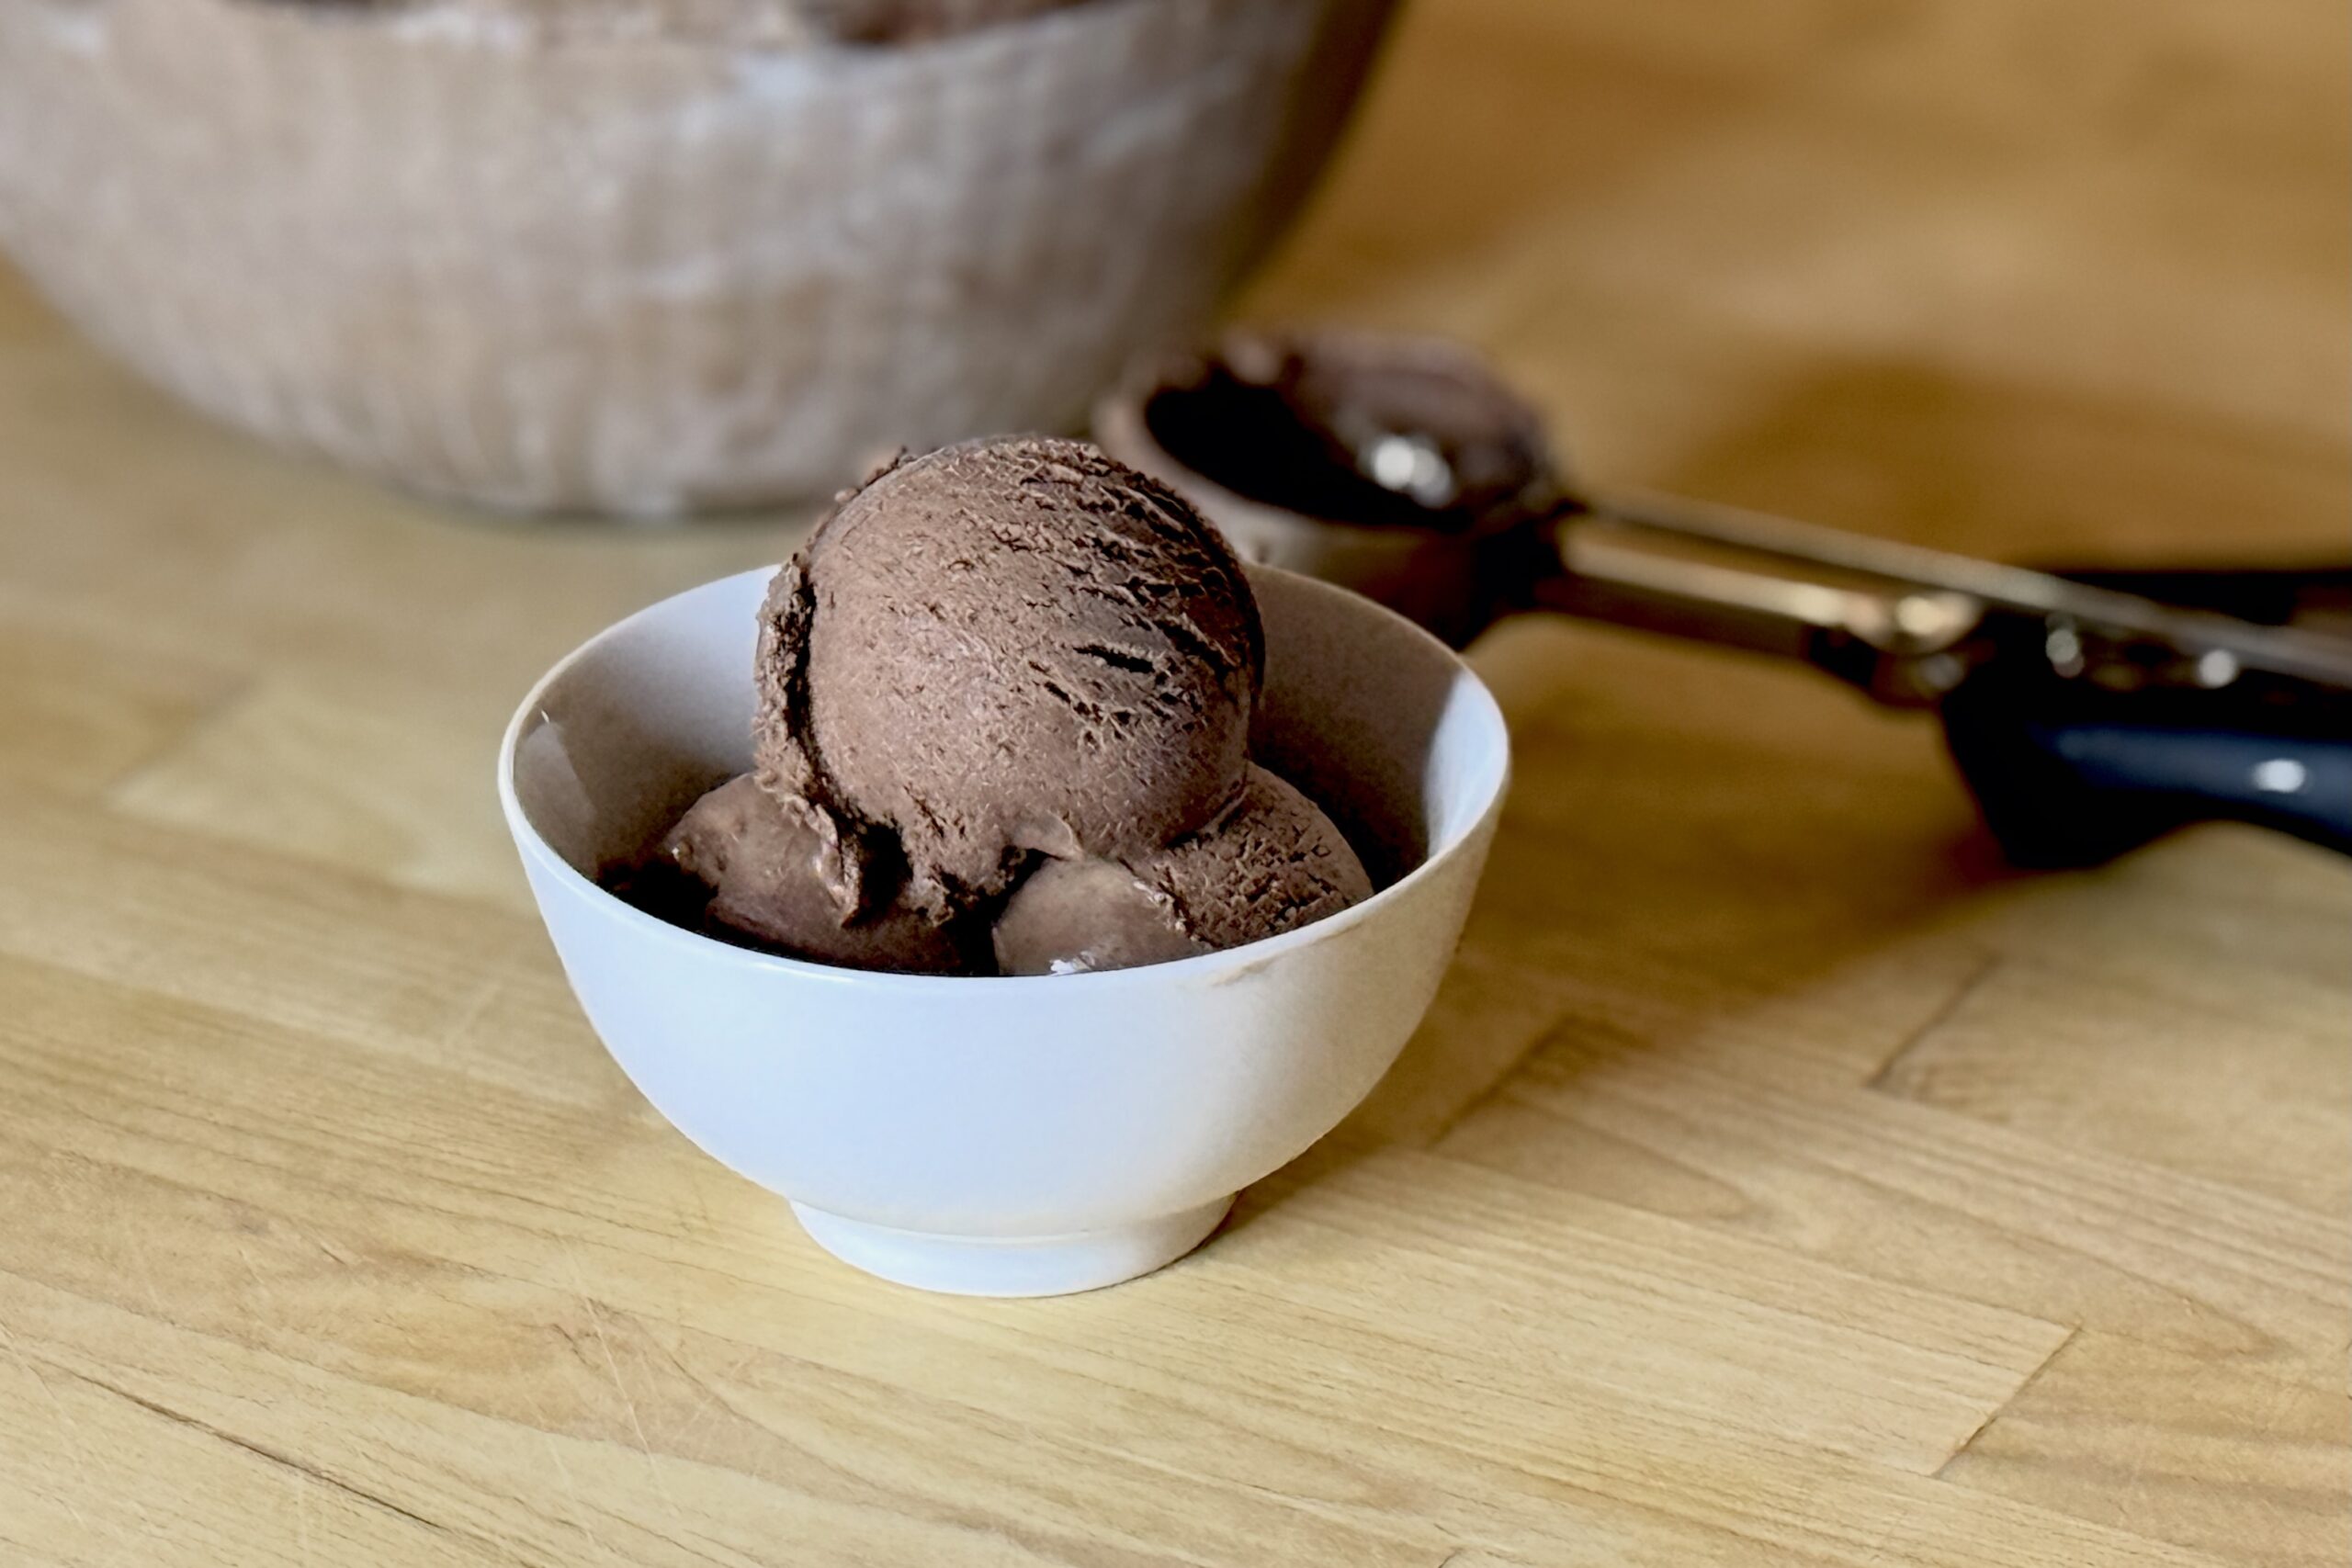
  • Cinnamon Chocolate-Coconut Ice Cream

    Cinnamon Chocolate-Coconut Ice Cream

    After a Mexican meal, there’s something comforting about settling in with a cool scoop of ice cream. Chocolate and coconut make this one rich and creamy, while cinnamon adds a gentle warmth to the finish. The cinnamon gives the chocolate a little of the familiar character of Mexican hot chocolate. For a bolder dessert, the optional ghost pepper or habanero variation brings a gradual, fruity heat.


    Ingredients

    • 1 (13.66 oz / 403 ml) can full-fat coconut milk
    • 1 cup (240 g) whole milk
    • ⅔ cup (135 g) granulated sugar, divided
    • ¼ cup (22 g) unsweetened Dutch-process cocoa powder
    • 1 tsp ground cinnamon (about 2.5 g)
    • about ⅞ oz (25 g) dark chocolate, finely shaved or chopped
    • 4 large egg yolks
    • ¼ tsp table salt
    • ½ tsp vanilla bean paste

    Directions

    Prepare the Chocolate Base

    In a medium saucepan, whisk together the cocoa powder, cinnamon, and ⅓ cup (about 67 g) of the sugar. Whisk in about ½ cup (120 ml) of the coconut milk until smooth. Heat over medium-low heat, whisking occasionally, until the mixture reaches about 150°F (66°C). Add the dark chocolate and stir until completely melted. Stir in the remaining coconut milk, whole milk, and salt.

    Prepare the Custard

    In a separate bowl, whisk the egg yolks with the remaining sugar until smooth. Slowly whisk some of the warm chocolate mixture into the yolks to temper them. Gradually whisk the tempered yolks back into the saucepan. Cook over medium-low heat, stirring constantly, until the custard reaches 175°F (79°C). Do not let it boil. Remove from the heat and stir in the vanilla bean paste.

    Chill and Churn

    Cool the custard, then cover and refrigerate until thoroughly chilled, preferably at least 6 hours or overnight. Churn according to your ice cream maker’s instructions. Transfer to a freezer-safe container and freeze until firm enough to scoop.

    Yield: About 1 quart (950 ml).


    Notes

    Variations

    • Ghost Pepper or Habanero: For a spicy version, add 1 g fresh ghost pepper or 2 g fresh habanero to the chocolate base when it reaches about 150°F (66°C). Continue with the recipe. After tempering the yolks and returning them to the saucepan, heat gently until the pepper’s flavor and heat are noticeable. Strain out the pepper, return the custard to the saucepan, and cook to 175°F (79°C). The original chocolate-coconut recipe uses 1 g ghost pepper; 1.5 g gives a hotter result. Pepper heat varies, so remove it sooner for a milder flavor. Wear gloves when handling peppers.

    Serving Suggestions

    • Serve in small scoops after a Mexican meal.
    • Lightly dust each serving with ground cinnamon for extra aroma.

    Make-Ahead & Storage

    • The custard can be prepared up to 24 hours ahead and refrigerated before churning.
    • Store the finished ice cream in a tightly covered container in the freezer. Let it stand at room temperature for 5–10 minutes before scooping, if needed.
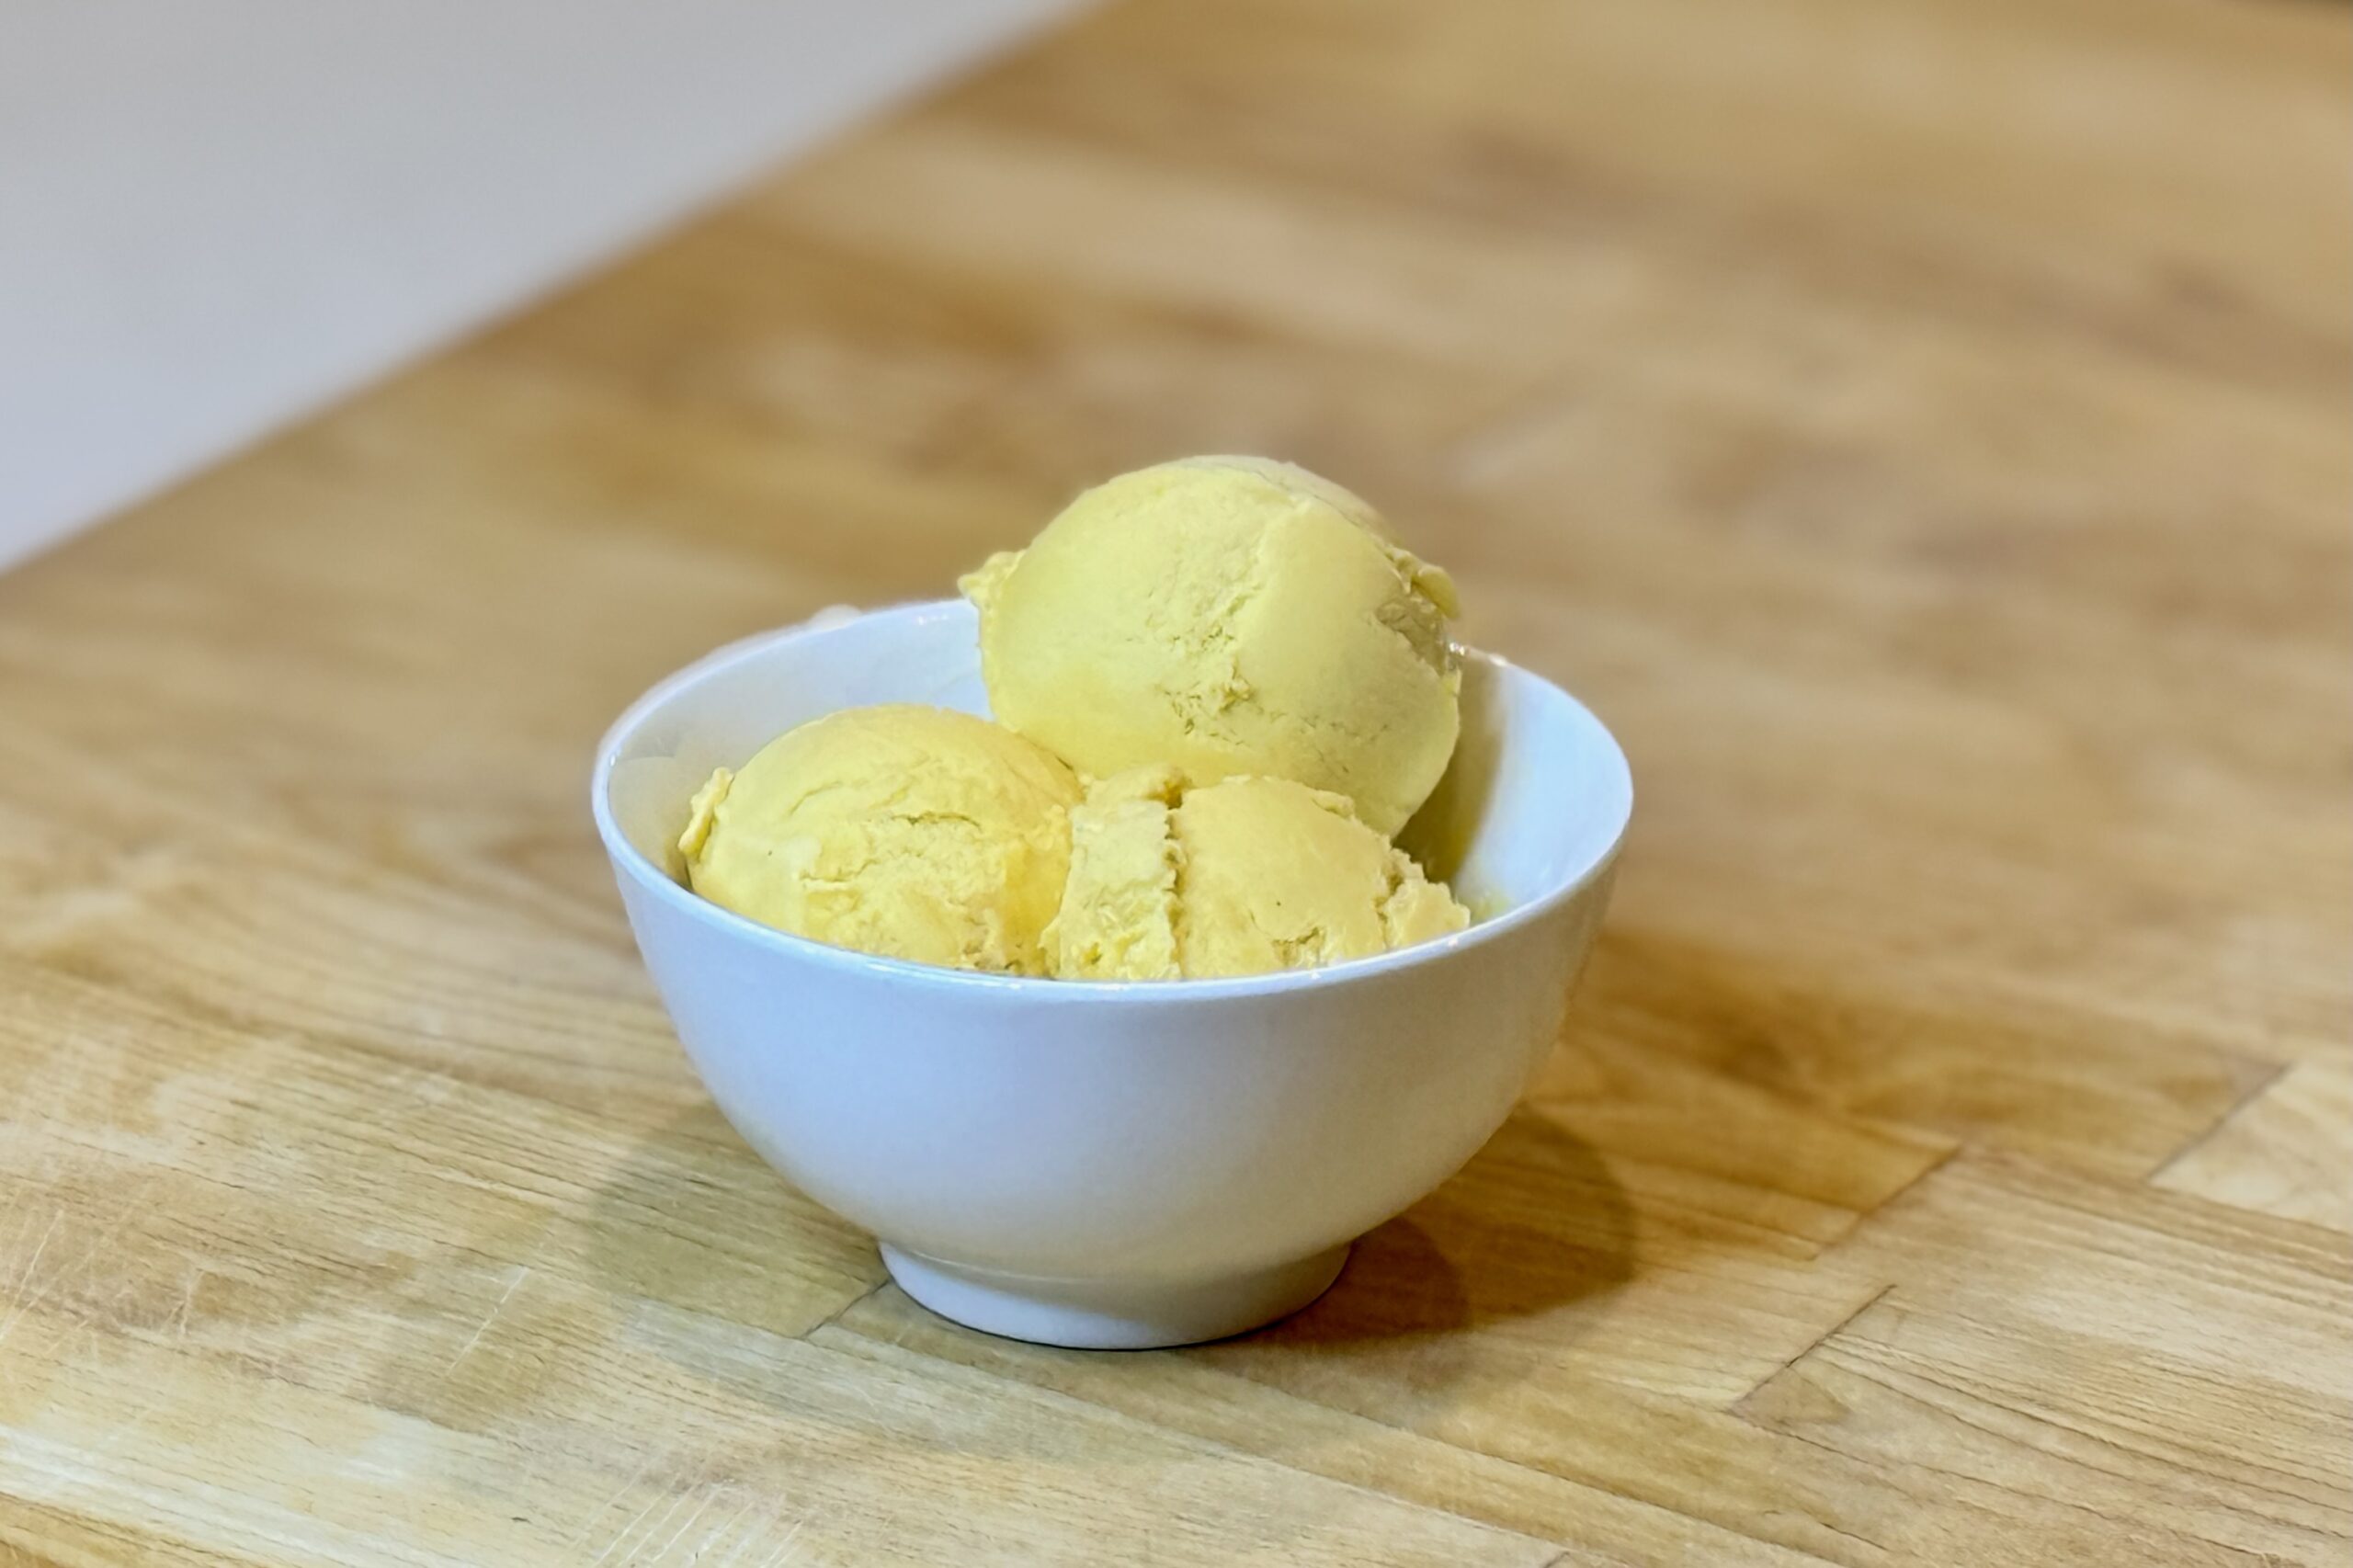
  • Mango Ghost Pepper Ice Cream

    Mango Ghost Pepper Ice Cream

    This Mango Ghost Pepper Ice Cream brings together the lush sweetness of Alphonso mango, the rich coconut flavor of coconut milk, and the surprising fruitiness of fresh ghost pepper. The first spoonful is cool, creamy, and tropical; then the pepper’s warmth gradually builds in the background. Using just ½ g of ghost pepper keeps those fruit flavors at the center while giving the finished ice cream a distinct but balanced heat.


    Ingredients

    • 1 can (13.66 oz / 403 ml) full-fat coconut milk
    • 1 cup (240 g) Alphonso mango pulp
    • ½ cup (120 g) whole milk
    • ½ cup plus 2 tbsp (125 g) granulated sugar, divided
    • 4 large egg yolks
    • ¼ tsp table salt
    • ½ g fresh ghost pepper
    • ½ tsp vanilla bean paste
    • 1 tbsp (15 g) fresh lime juice

    Directions

    Prepare the Custard

    Combine the coconut milk, whole milk, ½ cup (100 g) of the sugar, and salt in a medium saucepan. Warm over medium-low heat, stirring frequently. When the mixture reaches about 150°F (66°C), add the ghost pepper.

    In a medium bowl, whisk the egg yolks with the remaining 2 tbsp (25 g) sugar until smooth. Slowly whisk about 1 cup (240 ml) of the hot milk mixture into the yolks. Pour the tempered yolk mixture back into the saucepan, whisking constantly.

    Remove and discard the ghost pepper. Cook the custard over medium-low heat, stirring constantly, until it reaches 175°F (79°C). Do not let it boil.

    Finish the Base

    Remove the custard from the heat and let it cool. Blend in the mango pulp and vanilla bean paste until smooth.

    Chill and Churn

    Cover and chill until completely cold, at least 4 hours or overnight. Stir in the lime juice, then churn according to your ice cream maker’s instructions. Transfer to a freezer-safe container and freeze until firm, about 4 hours.

    Yield: About 1 quart (950 ml).


    Notes

    Preparation

    • Wear gloves when handling ghost peppers and avoid touching your face or eyes. Pepper heat can vary considerably, even at the same weight.

    Variations

    • Mango Ice Cream: Omit the ghost pepper and prepare the custard as directed, skipping the steps to add and remove the pepper.
    • Spicier Mango Ghost Pepper Ice Cream: Increase the fresh ghost pepper to 1 g. This tested version delivers a noticeably stronger, more persistent heat.

    Make-Ahead & Storage

    • The ice cream base can be prepared and refrigerated up to 24 hours before churning.
    • Store the finished ice cream in a tightly covered container in the freezer. Let it stand at room temperature for 5–10 minutes before scooping, if needed.
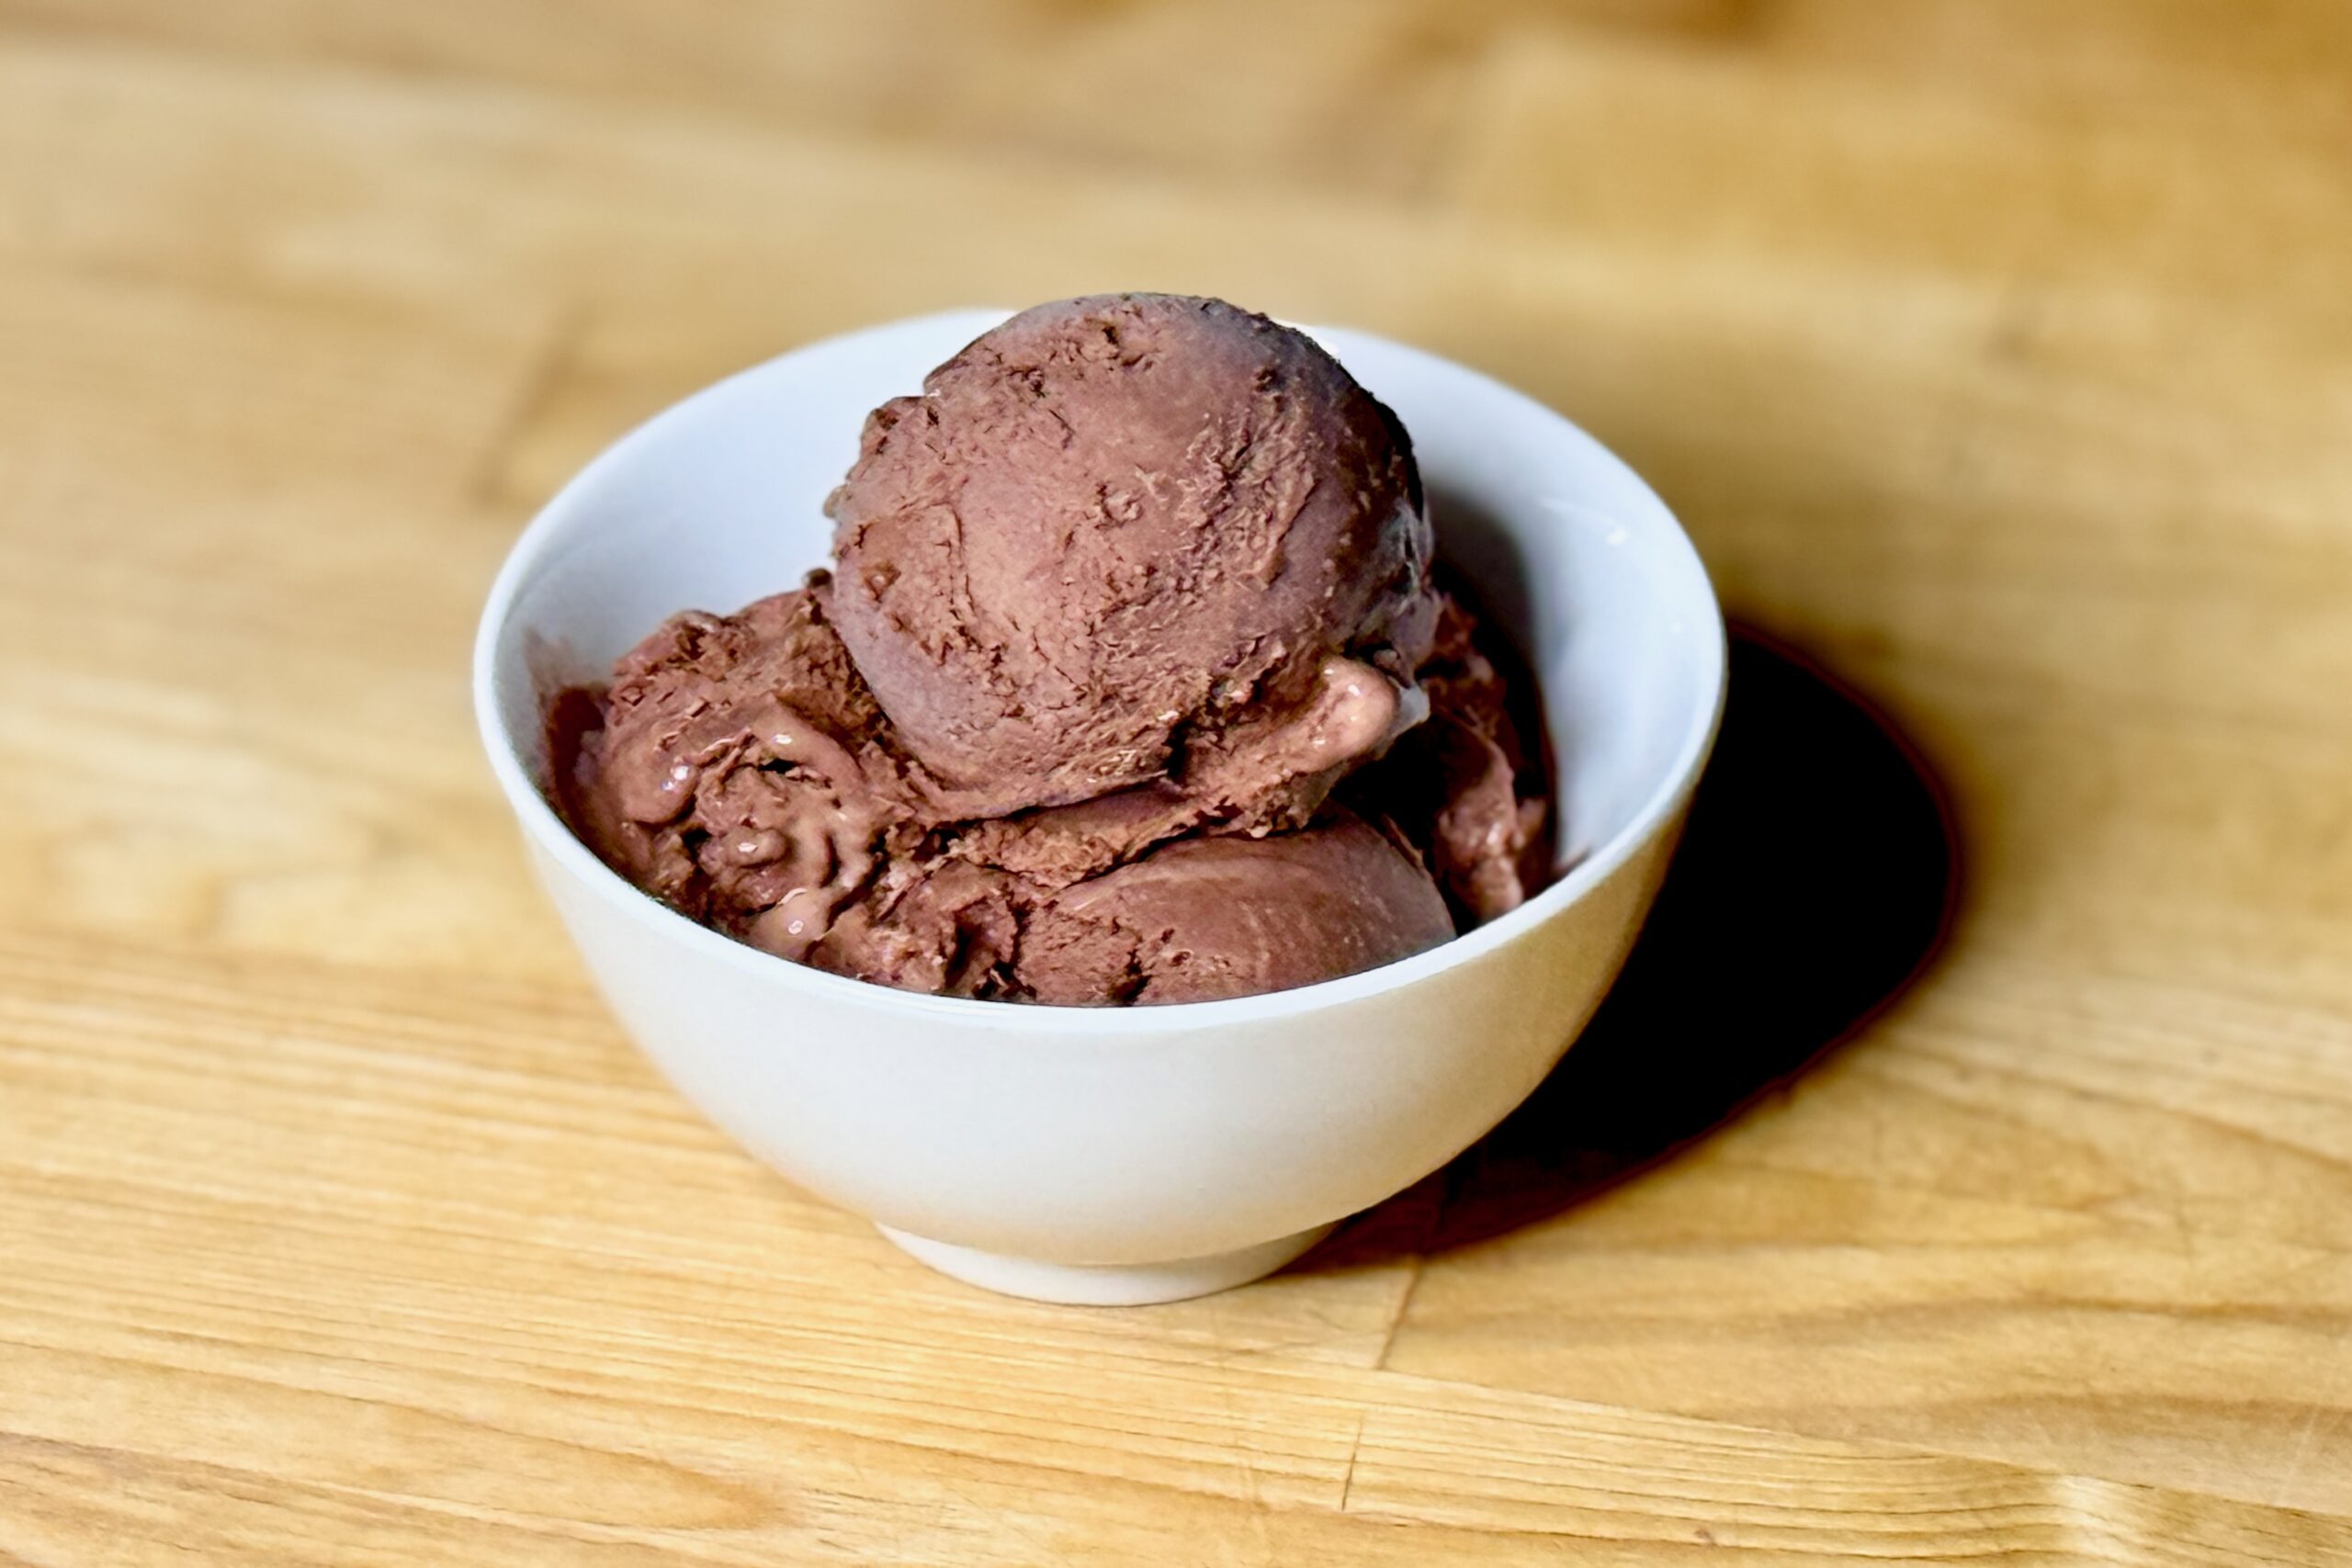
  • Chocolate-Coconut Ghost Pepper Ice Cream

    Chocolate-Coconut Ghost Pepper Ice Cream

    Chocolate and chile are a natural combination, but ghost pepper brings something especially interesting to this ice cream. Its surprisingly fruity flavor works beautifully with dark chocolate and coconut, while the heat builds slowly after each bite. Keeping the chocolate restrained allows all three flavors to come through, creating a rich chocolate ice cream with noticeable coconut and a warm ghost pepper finish.


    Ingredients

    • 1 (13.66 oz / 403 ml) can full-fat coconut milk
    • 1 cup (240 g) whole milk
    • ⅔ cup (135 g) granulated sugar, divided
    • ¼ cup (22 g) Guittard Cocoa Rouge cocoa powder
    • about ⅞ oz (25 g) dark Belgian chocolate, finely shaved or chopped
    • 4 large egg yolks
    • ¼ tsp table salt
    • ½ tsp vanilla bean paste
    • 1 g fresh ghost pepper

    Directions

    Prepare the Chocolate Base

    In a medium saucepan, whisk together the cocoa powder and ⅓ cup (about 67 g) of the sugar. Whisk in about ½ cup (120 ml) of the coconut milk until smooth. Heat over medium-low heat, whisking occasionally, until the mixture reaches about 150°F (66°C). Add the ghost pepper and dark chocolate, stirring until the chocolate is completely melted. Stir in the remaining coconut milk, whole milk, and salt.

    Prepare the Custard

    In a separate bowl, whisk the egg yolks with the remaining sugar until smooth. Slowly whisk some of the warm chocolate mixture into the yolks to temper them. Gradually whisk the tempered yolks back into the saucepan. Continue heating gently, stirring frequently. Once the ghost pepper flavor and heat are noticeable, strain the mixture to remove the pepper and return the custard to the saucepan. Continue cooking, stirring constantly, until the custard reaches 175°F (79°C). Remove from the heat and stir in the vanilla bean paste.

    Chill and Churn

    Cool the custard, then cover and refrigerate until thoroughly chilled, preferably at least 6 hours or overnight. Churn according to your ice cream maker’s instructions. Transfer to a freezer-safe container and freeze until firm enough to scoop.

    Yield: About 1 quart (950 ml).


    Notes

    Preparation

    • Ghost peppers are extremely hot. Wear gloves while handling them and avoid touching your face or eyes.
    • The ghost pepper is infused in the warm custard and then removed before the custard reaches its final temperature. This gives you more control over the finished heat than leaving pieces of pepper in the ice cream.
    • The chocolate arrives first, while the ghost pepper heat remains almost hidden by the cold. As the ice cream melts and the cold sensation fades, the heat begins to emerge and builds into a warm, lingering finish.
    • Using only 25 g dark chocolate is intentional. The cocoa powder provides most of the chocolate flavor while the small amount of dark chocolate adds richness without overwhelming the coconut or fruity character of the ghost pepper.

    Variations

    • Hotter Ghost Pepper: Increase the ghost pepper to 1.5 g for a more assertive, lingering heat. This is the amount used in the original test batch.
    • Milder: Remove the ghost pepper earlier during the custard preparation once the desired level of heat is reached.
    • Cinnamon: Lightly sprinkle the ice cream with ground cinnamon just before serving. The cinnamon complements the chocolate and ghost pepper while adding a warm aromatic note.

    Serving Suggestions

    • Serve on its own to appreciate the progression from chocolate and coconut to the slowly building ghost pepper heat.
    • Pair with a warm brownie for a richer chocolate dessert.
    • A small pinch of flaky salt over the finished ice cream can provide contrast to the chocolate and subtle sweetness.

    Make-Ahead & Storage

    • The custard can be prepared a day ahead and refrigerated overnight before churning.
    • Store the finished ice cream tightly covered in the freezer. For the best texture, allow very firm ice cream to soften briefly at room temperature before scooping.
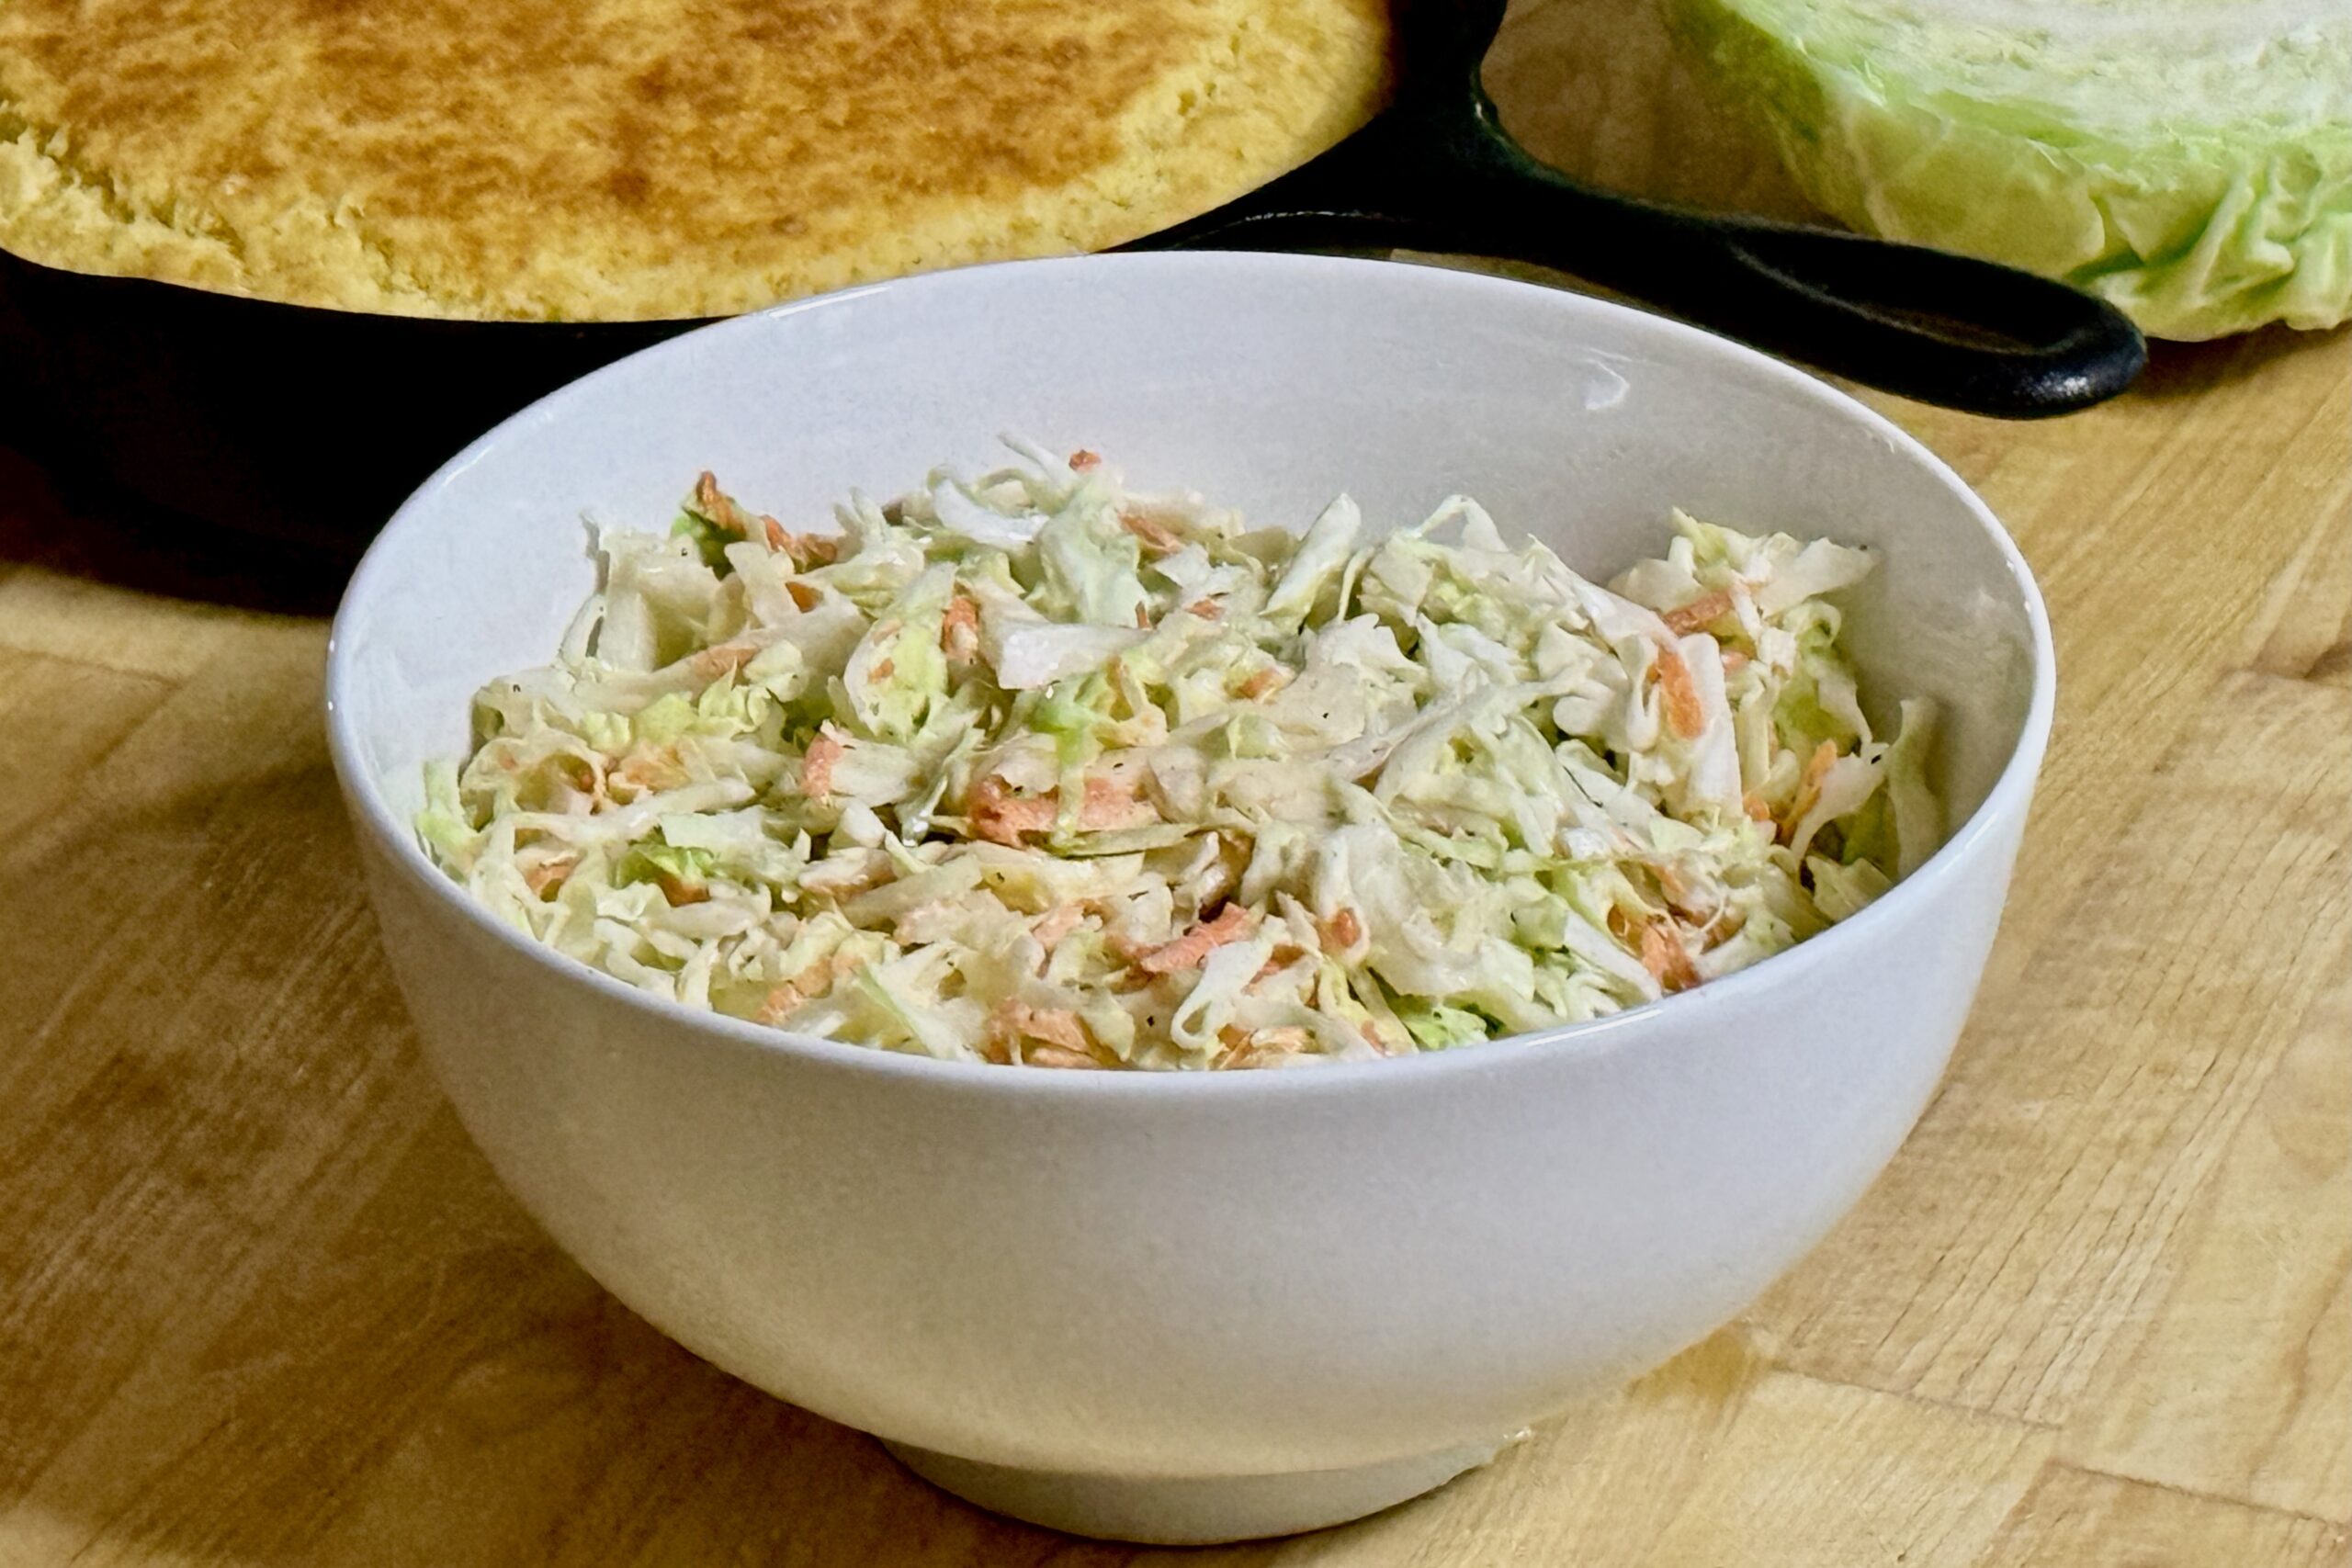
  • Smokehouse Cole Slaw

    Smokehouse Cole Slaw

    Our creamy smokehouse cole slaw is simple, classic, and exactly the kind of side dish that belongs next to a tray of barbecue. The dressing is sweet, tangy, and familiar, with enough apple cider vinegar, mustard, lemon, and black pepper to give it a bright, lively finish that perfectly balances rich smoked meats. A small amount of MSG adds extra savoriness without changing its classic character, while the cabbage and carrots stay crisp and refreshing after a good rest in the refrigerator.


    Ingredients

    • ¼ tsp dry mustard
    • ¼ tsp table salt
    • ¼ cup (50 g) sugar
    • 2 tbsp (30 ml) apple cider vinegar
    • 1 tsp (5 ml) lemon juice
    • 1 cup (230 g) mayonnaise
    • ¼ tsp celery seed (optional)
    • ¼ tsp MSG
    • ½ tsp black pepper
    • 1–2 tbsp (10–20 g) very finely grated shallot or ¼ tsp onion powder (optional)
    • 24 oz (680 g) cabbage, finely shredded
    • ¼ cup (about 25 g) carrots, grated

    Directions

    Make the Dressing

    Whisk together the dry mustard, table salt, sugar, apple cider vinegar, and lemon juice until the sugar is mostly dissolved.

    Add the mayonnaise, celery seed (if using), MSG, black pepper, and the grated shallot or onion powder (if using). Whisk until smooth, then let the dressing rest for 15–20 minutes before using to allow the flavors to meld.

    Dress the Slaw

    Place the shredded cabbage and grated carrots in a large bowl.

    Add the dressing and toss until the vegetables are evenly coated.

    Chill

    Cover and refrigerate for at least 2 hours before serving, stirring once before serving if needed.

    Yield: Approximately 8 servings.


    Notes

    Preparation

    • Use the full 2 tbsp (30 ml) apple cider vinegar for a bright, barbecue-friendly slaw. For a slightly milder, sweeter version, reduce the vinegar to 1½ tbsp (22 ml).
    • The optional shallot adds a subtle savory depth. If you don’t have one on hand, ¼ tsp onion powder is an excellent substitute.
    • For the best texture, shred the cabbage fairly fine so the dressing coats evenly without feeling heavy.
    • Freshly ground black pepper gives the dressing the brightest flavor, though pre-ground pepper also works well.

    Variations

    • Deli-Style: Add the optional celery seed for a more old-fashioned slaw flavor.
    • Extra-Peppery: Increase the black pepper to ¾ tsp.
    • Vinegar-Based: Toss the cabbage and carrots with Espiau’s Vinaigrette instead of the mayonnaise dressing.

    Serving Suggestions

    • Serve alongside pulled pork, smoked chicken, ribs, brisket, or burgers with our Dr Pepper Barbecue Sauce.
    • This slaw also makes an excellent topping for pulled pork or smoked chicken sandwiches, adding cool crunch and bright acidity.

    Make-Ahead & Storage

    • This slaw is best after resting for at least 2 hours and is at its crispest the day it is made.
    • Store covered in the refrigerator for up to 2 days. Stir before serving, as the cabbage will naturally release a small amount of liquid.
    • For the freshest texture, prepare the dressing and vegetables separately, then combine them 2–4 hours before serving.
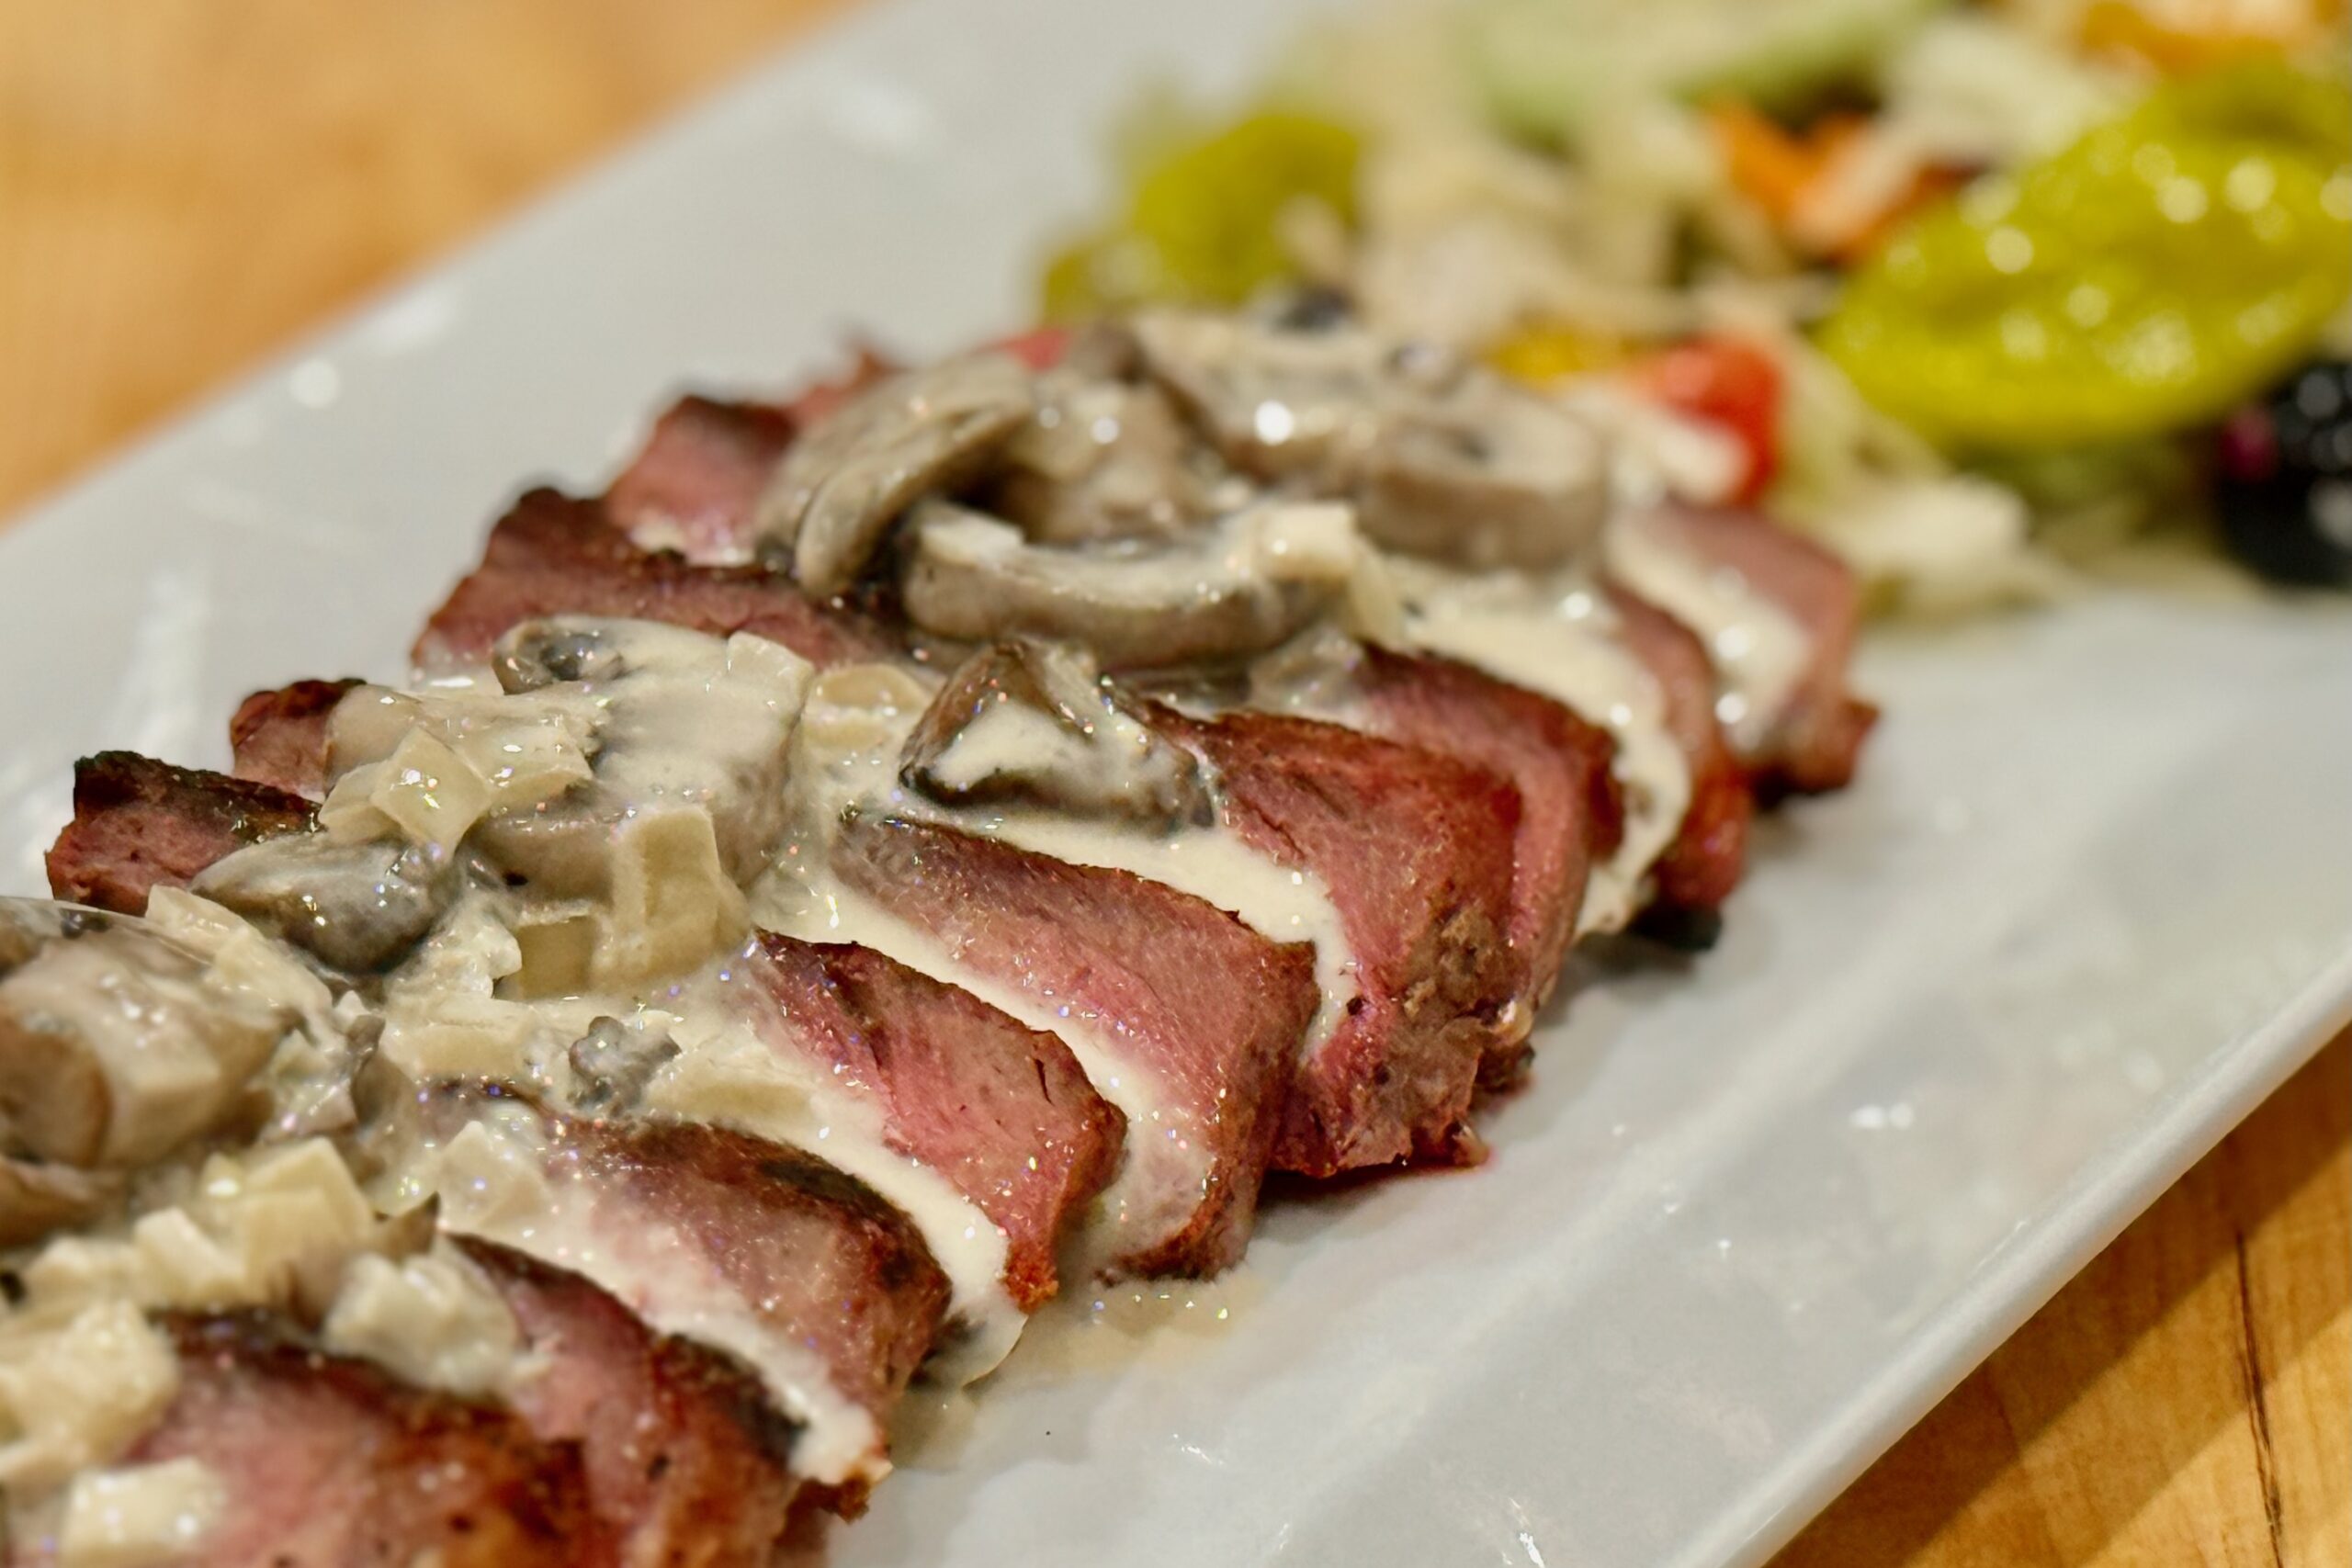
  • Blue Cheese Steak Sauce

    Blue Cheese Steak Sauce

    This steakhouse-style blue cheese sauce is built for ribeyes: deeply savory mushrooms, sweet sautéed onions, and a creamy gorgonzola finish that clings to the meat without overpowering it. A small splash of Shaoxing wine or dry sherry lifts the whole pan, and a touch of sambal adds mild background warmth (not heat). Spoon it over grilled steaks and finish with freshly ground black pepper for that final, restaurant-quality edge.


    Ingredients

    • ¼ cup (57 g) butter
    • 1½ lb (680 g) mushrooms, sliced
    • 1 large yellow onion, sliced pole-to-pole
    • 2 tbsp Shaoxing cooking wine or dry sherry
    • ½ tsp sambal oelek
    • 2 cups (475 ml) Alfredo sauce (homemade or store-bought)
    • 6 oz (170 g) gorgonzola cheese, crumbled
    • Freshly ground black pepper, for finishing
    • table salt, to taste, if needed

    Directions

    Brown the Mushrooms

    Melt the butter in a large sauté pan over medium-high heat. Add the mushrooms and cook, stirring occasionally, until they release their liquid, the liquid evaporates, and the mushrooms begin to brown.

    Add the onion and continue cooking until softened and lightly caramelized.

    Deglaze and Build the Sauce

    Add the Shaoxing wine or sherry, stirring to loosen any browned bits. Cook until the liquid is mostly evaporated, then stir in the sambal oelek.

    Reduce heat to medium. Add the Alfredo sauce and warm gently.

    Stir in the gorgonzola and heat until mostly melted and integrated, leaving some small pieces intact for texture. Taste and add salt only if needed.

    Serve

    Spoon the sauce over grilled or barbecued ribeye steaks and finish with freshly ground black pepper just before serving.

    Yield: Enough for 6–8 steaks (as a generous topping).


    Notes

    Preparation

    • Different Alfredo sauces and blue cheeses vary in saltiness—taste at the end and add salt only if needed.
    • For the best steakhouse flavor, let the mushrooms cook until their liquid evaporates and they actually brown before adding the onions.

    Variations

    • Very Mild: The ½ tsp sambal oelek is meant as mild background warmth. For very mild, reduce to ¼ tsp.
    • With Cayenne: A small pinch of cayenne pepper may be substituted for the sambal oelek.

    Serving Suggestions

    • Finish with freshly ground black pepper on the plated, sauced steak for the brightest aroma and cleanest bite.

    Make-Ahead & Storage

    • Refrigerate in an airtight container for up to 4 days.
    • Reheat gently over low heat, stirring often. If the sauce thickens too much, loosen with a splash of milk or cream.
    • Avoid boiling after the cheese is added to help prevent separation.
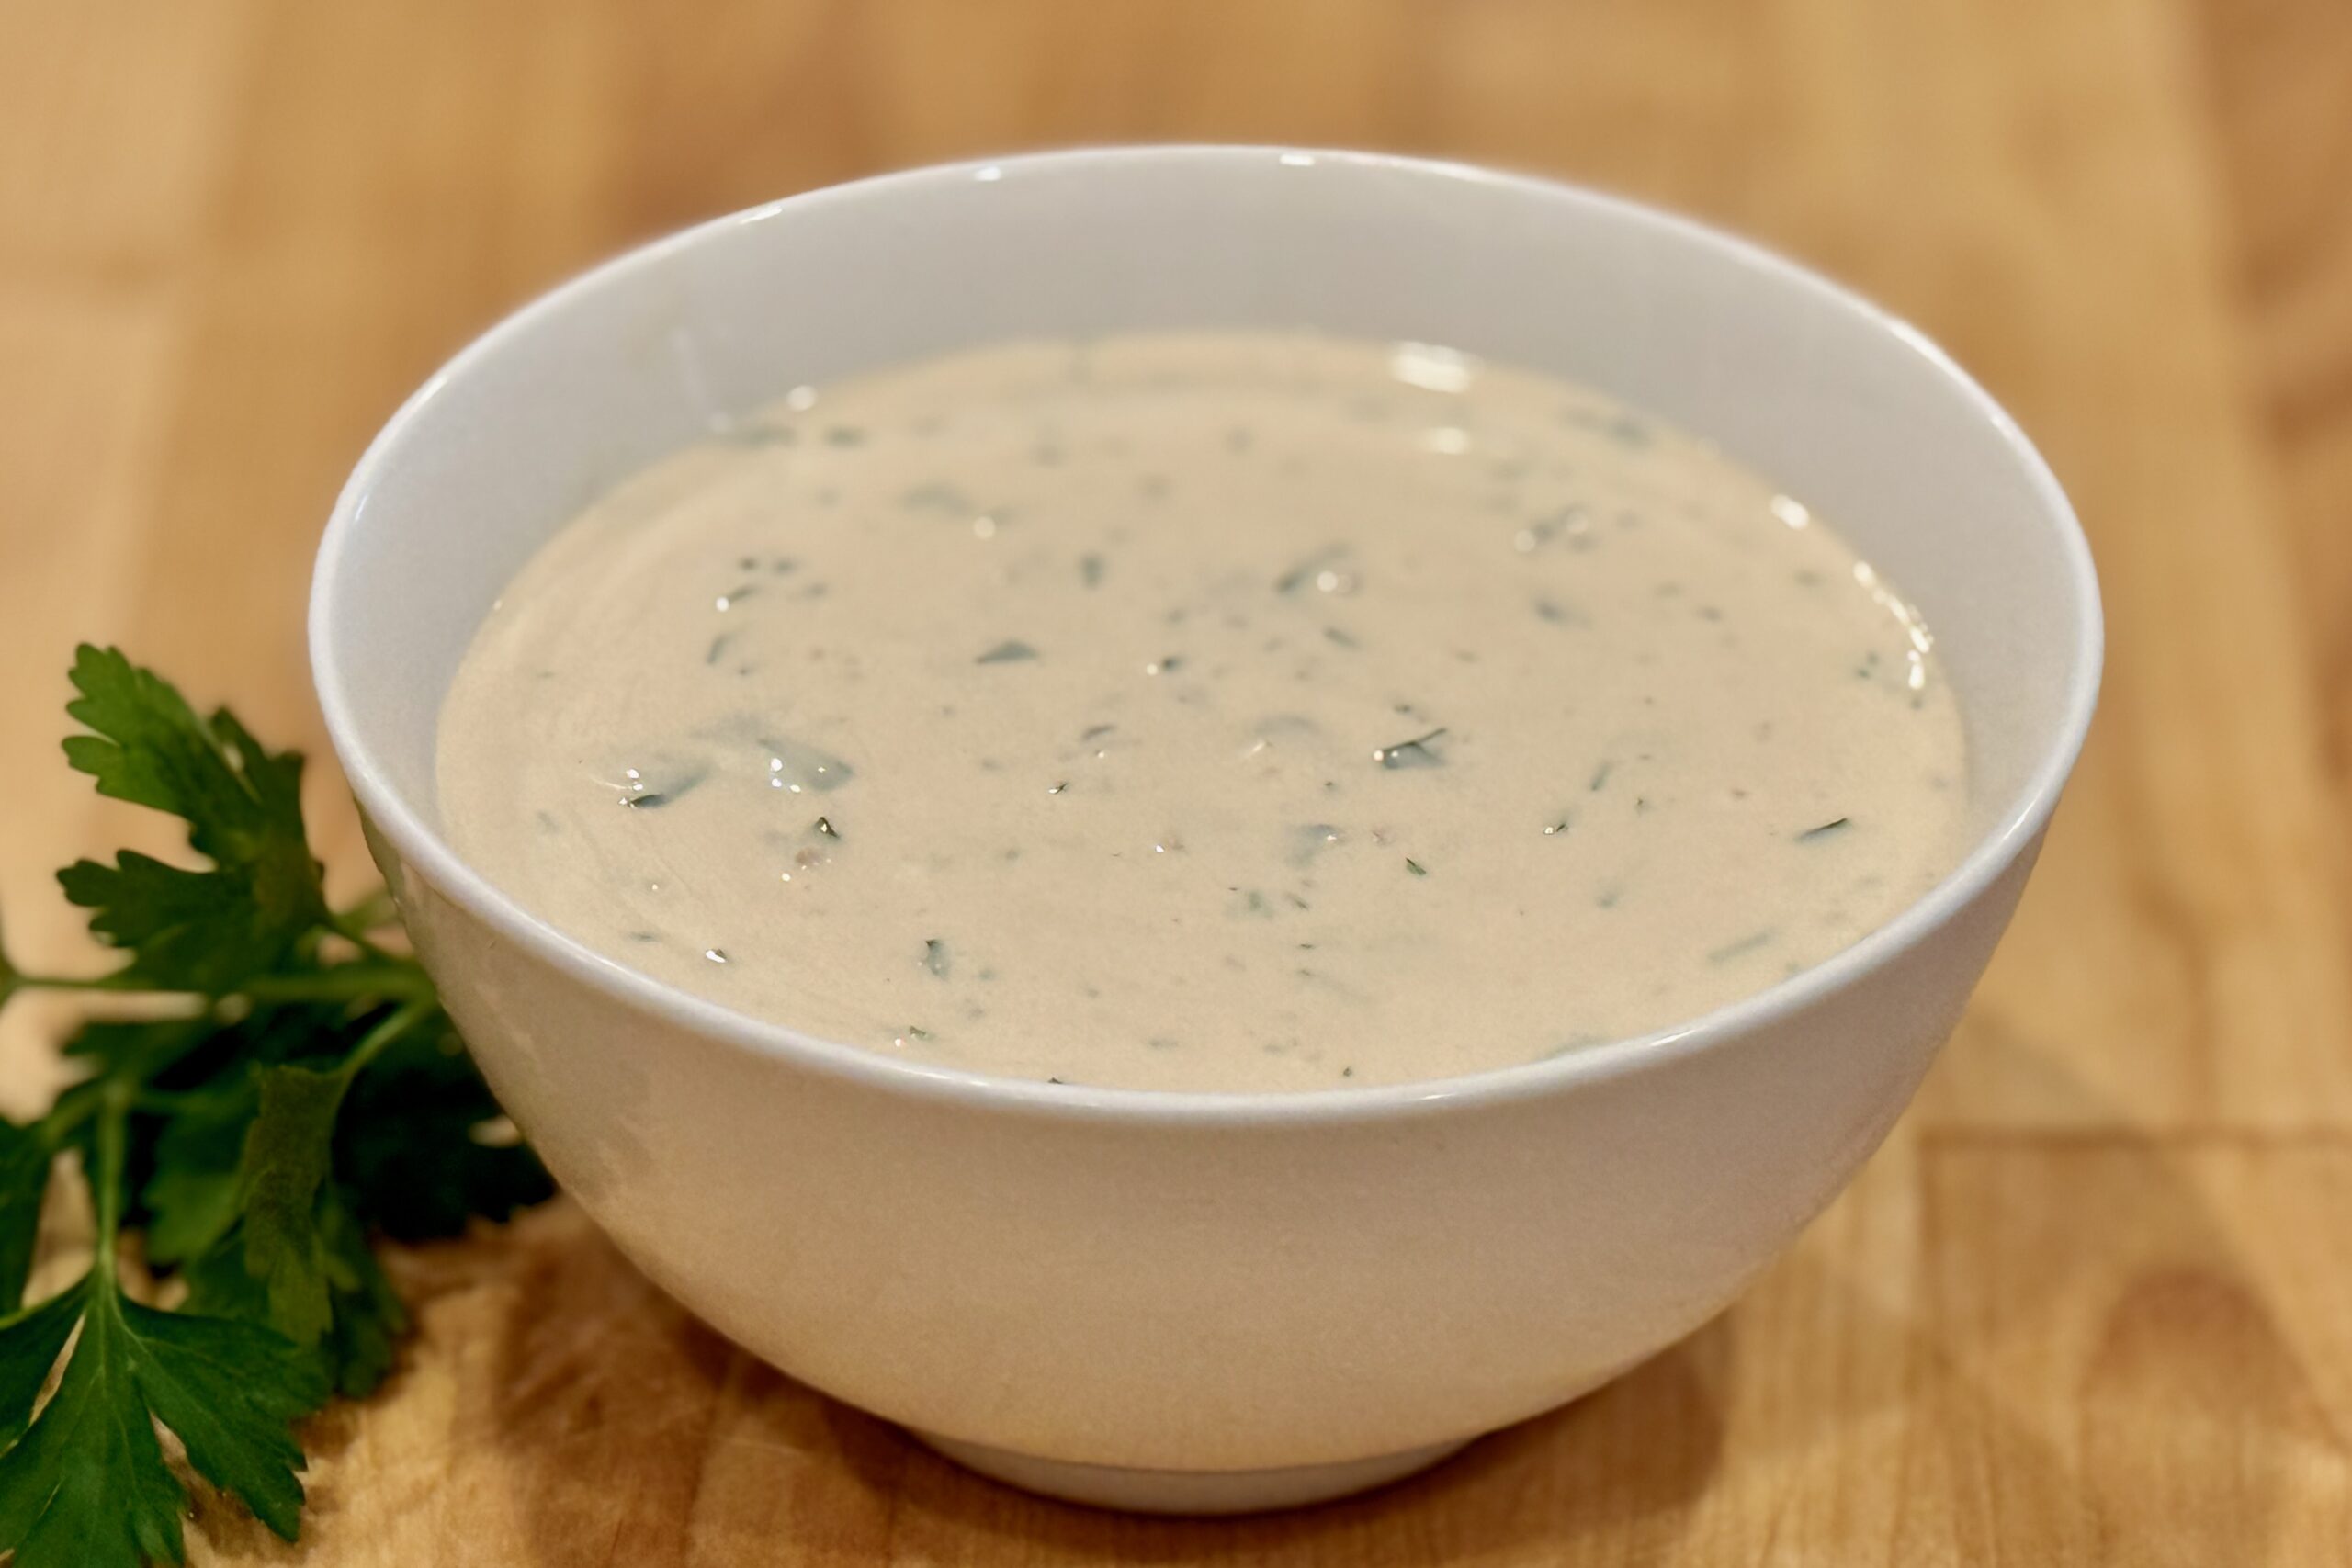
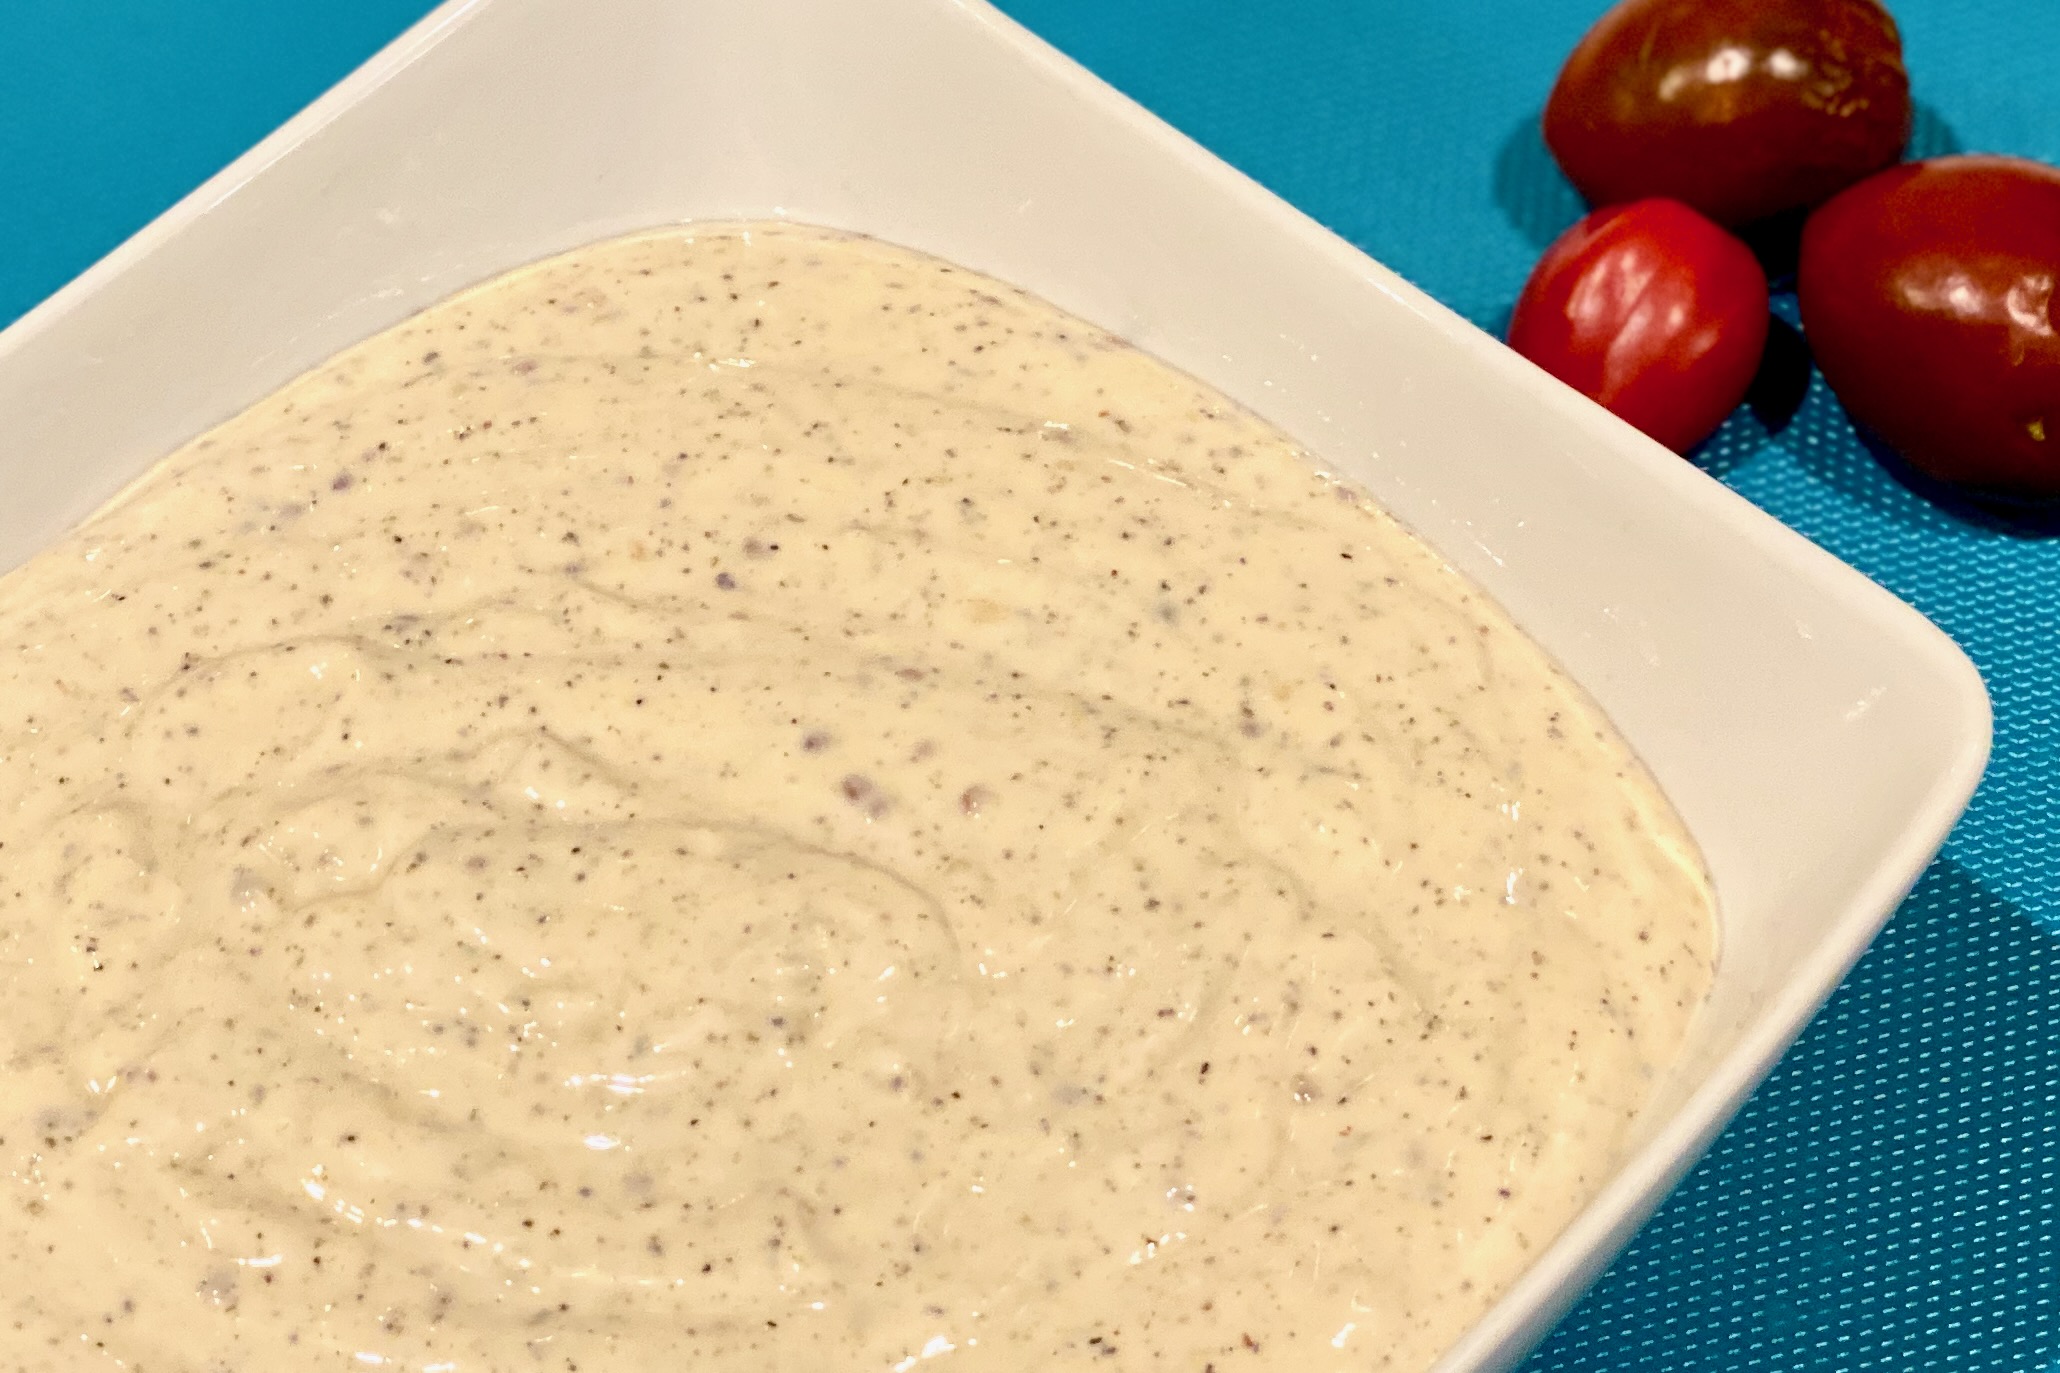
  • Knoflooksaus — Dutch Garlic Sauce

    Knoflooksaus — Dutch Garlic Sauce

    This creamy, garlicky sauce is a staple of Dutch shoarma restaurants and late-night snack bars. Smooth, tangy, and richly flavored with garlic and parsley, it’s perfect for serving with shoarma, fries, grilled meats, or pita bread—bringing a taste of The Netherlands to your kitchen.


    Ingredients

    • 2 cups Dutch mayonnaise (e.g., Remia, Calvé, or Zaanse)
    • ¾ cup Greek yogurt
    • 3 tbsp finely grated fresh garlic (or 4–5 tbsp mild garlic paste)
    • 3 tbsp parsley, very finely minced
    • 2 tsp ketjap manis, plus more to taste
    • ¼ tsp table salt
    • ½ tsp white wine vinegar or lemon juice (optional, for a brighter tang)
    • ⅛ tsp white pepper (optional)

    Directions

    Mellow the Garlic

    In a bowl, combine the Greek yogurt and grated garlic. Let stand 10–15 minutes to lightly mellow the garlic before adding the mayonnaise.

    Mix the Sauce

    Add the Dutch mayonnaise, parsley, ketjap manis, salt, and (if using) the vinegar or lemon juice and white pepper. Stir until smooth and evenly blended.

    Chill and Develop Flavor

    Cover and refrigerate for at least 4 hours, or overnight, to allow the flavors to mellow and the sauce to thicken.


    Notes

    Preparation

    • For a milder garlic flavor, reduce the garlic to 2 tbsp and let the sauce rest overnight.
    • For the most authentic Dutch flavor, use Dutch mayonnaise (such as Calvé or Remia). If using American mayonnaise (e.g., Best Foods or Hellmann’s), adjust it first using our Dutch Mayonnaise — Calvé-Style from American Mayo recipe before making the sauce.
    • Use mild garlic paste if you prefer a smoother, less pungent profile.
    • Parsley should be minced very finely to avoid a chewy texture; adjust to taste.
    • Ketjap manis is meant to round the flavor, not sweeten the sauce—start with 2 tsp and add more only if needed.

    Serving Suggestions

    • Serve with Dutch-style shoarma.
    • Drizzle over fries, grilled meats, or kebabs.
    • Use as a dip for pita bread or fresh vegetables.

    Variations

    • Brighter tang: Add the optional vinegar or lemon juice (or increase slightly) for a lighter, snack-bar-style lift.
    • Smoother profile: Use mild garlic paste and reduce parsley slightly.

    Make-Ahead & Storage

    • Best made at least 4 hours in advance for full flavor development.
    • Refrigerate in an airtight container up to 5 days.
    • Stir before serving; sauce naturally thickens as it chills.
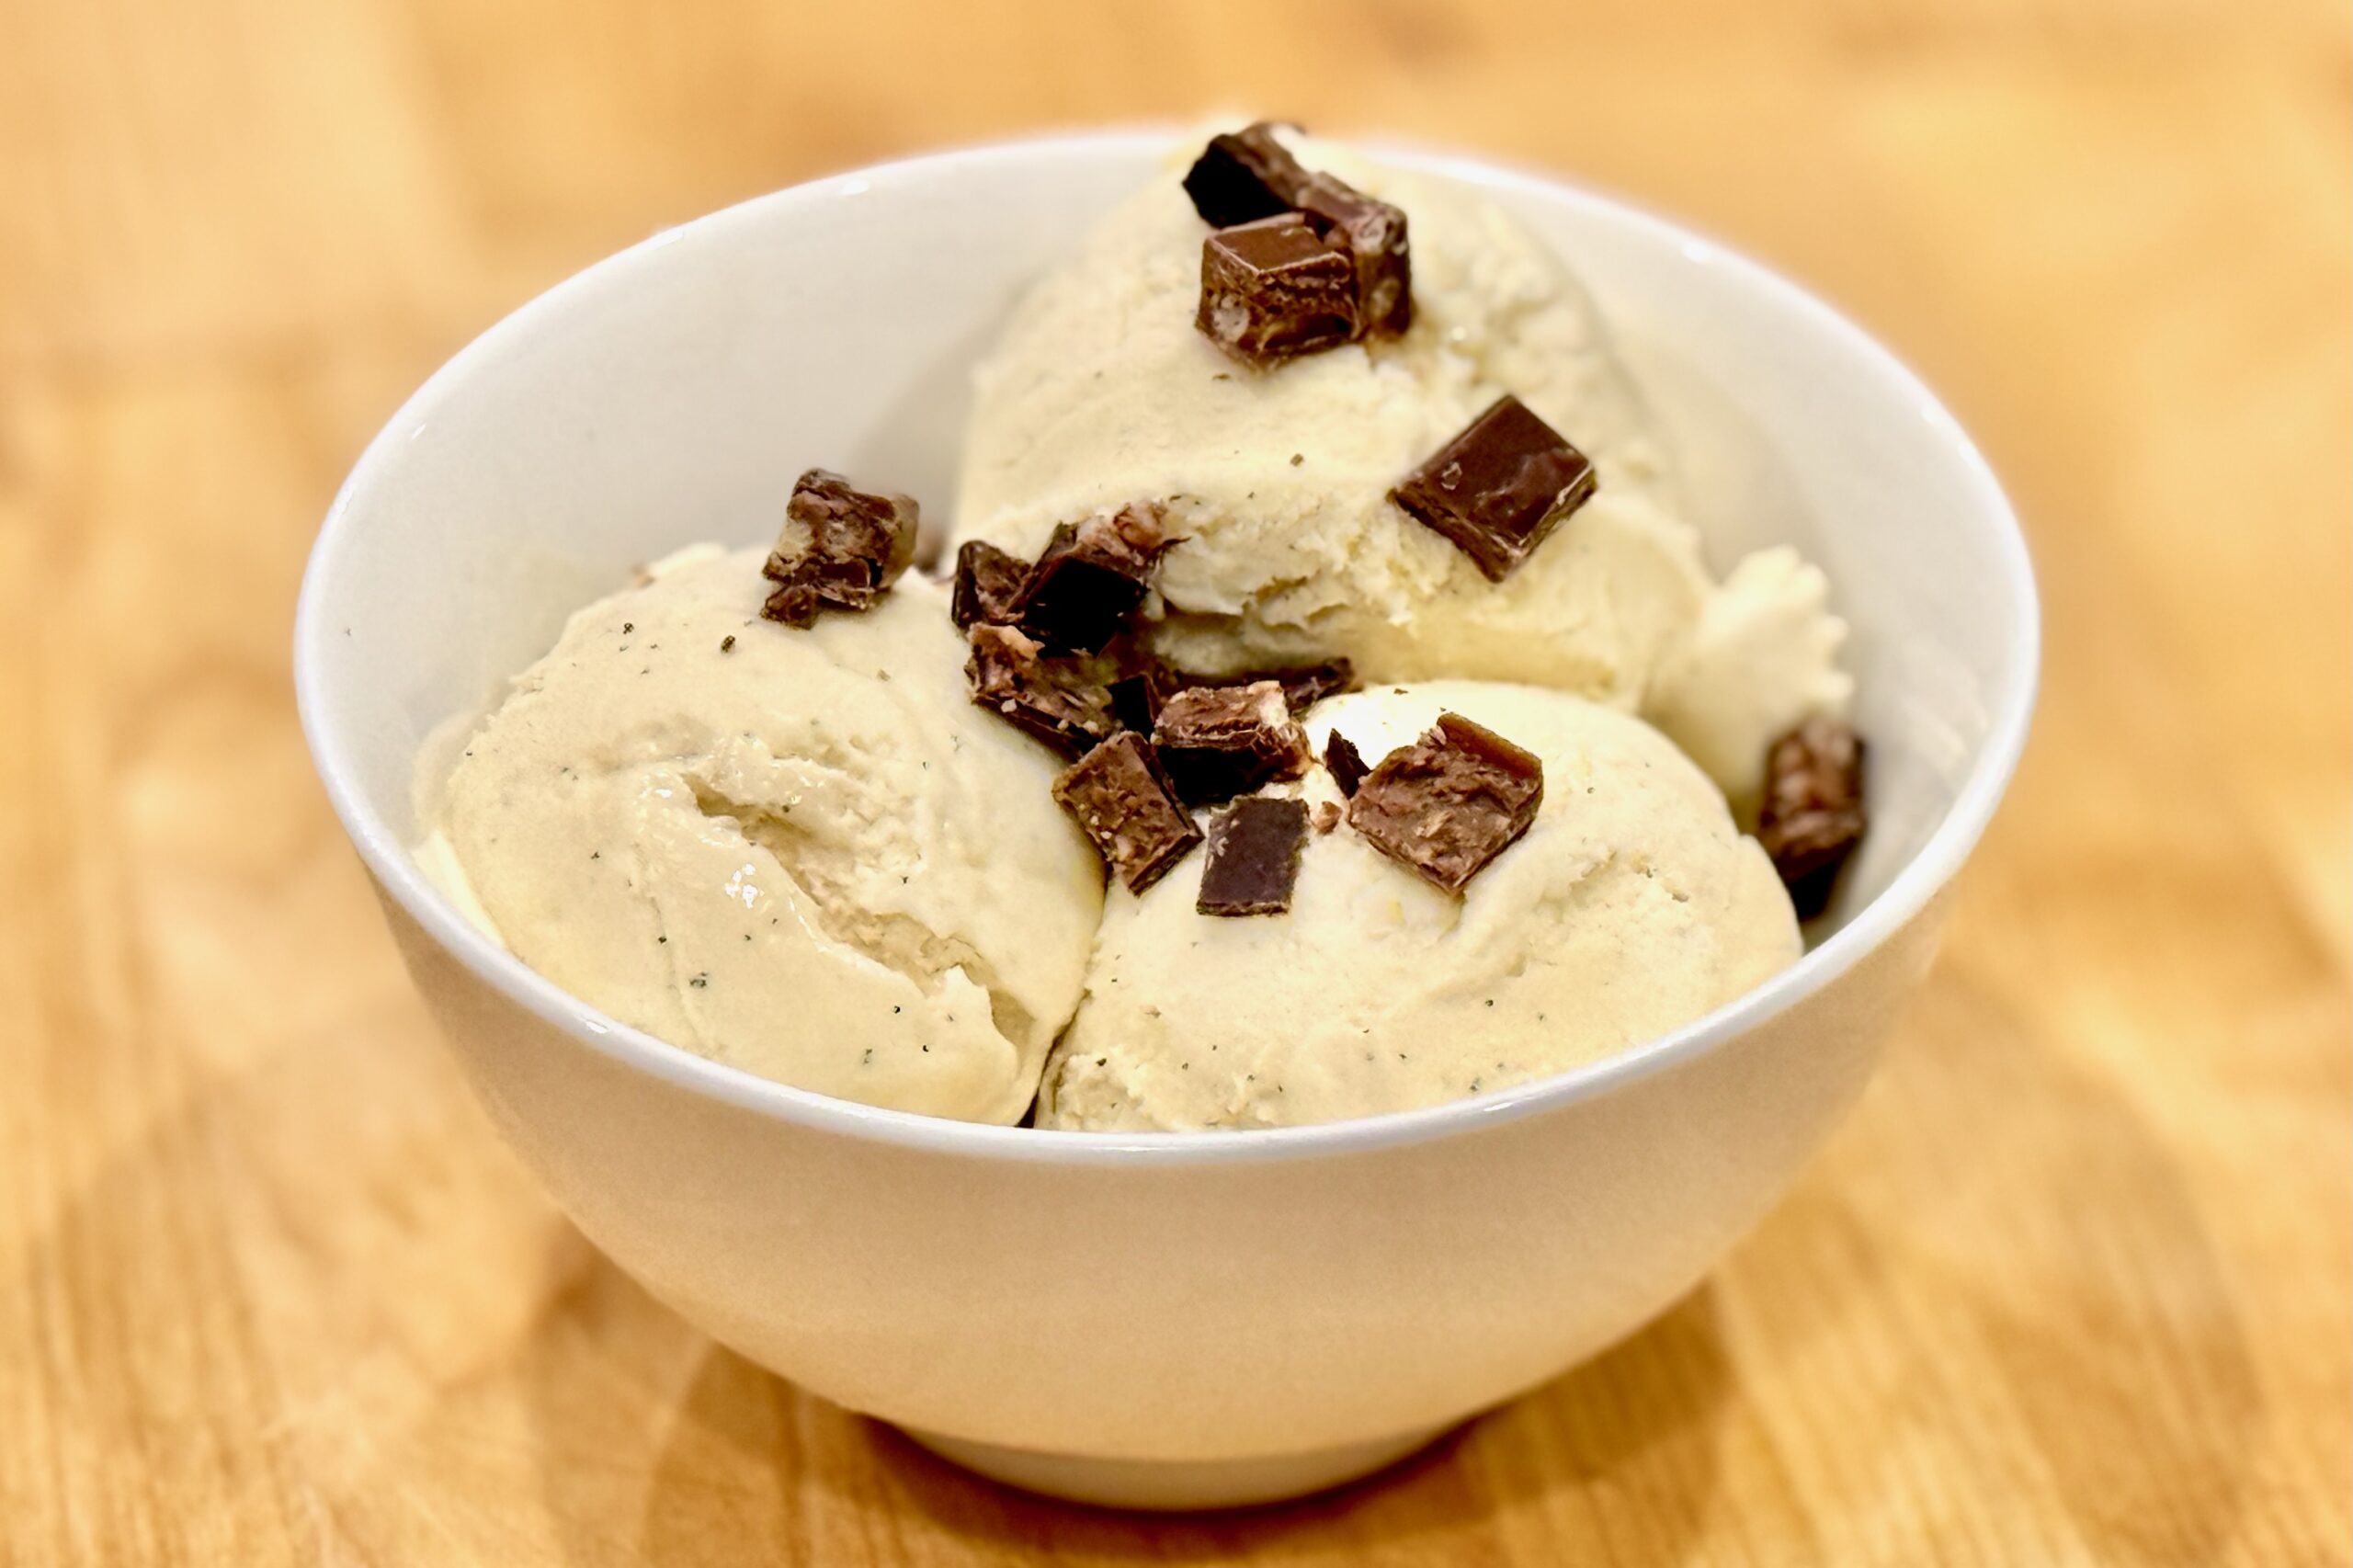
  • Vanilla Bean Ice Cream

    Vanilla Bean Ice Cream

    This lighter-style vanilla bean ice cream puts the spotlight squarely on the ingredients—fresh cream, whole milk, and a full Madagascar vanilla bean. Cooking the custard to a slightly higher temperature strengthens the structure without adding heaviness, allowing the vanilla to shine with clean, bright aroma and a naturally silky texture.


    Ingredients

      Ice Cream Base

    • 2 cups whole milk
    • 1 cup heavy cream
    • ⅔ cup granulated sugar, divided
    • 4 large egg yolks
    • 1 Madagascar vanilla bean, split and scraped
    • 1 tbsp vanilla extract
    • ¼ tsp fine salt
    • ⅛ tsp xanthan gum, optional

    Directions

    Prepare the Vanilla Base

    In a medium saucepan, combine the whole milk, half of the sugar, salt, vanilla bean seeds, and the scraped pod. Heat over medium until steaming but not boiling.

    In a separate bowl, whisk the egg yolks with the remaining sugar until well combined and slightly lightened.

    Slowly ladle some of the warm milk into the yolks while whisking, then return the tempered yolk mixture to the saucepan.

    Cook the Custard

    Cook over medium heat, stirring constantly with a rubber spatula, until the custard thickens enough to coat the spatula and reaches 174–176°F.

    Remove from heat and whisk in the heavy cream.

    If using the xanthan gum, sprinkle it over the warm custard and blend with an immersion blender, or whisk vigorously, until fully dispersed.

    Let the mixture steep for 20–30 minutes for maximum vanilla extraction.

    Chill the Base

    Strain the custard through a fine-mesh sieve into a bowl, removing the vanilla pod.

    Stir in the vanilla extract.

    Cover and refrigerate for at least 6 hours or overnight.

    Churn

    Churn the chilled base in your ice cream maker until it reaches a soft-serve consistency.

    Transfer to a container, press parchment against the surface, and freeze until firm.


    Notes

    Preparation

    • Cook the custard slowly to avoid scrambling the yolks; constant stirring ensures even thickening.
    • Allowing the custard to steep briefly after cooking extracts additional flavor from the vanilla bean.
    • The xanthan gum is optional. The cooked custard develops a naturally smooth, creamy texture without it, but a small amount can provide additional stabilization, help limit ice crystal formation, and keep the ice cream somewhat easier to scoop after extended freezer storage.
    • For a slightly creamier, more stable texture, whisk 1–2 tbsp nonfat dry milk powder into the sugar before heating the custard. This increases milk solids without making the base noticeably sweeter.

    Serving Suggestions

    • Serve alongside pies, crisps, or berry desserts—its lighter profile pairs beautifully with richer sweets.
    • For extra aroma, add a light drizzle of warm caramel or a spoonful of fresh berries.

    Variations

    • Vanilla Bean Paste: For a deeper, more pronounced vanilla flavor, replace the vanilla bean and vanilla extract with a generous 1 tbsp Madagascar vanilla bean paste. Add the paste to the saucepan with the whole milk, half of the sugar, and salt, then proceed with the recipe as written.
    • Improved Scoopability: Replace 3 tbsp of the granulated sugar with 3 tbsp light corn syrup or glucose syrup. This helps reduce ice crystal formation and keeps the ice cream a little softer straight from the freezer.
    • French Vanilla: Add an additional egg yolk and increase the sugar to ¾ cup for a richer, custard-forward style.
    • Tahitian Vanilla: Substitute Tahitian vanilla extract for the Madagascar vanilla extract for a more floral, fruity aroma.

    Make-Ahead & Storage

    • Ice cream keeps best for 1–2 weeks when stored in an airtight container.
    • To help prevent ice crystals, press parchment paper directly against the surface before freezing.
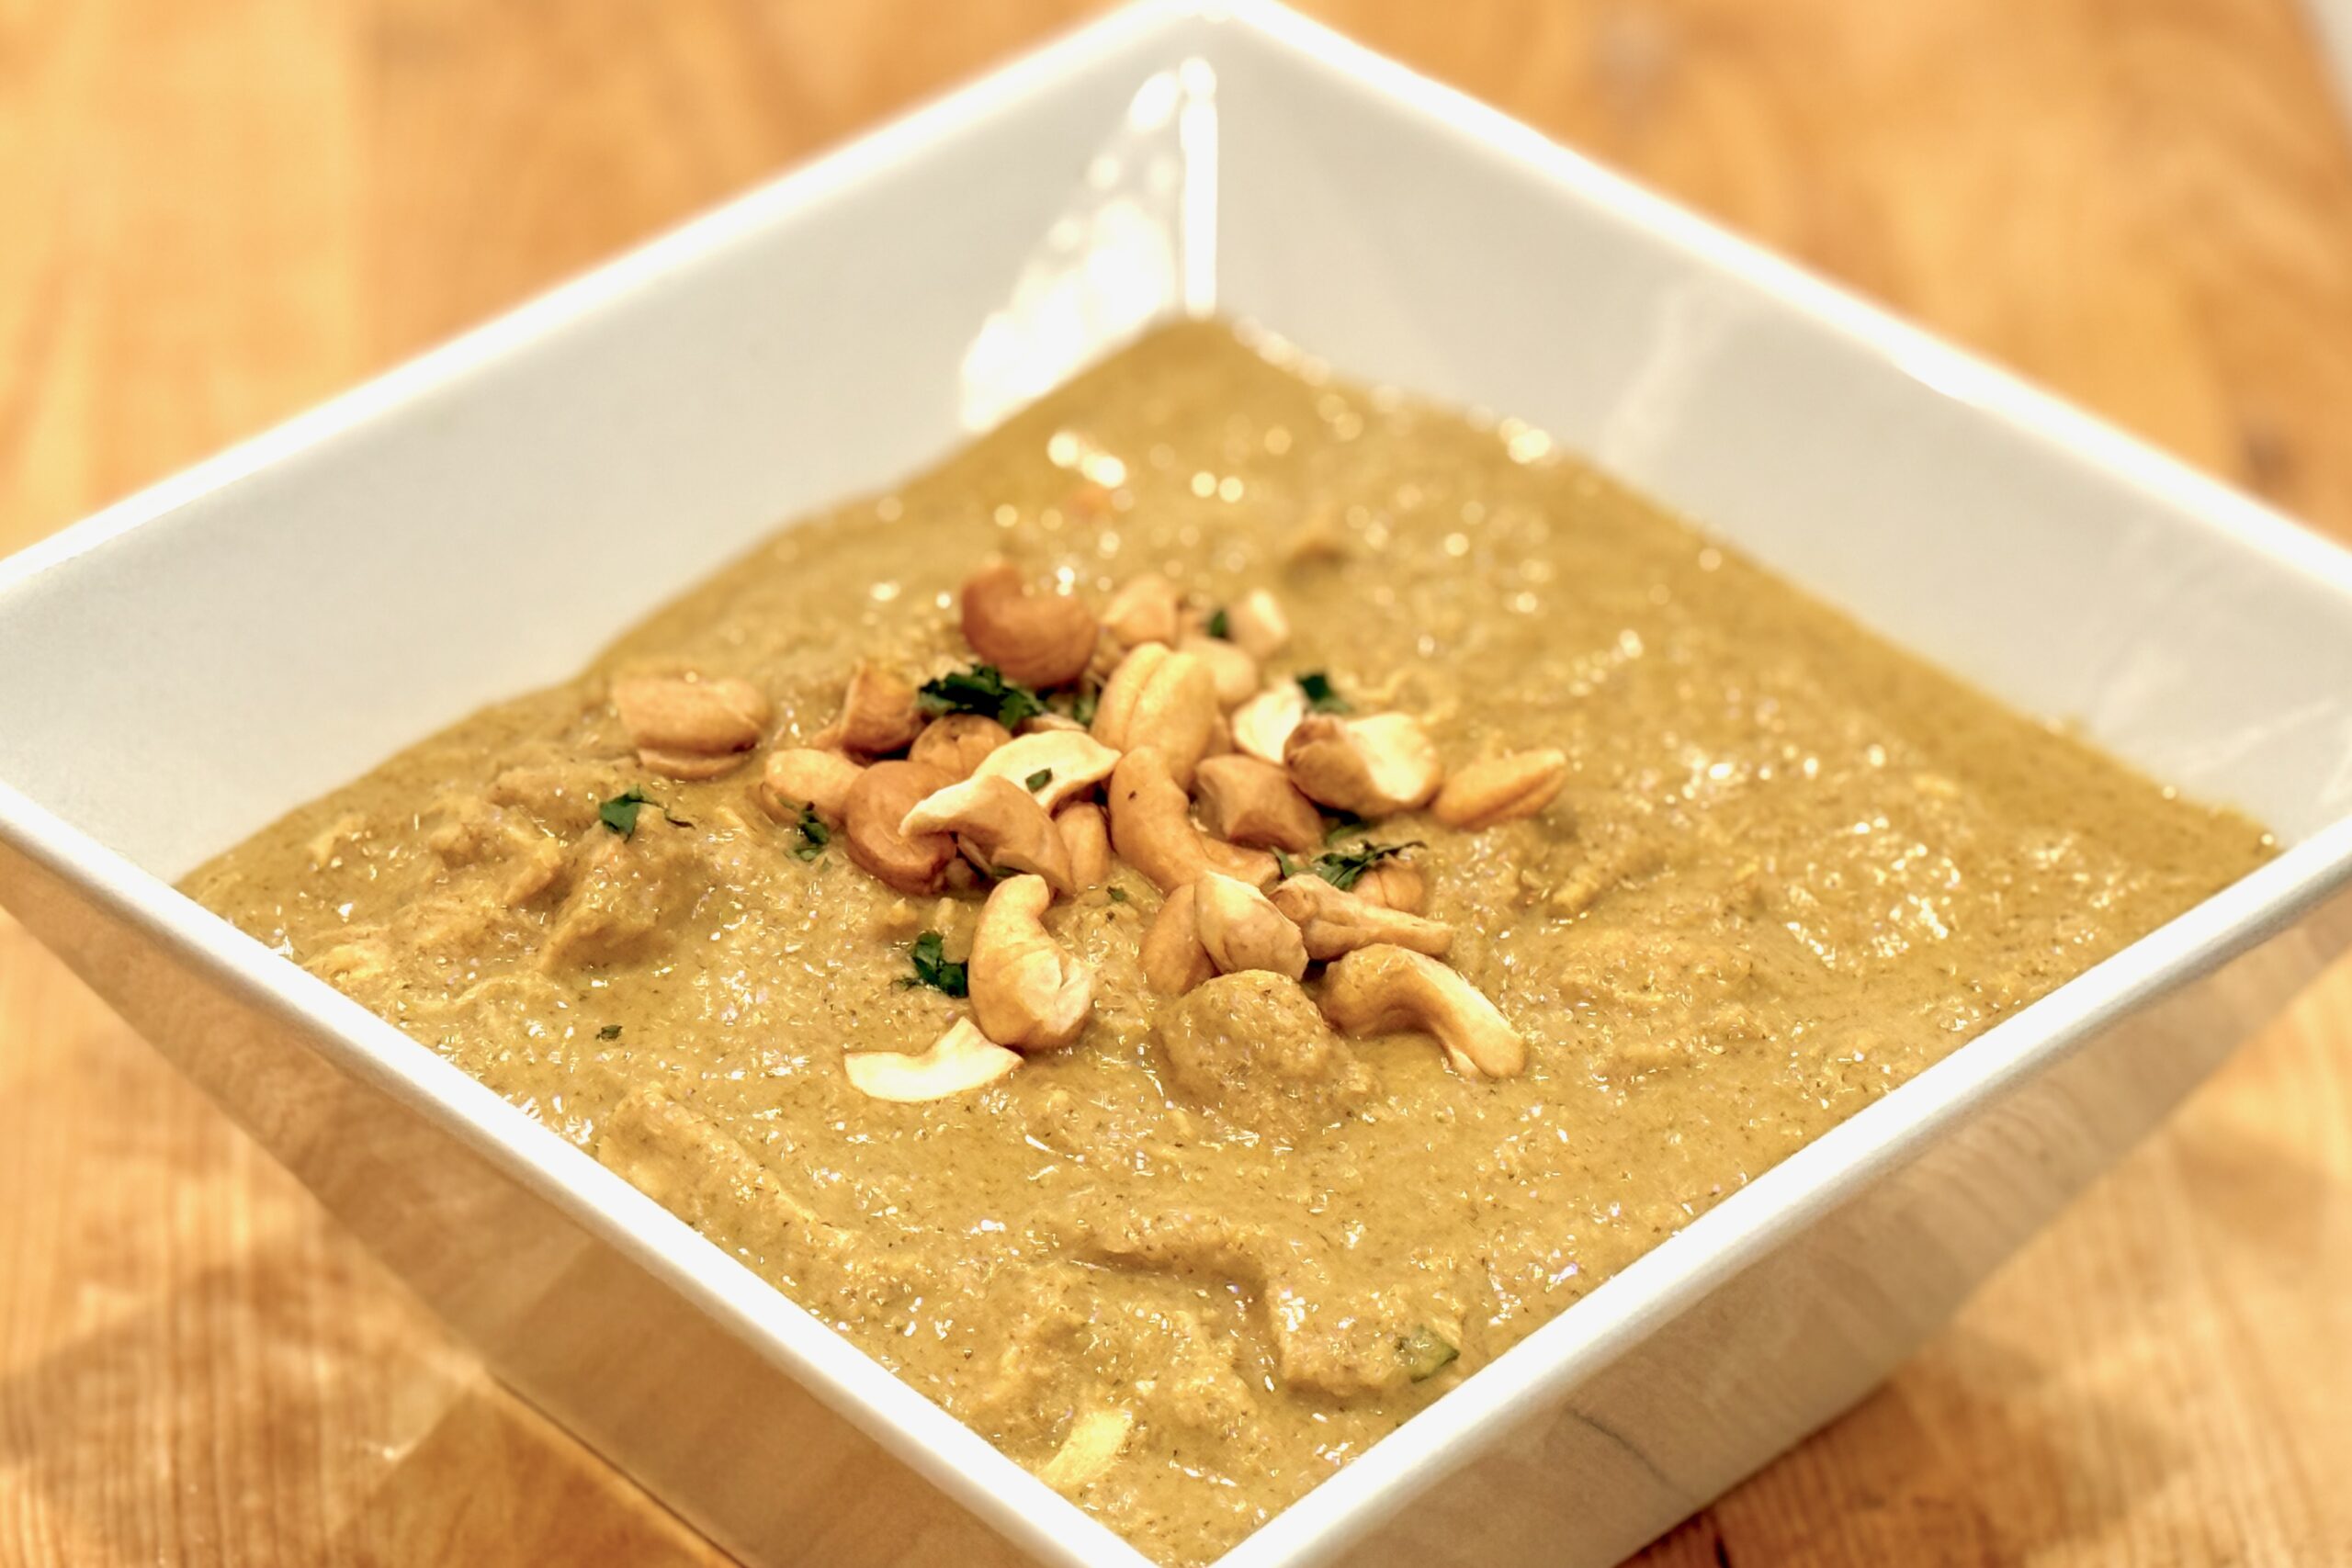
  • Coconut Korma

    Coconut Korma

    This Coconut Korma brings together deeply caramelized onions, warm spices, and a silky coconut-cashew base to create a rich, comforting curry. Whether you choose chicken, beef, lamb, or paneer, the sauce adapts beautifully—creamy, aromatic, and gently sweetened with just a touch of sugar.


    Ingredients

      Desired Protein (Choose One):

    • 1½ lb (700g) chicken, beef, or lamb, cut into bite-size chunks, OR
    • 1 recipe (400–500g) paneer
    • Marinade for Meats:

    • ½ cup plain yogurt
    • 1 tbsp lemon juice
    • 1 tsp turmeric
    • 1 tsp paprika (or Kashmiri chili powder for deeper color)
    • 1 tsp garam masala
    • 1 tsp salt
    • Korma Base:

    • 2 tbsp ghee or oil
    • 2 medium onions, thinly sliced
    • 4 cloves garlic, minced
    • 1½ inch piece fresh ginger, minced
    • ¼ cup unsweetened shredded coconut
    • ¼ cup cashews
    • 1 tsp ground coriander
    • ½ tsp ground cumin
    • ½ tsp ground cinnamon
    • ¼ tsp ground cloves
    • ¼ tsp ground cardamom
    • 1½ tsp garam masala
    • ½ tsp turmeric
    • 1 tsp salt (plus more to taste)
    • 1½ cups full-fat coconut milk
    • ½ cup water or stock (match to your chosen protein)
    • 1 tsp sugar
    • Optional Finishings:

    • 2 tbsp heavy coconut cream
    • Chopped cilantro and chopped cashews (for garnish)

    Directions

    Prepare the Protein:

    For chicken, beef, or lamb: Combine marinade ingredients in a bowl. Add meat and marinate according to type:

    • Chicken: 30 minutes to overnight
    • Beef/lamb: 2–12 hours

    For paneer: Cut into cubes. Optional—pan-fry in ghee until golden. Mix the marinade separately and set aside to stir into the sauce later for added richness.

    Make the Korma Base:

    Heat ghee or oil in a large pan. Add sliced onions and sauté until deeply golden and caramelized, 15–20 minutes. Add garlic, ginger, shredded coconut, and cashews. Cook 2–3 minutes until fragrant. Cool slightly, then blend with a splash of water until completely smooth.

    In the same pot, add a bit more ghee/oil if needed and sear marinated meat until browned on all sides. Remove and set aside. (Skip searing if using paneer.)

    Return the blended paste to the pan and stir in all dry spices. Toast 30 seconds. Add coconut milk, water or stock, and sugar. Return meat or paneer to the pot and simmer:

    • Chicken: simmer uncovered 10–15 minutes
    • Beef/lamb: simmer covered 60–90 minutes, adding water as needed
    • Paneer: gently simmer 8–10 minutes

    Adjust salt and sweetness to taste. Stir in coconut cream for extra richness if desired. Garnish with cilantro and chopped cashews.


    Notes

    Preparation

    • For paneer, marinating isn’t required, but adding the marinade mixture to the sauce enhances depth and flavor.
    • Kashmiri chili powder gives a richer red color and mild heat compared to paprika.
    • Rotisserie chicken can be used as a shortcut—mix the marinade and stir both into the sauce along with chopped chicken.
    • Beef or lamb can be pressure-cooked (20–25 minutes high pressure, natural release) to significantly shorten simmer time.

    Serving Suggestions

    • Serve over basmati rice or with warm naan.
    • Add a drizzle of coconut cream for a more luxurious finish.
    • Top with toasted cashews for added texture.

    Variations

    • Use vegetable stock and paneer for a vegetarian version.
    • Add vegetables such as peas, carrots, or potatoes during the simmering stage.
    • Increase chili powder or add a serrano pepper for a spicier korma.

    Make-Ahead & Storage

    • Korma improves on day two as flavors deepen.
    • Refrigerate up to 4 days in an airtight container.
    • Freeze up to 3 months; thaw overnight in the fridge and reheat gently.
  • Alabama White Barbecue Sauce

    Alabama White Barbecue Sauce

    Alabama white barbecue sauce is one of those condiments that quietly steals the show—sharp, peppery, and creamy enough to cling to smoked chicken and pulled pork without ever feeling heavy. This version leans into that classic tang with apple cider vinegar, stone-ground mustard, horseradish, and plenty of black pepper, plus just enough optional sweetness and umami to round the bite. It’s the kind of sauce people remember after a cookout and ask for by name, whether you’re brushing it on grilled chicken thighs, serving it alongside ribs, or drizzling it over a piled-high pulled pork sandwich.


    Ingredients

    • 1 cup (about 230 g) mayonnaise
    • 3 tbsp (45 ml) apple cider vinegar
    • 1½ tbsp (22 ml) prepared stone-ground mustard
    • 2-3 tsp prepared horseradish, to taste
    • 2 tsp coarsely ground black pepper, lightly toasted
    • ¾ tsp table salt
    • ½ tsp garlic powder
    • ¾ tsp onion powder
    • ¾ tsp Worcestershire sauce
    • ½ tsp hot sauce (such as Louisiana-style), or to taste
    • ½–1 tsp honey or sugar, to taste (optional, recommended)
    • ½ tsp fresh lemon juice (optional, for brightness)
    • ⅛ tsp MSG or 1–2 tsp dill pickle brine (optional, for extra depth)

    Directions

    Mix the Sauce

    Place the coarsely ground black pepper in a small dry skillet over medium-low heat and toast for 20–30 seconds, just until fragrant. Remove from heat and let cool slightly.

    In a medium bowl, whisk together the mayonnaise, apple cider vinegar, stone-ground mustard, horseradish, black pepper, salt, garlic powder, onion powder, Worcestershire sauce, hot sauce, honey or sugar (if using), lemon juice (if using), and either MSG or dill pickle brine (if using) until completely smooth and well combined.

    Adjust and Chill

    Taste and adjust seasoning: add a splash more vinegar for extra tang, a bit more honey or sugar to round the acidity, or additional hot sauce and horseradish for more heat. The sauce should taste slightly sharper and more intense than you want it to finish, as the flavors will mellow while chilling.

    Cover and refrigerate for at least 2 hours, preferably overnight, to allow the flavors to blend and the pepper to soften. Stir well before serving. Use within about 1 week.

    Yield: About 1¼ cups (300 ml), 10–12 servings.


    Notes

    Preparation

    • Use a good-quality, full-fat mayonnaise for best texture and flavor; reduced-fat mayo will make the sauce thinner and less stable.
    • Prepared horseradish varies in strength—start on the low end and add more to taste once everything is mixed.
    • The optional honey or sugar doesn’t make the sauce noticeably sweet; it simply softens the acidity and heat for a more rounded, restaurant-style finish.
    • Toasting the black pepper is optional but enhances its aroma and adds a slightly deeper, smokier note.

    Variations

    • Salad Dressing: For a creamy, tangy salad dressing, whisk in 2–3 tbsp buttermilk per 1 cup of sauce until pourable. Adjust salt and pepper to taste.
    • Sandwich Spread: For a slightly looser spread for sandwiches or pulled pork, whisk in about 1 tbsp buttermilk per 1 cup of sauce, or simply use the sauce as-is.
    • Extra-Spicy Version: Increase the hot sauce to 1–1½ tsp, add more horseradish to taste, and consider a pinch of cayenne for a lingering heat.
    • Smoky Version: Add ⅛–¼ tsp smoked paprika or a few drops of liquid smoke for a subtle smoky note.
    • Herb Variation: Stir in 1–2 tbsp finely chopped fresh parsley, chives, or dill just before serving for a fresher, greener profile.

    Serving Suggestions

    • Brush over grilled or smoked chicken during the last 3–5 minutes of cooking, then serve extra on the side for dipping.
    • Drizzle over pulled pork sandwiches or use as a sandwich spread in place of plain mayonnaise.
    • Serve as a dipping sauce for smoked turkey, ribs, or grilled vegetables.
    • Thin slightly with water or buttermilk to create a drizzle for grain bowls, roasted potatoes, or chopped salads.

    Make-Ahead & Storage

    • This sauce is best made at least a few hours in advance; overnight chilling gives the most balanced flavor.
    • Store in an airtight container in the refrigerator for up to 1 week, stirring before each use.
    • Because the base is mayonnaise, do not freeze; the emulsion will break once thawed.
    • Always use clean utensils when dipping into the sauce to maximize its shelf life.
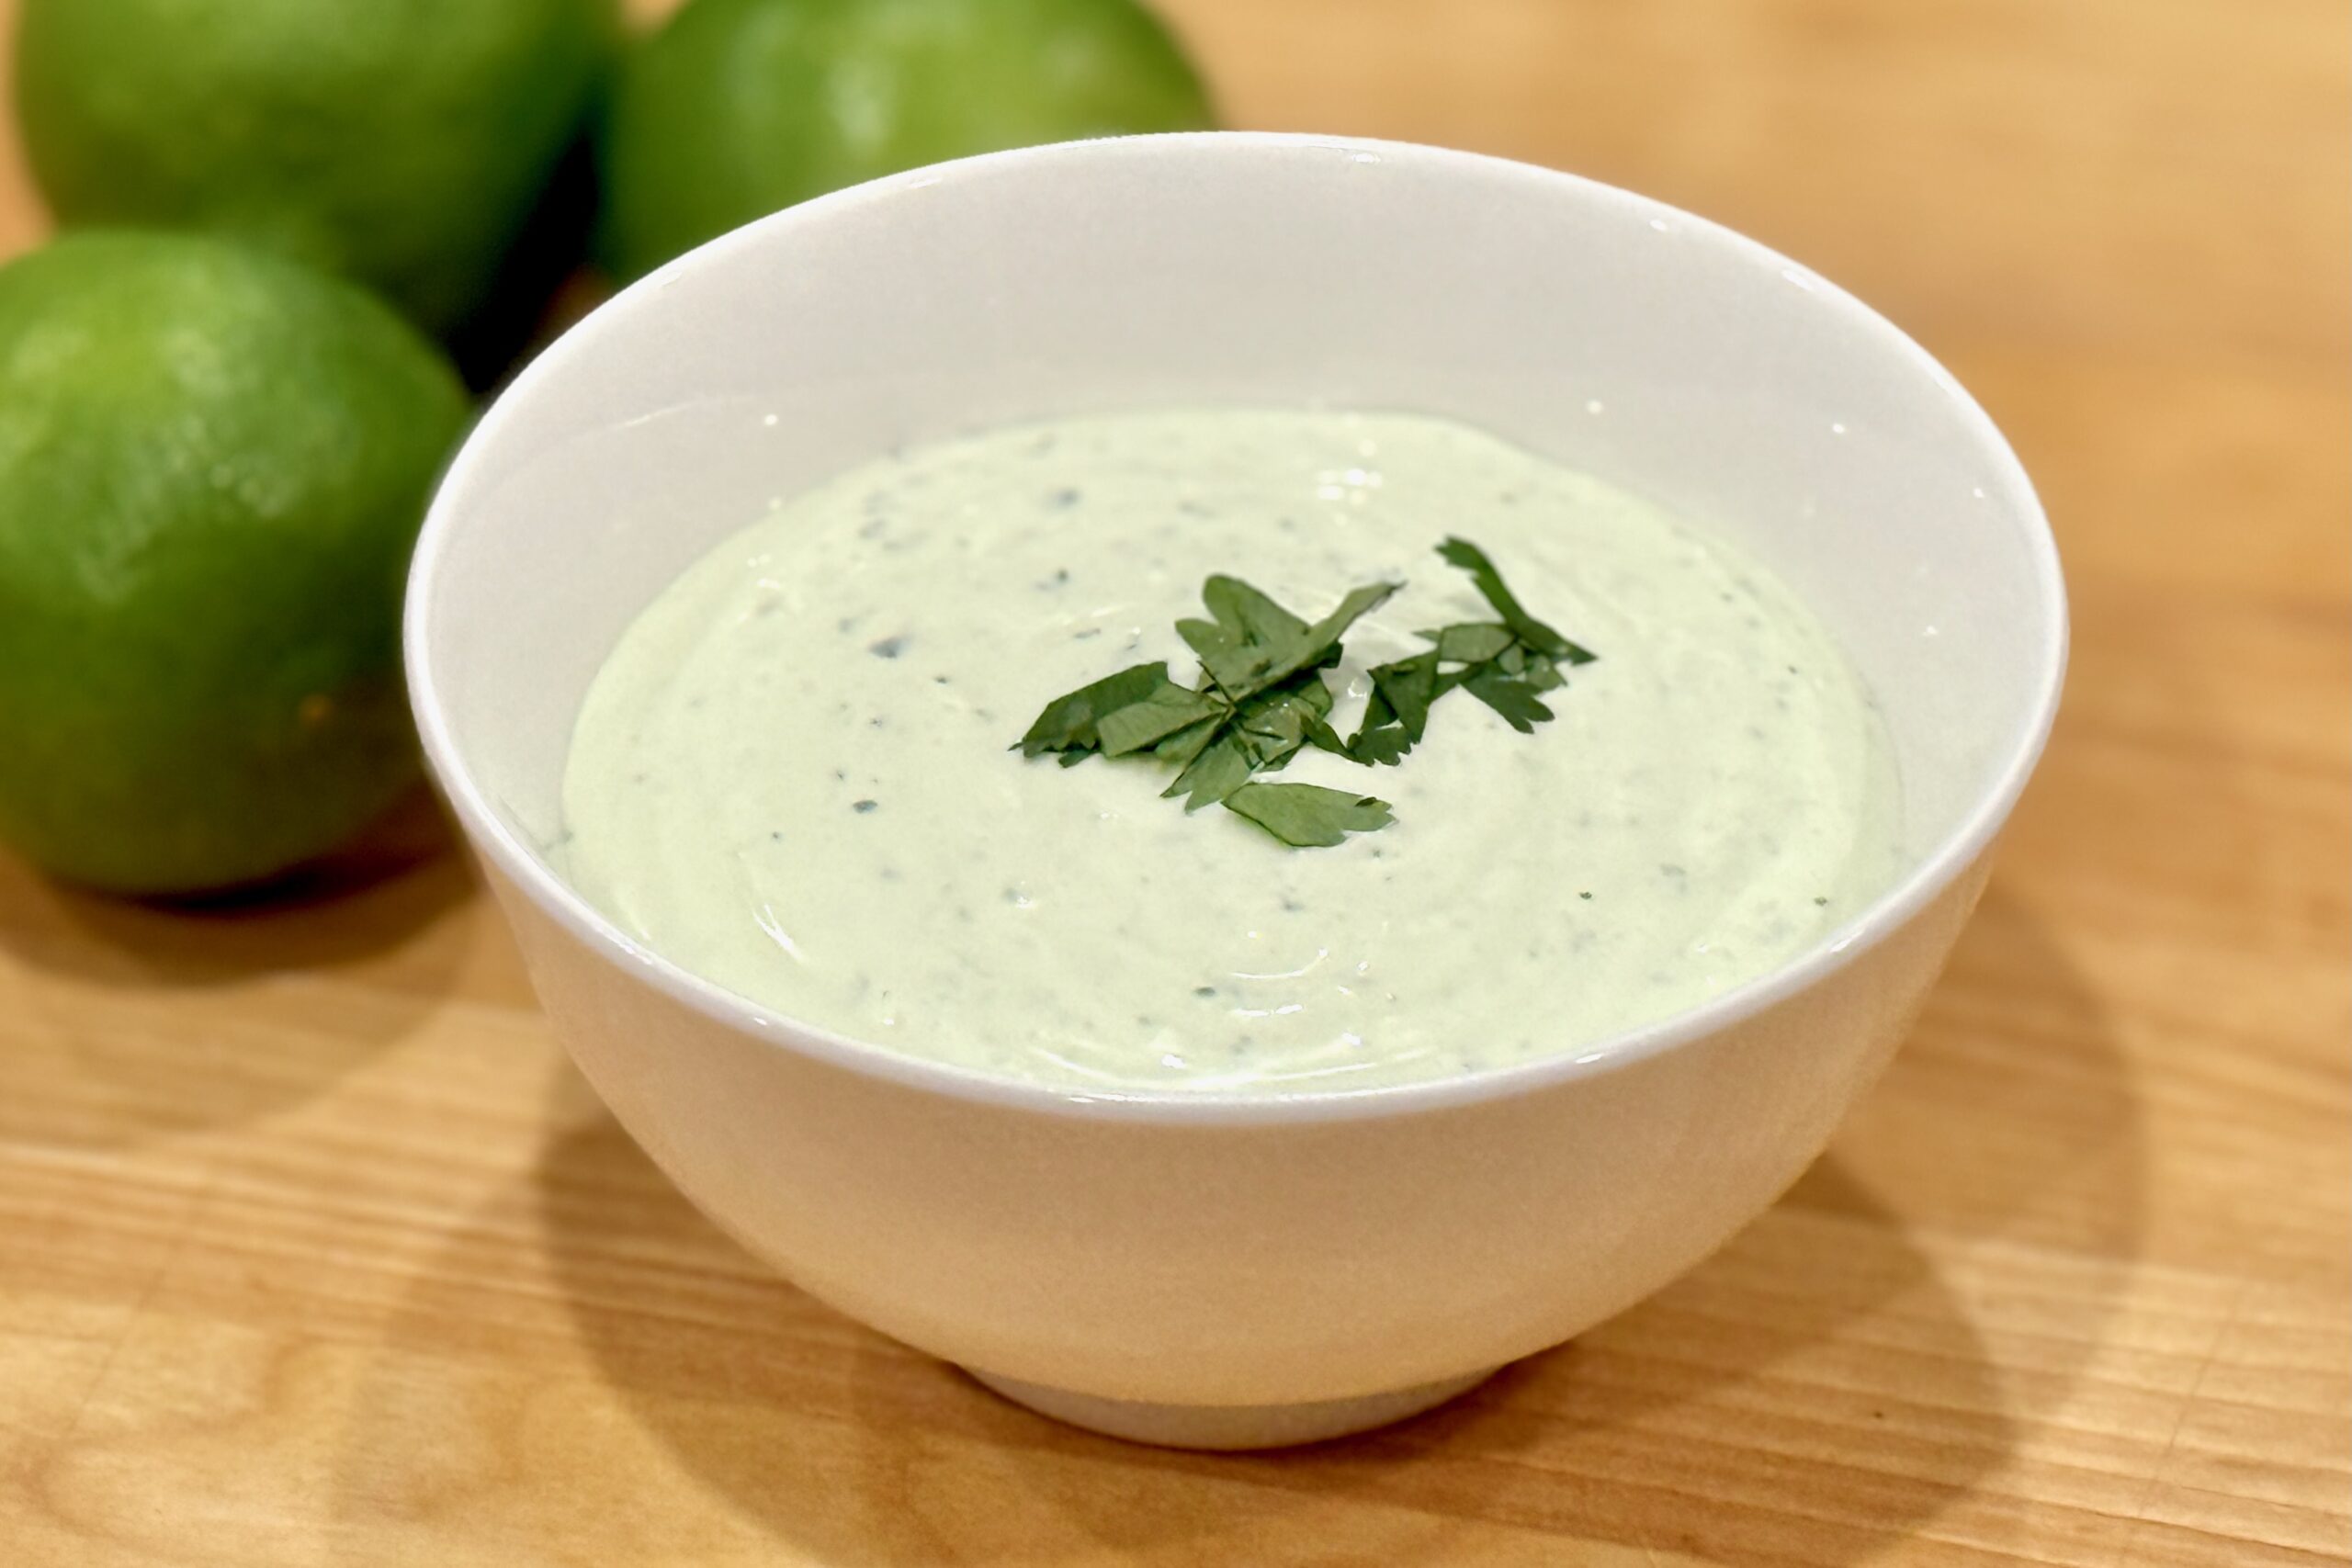
  • Cilantro-Lime Crema

    Cilantro-Lime Crema

    Smooth, tangy, and fresh—this cilantro-lime crema adds a bright, herby finish to tacos, enchiladas, grilled meats, and especially Chilaquiles Verdes. The balance of sour cream and mayonnaise gives it a silky texture that clings beautifully while staying light and refreshing.


    Ingredients

    • ¾ cup sour cream
    • ¼ cup mayonnaise
    • ½ cup fresh cilantro (leaves plus tender stems)
    • 1½ tbsp lime juice (plus ½ tsp reserved for finishing)
    • 1 tsp lime zest
    • 1 small clove garlic, grated or minced
    • ¼ tsp table salt
    • 1–2 tbsp water, as needed to thin

    Optional Add-Ins

    • ½ small jalapeño (seeded) for mild heat and vibrant color
    • 1 tsp pickled jalapeño brine for extra tang and brightness
    • A few drops chipotle adobo liquid for a smoky, savory variation

    Directions

    Blend the Crema

    Combine sour cream, mayonnaise, cilantro, lime juice, lime zest, garlic, salt, and 1 tbsp water in a blender or small food processor.

    Pulse several times, then blend until smooth and light green. If too thick, add more water a teaspoon at a time until the crema reaches a drizzleable consistency.

    Finish and Adjust

    Stir in the reserved ½ tsp lime juice for a burst of fresh citrus at the end. Taste and adjust seasoning—add more salt or lime juice to balance tang and creaminess.

    For a thinner drizzle, whisk in an extra splash of water.

    Serve or Chill

    Transfer to an airtight container and refrigerate for at least 30 minutes to let flavors meld. Stir before using. Serve cold or at cool room temperature.


    Notes

    Preparation

    • Combining sour cream and mayonnaise gives the crema a silky body that clings beautifully to food.
    • Include cilantro stems for extra aroma and a brighter green hue.
    • Blend briefly (10–15 seconds) to preserve color; over-blending can dull the green.
    • Add reserved lime juice at the end to refresh flavor after blending.

    Serving Suggestions

    • Drizzle over tacos, enchiladas, burrito bowls, or grilled meats.
    • Perfect accompaniment for Chilaquiles Verdes.
    • Use as a dipping sauce for vegetables or empanadas.

    Variations

    • Add ½ small jalapeño for mild heat and brighter color.
    • Blend in ¼ avocado for a creamier, thicker crema; reduce water slightly.
    • For smoky flavor, replace garlic with ½ tsp chipotle adobo sauce.

    Make-Ahead & Storage

    • Refrigerate in an airtight container up to 5 days; stir before serving.
    • Flavor deepens after a few hours as the lime and garlic infuse.
    • Not suitable for freezing—fresh herbs and dairy will separate.
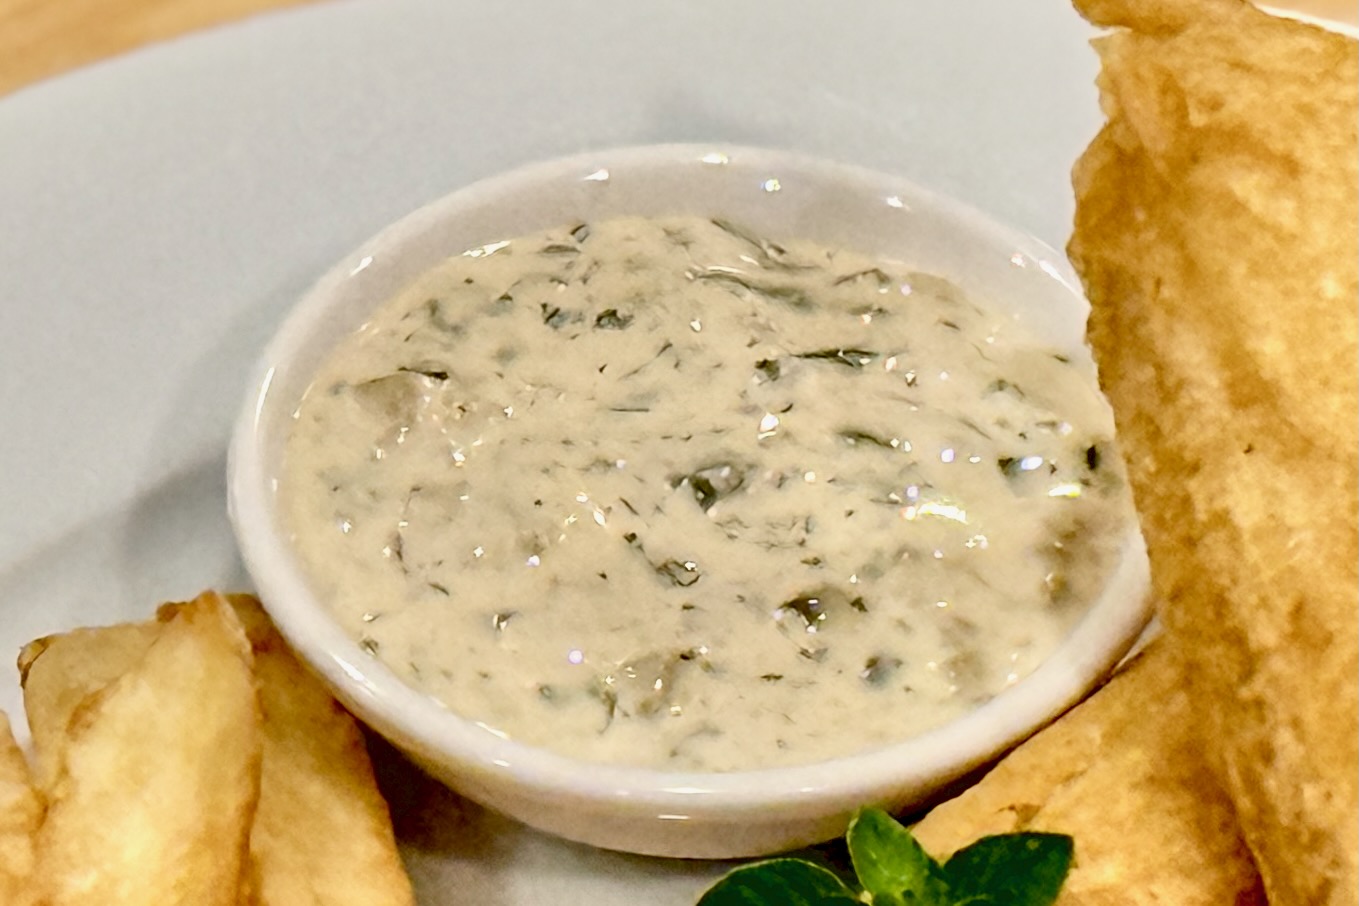
  • Tartar Sauce

    Tartar Sauce

    This creamy, tangy tartar sauce comes together in minutes and tastes far fresher than anything store-bought. Bright citrus, briny capers, and herbs make it a perfect companion for fried fish, crab cakes, or roasted vegetables.


    Ingredients

    • 1 cup mayonnaise
    • ½ cup dill relish
    • 1 tbsp capers, rinsed and chopped
    • 1 tbsp fresh parsley (or 1 tsp dried)
    • 1 small shallot, finely chopped (or ½ tsp onion powder)
    • 1 tbsp lemon or lime juice
    • 1 tsp lemon or lime zest
    • 2 tsp Worcestershire sauce
    • 1 tsp Dijon mustard
    • ¼ tsp Tapatío hot sauce
    • salt & pepper, to taste
    • Optional Add-Ins

    • 1 tbsp fresh tarragon (or 1 tsp dried)
    • ½ tbsp fresh dill (or ½ tsp dried)
    • 1 tsp honey
    • ¼ cup crème fraîche or sour cream

    Directions

    Mix the Sauce

    Whisk together all ingredients in a bowl until well combined.

    Chill for at least 1 hour before serving to let the flavors meld.


    Notes

    Preparation

    • Please taste and adjust acidity—add more citrus juice if serving with rich fried foods.
    • For a chunkier texture, use whole dill pickles and hand-chop them instead of relish.
    • Fresh herbs brighten the sauce significantly, but dried herbs still work well.

    Serving Suggestions

    • Serve with Beer Battered Halibut, fish sticks, crab cakes, or shrimp.
    • Use as a spread for fish sandwiches or grilled chicken.
    • Try as a dip for roasted potatoes or fries.

    Variations

    • Swap dill relish for chopped cornichons for a sharper, French-style flavor.
    • Add a pinch of smoked paprika for a subtle smoky note.
    • Fold in a spoonful of crème fraîche for a lighter, silkier version.

    Make-Ahead & Storage

    • Keeps 4–5 days in the refrigerator in an airtight container.
    • Stir before serving, as some separation is normal.
    • Not suitable for freezing due to the mayonnaise base.