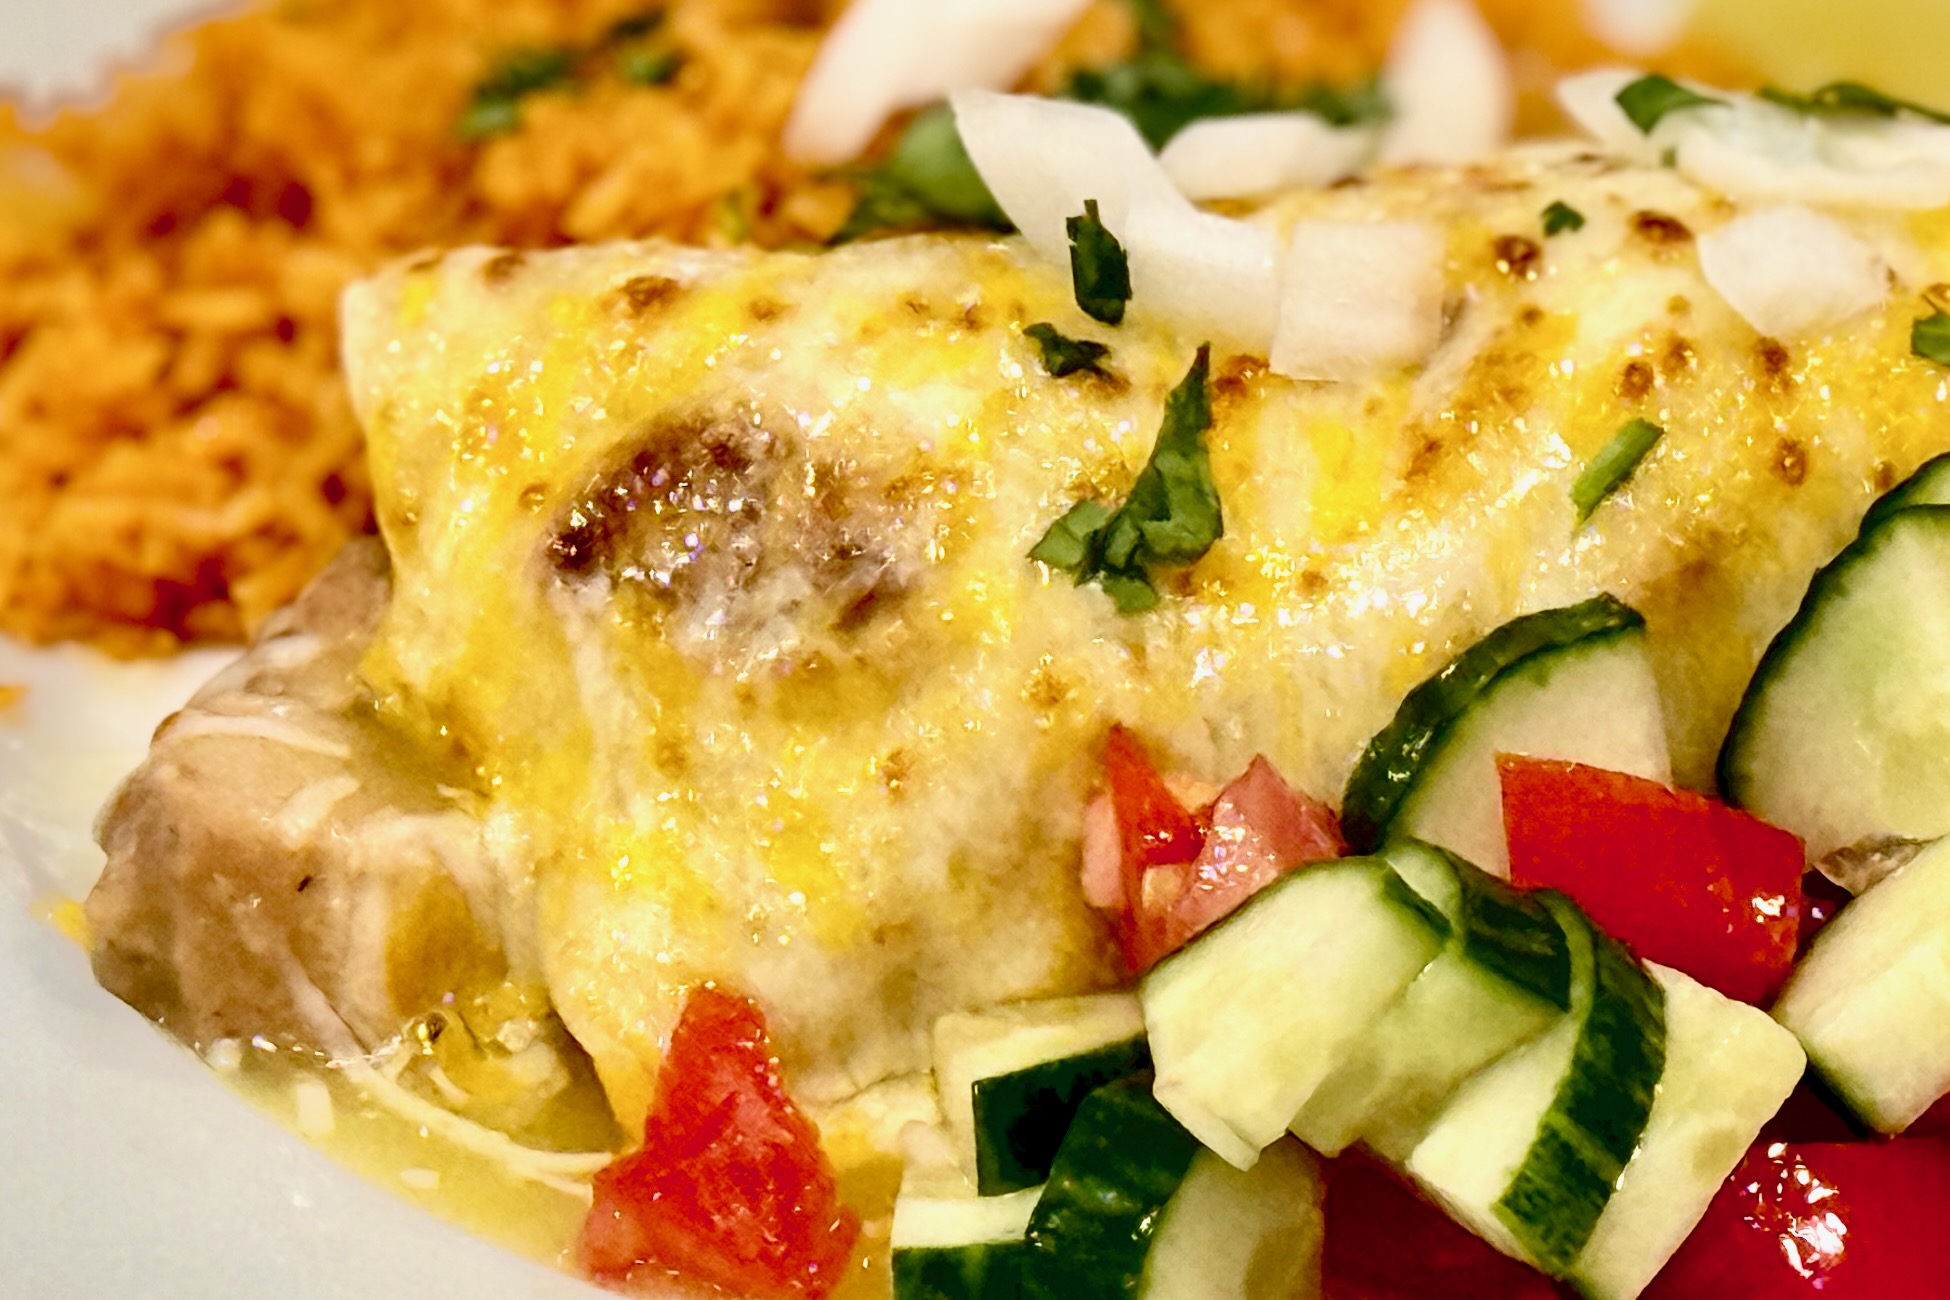
Green Chicken Enchiladas: Bright, tangy tomatillo sauce, tender chicken, and melty jack cheese wrapped in soft corn tortillas—these restaurant-style enchiladas verdes de pollo get their signature flavor from our homemade Green Enchilada Sauce, finished with cilantro-lime crema and crisp garnishes.
Ingredients
For the Enchiladas
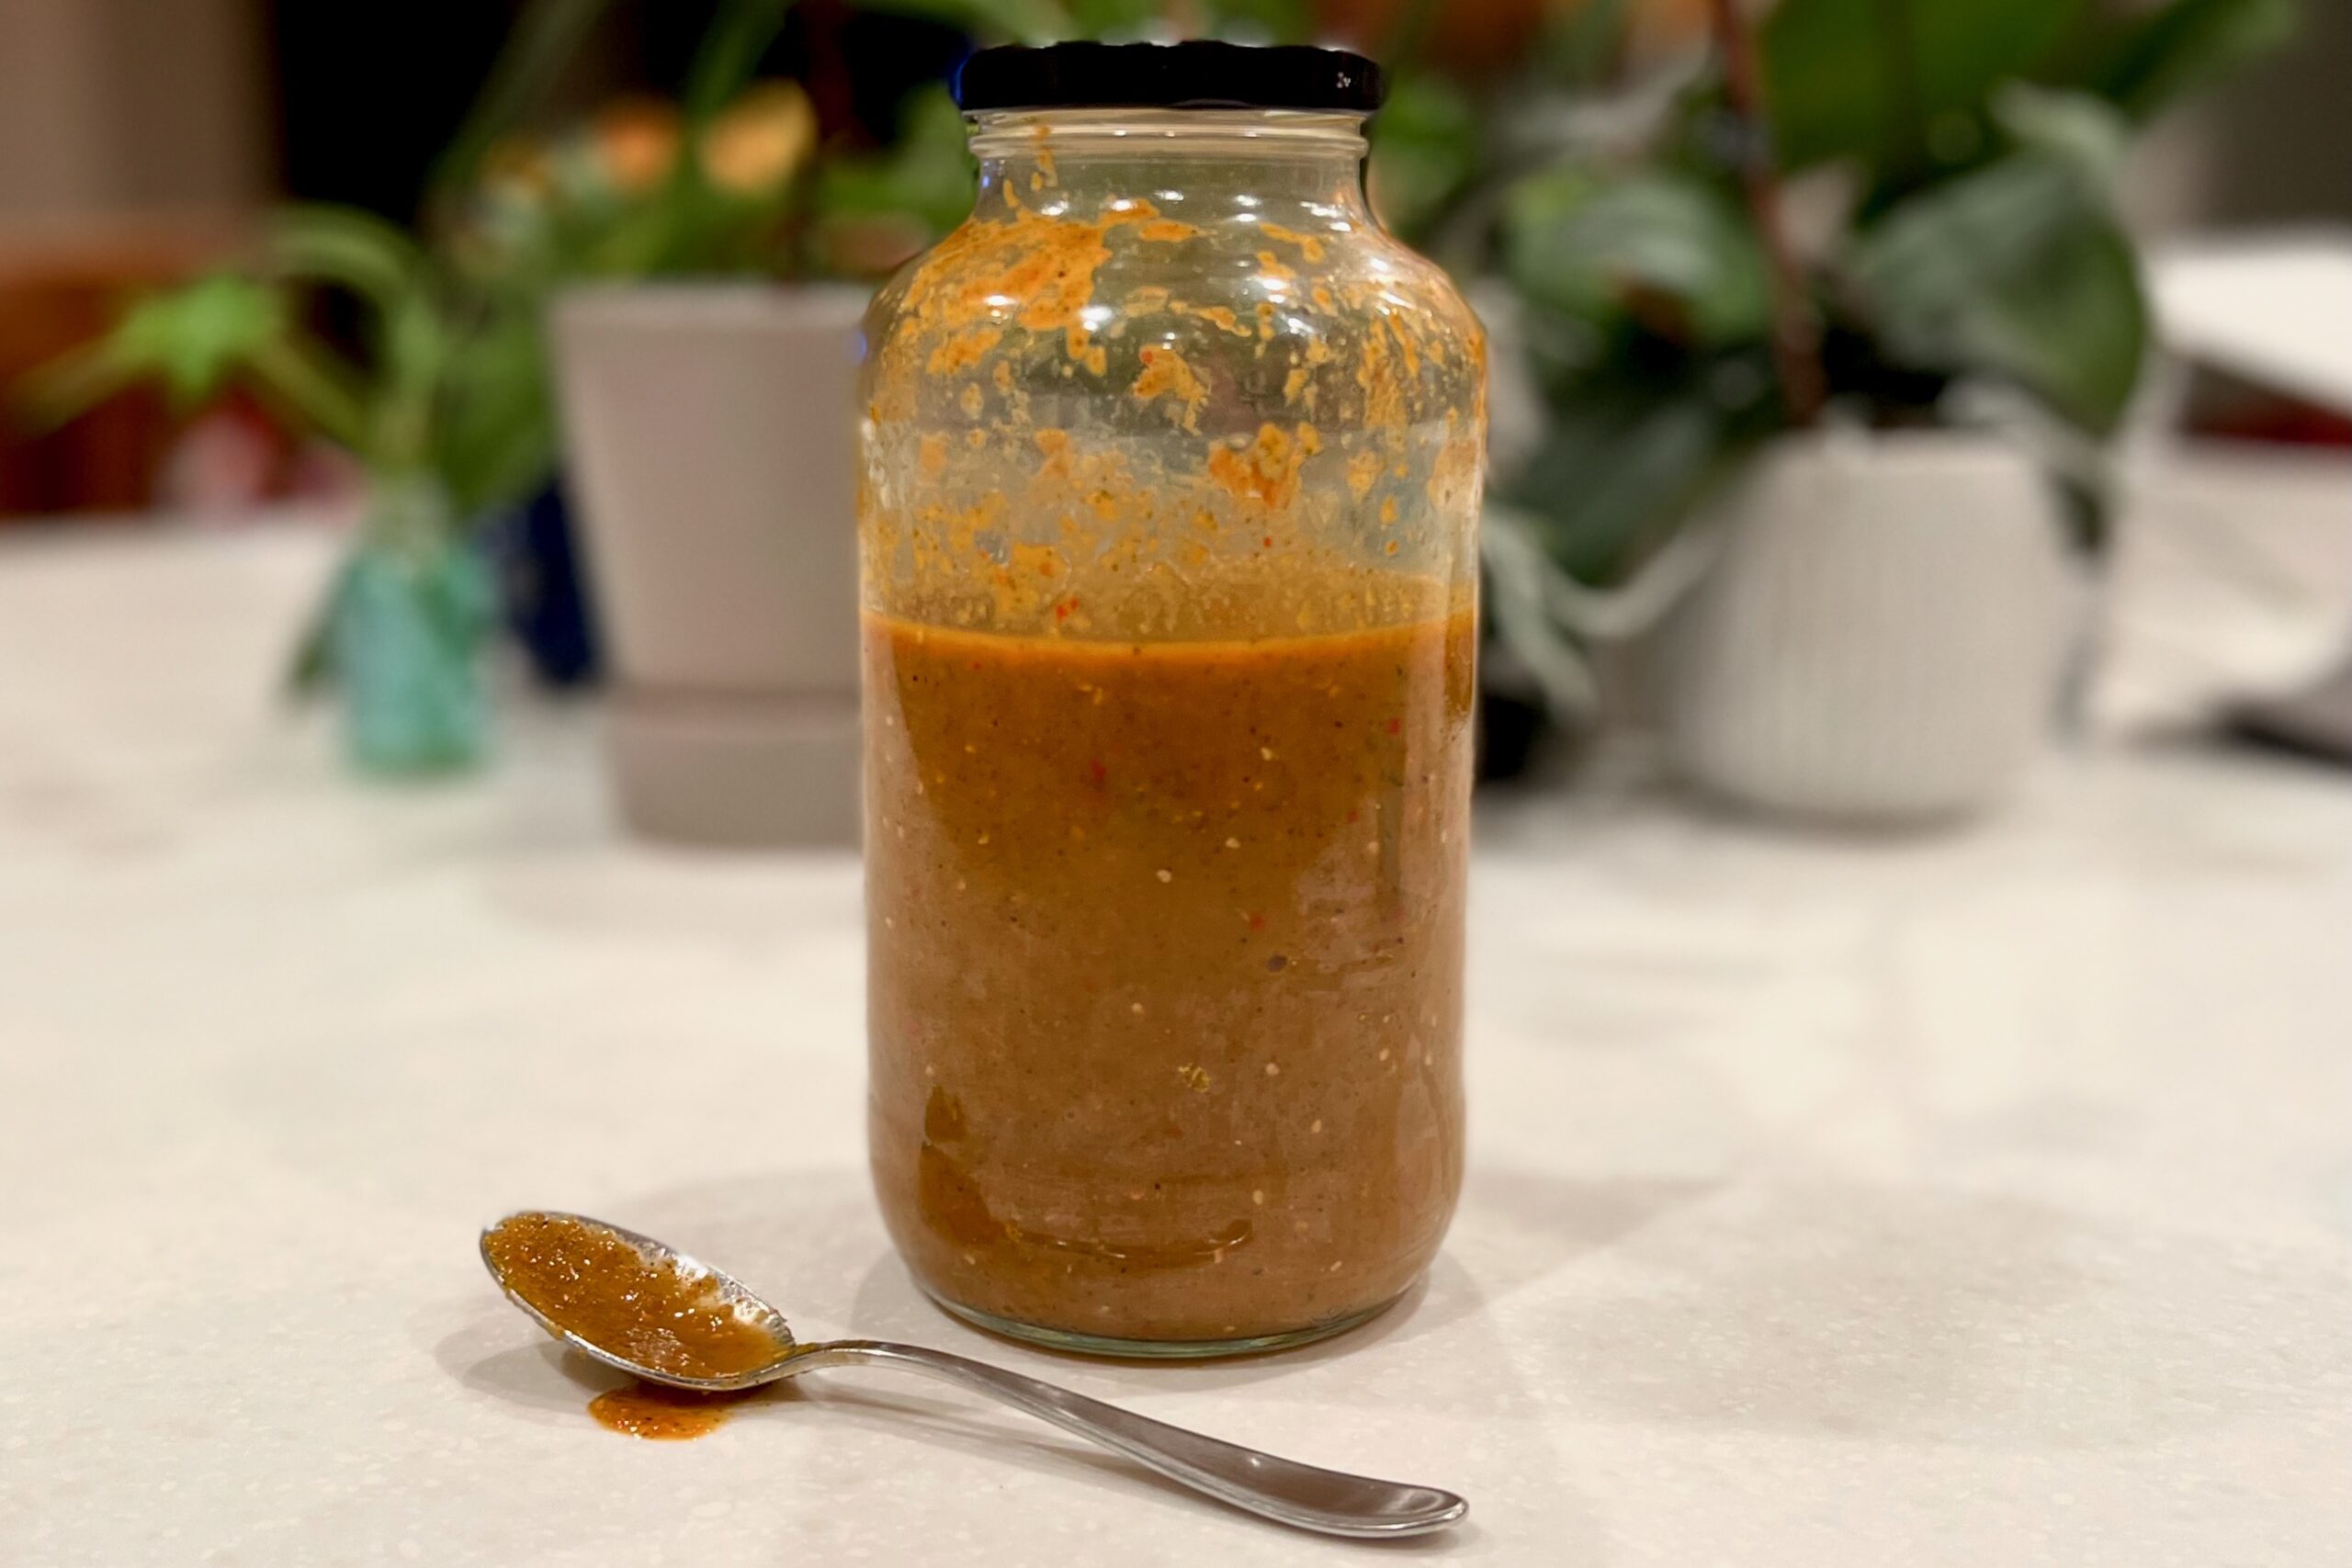
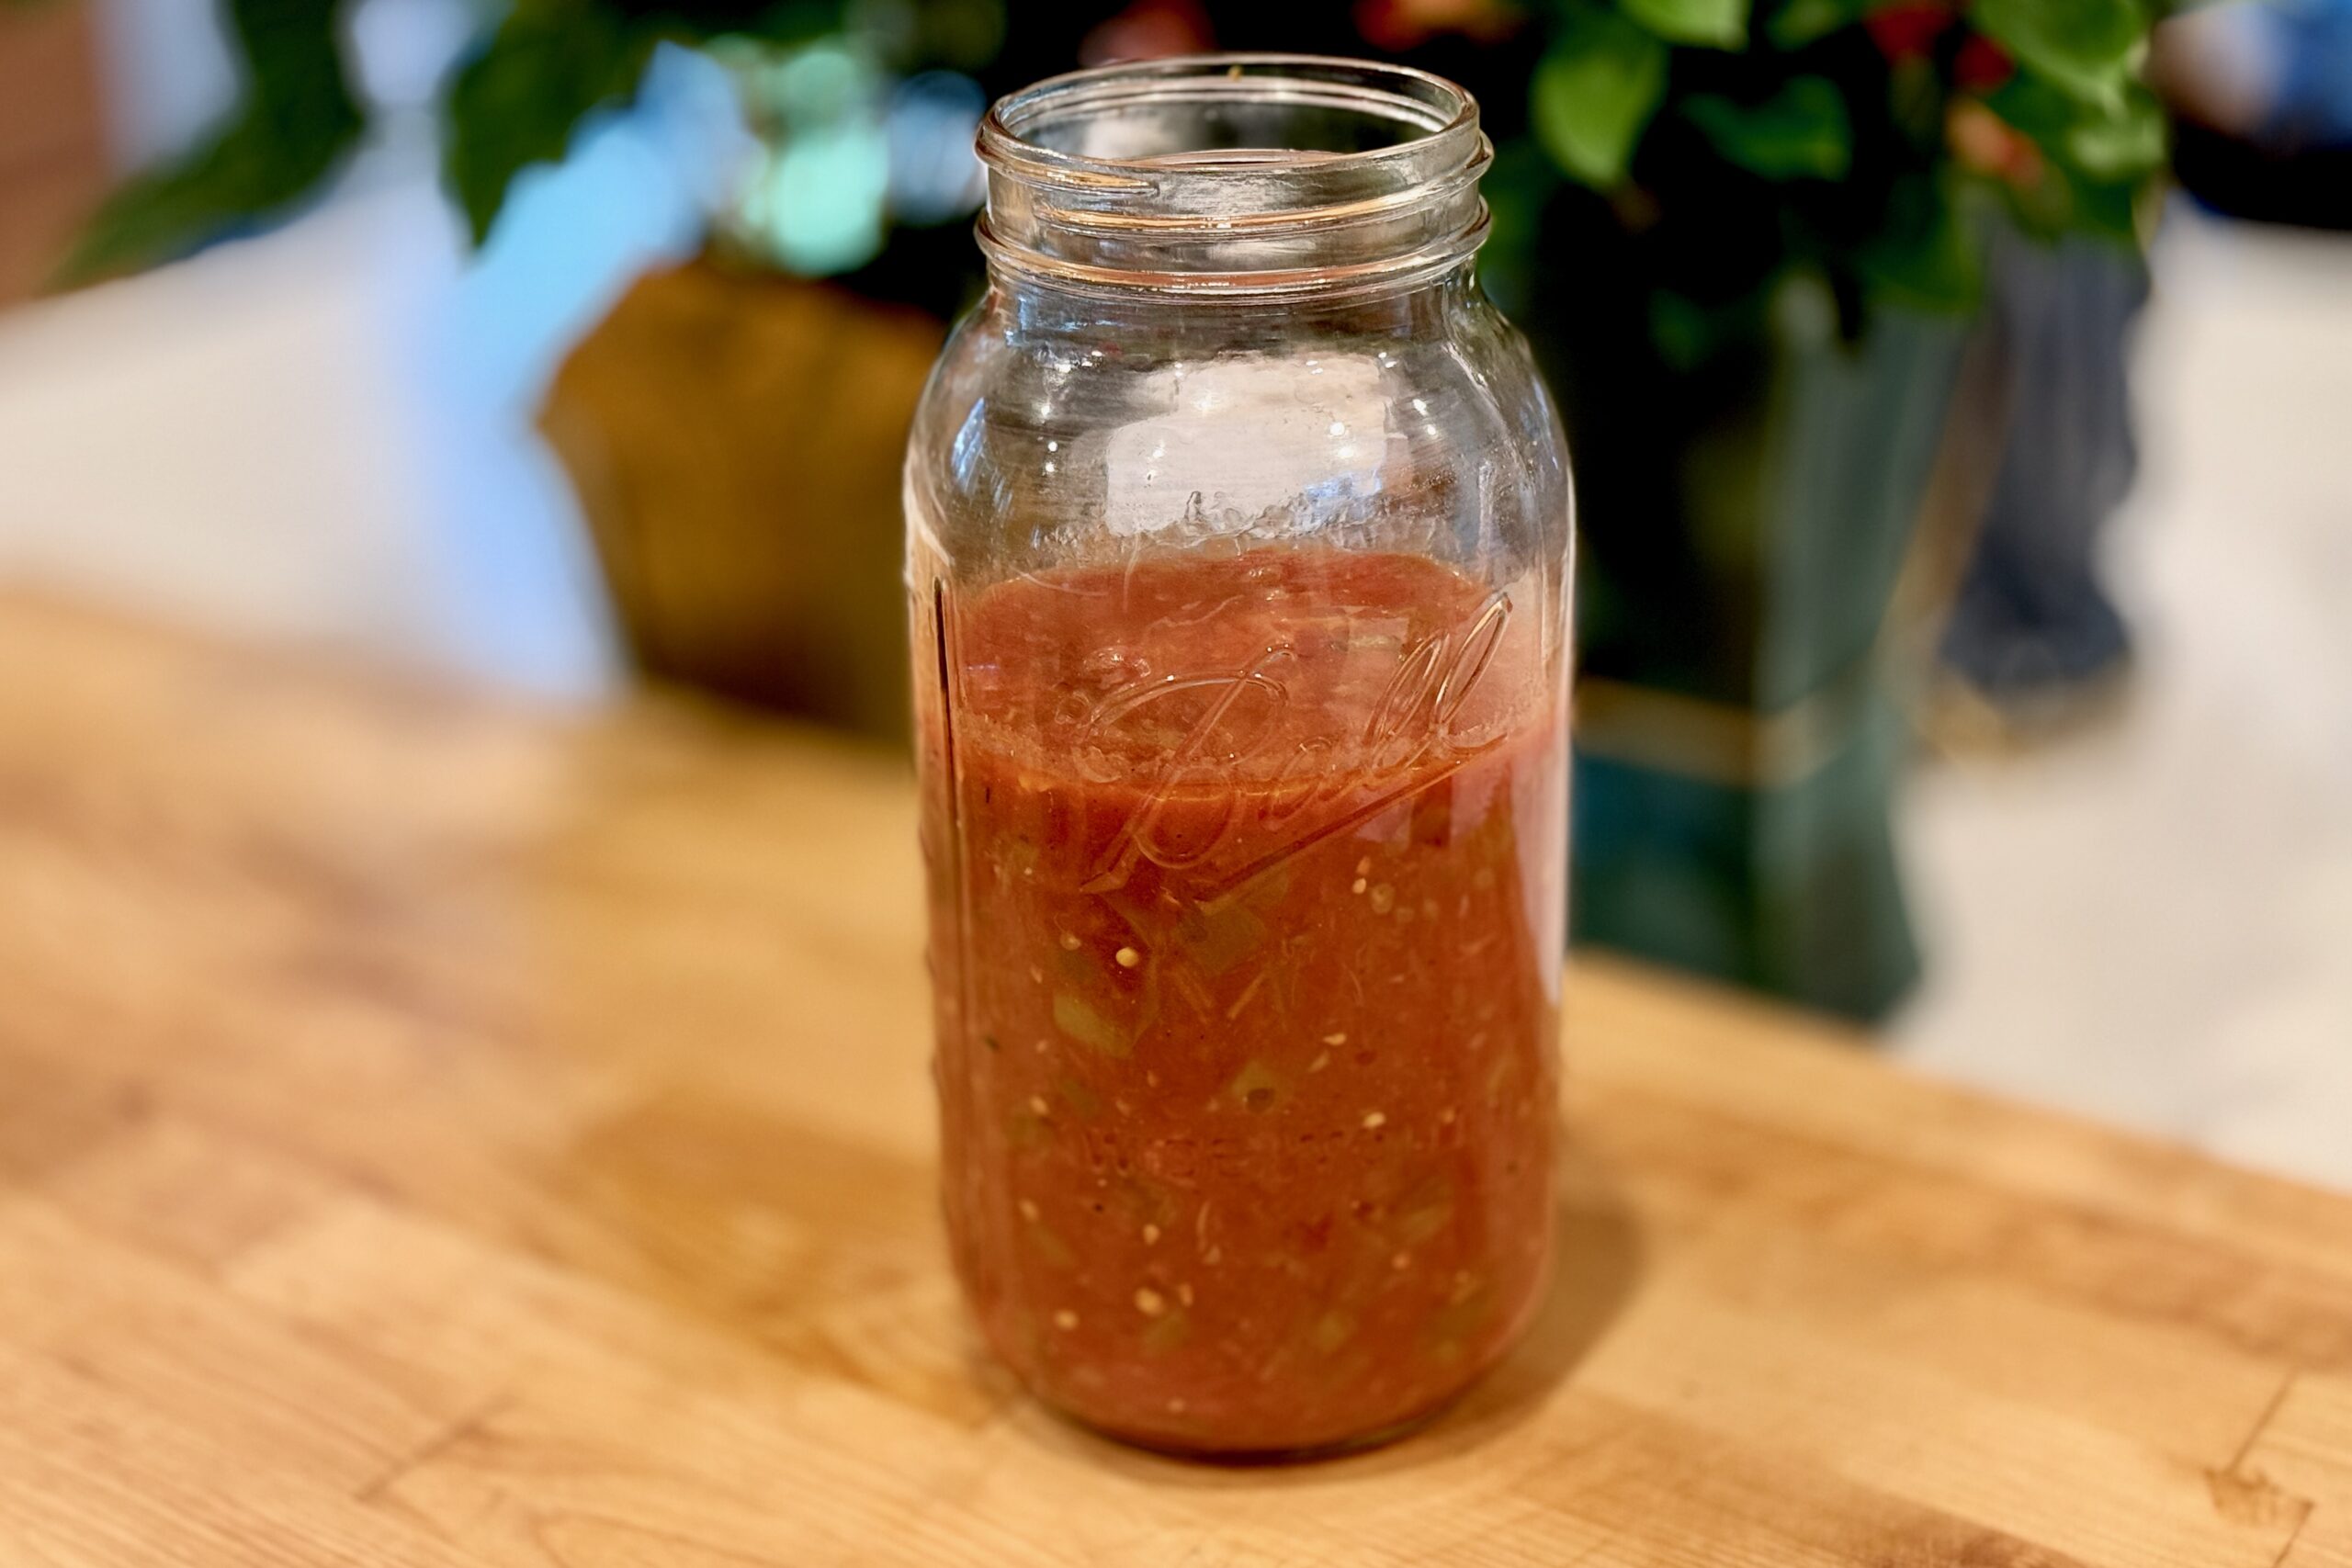
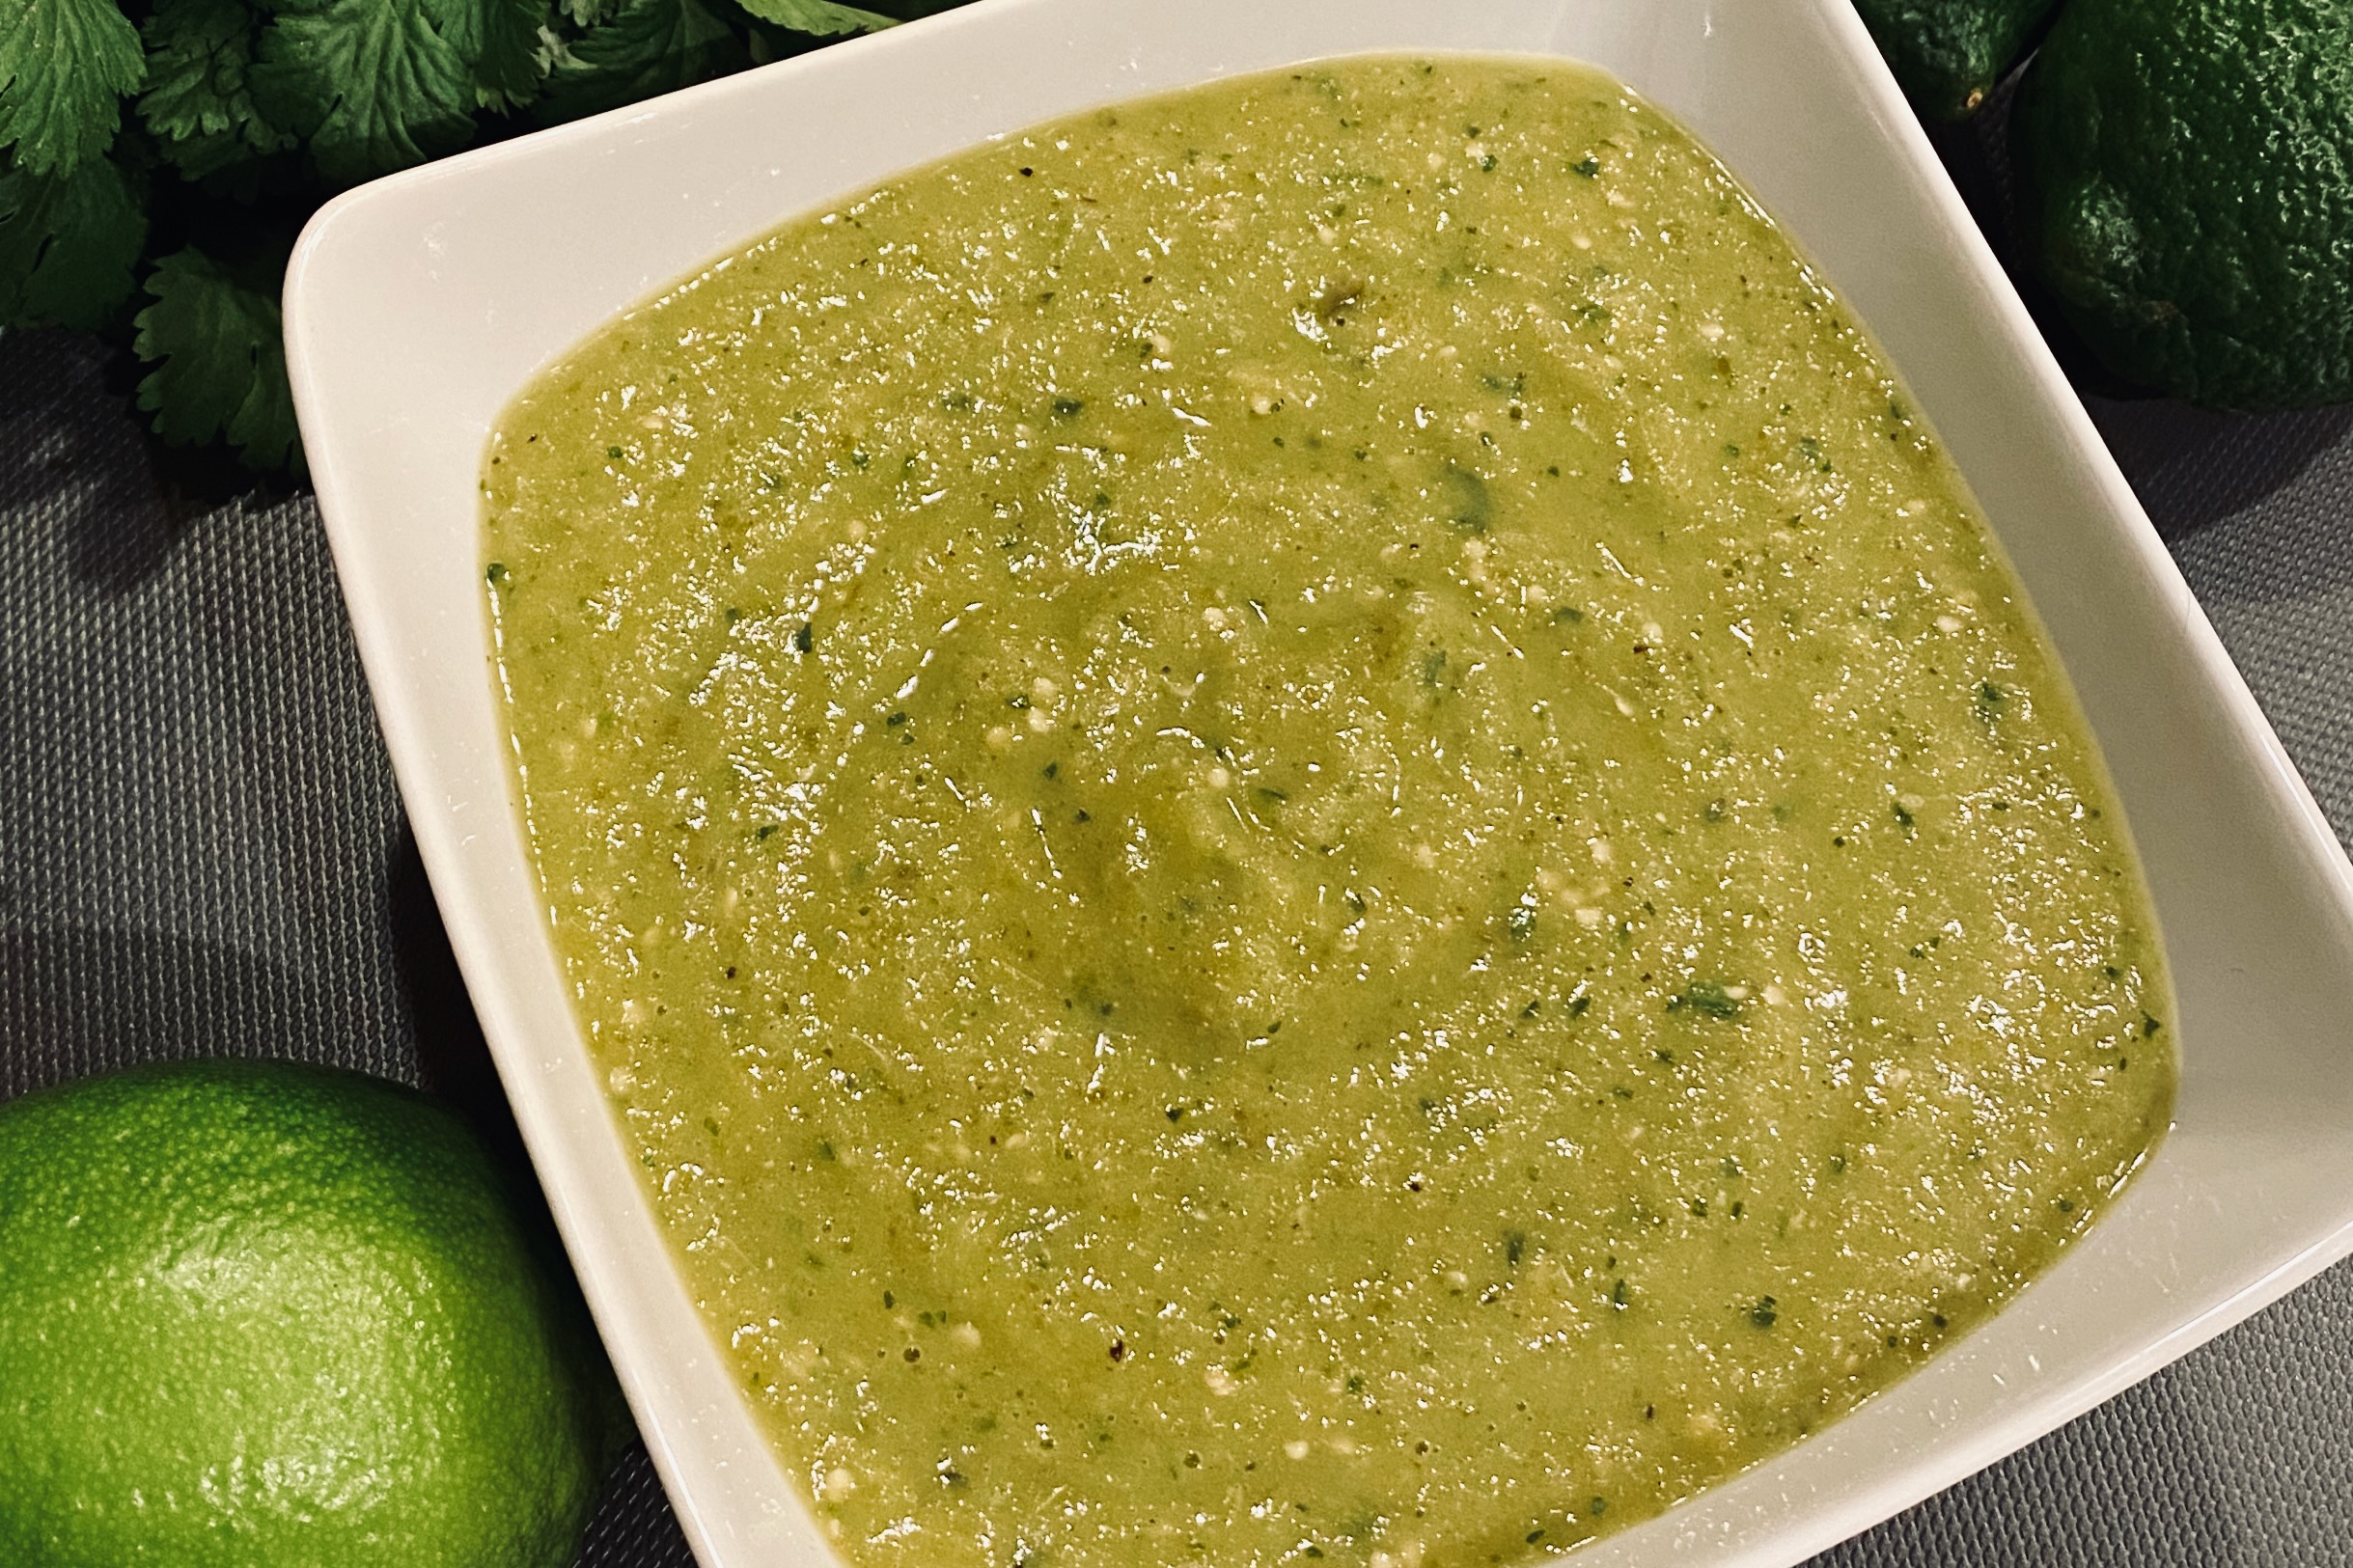
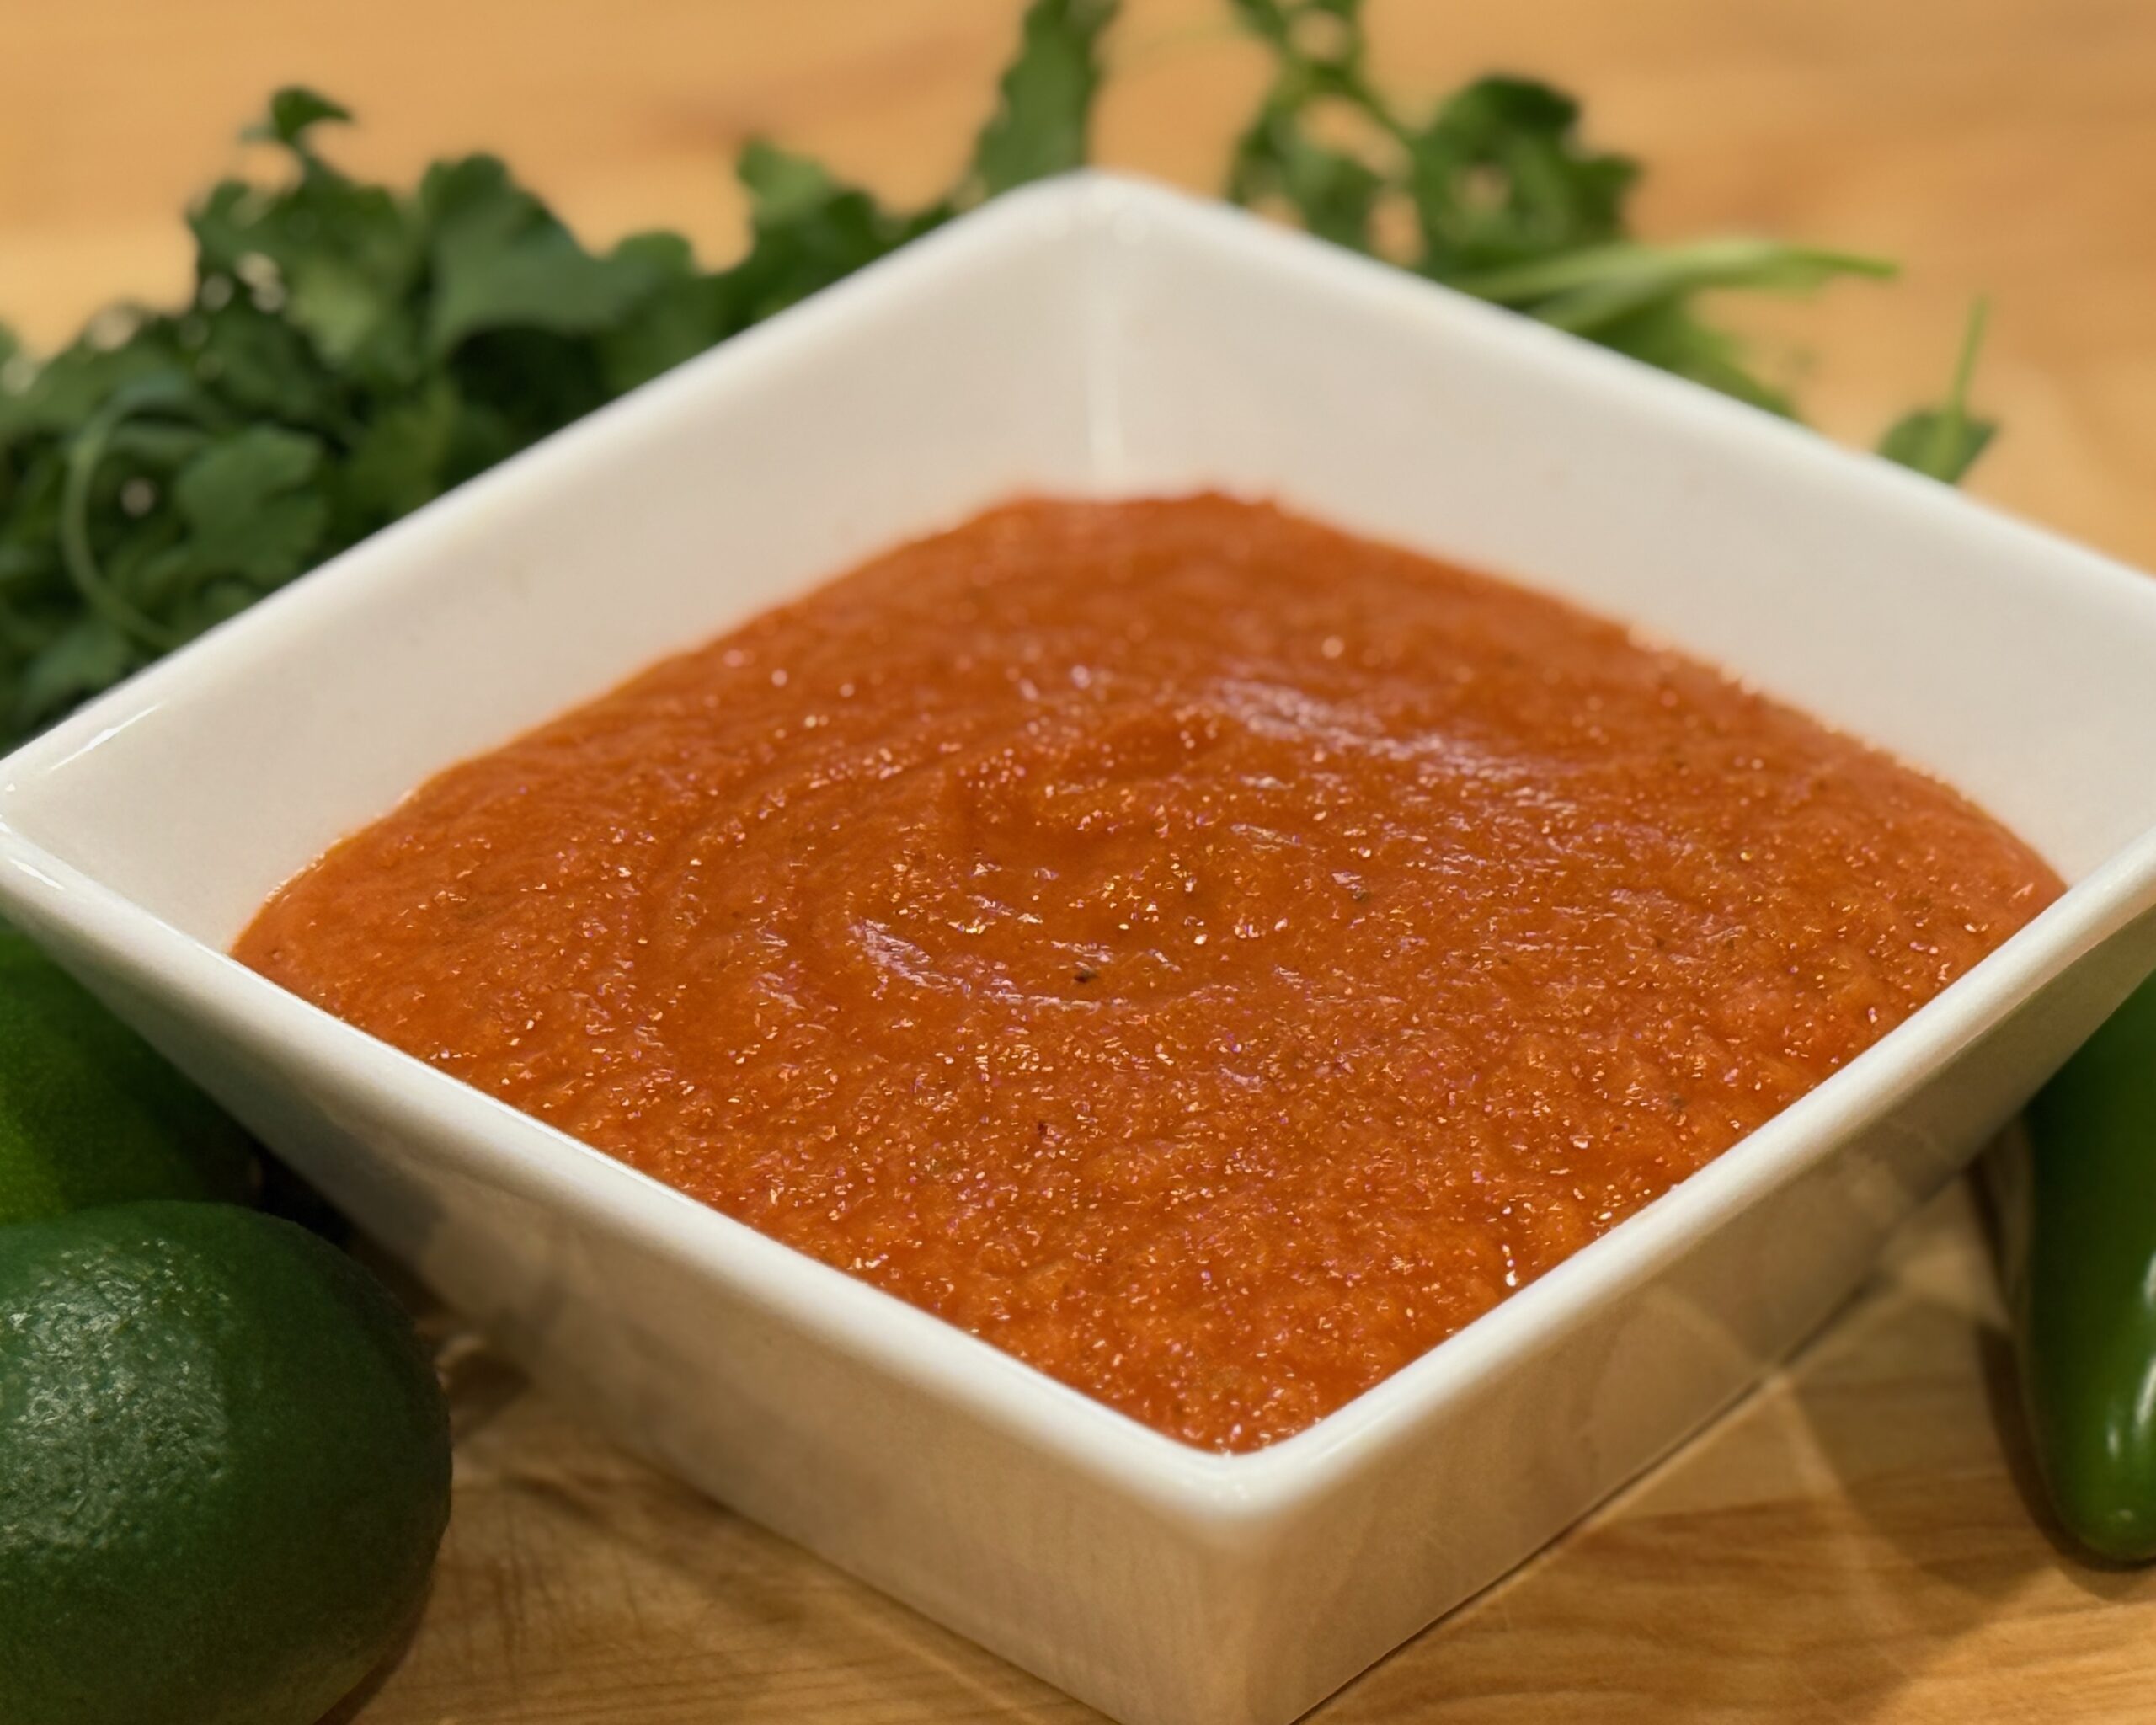
- 1 recipe Green Enchilada Sauce, warmed
- 12 corn tortillas
- neutral oil, for soft-frying tortillas
- 1 cup chicken broth (for loosening sauce and moistening filling, as needed)
For the Filling
- 3 cups cooked shredded chicken (recommended: rotisserie; see optional poached method)
- 1½ cups shredded monterey jack cheese (plus ½ cup for topping)
- ¼ cup crema (or sour cream)
- ½ tsp table salt, or to taste
- freshly ground black pepper, to taste
- 1–2 tbsp warm Green Enchilada Sauce (to season chicken before mixing)
- 2 tsp fresh lime juice (optional, brightens the filling)
For Assembly & Garnish
- reserved warm Green Enchilada Sauce (for coating tortillas and topping)
- Cilantro Lime Crema, for drizzling
- Lime Pickled Red Onions
- pickled jalapeños
- fresh cilantro, chopped
- 1 small white onion, finely diced
- avocado, sliced (optional)
- queso fresco or cotija, crumbled (optional)
Directions
Prepare the Chicken
In a bowl, combine shredded chicken with 1–2 tbsp warm Green Enchilada Sauce, ¼ cup crema, 1½ cups monterey jack (reserve remaining ½ cup for topping), salt, pepper, and lime juice (if using). If mixture seems dry, moisten with 1–2 tbsp warm chicken broth. Taste and adjust seasoning.
Optional Poached & Shredded Method
In a saucepan, add chicken breasts, chicken broth to cover by ½ in, 1 smashed garlic clove, and 1 bay leaf. Bring just to a bare simmer; poach gently until cooked through, about 12–15 minutes depending on thickness. Rest 5 minutes, shred, then proceed as above.
Warm the Tortillas
Heat a thin film of oil in a skillet over medium. Briefly pan-fry each tortilla 5–10 seconds per side to soften; stack on a plate and keep covered. Warm the Green Enchilada Sauce separately until just simmering.
Assemble
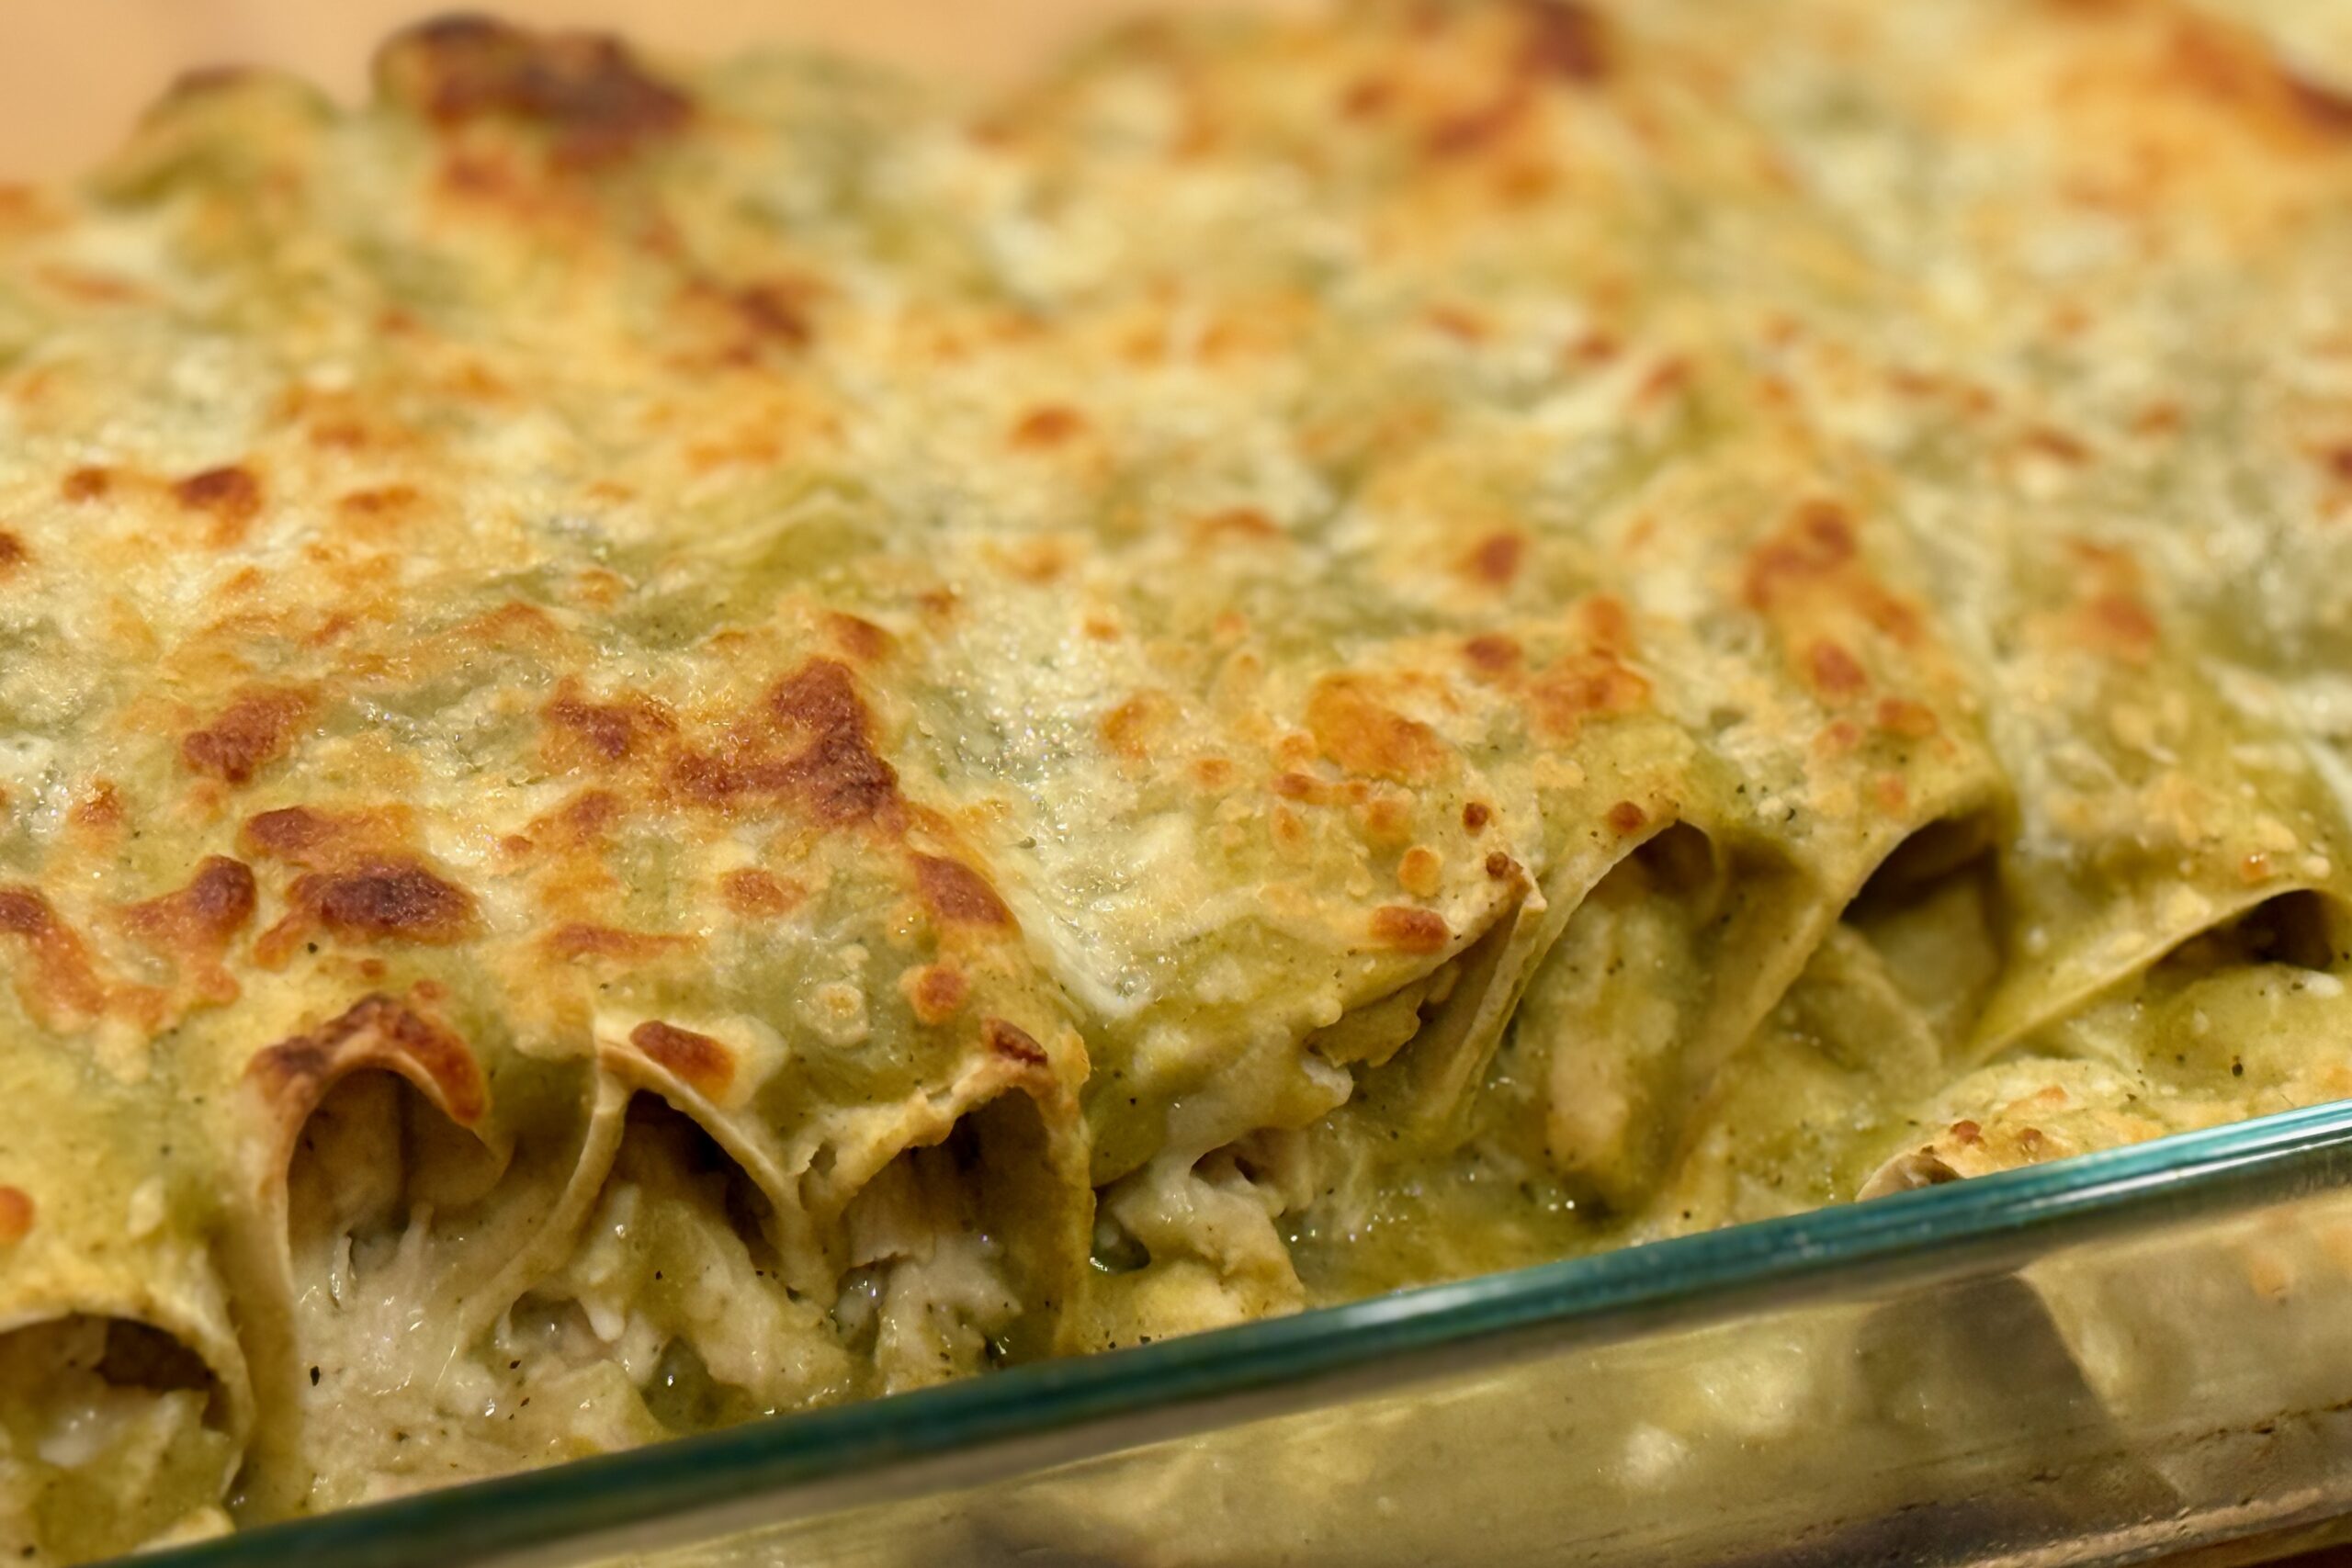
Heat oven to 350–375ºf. Lightly oil a 9×13-in baking dish; spoon ½ cup warm sauce over the bottom. Working one at a time, dip a warm tortilla into the sauce to lightly coat, add about ¼–⅓ cup chicken filling, roll, and place seam-side down in the dish. Repeat with remaining tortillas. Pour remaining sauce evenly over the enchiladas; sprinkle with the reserved ½ cup monterey jack.
Bake
Bake 20–25 minutes until heated through and bubbling. Broil 1–2 minutes at the end for light browning, if desired. Rest 5 minutes.
Garnish & Serve
Drizzle with Cilantro Lime Crema. Top with chopped cilantro, diced onion, pickled jalapeños, and Lime Pickled Red Onions. Add avocado slices and crumbled queso fresco or cotija, if using.
Notes
Preparation
- Bloom the sauce: Simmer the Green Enchilada Sauce 1–2 minutes with a tsp of oil before assembly for deeper flavor.
- Corn tortilla integrity: A quick soft-fry in oil prevents tearing and keeps texture soft yet structured.
- Layered sauce effect: Spoon a thin layer over tortillas before baking, then drizzle a little fresh warm sauce after baking for a vibrant finish.
Serving Suggestions
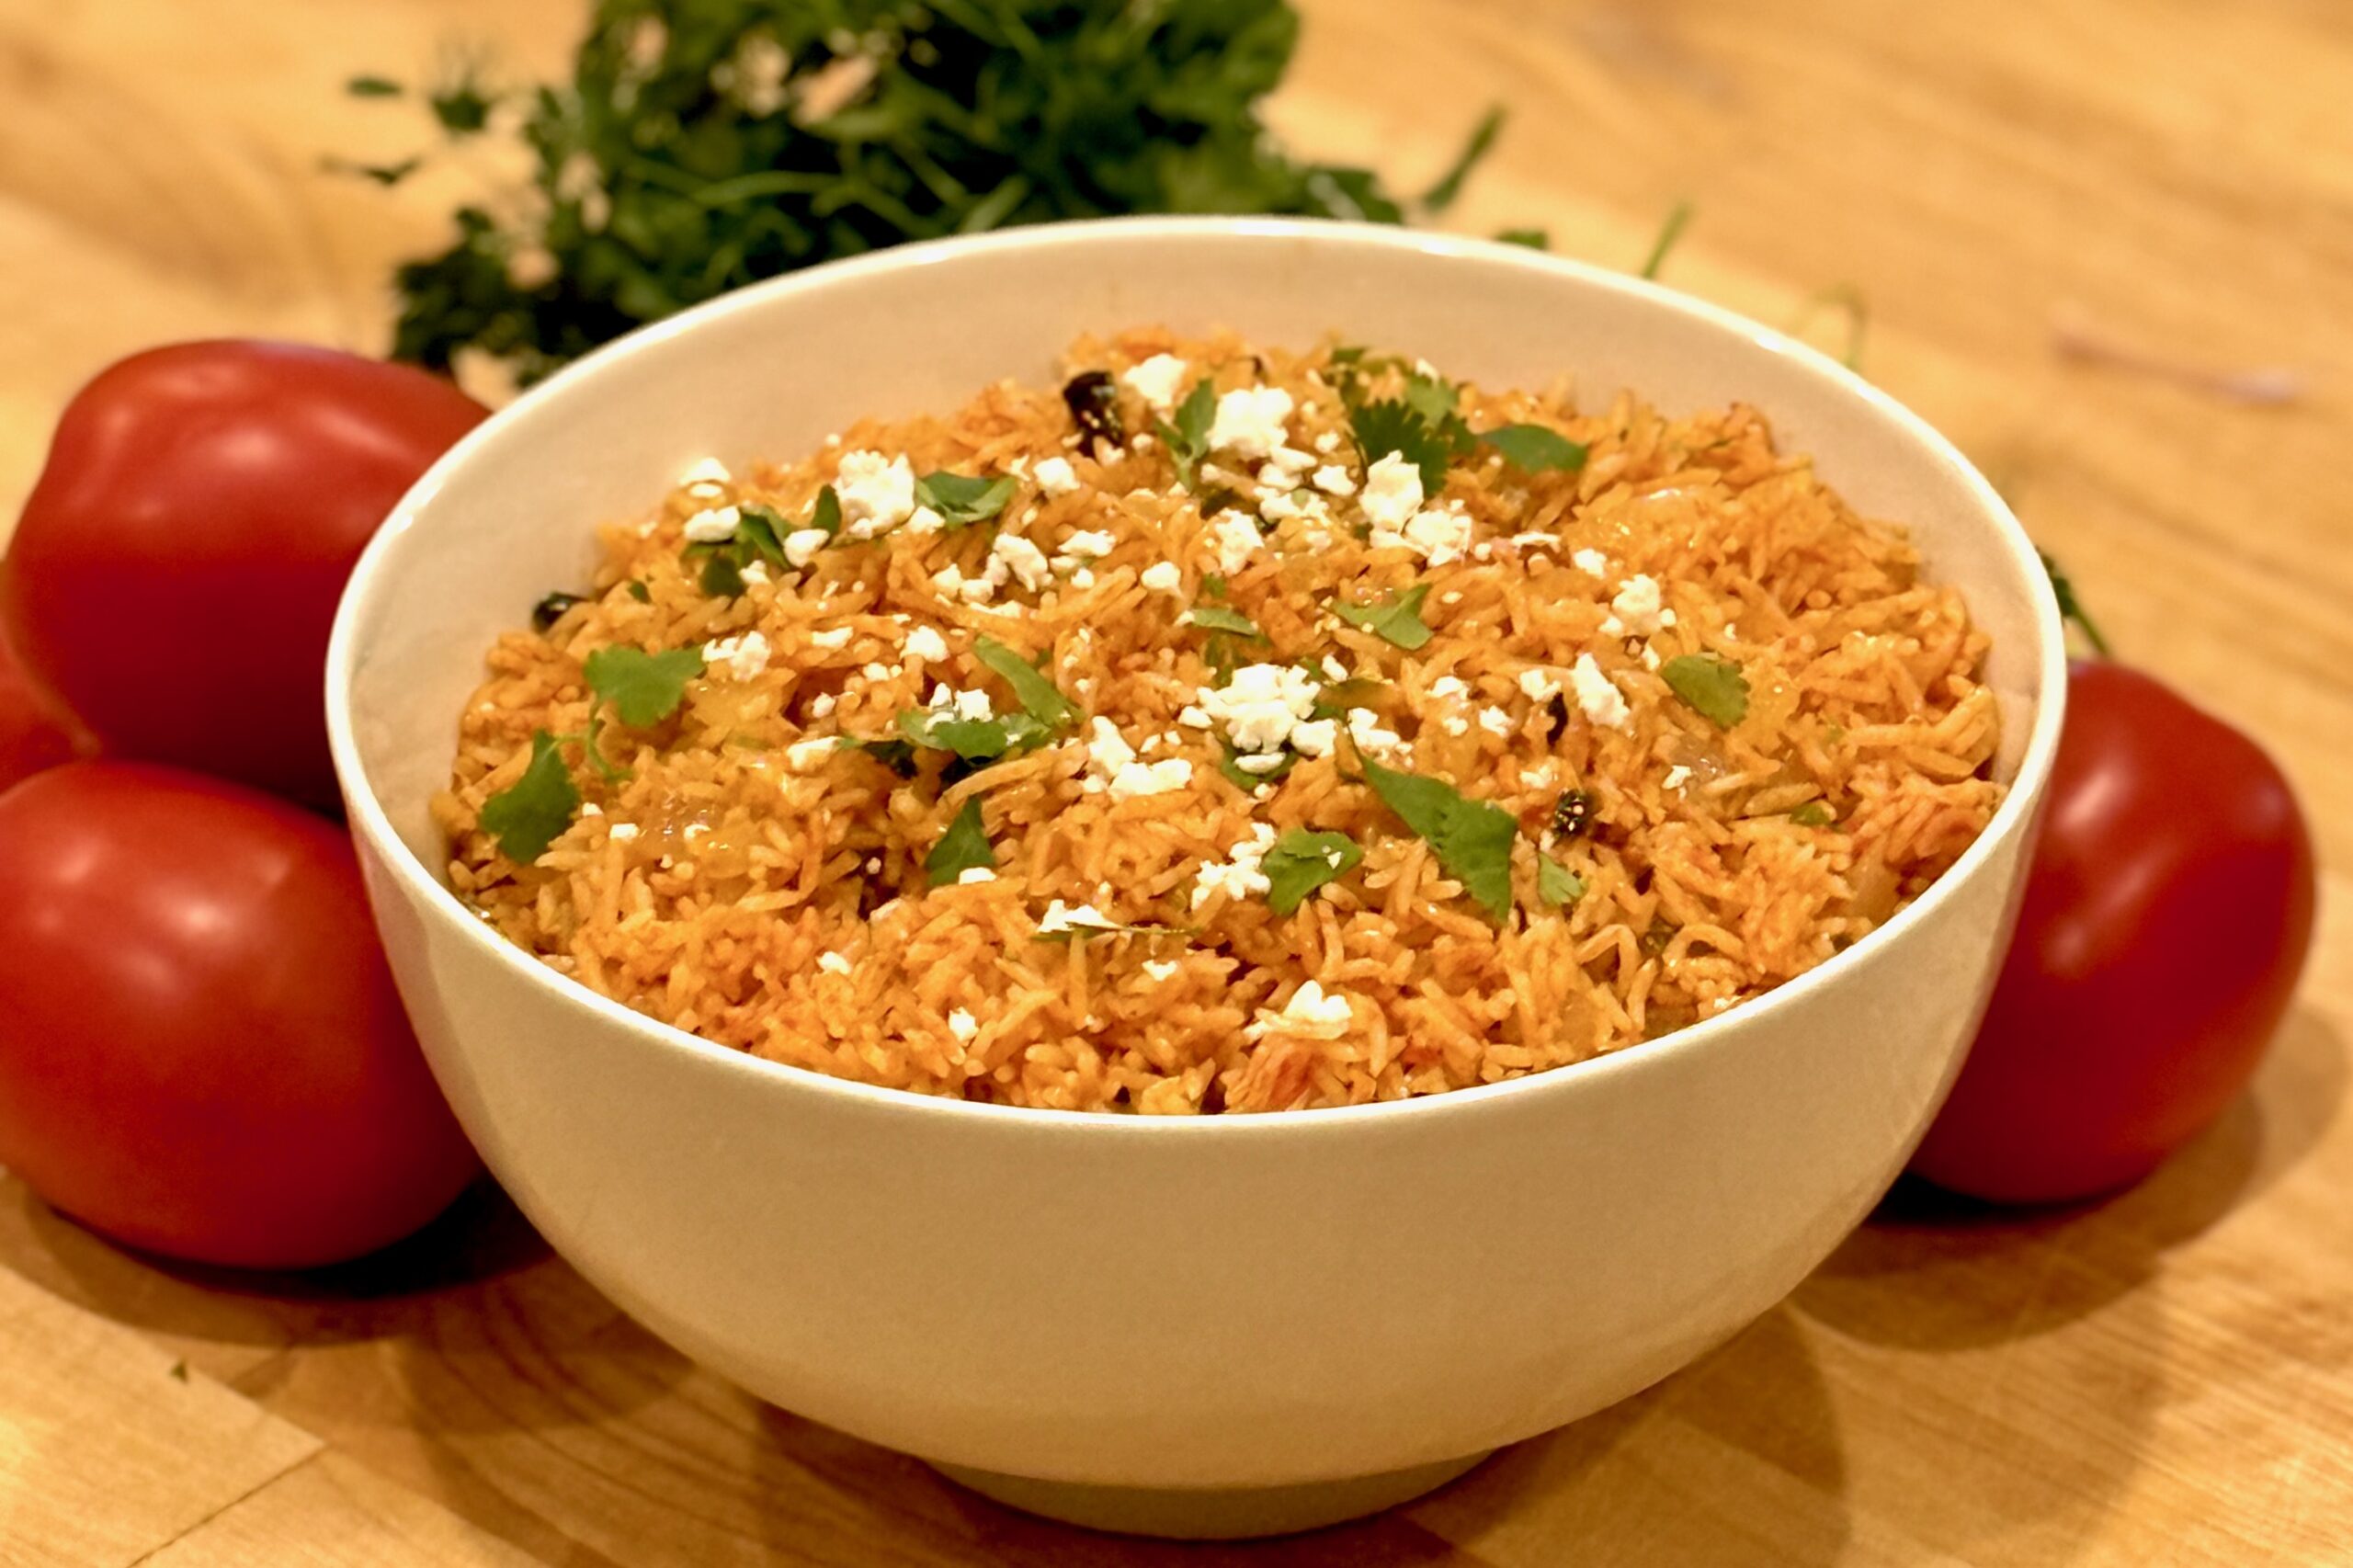
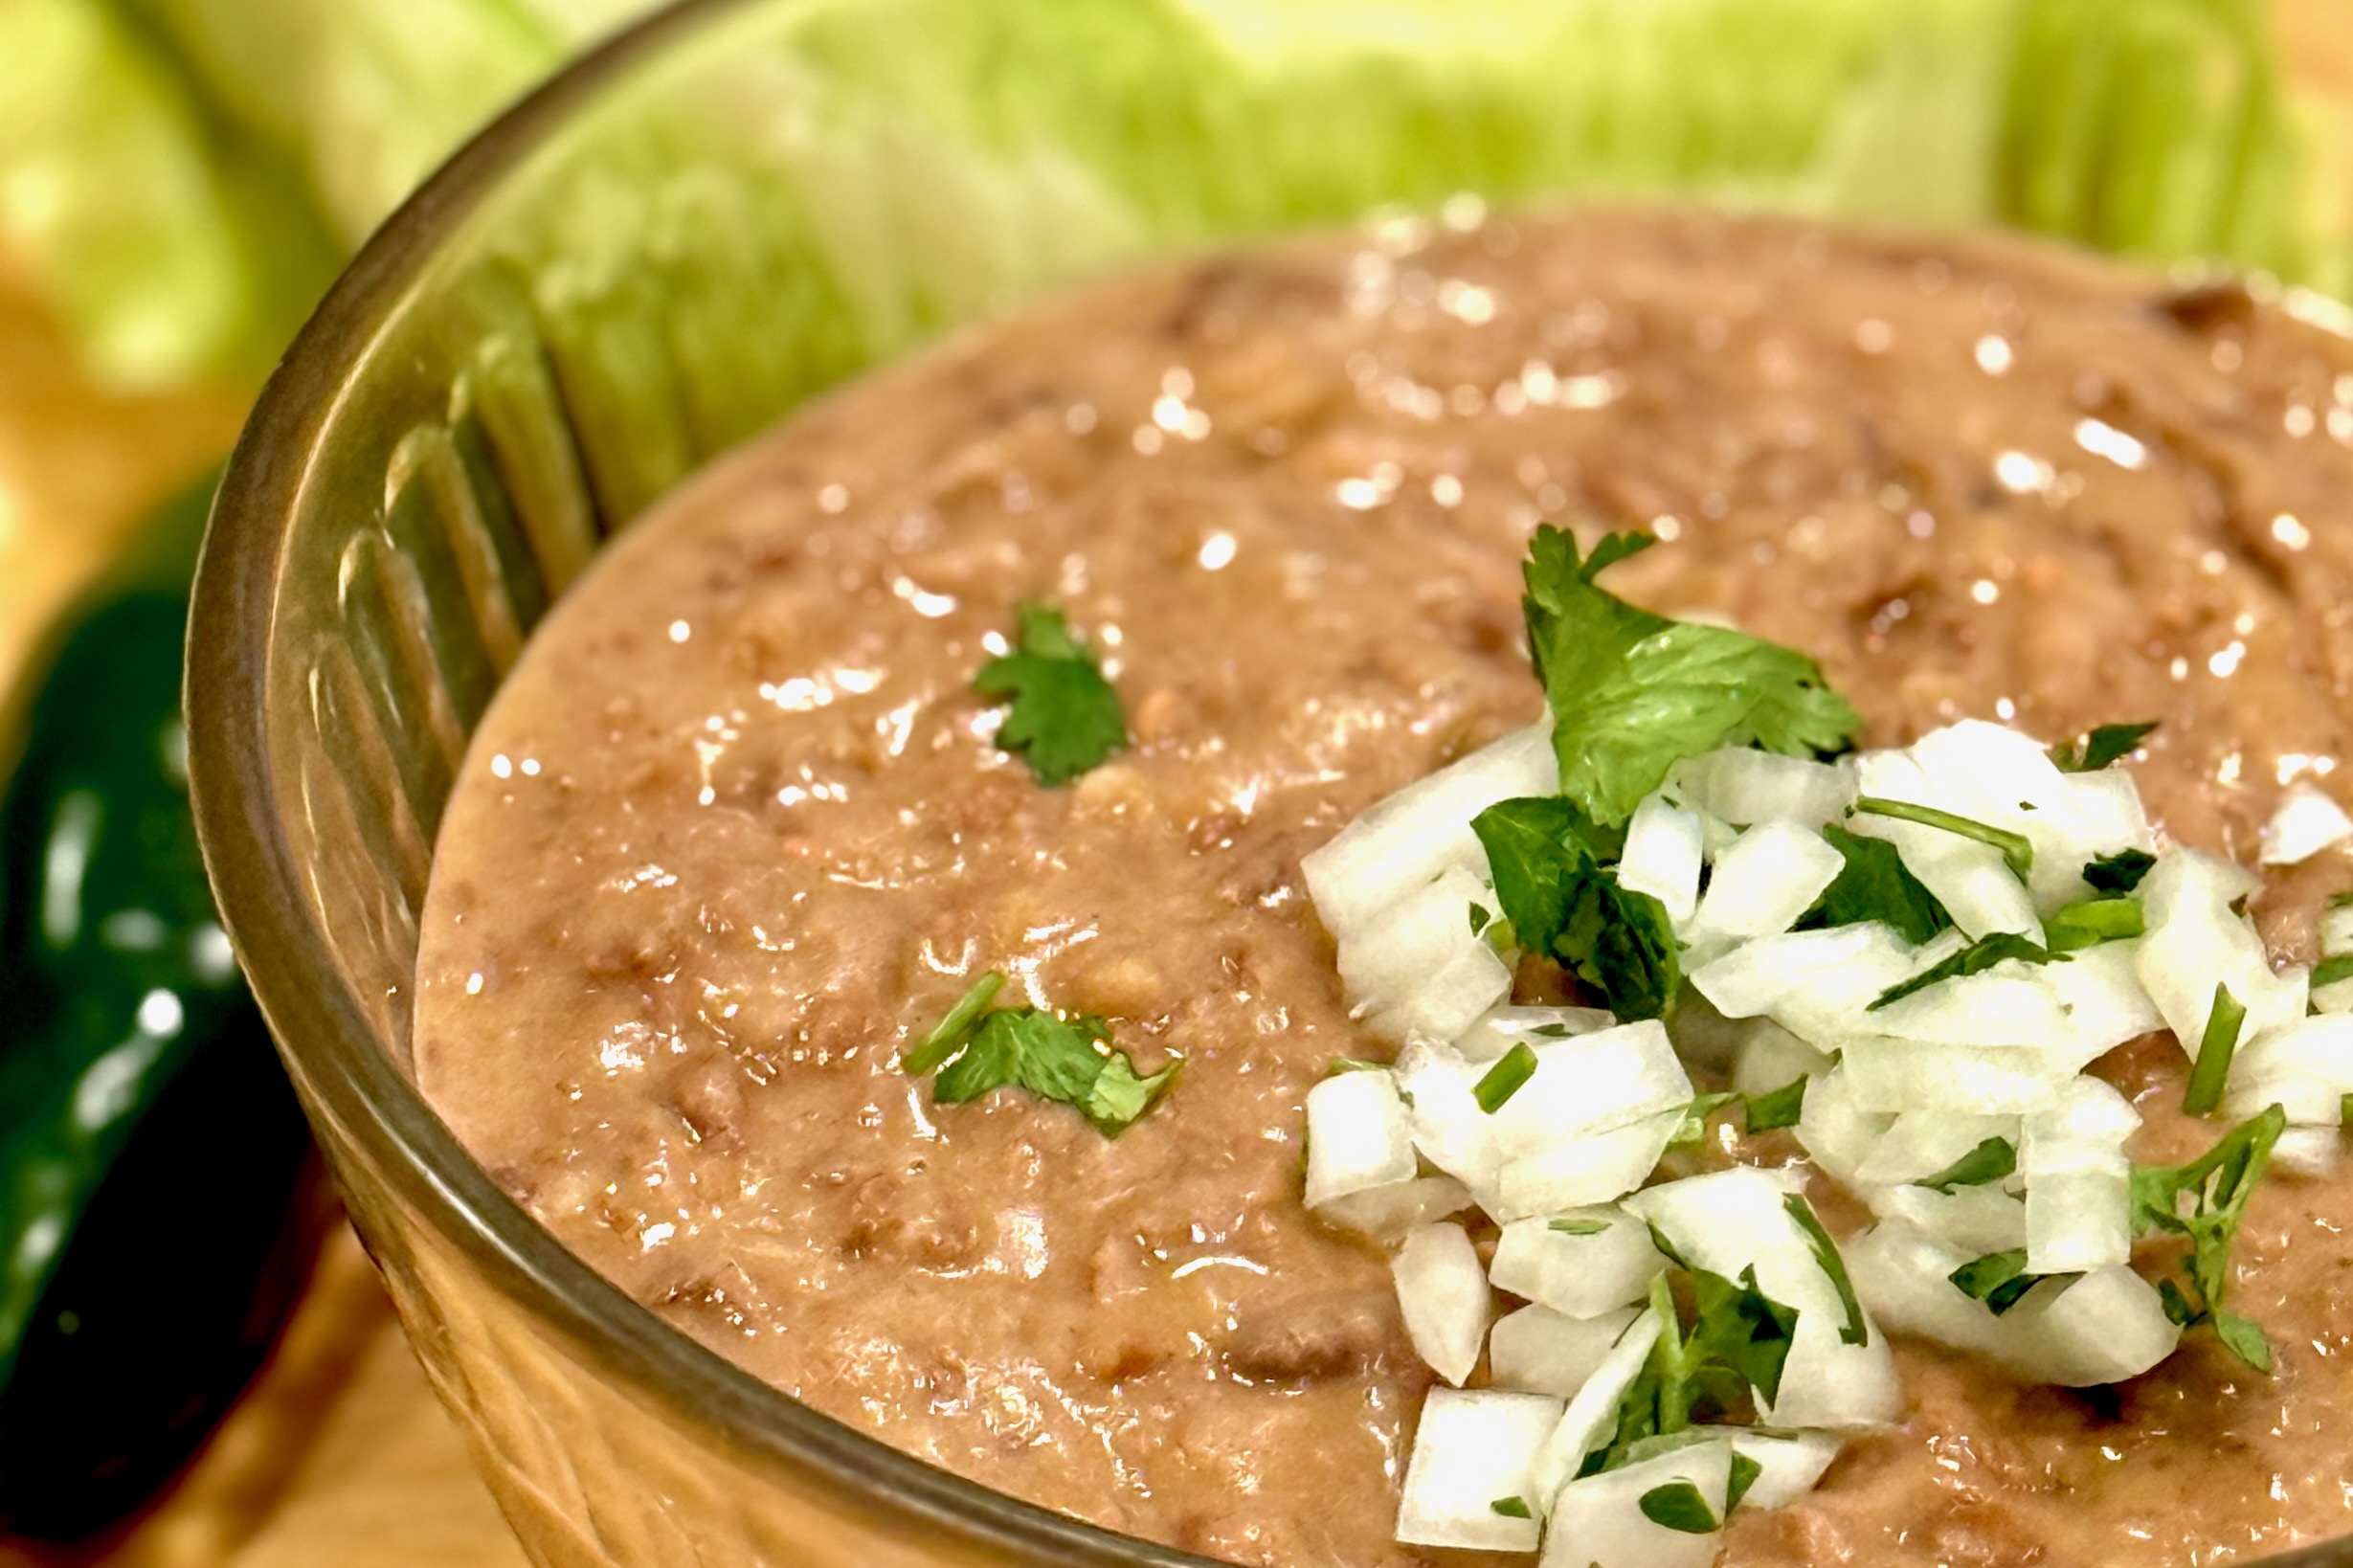
- Serve with Refried Beans and Mexican Rice.
- Add a salad of halved cherry tomatoes and sliced cucumber tossed with Espiau’s Vinaigrette.
Variations
- Suizas style: Stir ¼–½ cup crema into part of the warm sauce for a creamier finish.
- Cheese blend: Swap in part Oaxaca or asadero with monterey jack for extra melt and stretch.
- Veggie add-ins: Fold in a handful of sautéed spinach, roasted corn, or diced roasted poblanos with the chicken.
- Spicier: Keep chile seeds or add a diced serrano to the sauce.
Make-Ahead & Storage
- Assemble ahead: Up to 24 hours in advance; cover and chill. Reserve ½ cup sauce to pour on just before baking.
- Leftovers: Refrigerate up to 3 days; reheat covered at 325ºf until warmed through, adding a splash of broth if needed.
- Freeze: Assemble (no garnishes), wrap well, and freeze up to 2 months. Thaw overnight in the fridge before baking.