Bags of Spices

Favorite Recipes

Pantry Staple

  • Vanilla Extract

    Vanilla Extract

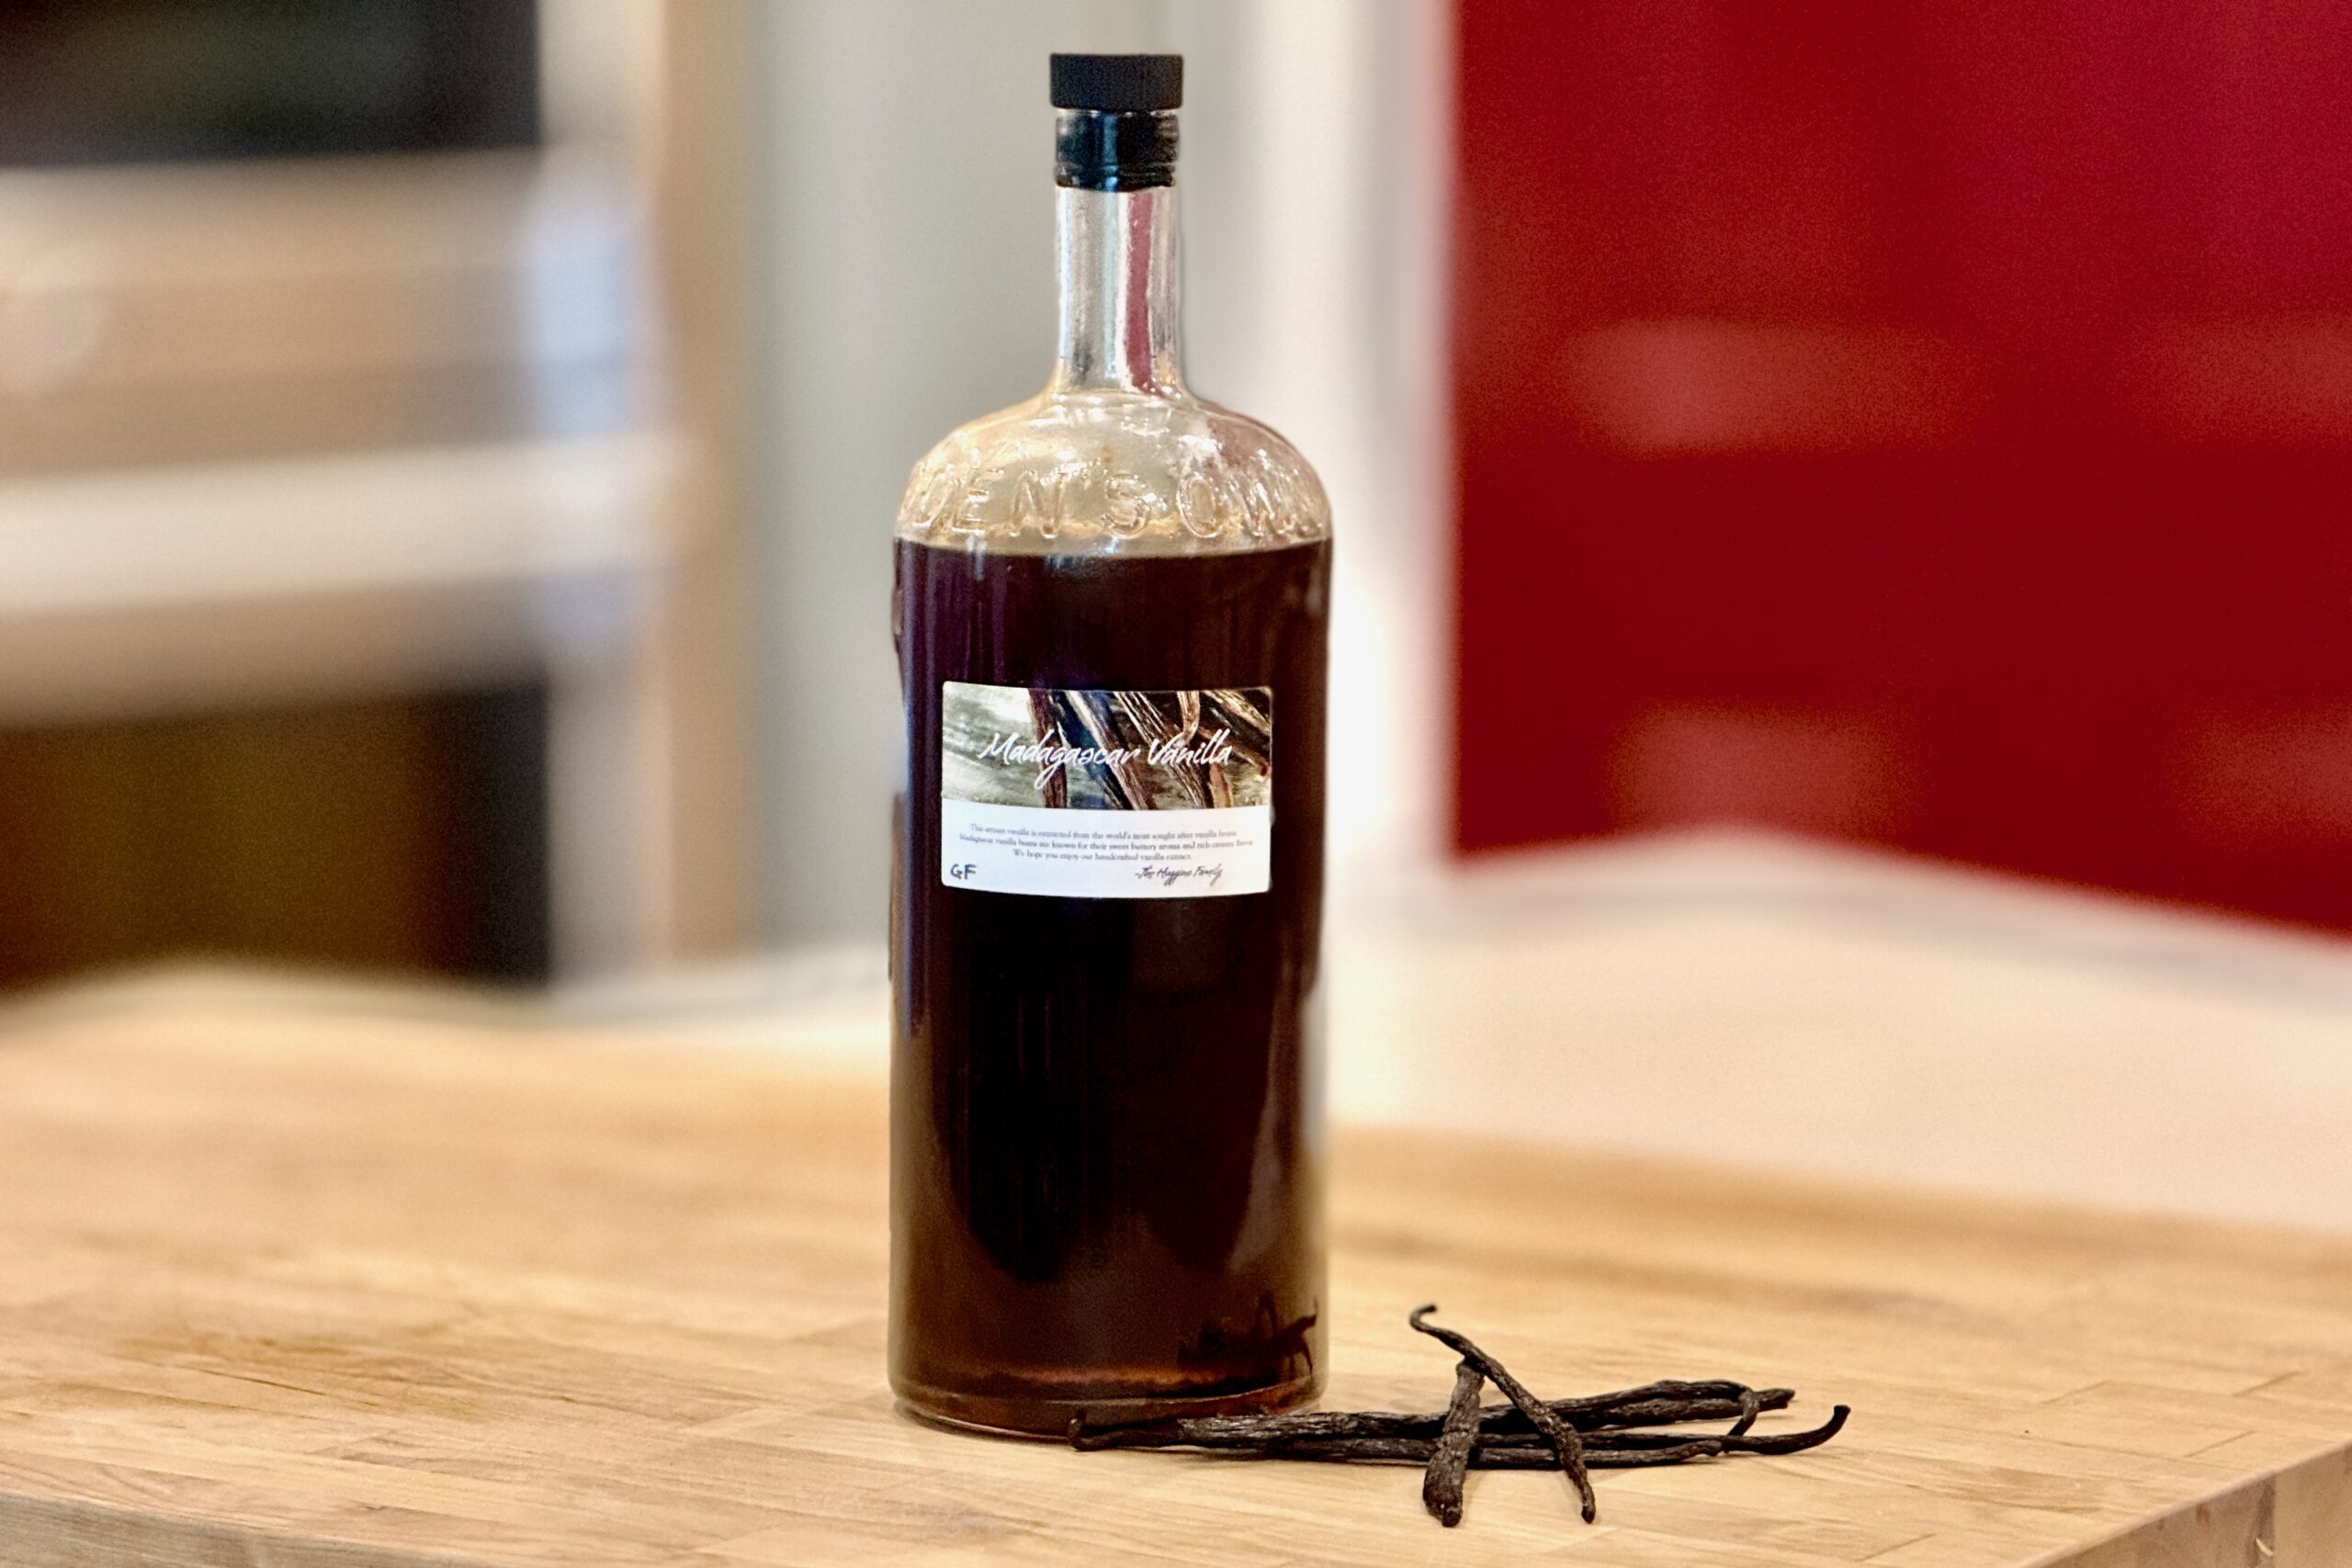
    Homemade vanilla extract is one of those quiet staples that rewards patience. Made with just two ingredients—vanilla beans and liquor—it develops a deep, rounded flavor over time that far surpasses most store-bought versions. Most vanilla beans fall into two primary varieties—Bourbon (Madagascar) and Tahitian—each offering a distinct profile, from rich and classic to floral and aromatic, with additional nuance depending on the country of origin. Our method follows the FDA’s definition of single-fold extract, resulting in a reliable, repeatable ratio whether you’re making a small bottle or scaling up for gifts or long-term use.


    Ingredients

    • 375 ml (12.7 oz) vodka (or light rum or bourbon)
    • 37.5 g (1.32 oz) vanilla beans

    Directions

    Prepare the Beans

    Beginning just below the curved end of each vanilla bean, split the pod lengthwise, leaving the top intact.

    The split beans can also be cut into 1–2 inch segments to increase surface area and improve extraction.

    Combine

    Place the prepared vanilla beans into the liquor.

    Seal the bottle and shake well.

    Extract

    Store in a cool, dark place.

    Shake daily for the first 2 weeks to help initiate extraction.

    After that, shake every few days for an additional 6 weeks.

    Finish

    The extract is ready in about 8 weeks and will continue to deepen in flavor over time.


    Notes

    Preparation

    • Use liquor that is at least 70 proof (35% alcohol) for proper extraction.
    • Vodka produces a clean, neutral extract; bourbon and rum add subtle background flavor.
    • For best results, use a glass bottle with a tight-fitting lid.
    • The FDA single-fold standard is 0.1 g vanilla beans per ml liquor.

    Serving Suggestions

    • Use in baking, custards, ice cream, and sauces.
    • Add a splash to coffee, whipped cream, or oatmeal for extra depth.

    Variations

    • Double-fold extract: double the vanilla bean weight for a more concentrated extract.
    • Blend different spirits, such as vodka and bourbon, for a layered flavor profile.
    • Use beans from different origins to explore flavor differences, from deeper cocoa-like notes to brighter floral tones.

    Make-Ahead & Storage

    • Store in a cool, dark place indefinitely.
    • Top off with additional liquor as you use the extract to maintain volume.
    • Beans can be reused for a second batch, though the flavor will be lighter.
    • For scaling, use 10 g (0.35 oz) beans per 100 ml liquor, 25 g (0.88 oz) per 250 ml, 50 g (1.76 oz) per 500 ml, 75 g (2.65 oz) per 750 ml, and 100 g (3.53 oz) per 1 liter.
  • Homemade Bahmi Goreng Mix

    Homemade Bahmi Goreng Mix

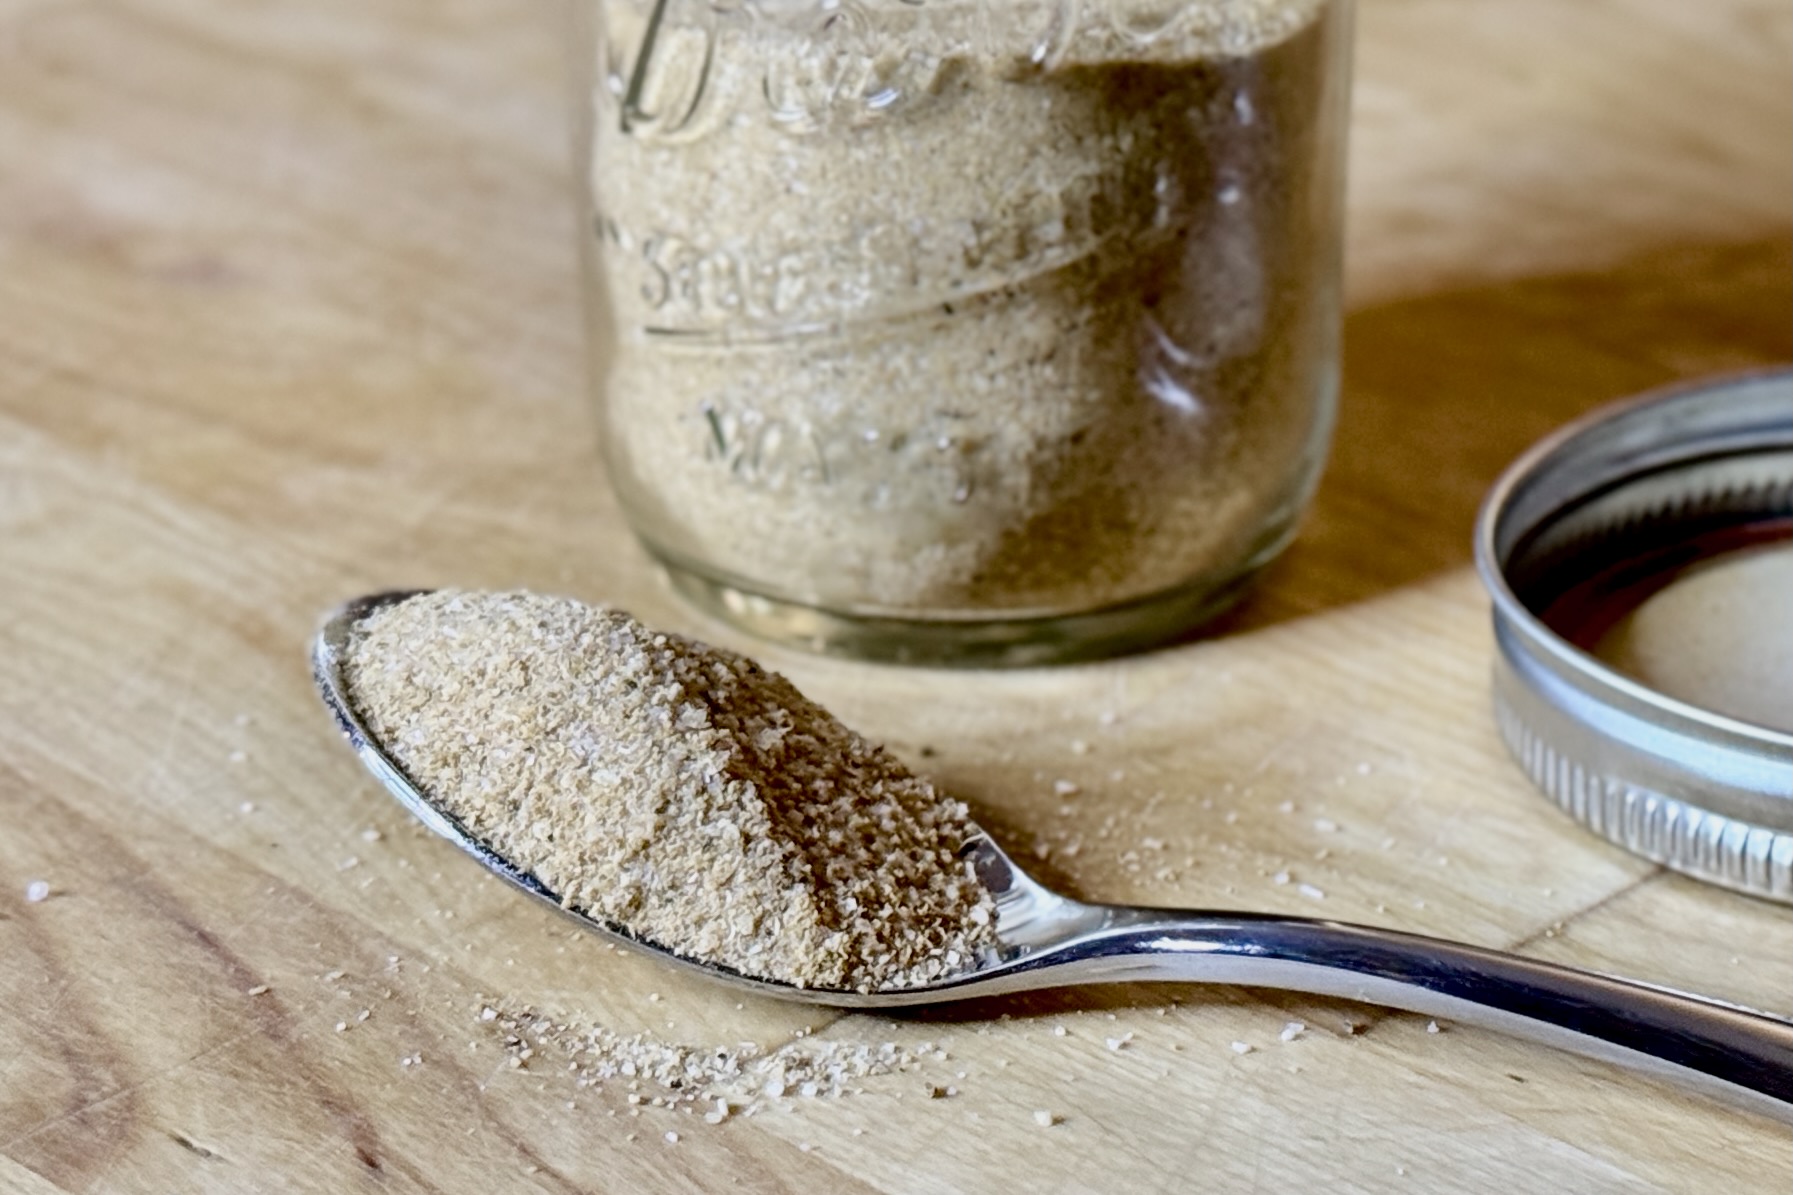
    This homemade bahmi goreng spice mix is our pantry-friendly take on the classic Conimex packet I grew to love while living in the Netherlands. It delivers that familiar savory, slightly sweet, and aromatic flavor—but with better ingredients and more flexibility. Keep a jar on hand, and you’re never more than a few minutes away from a quick, deeply satisfying batch of bahmi goreng.


    Ingredients

      Spice Mix (Makes ~5 Batches)

    • 5 tsp garlic powder
    • 5 tsp onion powder
    • 1½ tsp ground white pepper
    • ¼ tsp ground black pepper
    • 1¼ tsp turmeric
    • 1½ tsp ground coriander
    • 1 tsp ground ginger
    • ½ tsp ground galangal
    • ¼ tsp ground celery seed
    • ¼ tsp paprika
    • 2½ tsp sugar
    • 2 tsp table salt
    • 2½ tsp MSG (optional but recommended)
    • ¼ tsp citric acid (optional)

    Directions

    Mix the Spice Blend

    Combine all ingredients in a small jar or airtight container. Shake well for 20–30 seconds to evenly distribute the spices. Shake again briefly before each use.

    Use for Bahmi Goreng

    For one batch of bahmi goreng (about 10–12 oz / 300–350 g noodles), use:

    • 1 tbsp spice mix
    • 2 tbsp ketjap manis
    • 1 tbsp light soy sauce
    • 1 tsp fish sauce or ½ tsp shrimp paste
    • 1–2 tsp sambal oelek, sambal badjak, or sambal manis (to taste)
    • 2–3 tbsp water

    Add to the wok during cooking and toss until the noodles are evenly coated, glossy, and heated through.


    Notes

    Preparation

    • This mix is designed to recreate the flavor of Conimex bahmi goreng seasoning using pantry ingredients.
    • Ground galangal adds an authentic Indonesian note; if unavailable, increase ginger slightly.
    • Citric acid adds subtle brightness similar to packaged mixes but is optional.
    • If citric acid is not available, add a squeeze of fresh lime juice during cooking for brightness.
    • If using salty ingredients such as soy sauce, fish sauce, shrimp paste, or pre-seasoned vegetables, adjust seasoning to taste.

    Serving Suggestions

    • Use this mix with our Bahmi Goreng recipe for a quick, flavorful meal.
    • Pairs well with krupuk and a side of acar timun for contrast.

    Variations

    • Add extra sambal for more heat or depth—badjak for richness, oelek for brightness, or manis for a sweeter profile.
    • For deeper flavor, briefly fry the sambal in the wok with aromatics before adding noodles.
    • If using sambal manis, taste before adding extra sweetness since both sambal manis and ketjap manis bring sweetness to the dish.

    Make-Ahead & Storage

    • Store in an airtight container for up to 6 months.
    • Shake before each use to keep the blend evenly mixed.
  • Tamarind Paste from Whole Tamarind Pods

    Tamarind Paste from Whole Tamarind Pods

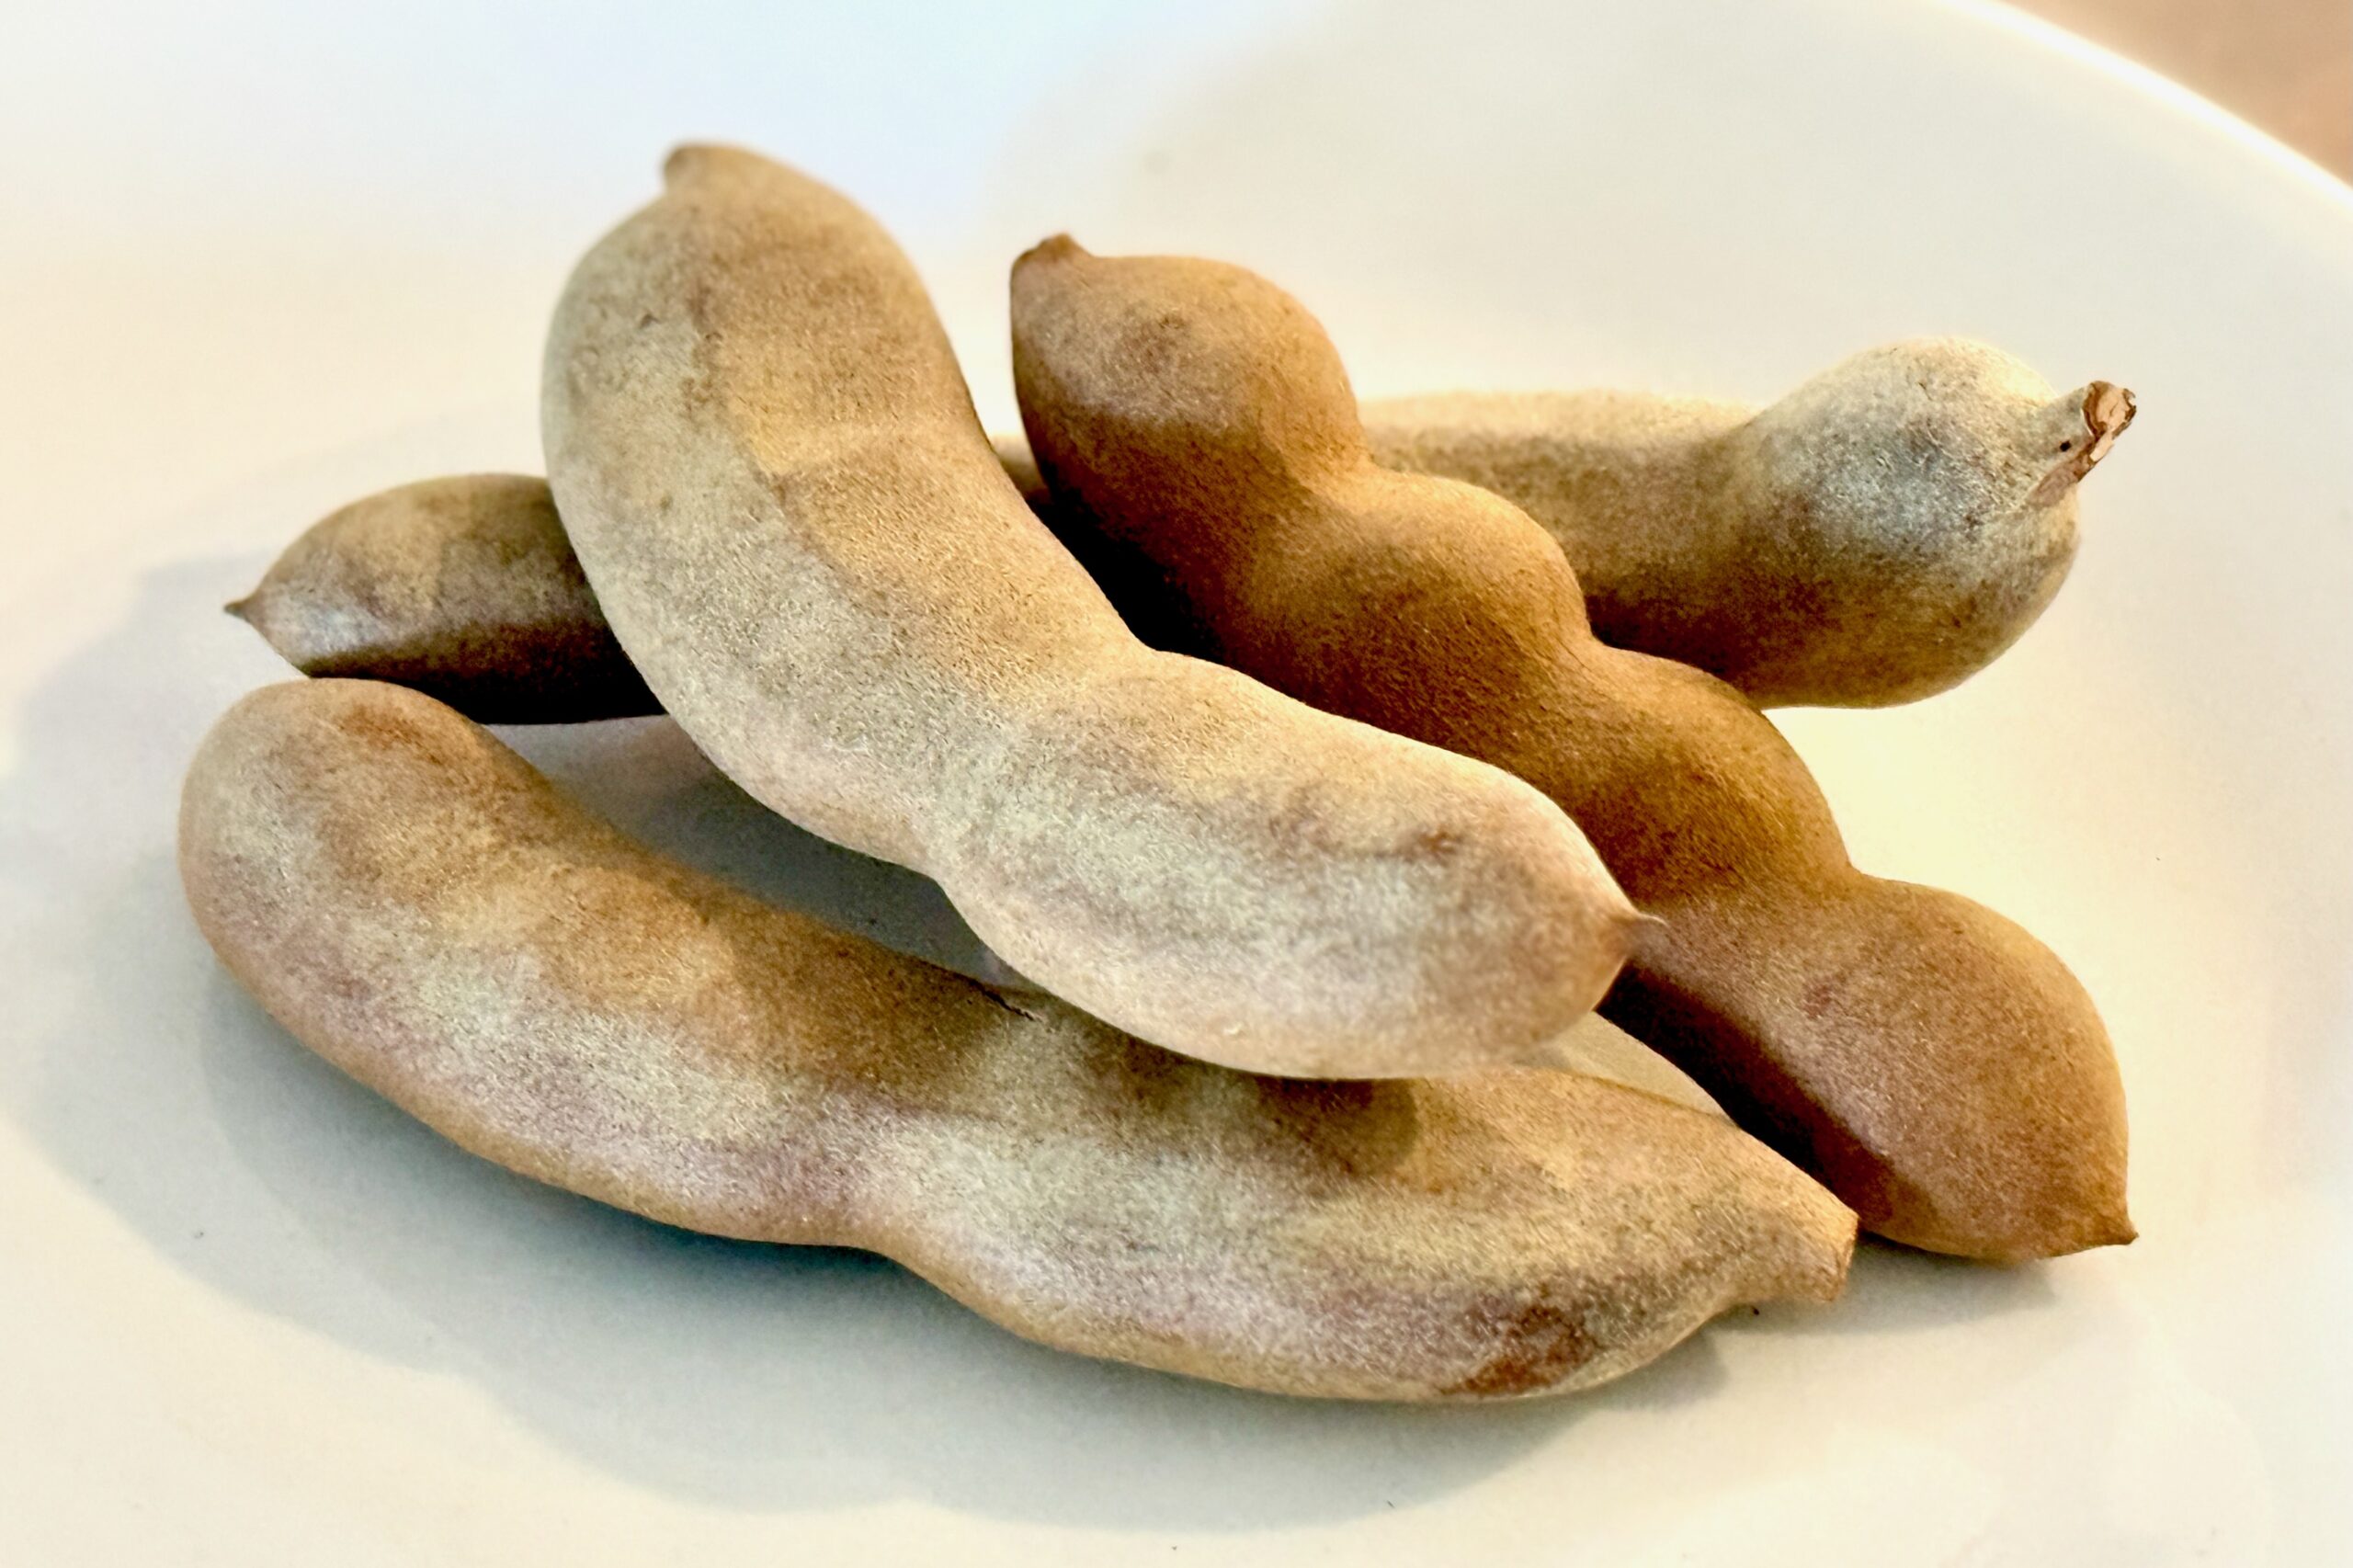
    Homemade tamarind concentrate is deeper, brighter, and more aromatic than anything from a jar. Starting with whole tamarind pods, you strip away the shells, soak and mash the pulp, then slowly reduce it to a thick, spoonable paste that keeps well and adds complex sweet-sour flavor to curries, chutneys, sauces, and marinades.


    Ingredients

    • 200 g (about 7 oz) whole dried tamarind pods
    • 240 ml (1 cup) hot water, plus more as needed to barely cover the pulp

    Directions

    Prepare the Tamarind Pods

    Crack and peel away the brittle outer shells of the tamarind pods. Remove and discard any stringy veins. You should be left with sticky, dark brown pulp with seeds and fibers attached.

    Soak and Soften the Pulp

    Place the cleaned tamarind pulp in a heatproof bowl. Pour hot water over the pulp, using just enough to barely cover it (start with about 1 cup). Let soak for 15–20 minutes, or until the pulp is very soft and pliable.

    Mash and Extract the Pulp

    Using clean hands or a sturdy spoon, squeeze, mash, and knead the softened tamarind in the water. Work the pulp thoroughly to dissolve as much as possible into the liquid. The mixture should become thick, cloudy, and pulpy, with seeds and tough fibers separating out.

    Strain the Tamarind

    Set a fine-mesh strainer over a clean bowl. Working in batches if needed, pour the tamarind mixture into the strainer and press firmly with the back of a spoon or a spatula to force the smooth pulp through.

    Scrape the underside of the strainer to collect any clinging pulp. Discard the seeds and fibrous solids when they are mostly dry and no longer release pulp. You should now have a thick, pourable tamarind purée.

    Reduce to a Concentrate (Optional but Recommended)

    Transfer the strained tamarind purée to a small saucepan. Set over low heat and bring to a gentle simmer, stirring frequently to prevent sticking or scorching.

    Simmer for 5–10 minutes, or until the purée thickens into a glossy, spoonable paste similar to tomato paste. The goal is to evaporate excess water and intensify the flavor, not to boil vigorously. Remove from heat and let cool to room temperature.

    Cool, Portion, and Store

    Once completely cool, transfer the tamarind concentrate to a clean, dry jar, or portion it into 1–2 tbsp amounts in an ice cube tray for easy use in recipes.

    Refrigerate the concentrate for up to 3–4 weeks, or freeze for longer storage (up to 6 months). Thaw frozen portions in the refrigerator or at room temperature before using.


    Notes

    Preparation

    • From 200 g whole tamarind pods, you can expect roughly 40–60 g of thick concentrate once reduced, depending on how much water you use and how far you cook it down.
    • Use only enough hot water to barely cover the pulp; extra water makes the reduction step longer and can dilute the flavor.
    • Stir constantly near the end of the simmering step—tamarind is high in natural sugars and can stick or scorch if left unattended.
    • If you prefer a slightly looser paste (closer to some commercial tamarind pastes), shorten the simmering time and stop as soon as the purée coats the back of a spoon.

    Serving Suggestions

    • Use 1–2 tsp concentrate to add tangy depth to curries, dals, and lentil soups.
    • Whisk into chutneys, dipping sauces, and barbecue glazes for a sweet-sour backbone.
    • Stir a spoonful into pad thai sauce, tamarind-based stir-fries, or noodle dishes.
    • Combine with sugar, salt, and spices for tamarind drinks, aguas frescas, or sherbets.

    Variations

    • From Tamarind Block: Substitute 200 g compressed tamarind block for the pods. Break into chunks, soak in hot water as directed, then mash, strain, and reduce in the same way.
    • Tamarind Purée (No Reduction): Skip the simmering step and use the strained tamarind purée as-is when recipes call for “tamarind pulp” or “tamarind purée” rather than concentrate.
    • Stronger or Milder Concentrate: For a stronger concentrate, simmer a bit longer to a very thick paste; for a milder one, keep the paste slightly looser and use more by volume in recipes.

    Make-Ahead & Storage

    • Refrigerator: Store tamarind concentrate in a clean, airtight jar for up to 3–4 weeks.
    • Freezer: Portion into 1–2 tbsp amounts (for example, in an ice cube tray) and freeze for up to 6 months.
    • Use Clean Utensils: Always use a clean spoon to scoop out concentrate to help maximize shelf life and prevent spoilage.
    • Thawing: Thaw frozen portions in the refrigerator or at cool room temperature before stirring into sauces or liquids.
  • Garlic Oil

    Garlic Oil

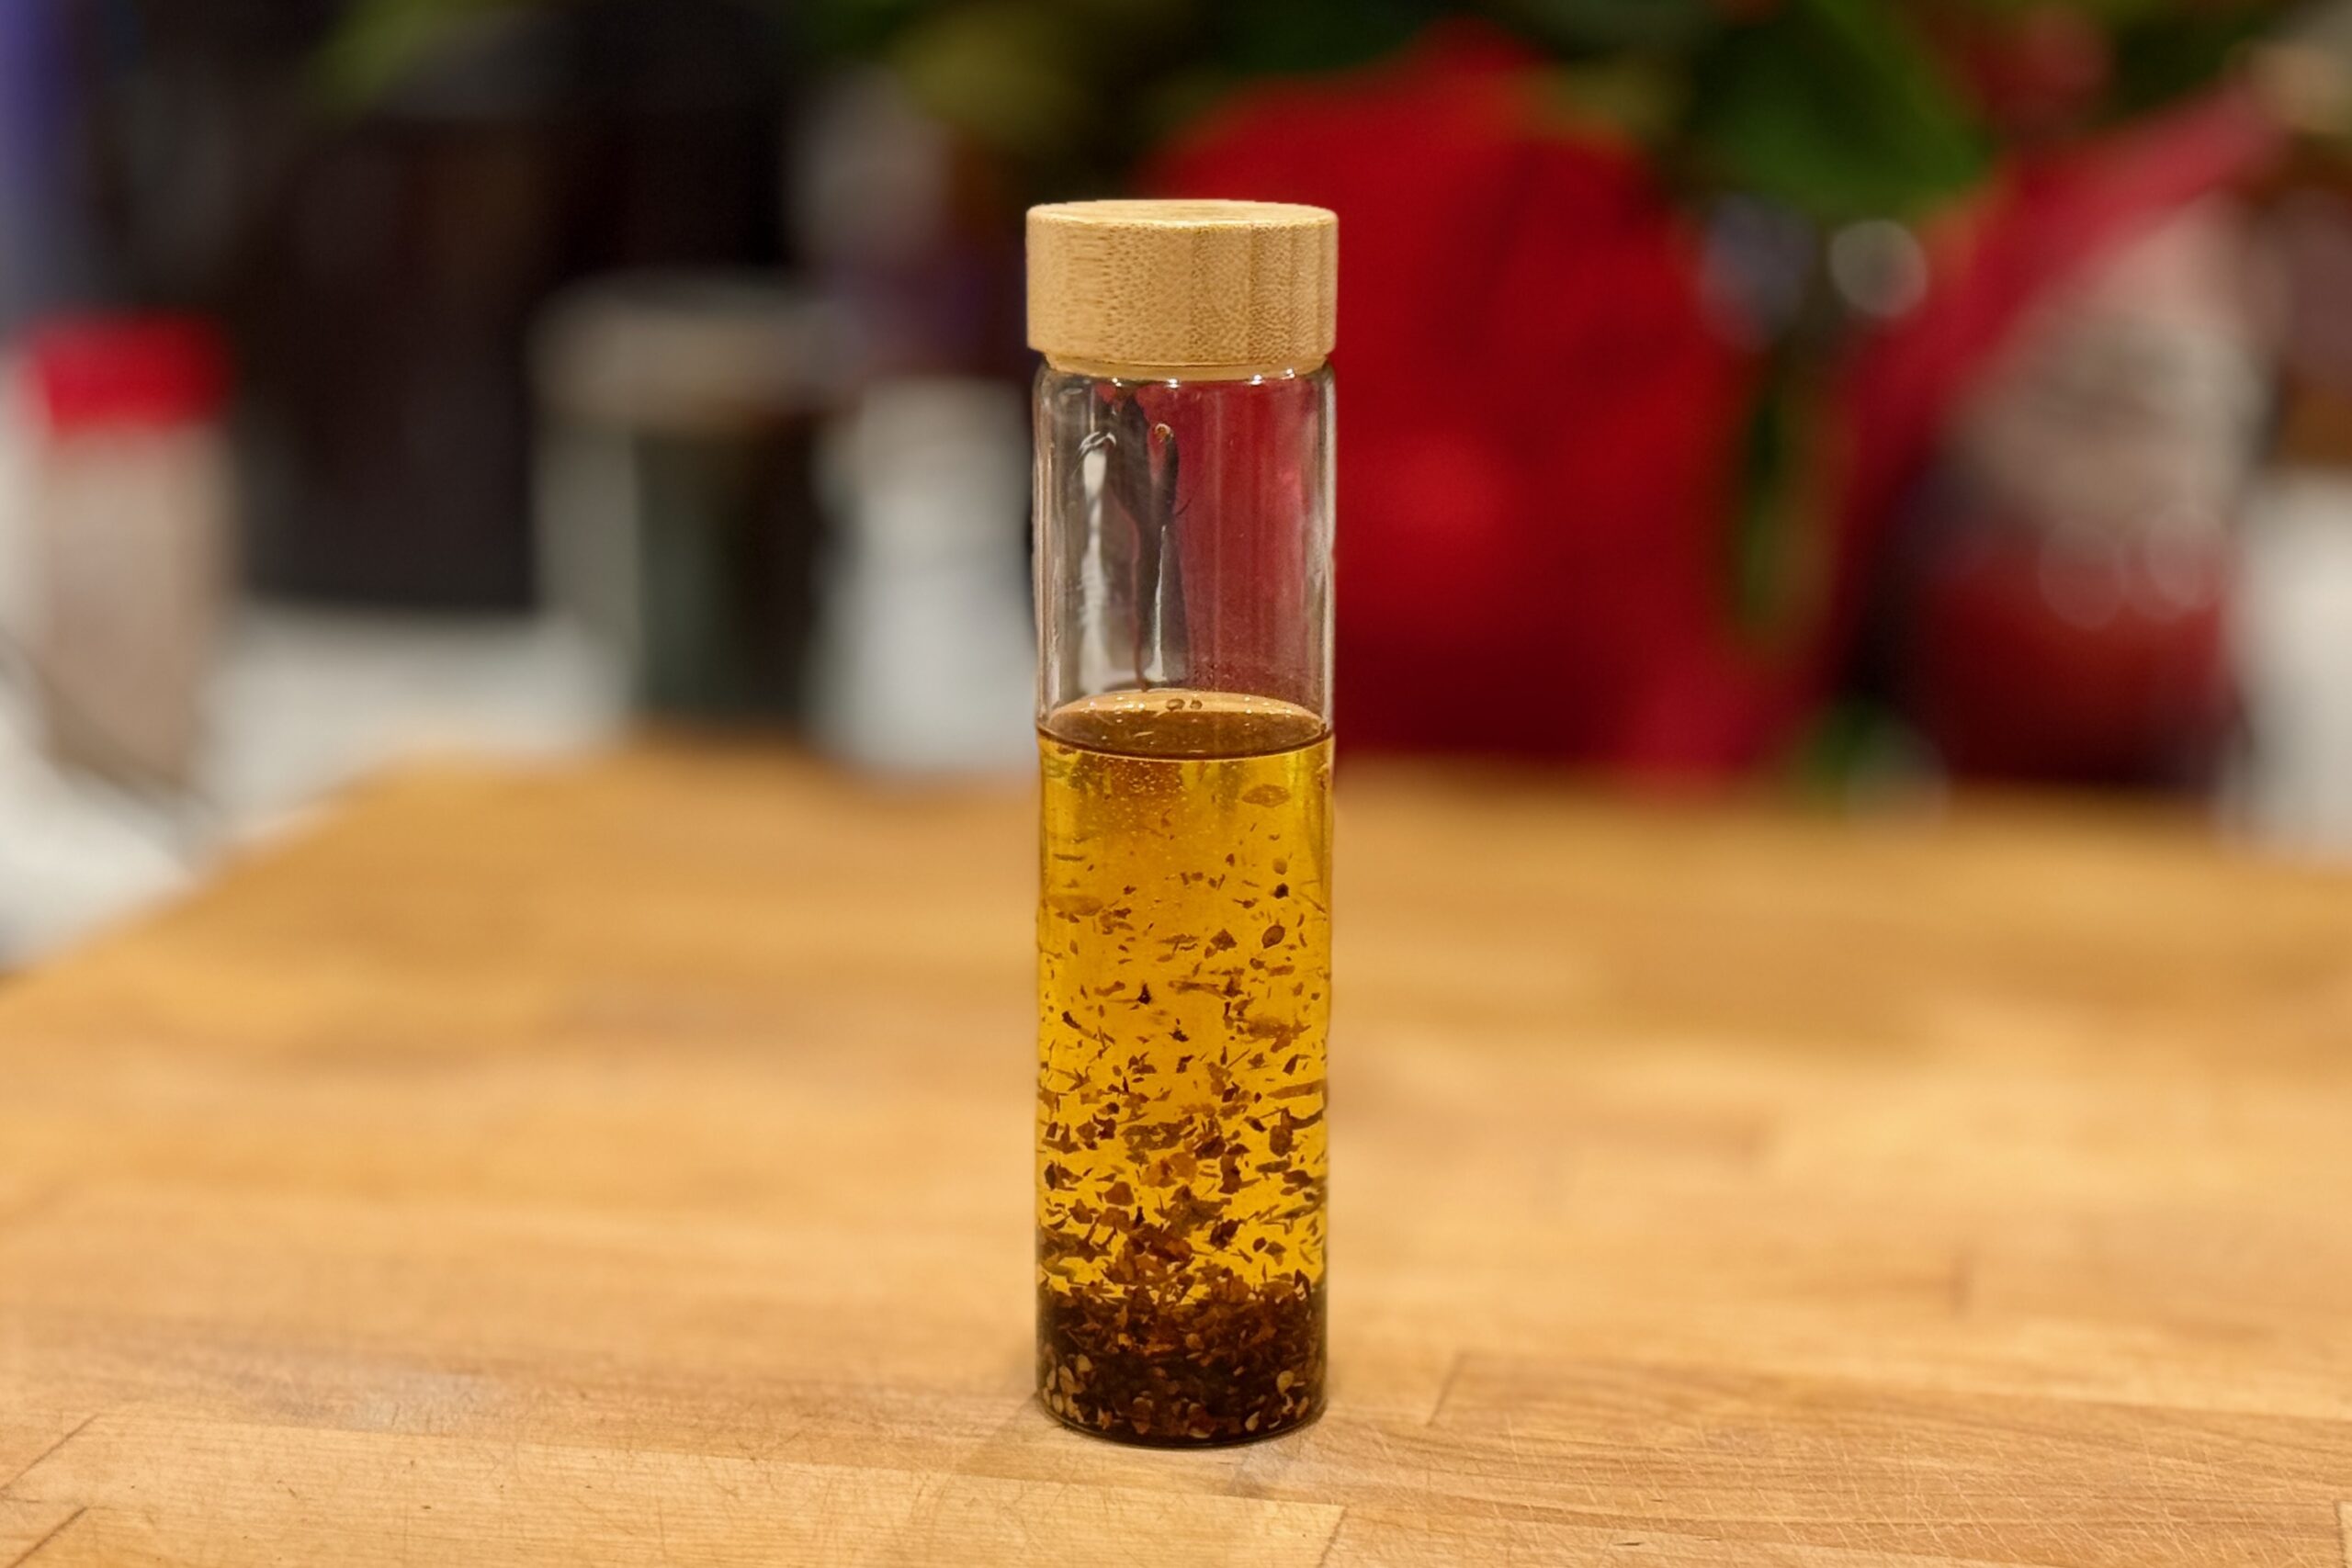
    Garlic oil is one of those quiet kitchen staples that shows up everywhere once you start using it. Gently infused with fresh garlic, it brings a warm, aromatic richness to everything from pasta and vegetables to pizza and grilled meats. The chili variation builds on that same foundation, adding a layered heat that’s perfect for noodles, dumplings, and stir-fried dishes—simple, versatile, and worth keeping on hand.


    Ingredients

    • 1 cup neutral oil (canola, vegetable, or light olive oil)
    • 6–8 cloves garlic, thinly sliced

    Optional Aromatics

    • ½ tsp crushed red pepper flakes, for light heat
    • ½ tsp dried herbs, such as oregano, basil, or thyme
    • 1 small sprig fresh rosemary

    Chili Garlic Oil Variation

    • 2 tbsp crushed red pepper flakes
    • 1 tbsp minced shallots or dried minced onion
    • 1 tsp sesame seeds, optional

    Directions

    Prepare the Ingredients

    Peel and thinly slice the garlic. If using optional aromatics, measure and set them aside.

    Infuse the Oil

    Place the oil and sliced garlic in a small saucepan or skillet over low heat.

    Heat gently, allowing the garlic to slowly release its flavor into the oil.

    • For mild flavor, cook until small bubbles form and the garlic turns pale golden, about 8–10 minutes.
    • For deeper flavor, continue cooking until the garlic reaches a rich golden brown, about 12–15 minutes, without letting it burn.

    Make Chili Garlic Oil (Variation)

    Remove the saucepan from heat and let the oil cool for 1–2 minutes.

    Add the following directly to the hot oil:

    • Crushed red pepper flakes
    • Minced shallots or onion
    • Sesame seeds, if using

    Allow the mixture to sizzle lightly for 30–60 seconds, then cool completely.

    Cool and Strain (Plain Garlic Oil)

    For plain garlic oil, let the oil cool completely, then strain out the garlic and any solids if a clear oil is desired.

    Store

    Transfer to a clean, dry jar.

    • Plain garlic oil – refrigerate for up to 2 weeks.
    • Chili garlic oil – refrigerate for up to 1 month.

    Notes

    Preparation

    • For food safety, always refrigerate garlic-infused oil to reduce the risk of botulism.
    • Let refrigerated oil come to room temperature before using to restore full aroma and pourable texture.
    • Use low heat during infusion—high heat can burn the garlic and create bitterness.

    Serving Suggestions

    • Drizzle over pasta, grilled vegetables, or roasted meats.
    • Brush onto pizza dough for a garlic oil base before baking.
    • Use the chili variation for noodles, dumplings, or fried rice.

    Variations

    • Add herbs such as rosemary or thyme during infusion for a Mediterranean-style oil.
    • Blend a small amount of sesame oil into the finished chili version for a deeper, nutty flavor.
    • Infuse with a strip of lemon peel for a fresh, aromatic note.

    Make-Ahead & Storage

    • Store in a sealed container in the refrigerator immediately after cooling.
    • Do not leave garlic oil at room temperature for extended periods.
    • Discard if any cloudiness, off odors, or signs of spoilage develop.
  • Mexican Tomato Sauce

    Mexican Tomato Sauce

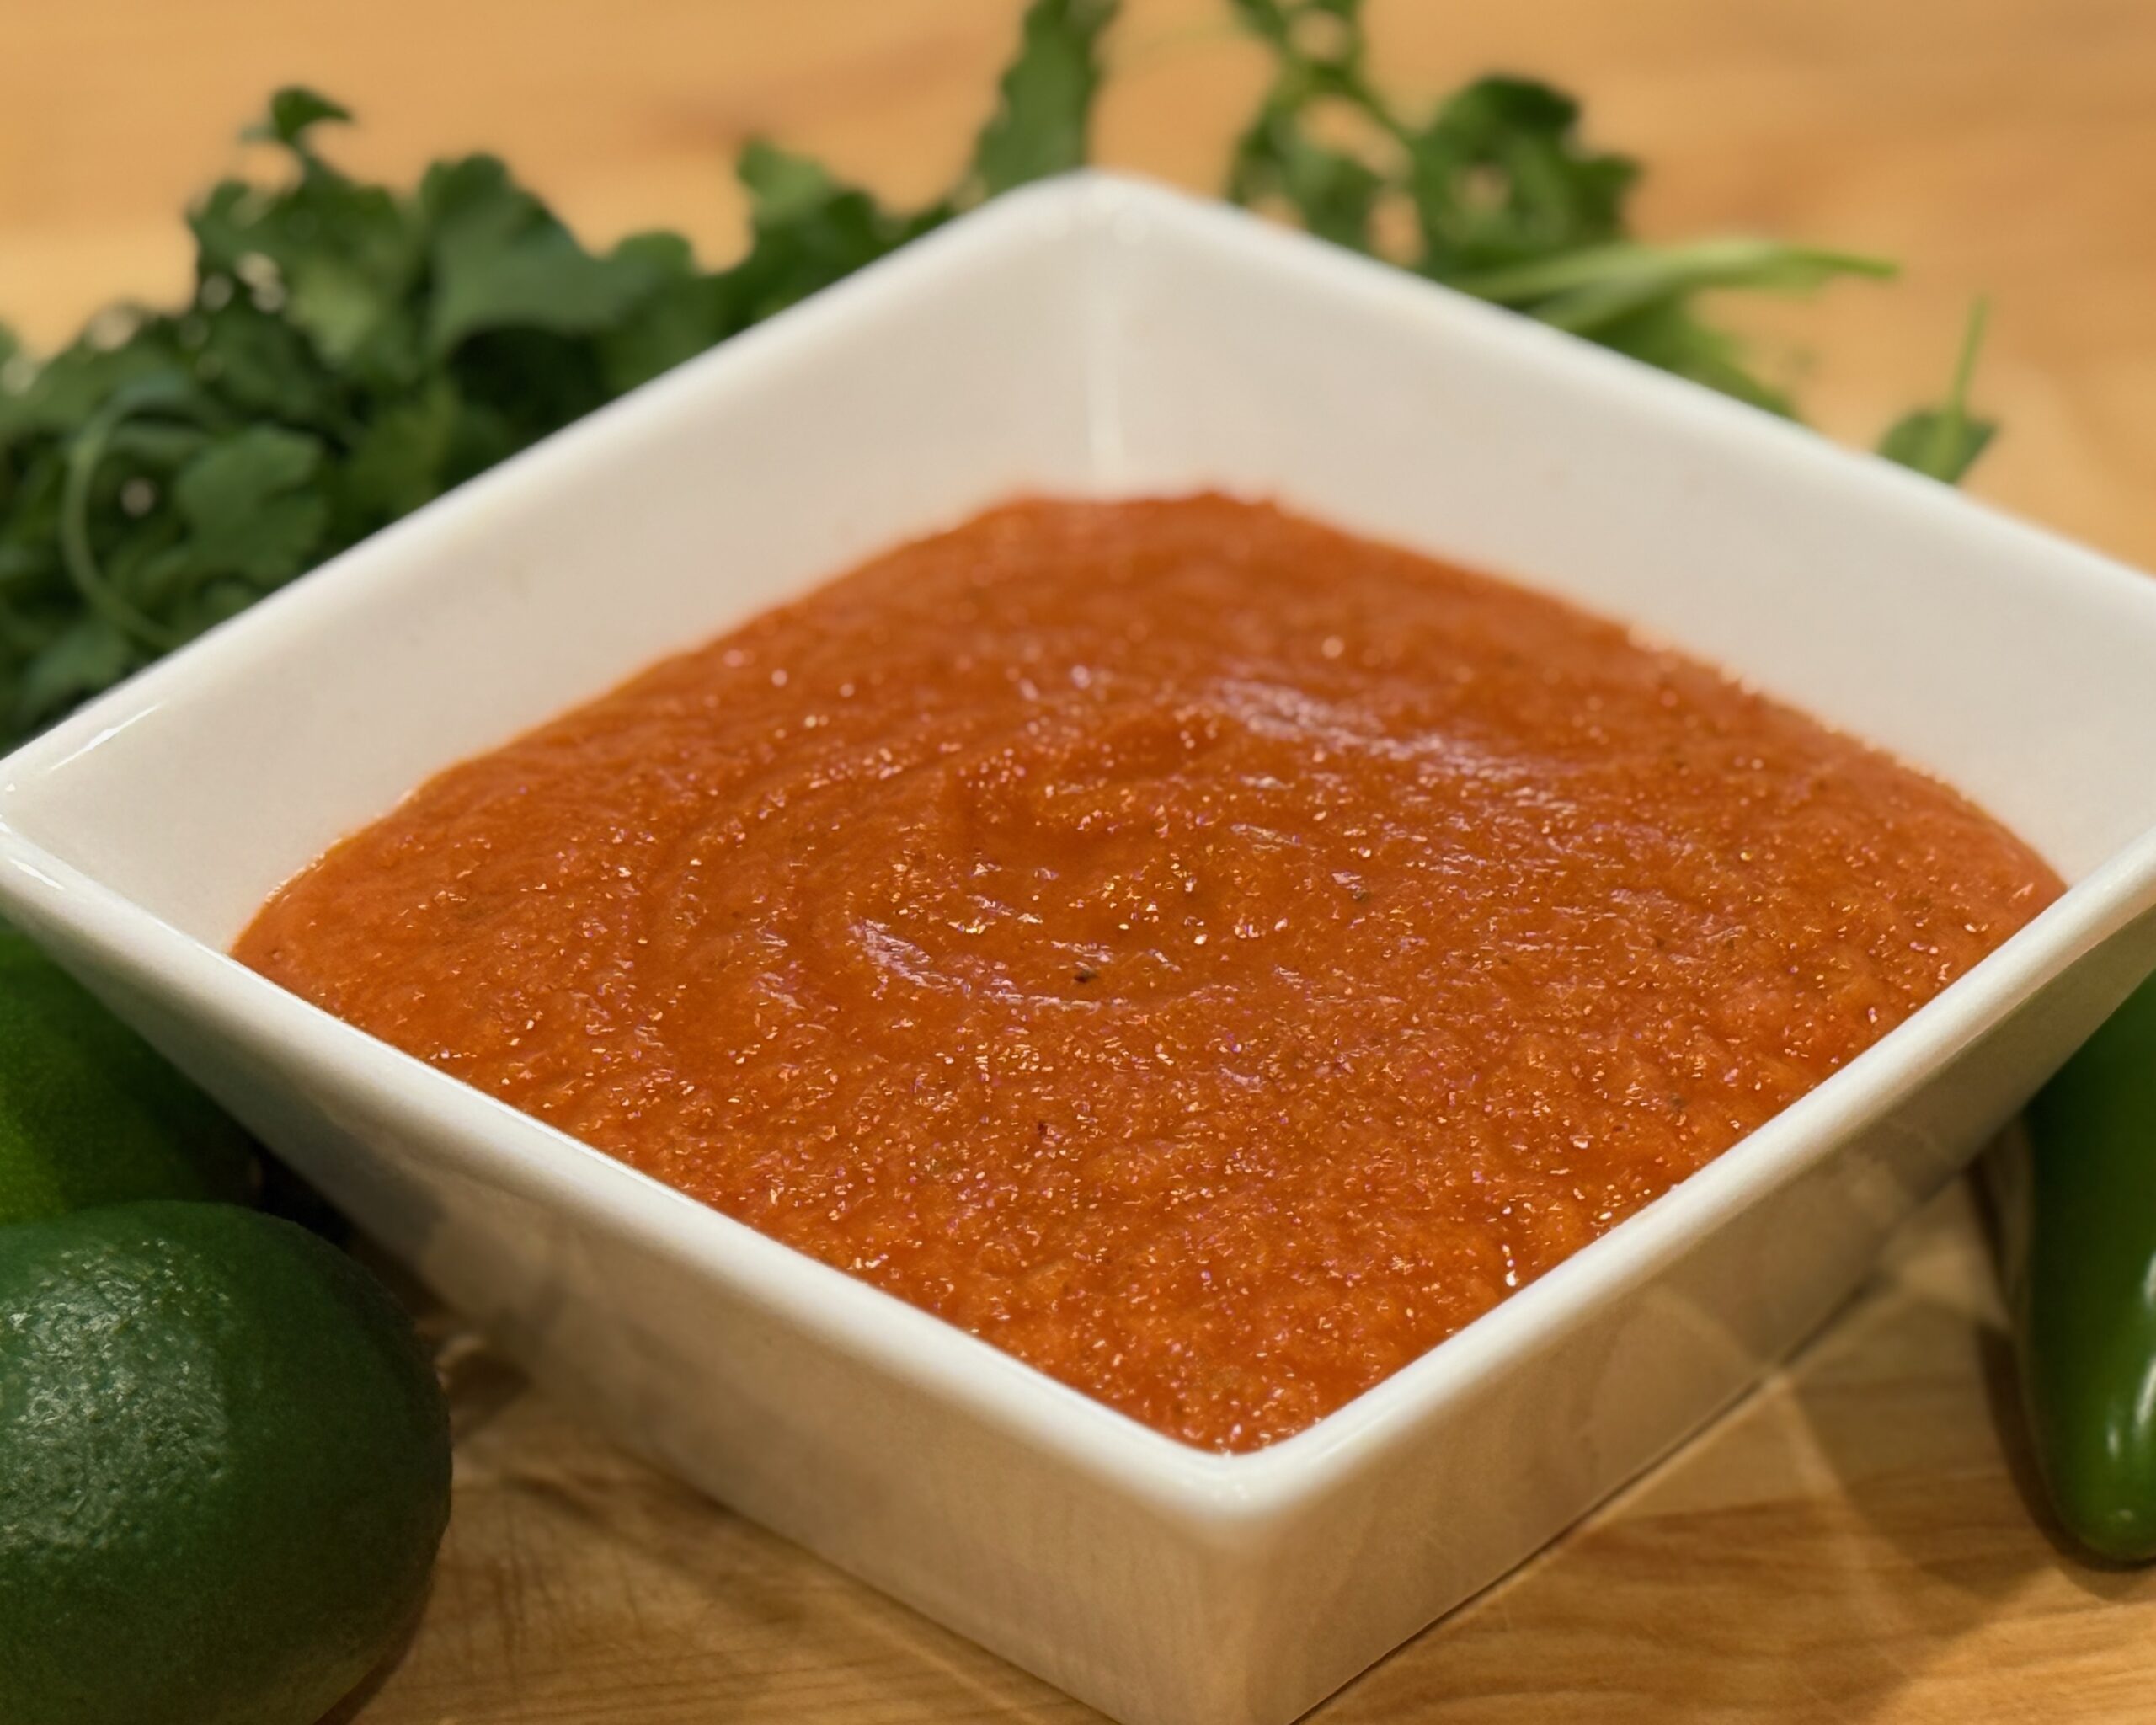
    This classic Mexican-style tomato sauce is richly flavored with roasted tomatoes, onion, garlic, and a touch of Mexican oregano. Tomato bouillon adds umami depth, while a hint of lime or vinegar brightens the flavor. An optional roasted serrano chile blends right in for gentle heat without overpowering the sauce. It’s a perfect complement to enchiladas, Chiles Rellenos, burritos, and rice dishes—smooth, versatile, and beautifully balanced.


    Ingredients

    • 5 ripe Roma tomatoes (or two 14.5 oz cans fire-roasted tomatoes)
    • ½ medium onion, chopped
    • 2–3 cloves garlic
    • 1 serrano chile, stem removed (optional, for heat)
    • ½ tsp Mexican oregano
    • 1 tbsp tomato bouillon with chicken (Knorr or similar)
    • 3 tbsp avocado oil
    • 1–2 tbsp tomato paste
    • ½–1 tsp lime juice or ¼ tsp apple cider vinegar (optional, for brightness)
    • kosher salt & freshly ground black pepper, to taste

    Directions

    Roast the Vegetables

    Place tomatoes (if using fresh), chopped onion, garlic, and serrano chile (if using) on a baking sheet and roast at 450ºF (230ºC) for 15–20 minutes, until blistered and slightly charred.

    Blend the Sauce

    Transfer roasted vegetables to a blender. Add Mexican oregano and tomato bouillon. Blend until smooth and uniform.

    Sauté & Simmer

    Heat avocado oil in a deep skillet over medium heat until shimmering. Carefully pour in the blended sauce—it should sizzle on contact. Stir, bring to a boil, then reduce heat to medium-low and simmer for 10–15 minutes, stirring occasionally, until reduced by about half and thickened.

    Finish the Sauce

    Whisk in tomato paste to enrich the color and texture. Simmer gently for 1–2 minutes to bloom the paste and deepen sweetness. Adjust consistency with a splash of chicken broth or water if needed. Add lime juice or vinegar (if using), and season to taste with salt and pepper. For an extra-smooth texture, strain through a fine-mesh sieve before serving.


    Notes

    Preparation

    • For milder heat, remove the serrano seeds before roasting; for gentle warmth, use half a serrano.
    • Taste the sauce before adding salt—tomato bouillon already contributes salinity.
    • Blooming the tomato paste for 1–2 minutes enhances color, sweetness, and depth.
    • Simmer until the sauce lightly coats the back of a spoon for proper texture.
    • For deeper roasted flavor, char the tomatoes directly over a flame before blending.

    Serving Suggestions

    Variations

    • For heat without fresh chile flavor, add ⅛–¼ tsp cayenne when blending, increasing to taste.

    Make-Ahead & Storage

    • The sauce deepens in flavor after resting overnight.
    • Refrigerate in an airtight container for up to 5 days.
    • Freeze up to 3 months; thaw in the refrigerator.
    • Reheat gently over low heat; add a splash of broth or water if it becomes too thick.