Bags of Spices

Favorite Recipes

Side Dish

  • Greek Lemon Rice

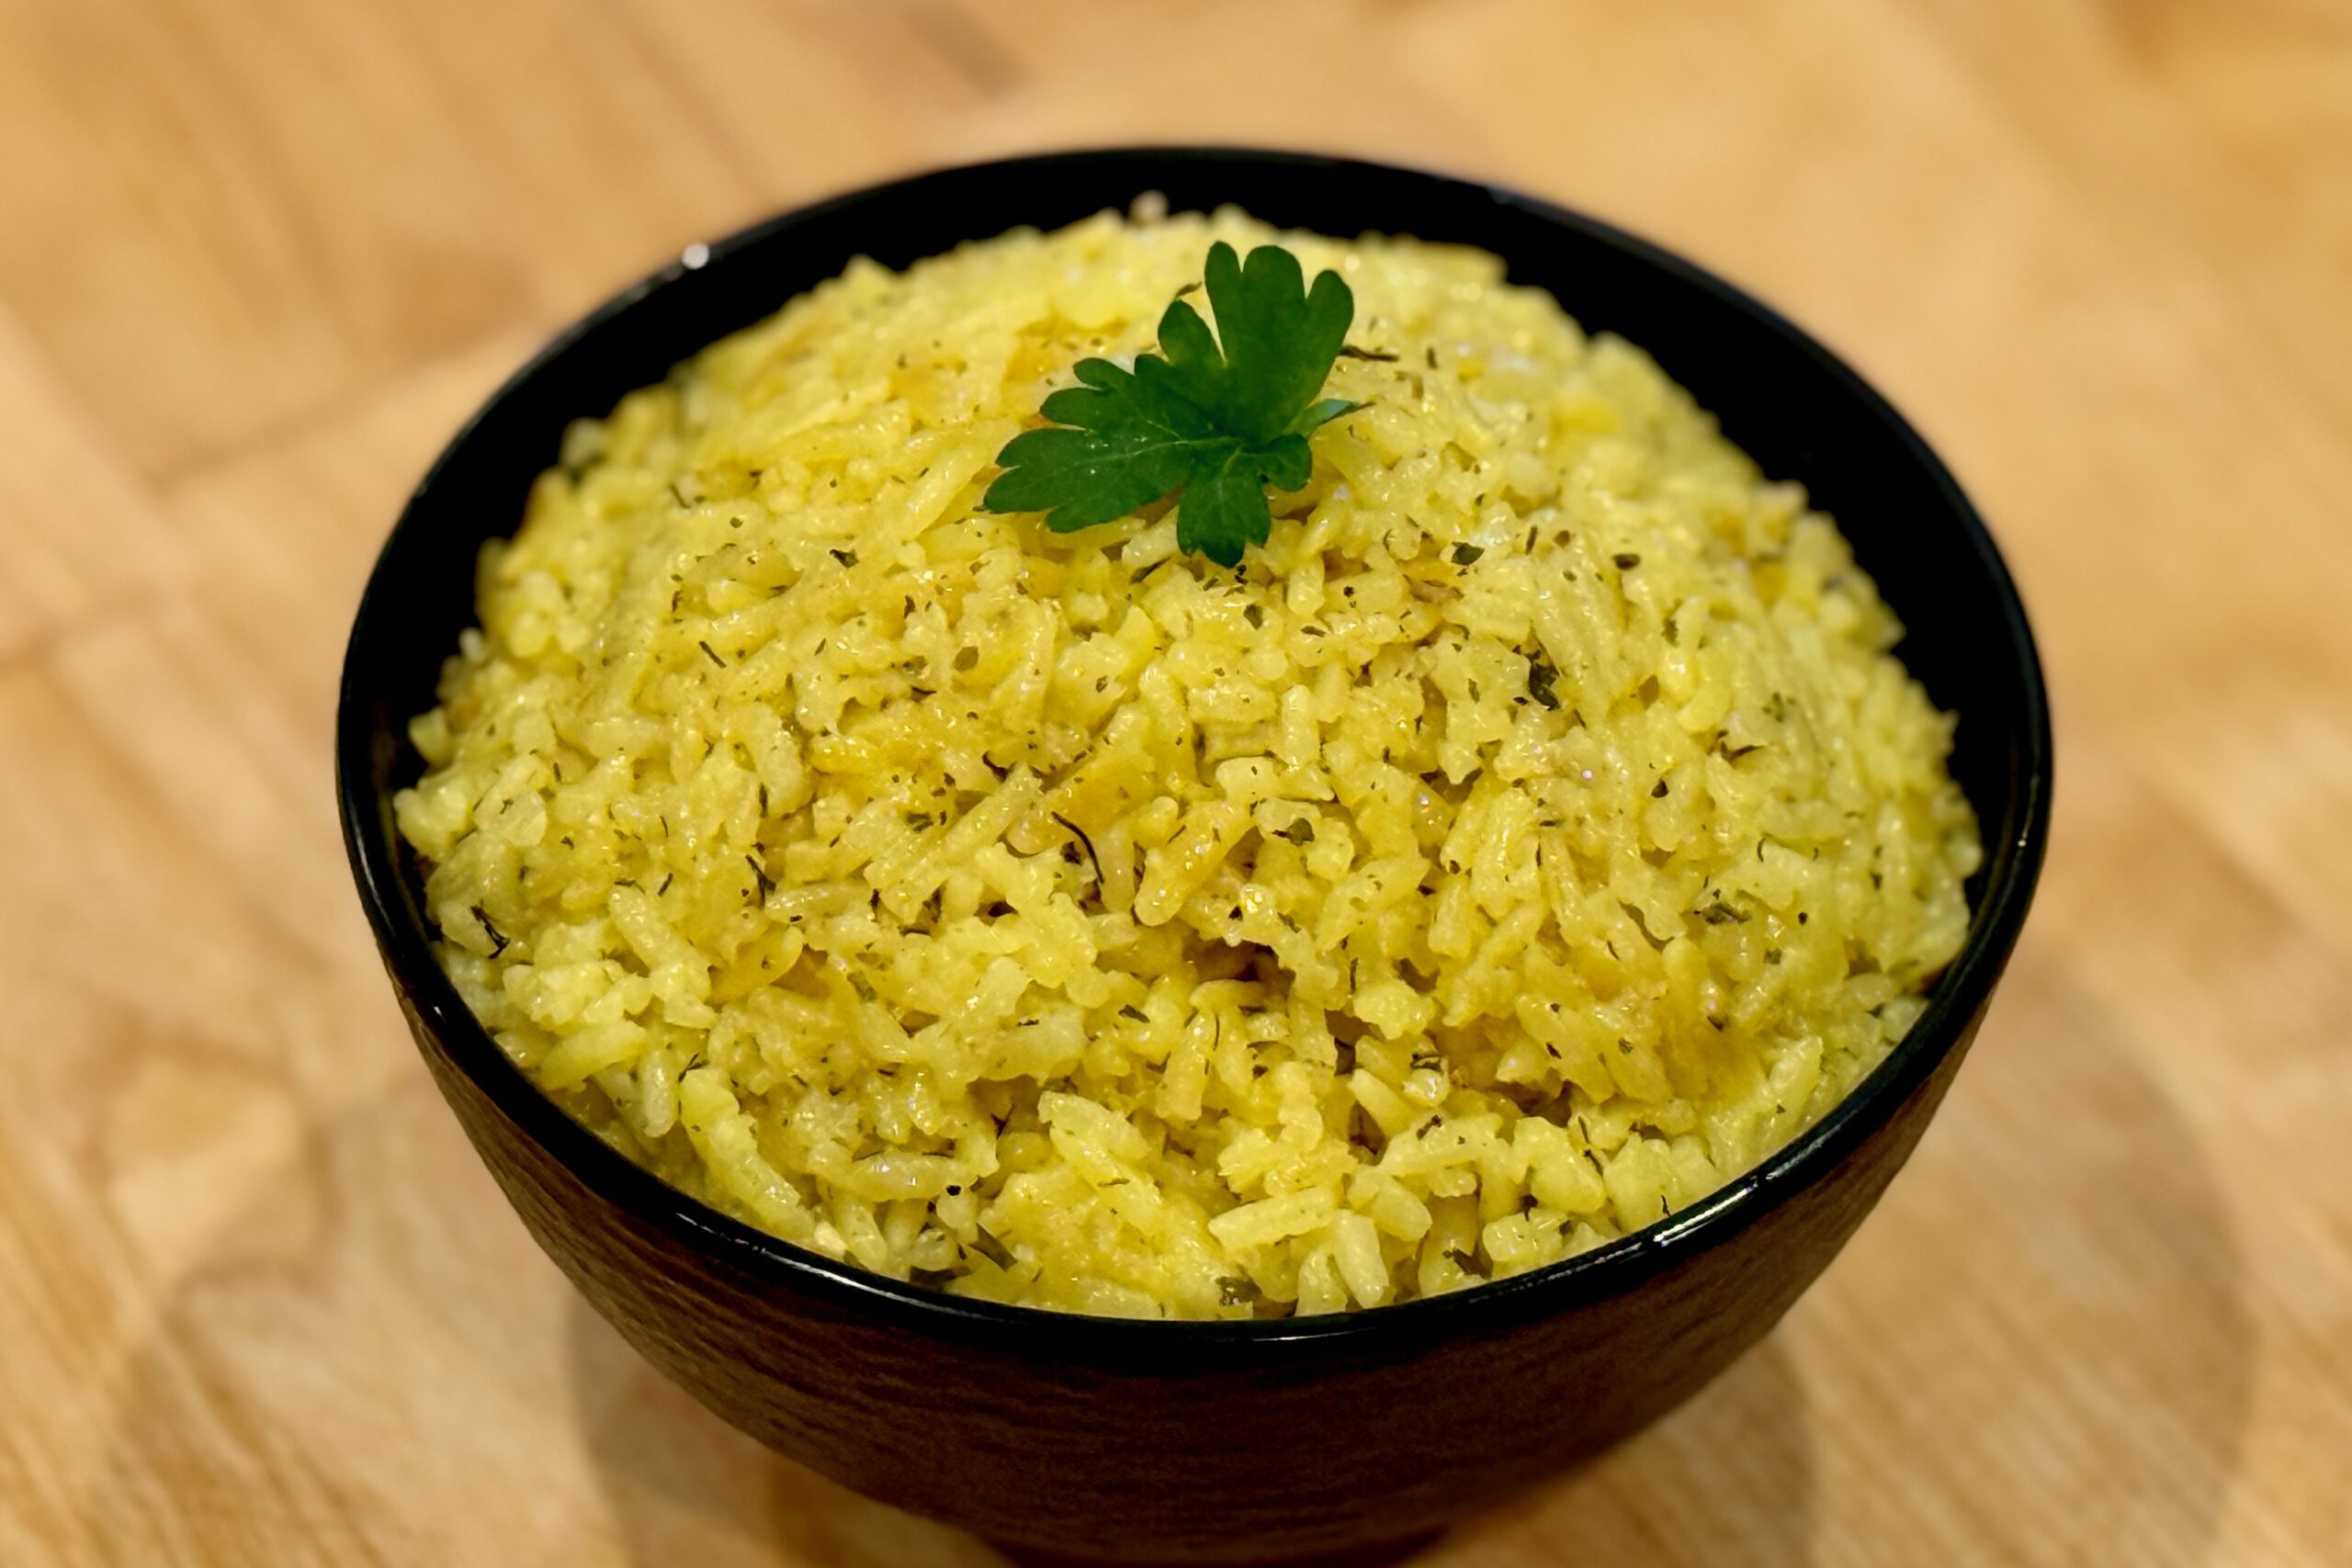
    Greek Lemon Rice

    Bright, savory, and finished with plenty of lemon, this Greek-style rice is an easy way to round out a chicken gyro dinner. Onion, garlic, broth, dill, and parsley build a simple but flavorful base, while a touch of butter adds richness and a tiny pinch of turmeric gives the rice a warm golden color without changing the flavor.


    Ingredients

    • 1 cup long-grain white rice, rinsed
    • 1 tbsp orzo pasta (optional)
    • 1¼ cups chicken broth
    • 2 tbsp olive oil
    • ¼ cup finely diced onion
    • 2 cloves garlic, minced
    • 1½ tsp fresh dill, chopped (or ½ tsp dried)
    • 1½ tsp fresh parsley, finely chopped (or ½ tsp dried)
    • ¼ tsp black pepper
    • ⅛ tsp turmeric
    • ¼ tsp onion powder
    • 1 small bay leaf
    • 1 tsp chicken bouillon (optional but recommended, preferably Better Than Bouillon)
    • 2 tbsp fresh lemon juice
    • 1 tsp lemon zest (optional)
    • 1 tbsp butter
    • table salt, to taste

    Directions

    Sauté the Aromatics

    Heat a medium skillet over medium heat. Add the olive oil and cook the onion for about 5–7 minutes, stirring occasionally, until softened and lightly golden.

    Add the garlic and cook for 30 seconds, just until fragrant.

    Toast the Rice

    Add the rinsed rice and optional orzo to the skillet. Cook for 1 to 2 minutes, stirring frequently, until lightly toasted and coated in the oil.

    Transfer the mixture to the Instant Pot insert.

    Add the Liquid and Seasonings

    Stir in the chicken broth, dill, parsley, black pepper, turmeric, onion powder, bay leaf, and chicken bouillon, if using. Do not add the lemon juice yet.

    Pressure Cook

    Lock the lid and cook on High Pressure for 4 minutes.

    Let the pressure release naturally for 10 minutes, then carefully vent any remaining pressure.

    Finish the Rice

    Remove the bay leaf. Fluff the rice gently with a fork. Stir in the lemon juice, lemon zest if using, and butter.

    Taste and season with table salt as needed. Serve warm, with an extra squeeze of lemon if desired.


    Notes

    Preparation

    • Rinsing the rice helps the finished texture stay fluffy and prevents excess stickiness.
    • The turmeric is used only for color and should remain subtle so the rice keeps its classic Greek flavor profile.
    • Cooking the onion until lightly golden adds depth and sweetness that helps balance the bright lemon flavor.
    • The sauté step can also be done directly in the Instant Pot using the Sauté function if preferred.

    Serving Suggestions

    • Serve alongside chicken gyros, souvlaki, grilled chicken, or lamb.
    • Finish with extra lemon wedges and a spoonful of tzatziki for a full taverna-style plate.

    Variations

    • The optional orzo adds texture and gives the rice a more traditional Greek pilaf character.
    • Fresh herbs provide the brightest flavor, but dried dill and parsley work very well for a convenient pantry version.
    • A small pinch of dried oregano can be added if you want the rice to echo the flavors in gyro-seasoned meat.

    Make-Ahead & Storage

    This rice reheats well and can be made ahead for meal prep or larger dinners.

    • Refrigerate leftovers in an airtight container for up to 4 days.
    • Reheat gently with a small splash of broth or water to loosen the rice.
    • Add a fresh squeeze of lemon after reheating to brighten the flavor.
  • Corn with Poblano Chiles

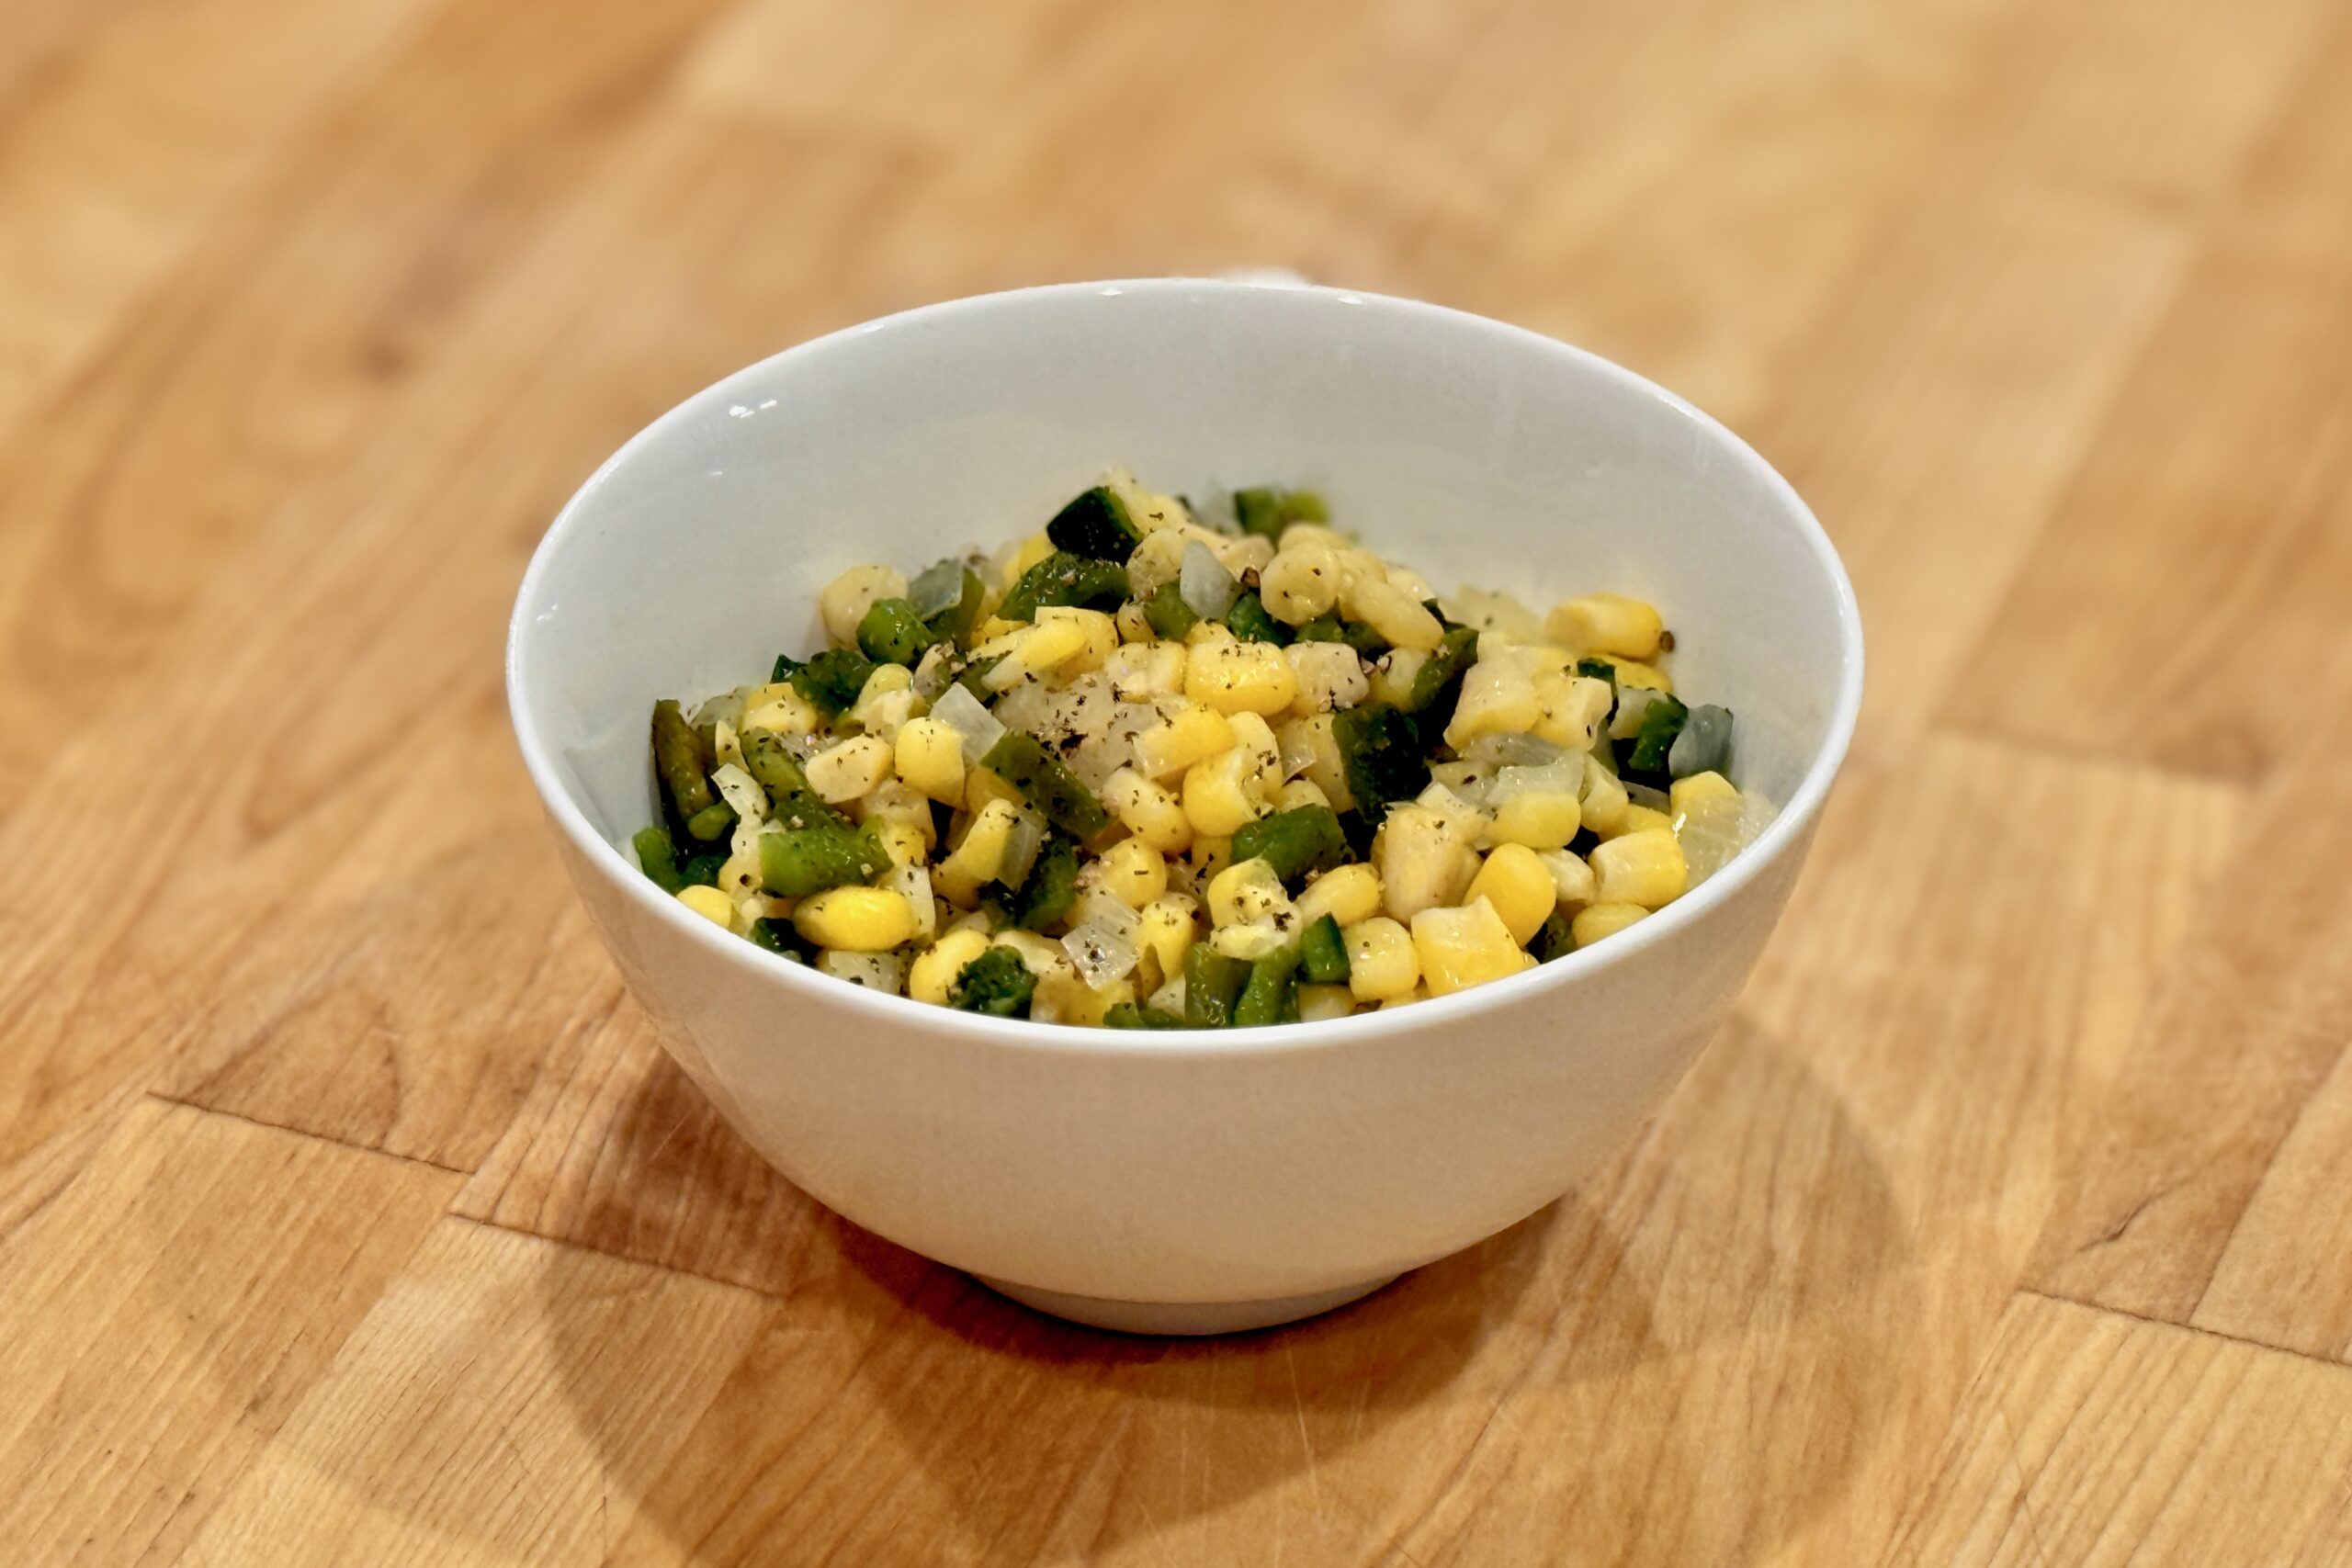
    Corn with Poblano Chiles

    Sweet corn, sautéed onion, and diced poblano come together in a simple, buttery Mexican side dish with a bright lime finish — perfect alongside tacos, grilled meats, enchiladas, and more.


    Ingredients

    • 1 large poblano chile
    • 2 tbsp butter
    • 1 small to medium white or yellow onion, diced small
    • 1½ lb frozen sweet corn (or 4 cups corn kernels)
    • fresh lime juice (to taste)
    • table salt (to taste)
    • black pepper (to taste)

    Directions

    Char the Poblano

    Char the poblano over a gas flame (or under a broiler, turning as needed) until the skin is blistered and blackened in spots.

    Transfer to a bowl and cover (or place in a bag) for 5–10 minutes to steam. Peel off the loose charred skin, remove stem and seeds, and dice small.

    Sauté the Onion and Corn

    In a large skillet over medium-high heat, melt the butter. Add the diced onion and sauté until softened and translucent (about 4–6 minutes).

    Add the corn and cook, stirring occasionally, until hot and lightly caramelized in spots (about 5–8 minutes).

    Finish

    Stir in the diced poblano and cook 1–2 minutes to warm through.

    Season with salt and pepper to taste, then finish with lime juice to taste. Serve warm.


    Notes

    Preparation

    • For the most flexible flavor, keep the onion soft and translucent (not browned) so the dish stays bright and works with a wide range of Mexican meals.

    Serving Suggestions

    Variations

    • Optional cumin: For a slightly warmer, more traditional Mexican note, add about ⅛ tsp ground cumin while seasoning. Keep it subtle.
    • strong>Optional cilantro: Stir in 1–2 tbsp chopped fresh cilantro at the end, or use it as a garnish for a brighter finish.

    Make-Ahead & Storage

    • Store leftovers covered in the refrigerator for up to 3–4 days.
    • Reheat gently in a skillet (best texture) or in the microwave. Add a small squeeze of lime after reheating to wake the flavors back up.
  • Greek Lemon Potatoes

    Greek Lemon Potatoes

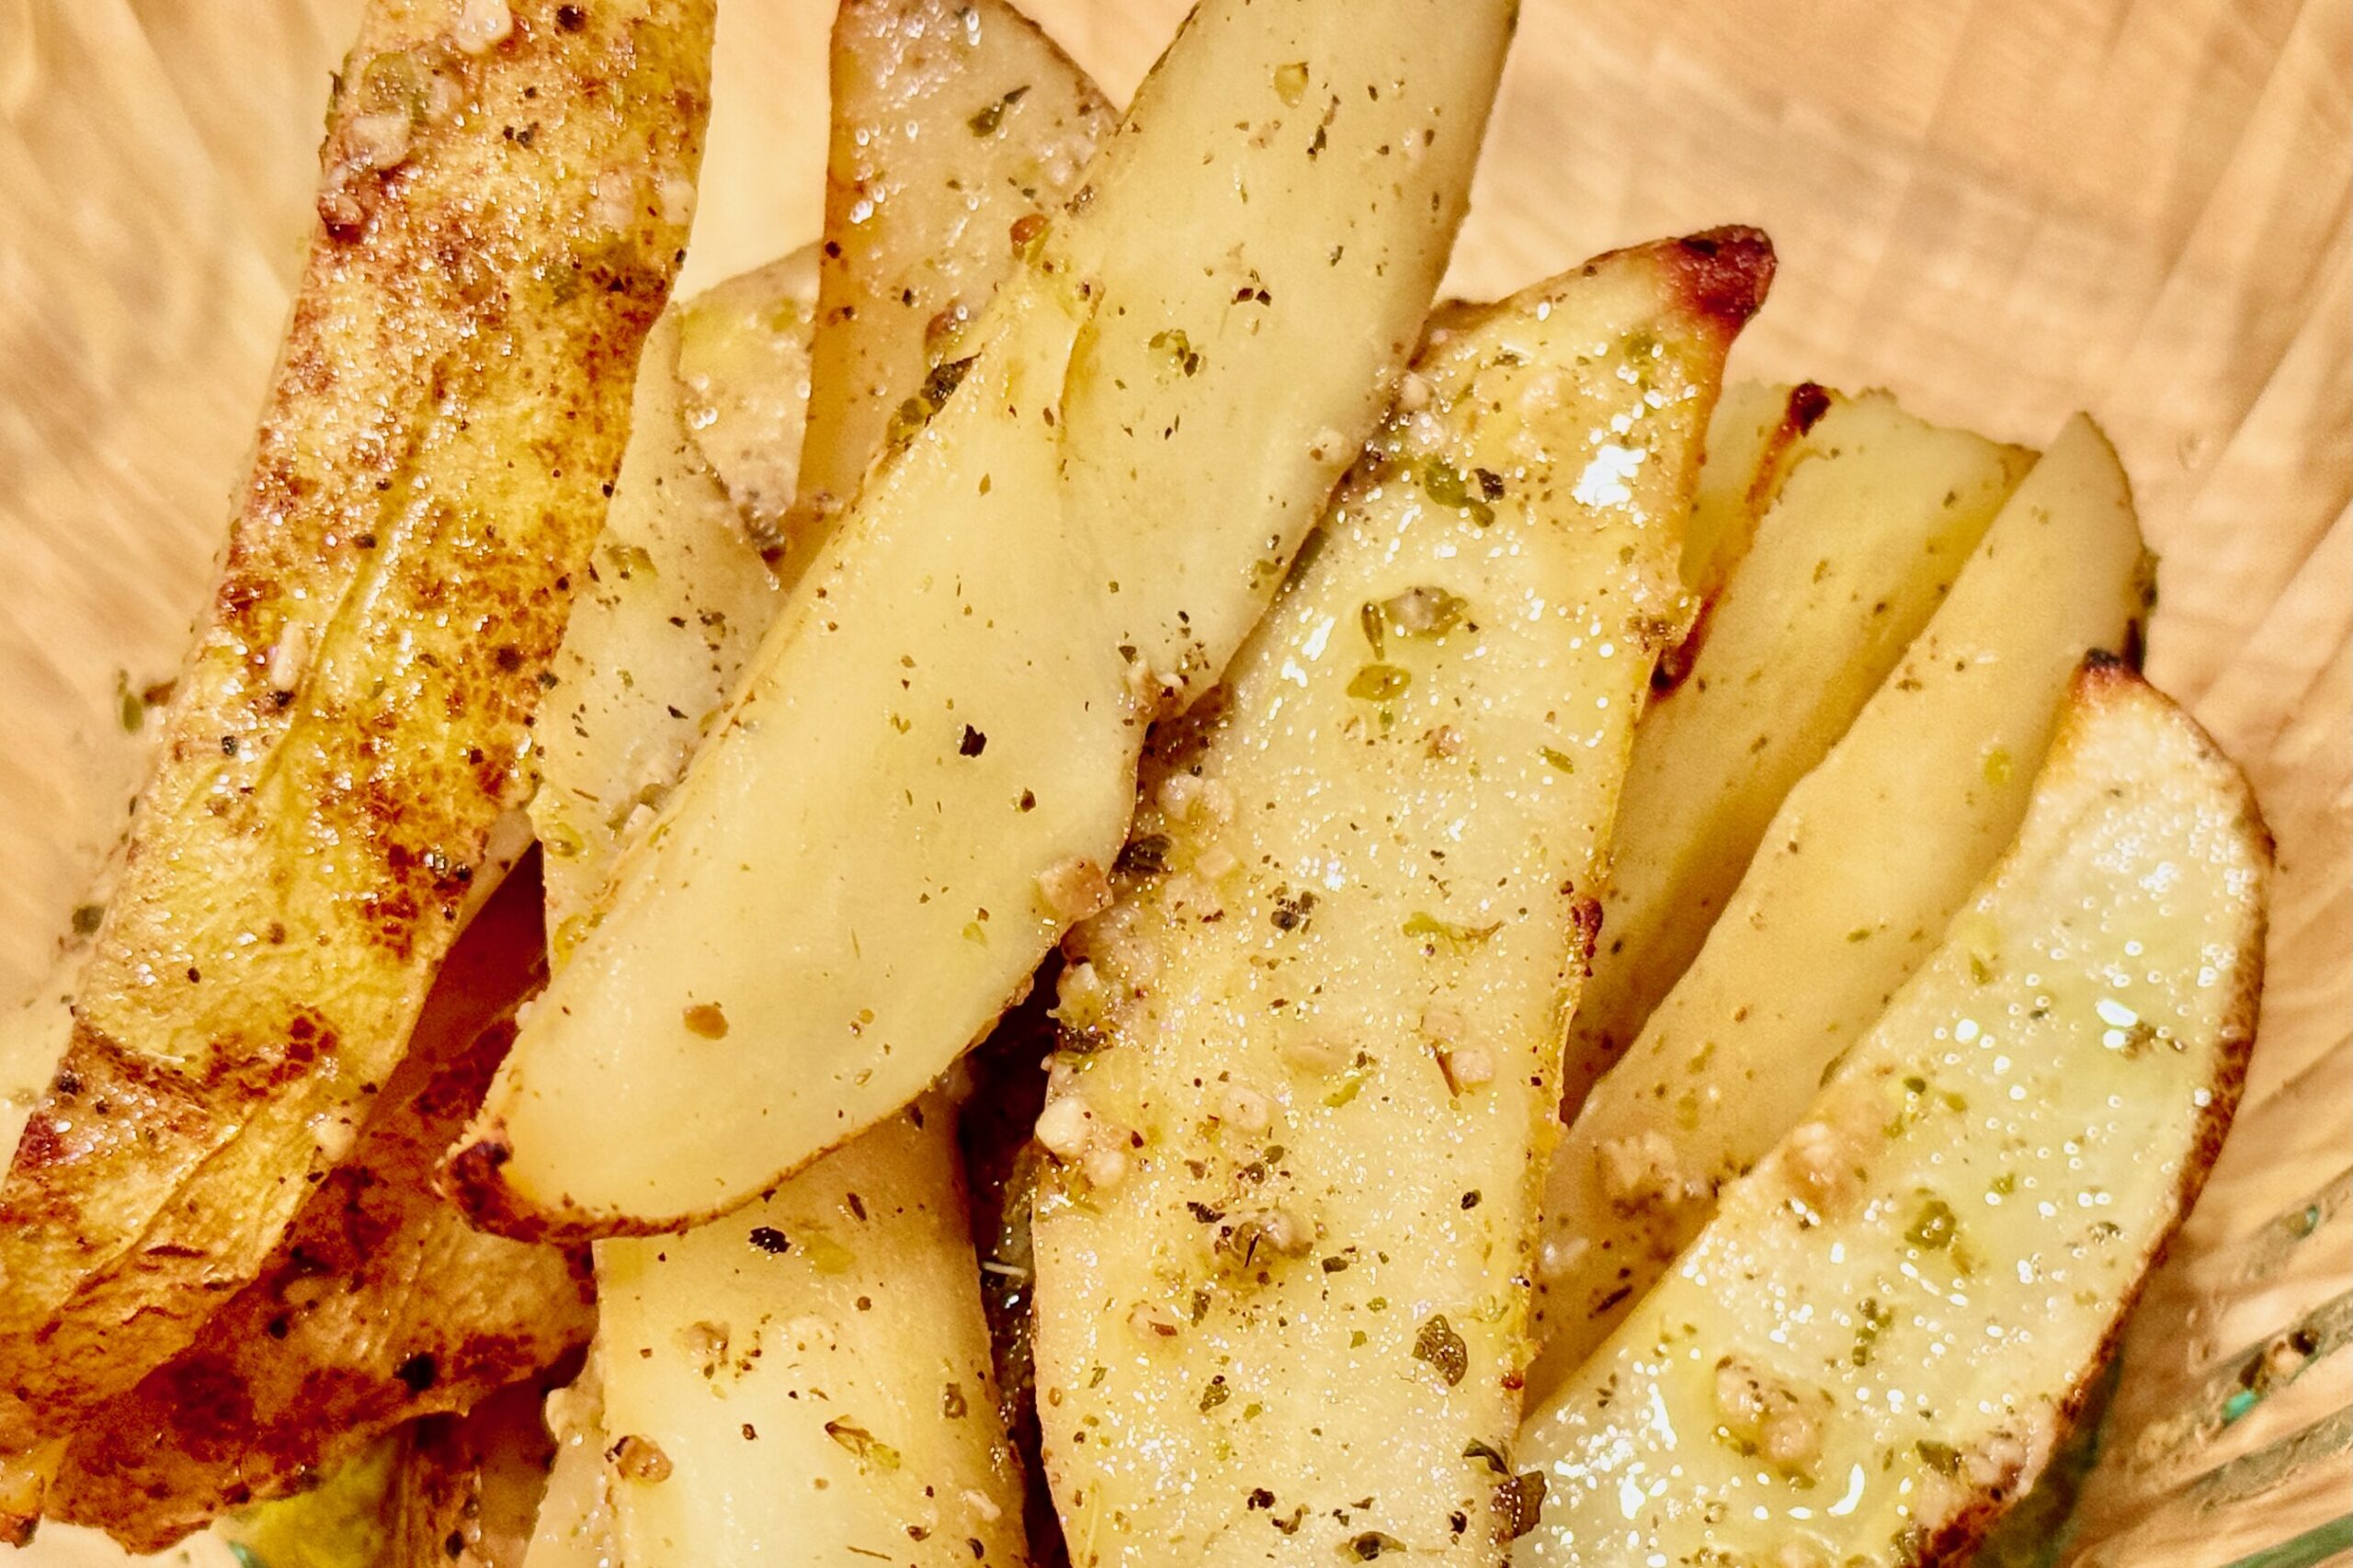
    These Greek Lemon Potatoes are built around the classic taverna method: potatoes gently braised in lemony broth until creamy inside, then roasted uncovered so the liquid reduces and the edges turn deeply golden and crisp. Yukon Golds hold their shape while soaking up bright lemon, oregano, and garlic, and a small finish of butter rounds the acidity without dulling it. The result is a side dish that’s bold, savory, and unmistakably Greek—equally at home next to roast chicken, lamb, or a simple grilled protein.


    Ingredients

    • 2½ lbs Yukon Gold potatoes
    • ⅓ cup olive oil
    • ¼ cup fresh lemon juice
    • Zest of 1 lemon
    • 2 tsp dried oregano
    • Pinch dried thyme
    • 1 tbsp garlic, minced (see note for whole garlic option)
    • ½ tbsp table salt, divided
    • ½ tsp black pepper
    • 1¼ cups chicken broth
    • 1–2 tbsp unsalted butter
    • 1–2 tsp fresh parsley, finely chopped

    Directions

    Prepare the Potatoes

    Wash the potatoes and slice into thick wedges (skin on or peeled). Place in a large bowl of cold water and soak for at least 30 minutes to remove excess surface starch. Drain well and pat thoroughly dry.

    Prepare the Seasoned Oil

    In a small saucepan, gently warm the olive oil over low heat. Add the oregano, thyme, and garlic and cook just until fragrant, 30–60 seconds, taking care not to brown the garlic. Remove from heat.

    Stir in the lemon juice, ¾ of the salt, and the black pepper.

    Roast – Phase One (Braise & Steam)

    Preheat the oven to 400°F (200°C).

    Arrange the potatoes in a single layer in a 9×13-inch baking dish. Pour the seasoned oil mixture evenly over the potatoes and toss gently to coat.

    Carefully pour the chicken broth into the sides of the baking dish, avoiding pouring directly over the potatoes. The potatoes should be partially submerged, with their tops exposed.

    Cover loosely with foil and roast for 30 minutes.

    Roast – Phase Two (Reduce & Crisp)

    Remove the foil. Dot the butter between the potatoes, allowing it to melt into the broth as it reduces.

    Continue roasting uncovered until most of the liquid has reduced and the bottoms of the potatoes are deeply golden, about 30–35 minutes. Toss once only after the potatoes release cleanly from the pan.

    Return to the oven and roast an additional 20–30 minutes, until the potatoes are golden, crisp-edged, and fork-tender. Broil briefly if desired for extra color.

    Finish

    Transfer the potatoes to a serving dish and spoon over any remaining pan juices. Sprinkle with lemon zest and parsley. Taste and adjust with the remaining salt if needed. Serve immediately.


    Notes

    Preparation

    • Soaking the potatoes removes excess surface starch, helping the wedges roast with crisper edges instead of turning gummy.
    • Blooming the oregano and garlic in warm oil softens oregano’s bitterness and prevents raw garlic harshness, resulting in a rounder, more integrated flavor.
    • Avoid pouring broth directly over the potatoes. Keeping the tops dry allows them to roast while the bottoms gently braise.
    • Salt is added in stages: most goes in early to season the interior, with a final adjustment once the liquid has reduced and flavors have concentrated.

    Serving Suggestions

    • Serve alongside roast chicken, lamb, or grilled meats.
    • Pairs well with a simple cucumber–tomato salad or tzatziki to balance the richness and lemony depth.
    • Best served hot from the oven, when the edges are crisp and the centers are creamy.

    Variations

    • Whole Garlic Option: Whole garlic cloves (lightly smashed) may be used in place of minced garlic. As they roast, the cloves soften and sweeten, lending a gentler, more rounded garlic flavor without the sharper bite of minced garlic.

    Make-Ahead & Storage

    • These potatoes are best served fresh, but leftovers keep well.
    • Refrigerate in an airtight container for up to 3 days.
    • Reheat uncovered in a hot oven (400°F / 200°C) to restore crisp edges. Avoid microwaving, which softens the exterior.
  • Mexican Rice

    Mexican Rice

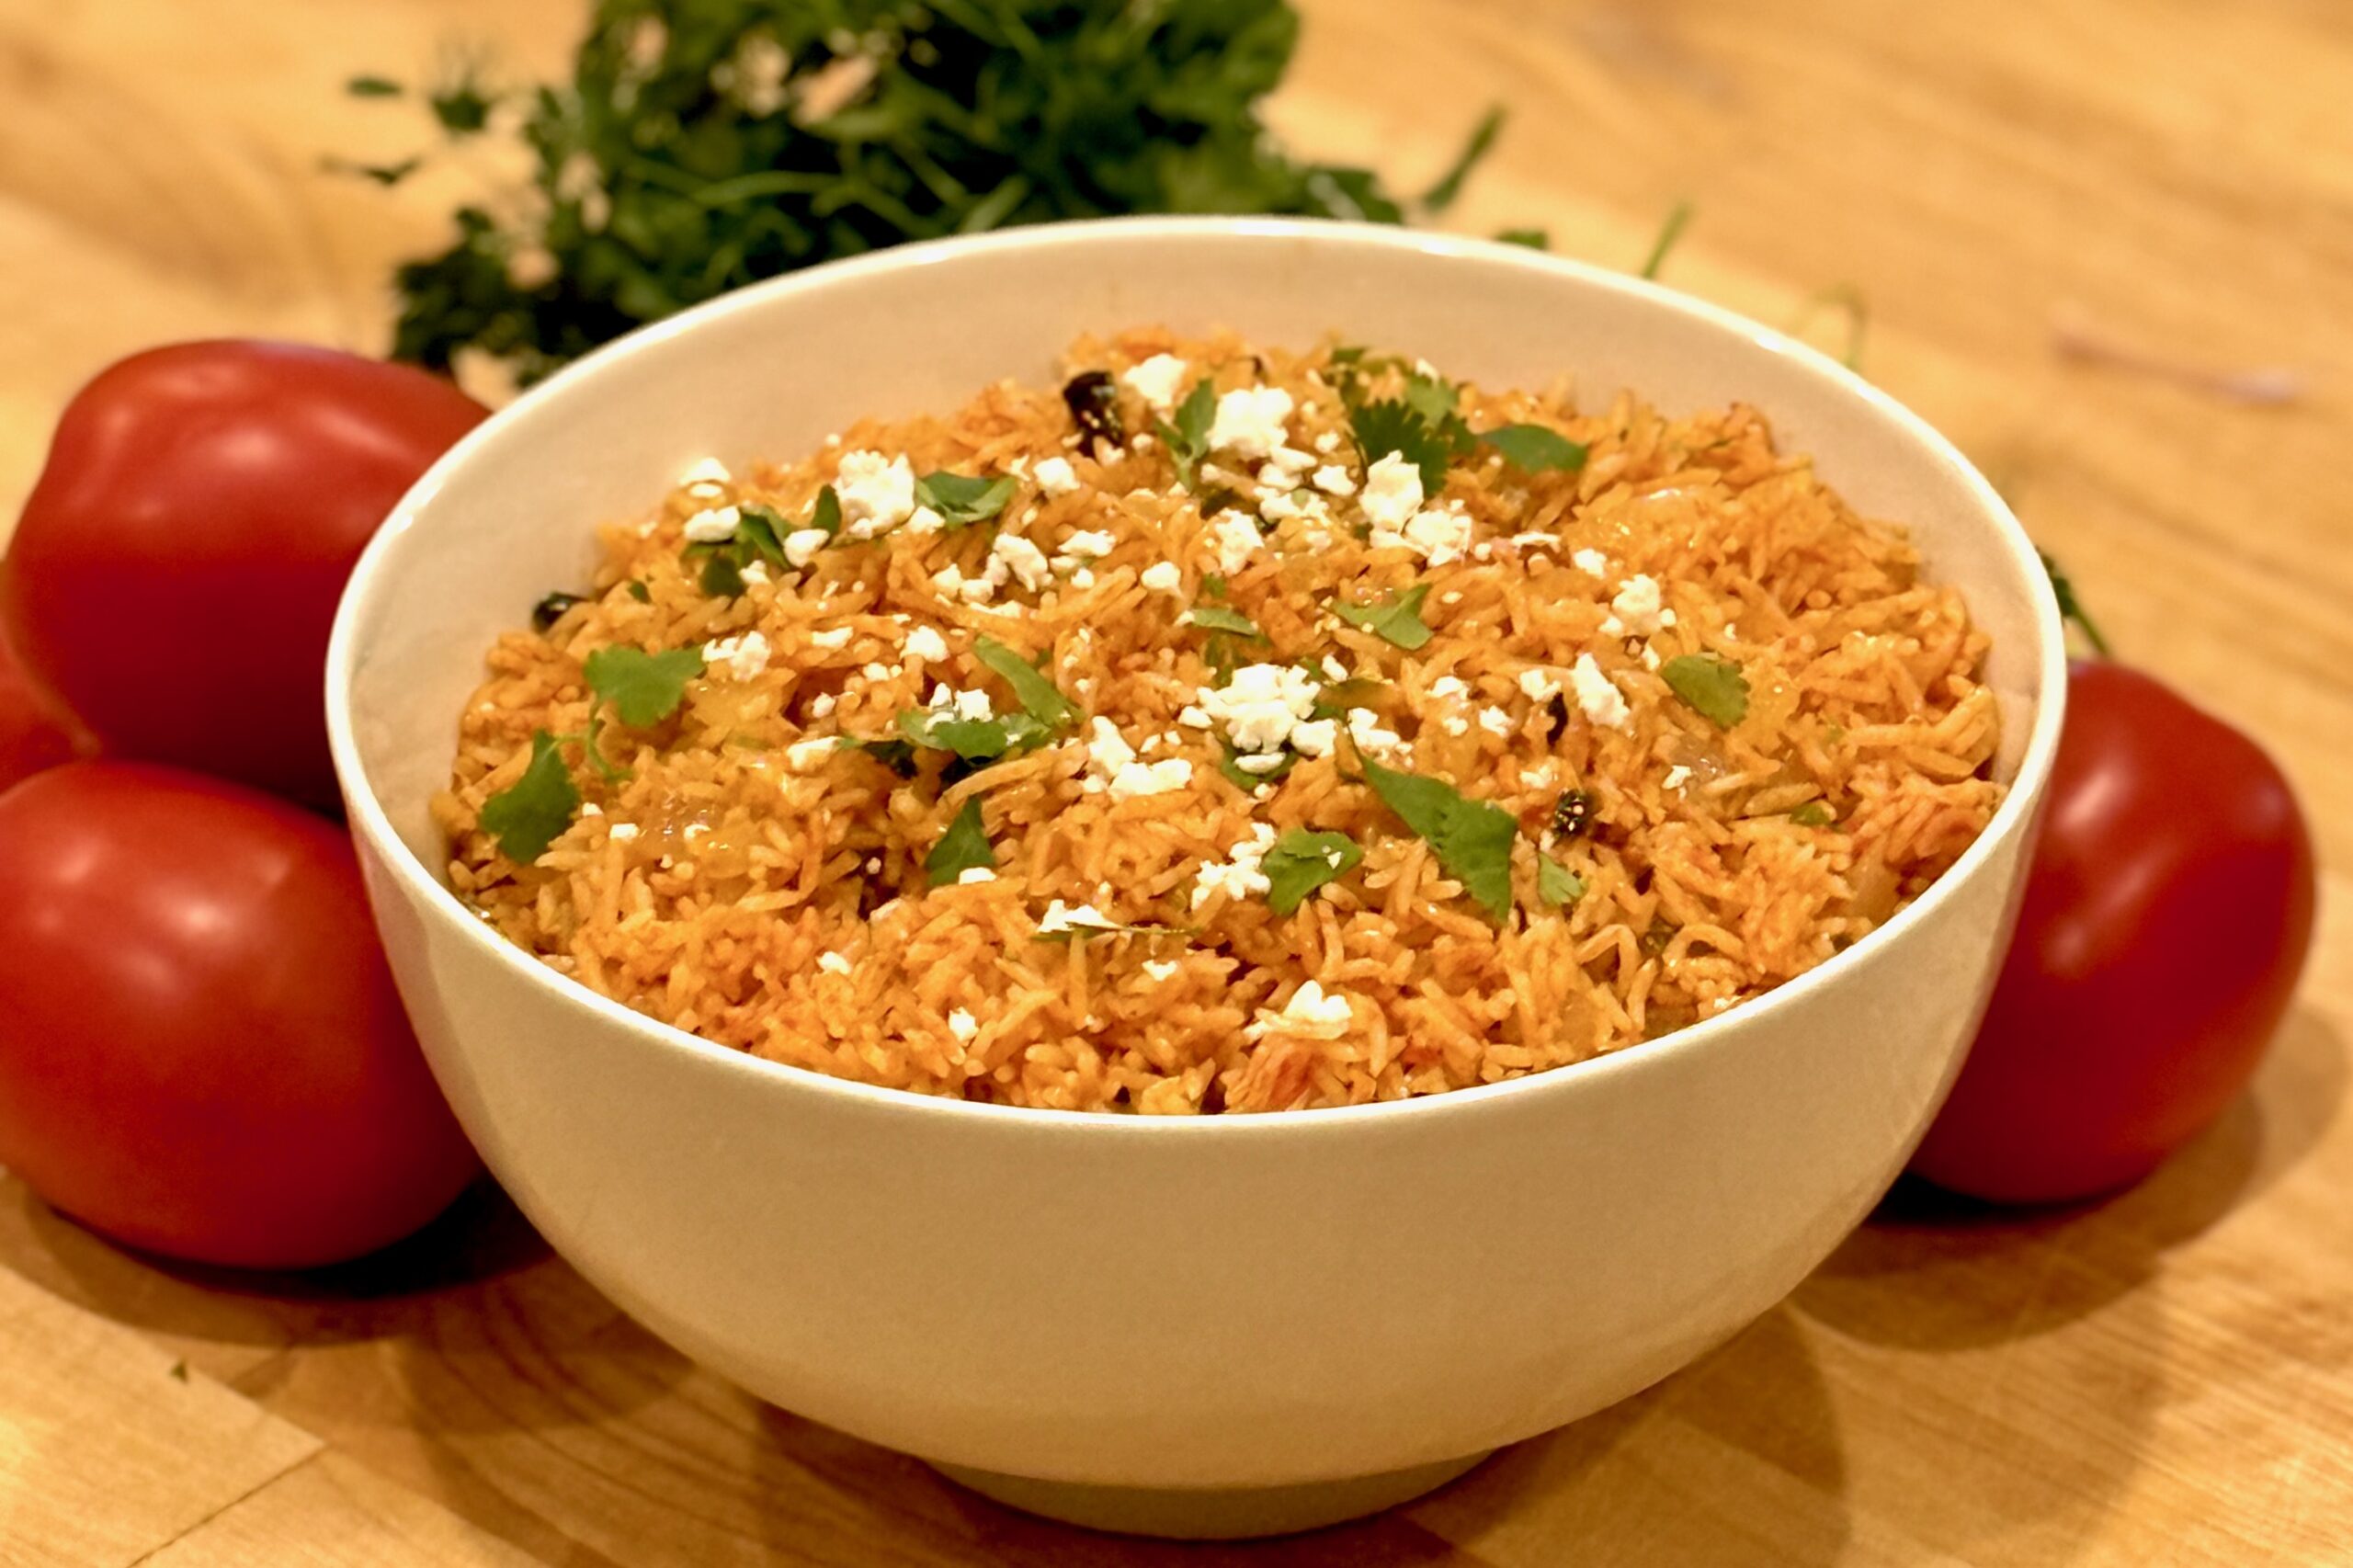
    Fluffy, richly flavored Mexican rice made in the Instant Pot without the risk of burning. Toasted rice builds a subtle nuttiness before sautéed onion and garlic deepen the base, and a homemade Mexican Tomato Sauce brings vibrant color, gentle heat, and balanced acidity. Instead of relying on shortcuts or canned blends alone, this method layers flavor intentionally — blooming the aromatics, coating each grain in oil, and carefully controlling the liquid ratio so the rice steams rather than stews. The result is tender, separate grains with that signature restaurant-style texture and a savory backbone strong enough to stand alongside tacos, Enchiladas, Carnitas, or grilled Carne Asada — yet balanced enough to enjoy on its own.


    Ingredients

    • 3 cups basmati rice, rinsed and drained
    • 3 tbsp avocado oil
    • 1 tbsp lard (optional, for richness)
    • ½ tsp annatto powder (optional, for color)
    • 1½ cups prepared Mexican Tomato Sauce
    • 2¾ cups chicken broth
    • ½ tsp table salt
    • ½ medium onion, diced
    • 1–2 jalapeños, diced
    • 1 tbsp butter (for finishing)
    • fresh cilantro, chopped, for garnish
    • lime wedges, for serving

    Directions

    Rinse the Rice

    Place rice in a fine-mesh strainer and rinse under cold running water for 1–2 minutes, or until the water runs mostly clear. Drain well.

    Sauté the Aromatics

    Heat a deep sauté pan over medium-high heat; add 1 tbsp avocado oil. When shimmering, add onion and jalapeño. Sauté until the edges of the onion begin to brown and the jalapeño softens slightly. Transfer the mixture to a bowl and set aside.

    Toast the Rice

    Add remaining 2 tbsp avocado oil and the lard (if using) to the same pan. Once the oil is hot, add the drained rice and cook, stirring occasionally, until lightly golden and fragrant, 5–7 minutes.

    Stir in annatto powder (if using) for 30 seconds, just until color deepens. Deglaze the pan with a few tablespoons of chicken broth, scraping up any toasted bits. Transfer the rice to the Instant Pot.

    Layer and Pressure Cook

    Pour the remaining chicken broth into the Instant Pot over the rice. Sprinkle in salt but do not stir. Gently pour the Mexican Tomato Sauce over the top—again, do not stir. This layering prevents the thicker sauce from touching the bottom and triggering a burn warning.

    Secure the lid and set to Pressure Cook – High for 3 minutes. Allow pressure to release naturally for 10 minutes with Keep Warm on, then turn off Keep Warm and release any remaining pressure manually.

    Fluff and Finish

    Let the rice rest for 2–3 minutes after opening the lid. Fluff gently with a fork, then fold in the reserved jalapeño mixture and the butter. Allow residual heat to melt the butter and evenly coat the grains.

    Let rest uncovered for 3–5 minutes before serving to release excess steam and preserve texture.

    Serve

    Garnish with chopped cilantro and serve with lime wedges. For a stronger tomato flavor, drizzle with additional Mexican Tomato Sauce before serving.


    Notes

    Preparation

    • Total liquid increased to 4¼ cups (2¾ cups broth + 1½ cups sauce) for even cooking and no burn warnings.
    • Layer liquids—broth first, sauce last—and avoid stirring before cooking.
    • Deglaze the pan after toasting the rice to remove any stuck bits that can trigger burn errors.
    • Natural release for 10 minutes ensures fluffy, separate grains without overcooking.
    • Rest uncovered briefly after fluffing to let excess steam escape for perfect texture.

    Serving Suggestions

    Variations

    • Substitute vegetable broth for chicken broth for a vegetarian version.
    • For deeper color and richness, always include annatto and lard.
    • For milder heat, use just one jalapeño or remove the seeds before dicing.

    Make-Ahead & Storage

    • This rice reheats beautifully and maintains texture when stored properly.
    • Refrigerate in an airtight container up to 4 days.
    • Reheat gently on the stove or in the microwave with a splash of broth to restore moisture.
    • Freeze up to 2 months; thaw overnight in the refrigerator before reheating.
  • Semmelknödel — Bavarian Bread Dumplings

    Semmelknödel — Bavarian Bread Dumplings

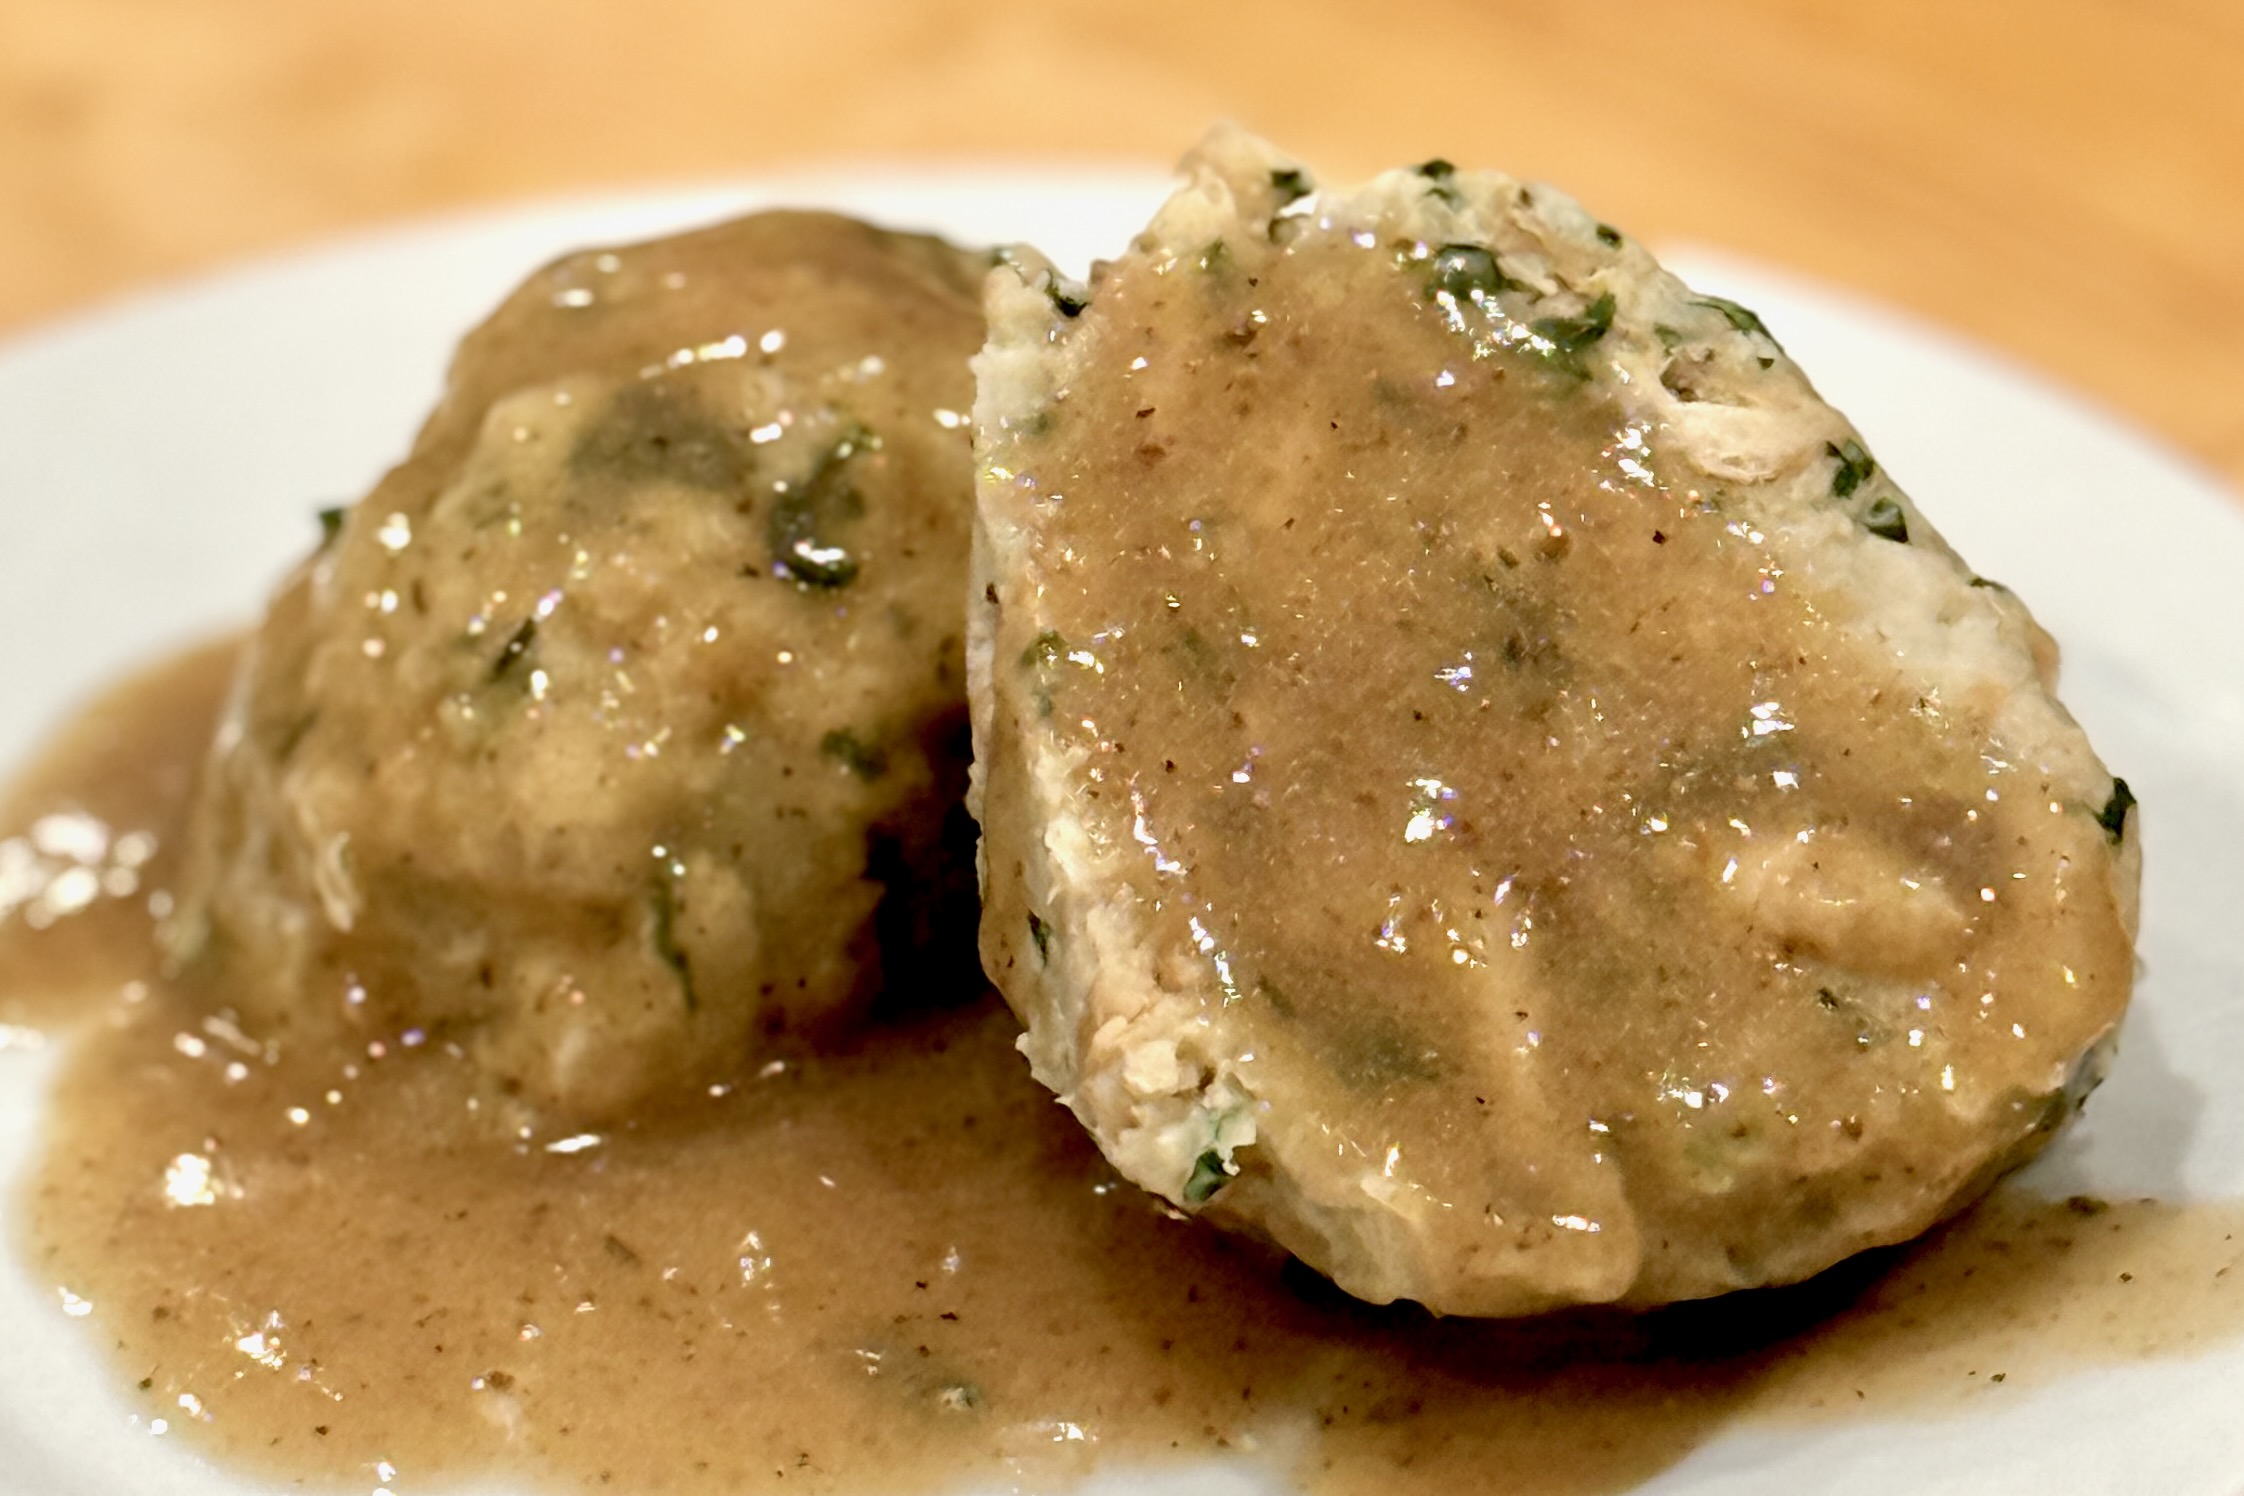
    Classic Bavarian bread dumplings made from day-old rolls soaked in milk, enriched with butter, onion, and parsley. These light, tender dumplings are a beloved side dish across southern Germany — perfect with roast meats, mushroom gravies, or our family favorite, Southern Brown Gravy.


    Ingredients

    • 250 g day-old crusty white bread or Kaiser rolls, cut into 1 cm cubes
    • 200 ml whole milk (warm)
    • 2 medium eggs (or 1 large + 1 medium, see notes)
    • 1 large onion, finely chopped
    • 2 tbsp butter (or clarified butter for authentic flavor)
    • 1 small bunch fresh parsley, finely chopped
    • 50 g diced bacon (optional, for Speckknödel)
    • Salt and freshly ground black pepper, to taste
    • Pinch of grated nutmeg (optional but traditional)
    • Breadcrumbs, as needed (2–4 tbsp)

    Directions

    Prepare Bread Base

    Place bread cubes in a large mixing bowl. Pour warm milk evenly over them and toss gently to coat. Let stand for 10–15 minutes, or until the milk is mostly absorbed and the bread has softened.

    Cook Aromatics

    In a skillet, melt butter over medium heat. Add onion and sauté until translucent, about 3–4 minutes. If using bacon, add it and cook until lightly crisp. Add the chopped parsley and stir briefly to release aroma. Remove from heat and let cool slightly.

    Combine Mixture

    Add the sautéed mixture to the soaked bread. Mix in eggs, salt, pepper, and nutmeg. Stir gently until evenly combined. If the mixture feels too wet or sticky, add breadcrumbs 1 tbsp at a time until it just holds together — it should be soft and slightly tacky, not dry.

    Shape Dumplings

    With lightly wet or oiled hands, form the mixture into balls slightly smaller than a tennis ball (about 6–7 cm). Test one dumpling in simmering water — if it breaks apart, knead a bit more or add a spoonful of breadcrumbs to the mixture.

    Cook

    Bring a large pot of salted water to a gentle simmer (not a rolling boil). Add dumplings carefully and simmer for 15–20 minutes, turning occasionally, until they float to the surface and feel firm when lifted with a slotted spoon.

    Serve

    Drain well and serve hot with mushroom gravy, roast pork, or Southern Brown Gravy. For leftovers, slice cold dumplings and pan-fry them in butter for a crisp Bavarian breakfast (Knödelgröstl).


    Notes

    Preparation

    • Use firm, crusty bread such as baguette, French bread, or Kaiser rolls. Avoid enriched sandwich loaves. Lightly toasting the cubes before soaking enhances flavor and improves texture.
    • If using large eggs, start with one and add the second only if needed for binding.
    • A pinch of nutmeg adds warmth and authenticity.
    • For subtle complexity, stir in a small spoonful of German, ground, or Dijon mustard with the eggs.
    • For even texture, test one dumpling first; adjust with breadcrumbs or milk as needed.

    Serving Suggestions

    • Serve with mushroom gravy, pork roast (Schweinebraten), or Southern Brown Gravy.
    • Slice leftover dumplings and fry in butter for a crispy Bavarian breakfast (Knödelgröstl).

    Variations

    • Speckknödel: Add diced bacon to the mixture for a heartier version.
    • Kräuterknödel: Double the herbs; include chives and a touch of dill.
    • Käseknödel: Add 50–80 g grated Bergkäse or Gruyère for a richer dumpling.

    Make-Ahead & Storage

    • Refrigerate cooked dumplings for up to 3 days in an airtight container.
    • Reheat gently in simmering water or pan-fry in butter before serving.
  • Refried Beans

    Refried Beans

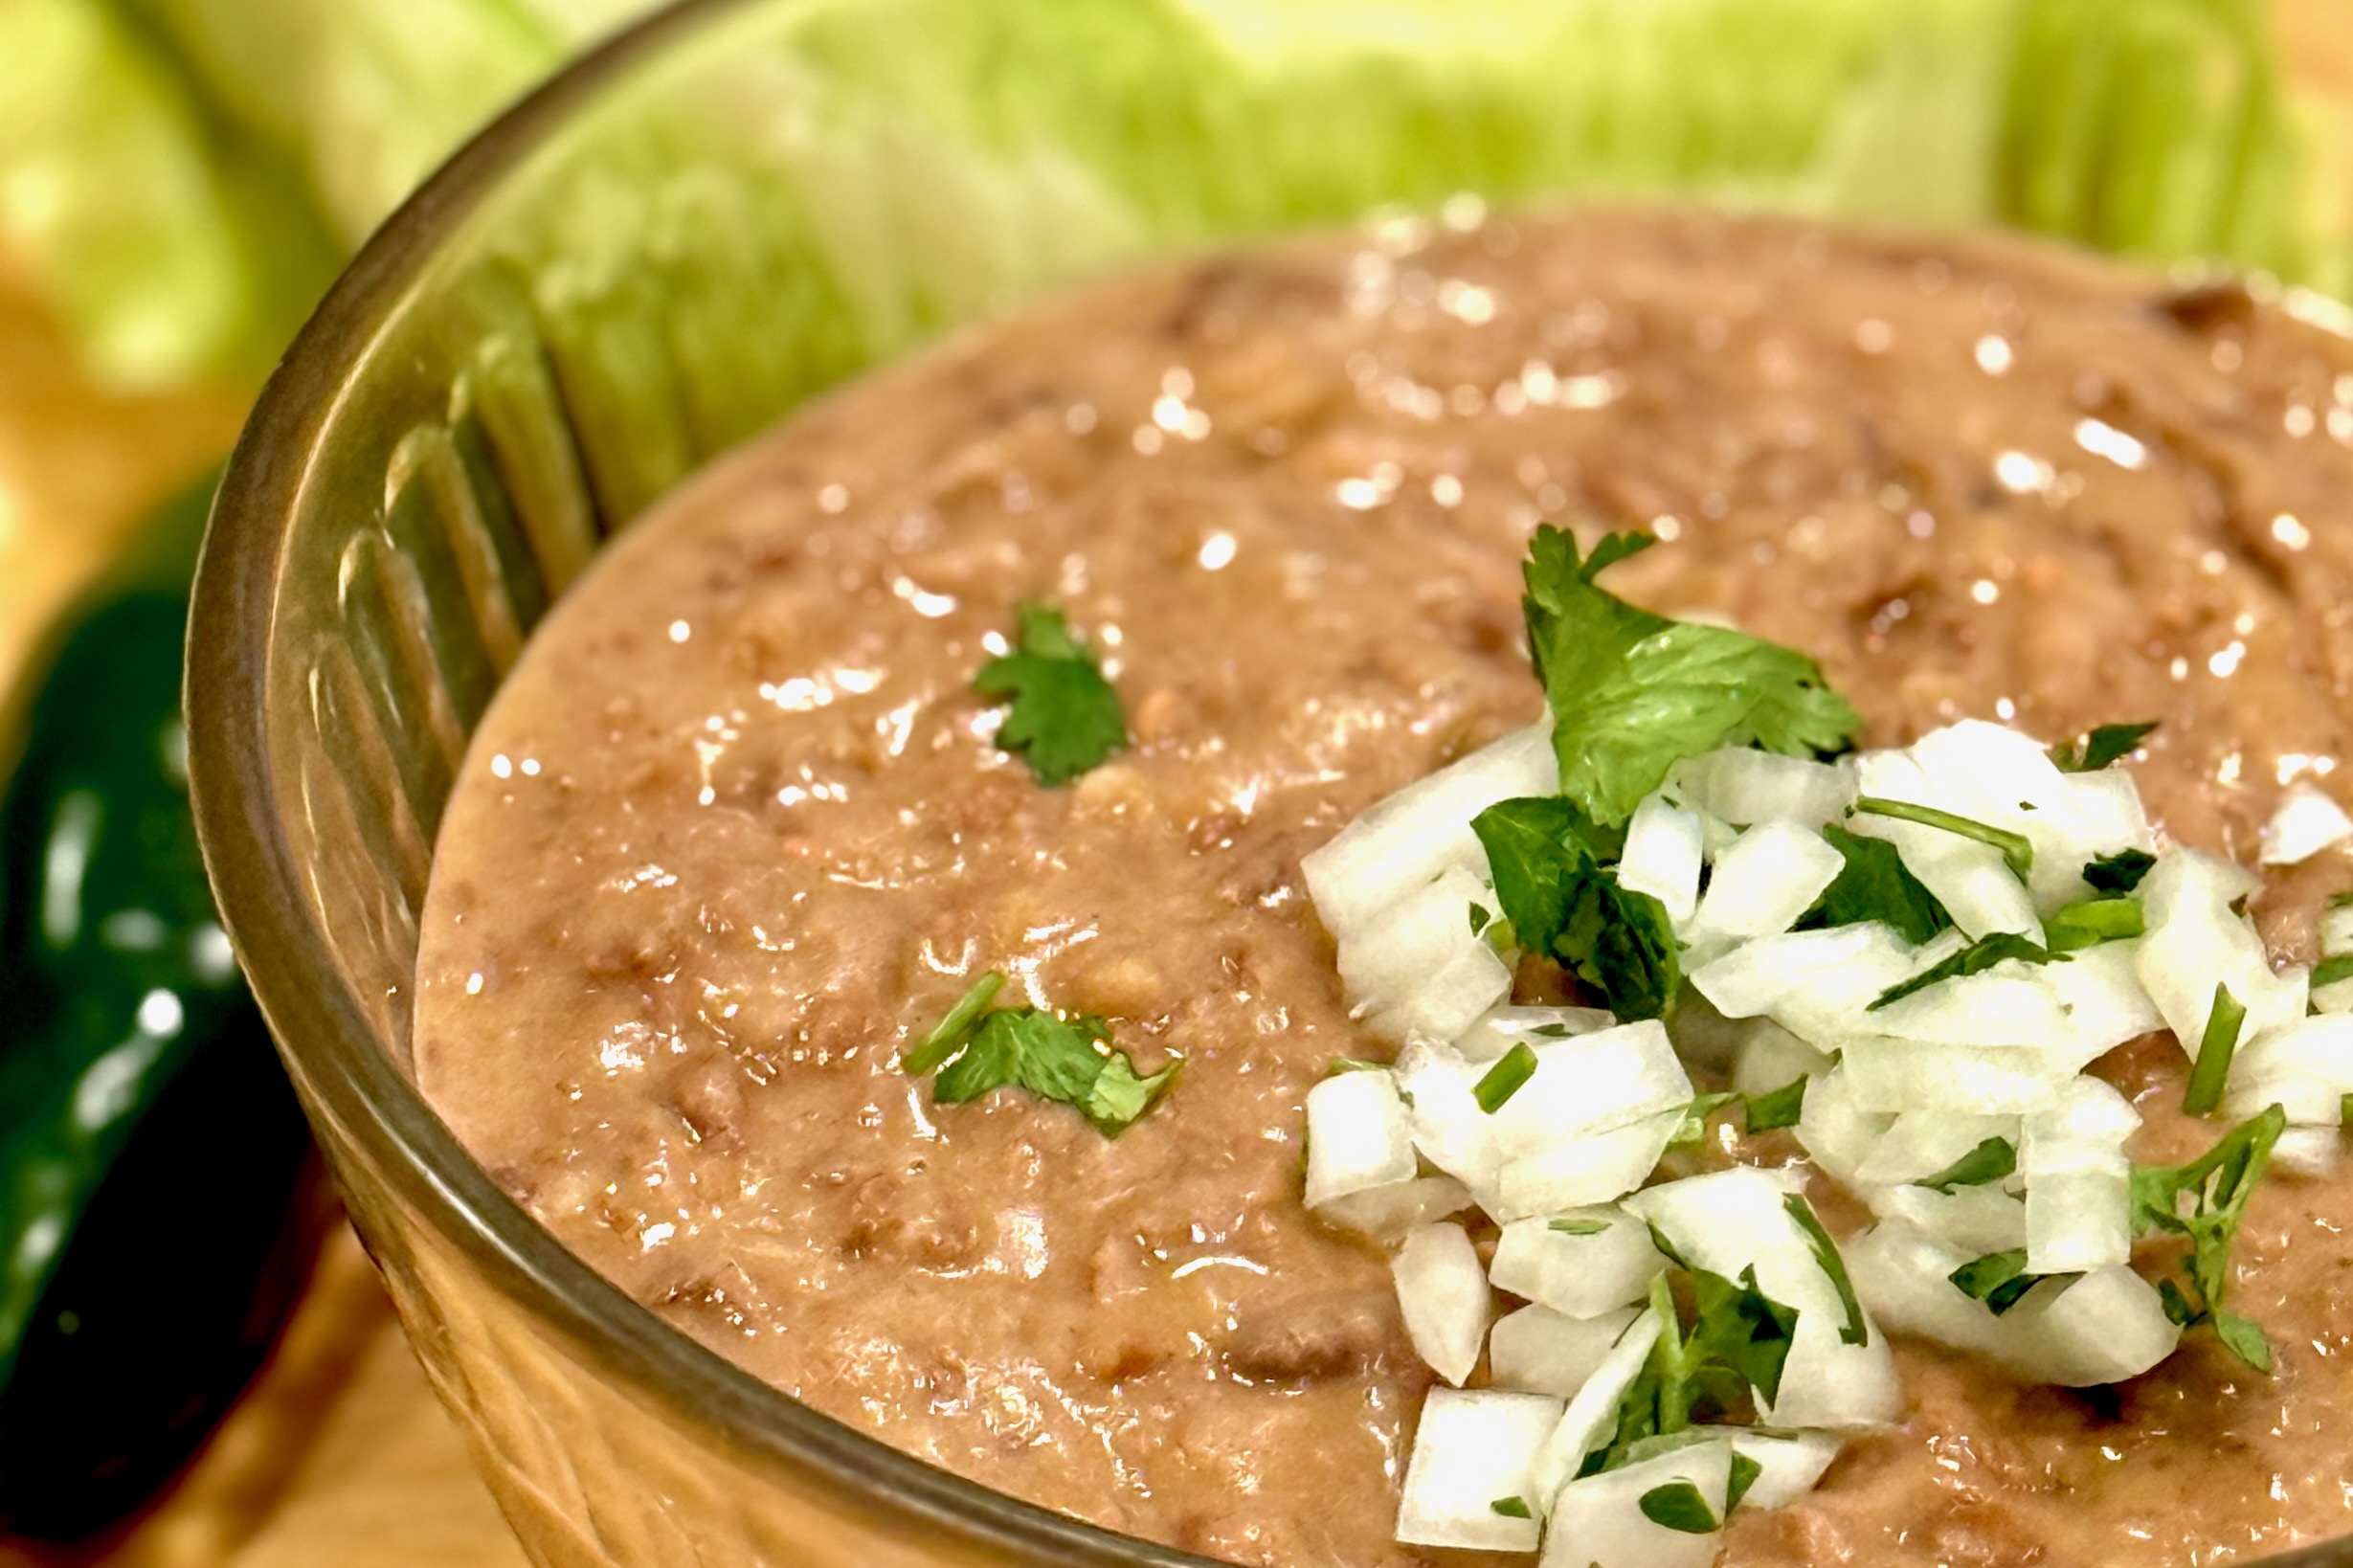
    Rich, creamy, and deeply savory, our family’s recipe for refried beans captures the heart of traditional Mexican cooking with a fraction of the usual time. Each bite balances earthy depth and a hint of sweetness from slow-simmered pinto beans. Whether tucked inside burritos, layered beside Mexican rice, or served simply with warm tortillas, they bring comfort and authenticity to any meal—and once you’ve made them this way, you may never reach for canned beans again.


    Ingredients

      Beans

    • 2 cups dry pinto beans, rinsed and drained
    • 1 onion, diced (or 1 tbsp onion powder)
    • 1 tsp table salt (omit if using tomato bouillon)
    • ½ tsp ground cumin
    • 4½ cups chicken broth or water
    • Fat (Choose One or a Blend)

    • 2–3 tbsp avocado oil, lard, butter, or a combination
    • Optional Flavor Boosters

    • ¼ cup Mexican Tomato Sauce (recommended for deeper flavor)
    • OR 1 tbsp tomato bouillon (omit salt)
    • OR ½ tsp soy sauce or Maggi (for umami depth without tomato flavor)
    • Optional Add-Ins

    • ⅛ tsp Mexican oregano
    • 1 tsp garlic powder (add after cooking)
    • 1 sachet ham bouillon or sazón (optional, for savory richness)

    Directions

    Sauté Aromatics (Optional but Recommended)

    Using the Sauté function, heat 1 tbsp of the fat in the Instant Pot. Add diced onion and cook 2–3 minutes until translucent and fragrant. If using onion powder, add with cumin.

    Deglaze with a splash of broth if any browning occurs.

    Cook the Beans

    Add pinto beans, broth, cumin, and salt to the pot. If using butter, reserve it for after cooking. If using Mexican Tomato Sauce for integrated flavor, stir it in now—or stir it in later during the refry step as a finisher.

    Set to Pressure Cook – High for 60 minutes. When complete, allow natural release for 10–15 minutes, then release remaining pressure manually.

    Mash or Refry

    Mash to desired smoothness using a potato masher, hand mixer, or immersion blender. Add liquid as needed for consistency. For authentic refried texture, heat remaining fat in a large skillet over medium-high heat. Add mashed beans to skillet, stirring occasionally until thickened and slightly toasty, about 5 minutes. If using Mexican Tomato Sauce as a finisher, add 2–3 tbsp during this stage and cook until slightly reduced and glossy.

    Rest and Serve

    For best flavor, refrigerate overnight and reheat before serving. The beans thicken slightly as they cool, deepening both flavor and texture.


    Notes

    Preparation

    • For richer flavor, add ¼ cup Mexican Tomato Sauce during cooking or mashing, OR ½ tsp soy sauce/Maggi during mashing, OR 1 tbsp tomato bouillon during cooking. Omit these boosters if serving entrées with green sauce bases.
    • Mashing the beans in hot fat develops a nutty flavor and glossy, restaurant-style finish.
    • Beans improve overnight as flavors meld and starches set.

    Serving Suggestions

    Variations

    • Use lard for the most traditional flavor, butter for a richer finish, or avocado oil for a cleaner everyday version.
    • For a deeper red-style bean, use Mexican Tomato Sauce or tomato bouillon. For a more neutral bean, use soy sauce or Maggi instead.

    Make-Ahead & Storage

    • Refrigerate up to 5 days in an airtight container.
    • Freeze up to 3 months; thaw overnight in the refrigerator before reheating.
    • Reheat gently on the stovetop or in the microwave, adding a splash of broth or water to loosen if thickened.