Bags of Spices

Favorite Recipes

Spicy

  • Mango Ghost Pepper Ice Cream

    Mango Ghost Pepper Ice Cream

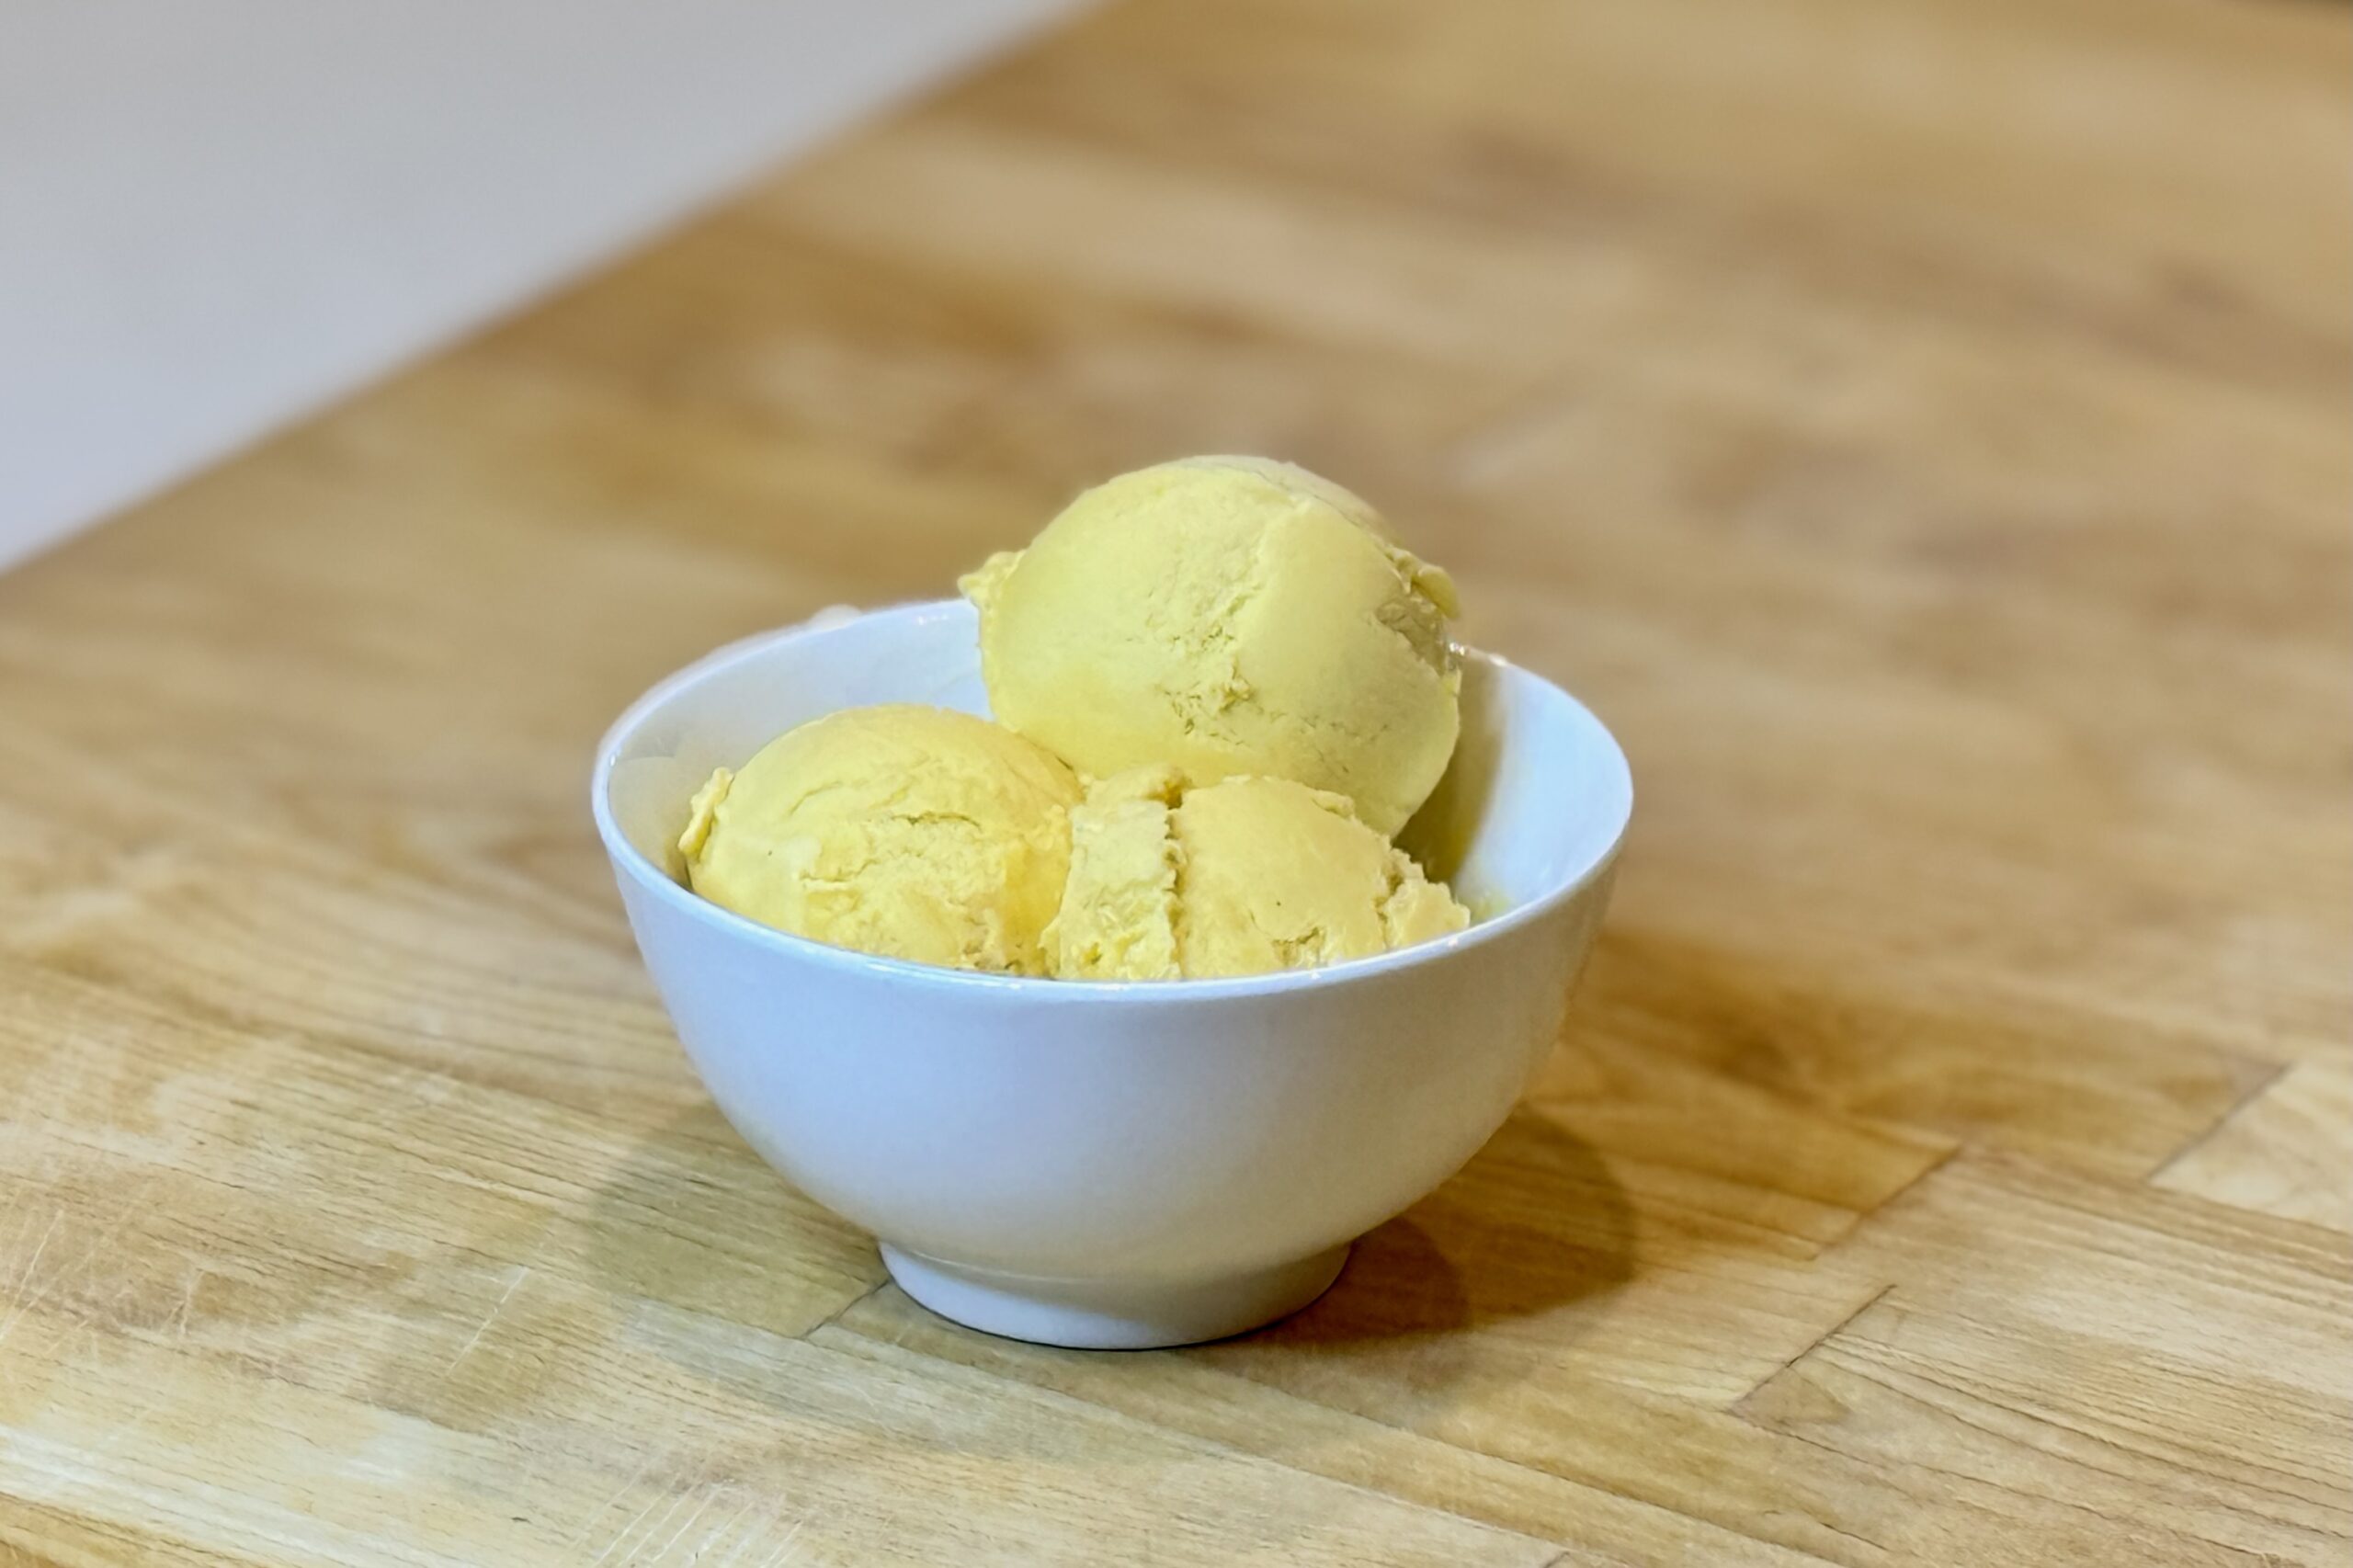
    This Mango Ghost Pepper Ice Cream brings together the lush sweetness of Alphonso mango, the rich coconut flavor of coconut milk, and the surprising fruitiness of fresh ghost pepper. The first spoonful is cool, creamy, and tropical; then the pepper’s warmth gradually builds in the background. Using just ½ g of ghost pepper keeps those fruit flavors at the center while giving the finished ice cream a distinct but balanced heat.


    Ingredients

    • 1 can (13.66 oz / 403 ml) full-fat coconut milk
    • 1 cup (240 g) Alphonso mango pulp
    • ½ cup (120 g) whole milk
    • ½ cup plus 2 tbsp (125 g) granulated sugar, divided
    • 4 large egg yolks
    • ¼ tsp table salt
    • ½ g fresh ghost pepper
    • ½ tsp vanilla bean paste
    • 1 tbsp (15 g) fresh lime juice

    Directions

    Prepare the Custard

    Combine the coconut milk, whole milk, ½ cup (100 g) of the sugar, and salt in a medium saucepan. Warm over medium-low heat, stirring frequently. When the mixture reaches about 150°F (66°C), add the ghost pepper.

    In a medium bowl, whisk the egg yolks with the remaining 2 tbsp (25 g) sugar until smooth. Slowly whisk about 1 cup (240 ml) of the hot milk mixture into the yolks. Pour the tempered yolk mixture back into the saucepan, whisking constantly.

    Remove and discard the ghost pepper. Cook the custard over medium-low heat, stirring constantly, until it reaches 175°F (79°C). Do not let it boil.

    Finish the Base

    Remove the custard from the heat and let it cool. Blend in the mango pulp and vanilla bean paste until smooth.

    Chill and Churn

    Cover and chill until completely cold, at least 4 hours or overnight. Stir in the lime juice, then churn according to your ice cream maker’s instructions. Transfer to a freezer-safe container and freeze until firm, about 4 hours.

    Yield: About 1 quart (950 ml).


    Notes

    Preparation

    • Wear gloves when handling ghost peppers and avoid touching your face or eyes. Pepper heat can vary considerably, even at the same weight.

    Variations

    • Mango Ice Cream: Omit the ghost pepper and prepare the custard as directed, skipping the steps to add and remove the pepper.
    • Spicier Mango Ghost Pepper Ice Cream: Increase the fresh ghost pepper to 1 g. This tested version delivers a noticeably stronger, more persistent heat.

    Make-Ahead & Storage

    • The ice cream base can be prepared and refrigerated up to 24 hours before churning.
    • Store the finished ice cream in a tightly covered container in the freezer. Let it stand at room temperature for 5–10 minutes before scooping, if needed.
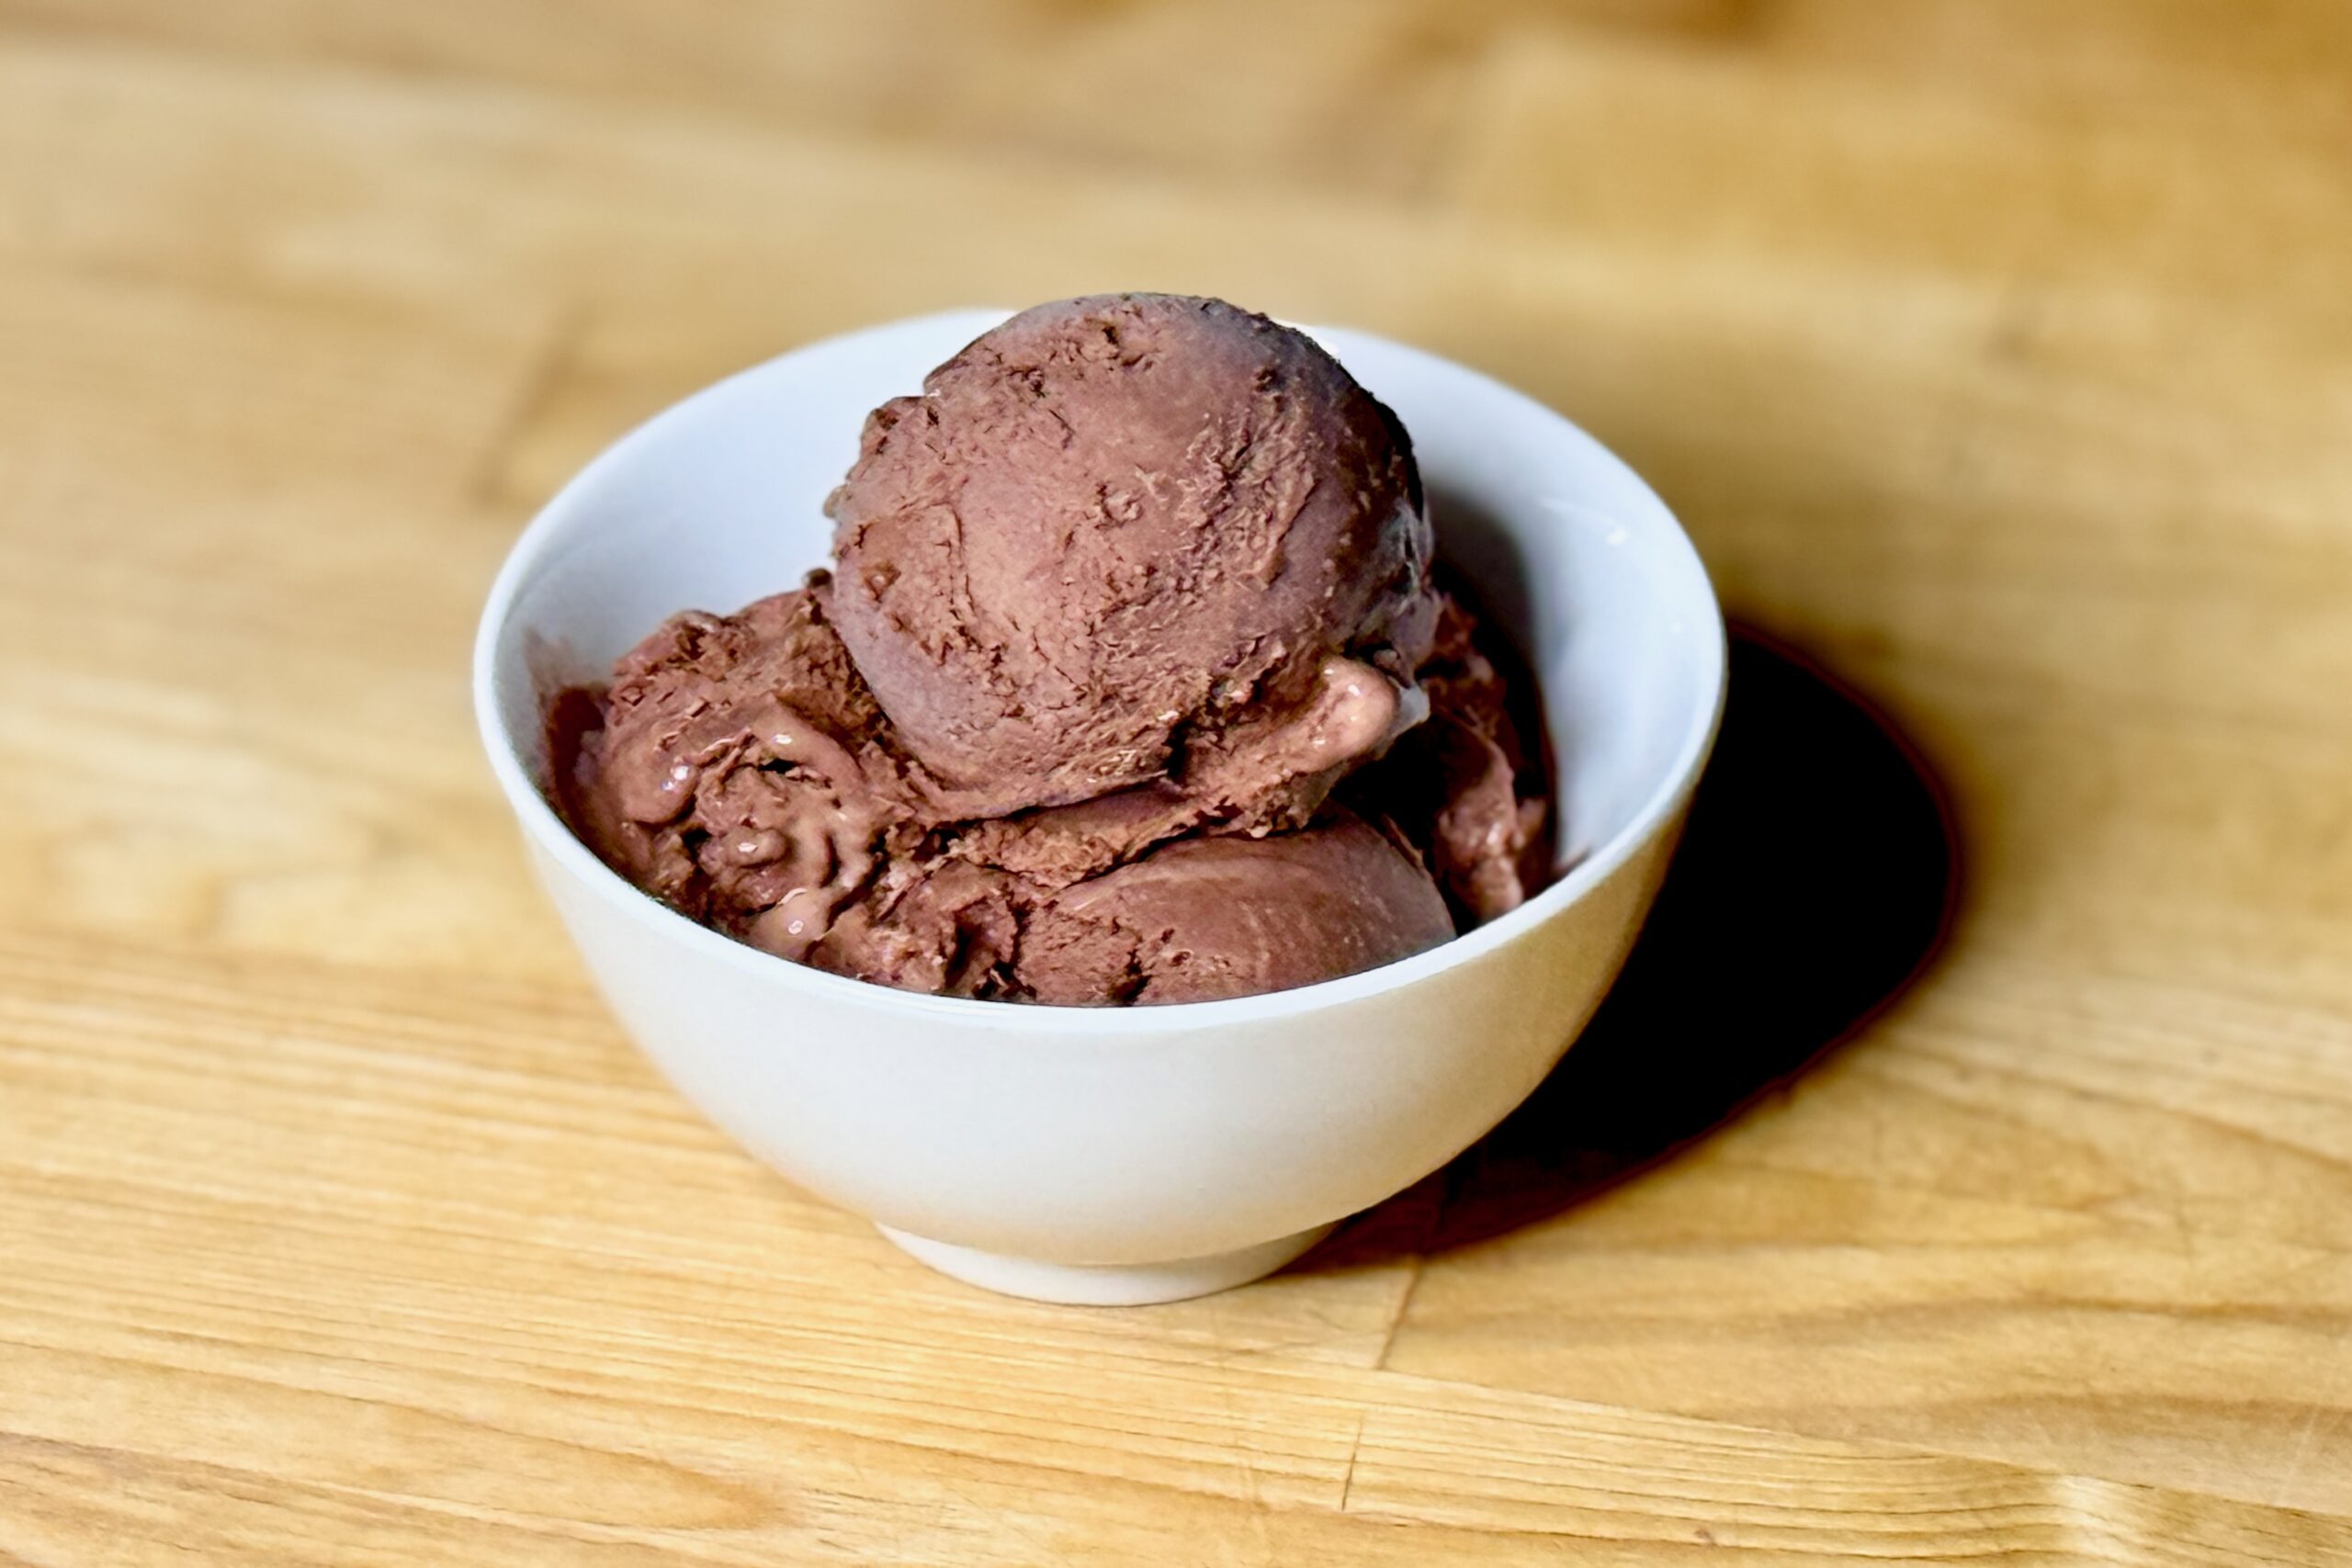
  • Chocolate-Coconut Ghost Pepper Ice Cream

    Chocolate-Coconut Ghost Pepper Ice Cream

    Chocolate and chile are a natural combination, but ghost pepper brings something especially interesting to this ice cream. Its surprisingly fruity flavor works beautifully with dark chocolate and coconut, while the heat builds slowly after each bite. Keeping the chocolate restrained allows all three flavors to come through, creating a rich chocolate ice cream with noticeable coconut and a warm ghost pepper finish.


    Ingredients

    • 1 (13.66 oz / 403 ml) can full-fat coconut milk
    • 1 cup (240 g) whole milk
    • ⅔ cup (135 g) granulated sugar, divided
    • ¼ cup (22 g) Guittard Cocoa Rouge cocoa powder
    • about ⅞ oz (25 g) dark Belgian chocolate, finely shaved or chopped
    • 4 large egg yolks
    • ¼ tsp table salt
    • ½ tsp vanilla bean paste
    • 1 g fresh ghost pepper

    Directions

    Prepare the Chocolate Base

    In a medium saucepan, whisk together the cocoa powder and ⅓ cup (about 67 g) of the sugar. Whisk in about ½ cup (120 ml) of the coconut milk until smooth. Heat over medium-low heat, whisking occasionally, until the mixture reaches about 150°F (66°C). Add the ghost pepper and dark chocolate, stirring until the chocolate is completely melted. Stir in the remaining coconut milk, whole milk, and salt.

    Prepare the Custard

    In a separate bowl, whisk the egg yolks with the remaining sugar until smooth. Slowly whisk some of the warm chocolate mixture into the yolks to temper them. Gradually whisk the tempered yolks back into the saucepan. Continue heating gently, stirring frequently. Once the ghost pepper flavor and heat are noticeable, strain the mixture to remove the pepper and return the custard to the saucepan. Continue cooking, stirring constantly, until the custard reaches 175°F (79°C). Remove from the heat and stir in the vanilla bean paste.

    Chill and Churn

    Cool the custard, then cover and refrigerate until thoroughly chilled, preferably at least 6 hours or overnight. Churn according to your ice cream maker’s instructions. Transfer to a freezer-safe container and freeze until firm enough to scoop.

    Yield: About 1 quart (950 ml).


    Notes

    Preparation

    • Ghost peppers are extremely hot. Wear gloves while handling them and avoid touching your face or eyes.
    • The ghost pepper is infused in the warm custard and then removed before the custard reaches its final temperature. This gives you more control over the finished heat than leaving pieces of pepper in the ice cream.
    • The chocolate arrives first, while the ghost pepper heat remains almost hidden by the cold. As the ice cream melts and the cold sensation fades, the heat begins to emerge and builds into a warm, lingering finish.
    • Using only 25 g dark chocolate is intentional. The cocoa powder provides most of the chocolate flavor while the small amount of dark chocolate adds richness without overwhelming the coconut or fruity character of the ghost pepper.

    Variations

    • Hotter Ghost Pepper: Increase the ghost pepper to 1.5 g for a more assertive, lingering heat. This is the amount used in the original test batch.
    • Milder: Remove the ghost pepper earlier during the custard preparation once the desired level of heat is reached.
    • Cinnamon: Lightly sprinkle the ice cream with ground cinnamon just before serving. The cinnamon complements the chocolate and ghost pepper while adding a warm aromatic note.

    Serving Suggestions

    • Serve on its own to appreciate the progression from chocolate and coconut to the slowly building ghost pepper heat.
    • Pair with a warm brownie for a richer chocolate dessert.
    • A small pinch of flaky salt over the finished ice cream can provide contrast to the chocolate and subtle sweetness.

    Make-Ahead & Storage

    • The custard can be prepared a day ahead and refrigerated overnight before churning.
    • Store the finished ice cream tightly covered in the freezer. For the best texture, allow very firm ice cream to soften briefly at room temperature before scooping.
  • Chile de Arbol Salsa

    Chile de Arbol Salsa

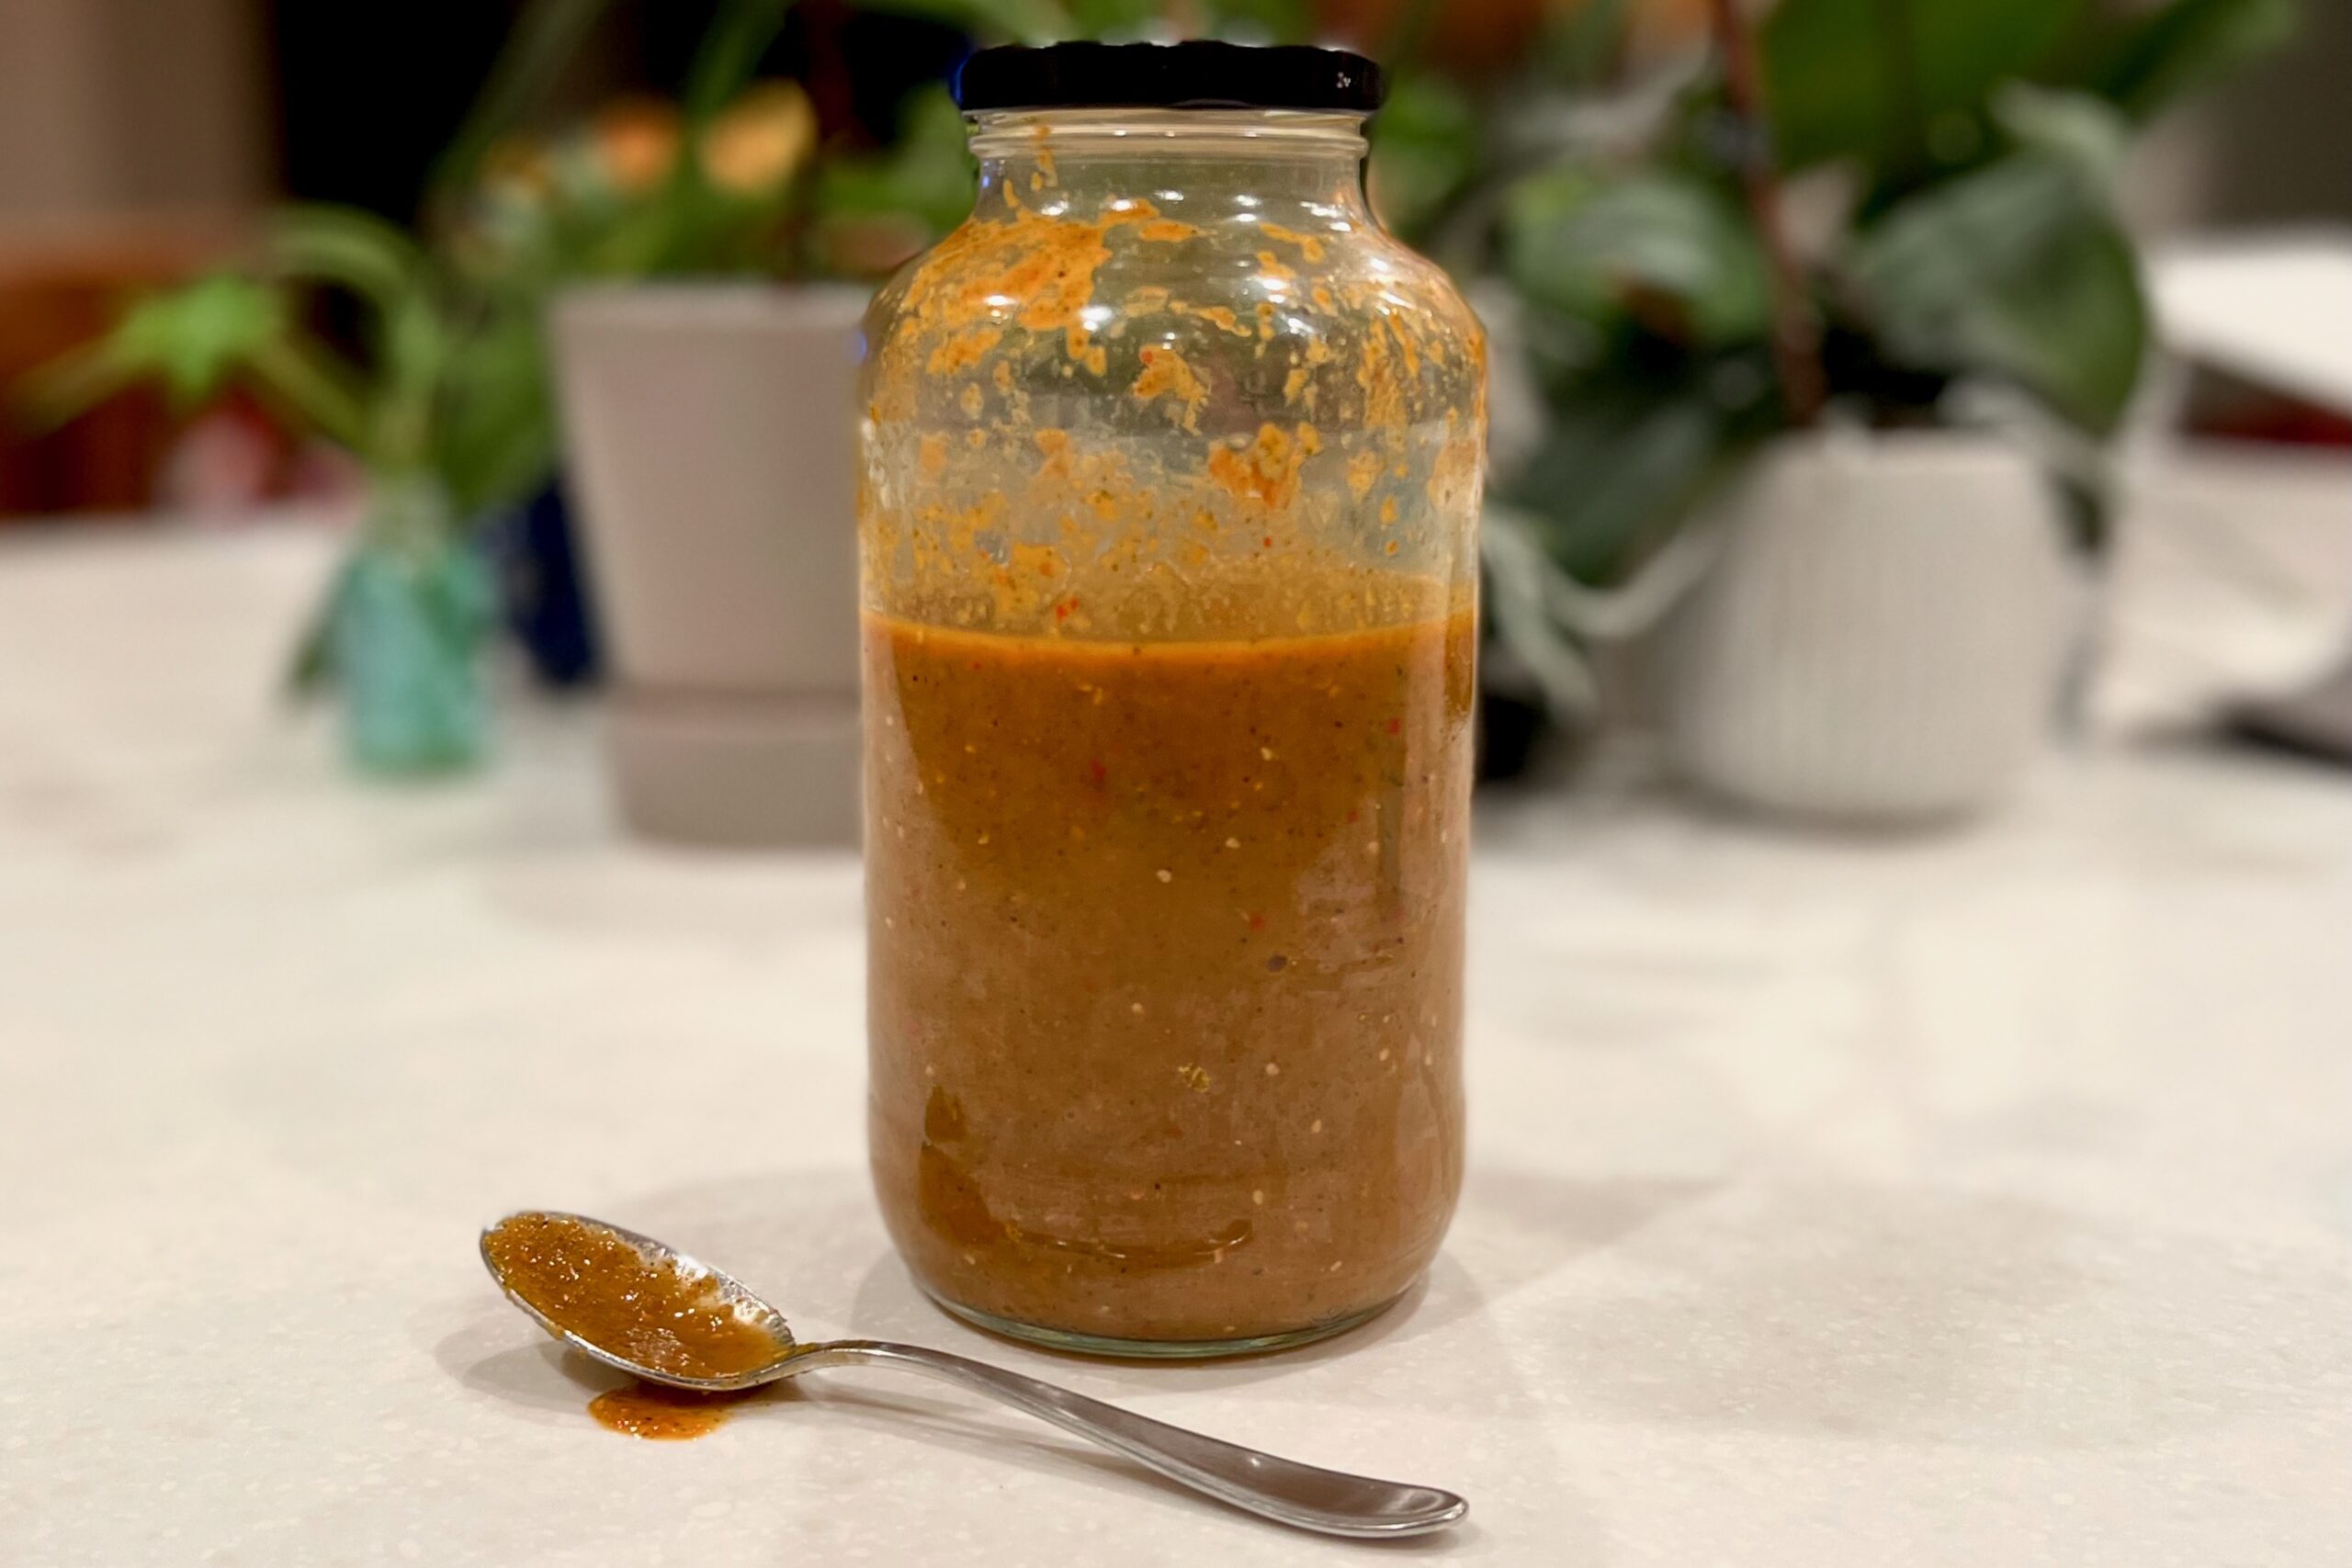
    This Salsa de Chile de Árbol is designed as a bold, heat-forward accent salsa—deeply savory, lightly smoky, and intensely flavorful. It’s meant to be used sparingly, adding sharp chile heat and depth rather than serving as the primary salsa. Paired with milder options, it brings balance and flexibility to the table, letting everyone tailor heat to their own comfort level.


    Ingredients

    • 6–8 dried chile de árbol, stems removed
    • 5–6 tomatillos, husked and rinsed
    • ⅓ medium onion
    • 1 roma tomato
    • 2 cloves garlic (1 roasted, 1 raw)
    • ½ tsp chicken & tomato bouillon, plus more to taste
    • table salt, to taste

    Directions

    Toast and Soak the Chiles

    Lightly toast the chile de árbol in a dry skillet over medium heat just until fragrant, being careful not to darken or burn them.

    Transfer the chiles to a bowl, cover with hot water, and soak for about 10 minutes. Drain, reserving a small amount of the soaking liquid.

    For a slightly more controlled heat, split 2–3 of the chiles and shake out the seeds before blending.

    Roast the Vegetables

    Roast the tomatillos, onion, and 1 garlic clove on a hot skillet, griddle, or under a broiler until blistered and lightly charred.

    Add the roma tomato late and roast just until the skin splits and lightly browns.

    Blend the Salsa

    Add the soaked chiles, roasted vegetables, remaining raw garlic, and bouillon to a blender. Blend until smooth and thick.

    Adjust the consistency with a small amount of the reserved soaking liquid if needed. Taste and adjust the salt or bouillon to preference.

    Yield: About 2 cups (475 ml).


    Notes

    Preparation

    • This salsa is intentionally concentrated and heat-forward; a small amount goes a long way.
    • Removing seeds from a portion of the chiles moderates the heat without sacrificing chile flavor.

    Variations

    • Smokier Salsa: Toast the chiles slightly longer while staying below the point of bitterness.
    • Rounder Finish: Add ½ tsp neutral oil to the blender for a rounder mouthfeel and aroma carry.

    Serving Suggestions

    • Serve as the hot component alongside a milder Salsa Verde.
    • Pair with cooling elements such as crema, sour cream, avocado crema, or Cilantro-Lime Crema.
    • Excellent with tacos, eggs, grilled meats, beans, or rice—use sparingly for heat and depth.

    Make-Ahead & Storage

    • Store refrigerated in a sealed container for up to 5 days.
    • The flavor improves slightly after resting overnight.
  • Birria de Res

    Birria de Res

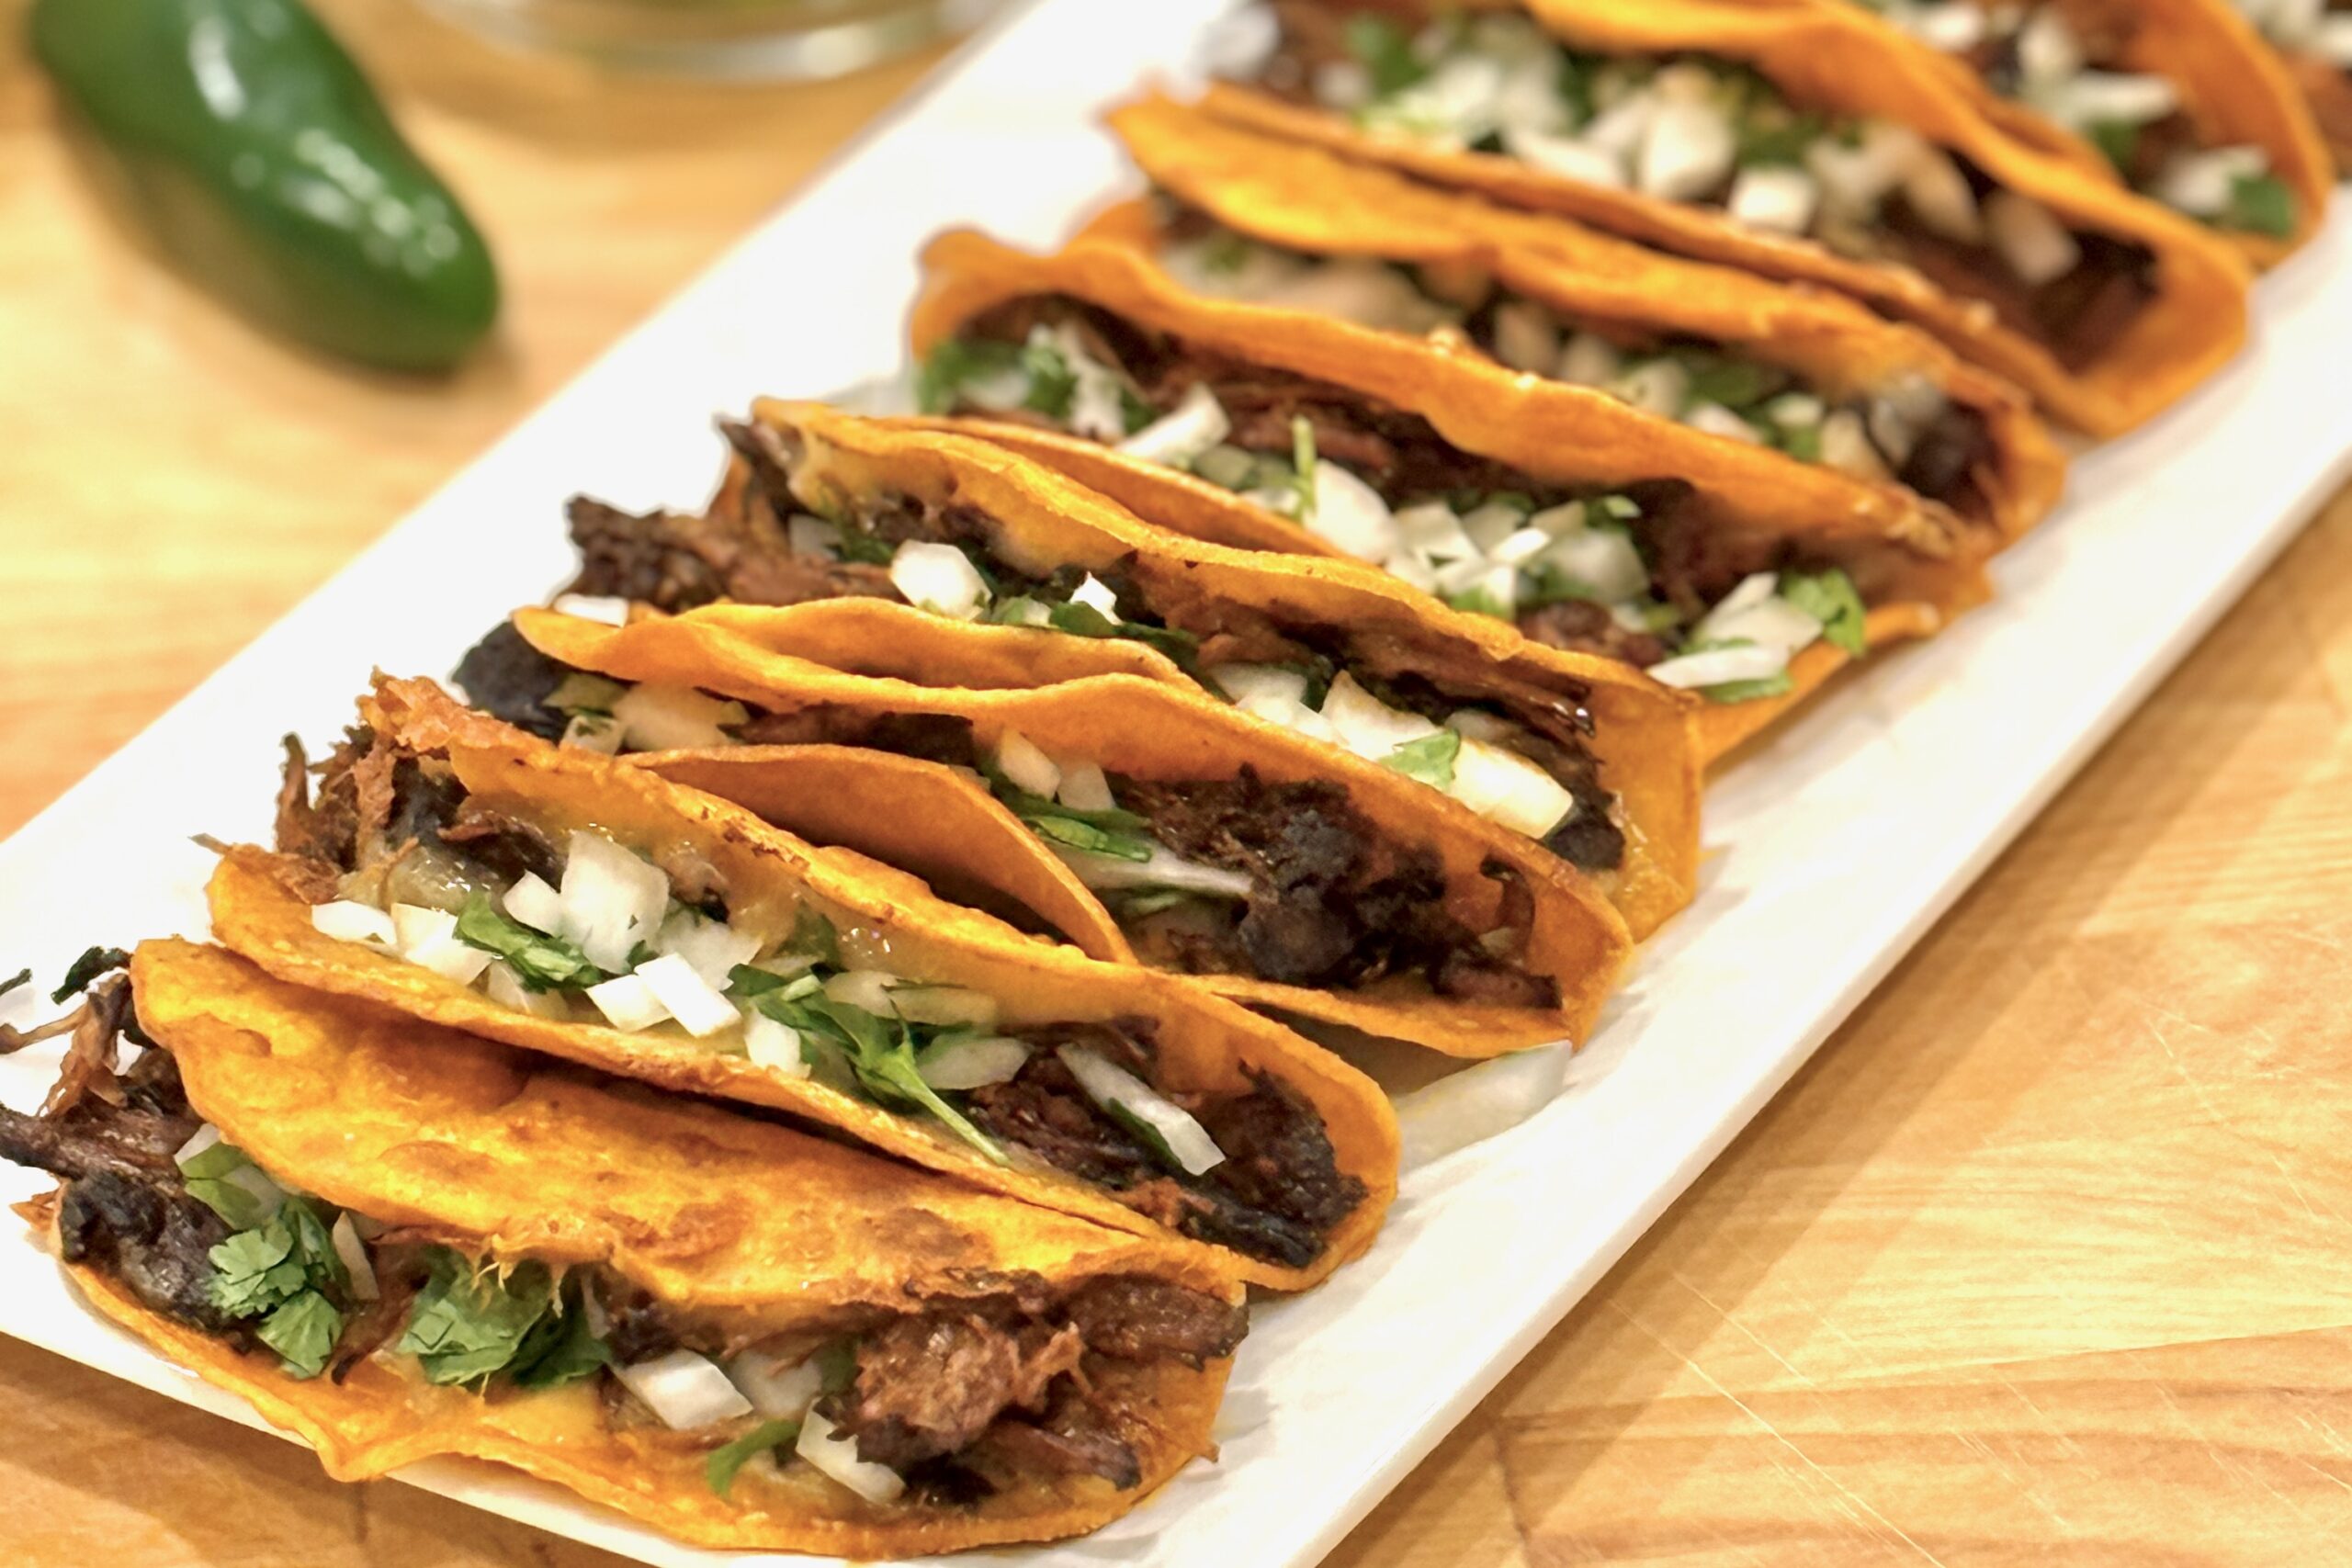
    Rich, smoky, and deeply spiced, this family favorite Birria de Res captures the essence of traditional Jalisco-style beef birria. Slow-simmered with a blend of toasted chiles and warm spices, it can be served as a hearty stew or transformed into crispy, cheesy Quesabirria tacos with plenty of the rich consommé for dipping. A perfect centerpiece for any gathering.


    Ingredients

      Birria Base

    • 7 dried guajillo chiles
    • 7 dried morita chiles
    • 4 dried ancho chiles
    • 3 dried chiles de árbol (optional for heat)
    • 1 liter boiling water
    • 5 lb beef chuck, cut into 4-inch chunks
    • 2 lb beef short ribs
    • Salt and freshly ground black pepper
    • 2 tbsp neutral oil
    • 2 tsp Mexican oregano
    • 2 tsp cumin seeds
    • 1 tsp black peppercorns
    • 1 tsp whole cloves
    • 1 tsp allspice berries
    • 3 bay leaves
    • 1 tbsp onion powder
    • 1 tsp paprika
    • 1 tsp ground cinnamon
    • 1 can (28 oz) whole tomatoes with juice
    • 1 tbsp minced garlic (about 3 cloves)
    • 2 tbsp table salt
    • 2 tbsp vinegar (white or apple cider)
    • ½ cup vegetable oil
    • For Quesabirria Tacos

    • Corn tortillas
    • Oaxaca, mozzarella, or jack cheese (shredded)
    • Diced onion
    • Chopped cilantro
    • Lime wedges, for serving

    Directions

    Prepare the Chiles

    Remove stems and seeds from the dried chiles. Toast lightly in a dry skillet over medium heat, pressing gently until fragrant (about 15–20 seconds per side). Transfer to a bowl and cover with boiling water. Soak for 30 minutes until softened.

    Toast and Grind Spices

    In a spice grinder or mortar and pestle, grind Mexican oregano, cumin seeds, peppercorns, cloves, allspice, and bay leaves into a coarse powder. Stir in onion powder, paprika, and cinnamon; set aside.

    Brown the Meat

    Pat beef dry and season generously with salt and pepper. In a large Dutch oven, heat 2 tbsp oil over medium-high heat until shimmering. Brown the meat in batches on all sides until deeply golden; transfer to a bowl and set aside.

    Build the Chile Base

    In the same Dutch oven, add the spice mixture and toast briefly (15–30 seconds) until aromatic. Add tomatoes with their juice, crushing them with the back of a wooden spoon. Stir in garlic, salt, and vinegar. Blend the softened chiles with their soaking liquid until smooth and add to the pot. Let the mixture simmer over medium heat for 2–3 minutes to bloom the chile flavors before adding the browned meat back. Scrape up any browned bits from the bottom as you stir.

    Simmer Low and Slow

    Add ½ cup oil, stir, and reduce heat to low. Cover partially and simmer gently for 3–4 hours, or until meat is tender enough to shred easily. If the liquid reduces too much, add a splash of hot water or beef broth as needed.

    Adjust and Strain (Optional)

    Remove the meat and shred. Skim off the red chile oil that rises to the top and reserve for frying tortillas. For a more refined consommé, strain the sauce through a fine sieve. For a more rustic texture (as our family prefers), leave it unstrained.

    Serve as Stew or Tacos

    For stew service, return shredded meat to the sauce and serve in bowls with diced onion, cilantro, and lime wedges. For Quesabirria tacos, continue below.

    Quesabirria Tacos

    Shred the beef and moisten with a few tablespoons of birria sauce. Reserve the skimmed chile oil for frying. Dip a corn tortilla into the red oil and lay it on a hot skillet or griddle. Spoon shredded meat and cheese onto one side; fold and press lightly. Cook until crisp and golden on both sides, about 1–2 minutes per side.

    Serve tacos with diced onion, chopped cilantro, and lime wedges. Include a small bowl of the birria sauce for dipping (consommé).


    Notes

    Preparation

    • Toasting the chiles deepens their smoky flavor and prevents bitterness — avoid burning them.
    • Blooming the chile-tomato base briefly enhances color and richness before simmering.
    • Use beef chuck and short ribs for the perfect balance of tenderness and flavor.
    • For a richer taco crust, mix the reserved chile oil with a bit of ghee or butter before frying.
    • Birria tastes even better the next day as the flavors meld and intensify.

    Serving Suggestions

    • Serve the birria as a stew with warm corn tortillas, onion, cilantro, and lime wedges.
    • Use the same base for Quesabirria tacos — crisp, cheesy tacos dipped in the rich chile consommé.
    • Offer lime wedges on the table for brightness and balance.

    Variations

    • For milder heat, reduce or omit chiles de árbol.
    • Add a touch of smoked paprika for a subtle, smoky accent if morita chiles are unavailable.
    • Try goat or lamb shoulder for traditional birria de chivo or birria de borrego.
  • Aguachile Rojo de Camaron

    Aguachile Rojo de Camaron

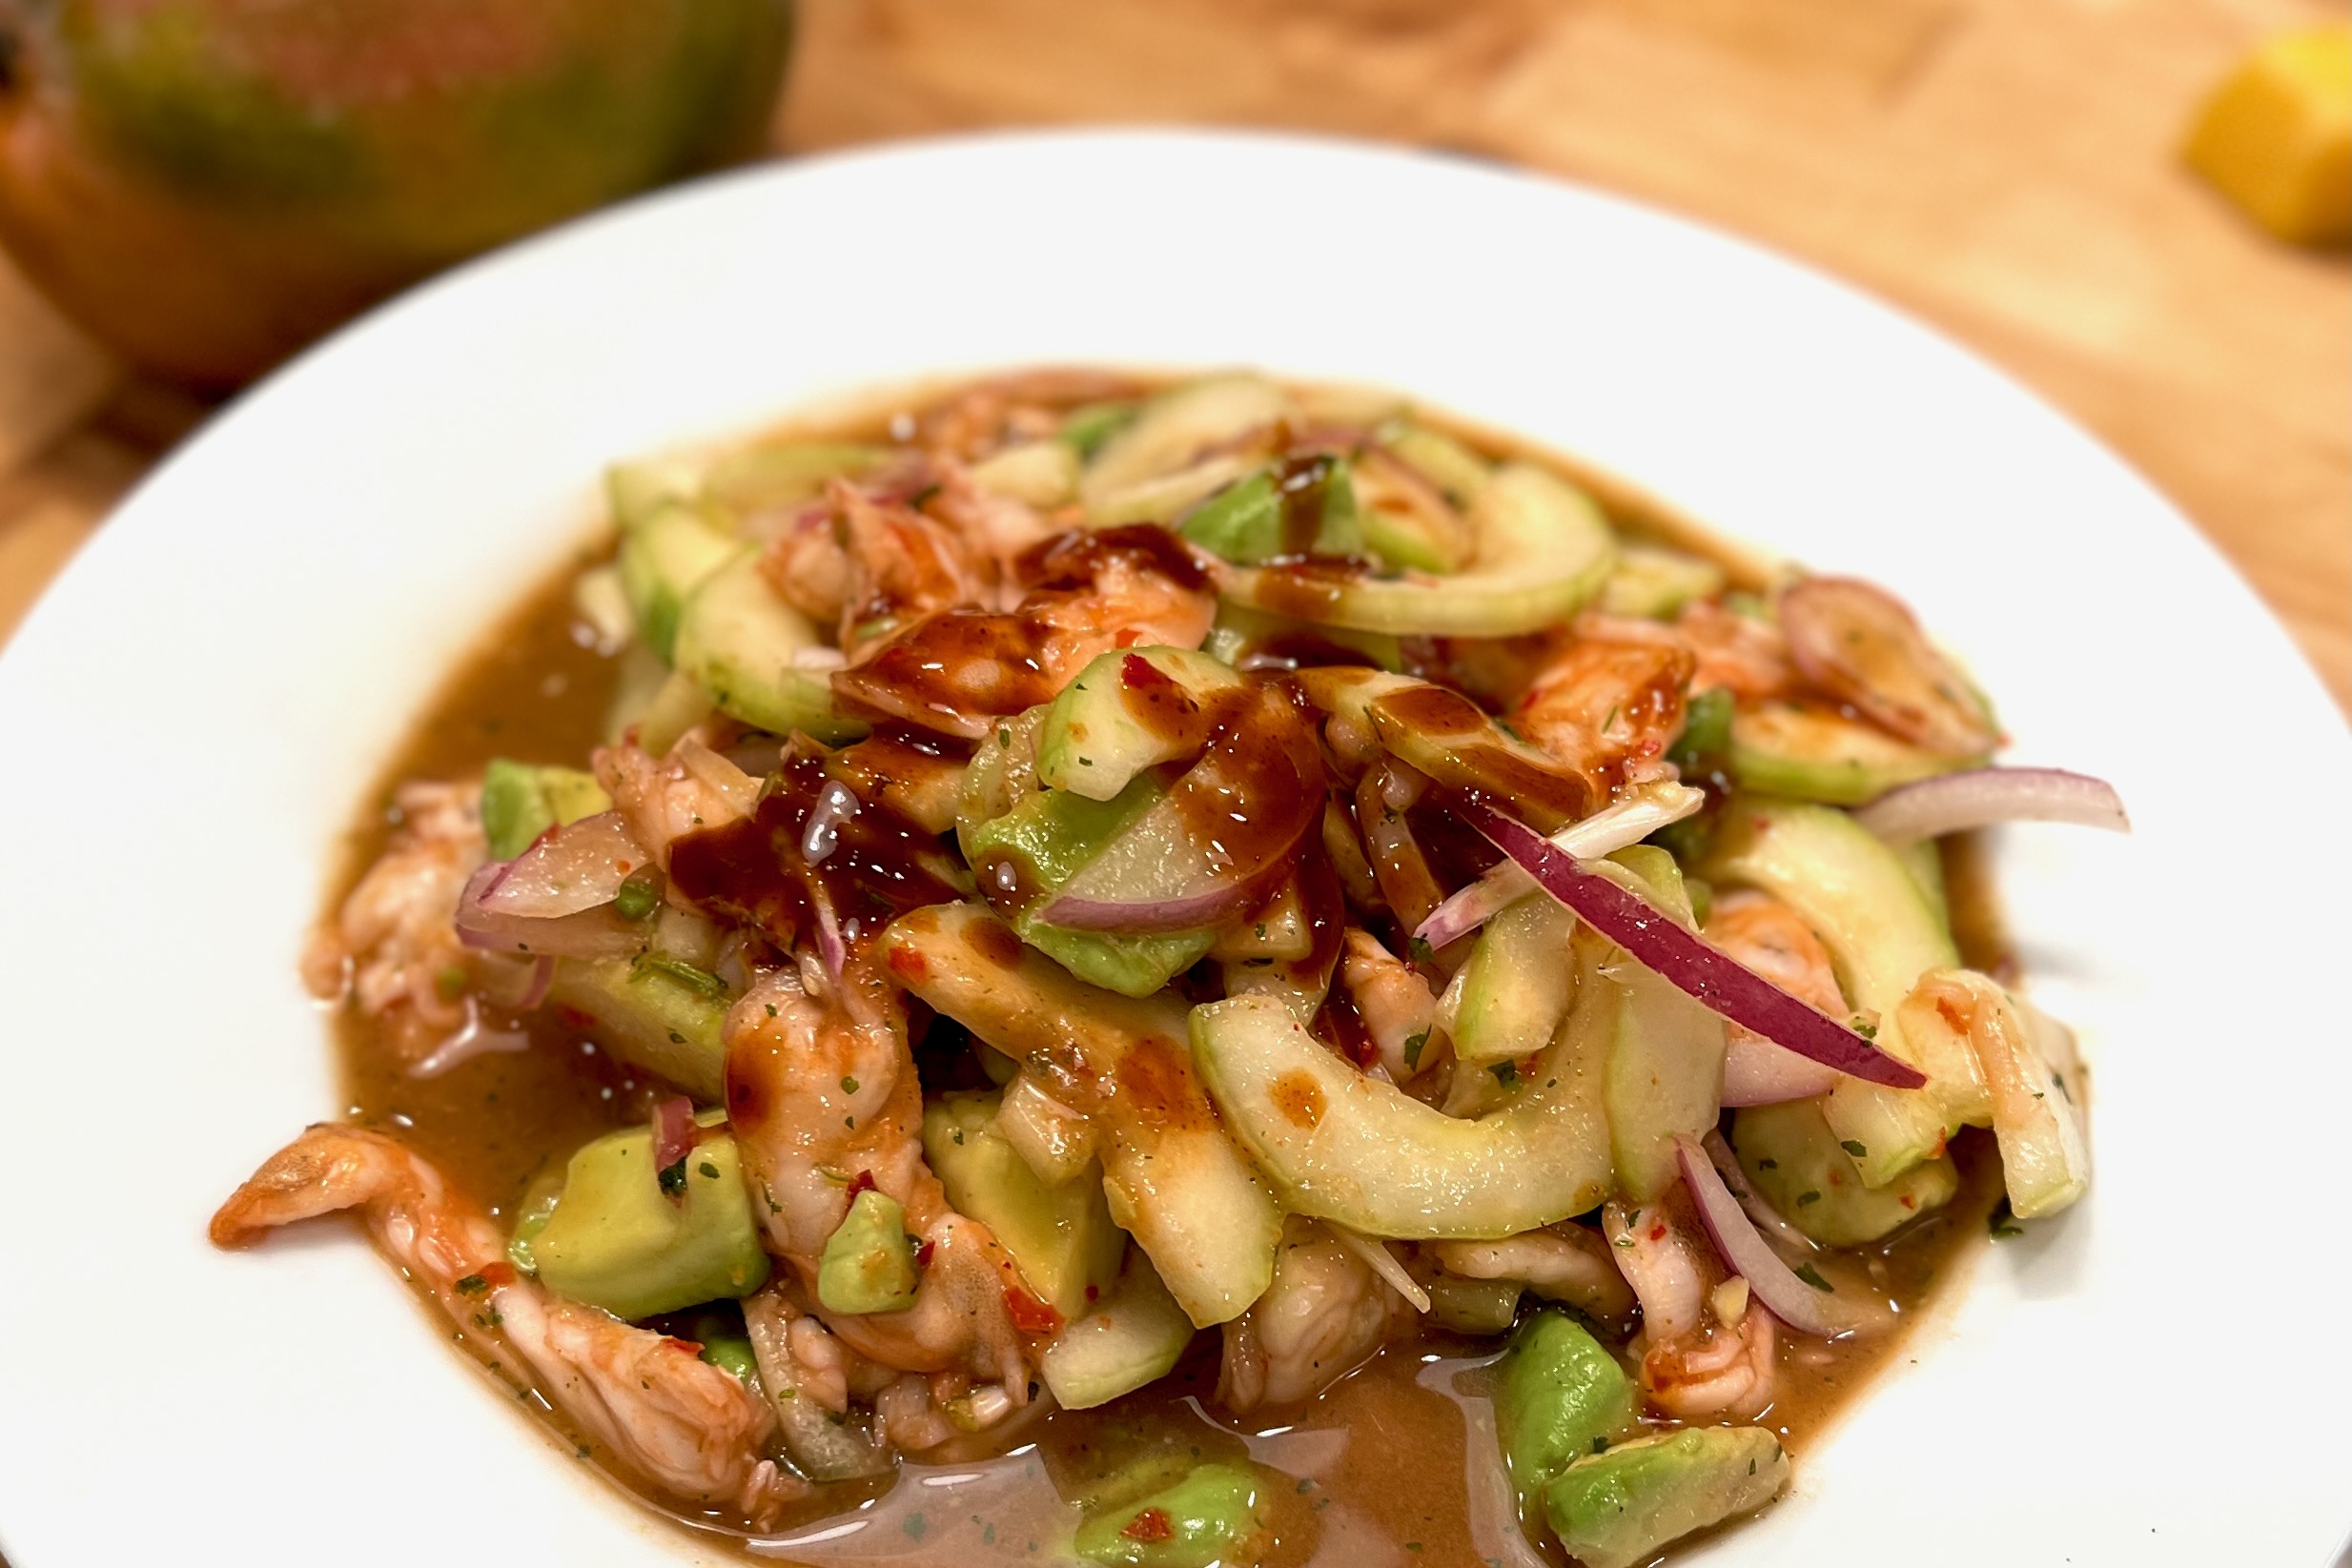
    Our family’s take on northern Mexican aguachile rojo: quick-blanched shrimp finished in fresh lime, a vivid red base of toasted dried chiles and Camaronazo, and a crisp bed of cucumber, red onion, cilantro, and just-ripe avocado. Bright, spicy, and ice-cold—made to serve immediately with tostadas, salsa negra, and wedges of lime.


    Ingredients

      Shrimp & Lime Cure

    • 2 lb large raw shrimp, peeled, deveined, halved lengthwise
    • 1 cup fresh lime juice (just enough to cover shrimp)
    • 2 tsp table salt, divided (to season curing liquid and sauce)
    • Vegetables & Herbs

    • 1 red onion, very thinly sliced
    • 3 cucumbers, thin half-moons
    • 3 avocados, diced (add just before serving)
    • ½ bunch cilantro, chopped, plus leaves for garnish
    • radishes, thinly sliced (garnish, optional)
    • lime wedges, for serving
    • Red Base

    • 24–28 oz Camaronazo spicy tomato cocktail with shrimp
    • 4 dried chiles de árbol
    • 2 dried pequín chiles
    • 1 dried guajillo chile
    • 1 clove garlic
    • ¼ tsp chicken bouillon powder (Knorr-style), or to taste
    • Optional Balancers

    • ½ tsp sugar (to soften bitterness from toasted chiles)
    • 1–2 tbsp soy sauce or Maggi seasoning (depth; Sinaloan style)
    • 2–3 tbsp cold water (only if base is too thick)

    Directions

    Blanch and Cure the Shrimp

    Bring a pot of well-salted water to a gentle boil. Add shrimp and blanch 10–15 seconds—just until edges blush pink—then immediately transfer to an ice bath to stop cooking. Drain well and pat dry.

    Place shrimp in a shallow bowl and pour in just enough fresh lime juice to cover. Refrigerate 20–25 minutes, stirring once halfway, until opaque and slightly firm. Avoid over-marinating.

    Soak the Onion

    Soak sliced red onion in ice water for 10 minutes to mellow sharpness and keep a crisp bite; drain thoroughly.

    Toast & Hydrate the Chiles

    Toast árbol, pequín, and guajillo chiles in a dry skillet over medium heat until fragrant, ~30 seconds per side. Remove stems and most seeds.

    Soak guajillo in hot water 10 minutes to soften; reserve a spoonful of soaking liquid.

    Blend the Red Base

    Blend about ¼ of the Camaronazo with toasted chiles, garlic, 1 tsp of the salt, chicken bouillon, and a splash of guajillo soaking liquid until completely smooth and vivid red.

    Add remaining Camaronazo and optional soy sauce or Maggi; pulse to combine. If using, add sugar to round bitterness.

    If the base is too thick, add 2–3 tbsp cold water. If it tastes too sweet, brighten with more lime. Taste and adjust salt at the end.

    Combine the Vegetables

    In a large chilled bowl, mix cucumber, drained onion, and chopped cilantro. Pour in the red base and stir to coat evenly.

    Finish with Shrimp & Avocado

    Add the cured shrimp along with their lime marinade; fold gently to combine so the broth stays bright and balanced.

    Add avocado just before serving and fold lightly to keep the cubes intact.

    Serve

    Serve immediately in chilled bowls or on tostadas. Garnish with cilantro leaves, sliced radish, and lime wedges; drizzle with salsa negra or salsa macha if desired.


    Notes

    Preparation

    • Blanching locks in a crisp, restaurant-quality texture; the short lime cure finishes the “cook” without turning mushy.
    • Toast all dried chiles briefly to deepen flavor and color; soak guajillo for a smoother blend.
    • Onion soak: 10 minutes in ice water keeps texture while taming harshness.
    • If the base is too thick, add 2–3 tbsp cold water; if sweetness dominates, add a squeeze of lime; always taste and adjust salt at the end.
    • Add avocado only at the end to prevent bruising and mushiness.

    Serving Suggestions

    • Serve with crisp tostadas (not just chips) for structure and crunch.
    • Add thinly sliced radish and extra cilantro leaves for color and freshness.
    • Offer salsa negra or salsa macha for a glossy, smoky-spicy drizzle.
    • Pass extra lime wedges at the table for last-second brightness.

    Variations

    • Soy sauce or Maggi (1–2 tbsp) adds savory depth common in Sinaloan versions—use to taste.
    • A pinch of sugar (½ tsp) can smooth bitterness from well-toasted chiles.
    • For extra heat, add another árbol or a small amount of the chile seeds; for milder heat, reduce árbol/pequín.

    Make-Ahead & Storage

    • The red chile base can be blended up to 1 day ahead; keep refrigerated and whisk before using.
    • Blanch shrimp and chill the onion/cucumber ahead, but cure shrimp in lime and add avocado just before serving.
    • Best served immediately once assembled; leftovers lose texture quickly—consume the same day.