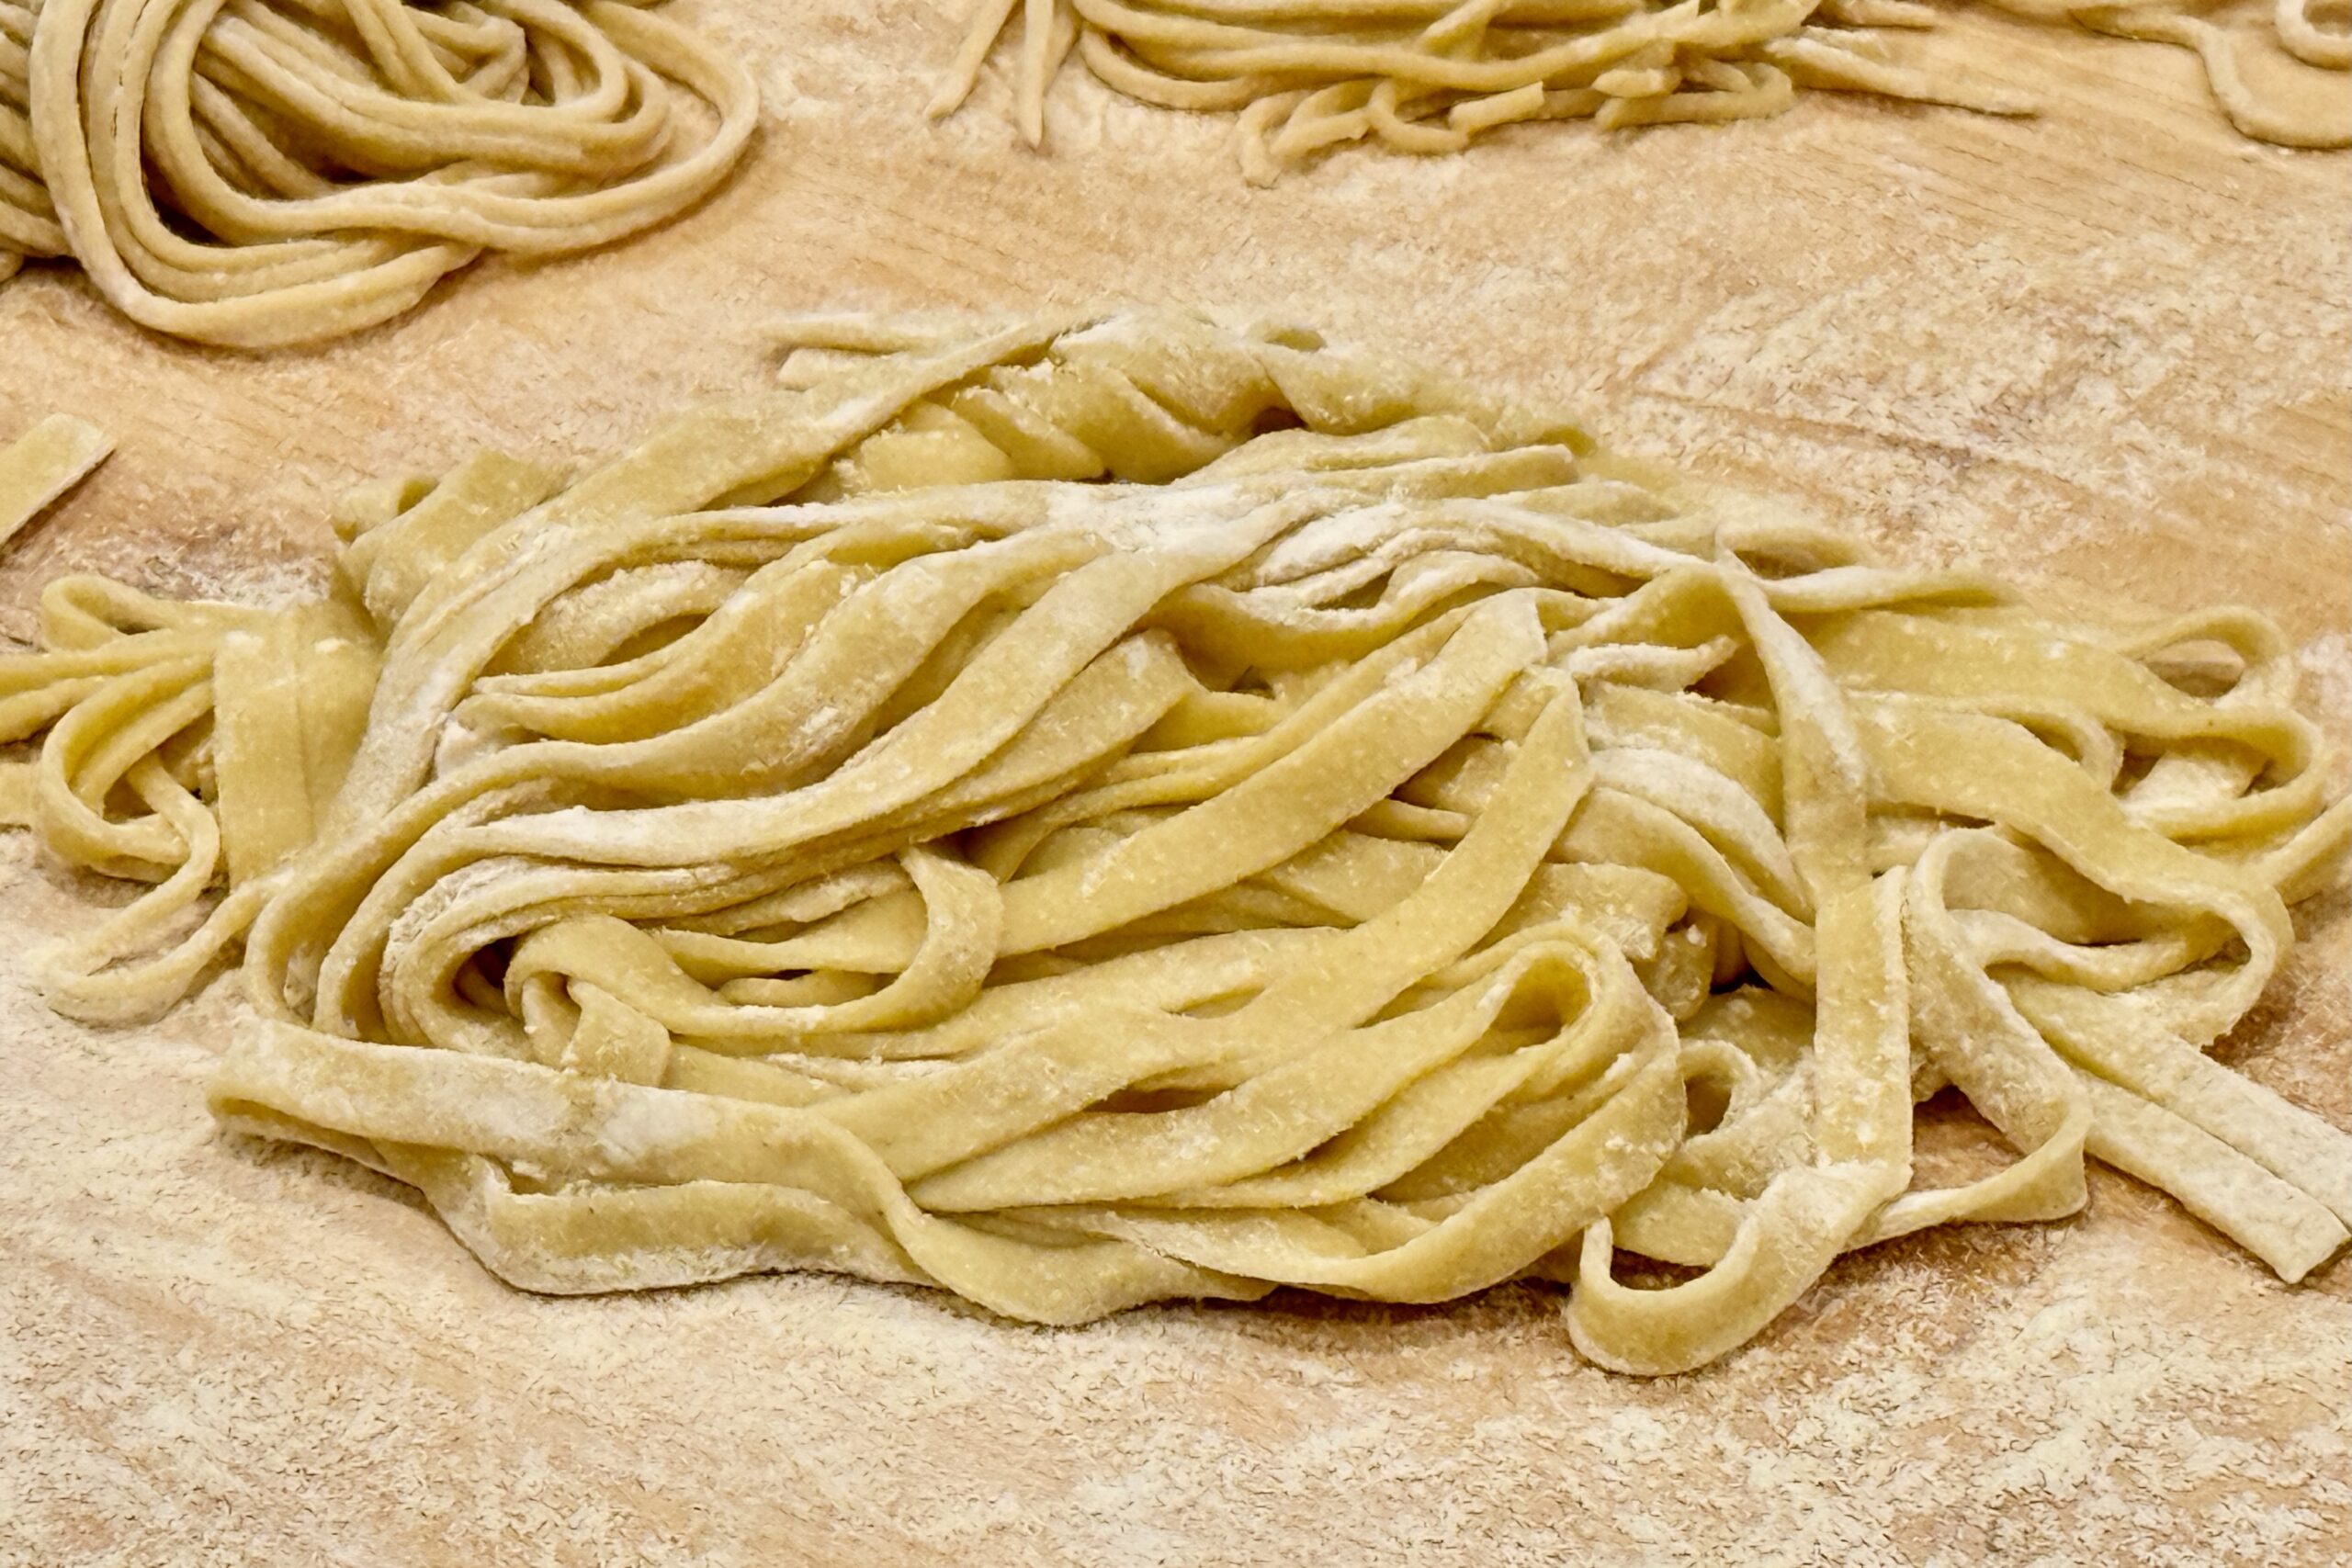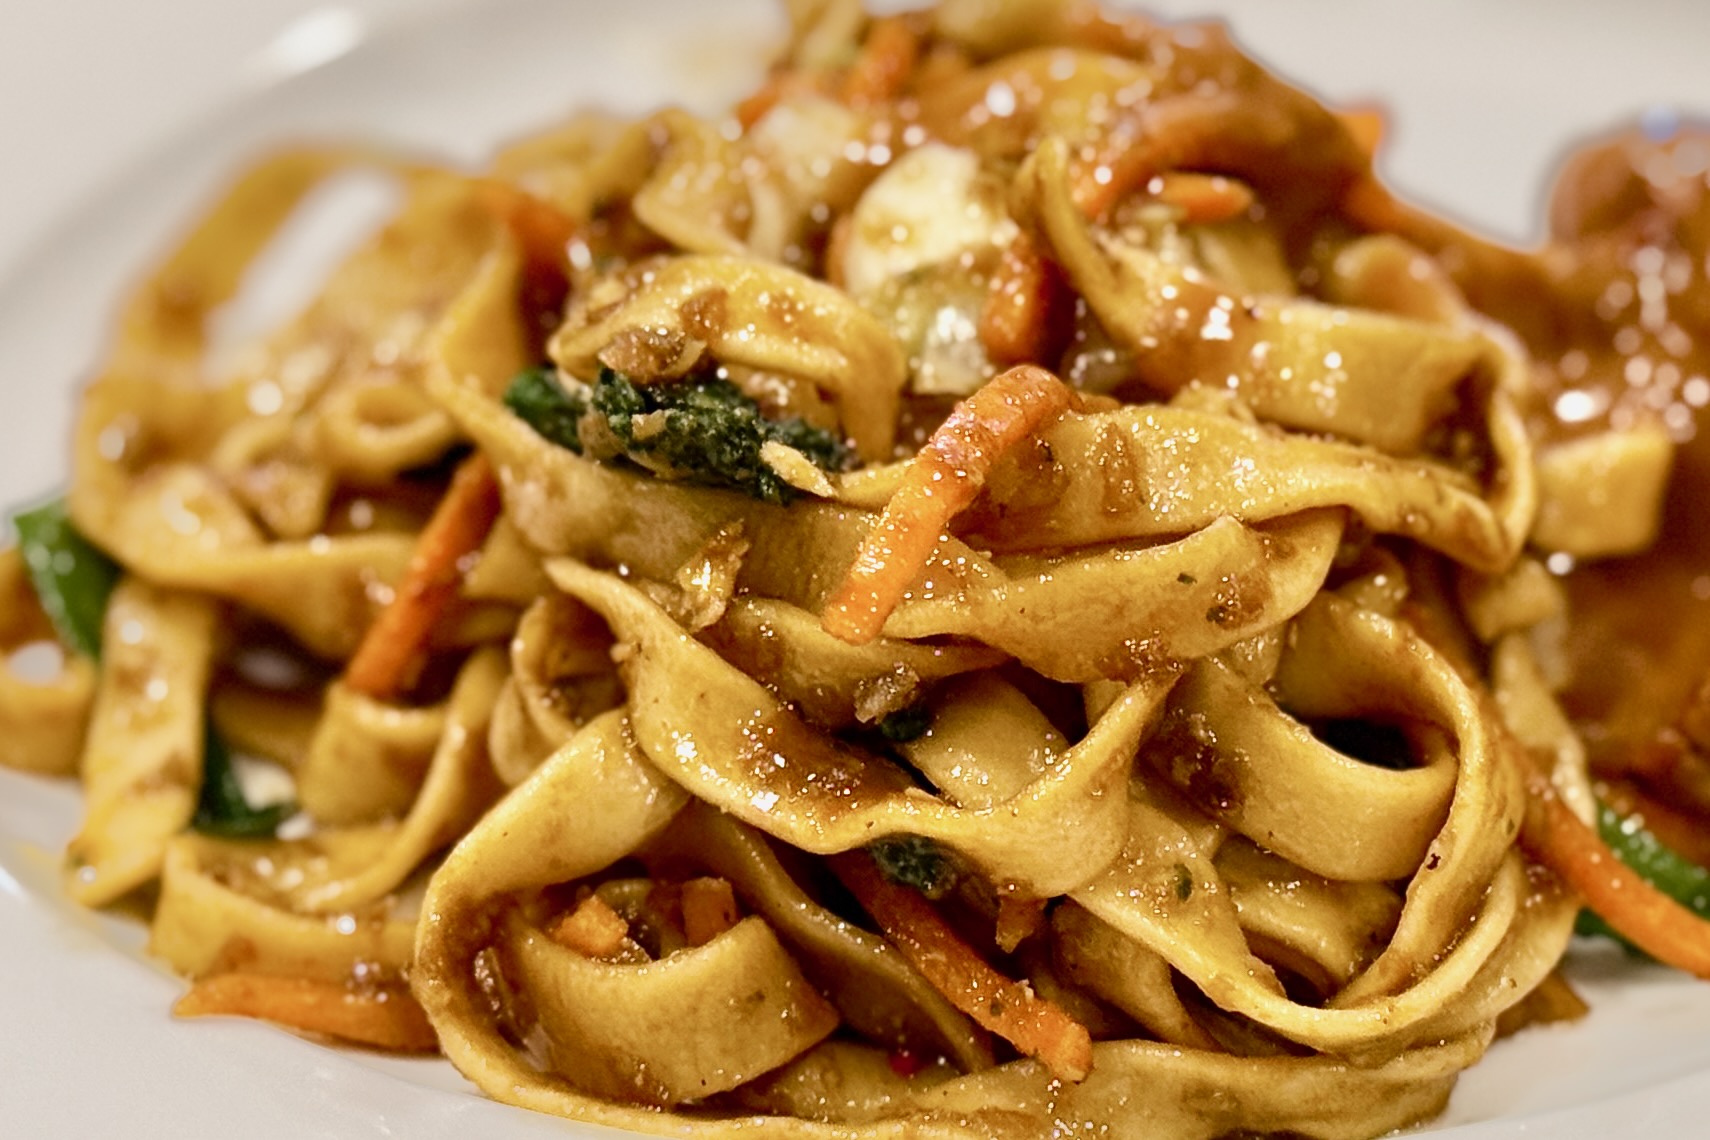
These bahmi-style noodles are built for a firmer, springier bite than standard fresh pasta—substantial enough to stand up to stir-frying, sauce, and high heat without turning soft. A blend of bread flour and semolina gives the noodles strength and chew, while a small amount of baking soda shifts the texture toward the distinctive resilience found in many Asian noodle styles. Rolled to a moderate thickness and cut with a fettuccine cutter, this version is designed as a test batch for bahmi goreng and other noodle dishes where you want the noodles to stay pleasantly firm after cooking.
Ingredients
- 275 g bread flour
- 175 g semolina flour
- ½ tsp table salt
- ¾ tsp baking soda
- 1 large egg
- 155–175 g water
Directions
Mix the Dry Ingredients
Add the bread flour, semolina flour, and salt to the bowl of a stand mixer fitted with the paddle attachment. Mix on speed 2 just to combine.
Combine the Liquid Ingredients
In a measuring cup, whisk the baking soda into the water until dissolved, then whisk in the egg.
Make the Dough
With the mixer running on speed 2, slowly add the liquid mixture to the flour. Mix until the dough forms coarse crumbs and just begins to come together.
Add only as much liquid as needed to form a firm, slightly dry dough. It should hold together when pressed, but should not feel soft or sticky.
Knead
Switch to the dough hook and knead on speed 2 for 3–4 minutes, until the dough becomes smooth and cohesive. Wrap tightly in plastic wrap.
Rest
Let the dough rest at room temperature for 45 minutes to allow the flour to fully hydrate and the gluten to relax.
Roll the Dough
Divide the dough into 4 portions. Working with one piece at a time, flatten slightly and pass it through the pasta roller on the widest setting. Fold and repeat several times until the sheet is smooth and even.
Gradually reduce the thickness until reaching setting #4.
Cut the Noodles
Run the sheets through a fettuccine cutter. Lightly dust the noodles with flour and arrange in loose nests or straight lengths to prevent sticking.
Dry
Let the noodles air dry for 30–60 minutes before cooking. This helps the noodles develop a firmer exterior and improves their texture in stir-fried dishes.
Cook
Bring a large pot of well-salted water to a boil. Cook the noodles for 2–4 minutes, depending on how long they were dried and how firm you want them.
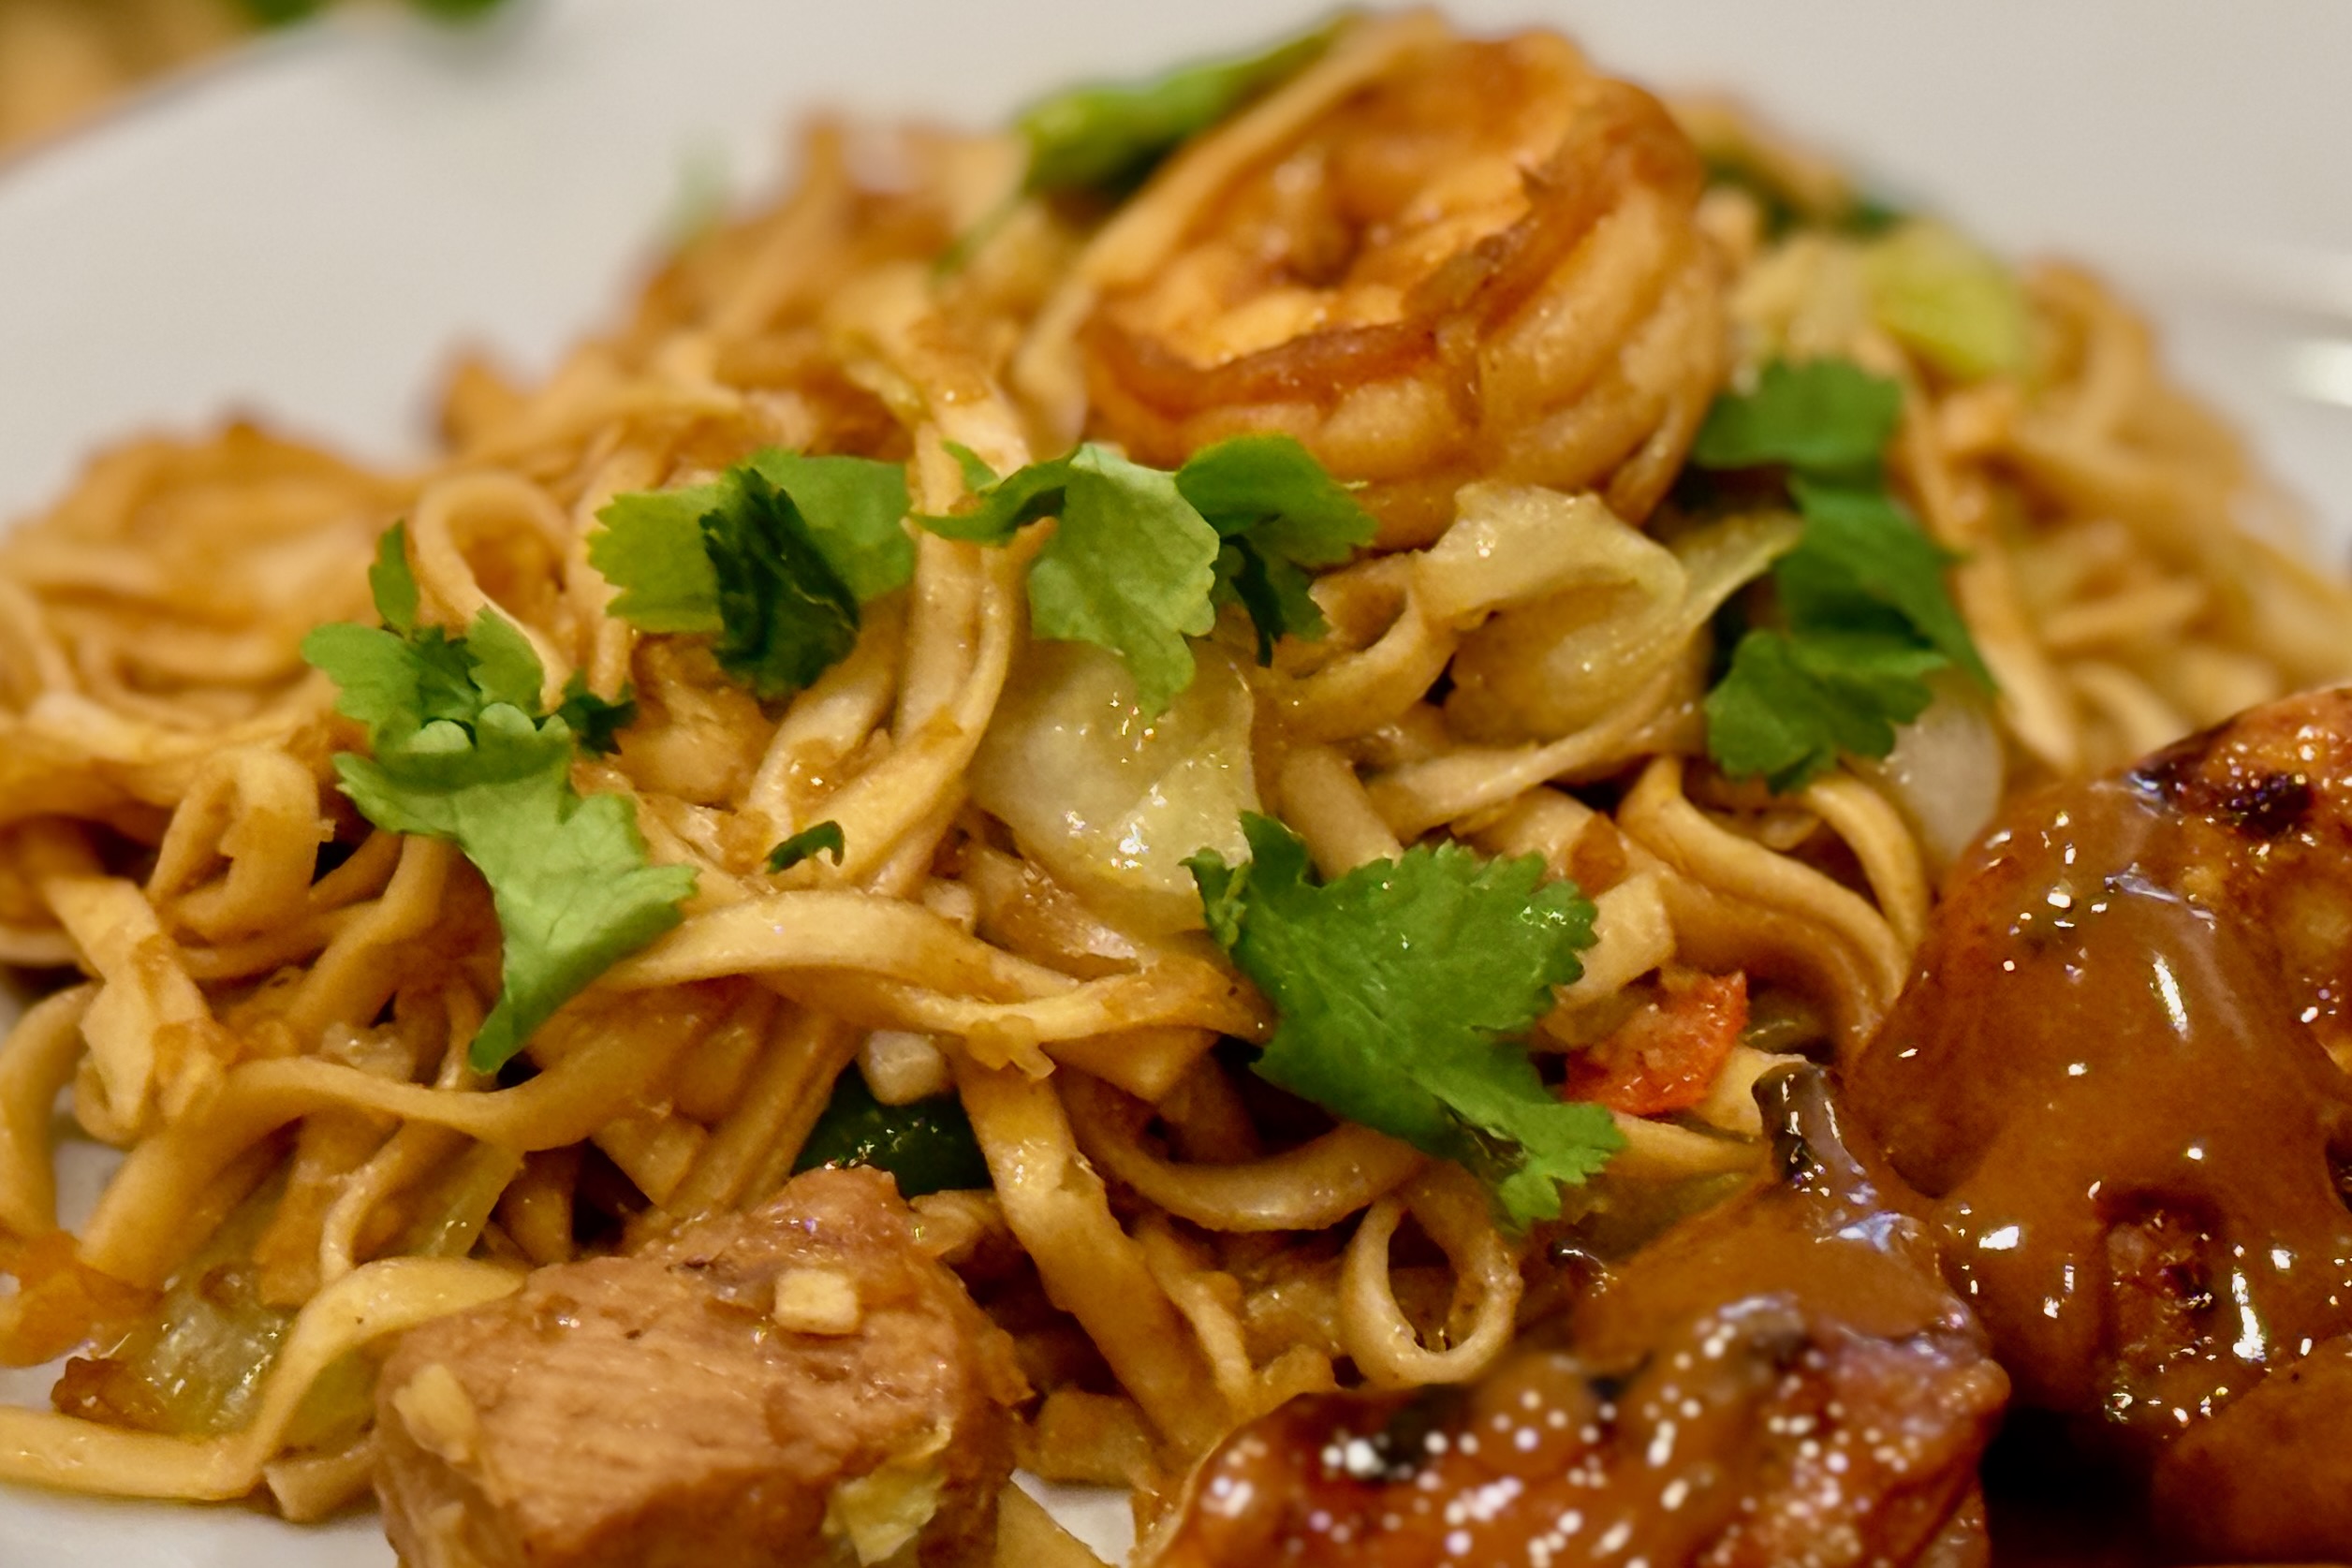
Drain well and use immediately in bahmi goreng or another stir-fried noodle dish.
Notes
Preparation
- This dough should feel firmer than standard fresh pasta dough. Resist the urge to add too much water.
- Dissolving the baking soda in the water first helps distribute it evenly throughout the dough.
- If the dough seems too dry to come together, add water 1 tsp at a time until it just holds.
- Because this dough contains baking soda, it will have a slightly different aroma and feel than traditional Italian-style pasta dough.
Serving Suggestions
- Use for bahmi goreng, mie goreng, or other stir-fried noodle dishes where a firmer noodle is desirable.
- These noodles are especially good with savory sauces that include ketjap manis, soy sauce, garlic, and aromatics.
- For a ramen-style application, roll the dough one setting thinner and cut using a spaghetti cutter for narrower strands. Let the cut noodles rest 30–60 minutes before cooking, then boil for about 1½–2 minutes until just firm. These noodles work especially well in broth-based dishes where a springy texture is desired.
Variations
- For a slightly firmer, more wheat-forward noodle, reduce the baking soda to ½ tsp.
- For a stronger alkaline character and more spring, increase the drying time slightly and keep the noodles on the shorter end of the cooking range.
- For a somewhat softer noodle, reduce the semolina slightly and increase the bread flour.
Make-Ahead & Storage
- The dough can be wrapped and refrigerated for up to 24 hours before rolling. Let it come closer to room temperature before using.
- Cut noodles can be refrigerated for up to 1 day if lightly floured and loosely covered.
- For longer storage, freeze the noodles in loose nests and cook directly from frozen, adding a little extra time as needed.