Bags of Spices

Favorite Recipes

Category: Sauces

  • Garlic Oil Pizza Base

    This garlic oil base transforms your Neapolitan pizza into a light, aromatic pizza bianca. It’s perfect when you want the dough’s flavor and texture to shine without the acidity of tomato sauce. Try it with fresh mozzarella, ricotta, mushrooms, or prosciutto for a delicate, savory balance. The aglio e olio variation adds a gentle chili warmth layered into the oil itself.


    Ingredients

    • 1–2 tsp Garlic Oil (per pizza)
    • Thin slices of cooked garlic from the infused oil (optional)
    • Optional Toppings

    • Fresh mozzarella or burrata
    • Ricotta cheese
    • Mushrooms, caramelized onions, or roasted peppers
    • Prosciutto, arugula, or fresh basil
    • Aglio e Olio Variation

    • ½–1 tsp Chili Garlic Oil, blended into the garlic oil (per pizza)

    Directions

    Prepare the Dough

    Stretch or shape one portion of prepared Neapolitan pizza dough to your desired size, leaving a slightly raised edge for the crust.

    Apply the Garlic Oil Base

    Brush or spoon garlic oil evenly over the surface of the dough.

    • For subtle flavor – use about 1 tsp per pizza
    • For stronger flavor – use up to 2 tsp and scatter a few garlic slices on top

    For Aglio e Olio

    Blend chili garlic oil into the garlic oil before brushing the dough.

    • Gentle heat – ½ tsp chili garlic oil per pizza
    • Bolder heat – 1 tsp chili garlic oil per pizza

    Add Toppings

    Top lightly with cheese and desired ingredients. Avoid adding too much oil or moisture, which can soften the crust during baking.

    Bake

    Bake according to your Neapolitan dough instructions—typically at 475–500°F / 245–260°C until the crust is blistered and golden, about 1½–2 minutes in a very hot oven or on a preheated baking steel.

    Finish

    Drizzle with a touch more garlic oil after baking, if desired. Slice and serve immediately.


    Notes

    Preparation

    • Use Homemade Garlic Oil or Chili Garlic Oil for best flavor and consistency.
    • For a lighter pizza, use less oil and keep toppings minimal—Neapolitan-style pizza cooks best when lightly topped.

    Serving Suggestions

    • Top with mozzarella, ricotta, or burrata for a rich pizza bianca.
    • Add roasted vegetables, mushrooms, or caramelized onions for earthy depth.
    • Finish with prosciutto, arugula, or basil after baking for a fresh touch.

    Variations

    • For truffle oil aroma, drizzle a few drops just before serving.
    • Combine equal parts garlic and chili oil for a subtle, smoky spice.
    • Use herb-infused olive oil (e.g., rosemary or thyme) for a Mediterranean twist.
  • Neapolitan-Style Tomato Sauce

    Neapolitan-Style Tomato Sauce

    This uncooked Neapolitan-style pizza sauce preserves the bright, fresh flavor of San Marzano tomatoes—sweet, rich, and perfectly balanced for high-heat baking. Using true DOP-certified tomatoes gives an authentic taste of Naples, with a smooth texture and naturally sweet finish that perfectly complements a light, airy crust.


    Ingredients

    • (For about 6–8 pizzas)
    • 1 can (28 oz / 800 g) whole peeled San Marzano tomatoes (DOP if possible)
    • ½ tbsp table salt (adjust to taste)
    • 2 tbsp extra-virgin olive oil
    • 2–4 fresh basil leaves, torn (optional but recommended)

    Directions

    Prepare the Sauce

    Drain excess juice from tomatoes into a bowl, reserving it in case the sauce needs thinning. Crush tomatoes by hand until mostly smooth but still slightly textured—avoid over-crushing for best flavor and body.

    Stir in salt, olive oil, and basil until evenly mixed.

    Use the Sauce

    Spread thinly over stretched dough just before baking (Neapolitan Pizza Dough works beautifully). Use approximately 2–2½ oz (60–70 g) of sauce per 10–12″ pizza.

    Do not pre-cook the sauce—the natural sugars in the tomatoes caramelize under high oven heat, producing rich, authentic flavor.


    Notes

    Preparation

    • Use only high-quality San Marzano tomatoes with the DOP seal for the sweetest, least acidic results.
    • Do not blend the sauce completely smooth; a slightly rustic texture gives better flavor and adhesion.

    Serving Suggestions

    • Use as the base for Pizza Margherita—add mozzarella, parmesan, and fresh basil.
    • Try on Pizza Marinara with garlic, oregano, and a drizzle of olive oil.
    • Use in Shoarma Pizza or Carnitas Pizza for a Dutch or Mexican-inspired twist.

    Variations

    • For a smoother sauce, pulse briefly with an immersion blender (1–2 seconds only).
    • For a hint of depth, add a tiny pinch of sugar if your tomatoes are unusually acidic.
    • For a garlic-forward version, rub a cut clove of garlic over the dough before adding sauce.

    Make-Ahead & Storage

    • Store sauce in an airtight container in the refrigerator for up to 5 days.
    • Freeze for up to 3 months; thaw in the refrigerator overnight before using.
  • Cilantro-Lime Crema

    Cilantro-Lime Crema

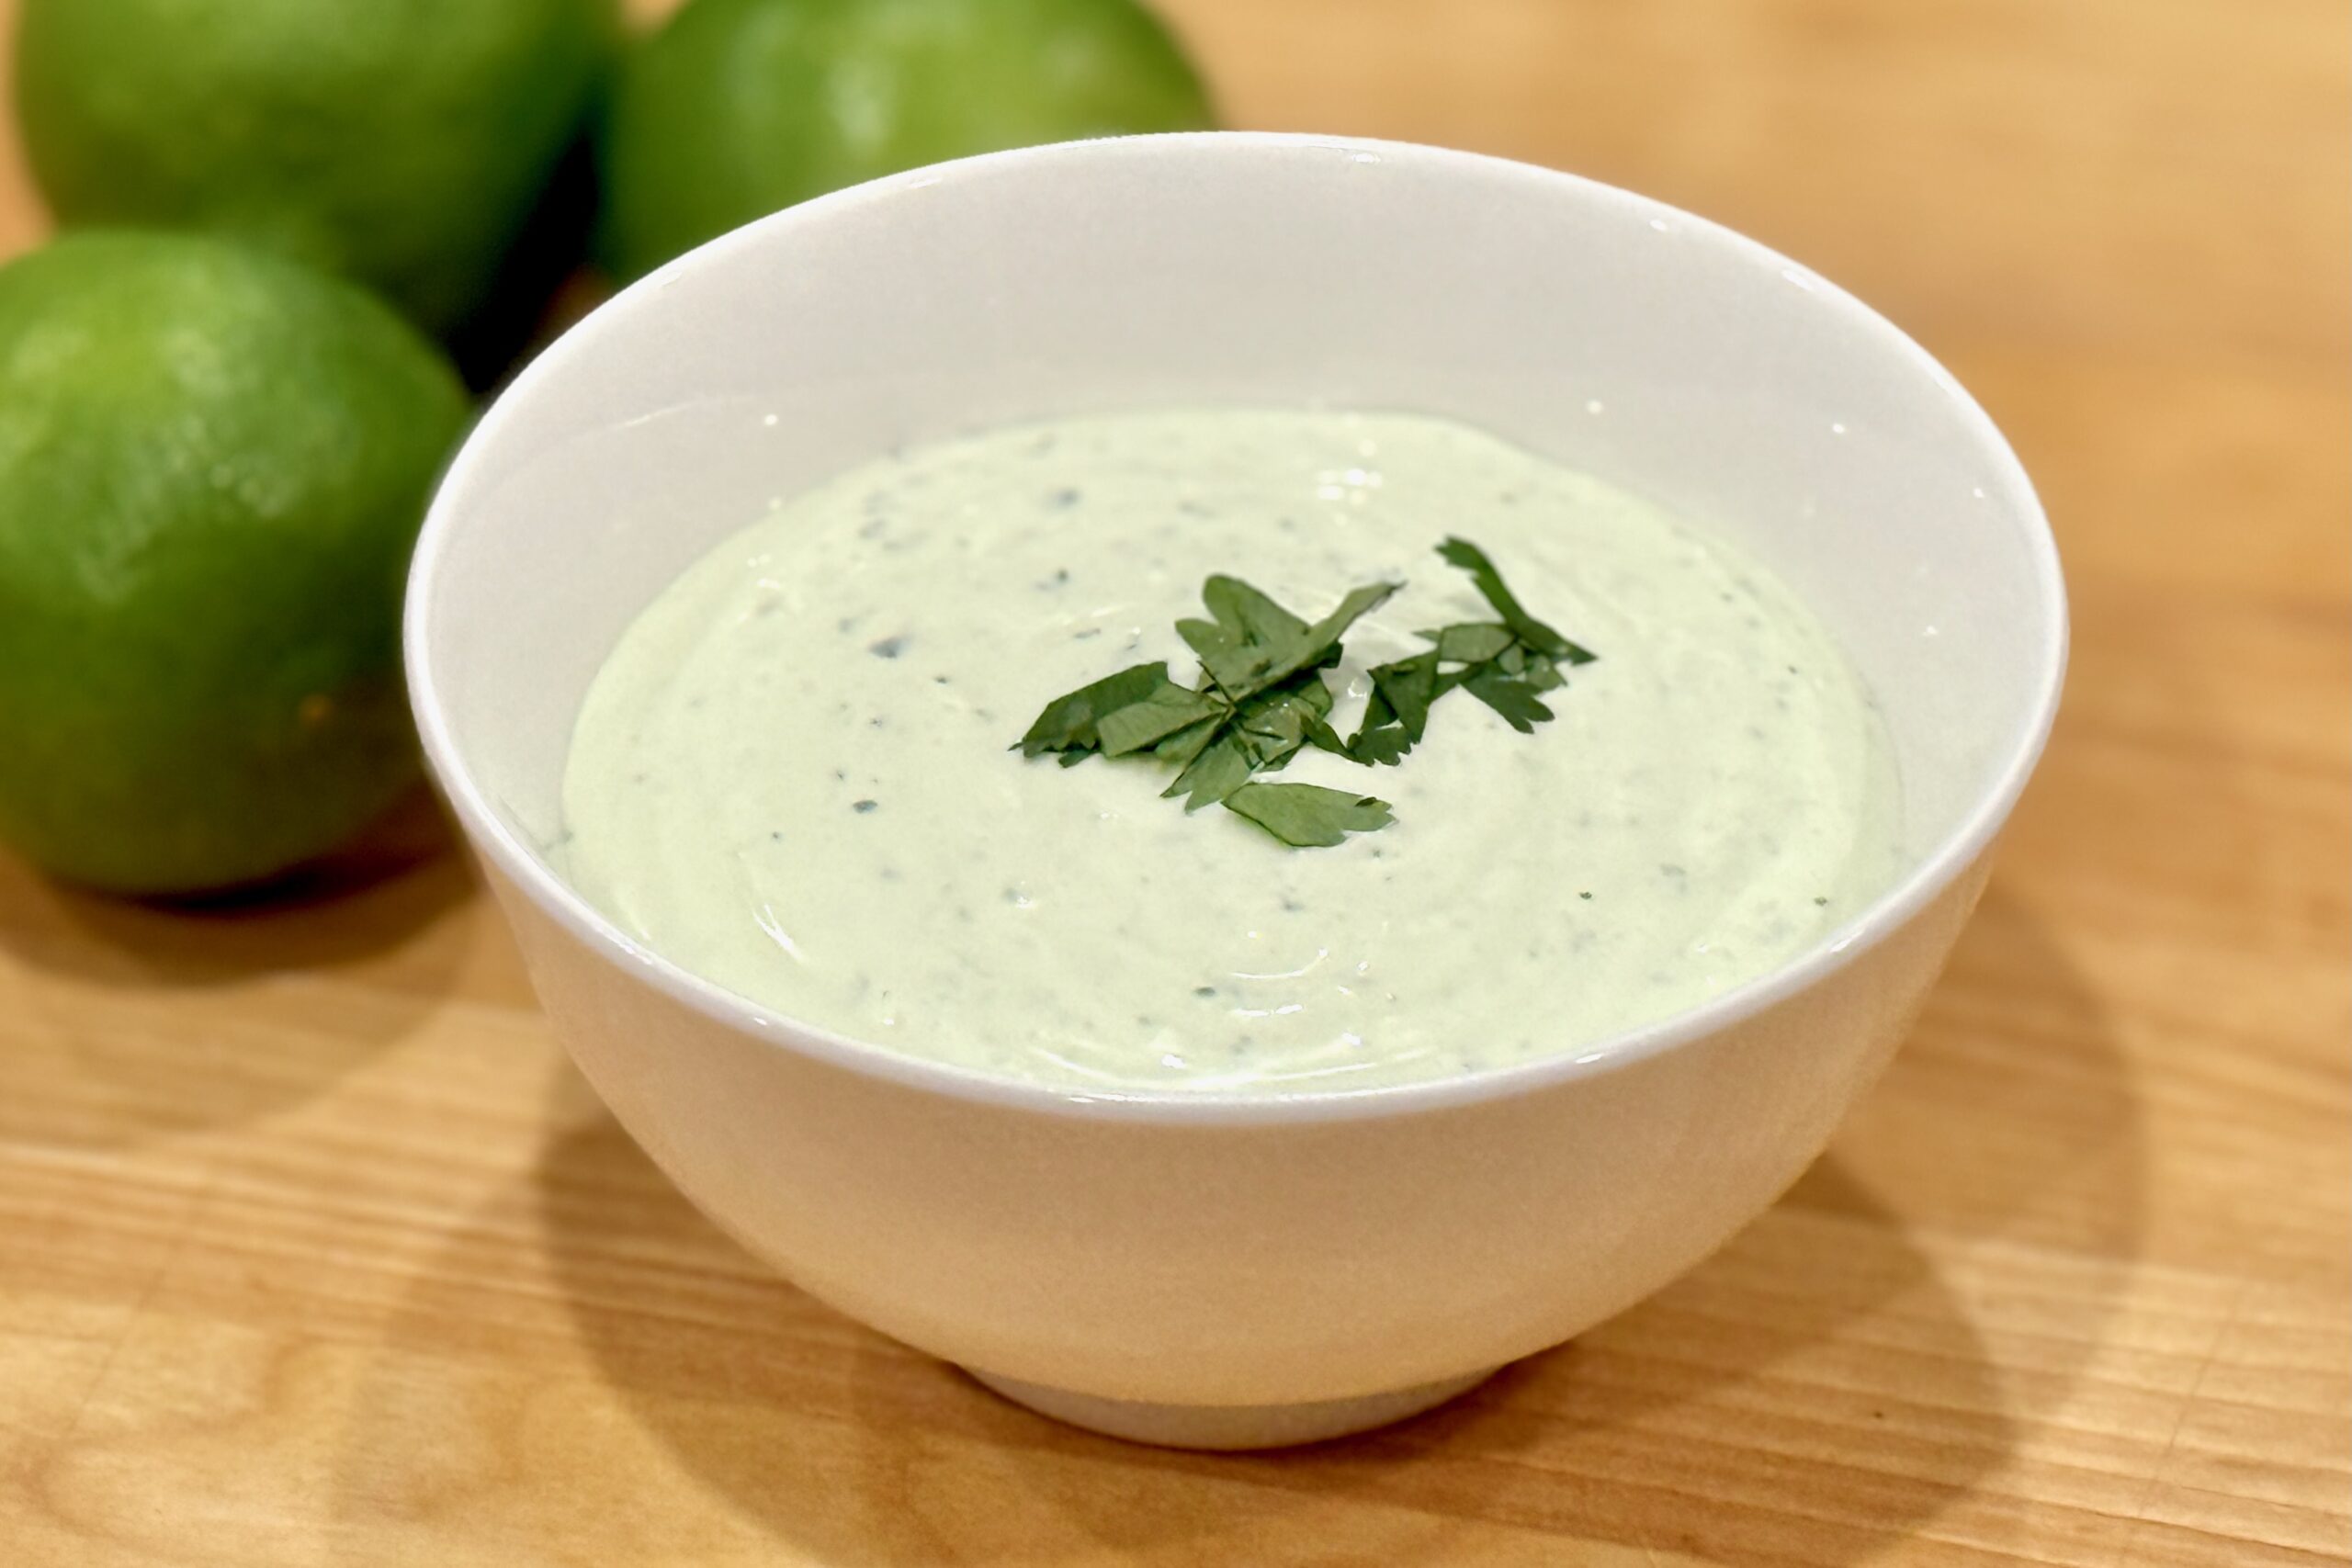
    Smooth, tangy, and fresh—this cilantro-lime crema adds a bright, herby finish to tacos, enchiladas, grilled meats, and especially Chilaquiles Verdes. The balance of sour cream and mayonnaise gives it a silky texture that clings beautifully while staying light and refreshing.


    Ingredients

    • ¾ cup sour cream
    • ¼ cup mayonnaise
    • ½ cup fresh cilantro (leaves plus tender stems)
    • 1½ tbsp lime juice (plus ½ tsp reserved for finishing)
    • 1 tsp lime zest
    • 1 small clove garlic, grated or minced
    • ¼ tsp table salt
    • 1–2 tbsp water, as needed to thin

    Optional Add-Ins

    • ½ small jalapeño (seeded) for mild heat and vibrant color
    • 1 tsp pickled jalapeño brine for extra tang and brightness
    • A few drops chipotle adobo liquid for a smoky, savory variation

    Directions

    Blend the Crema

    Combine sour cream, mayonnaise, cilantro, lime juice, lime zest, garlic, salt, and 1 tbsp water in a blender or small food processor.

    Pulse several times, then blend until smooth and light green. If too thick, add more water a teaspoon at a time until the crema reaches a drizzleable consistency.

    Finish and Adjust

    Stir in the reserved ½ tsp lime juice for a burst of fresh citrus at the end. Taste and adjust seasoning—add more salt or lime juice to balance tang and creaminess.

    For a thinner drizzle, whisk in an extra splash of water.

    Serve or Chill

    Transfer to an airtight container and refrigerate for at least 30 minutes to let flavors meld. Stir before using. Serve cold or at cool room temperature.


    Notes

    Preparation

    • Combining sour cream and mayonnaise gives the crema a silky body that clings beautifully to food.
    • Include cilantro stems for extra aroma and a brighter green hue.
    • Blend briefly (10–15 seconds) to preserve color; over-blending can dull the green.
    • Add reserved lime juice at the end to refresh flavor after blending.

    Serving Suggestions

    • Drizzle over tacos, enchiladas, burrito bowls, or grilled meats.
    • Perfect accompaniment for Chilaquiles Verdes.
    • Use as a dipping sauce for vegetables or empanadas.

    Variations

    • Add ½ small jalapeño for mild heat and brighter color.
    • Blend in ¼ avocado for a creamier, thicker crema; reduce water slightly.
    • For smoky flavor, replace garlic with ½ tsp chipotle adobo sauce.

    Make-Ahead & Storage

    • Refrigerate in an airtight container up to 5 days; stir before serving.
    • Flavor deepens after a few hours as the lime and garlic infuse.
    • Not suitable for freezing—fresh herbs and dairy will separate.
  • Hot Fudge Sauce

    Hot Fudge Sauce

    This classic hot fudge sauce delivers the rich, chewy texture and glossy finish of an old-fashioned ice cream parlor fudge. Thick and silky when warm, it sets with just a hint of chew where it meets cold ice cream—perfect for sundaes or swirling into homemade ice cream. A small batch of true nostalgia, made from real chocolate, cocoa, and butter.


    Ingredients

    • ½ cup sugar
    • ⅓ cup light corn syrup
    • ⅓ cup water (for chewier texture, reduce to ¼ cup)
    • ¼ cup Dutch-process cocoa powder
    • 2 oz dark chocolate (60–70%), finely chopped
    • 2 tbsp unsalted butter
    • ¼ tsp vanilla extract
    • pinch table salt

    Directions

    Make the Fudge Base

    In a small saucepan, whisk together the sugar, corn syrup, water, and cocoa powder until smooth. Bring to a gentle boil over medium heat, stirring constantly. Continue cooking 3–5 minutes, until the mixture thickens slightly and develops a glossy sheen. Longer cooking creates a chewier, old-fashioned texture.

    Finish the Sauce

    Remove from heat and whisk in the chopped chocolate, butter, vanilla, and salt until melted and smooth. Avoid excessive stirring as the sauce cools to maintain gloss and elasticity.

    Cool & Store

    Let cool to your preferred consistency before using. The sauce thickens as it cools but should remain spoonable. For nostalgic, chewy fudge, drizzle slightly warm over cold ice cream.


    Notes

    Preparation

    • For deeper chocolate flavor, increase chopped chocolate to 3 oz.
    • Cooking the syrup mixture longer produces a chewier, more traditional fudge texture.
    • If using natural cocoa instead of Dutch-process, add ⅛ tsp baking soda during heating to neutralize acidity and preserve smoothness.
    • Use dark chocolate between 60–70% cacao for ideal balance.

    Serving Suggestions

    • Drizzle over ice cream for a glossy, chewy hot fudge topping.
    • Layer into homemade ice cream as a ripple.
    • Serve warm over brownies, cheesecake, or banana splits.
    • Pairs beautifully with peppermint, peanut butter, vanilla, or coffee ice creams.

    Make-Ahead & Storage

    • Store in a sealed jar up to 2 weeks.
    • Warm gently before serving using a double boiler or short microwave bursts.
    • If too thick after chilling, whisk in 1–2 tsp warm cream or milk to loosen.
  • Mexican Tomato Sauce

    Mexican Tomato Sauce

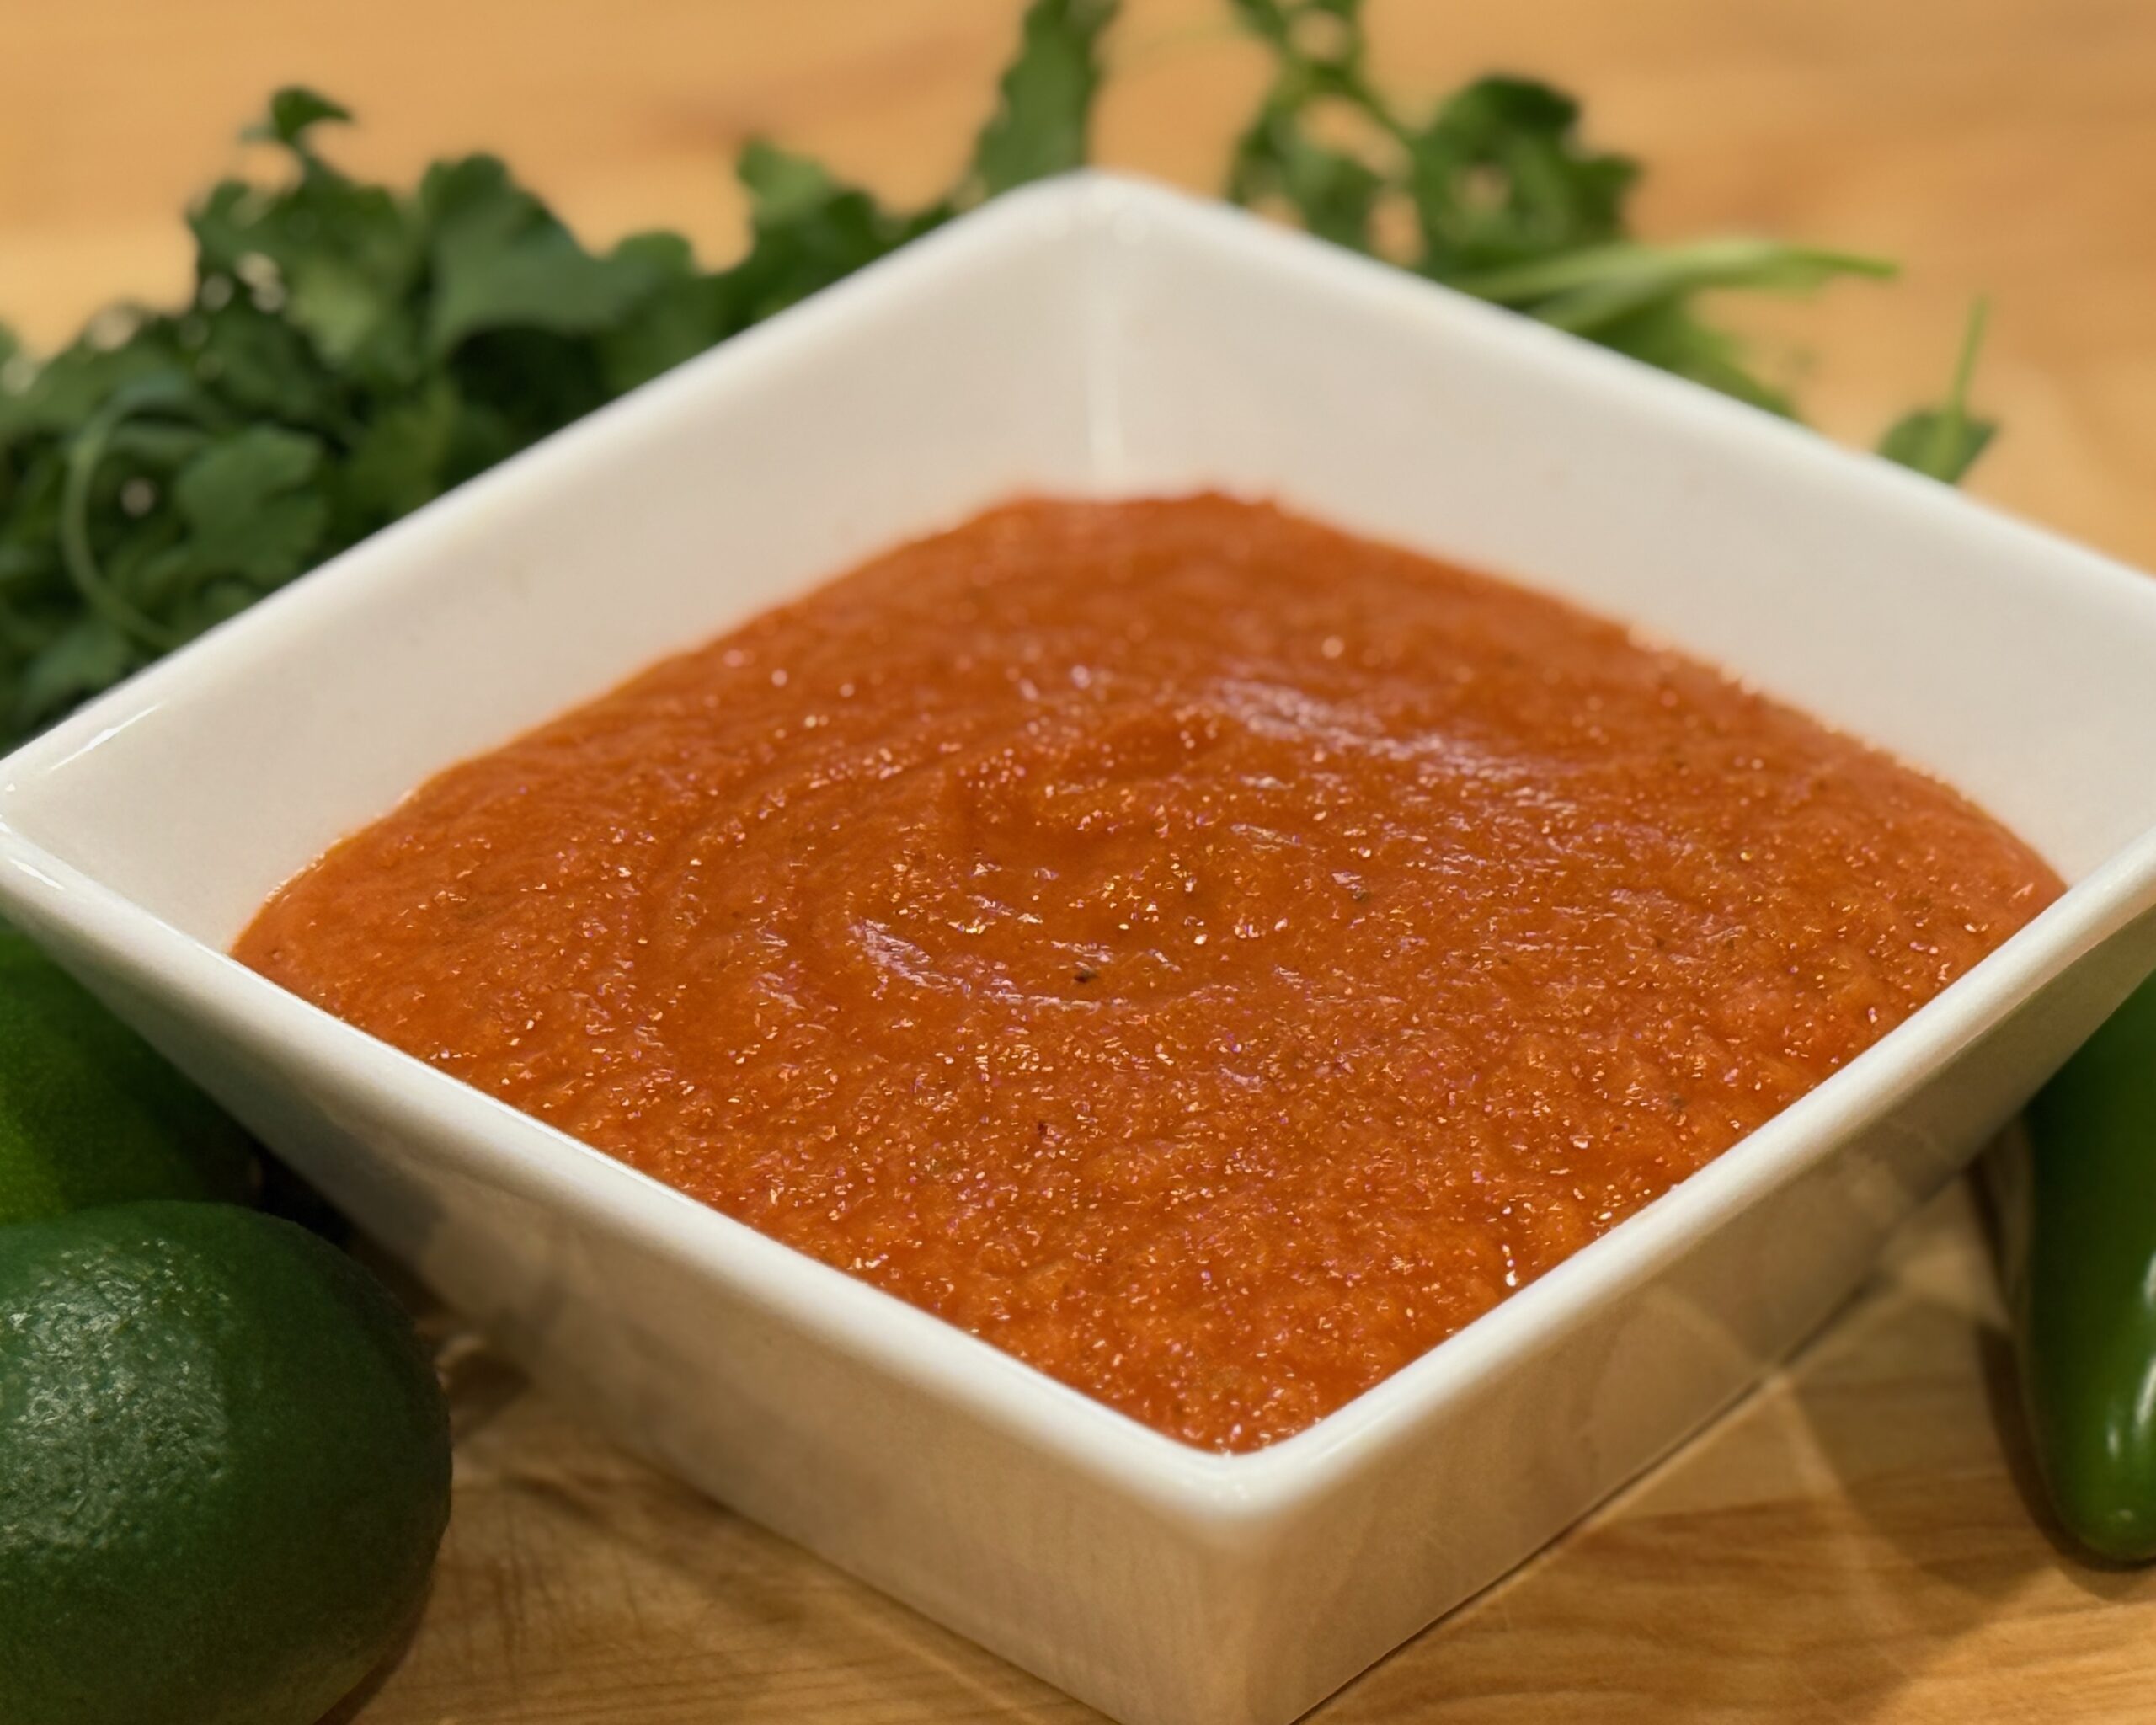
    This classic Mexican-style tomato sauce is richly flavored with roasted tomatoes, onion, garlic, and a touch of Mexican oregano. Tomato bouillon adds umami depth, while a hint of lime or vinegar brightens the flavor. It’s a perfect complement to enchiladas, chiles rellenos, burritos, and rice dishes—smooth, versatile, and beautifully balanced.


    Ingredients

    • 5 ripe Roma tomatoes (or two 14.5 oz cans fire-roasted tomatoes)
    • ½ medium onion, chopped
    • 2–3 cloves garlic
    • ½ tsp Mexican oregano
    • 1 tbsp tomato bouillon with chicken (Knorr or similar)
    • 3 tbsp avocado oil
    • 1–2 tbsp tomato paste
    • ½–1 tsp lime juice or ¼ tsp apple cider vinegar (optional, for brightness)
    • kosher salt & freshly ground black pepper, to taste

    Directions

    Roast the Vegetables

    Place tomatoes (if using fresh), chopped onion, and garlic on a baking sheet and roast at 450ºF (230ºC) for 15–20 minutes, until blistered and slightly charred.

    Blend the Sauce

    Transfer roasted vegetables to a blender. Add Mexican oregano and tomato bouillon. Blend until smooth and uniform.

    Sauté & Simmer

    Heat avocado oil in a deep skillet over medium heat until shimmering. Carefully pour in the blended sauce—it should sizzle on contact. Stir, bring to a boil, then reduce heat to medium-low and simmer for 10–15 minutes, stirring occasionally, until reduced by about half and thickened.

    Finish the Sauce

    Whisk in tomato paste to enrich the color and texture. Simmer gently for 1–2 minutes to bloom the paste and deepen sweetness. Adjust consistency with a splash of chicken broth or water if needed. Add lime juice or vinegar (if using), and season to taste with salt and pepper. For an extra-smooth texture, strain through a fine-mesh sieve before serving.


    Notes

    Preparation

    • Taste the sauce before adding salt—tomato bouillon already contributes salinity.
    • Blooming the tomato paste for 1–2 minutes enhances color, sweetness, and depth.
    • Simmer until the sauce lightly coats the back of a spoon for proper texture.
    • For deeper roasted flavor, char the tomatoes directly over a flame before blending.

    Serving Suggestions

    • Use as the base for Mexican rice, enchiladas, burritos, chilaquiles, or wet burritos.
    • Serve with grilled chicken, carne asada, carnitas, or roasted vegetables.

    Make-Ahead & Storage

    • The sauce deepens in flavor after resting overnight.
    • Refrigerate in an airtight jar for up to 5 days.
    • Freeze up to 3 months; thaw in the refrigerator.
    • Reheat gently over low heat; add a splash of broth or water if it becomes too thick.
  • Green Enchilada Sauce

    This restaurant-style green enchilada sauce captures the mild, tangy flavor of Las Palmas sauce, with the option to use either fresh or canned ingredients. Smooth, savory, and balanced with just a hint of acidity, it’s perfect for chili verde burritos, enchiladas, or chilaquiles.


    Ingredients

    • 2 tbsp vegetable oil
    • 2 tbsp all-purpose flour

    Green Chiles (Use Either):

    • Fresh: 1½ cups roasted, peeled, and chopped Hatch or Anaheim chiles, OR
    • Canned: Two 7-oz cans diced green chiles

    Tomatillos (Use Either):

    • Fresh: 1 lb tomatillos, husked and rinsed, OR
    • Canned: One 28-oz can tomatillos (drained)

    Aromatics:

    • 1 medium onion, roughly chopped
    • 3–4 cloves garlic, peeled
    • 1 jalapeño or serrano, seeded for mild heat

    Seasoning & Liquid:

    • 1½–2 cups chicken broth
    • 1 tsp ground cumin
    • 1 tsp dried oregano (Mexican preferred)
    • 1 tsp kosher salt (adjust to taste)
    • ½ tsp black pepper
    • ½ tsp sugar (balances the tomatillos)
    • 2 tbsp apple cider or white vinegar

    Directions

    Prep the Vegetables

    If using fresh tomatillos, remove husks and rinse. Halve and broil with onion, garlic, and jalapeño, 5–7 minutes, stirring once. If using canned, skip roasting.

    Blend the Base

    Blend tomatillos, chiles, onion, garlic, jalapeño, cumin, oregano, and 1 cup broth until smooth.

    Make the Roux

    Heat oil over medium heat, whisk in flour, and cook 1–2 minutes until pale blond and foamy.

    Cook the Sauce

    Whisk the blended mixture into the roux. Simmer 10–15 minutes, adding broth as needed for consistency.

    Season & Finish

    Add salt, pepper, sugar, and vinegar. Taste and adjust acidity or heat.


    Notes

    Preparation

    • Roasting fresh ingredients adds sweetness and depth.
    • Canned tomatillos give consistent results year-round.
    • The roux creates the silky restaurant-style texture.
    • Use serrano for more heat.
    • Thin with broth if sauce thickens too much.

    Serving Suggestions

    • Use for enchiladas, chilaquiles, wet burritos, or breakfast dishes.
    • Pairs especially well with pork, chicken, and eggs.

    Make-Ahead & Storage

    • Keeps 5 days refrigerated.
    • Freezes 3 months; thaw gently.
    • Add a splash of broth when reheating if thickened.

  • Alfredo Sauce

    Originating in early 20th-century Rome, Alfredo sauce has become a beloved staple far beyond Italy. Rich with butter, cream, and Parmesan, this American-style version is known for its velvety texture and delicate garlic aroma—simple ingredients that come together to create a smooth, luxurious sauce perfect for pasta, chicken, or vegetables.


    Ingredients

    • ½ cup butter
    • 2 cloves garlic, minced
    • 2 cups heavy cream
    • ½ tsp table salt (or to taste)
    • ⅛ tsp ground black pepper
    • ¾ cup Parmesan cheese, finely grated
    • Optional Enhancements:

      • 2 tbsp cream cheese, for extra body and stability
      • 1 tsp lemon juice or white wine, for brightness
      • pinch nutmeg, for subtle warmth

    Directions

    Build the Base

    In a medium saucepan, melt the butter over medium heat. Add the garlic and cook 30 seconds, just until fragrant.

    Simmer the Cream

    Stir in the cream, salt, and pepper. Bring to a gentle simmer and cook 3–4 minutes, stirring frequently to prevent scorching.

    Add the Cheese

    Reduce heat to low. Gradually whisk in the Parmesan until melted and smooth. If using, add cream cheese at this stage to thicken and stabilize the sauce.

    Finish & Serve

    Simmer 2–3 minutes more until the sauce lightly coats the back of a spoon. Adjust seasoning to taste, and stir in lemon juice or nutmeg if desired. Serve immediately over pasta, chicken, or vegetables.


    Notes

    Preparation

    • Use freshly grated Parmesan for the smoothest texture; pre-grated cheese can cause graininess.
    • Keep the heat gentle at all times to prevent the sauce from breaking.
    • Cream cheese improves stability and helps prevent separation.
    • For a lighter version, substitute half the cream with whole milk and whisk in 1 tsp cornstarch.

    Serving Suggestions

    • Serve with fettuccine, linguine, gnocchi, grilled chicken, or roasted vegetables.
    • Garnish with more Parmesan, chopped parsley or basil, or freshly cracked pepper.

    Variations

    • Roman-Style Alfredo: Omit the garlic and cream. Toss hot pasta directly with butter and finely grated Parmigiano Reggiano, adding splashes of pasta water until creamy.
    • Garlic-Heavy Version: Increase garlic to 4–5 cloves and sauté gently for 1–2 minutes. For deeper flavor, simmer one smashed garlic clove in the cream, then remove before adding cheese.
    • Meal-Prep / Catering Version: Add 2–3 tbsp cream cheese and 1 tsp cornstarch to stabilize the sauce for reheating or holding without separation.

    Make-Ahead & Storage

    • Best served fresh for ideal creaminess.
    • Store leftovers in an airtight container up to 3 days.
    • Reheat gently over low heat, adding 1–2 tbsp milk or cream to loosen if needed.
    • Not recommended for freezing; cream sauces may separate.
  • Browned Butter Sage Sauce

    Browned Butter Sage Sauce

    A quick, elegant sauce that pairs beautifully with ricotta or potato gnocchi. Simple to prepare, it highlights the nutty aroma of browned butter and the earthy perfume of fresh sage. When served with gnocchi, a pinch of nutmeg in the dough adds warm, slightly sweet notes that complement the savory depth of the sage. This classic combination appears throughout Italian cooking—in pasta, meatballs, gnocchi, and creamy soups—where sage contributes its herbaceous edge and nutmeg lends a subtle, cozy warmth.


    Ingredients

    • 6 tbsp unsalted butter (85 g)
    • 8–10 fresh sage leaves
    • ⅛ tsp table salt (or to taste)
    • freshly ground black pepper (to taste)
    • 2 tbsp grated parmesan (optional, for finishing)
    • ½ tsp lemon juice (optional, brightens flavor)

    Directions

    Brown the Butter

    In a medium skillet or saucepan, melt the butter over medium heat. Add the sage leaves and cook, swirling occasionally, until the butter turns deep golden and smells nutty, about 4–5 minutes. The sage will crisp slightly as it fries.


    Finish the Sauce

    Remove from heat and stir in salt, black pepper, and lemon juice if using. Serve the sage leaves whole or remove them depending on preference.


    Serve

    Toss hot, drained gnocchi directly in the pan with the brown butter sauce until evenly coated. Serve immediately with freshly grated parmesan.


    Notes

    Preparation

    • Watch closely—brown butter goes from nutty to burnt quickly. Remove from heat as soon as the milk solids turn golden.
    • Create a silkier sauce by swirling in 1–2 tbsp pasta or gnocchi cooking water to form a light emulsion.
    • For deeper sage flavor, crisp the leaves for an extra 30 seconds before removing the pan from heat.

    Serving Suggestions

    • Drizzle over ricotta gnocchi, potato gnocchi, or sweet potato gnocchi.
    • Excellent on cheese ravioli, butternut squash ravioli, or spinach ravioli.
    • Also delicious over roasted vegetables, grilled chicken, or sautéed mushrooms.

    Variations

    • Garlic Brown Butter: Add one lightly crushed garlic clove to the skillet during browning; remove before serving.
    • Brown Butter & Walnut: Stir in ¼ cup toasted chopped walnuts for added crunch.
    • Lemon-Sage Butter: Increase lemon juice to 1 tsp and add ½ tsp lemon zest for brightness.

    Make-Ahead & Storage

    • Best served immediately after browning.
    • Refrigerate leftover sauce up to 3 days; rewarm gently over low heat before serving.
    • Sage leaves soften in storage—crisp fresh leaves separately if reheating.
  • Knoflooksaus

    This creamy, garlicky sauce is a staple of Dutch shoarma restaurants and late-night snack bars. Smooth, tangy, and richly flavored with garlic and parsley, it’s perfect for serving with shoarma, fries, grilled meats, or pita bread—bringing a taste of The Netherlands to your kitchen.


    Ingredients

    • 2 cups Dutch mayonnaise (e.g., Remia, Calvé, or Zaanse)
    • ¾ cup Greek yogurt
    • 3 tbsp finely grated fresh garlic (or 4–5 tbsp mild garlic paste)
    • 4 tbsp finely chopped parsley
    • 1–2 tsp ketjap manis, to taste
    • ¼ tsp table salt
    • ¼ tsp sugar
    • pinch white pepper (optional)

    Directions

    Mix the Sauce

    Combine all ingredients in a bowl and stir until smooth and evenly blended.

    Chill & Develop Flavor

    Cover and refrigerate for at least 4 hours, or overnight, to allow the flavors to mellow and the sauce to thicken.


    Notes

    Preparation

    • For a milder garlic flavor, reduce the garlic to 2 tbsp and let the sauce rest overnight.
    • If using typical American mayonnaise (such as Best Foods or Hellmann’s), add 1 tsp white wine vinegar or lemon juice for extra tang and authenticity.
    • Use mild garlic paste if you prefer a smoother, less pungent profile.

    Serving Suggestions

    • Serve with Dutch-style shoarma.
    • Drizzle over fries, grilled meats, or kebabs.
    • Use as a dip for pita bread or fresh vegetables.

    Make-Ahead & Storage

    • Best made at least 4 hours in advance for full flavor development.
    • Refrigerate in an airtight container up to 5 days.
    • Stir before serving; sauce naturally thickens as it chills.