Bags of Spices

Favorite Recipes

Tag: Mexican

  • Cilantro-Lime Crema

    Cilantro-Lime Crema

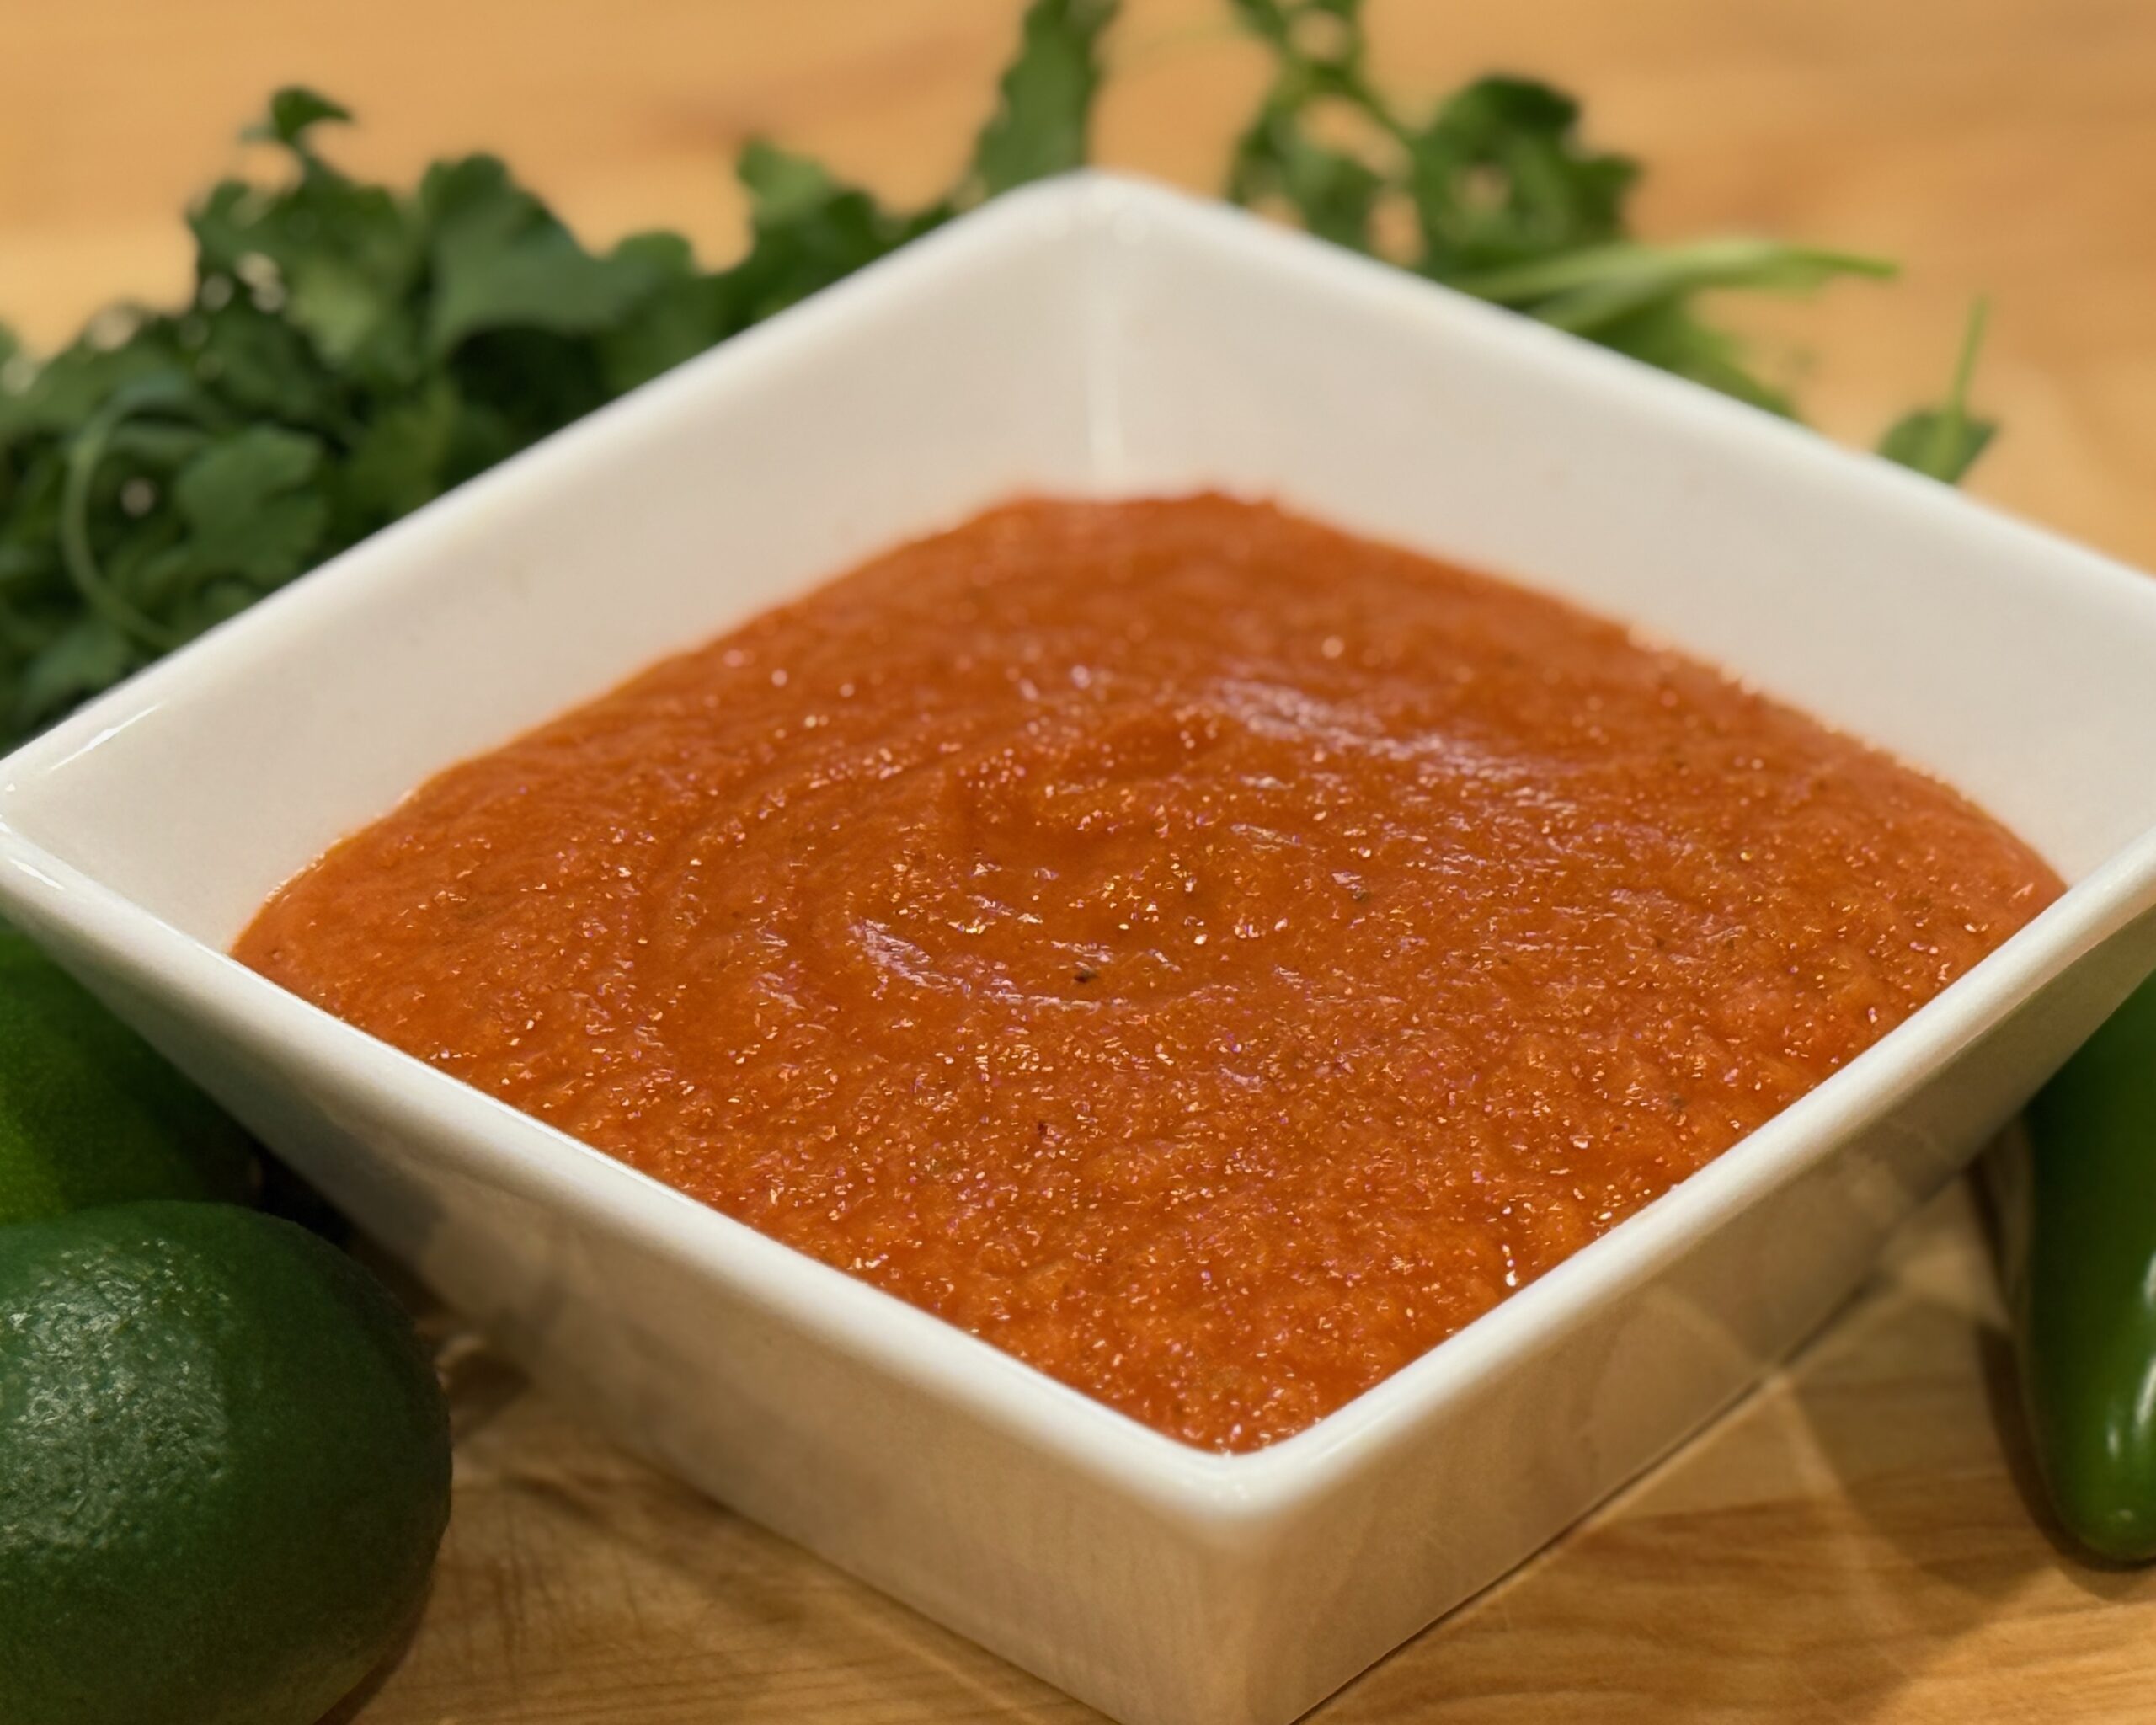
    Smooth, tangy, and fresh—this cilantro-lime crema adds a bright, herby finish to tacos, enchiladas, grilled meats, and especially Chilaquiles Verdes. The balance of sour cream and mayonnaise gives it a silky texture that clings beautifully while staying light and refreshing.


    Ingredients

    • ¾ cup sour cream
    • ¼ cup mayonnaise
    • ½ cup fresh cilantro (leaves plus tender stems)
    • 1½ tbsp lime juice (plus ½ tsp reserved for finishing)
    • 1 tsp lime zest
    • 1 small clove garlic, grated or minced
    • ¼ tsp table salt
    • 1–2 tbsp water, as needed to thin

    Optional Add-Ins

    • ½ small jalapeño (seeded) for mild heat and vibrant color
    • 1 tsp pickled jalapeño brine for extra tang and brightness
    • A few drops chipotle adobo liquid for a smoky, savory variation

    Directions

    Blend the Crema

    Combine sour cream, mayonnaise, cilantro, lime juice, lime zest, garlic, salt, and 1 tbsp water in a blender or small food processor.

    Pulse several times, then blend until smooth and light green. If too thick, add more water a teaspoon at a time until the crema reaches a drizzleable consistency.

    Finish and Adjust

    Stir in the reserved ½ tsp lime juice for a burst of fresh citrus at the end. Taste and adjust seasoning—add more salt or lime juice to balance tang and creaminess.

    For a thinner drizzle, whisk in an extra splash of water.

    Serve or Chill

    Transfer to an airtight container and refrigerate for at least 30 minutes to let flavors meld. Stir before using. Serve cold or at cool room temperature.


    Notes

    Preparation

    • Combining sour cream and mayonnaise gives the crema a silky body that clings beautifully to food.
    • Include cilantro stems for extra aroma and a brighter green hue.
    • Blend briefly (10–15 seconds) to preserve color; over-blending can dull the green.
    • Add reserved lime juice at the end to refresh flavor after blending.

    Serving Suggestions

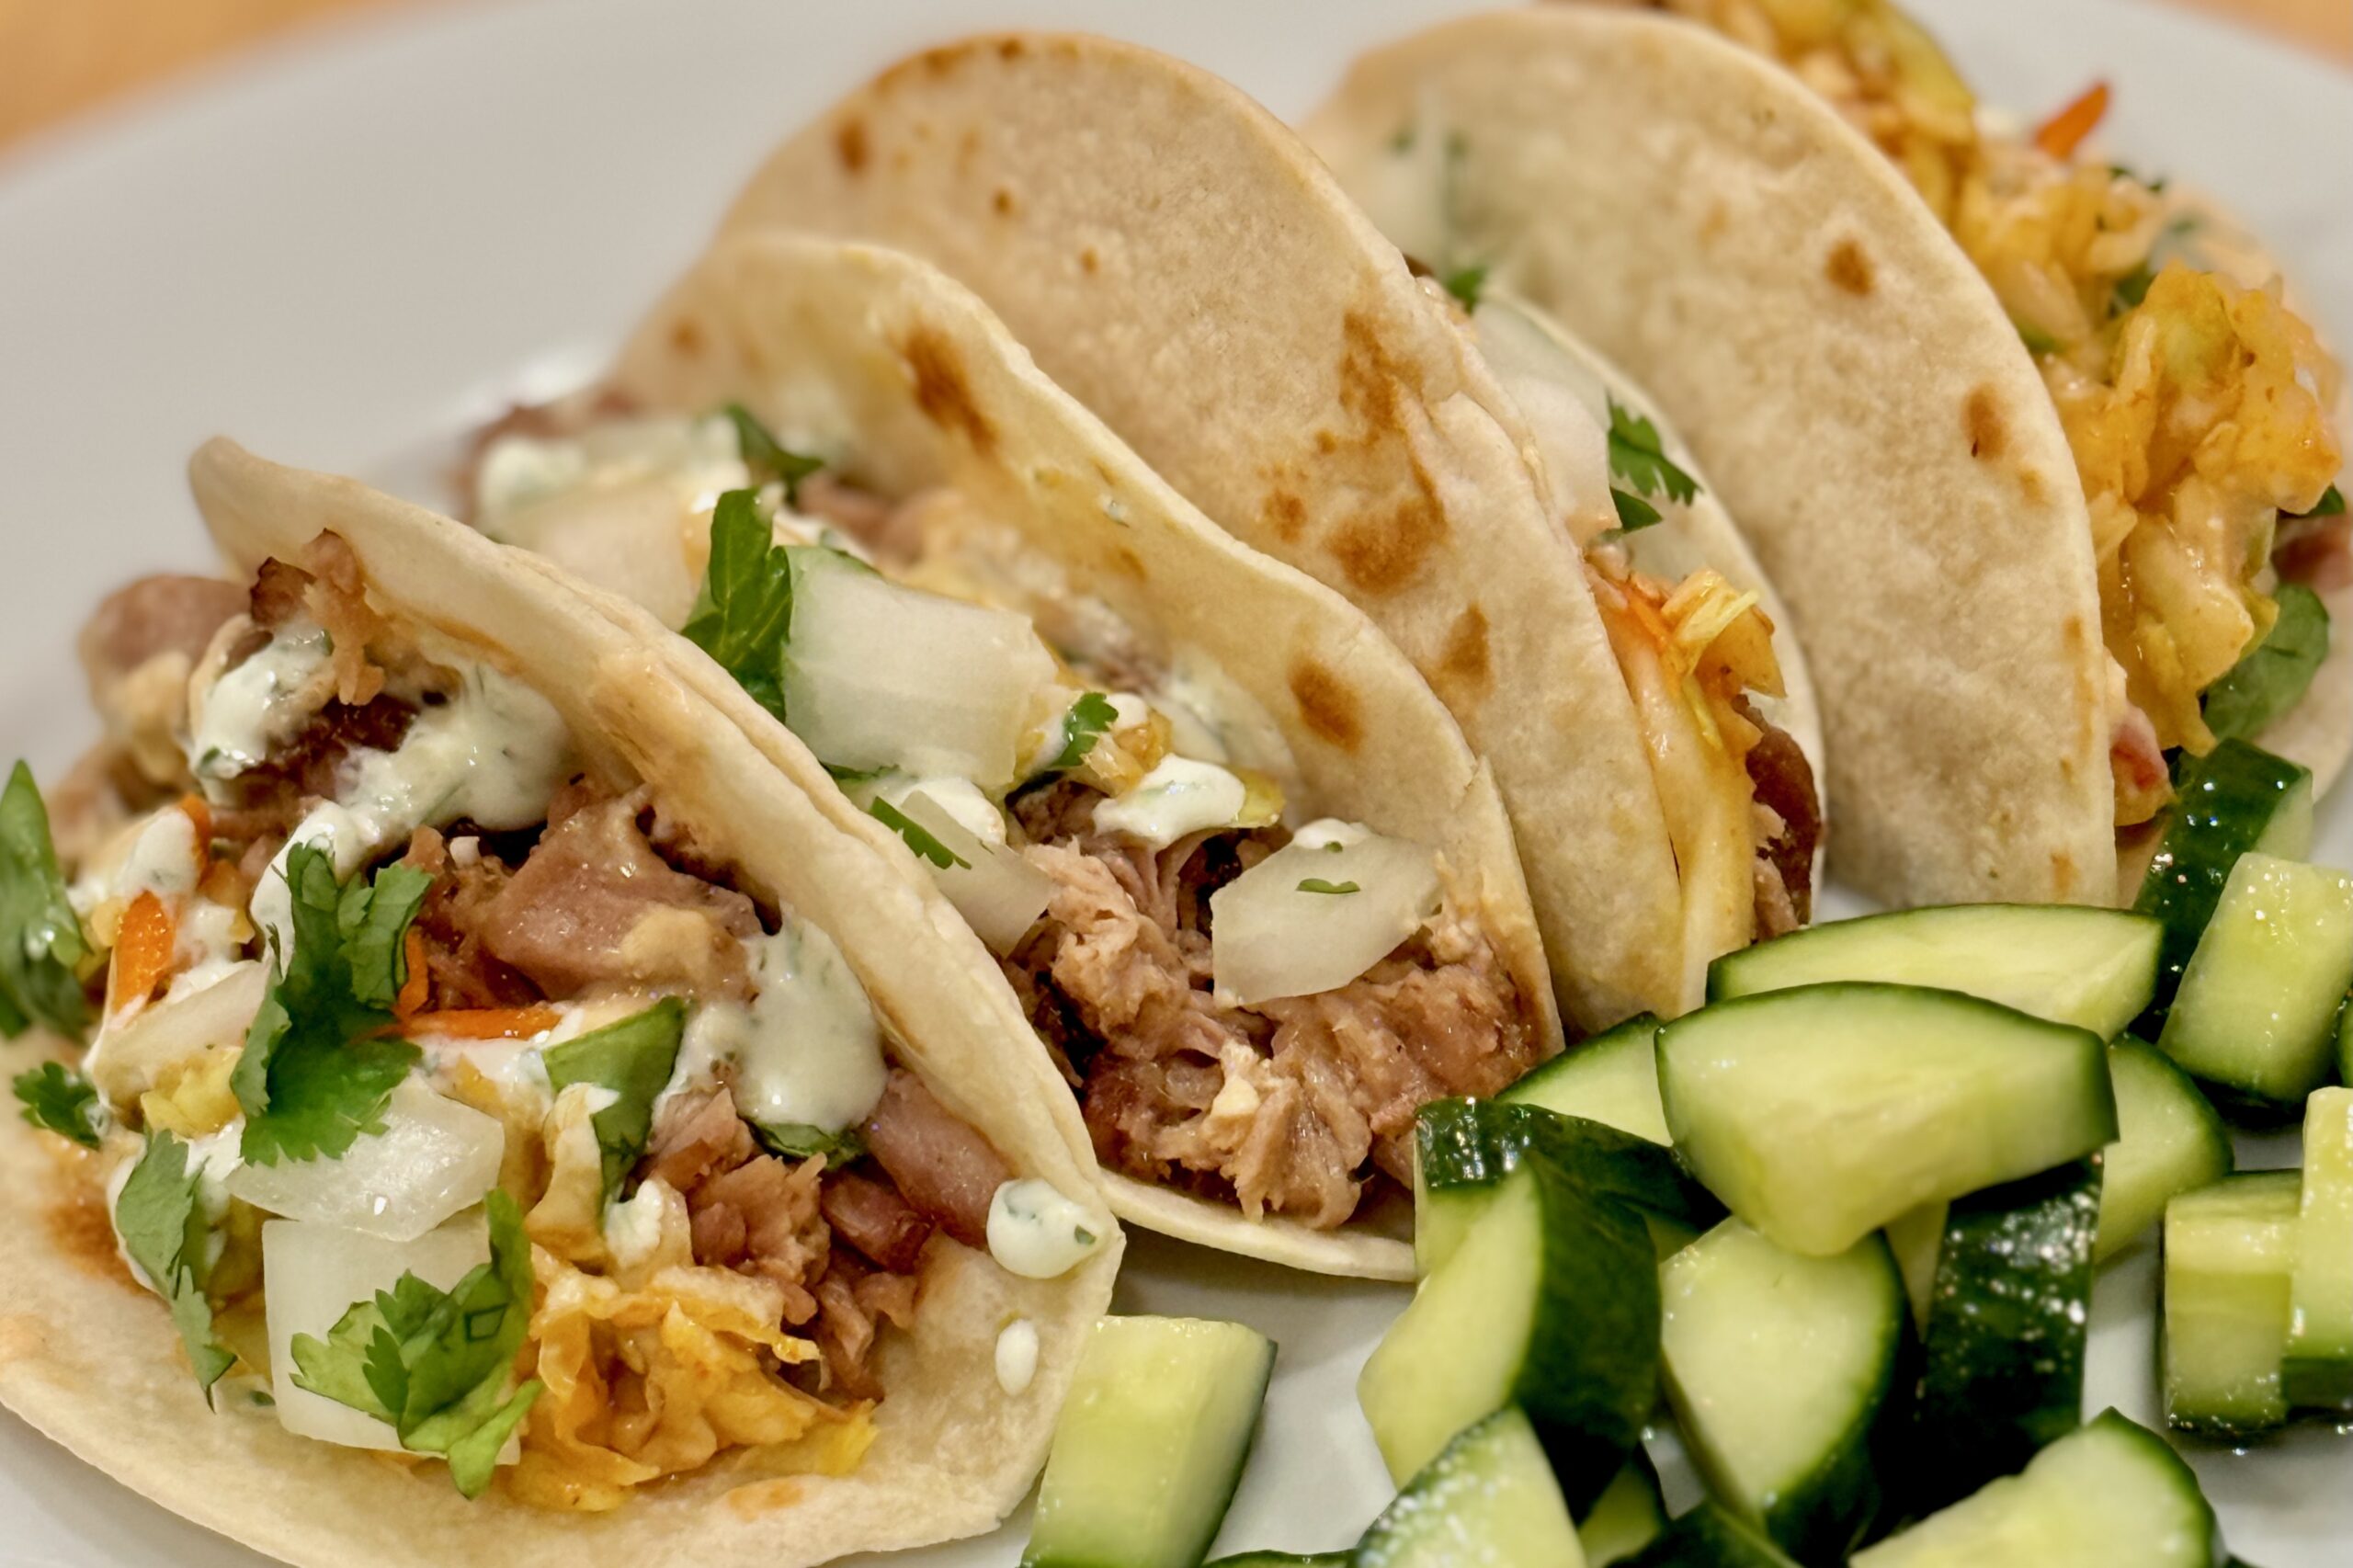
    • Drizzle over tacos, enchiladas, burrito bowls, or grilled meats.
    • Perfect accompaniment for Chilaquiles Verdes.
    • Use as a dipping sauce for vegetables or empanadas.

    Variations

    • Add ½ small jalapeño for mild heat and brighter color.
    • Blend in ¼ avocado for a creamier, thicker crema; reduce water slightly.
    • For smoky flavor, replace garlic with ½ tsp chipotle adobo sauce.

    Make-Ahead & Storage

    • Refrigerate in an airtight container up to 5 days; stir before serving.
    • Flavor deepens after a few hours as the lime and garlic infuse.
    • Not suitable for freezing—fresh herbs and dairy will separate.
  • Korean Pulled-Pork Tacos

    Korean Pulled-Pork Tacos

    Inspired by the flavors of Korean bulgogi and Mexican street tacos, this fusion dish brings together tender sous-vide pork shoulder marinated in a sweet-savory Korean-style sauce, then shredded, crisped, and served in warm tortillas with fresh toppings. The result is rich umami, bright acidity, and a touch of heat—echoing the street-food creativity that made Korean tacos famous. It’s also fast becoming one of our family’s most requested Sunday dinners, especially when served with cilantro lime rice made with a hint of coconut milk. Around our table, there’s still a friendly debate over which is better—corn tortillas for their texture, or soft flour tortillas that soak up every drop of sauce.


    Ingredients

    • 3 lb boneless pork shoulder, trimmed of excess fat and silver skin

    Marinade:

    • ⅓ cup sugar
    • 2 tsp ajinomoto (optional)
    • 4 tsp onion powder
    • 1 tsp black pepper
    • 2 tbsp garlic, finely chopped
    • 4 tsp sambal oelek
    • 3 tbsp sesame oil
    • ⅔ cup mirin
    • ½ cup soy sauce
    • 1–1½ tsp liquid smoke

    Finishing Brush:

    • ½ cup reserved marinade + ½ cup honey

    Creamy Drizzle:

    • ¼ cup reserved marinade base
    • 1 cup Greek yogurt
    • 2–3 tbsp fresh lime juice (adjust to taste)
    • 1 tsp gochujang or extra sambal (optional)
    • or substitute Cilantro Lime Crema

    Pickled Cucumber (and Optional Daikon):

    • 1 medium cucumber (or cucumber + daikon/radish), thinly sliced
    • 2 tbsp rice vinegar
    • 1 tsp sugar
    • ¼ tsp table salt
    • ½ tsp sesame oil

    Sriracha Slaw:

    • 2 cups shredded cabbage (green or mixed)
    • 1 cup shredded carrot
    • 2 tbsp lime juice
    • 1 tbsp sesame oil
    • 2–3 tbsp sriracha (to taste)
    • 2 tsp sugar (to taste)
    • ½ tsp ajinomoto (optional)
    • salt, to taste

    To Serve:

    • Corn or Flour tortillas (8–10, warmed)
    • Chopped fresh cilantro
    • Toasted sesame seeds
    • Diced raw onion
    • Lime wedges

    Directions

    Marinate the Pork

    Mix all marinade ingredients. Reserve ¾ cup of the mixture: ½ cup for the finishing brush, ¼ cup for the creamy drizzle. Add the remaining marinade to the pork in a sealed bag. Refrigerate 8–12 hours.

    Sous-Vide the Pork

    Heat sous-vide bath to 165°F (74°C). Cook sealed pork 18–24 hours. This produces a tender, shreddable texture.

    Make the Pickled Cucumber

    Combine cucumber with vinegar, sugar, salt, and sesame oil. Rest 10–15 minutes; drain lightly.

    Make the Sriracha Slaw

    Toss cabbage and carrot with lime juice, sesame oil, sriracha, and salt.

    Make the Creamy Drizzle

    Whisk ¼ cup reserved marinade with yogurt, lime juice, and optional gochujang or sambal.

    Shred and Crisp the Pork

    Remove pork and reserve cooking juices. Shred pork. Spread on sheet pan and brush with the finishing mixture. Broil until edges crisp. Drizzle ⅓–½ cup of the reserved cooking juices over pork to keep it moist.

    Assemble the Tacos

    Warm tortillas. Layer pork, pickled cucumber, and slaw. Top with the creamy drizzle (or Cilantro Lime Crema). Garnish with cilantro, sesame seeds, onion, and lime.


    Notes

    Preparation

    • Use evenly sized pork pieces for consistent sous-vide cooking.
    • Reserved cooking juices add essential moisture and depth.
    • Monitor broiling closely—honey burns fast.

    Serving Suggestions

    • Serve with cilantro-lime rice, sliced avocado, cabbage slaw, pickled onions, and sprinkled with sesame seeds.
    • Substitute cilantro-lime crema for the creamy drizzle, or as another flavorful addition—the combination of both sauces is delicious.
    • A squeeze of fresh lime brightens the flavors.

    Variations

    • Swap pork shoulder for boneless beef short ribs.
    • Use corn tortillas for a lighter street-taco style.
    • Increase sambal or gochujang for extra heat.

    Make-Ahead & Storage

    • Sous-vide pork can be made 1 day ahead; chill in ice bath before refrigerating.
    • Store shredded pork with 2–3 tbsp cooking juices; refrigerate 3–4 days or freeze 2–3 months.
    • Briefly re-broil to restore crisp edges before serving.
  • Cilantro Lime Rice

    Cilantro Lime Rice

    Fluffy jasmine rice infused with fresh lime and cilantro—simple, bright, and perfectly balanced to complement tacos, grilled meats, or saucy dishes. A touch of butter enhances richness while the zest and juice keep every bite fresh and aromatic. Click here for the Instant Pot version of this recipe.


    Ingredients

    • 1 cup jasmine rice, rinsed and drained
    • 1 tbsp butter
    • 1½ cups chicken broth (or vegetable broth)
    • 1 clove garlic, minced (optional)
    • Zest of 1 lime
    • 1–1½ tbsp fresh lime juice (to taste)
    • ½ cup cilantro leaves, finely chopped
    • ⅛ tsp sugar (to round acidity)
    • Salt to taste

    Directions

    Toast the Rice

    In a saucepan or rice cooker insert, melt butter over medium heat. Add rice (and garlic, if using) and sauté 2–3 minutes until grains appear glossy and lightly golden.

    Cook the Rice

    Add broth and a generous pinch of salt. Stir once, bring to a simmer, then cover and reduce heat to low. Cook for 15 minutes, then remove from heat and let stand, covered, for 10 minutes to finish steaming.

    Finish with Lime and Cilantro

    In a small pan, warm lime zest with a few drops of butter until aromatic (optional but enhances flavor).

    Fluff rice gently with a fork and fold in lime zest, lime juice, cilantro, and sugar. Taste and adjust salt or lime as desired.

    Serve

    Serve warm as a side or base for tacos, grilled meats, or saucy dishes where a bright, citrusy accent balances richness.


    Notes

    Preparation

    • Rinse jasmine rice until water runs mostly clear to remove excess starch and keep grains fluffy.
    • Let cooked rice rest 10 minutes before fluffing to allow steam to redistribute for perfect texture.
    • Warming lime zest in butter releases aromatic oils and coats grains more evenly.
    • Adjust lime and salt balance at the end—rice should taste bright but not sharp.

    Serving Suggestions

    • Pairs beautifully with tacos, fajitas, or grilled seafood.
    • Excellent base for burrito bowls or enchilada platters.
    • Top with extra cilantro and a sprinkle of lime zest for presentation.

    Variations

    • Subtle Coconut Version: Replace ¼ cup of broth with ¼ cup unsweetened coconut milk (1¼ cups broth + ¼ cup coconut milk). Adds gentle creaminess and a faint coconut aroma while maintaining lime-cilantro brightness.
    • Coconut-Forward Version: Replace ½ cup of broth with ½ cup coconut milk (1 cup broth + ½ cup coconut milk). Creates a richer, tropical flavor—use 2 tbsp lime juice and season more assertively with salt.
    • Use coconut versions for fusion dishes like Korean Pulled-Pork Tacos, jerk chicken, or grilled shrimp where a creamy contrast enhances spice and smoke.

    Make-Ahead & Storage

    • Cooked rice can be held warm for up to 30 minutes before adding lime and cilantro.
    • Refrigerate leftovers in an airtight container up to 3 days; reheat gently with a drizzle of broth or water to restore moisture.
    • Fresh cilantro and lime juice should always be added just before serving for best color and flavor.
  • Cilantro Lime Rice (Instant Pot)

    Cilantro Lime Rice (Instant Pot)

    This Instant Pot version of Cilantro-Lime Rice delivers the same bright, aromatic flavor as the stovetop method in a fraction of the time. Jasmine rice cooks up fluffy and tender with perfect lime-cilantro balance—ideal for tacos, fajitas, enchiladas, or grilled meats. Click here for the stovetop version of this recipe.


    Ingredients

    • 1 cup jasmine rice, rinsed and drained
    • 1 tbsp butter or olive oil
    • 1 cup chicken broth (or water + ¼ tsp salt)
    • Zest of 1 lime
    • 1–1½ tbsp fresh lime juice (added after cooking)
    • ½ cup cilantro leaves, finely chopped
    • ⅛ tsp sugar (optional, to balance acidity)
    • Salt to taste

    Optional Add-Ins

    • 1 small clove garlic, minced (sauté before adding rice)
    • 1 bay leaf (for subtle herbal aroma)

    Directions

    Rinse the Rice

    Rinse jasmine rice in a fine-mesh strainer under cold water until the water runs mostly clear to remove excess starch. Drain well.

    Sauté

    Set the Instant Pot to Sauté. Melt butter or heat oil, then add garlic if using. Stir in drained rice and toast for 1–2 minutes until lightly fragrant.

    Press Cancel to stop the sauté function.

    Pressure Cook

    Add chicken broth and a pinch of salt. Stir once to distribute evenly, then secure the lid and set the valve to Sealing.

    Cook on High Pressure for 3 minutes. Allow pressure to release naturally for 10 minutes, then manually release any remaining steam.

    Finish the Rice

    Fluff the rice gently with a fork. Stir in lime zest, lime juice, cilantro, and sugar (if using). Taste and adjust seasoning with more salt or lime juice as needed.

    Let rest uncovered for 2–3 minutes to allow excess steam to escape before serving.

    Serve

    Serve warm as a side or base for tacos, fajitas, enchiladas, or grilled meats. Garnish with additional cilantro and lime zest if desired.


    Notes

    Preparation

    • Use a 1:1 ratio of rice to liquid for the Instant Pot—no evaporation means less liquid is required than on the stove.
    • Do not add lime juice before pressure cooking; acid interferes with proper rice hydration.
    • Natural release for 10 minutes ensures fluffy, evenly cooked grains.
    • Let rice rest uncovered for a few minutes after fluffing to release steam and maintain perfect texture.

    Serving Suggestions

    • Pairs beautifully with tacos, fajitas, grilled shrimp, or chicken.
    • Use as a flavorful base for burrito bowls or enchilada platters.
    • For color and brightness, top with extra cilantro and a sprinkle of lime zest before serving.

    Variations

    • Subtle Coconut Version: Replace ¼ cup of broth with ¼ cup unsweetened coconut milk (use ¾ cup broth + ¼ cup coconut milk). Adds gentle richness and a faint coconut aroma while maintaining lime-cilantro brightness.
    • Coconut-Forward Version: Replace ½ cup of broth with ½ cup coconut milk (use ½ cup broth + ½ cup coconut milk). Yields a creamier, tropical variation—use 2 tbsp lime juice and slightly more salt to balance flavor.
    • For added aromatics, sauté a small piece of shallot or a few cilantro stems with the rice.

    Make-Ahead & Storage

    • Cooked rice can be held warm in the Instant Pot for up to 30 minutes before adding lime and cilantro.
    • Refrigerate leftovers in an airtight container for up to 3 days; reheat with a splash of broth or water to restore moisture.
    • Not recommended for freezing—fresh cilantro and lime flavor are best enjoyed fresh.
  • Mexican Rice

    Mexican Rice

    Fluffy, richly flavored Mexican rice made in the Instant Pot without the risk of burning. Toasted rice, sautéed aromatics, and a homemade Mexican Tomato Sauce create deep color and balanced heat, while careful layering and adjusted liquid ratios ensure perfect texture every time.


    Ingredients

    • 3 cups basmati rice, rinsed and drained
    • 3 tbsp avocado oil
    • 1 tbsp lard (optional, for richness)
    • ½ tsp annatto powder (optional, for color)
    • 1½ cups prepared Mexican Tomato Sauce (see recipe)
    • 2¾ cups chicken broth
    • ½ tsp table salt
    • ½ medium onion, diced
    • 1–2 jalapeños, diced
    • 1 tbsp butter (for finishing)
    • fresh cilantro, chopped, for garnish
    • lime wedges, for serving

    Directions

    Rinse the Rice

    Place rice in a fine-mesh strainer and rinse under cold running water for 1–2 minutes, or until the water runs mostly clear. Drain well.

    Sauté the Aromatics

    Heat a deep sauté pan over medium-high heat; add 1 tbsp avocado oil. When shimmering, add onion and jalapeño. Sauté until the edges of the onion begin to brown and the jalapeño softens slightly. Transfer the mixture to a bowl and set aside.

    Toast the Rice

    Add remaining 2 tbsp avocado oil and the lard (if using) to the same pan. Once the oil is hot, add the drained rice and cook, stirring occasionally, until lightly golden and fragrant, 5–7 minutes.

    Stir in annatto powder (if using) for 30 seconds, just until color deepens. Deglaze the pan with a few tablespoons of chicken broth, scraping up any toasted bits. Transfer the rice to the Instant Pot.

    Layer and Pressure Cook

    Pour the remaining chicken broth into the Instant Pot over the rice. Sprinkle in salt but do not stir. Gently pour the Mexican Tomato Sauce over the top—again, do not stir. This layering prevents the thicker sauce from touching the bottom and triggering a burn warning.

    Secure the lid and set to Pressure Cook – High for 3 minutes. Allow pressure to release naturally for 10 minutes with Keep Warm on, then turn off Keep Warm and release any remaining pressure manually.

    Fluff and Finish

    Let the rice rest for 2–3 minutes after opening the lid. Fluff gently with a fork, then fold in the reserved jalapeño mixture and the butter. Allow residual heat to melt the butter and evenly coat the grains.

    Let rest uncovered for 3–5 minutes before serving to release excess steam and preserve texture.

    Serve

    Garnish with chopped cilantro and serve with lime wedges. For a stronger tomato flavor, drizzle with additional Mexican Tomato Sauce before serving.


    Notes

    Preparation

    • Total liquid increased to 4¼ cups (2¾ cups broth + 1½ cups sauce) for even cooking and no burn warnings.
    • Layer liquids—broth first, sauce last—and avoid stirring before cooking.
    • Deglaze the pan after toasting the rice to remove any stuck bits that can trigger burn errors.
    • Natural release for 10 minutes ensures fluffy, separate grains without overcooking.
    • Rest uncovered briefly after fluffing to let excess steam escape for perfect texture.

    Serving Suggestions

    • Serve with enchiladas, tacos, grilled meats, or any saucy main dish.
    • Use as a flavorful base for burrito bowls or stuffed peppers.
    • Top with extra cilantro and a squeeze of lime for brightness.

    Variations

    • Substitute vegetable broth for chicken broth for a vegetarian version.
    • For deeper color and richness, always include annatto and lard.
    • For milder heat, use just one jalapeño or remove the seeds before dicing.

    Make-Ahead & Storage

    • This rice reheats beautifully and maintains texture when stored properly.
    • Refrigerate in an airtight container up to 4 days.
    • Reheat gently on the stove or in the microwave with a splash of broth to restore moisture.
    • Freeze up to 2 months; thaw overnight in the refrigerator before reheating.
  • Mexican Tomato Sauce

    Mexican Tomato Sauce

    This classic Mexican-style tomato sauce is richly flavored with roasted tomatoes, onion, garlic, and a touch of Mexican oregano. Tomato bouillon adds umami depth, while a hint of lime or vinegar brightens the flavor. It’s a perfect complement to enchiladas, chiles rellenos, burritos, and rice dishes—smooth, versatile, and beautifully balanced.


    Ingredients

    • 5 ripe Roma tomatoes (or two 14.5 oz cans fire-roasted tomatoes)
    • ½ medium onion, chopped
    • 2–3 cloves garlic
    • ½ tsp Mexican oregano
    • 1 tbsp tomato bouillon with chicken (Knorr or similar)
    • 3 tbsp avocado oil
    • 1–2 tbsp tomato paste
    • ½–1 tsp lime juice or ¼ tsp apple cider vinegar (optional, for brightness)
    • kosher salt & freshly ground black pepper, to taste

    Directions

    Roast the Vegetables

    Place tomatoes (if using fresh), chopped onion, and garlic on a baking sheet and roast at 450ºF (230ºC) for 15–20 minutes, until blistered and slightly charred.

    Blend the Sauce

    Transfer roasted vegetables to a blender. Add Mexican oregano and tomato bouillon. Blend until smooth and uniform.

    Sauté & Simmer

    Heat avocado oil in a deep skillet over medium heat until shimmering. Carefully pour in the blended sauce—it should sizzle on contact. Stir, bring to a boil, then reduce heat to medium-low and simmer for 10–15 minutes, stirring occasionally, until reduced by about half and thickened.

    Finish the Sauce

    Whisk in tomato paste to enrich the color and texture. Simmer gently for 1–2 minutes to bloom the paste and deepen sweetness. Adjust consistency with a splash of chicken broth or water if needed. Add lime juice or vinegar (if using), and season to taste with salt and pepper. For an extra-smooth texture, strain through a fine-mesh sieve before serving.


    Notes

    Preparation

    • Taste the sauce before adding salt—tomato bouillon already contributes salinity.
    • Blooming the tomato paste for 1–2 minutes enhances color, sweetness, and depth.
    • Simmer until the sauce lightly coats the back of a spoon for proper texture.
    • For deeper roasted flavor, char the tomatoes directly over a flame before blending.

    Serving Suggestions

    • Use as the base for Mexican rice, enchiladas, burritos, chilaquiles, or wet burritos.
    • Serve with grilled chicken, carne asada, carnitas, or roasted vegetables.

    Make-Ahead & Storage

    • The sauce deepens in flavor after resting overnight.
    • Refrigerate in an airtight jar for up to 5 days.
    • Freeze up to 3 months; thaw in the refrigerator.
    • Reheat gently over low heat; add a splash of broth or water if it becomes too thick.
  • Green Enchilada Sauce

    This restaurant-style green enchilada sauce captures the mild, tangy flavor of Las Palmas sauce, with the option to use either fresh or canned ingredients. Smooth, savory, and balanced with just a hint of acidity, it’s perfect for chili verde burritos, enchiladas, or chilaquiles.


    Ingredients

    • 2 tbsp vegetable oil
    • 2 tbsp all-purpose flour

    Green Chiles (Use Either):

    • Fresh: 1½ cups roasted, peeled, and chopped Hatch or Anaheim chiles, OR
    • Canned: Two 7-oz cans diced green chiles

    Tomatillos (Use Either):

    • Fresh: 1 lb tomatillos, husked and rinsed, OR
    • Canned: One 28-oz can tomatillos (drained)

    Aromatics:

    • 1 medium onion, roughly chopped
    • 3–4 cloves garlic, peeled
    • 1 jalapeño or serrano, seeded for mild heat

    Seasoning & Liquid:

    • 1½–2 cups chicken broth
    • 1 tsp ground cumin
    • 1 tsp dried oregano (Mexican preferred)
    • 1 tsp kosher salt (adjust to taste)
    • ½ tsp black pepper
    • ½ tsp sugar (balances the tomatillos)
    • 2 tbsp apple cider or white vinegar

    Directions

    Prep the Vegetables

    If using fresh tomatillos, remove husks and rinse. Halve and broil with onion, garlic, and jalapeño, 5–7 minutes, stirring once. If using canned, skip roasting.

    Blend the Base

    Blend tomatillos, chiles, onion, garlic, jalapeño, cumin, oregano, and 1 cup broth until smooth.

    Make the Roux

    Heat oil over medium heat, whisk in flour, and cook 1–2 minutes until pale blond and foamy.

    Cook the Sauce

    Whisk the blended mixture into the roux. Simmer 10–15 minutes, adding broth as needed for consistency.

    Season & Finish

    Add salt, pepper, sugar, and vinegar. Taste and adjust acidity or heat.


    Notes

    Preparation

    • Roasting fresh ingredients adds sweetness and depth.
    • Canned tomatillos give consistent results year-round.
    • The roux creates the silky restaurant-style texture.
    • Use serrano for more heat.
    • Thin with broth if sauce thickens too much.

    Serving Suggestions

    • Use for enchiladas, chilaquiles, wet burritos, or breakfast dishes.
    • Pairs especially well with pork, chicken, and eggs.

    Make-Ahead & Storage

    • Keeps 5 days refrigerated.
    • Freezes 3 months; thaw gently.
    • Add a splash of broth when reheating if thickened.

  • Aguachile Rojo de Camaron

    Aguachile Rojo de Camaron

    Our family’s take on northern Mexican aguachile rojo: quick-blanched shrimp finished in fresh lime, a vivid red base of toasted dried chiles and Camaronazo, and a crisp bed of cucumber, red onion, cilantro, and just-ripe avocado. Bright, spicy, and ice-cold—made to serve immediately with tostadas, salsa negra, and wedges of lime.


    Ingredients

      Shrimp & Lime Cure

    • 2 lb large raw shrimp, peeled, deveined, halved lengthwise
    • 1 cup fresh lime juice (just enough to cover shrimp)
    • 2 tsp table salt, divided (to season curing liquid and sauce)
    • Vegetables & Herbs

    • 1 red onion, very thinly sliced
    • 3 cucumbers, thin half-moons
    • 3 avocados, diced (add just before serving)
    • ½ bunch cilantro, chopped, plus leaves for garnish
    • radishes, thinly sliced (garnish, optional)
    • lime wedges, for serving
    • Red Base

    • 24–28 oz Camaronazo spicy tomato cocktail with shrimp
    • 4 dried chiles de árbol
    • 2 dried pequín chiles
    • 1 dried guajillo chile
    • 1 clove garlic
    • ¼ tsp chicken bouillon powder (Knorr-style), or to taste
    • Optional Balancers

    • ½ tsp sugar (to soften bitterness from toasted chiles)
    • 1–2 tbsp soy sauce or Maggi seasoning (depth; Sinaloan style)
    • 2–3 tbsp cold water (only if base is too thick)

    Directions

    Blanch and Cure the Shrimp

    Bring a pot of well-salted water to a gentle boil. Add shrimp and blanch 10–15 seconds—just until edges blush pink—then immediately transfer to an ice bath to stop cooking. Drain well and pat dry.

    Place shrimp in a shallow bowl and pour in just enough fresh lime juice to cover. Refrigerate 20–25 minutes, stirring once halfway, until opaque and slightly firm. Avoid over-marinating.

    Soak the Onion

    Soak sliced red onion in ice water for 10 minutes to mellow sharpness and keep a crisp bite; drain thoroughly.

    Toast & Hydrate the Chiles

    Toast árbol, pequín, and guajillo chiles in a dry skillet over medium heat until fragrant, ~30 seconds per side. Remove stems and most seeds.

    Soak guajillo in hot water 10 minutes to soften; reserve a spoonful of soaking liquid.

    Blend the Red Base

    Blend about ¼ of the Camaronazo with toasted chiles, garlic, 1 tsp of the salt, chicken bouillon, and a splash of guajillo soaking liquid until completely smooth and vivid red.

    Add remaining Camaronazo and optional soy sauce or Maggi; pulse to combine. If using, add sugar to round bitterness.

    If the base is too thick, add 2–3 tbsp cold water. If it tastes too sweet, brighten with more lime. Taste and adjust salt at the end.

    Combine the Vegetables

    In a large chilled bowl, mix cucumber, drained onion, and chopped cilantro. Pour in the red base and stir to coat evenly.

    Finish with Shrimp & Avocado

    Add the cured shrimp along with their lime marinade; fold gently to combine so the broth stays bright and balanced.

    Add avocado just before serving and fold lightly to keep the cubes intact.

    Serve

    Serve immediately in chilled bowls or on tostadas. Garnish with cilantro leaves, sliced radish, and lime wedges; drizzle with salsa negra or salsa macha if desired.


    Notes

    Preparation

    • Blanching locks in a crisp, restaurant-quality texture; the short lime cure finishes the “cook” without turning mushy.
    • Toast all dried chiles briefly to deepen flavor and color; soak guajillo for a smoother blend.
    • Onion soak: 10 minutes in ice water keeps texture while taming harshness.
    • If the base is too thick, add 2–3 tbsp cold water; if sweetness dominates, add a squeeze of lime; always taste and adjust salt at the end.
    • Add avocado only at the end to prevent bruising and mushiness.

    Serving Suggestions

    • Serve with crisp tostadas (not just chips) for structure and crunch.
    • Add thinly sliced radish and extra cilantro leaves for color and freshness.
    • Offer salsa negra or salsa macha for a glossy, smoky-spicy drizzle.
    • Pass extra lime wedges at the table for last-second brightness.

    Variations

    • Soy sauce or Maggi (1–2 tbsp) adds savory depth common in Sinaloan versions—use to taste.
    • A pinch of sugar (½ tsp) can smooth bitterness from well-toasted chiles.
    • For extra heat, add another árbol or a small amount of the chile seeds; for milder heat, reduce árbol/pequín.

    Make-Ahead & Storage

    • The red chile base can be blended up to 1 day ahead; keep refrigerated and whisk before using.
    • Blanch shrimp and chill the onion/cucumber ahead, but cure shrimp in lime and add avocado just before serving.
    • Best served immediately once assembled; leftovers lose texture quickly—consume the same day.
  • Refried Beans

    Refried Beans

    Rich, creamy, and deeply savory, our family’s recipe for refried beans captures the heart of traditional Mexican cooking with a fraction of the usual time. Each bite balances earthy depth and a hint of sweetness from slow-simmered pinto beans. Whether tucked inside burritos, layered beside Mexican rice, or served simply with warm tortillas, they bring comfort and authenticity to any meal—and once you’ve made them this way, you may never reach for canned beans again.


    Ingredients

      Beans

    • 2 cups dry pinto beans, rinsed and drained
    • 1 onion, diced (or 1 tbsp onion powder)
    • 1 tsp table salt
    • ½ tsp ground cumin
    • 5 cups chicken broth or water
    • Fat (Choose One or a Blend)

    • 2–3 tbsp avocado oil, lard, butter, or a combination
    • Optional Flavor Boosters

    • ¼ cup Mexican Tomato Sauce (recommended for deeper flavor)
    • OR ½ tsp soy sauce or Maggi (for umami depth without tomato flavor)
    • Optional Add-Ins

    • ⅛ tsp Mexican oregano
    • 1 tsp garlic powder (add after cooking)
    • 1 sachet ham bouillon or sazón (optional, for savory richness)

    Directions

    Sauté Aromatics (Optional but Recommended)

    Using the Sauté function, heat 1 tbsp of the fat in the Instant Pot. Add diced onion and cook 2–3 minutes until translucent and fragrant. If using onion powder, add during the Mash step.

    Deglaze with a splash of broth if any browning occurs.

    Cook the Beans

    Add pinto beans, broth, cumin, and salt to the pot. (If using butter, reserve it for after cooking.) If using Mexican Tomato Sauce for integrated flavor, stir it in now—or stir it in later during the refry step as a finisher.

    Set to Pressure Cook – High for 60 minutes. When complete, allow natural release for 10–15 minutes, then release remaining pressure manually.

    Mash or Refry

    Drain beans lightly, reserving at least ½ cup of the cooking liquid. For classic mashed texture, return beans to the pot, add fat, and mash to desired smoothness using a potato masher, hand mixer, or immersion blender. Add liquid as needed for consistency.

    For authentic refried texture, heat remaining fat in a large skillet over medium-high heat. Add beans and mash directly in the pan, stirring occasionally until thickened and slightly toasty (about 5 minutes). Stir in reserved broth as needed for a silky, spreadable consistency. If using Mexican Tomato Sauce as a finisher, add 2–3 tbsp during this stage and cook until slightly reduced and glossy.

    Rest and Serve

    For best flavor, refrigerate overnight and reheat before serving. The beans thicken slightly as they cool, deepening both flavor and texture.


    Notes

    Preparation

    • For richer flavor, add ¼ cup Mexican Tomato Sauce or ½ tsp soy sauce/Maggi during cooking or mashing (omit if serving entrées with green sauce bases).
    • Mashing the beans in hot fat develops a nutty flavor and glossy, restaurant-style finish.
    • Reserve some cooking liquid and add as needed to reach your preferred consistency.
    • Beans improve overnight as flavors meld and starches set.

    Serving Suggestions

    Make-Ahead & Storage

    • Refrigerate up to 5 days in an airtight container.
    • Freeze up to 3 months; thaw overnight in the refrigerator before reheating.
    • Reheat gently on the stovetop or in the microwave, adding a splash of broth or water to loosen if thickened.
  • Chicken Fajitas

    Chicken Fajitas

    Juicy, smoky chicken tossed with sizzling peppers and onions—these restaurant-style fajitas bring the flavor and drama of a classic Mexican grill to your table. Balanced citrus marinade, caramelized edges, and a final squeeze of lime create a bright, sizzling finish.


    Ingredients

    • 1½ lbs skinless, boneless chicken thighs and/or breasts (1 part thighs and 1 part breasts recommended)
    • Marinade

    • 3 tbsp canola oil
    • 2 tbsp lime juice
    • 1 tbsp orange juice
    • 1 tbsp soy sauce
    • 1 tbsp water
    • 2 garlic cloves, minced
    • ½ tsp chipotle chile powder
    • 1 tsp ancho chile powder
    • 1½ tsp ground cumin
    • ¼ tsp ground coriander
    • ¹⁄₁₆ tsp ground cinnamon
    • 1 tsp smoked paprika
    • 1 tsp dried Mexican oregano
    • 1 tsp kosher salt
    • ½ tsp black pepper
    • 1 tsp brown sugar (optional, helps caramelization)
    • ½ tsp liquid smoke (optional, if not cooking over charcoal)
    • Vegetables

    • 1 red bell pepper, sliced
    • 1 green bell pepper, sliced
    • 1 yellow bell pepper, sliced
    • 1 large white onion, sliced
    • 1–2 tbsp oil
    • Pinch of kosher salt
    • Squeeze of lime juice
    • To Serve

    • Warm flour tortillas
    • Pico de gallo
    • Guacamole or avocado slices
    • Crema or sour cream
    • Shredded cheese (cheddar, Monterey Jack, or Oaxaca)
    • Refried beans
    • Mexican rice
    • Fresh lime wedges
    • Fresh cilantro, chopped
    • Cotija cheese, crumbled (optional for garnish)

    Directions

    Marinate the Chicken

    Combine marinade ingredients in a bowl or resealable container. Add chicken and coat thoroughly, reserving 1–2 tbsp of the marinade for use later with the vegetables.

    Cover and refrigerate for 4–12 hours, turning occasionally.

    Prepare the Serving Skillet

    Preheat oven to 450–500°F (230–260°C). Place a large cast-iron fajita platter or skillet in the oven to heat for at least 15 minutes before serving.

    Cook the Chicken

    Heat a grill or cast-iron skillet over high heat. Cook chicken until nicely charred on the outside and reaches 160–165°F internally.

    Transfer to a plate, tent loosely with foil, and rest 5 minutes. Slice into thin strips across the grain.

    Caramelize and Combine

    Return the hot skillet to the stove (or use the same grill pan). Add sliced chicken and about 1 tbsp of the reserved marinade. Toss over high heat for 30–45 seconds to lightly caramelize and glaze the edges. Remove from heat and keep warm.

    Cook the Vegetables

    In a separate large skillet (or grill pan), heat 1–2 tbsp oil over high heat. Add sliced peppers and onions. Cook until blistered and tender-crisp, stirring occasionally, about 4–5 minutes.

    Add a pinch of salt and a squeeze of lime juice at the end of cooking for brightness and balance.

    Assemble and Serve

    Combine the vegetables with the sliced chicken. Carefully remove the preheated cast-iron skillet from the oven and transfer the chicken and peppers into it.

    Add a final squeeze of fresh lime juice—the skillet will sizzle and steam. Serve immediately on a heat-safe surface with warmed tortillas and all accompaniments.

    Garnish

    Sprinkle with fresh chopped cilantro and a light dusting of cotija cheese just before serving.


    Notes

    Preparation

    • The balanced 3:3 oil-to-citrus ratio prevents over-acidification and improves browning.
    • Adding 1 tbsp water ensures even coating and full marinade coverage.
    • Optional liquid smoke adds authentic char aroma when not using a charcoal grill.
    • A brief toss of sliced chicken in reserved marinade creates a restaurant-style glossy finish.
    • Seasoning vegetables with salt and lime at the end enhances flavor and color.
    • The sizzling lime finish releases steam and aroma when the hot skillet hits the table.

    Serving Suggestions

    • Serve with warm tortillas, Mexican rice, and refried beans.
    • Offer pico de gallo, guacamole, crema, or cheese for build-your-own fajitas.
    • Top with extra cilantro, cotija, and a squeeze of lime just before serving.

    Make-Ahead & Storage

    • Marinate chicken up to 12 hours in advance for maximum flavor.
    • Cooked chicken and vegetables can be refrigerated for up to 3 days.
    • Reheat gently in a skillet or oven before serving; add a squeeze of lime to refresh flavor.