Bags of Spices

Favorite Recipes

Baked, Roasted, & Broiled

Oven-based dishes that deliver caramelization, browning, and deep savory flavor — from casseroles to roasted meats.

  • Neapolitan Pizza Dough

    Neapolitan Pizza Dough

    Pizza has always been a go-to meal for our family. Who can resist the combination of chewy dough, flavorful sauce, tasty toppings, and gooey cheese? Our first taste of true Neapolitan-style pizza was on our family trip to Italy—staying across the square from the Pantheon, exploring the Colosseum and Vatican museums, and often ending the day with perfectly blistered pizza from a tiny Roman restaurant. This recipe recreates that chewy, flavorful crust at home, whether you choose the cold-ferment version for deep flavor, the quick version for same-day pizza, or the freezer version for easy make-ahead dough.


    Ingredients

    • 1360 g (~3 lb) 00 flour (100%)
    • 952 g cold water (70%)
    • 27 g table salt (2%)
    • Active Dry Yeast

    • Cold Ferment: 0.41 g for 72 hours (0.03%) or 0.82 g for 48 hours (0.06%)
    • Quick Version: 2.72 g for same-day use (0.2%)
    • Freezer Version: 3.54 g for use the same day as thawed (0.26%)

    Note: Use a digital scale accurate to 0.01 g for yeast precision, or approximate to the nearest small pinch if unavailable.

    Directions

    Select Fermentation Version

    Cold Ferment (48–72 hours)

    In a large bowl, combine flour, yeast, and cold water. Mix until no dry bits remain (shaggy dough). Cover and rest 20–30 minutes.

    After resting, sprinkle salt over dough and gently pinch and squeeze to incorporate. Every 30 minutes for 2 hours, perform a set of stretch and folds (see Notes).

    After the final folds, place dough in a clean bowl, cover, and rest at room temperature (75–80°F / 23–27°C) for 1–2 hours. Divide into 8 oz (225 g) balls, lightly oil, and place in individual containers or on a floured tray covered tightly. Refrigerate 48–72 hours. Remove from refrigerator 2–3 hours before baking to come to room temperature.

    Quick Version (Same-Day)

    In a large bowl, combine flour and cold water. Mix until no dry bits remain; cover and rest 20–30 minutes.

    In a small cup, dissolve yeast in 2 tbsp warm water (105°F / 40°C) and let stand 5–10 minutes until foamy.

    Sprinkle salt over dough, then add yeast mixture. Gently pinch and squeeze to incorporate. Every 30 minutes for 2 hours, perform a set of stretch and folds (see Notes).

    After the final folds, cover and rest at warm room temperature (75–80°F / 23–27°C) for 2–3 hours, until nearly doubled. Divide into 8 oz (225 g) balls, lightly oil, and place in proofing containers or on a floured tray. Cover and proof 1–2 hours, until puffy and relaxed.

    Freezer Version (Make-Ahead)

    In a large bowl, combine flour and cold water. Mix until no dry bits remain; cover and rest 20–30 minutes.

    In a small cup, dissolve yeast in 2 tbsp warm water (105°F / 40°C) and let stand 5–10 minutes until foamy.

    Sprinkle salt over dough, then add yeast mixture. Gently pinch and squeeze to incorporate. Every 30 minutes for 2 hours, perform a set of stretch and folds (see Notes).

    After the final folds, cover and rest at warm room temperature (75–80°F / 23–27°C) for 2–3 hours, until nearly doubled. Divide into 8 oz (225 g) balls. Lightly oil, wrap tightly in plastic wrap, and place in freezer-safe bags or airtight containers. Freeze up to 3 months.

    To thaw, transfer to refrigerator for 24 hours. Then allow 1–3 hours at room temperature before stretching and baking.

    Bake the Pizzas

    Place a pizza steel on the top rack of the oven and preheat to 500–550°F (260–290°C) for at least 45 minutes. Just before baking, switch to broil for 5–10 minutes to superheat the surface.

    Stretch a dough ball gently by hand (don’t roll), top lightly with sauce, cheese, and desired toppings, and slide onto the steel. Bake 4–5 minutes, rotating halfway through. For extra char, broil the final 30–60 seconds.

    For an even closer match to wood-fired results, bake in an outdoor pizza oven at 750–850°F (400–455°C) for 60–90 seconds.


    Notes

    Preparation

    • Hydration note: The 70% hydration gives the dough an open crumb and extensible texture typical of Neapolitan-style pizza. Adjust slightly based on flour absorbency.
    • Stretch & Folds: With wet hands, grab one edge, stretch it up, and fold it over. Rotate 90°, repeat until all four sides are folded. After 3–4 rounds, the dough will feel smoother and more elastic.
    • Use minimal toppings and well-drained mozzarella to prevent sogginess during high-heat baking.
    • This dough also works for homemade pita: reduce hydration to 65%, roll ⅛–¼ inch thick, and bake 1½–2 minutes at 475–500°F (245–260°C).

    Serving Suggestions

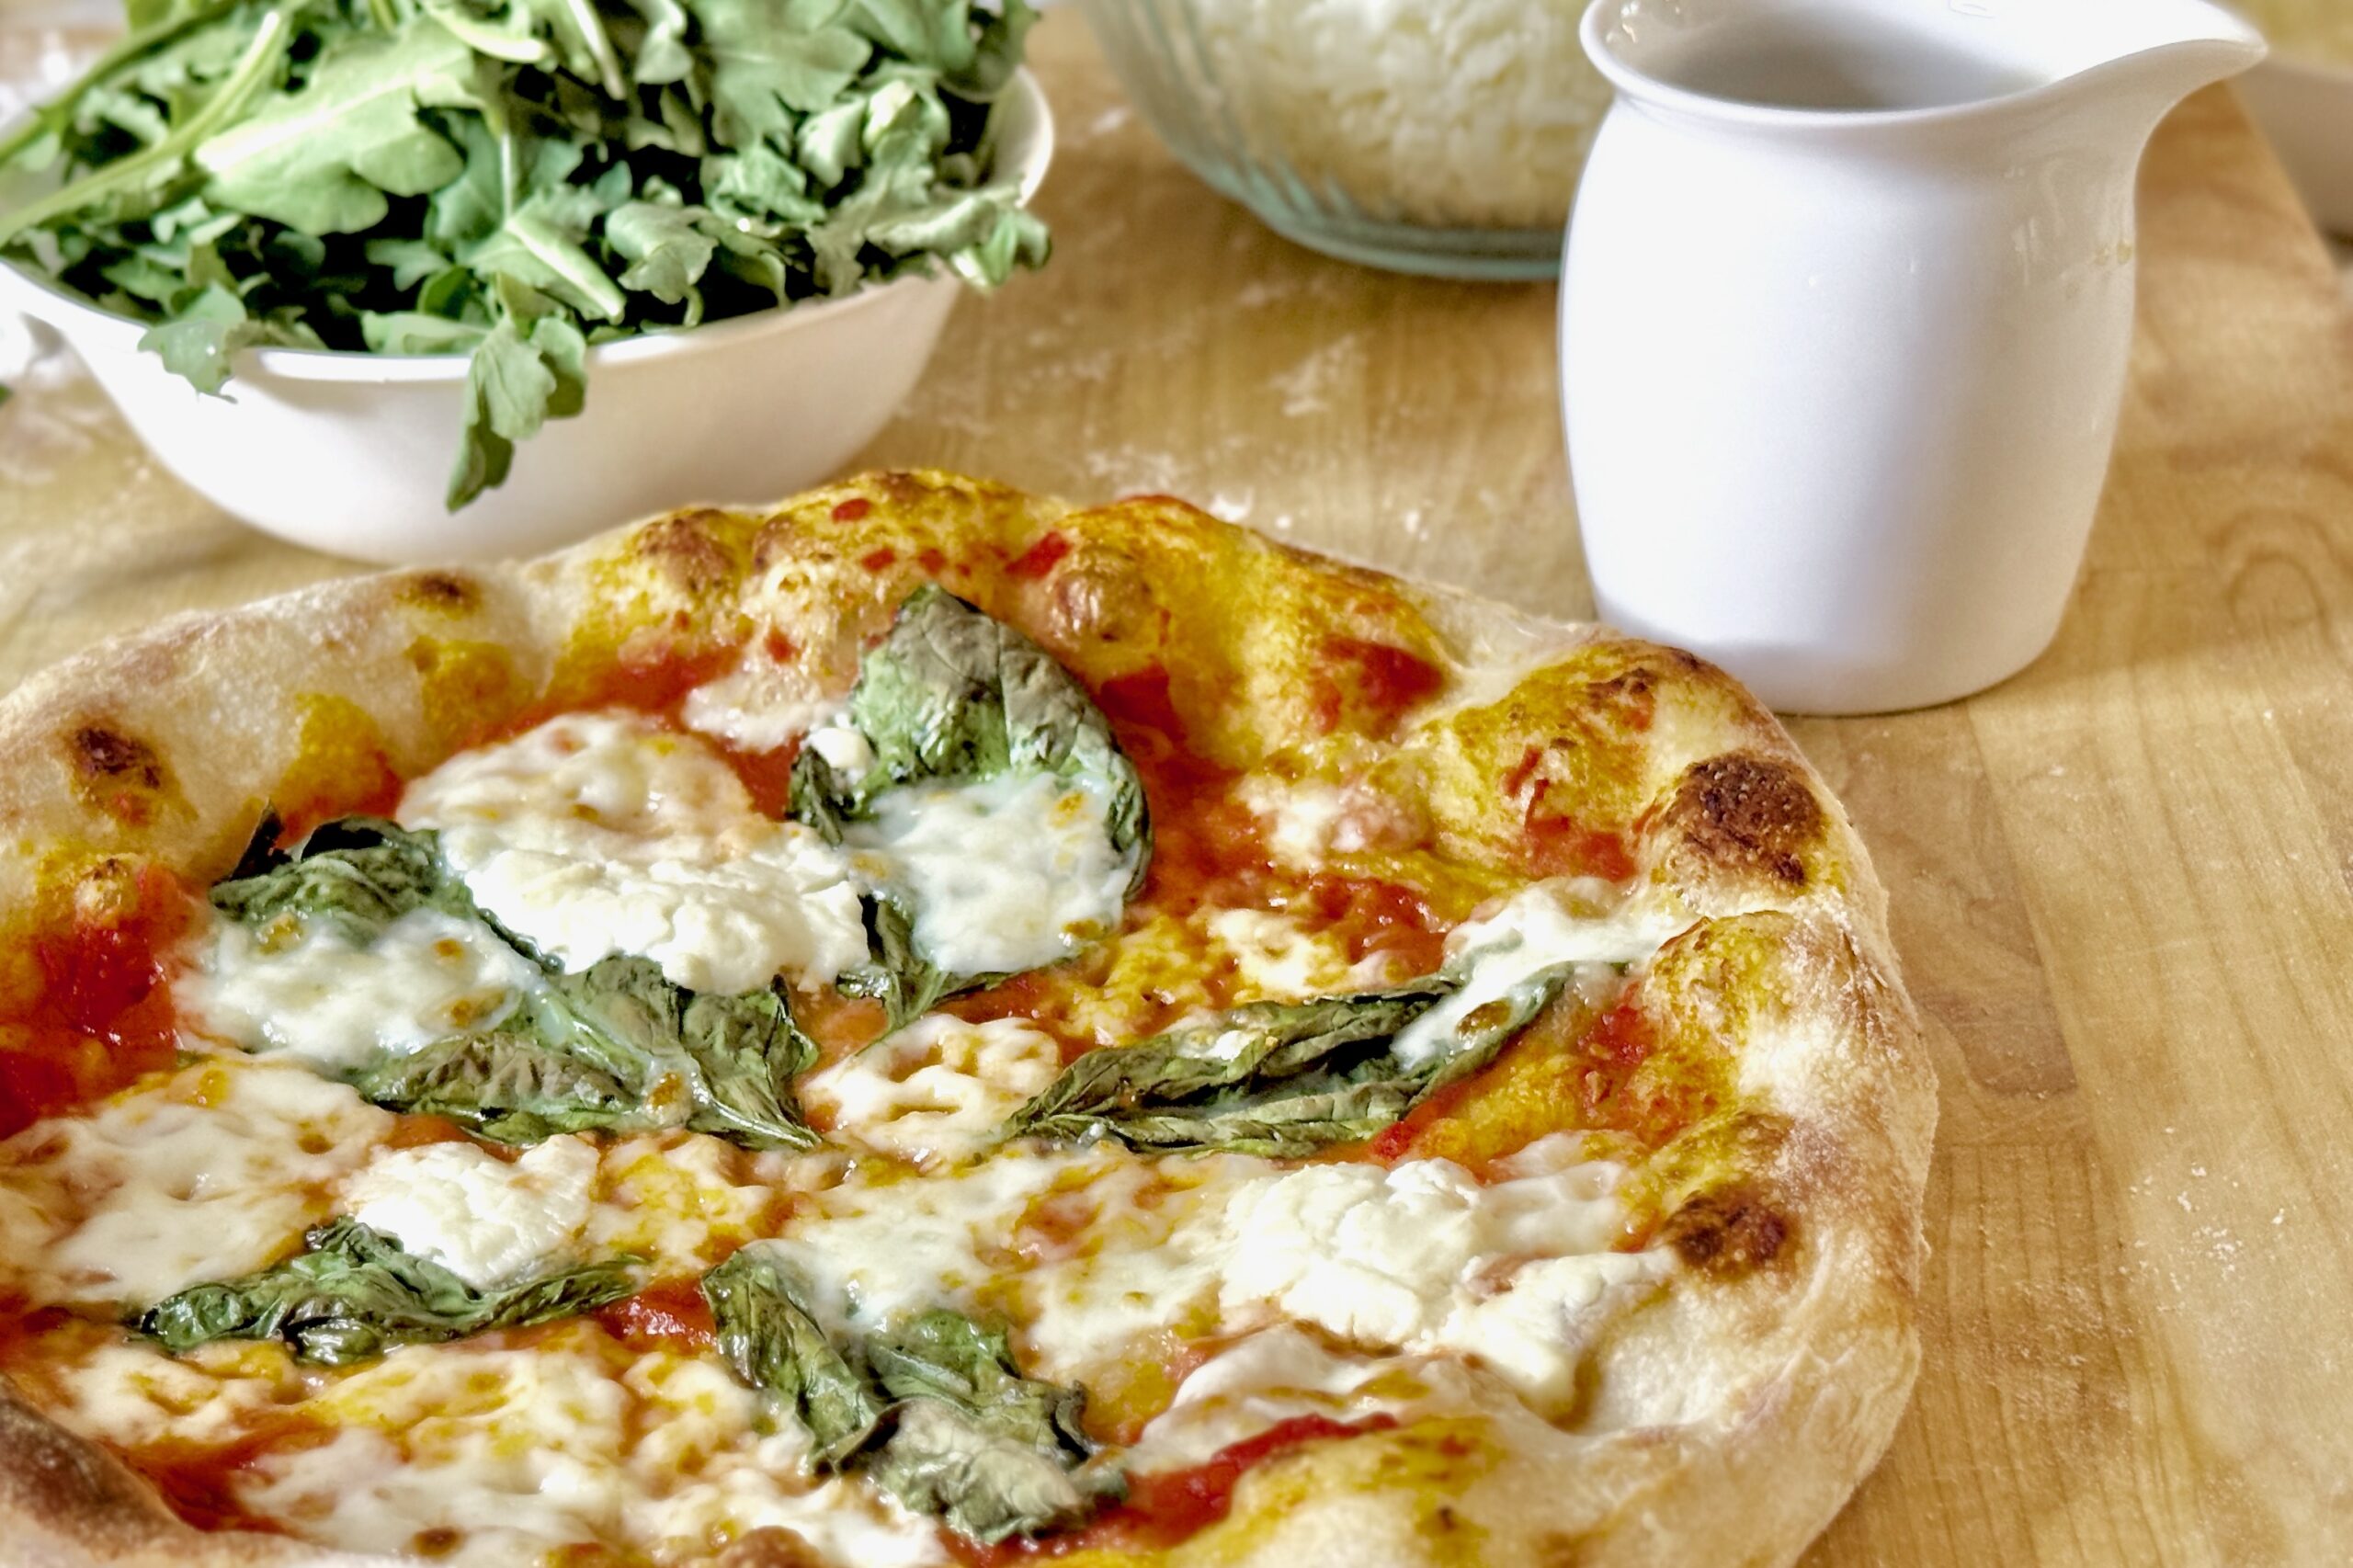
    • Top with traditional Neapolitan tomato sauce, fresh mozzarella, and basil for a Pizza Margherita.
    • Drizzle with extra virgin olive oil after baking to enhance flavor and aroma.
    • Pair with a simple arugula salad or Italian antipasti for a complete meal.

    Variations

    • Pizza MargheritaNeapolitan tomato sauce, mozzarella, parmesan, basil; after baking add a drizzle of extra virgin olive oil.
    • Pizza MarinaraNeapolitan tomato sauce, garlic, oregano, salt; after baking add a drizzle of extra virgin olive oil.
    • Pizza CapricciosaNeapolitan tomato sauce, mozzarella, ham, artichokes, mushrooms, olives; after baking add a drizzle of extra virgin olive oil.
    • Pizza BoscaiolaNeapolitan tomato sauce, mozzarella, mushrooms, Italian sausage, and parmesan; after baking add a drizzle of extra virgin olive oil.
    • Pizza Quattro FormaggiNeapolitan tomato sauce (optional), mozzarella, ricotta, gorgonzola, parmesan, garlic, oregano (or, more traditionally, mozzarella, gorgonzola, parmigiano-reggiano, fontina; and after baking add a drizzle of extra virgin olive oil).
    • Pizza alla NapoletanaNeapolitan tomato sauce (optional), mozzarella, anchovies, capers, oregano; and after baking add a drizzle of extra virgin olive oil.
    • Pizza Prosciutto e FunghiNeapolitan tomato sauce, mozzarella, prosciutto, mushrooms; and after baking add a drizzle of extra virgin olive oil.
    • Spicy SausageNeapolitan tomato sauce, mozzarella, spicy Italian sausage, pickled jalapeños.
    • Sweet & SpicyNeapolitan tomato sauce, mozzarella, spicy Italian sausage, pickled jalapeños; after baking add a drizzle of honey.
    • Spinach & Sun-dried TomatoNeapolitan tomato sauce, mozzarella, provolone, ricotta, Parmesan, spinach, sun-dried tomatoes; after baking add fresh basil and a drizzle of extra virgin olive oil.
    • Loaded HawiianNeapolitan tomato sauce, mozzarella, ham, rotisseri chicken, bacon, pineapple, red onion, pickled jalapeños.
    • Shoarma PizzaNeapolitan tomato sauce, mozzarella, chicken shoarma; after baking add a drizzle of knoflooksaus (Dutch Garlic Sauce) and poestasaus.
    • Barbecue ChickenDr Pepper barbecue sauce, mozzarella, rotisseri chicken, bacon, pickled jalapeños.
    • Fig & PigNeapolitan tomato sauce, mozzarella, fresh sliced figs, fig jam, prosciutto, honey.
    • Fig, Pig, & GoatNeapolitan tomato sauce, goat cheese, fresh sliced figs, caramelized onions, prosciutto; after baking add arugula and a drizzle of honey.
    • Chicken Pestopesto sauce, mozzarella, rotisseri chicken, ricotta, thinly sliced tomatoes.
    • Mushroom & OliveNeapolitan tomato sauce, mozzarella, ham, mushroom, olives, pickled jalapeños.
    • Pear & Gorgonzolagarlic oil pizza base, thinly sliced pear, gorgonzola, mozzarella, walnuts or pecans; after baking add arugula and balsamic glaze.
    • Prosciutto & BurrataNeapolitan tomato sauce, mozzarella; after baking add torn burrata, prosciutto, arugula, and olive oil.
    • The MeatsNeapolitan tomato sauce, mozzarella, pepperoni, Italian sausage, ham, bacon.
    • Chicken, Spinach, & Fetagarlic oil pizza base , rotisserie chicken, spinach, feta, Parmesan, mozzarella.
    • Indo Satépeanut sauce thinned with coconut milk, saté ayam, mozzarella, blanched vegetables (thinly sliced carrots, small pieces of green beans, thin shavings of cabbage); after baking add bean sprouts tossed in lime juice and roasted sesame oil, thin cucumber slices, sambal, fresh cilantro, and a drizzle of ketjap manis.
    • Chicken FajitaNeapolitan tomato sauce with a sprinkle of cumin & paprika, mozzarella, Jack cheese, fajita chicken, red onion, roasted bell pepper strips, and pickled jalapeños; after baking add a drizzle of salsa verde and crema, with a squeeze of lime juice.
    • Saag Paneer—Pureed spinach “saag” base (spinach, blanched & puréed, sautéed onion, garlic, ginger, garam masala, cumin, coriander, a little chili, finished with cream or yogurt for silkiness) spread in a thin, even layer topped with paneer cubes, red onion, serrano chile slices; after baking add fresh cilantro, a light dusting of crumbled kasoori methi, and a drizzle of yogurt.
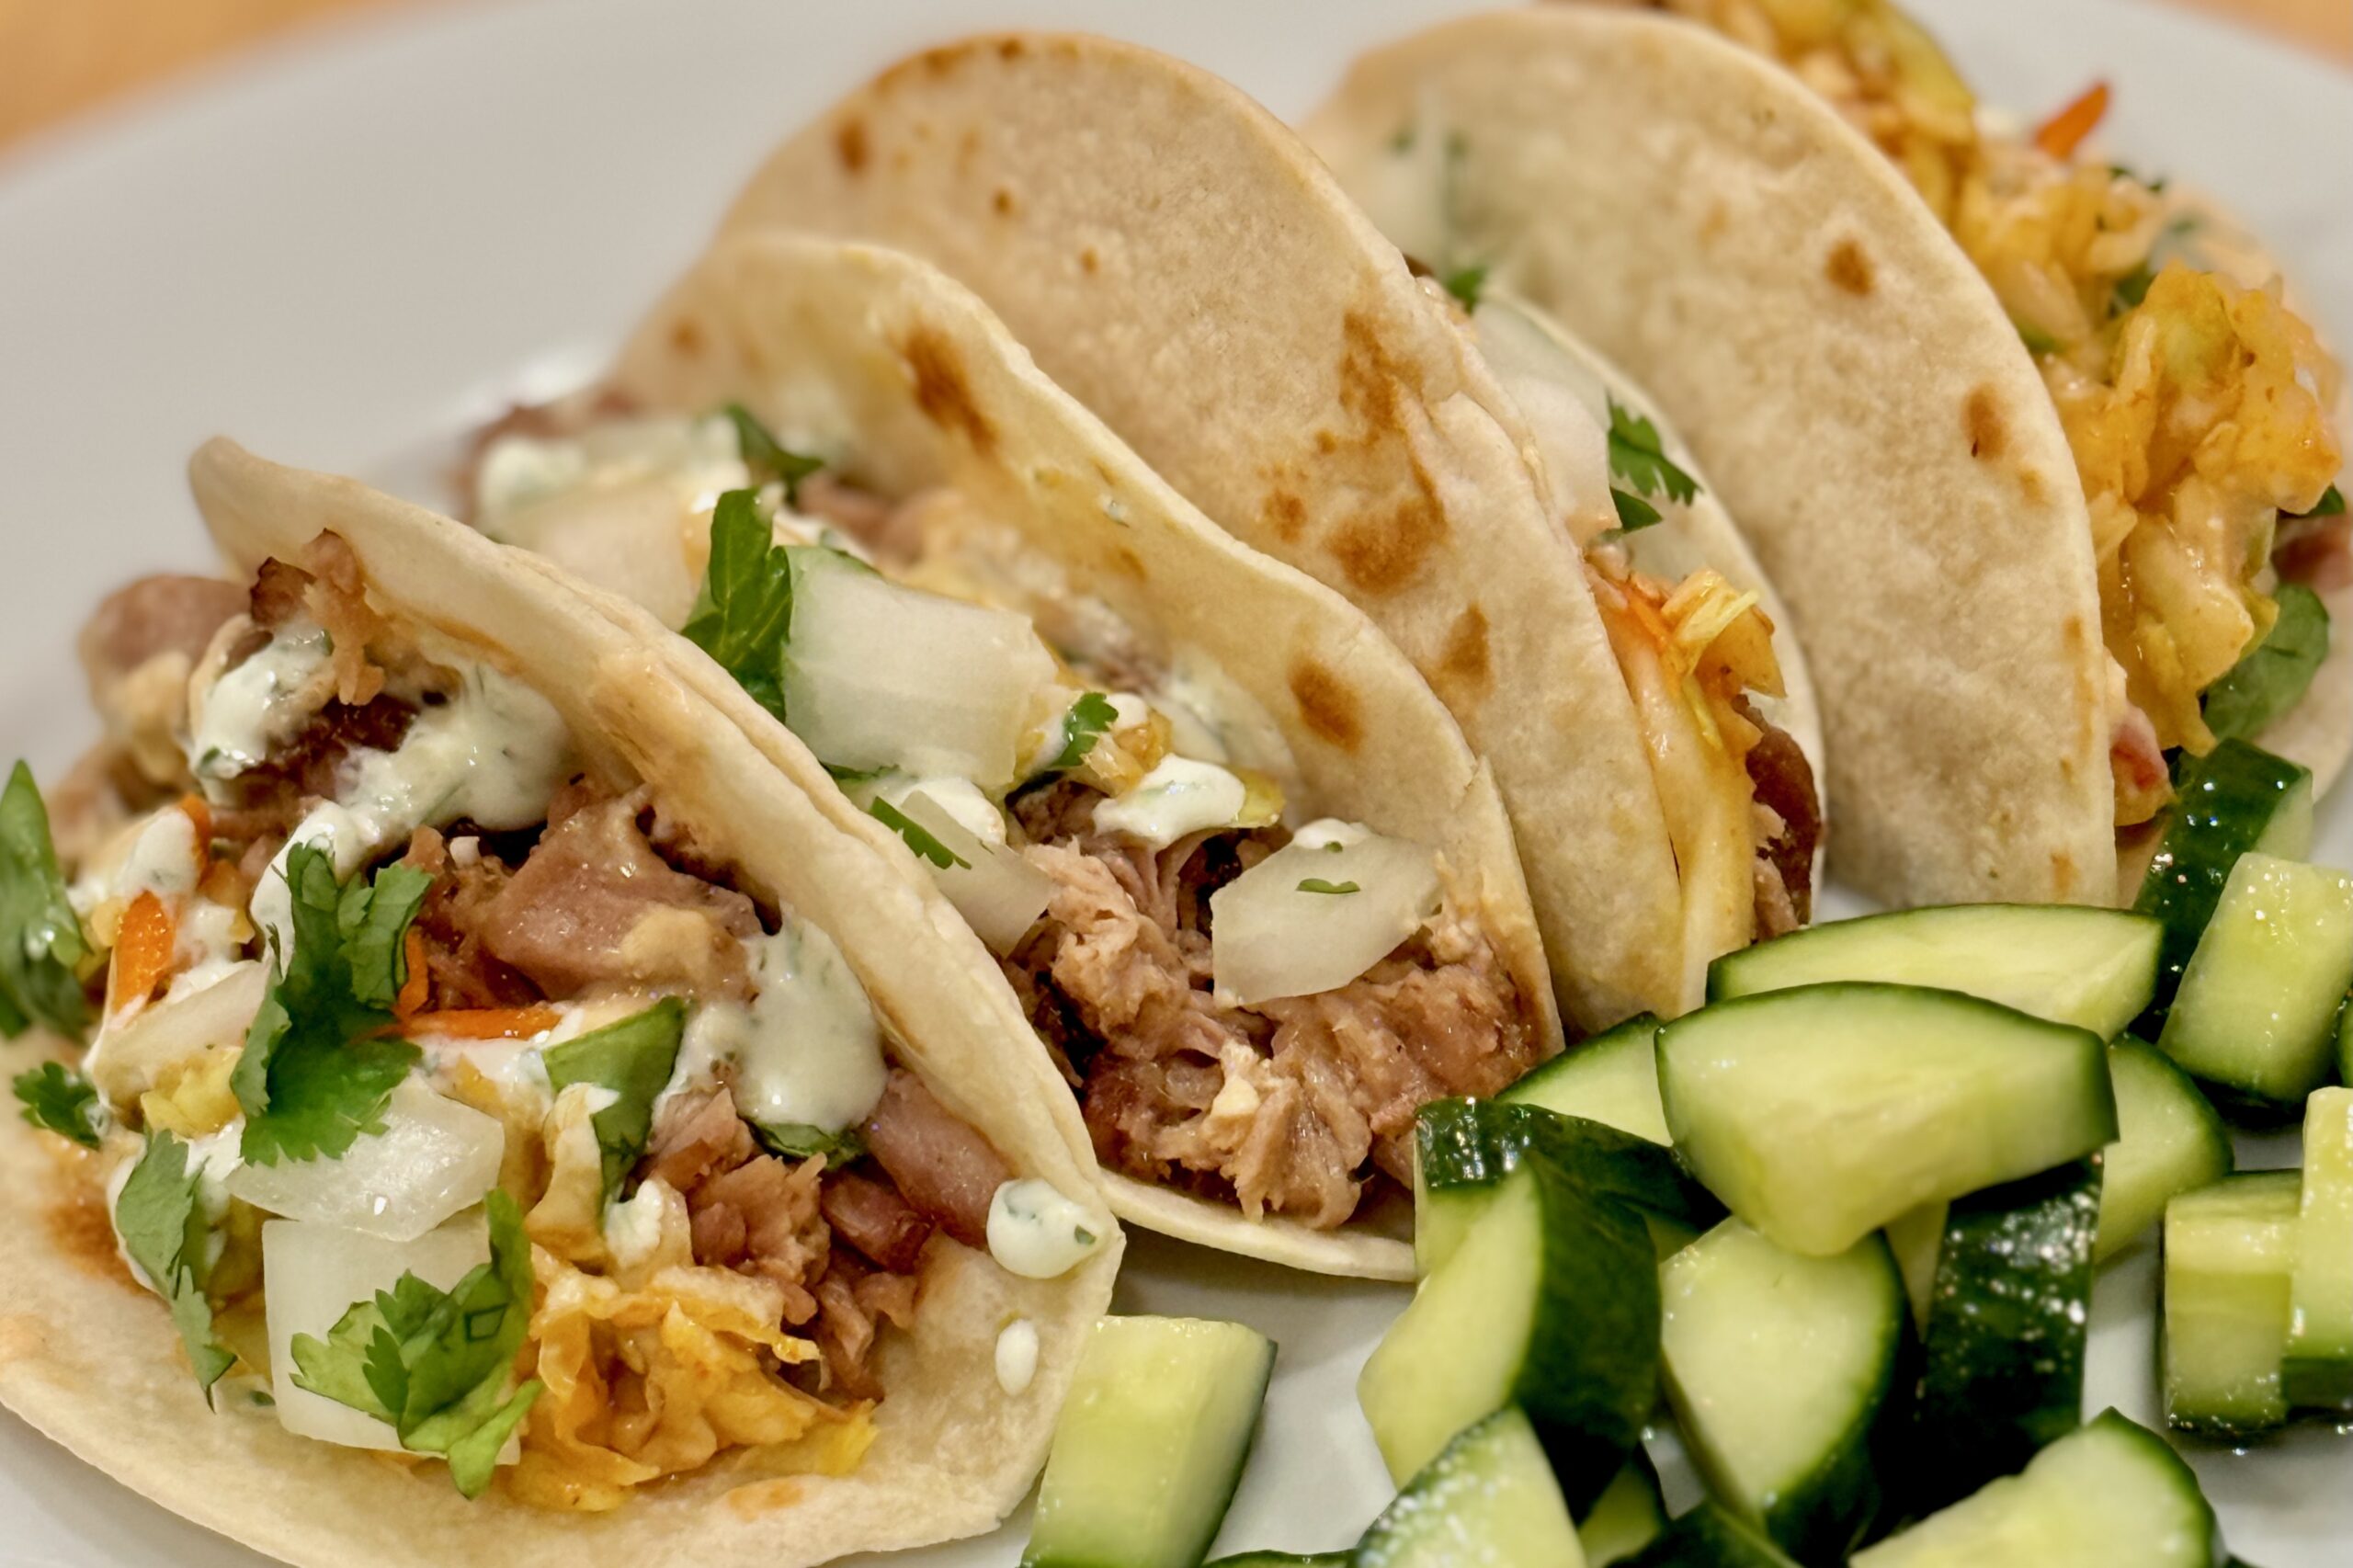
    • Carnitasgarlic oil pizza base, carnitas, mozzarella, red onion, roasted poblano chile strips, pickled jalapeños; after baking add fresh cilantro, diced white onion, crumbled cotija cheese or queso fresco, and a drizzle of salsa verde and crema.
  • Soft Pretzels

    Soft Pretzels

    These homemade soft pretzels bake up golden brown, chewy, and buttery—just like the ones from a pretzel shop. The dough can be made quickly for a same-day bake or rested in the refrigerator for a richer, malty flavor and more authentic bakery-style texture.


    Ingredients

    • 1½ cups warm water (105–110°F)
    • 1 packet (2¼ tsp) active dry or instant yeast
    • 1 tsp table salt
    • 1 tbsp brown sugar (or 1 tbsp barley malt syrup for classic flavor)
    • 1 tbsp butter, melted and slightly cooled
    • 3½–4 cups all-purpose flour
    • ½ cup baking soda (see note for enhanced version)
    • 9 cups water
    • kosher or coarse sea salt, for topping
    • 2 tbsp butter, melted (for brushing after baking)

    Optional Egg Wash (for Soft, Glossy Pretzels)

    • 1 egg, beaten with 1 tbsp water

    Directions

    Prepare the Dough

    In a large bowl, combine warm water and yeast. Let stand for about 1 minute until slightly foamy. Stir in table salt, brown sugar, and melted butter.

    Add 3½ cups of flour, one cup at a time, mixing with a wooden spoon until a soft dough forms. If dough is sticky, add up to ½ cup more flour gradually until smooth and slightly tacky but not wet.

    Knead and Rest

    Turn dough onto a lightly floured surface and knead for about 3 minutes until elastic and uniform. Shape into a ball.

    • Quick Version: Cover lightly and let rest for 10 minutes before shaping.
    • Bakery-Style Version: Cover the bowl with plastic wrap and refrigerate 1–2 hours (or up to overnight). Bring to room temperature for 10–15 minutes before shaping.

    Shape the Pretzels

    Preheat oven to 425°F (220°C). Line baking sheets with parchment paper or silicone baking mats.

    Divide dough into 8–10 equal pieces (about 90–100 g each). Roll each piece into a 20-inch rope and twist into a pretzel shape. Place on prepared baking sheets.

    Boil in Baking Soda Solution

    In a large pot, bring 9 cups water and ½ cup baking soda to a gentle boil. For deeper color, bake the baking soda first (spread on a tray and bake at 250°F for 1 hour) before adding it to the water.

    Drop pretzels, one or two at a time, into the boiling solution for 20–25 seconds. Remove with a slotted spoon, drain well, and place on prepared baking sheets.

    Top and Bake

    For traditional bakery-style pretzels, sprinkle with kosher or coarse sea salt immediately after boiling, then bake as directed.

    For a softer, fair-style pretzel, brush with the optional egg wash before sprinkling with salt. Bake for 11–13 minutes, or until deep golden brown with a shiny crust and soft interior.

    Finish

    Brush warm pretzels with melted butter immediately after baking for a glossy finish and tender bite. Serve warm with mustard, cheese sauce, or butter.


    Notes

    Preparation

    • Lower hydration (3½ cups flour to 1½ cups liquid) produces the classic tight, chewy crumb.
    • A short cold ferment (1–2 hours) develops malty depth and improves shaping.
    • Bake baking soda before boiling for more intense pretzel color and flavor.
    • Brushing with butter right after baking adds shine and a soft finish without dulling color.

    Egg Wash vs. Baking Soda Finish

    • Without Egg Wash (Traditional): Deep mahogany color, chewy crust, classic pretzel flavor.
    • With Egg Wash (Soft & Glossy): Lighter golden color, slightly softer texture, mild sheen.
    • Both versions can be brushed with melted butter after baking for extra flavor and softness.

    Serving Suggestions

    • Serve warm with mustard, cheese dip, or honey butter.
    • Top with coarse salt, everything bagel seasoning, or cinnamon sugar for sweet pretzels.
    • Use smaller portions to make pretzel bites or sandwich rolls.

    Make-Ahead & Storage

    • Shaped pretzels can be refrigerated for up to 6 hours before boiling.
    • Freeze shaped, unboiled pretzels up to 1 month; boil directly from frozen before baking.
    • Store baked pretzels airtight up to 2 days; reheat at 350°F for 5–7 minutes to refresh.
  • Korean Pulled-Pork Tacos

    Korean Pulled-Pork Tacos

    Inspired by the flavors of Korean bulgogi and Mexican street tacos, this fusion dish brings together tender sous-vide pork shoulder marinated in a sweet-savory Korean-style sauce, then shredded, crisped, and served in warm tortillas with fresh toppings. The result is rich umami, bright acidity, and a touch of heat—echoing the street-food creativity that made Korean tacos famous. It’s also fast becoming one of our family’s most requested Sunday dinners, especially when served with cilantro lime rice made with a hint of coconut milk. Around our table, there’s still a friendly debate over which is better—corn tortillas for their texture, or soft flour tortillas that soak up every drop of sauce.


    Ingredients

    • 3 lb boneless pork shoulder, trimmed of excess fat and silver skin

    Marinade:

    • ⅓ cup sugar
    • 2 tsp ajinomoto (optional)
    • 4 tsp onion powder
    • 1 tsp black pepper
    • 2 tbsp garlic, finely chopped
    • 4 tsp sambal oelek
    • 3 tbsp sesame oil
    • ⅔ cup mirin
    • ½ cup soy sauce
    • 1–1½ tsp liquid smoke

    Finishing Brush:

    • ½ cup reserved marinade + ½ cup honey

    Creamy Drizzle:

    • ¼ cup reserved marinade base
    • 1 cup Greek yogurt
    • 2–3 tbsp fresh lime juice (adjust to taste)
    • 1 tsp gochujang or extra sambal (optional)
    • or substitute Cilantro Lime Crema

    Pickled Cucumber (and Optional Daikon):

    • 1 medium cucumber (or cucumber + daikon/radish), thinly sliced
    • 2 tbsp rice vinegar
    • 1 tsp sugar
    • ¼ tsp table salt
    • ½ tsp sesame oil

    Sriracha Slaw:

    • 2 cups shredded cabbage (green or mixed)
    • 1 cup shredded carrot
    • 2 tbsp lime juice
    • 1 tbsp sesame oil
    • 2–3 tbsp sriracha (to taste)
    • 2 tsp sugar (to taste)
    • ½ tsp ajinomoto (optional)
    • salt, to taste

    To Serve:

    • Corn or Flour tortillas (8–10, warmed)
    • Chopped fresh cilantro
    • Toasted sesame seeds
    • Diced raw onion
    • Lime wedges

    Directions

    Marinate the Pork

    Mix all marinade ingredients. Reserve ¾ cup of the mixture: ½ cup for the finishing brush, ¼ cup for the creamy drizzle. Add the remaining marinade to the pork in a sealed bag. Refrigerate 8–12 hours.

    Sous-Vide the Pork

    Heat sous-vide bath to 165°F (74°C). Cook sealed pork 18–24 hours. This produces a tender, shreddable texture.

    Make the Pickled Cucumber

    Combine cucumber with vinegar, sugar, salt, and sesame oil. Rest 10–15 minutes; drain lightly.

    Make the Sriracha Slaw

    Toss cabbage and carrot with lime juice, sesame oil, sriracha, and salt.

    Make the Creamy Drizzle

    Whisk ¼ cup reserved marinade with yogurt, lime juice, and optional gochujang or sambal.

    Shred and Crisp the Pork

    Remove pork and reserve cooking juices. Shred pork. Spread on sheet pan and brush with the finishing mixture. Broil until edges crisp. Drizzle ⅓–½ cup of the reserved cooking juices over pork to keep it moist.

    Assemble the Tacos

    Warm tortillas. Layer pork, pickled cucumber, and slaw. Top with the creamy drizzle (or Cilantro Lime Crema). Garnish with cilantro, sesame seeds, onion, and lime.


    Notes

    Preparation

    • Use evenly sized pork pieces for consistent sous-vide cooking.
    • Reserved cooking juices add essential moisture and depth.
    • Monitor broiling closely—honey burns fast.

    Serving Suggestions

    • Serve with cilantro-lime rice, sliced avocado, cabbage slaw, pickled onions, and sprinkled with sesame seeds.
    • Substitute Cilantro Lime Crema for the creamy drizzle, or as another flavorful addition—the combination of both sauces is delicious.
    • A squeeze of fresh lime brightens the flavors.

    Variations

    • Swap pork shoulder for boneless beef short ribs.
    • Use corn tortillas for a lighter street-taco style.
    • Increase sambal or gochujang for extra heat.

    Make-Ahead & Storage

    • Sous-vide pork can be made 1 day ahead; chill in ice bath before refrigerating.
    • Store shredded pork with 2–3 tbsp cooking juices; refrigerate 3–4 days or freeze 2–3 months.
    • Briefly re-broil to restore crisp edges before serving.
  • Babi Panggang — Indonesian Roasted Pork

    Babi Panggang — Indonesian Roasted Pork

    Working in the office in the city of Bussum in The Netherlands, we’d often order take-out from our favorite Chinese-Indonesian restaurant, Tong Fong, in the neighboring city of Hilversum. One stand-out item was their delicious Babi Panggang, which was always a part of our order. I later learned that Babi Panggang is the most ordered main dish at Indonesian restaurants throughout the Netherlands. This is my attempt to recreate the vibrant flavors and textures of this delicious dish.


    Ingredients

    • 2 lb pork shoulder or belly
    • Marinade

    • ¼ cup ketjap manis
    • 2 tbsp hoisin sauce
    • 2 tbsp rice cooking wine
    • 1 tbsp brown sugar
    • 1 tbsp fresh ginger, grated
    • 1 tbsp fish sauce
    • ½ tbsp sambal oelek
    • ½ tbsp sambal badjak
    • ½ tsp toasted sesame oil (optional)
    • ¼ tsp Chinese five spice (optional)
    • 2 cloves garlic, minced
    • Juice and zest of 1 lime
    • Sweet & Sour Red Sauce

    • 1 tbsp vegetable oil
    • 1 small onion, finely chopped
    • 2–3 cloves garlic, minced
    • 2 tsp grated ginger
    • ½ tsp sambal oelek
    • 3 tbsp tomato paste
    • ¼ tsp chicken powder
    • ¼ cup sweet chili sauce
    • 3 tbsp ketchup
    • 2 tbsp lime juice
    • 2 tbsp seasoned rice vinegar
    • 1 tbsp Tamarind Paste
    • 1 tbsp ketjap manis
    • 1 tsp fish sauce
    • ¾ cup chicken stock or water
    • ¼ cup brown sugar (adjust to taste)
    • 1 tbsp cornstarch mixed with 1 tbsp water

    Directions

    Marinate the Pork

    Combine all marinade ingredients, stirring until the sugar has completely dissolved. Pour into a resealable container or vacuum-seal bag. Add the pork, coating thoroughly. Seal and marinate in the refrigerator for 4–12 hours.

    Sweet & Sour Red Sauce

    Heat oil in a saucepan over medium heat. Sauté onion until lightly browned; add garlic, ginger, and sambal, and cook until fragrant. Add tomato paste and chicken powder; cook 1 minute to develop sweetness.

    Stir in sweet chili sauce, ketchup, lime juice, vinegar, tamarind, ketjap manis, fish sauce, stock or water, and brown sugar. Simmer 10 minutes to allow flavors to meld. Add the cornstarch slurry and simmer until glossy and thickened. Blend with an immersion blender and adjust thickness with additional stock, if needed.

    Preparation #1: Sous Vide

    Preheat sous vide bath to 170°F / 77°C for pork shoulder (130°F / 55°C for pork loin or tenderloin; 150°F / 65°C for pork belly). Submerge vacuum-sealed pork and marinade in the water bath and heat for 12–24 hours (2–8 hours for pork loin or tenderloin).

    Remove from the bag and pat dry. Brush with oil and finish under a broiler set to high for 4–5 minutes to crisp the top. Brush with red sauce during broiling and allow it to develop a few bits of char.

    Slice and serve over rice with a generous amount of sauce. Serve with acar ketimun (pickled vegetables), cucumber salad, fried cabbage, and/or blanched green beans tossed with garlic and sesame oil.

    Preparation #2: Oven

    Preheat oven to 350°F / 177°C. Place pork on a rack in a baking tray. Reserve marinade and boil in a saucepan for 5 minutes. Roast pork for 30–40 minutes per pound, or until internal temperature reaches 190°F / 88°C, basting with the boiled marinade halfway through.

    Rest pork for 20 minutes. Pat dry, brush with oil, and finish under a broiler set to high for 4–5 minutes to crisp the top. Optionally, baste with the red sauce while broiling and allow it to develop slight char.

    Slice and serve over rice with a generous amount of sauce. Serve with acar ketimun, cucumber salad, fried cabbage, and/or blanched green beans tossed with garlic and sesame oil.

    Preparation #3: Pellet Grill

    Preheat pellet grill to 250°F / 120°C. Smoke until internal temperature reaches 187°F / 86°C, basting halfway through. Rest pork for 30 minutes.

    Pat dry, brush with oil, and finish under a broiler set to high for 4–5 minutes to crisp the top. Optionally, baste with the red sauce while broiling and allow it to develop light char.

    Slice and serve over rice with a generous amount of sauce. Serve with acar ketimun, cucumber salad, fried cabbage, and/or blanched green beans tossed with garlic and sesame oil.


    Notes

    Preparation

    • Fattier cuts such as pork shoulder or belly are preferred, but pork loin or tenderloin (especially when using the sous vide method, with times and temperatures adjusted accordingly) can also be used. Take care not to overcook leaner cuts.
    • Preparation #1, Sous Vide, is the preferred method for the most tender and flavorful result.

    Serving Suggestions

    • Serve sliced Babi Panggang over rice with plenty of red sauce spooned on top.
    • Pair with acar ketimun, fried cabbage, cucumber salad, or blanched green beans with garlic and sesame oil.
  • Chocolate Meringues

    Chocolate Meringues

    These Chocolate Meringues are light, crisp, and deeply chocolatey—fun to make, and bakery-fancy when piped into little stars. They’ve long been part of our Christmas Eve tradition, shared alongside several other homemade cookies during an evening spent with family and friends. Our Christmas Eve typically gathers 45–75 people for dinner, a Christmas program, and a spread of treats, and these meringues are always among the first to disappear. Expect a delicate, crisp exterior with a slightly chewy center (especially when they’re fresh). For the most reliable structure and brightest chocolate flavor, use natural cocoa powder rather than Dutch process.


    Ingredients

    • 3 egg whites (room temp)
    • ¾ tsp vanilla extract
    • ¾ cup sugar
    • ¼ cup natural cocoa powder (recommended; see notes)

    Directions

    Prepare the Pan and Bag

    Preheat oven to 300°F. Line baking sheets with parchment paper and cover with foil. Fit a pastry bag with a large open star tip (i.e. #8b).

    Whip the Meringue

    Place egg whites and vanilla in a very clean stainless steel mixing bowl. Beat on low speed until bubbles begin to form on the top of the eggs (like a bubble bath).

    Increase speed to high and beat until the egg whites form soft peaks.

    Gradually add sugar, about 2 tbsp at a time, beating until stiff peaks form (egg whites will be shiny, heavy, and stiff—don’t over beat).

    Add Cocoa and Pipe

    Gently fold in cocoa by hand until evenly incorporated.

    Pipe stars about 1½ in. diameter onto the foil.

    Alternatively, drop by rounded tsp if you don’t want to pipe.

    Bake and Cool

    Bake for about 30-35 minutes, or until lightly browned.

    Remove from foil and cool on wire racks.

    Store in a non-reactive uncovered bowl.


    Notes

    Preparation

    • Use a very clean stainless steel (or glass) bowl and clean beaters—any trace of grease can prevent the egg whites from whipping properly.
    • A stand mixer (kitchenaid) works best for consistent volume and texture.
    • Do not double this recipe—larger batches are less reliable and don’t hold structure as well.
    • Natural vs Dutch-Process Cocoa: Natural cocoa is slightly acidic and helps stabilize the egg-white foam, while also providing a brighter, sharper chocolate flavor. Dutch-process cocoa is darker and smoother in flavor but can be slightly more prone to deflating if over-folded.
    • Because cocoa powder contributes to both structure and drying, this recipe is designed specifically for chocolate meringues. Plain or non-cocoa meringues require additional stabilization (such as cream of tartar) and are best treated as separate recipes.

    Serving Suggestions

    • Add to cookie trays or dessert platters for contrast alongside butter cookies, spritz, or shortbread.

    Make-Ahead & Storage

    • Store in a cool, dry place. Humidity will soften meringues over time.
    • Best enjoyed within 1–3 days, though texture may vary depending on weather and storage conditions.