Bags of Spices

Favorite Recipes

The Huggins Family Recipes

  • Saté Ajam — Indonesian Chicken Satay

    Saté Ajam — Indonesian Chicken Satay

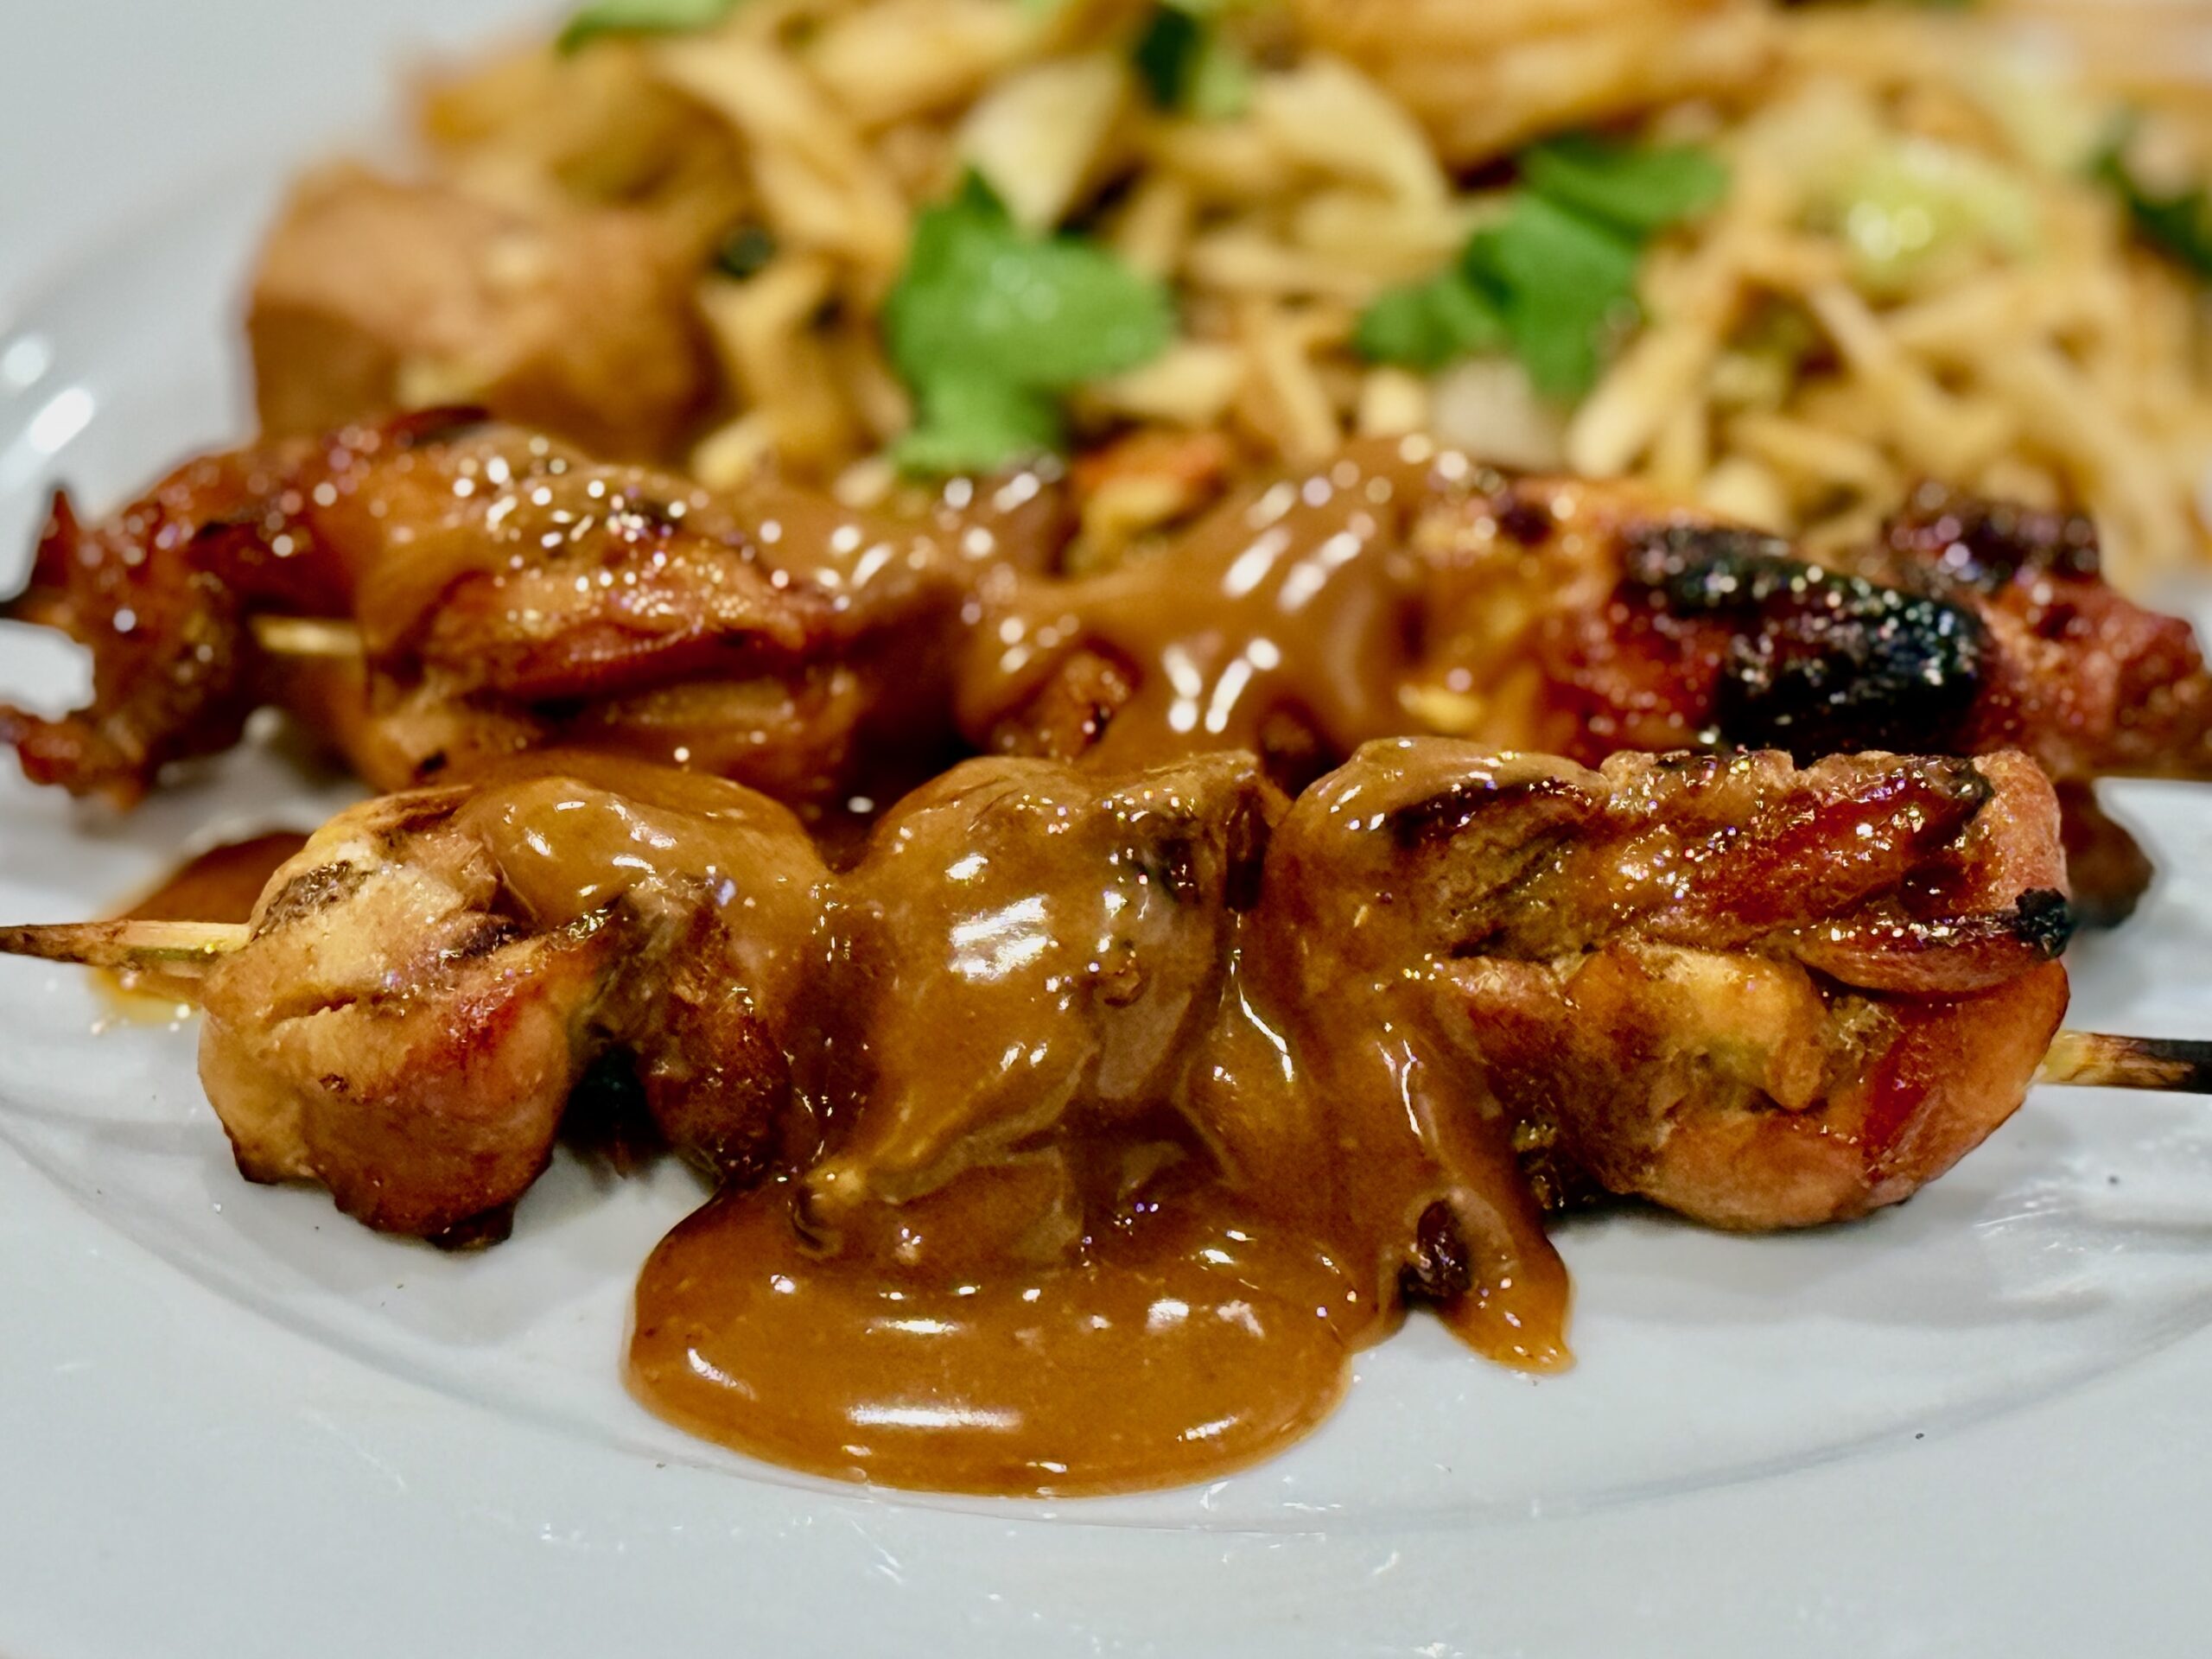
    When I was living in the Netherlands, I had the good fortune of learning a few Indonesian dishes from a kind little Indonesian grandmother in the beautiful city of Delft. Zuster Volder was from Java, and in her small kitchen she showed me how simple ingredients—ketjap manis, shallots, garlic, and warm spices—could transform humble skewers of meat into something unforgettable. This saté ajam, the Indonesian dish most people know as chicken satay or sate ayam, draws inspiration from those lessons: chicken marinated in sweet soy, coconut milk, and fragrant spices, then grilled over hot coals until caramelized and served with rich Dutch-Indonesian peanut sauce (Pindasaus).


    Ingredients

    Chicken

    • 2 lb (907 g) boneless skinless chicken thighs
    • Bamboo skewers, soaked in water for at least 30 minutes before threading

    Marinade

    • ¼ cup (60 ml) ketjap manis
    • 1 tbsp (15 ml) vegetable oil
    • 1½ tbsp shallot, finely grated
    • ½ tsp fresh ginger, finely grated
    • ½ tsp fresh galangal, finely grated
    • 1 tbsp brown sugar
    • ¼ tsp ground coriander
    • ¼ tsp ground turmeric
    • ¼ tsp ground cumin
    • 1 clove garlic, minced, or ¼ tsp garlic powder
    • 1 tsp lime juice
    • 2 tbsp (30 ml) coconut milk
    • ⅛ tsp white pepper
    • ¼ tsp baking soda

    Pre-Grill Seasoning

    • 1 tsp ketjap manis
    • 1 tsp vegetable oil
    • Pinch of table salt

    Coconut Milk Baste

    • 2 tbsp (30 ml) coconut milk
    • Pinch of table salt

    For Serving

    • Warm Dutch-Indonesian peanut sauce (Pindasaus)
    • Lime wedges
    • Cucumber slices or Acar Ketimun
    • Fried shallots (optional)
    • Steamed rice or lontong

    Directions

    Prepare the Chicken

    Trim any large excess pieces of fat from the chicken thighs. Cut the meat into long strips about ½–¾ inch (1.3–1.9 cm) thick rather than cubes. This traditional shape lets the chicken fold onto the skewers and gives you more caramelized surface area over the coals.

    Make the Marinade

    In a medium bowl, combine the ketjap manis, vegetable oil, grated shallot, ginger, galangal, brown sugar, coriander, turmeric, cumin, garlic, lime juice, coconut milk, white pepper, and baking soda. Stir until the sugar is dissolved and the marinade is well blended.

    Marinate the Chicken

    Add the chicken to the marinade and toss well to coat evenly. Cover and refrigerate for 4–5 hours, or up to 8 hours. This timing gives the flavors time to penetrate while the small amount of baking soda helps the chicken stay especially tender over high charcoal heat.

    Thread the Chicken

    Soak bamboo skewers in water for at least 30 minutes. Thread the marinated chicken onto the skewers, weaving and folding the strips back and forth so the meat lies fairly flat.

    Prepare the Grill

    Light a charcoal grill and let the coals burn down until they are very hot and covered with a light layer of ash. You want strong direct heat for fast caramelization, but not roaring flames.

    In a small bowl, stir together the coconut milk and a pinch of salt for the baste. In a second small bowl, combine the ketjap manis, oil, and pinch of salt for the pre-grill seasoning.

    Season and Grill the Satay

    Remove the threaded chicken from the refrigerator. Lightly brush or toss the skewered chicken with the pre-grill seasoning. Leave a light coating of marinade on the meat rather than wiping it clean; that helps create the classic lacquered satay crust.

    Place the skewers over direct heat and grill for about 2–3 minutes on each broad side, turning as needed so the sugars caramelize without scorching. During the last minute or two of cooking, brush lightly with the coconut milk baste.

    Cook until the chicken is lightly charred in spots and reaches 165°F (74°C).

    Serve

    Arrange the saté ajam on a platter and serve immediately with warm Pindasaus, lime wedges, cucumber or Acar Ketimun, and steamed rice or lontong. A squeeze of lime over the top just before eating brightens the sweet ketjap glaze and balances the peanut sauce beautifully.

    Yield: 4 servings.


    Notes

    Preparation

    • Chicken thighs are preferred here because they stay juicy and tender over high direct heat and hold up better than breast meat in a sweet ketjap marinade.
    • Cutting the chicken into long folded strips instead of cubes gives more surface area for browning and produces a more traditional satay texture.
    • The small amount of baking soda helps the chicken retain moisture and stay tender during quick charcoal grilling. Do not increase the amount, or the flavor can become slightly alkaline.
    • Fresh galangal adds a more traditionally Indonesian, Javanese-leaning aroma to the marinade. If galangal is not available, using 1 tsp finely grated ginger in place of the ginger and galangal combination is still very good.
    • If using larger bamboo skewers, you can double-skewer the chicken to make turning easier over the grill.

    Variations

    • Yellow Javanese Satay: For a more classic yellow Javanese profile, increase the turmeric slightly to ⅜ tsp.
    • Without Cumin: If you prefer a cleaner, more straightforward satay flavor, omit the cumin; with it included, the marinade leans a bit more Javanese.
    • Chicken Breast: Chicken breast can be used; watch it closely and cook until the thickest pieces reach 165°F (74°C). Avoid cooking longer than necessary so the lean meat stays tender.

    Serving Suggestions

    • Serve with our Pindasaus, lime wedges, and a crisp cucumber pickle such as Acar Ketimun.
    • This pairs especially well with steamed rice, lontong, or as part of a larger rijsttafel-style meal.
    • Fried shallots scattered over the platter add a wonderful savory finish.

    Make-Ahead & Storage

    • The chicken can be marinated earlier in the day and held refrigerated for up to 8 hours before grilling.
    • Leftover cooked satay can be refrigerated in an airtight container for up to 3 days.
    • Reheat gently in a covered skillet, low oven, or microwave until just warmed through. Serve with freshly warmed Dutch-Indonesian peanut sauce (Pindasaus) for the best texture.
  • Master Bakery-Style Cookies (Endless Variations)

    Master Bakery-Style Cookies (Endless Variations)

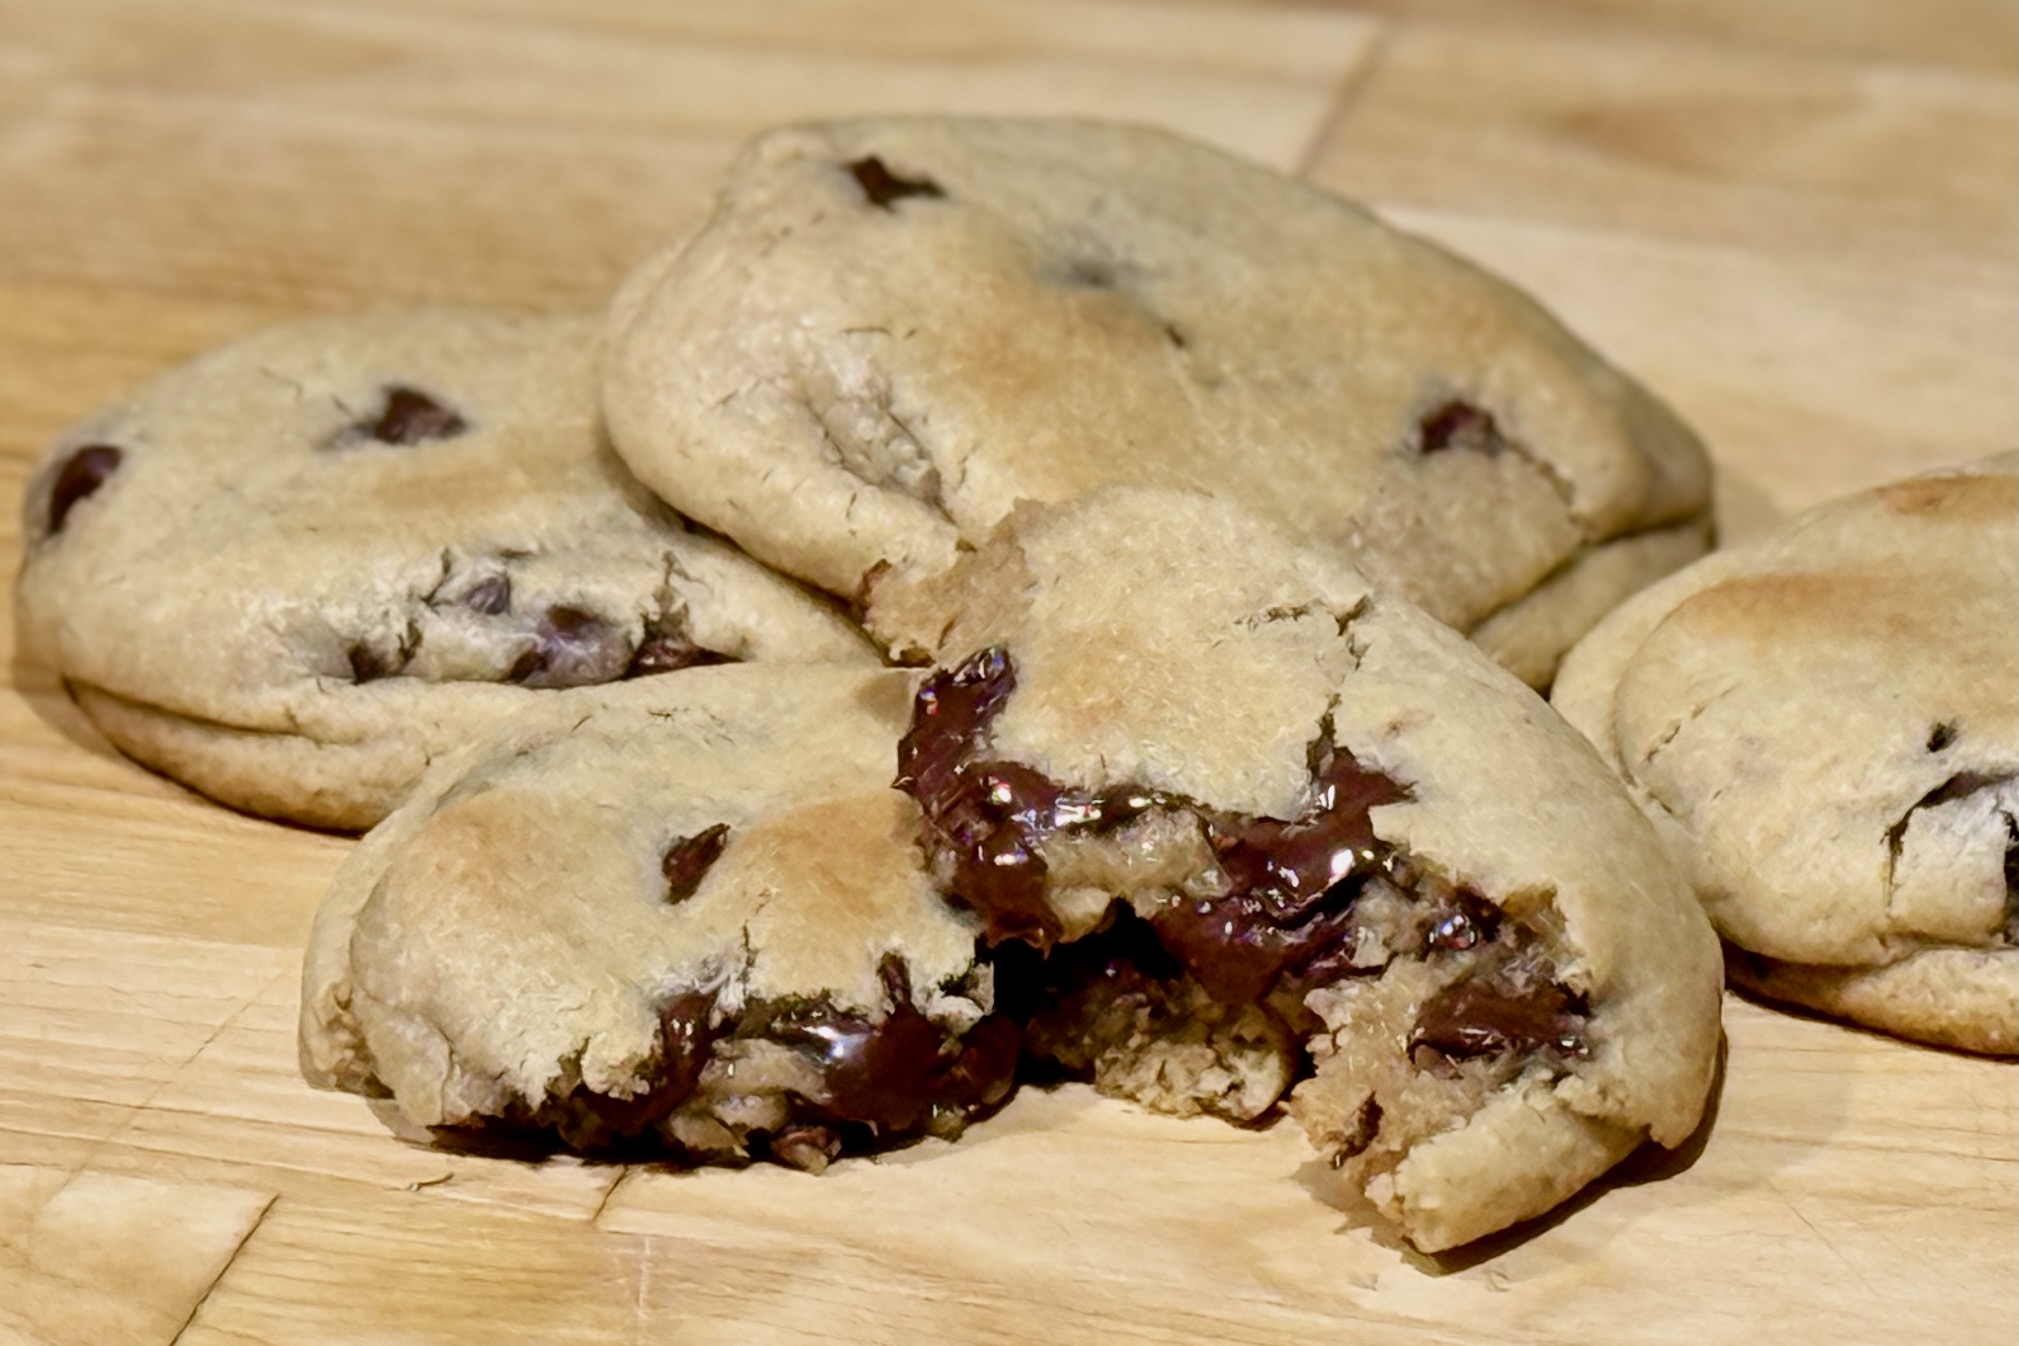
    This original Huggins Family recipe—affectionately known in our house as “Fat Daddo’s Cookies”—is our master dough for thick, chewy bakery-style cookies with crisp edges and soft centers. Built to handle everything from classic chocolate chip to brown butter pecan, chocolate orange, and more, it’s designed as a true “one dough, endless variations” system. This version is adjusted for high-altitude baking at about 4,500 ft (1,370 m), so the cookies keep their structure without sacrificing that soft, indulgent texture. For sea-level baking, see the Notes section for adjustments.


    Ingredients

    Base Dough

    • 1 cup (227 g) unsalted butter, softened
    • 1 cup (220 g) packed brown sugar
    • ¼ cup (50 g) granulated sugar
    • 1 large egg (50 g)
    • 1 large egg yolk (18 g)
    • 1½ tsp (7 g) vanilla extract
    • 1–2 tbsp (15–30 g) milk
    • 3 cups + 2 tbsp (375 g) all-purpose flour
    • 2 tbsp (16 g) cornstarch
    • ¾ tsp (4 g) baking soda
    • 1 tsp (6 g) table salt

    Directions

    Make the Dough

    In the bowl of a stand mixer or in a large mixing bowl, cream together the softened butter, brown sugar, and granulated sugar until light and fluffy, about 1–2 minutes.

    Add the egg, egg yolk, vanilla extract, and 1 tbsp (15 g) milk. Mix until smooth and slightly thickened, about 1 minute. If the dough seems especially stiff once the flour is added, mix in the remaining 1 tbsp (15 g) milk.

    In a separate bowl, whisk together the flour, cornstarch, baking soda, and salt.

    Finish the Dough

    Add the dry ingredients to the wet mixture and mix just until combined. Do not overmix.

    Fold in the optional mix-ins for your chosen variation just until evenly distributed.

    The dough should be soft and slightly tacky, but not sticky.

    Portion, Shape, and Chill

    Portion the dough into either 8 large cookies or approximately 18 regular cookies.

    Gently flatten each dough ball to about ¾–1 inch (2–2.5 cm) thick to encourage even spreading while baking.

    Place the dough on a parchment-lined or silicone mat-lined baking sheet and refrigerate for at least 1 hour and up to 48 hours. Chilling helps prevent excess spreading and improves flavor and texture.

    For slightly more spread, let the dough sit at room temperature for 10–15 minutes before baking.

    Bake

    Preheat the oven to 400°F (204°C). Line a baking sheet with parchment paper or a silicone baking mat.

    Arrange the chilled dough 2–3 inches (5–7.5 cm) apart.

    Bake large cookies for 12–15 minutes or regular cookies for 7–9 minutes, until the edges are set and the centers still look slightly underbaked.

    Let the cookies cool on the baking sheet for 15 minutes, then transfer to a wire rack to cool completely.

    Yield: 8 large cookies or approximately 18 regular cookies.


    Notes

    Preparation

    • For mix-ins that absorb moisture—such as oats, toasted coconut, or freeze-dried fruit—add an extra 1 tbsp (15 g) milk to the dough.
    • Metric equivalents for optional mix-ins are approximate; weights vary with the brand, cut size, and packing. Volume equivalents are used for mix-ins whose weights depend especially on how finely they are chopped or crushed.
    • Bulky mix-ins like chocolate chunks, nuts, and toffee usually need no additional adjustment.
    • Soft or sticky mix-ins like marshmallows and almond paste work best when frozen first or enclosed inside the dough.
    • For Gevulde Koek-style filled cookies, wrap the filling completely in dough and bake at 375°F (190°C) instead of 400°F (204°C) for more even baking.

    Variations

    Chocolate Dough:

    Replace ½ cup (60 g) of the flour with ½ cup (50 g) unsweetened Dutch-process cocoa powder.

    Increase the milk by 1–2 tbsp (15–30 g), using 2–4 tbsp (30–60 g) total, as needed to achieve a soft, slightly tacky dough.

    Browned Butter:

    Weigh the butter, then place it in a small saucepan and cook over medium heat until deeply golden and nutty.

    Weigh the browned butter after cooking and add only enough water to bring the combined weight of the browned butter and water back to the original butter weight.

    Let cool until thickened but still workable before mixing the dough.

    When using browned butter, begin with no added milk; add milk only if the finished dough is too stiff.

    Base Dough Optional Mix-Ins:

    • Chocolate Chip: 1½ cups (255 g) semisweet chocolate chips or 1½ cups (265 g) mini semisweet chocolate chips; add 1 cup (about 115 g) roasted chopped pecans if desired.
    • Dark Chocolate Chunk & Roasted Hazelnuts: 6–8 oz (170–227 g) dark chocolate chunks, ¾ cup (about 105 g) roasted chopped hazelnuts, and ¾ cup (about 45 g) toasted unsweetened coconut flakes if desired.
    • White Chocolate Macadamia: 1 cup (170 g) white chocolate chips, ¾ cup (about 112 g) macadamia nuts, and ¾ cup (about 45 g) toasted unsweetened coconut flakes if desired.
    • Oatmeal Raisin: 1¼–1½ cups (111–134 g) quick oats and 2 cups (about 300 g) raisins; add 1 tbsp (15 g) extra milk.
    • Toffee & Chocolate: 1 cup (156 g) Heath toffee bits and ¾ cup (128 g) semisweet chocolate chips.
    • S’mores: ½ cup (85 g) milk chocolate chips, ½ cup (85 g) semisweet chocolate chips, 1 cup (43 g) frozen mini marshmallows, and ½ cup (120 ml) slightly crushed Golden Grahams cereal.
    • White Chocolate Cranberry: ¾ cup (128 g) white chocolate chips, ¾ cup (85 g) dried cranberries, and ½ cup (120 ml) chopped crystallized ginger if desired.
    • White Chocolate Raspberry: 1 cup (170 g) white chocolate chunks and ½ cup (120 ml) crushed freeze-dried raspberries; add 1 tbsp (15 g) extra milk.
    • Pretzel Crunch: 1 cup (240 ml) chopped pretzels and ¾ cup (180 ml) peanut butter chips or semisweet chocolate chips.

    Chocolate Dough Optional Mix-Ins:

    • White Chocolate Chip: 1¼ cups (213 g) white chocolate chips.
    • Peanut Butter Chip: 1½–2 cups (360–475 ml) peanut butter chips.
    • Chocolate S’mores: 1 cup (43 g) frozen mini marshmallows and ¾ cup (180 ml) slightly crushed Golden Grahams cereal.
    • Chocolate Orange: zest of 1 orange and 1 cup (170 g) white chocolate chips.
    • Chocolate Raspberry: 1 cup (170 g) white chocolate chips and ½ cup (120 ml) crushed freeze-dried raspberries; add 1 tbsp (15 g) extra milk.
    • Tuxedo Cookies: 1 cup (170 g) white chocolate chunks, ¾ cup (128 g) chopped 70% dark chocolate, and ½ tsp espresso powder.
    • Mochanut: 1 cup (about 60 g) toasted unsweetened coconut flakes, ¾ cup (180 ml) semisweet or dark chocolate chips, and 1 tsp instant espresso powder; add 1 tbsp (15 g) extra milk.
    • Cherry Chocolate: ¾ cup (about 105 g) dried cherries, plumped with water and drained well, plus ¾ cup (128 g) chopped 70% dark chocolate.
    • Chocolate Gevulde Koek: 2 boxes almond paste, 8 oz (227 g) each, portioned into disks and enclosed in the chocolate dough; bake at 375°F (190°C).
    • Burnt Almond Fudge: 1½ cups (255 g) semisweet chocolate chips, ½ cup (about 57 g) roasted chopped slivered almonds, and replace ½ tsp vanilla extract with ½ tsp almond extract.

    Browned Butter Dough Optional Mix-Ins:

    • Ginger Chunk: ½ cup (120 ml) crystallized ginger, chopped.
    • Brown Butter Pecan: 1 cup (about 115 g) toasted chopped pecans, ¾ cup (117 g) toffee bits, replace ½ tsp vanilla extract with ½ tsp maple extract, and press a pecan half into the top before baking.
    • Golden Gevulde Koek: 2 boxes almond paste, 8 oz (227 g) each, portioned into disks and enclosed in the dough; bake at 375°F (190°C).

    Serving Suggestions

    • Serve slightly warm for the softest centers and best melted-chocolate texture.
    • Pair with cold milk or vanilla ice cream.
    • Large cookies are perfect for sharing or bakery-style presentation.

    Make-Ahead & Storage

    • Dough can be refrigerated for up to 48 hours.
    • Freeze portioned dough on a tray until firm, then transfer to a freezer bag or airtight container. Store for up to 2 months. Bake from frozen, adding 2–3 minutes to the normal baking time.
    • Baked cookies keep in an airtight container at room temperature for 3–4 days.
    • Warm briefly before serving for best texture.

    High Altitude

    • At About 4,500 ft (1,370 m): Use the ingredient amounts listed for thicker cookies with better structure and controlled spread.
    • Sea Level: Reduce the flour to 3 cups (360 g), increase the baking soda to 1 tsp, and use only enough milk to bring the dough together if needed.
  • Homemade Bahmi Goreng Mix

    Homemade Bahmi Goreng Mix

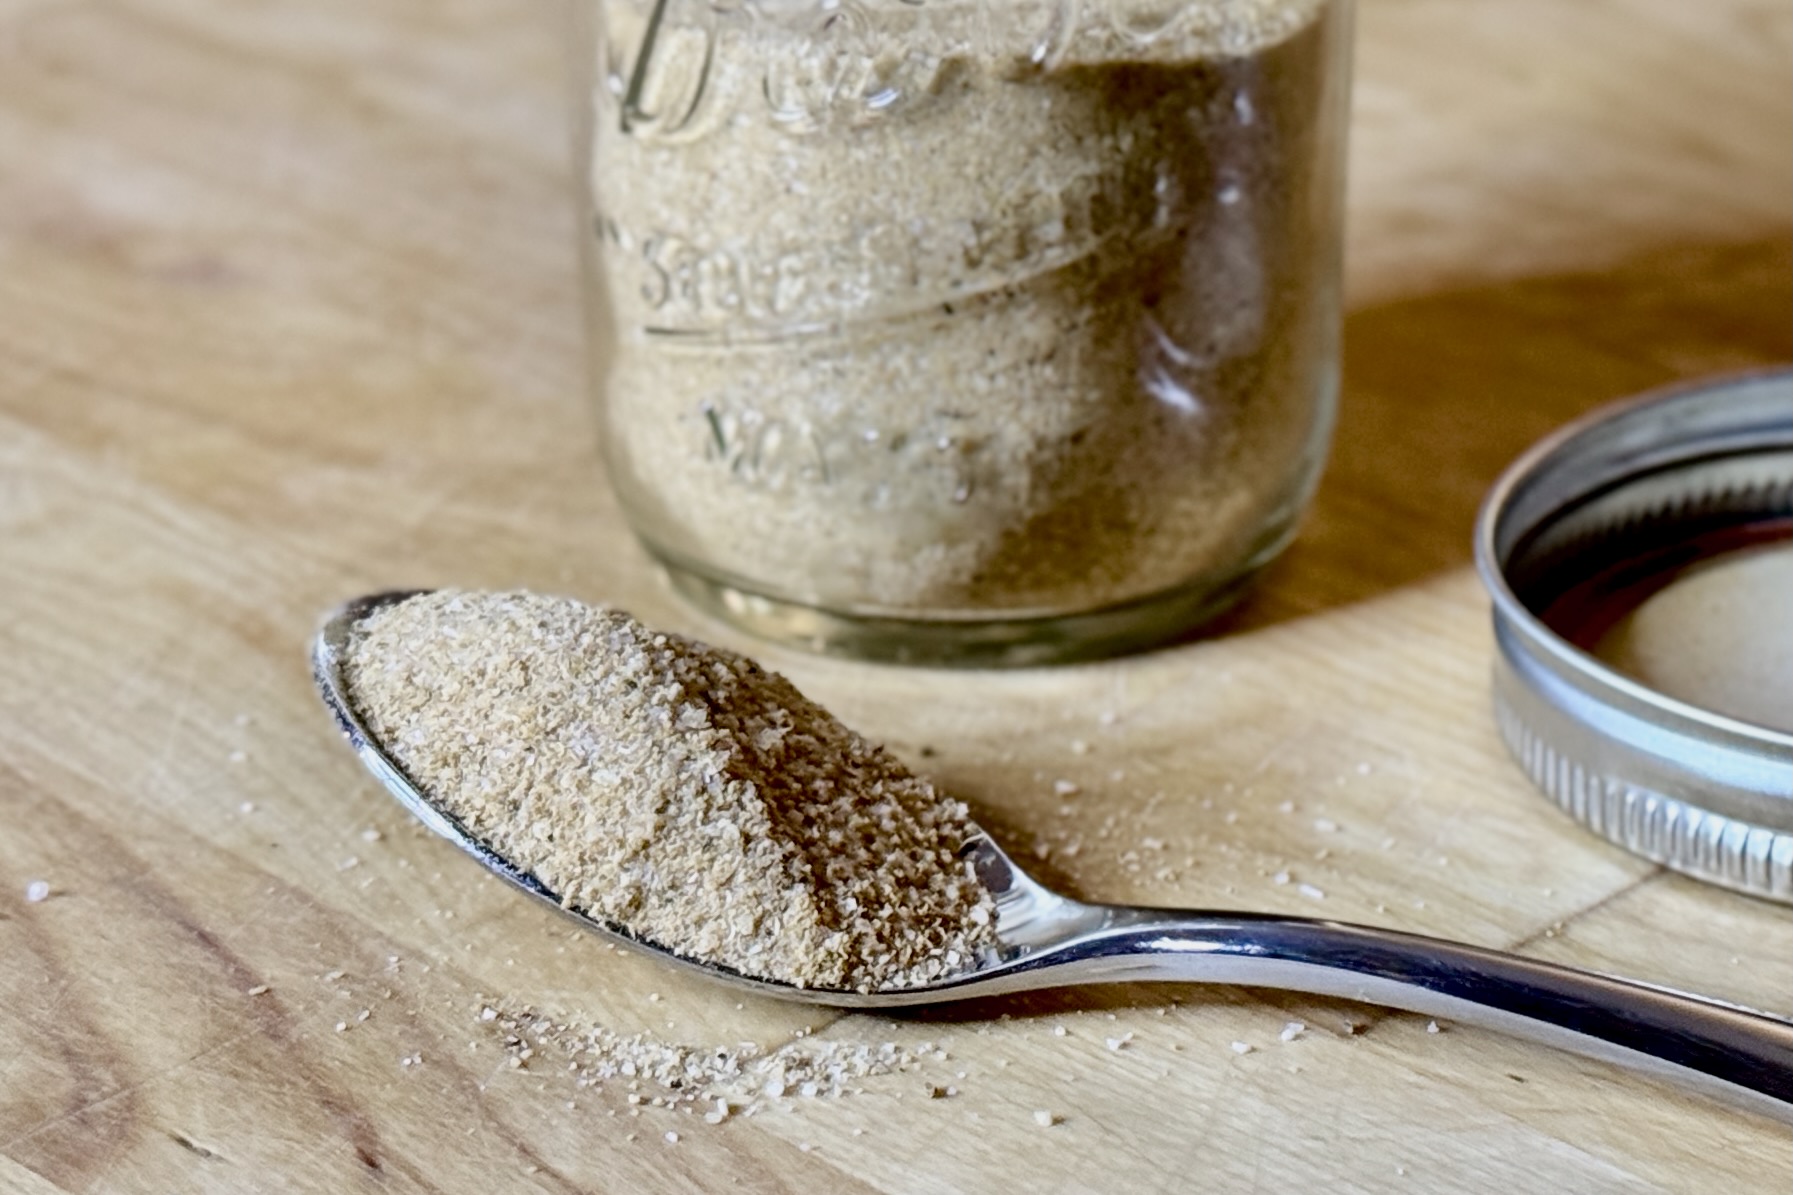
    This homemade bahmi goreng spice mix is our pantry-friendly take on the classic Conimex packet I grew to love while living in the Netherlands. It delivers that familiar savory, slightly sweet, and aromatic flavor—but with better ingredients and more flexibility. Keep a jar on hand, and you’re never more than a few minutes away from a quick, deeply satisfying batch of bahmi goreng.


    Ingredients

    Spice Mix

    • 5 tsp garlic powder
    • 5 tsp onion powder
    • 1½ tsp ground white pepper
    • ¼ tsp ground black pepper
    • 1¼ tsp turmeric
    • 1½ tsp ground coriander
    • 1 tsp ground ginger
    • ½ tsp ground galangal
    • ¼ tsp ground celery seed
    • ¼ tsp paprika
    • 2½ tsp sugar
    • 2 tsp table salt
    • 2½ tsp MSG (optional but recommended)
    • ¼ tsp citric acid (optional)

    Directions

    Mix the Spice Blend

    Combine all ingredients in a small jar or airtight container. Shake well for 20–30 seconds to evenly distribute the spices. Shake again briefly before each use.

    Use for Bahmi Goreng

    For one batch of bahmi goreng made with about 10.6–12.3 oz (300–350 g) noodles, combine 1 tbsp spice mix, 2 tbsp (30 ml) ketjap manis, 1 tbsp (15 ml) light soy sauce, 1 tsp fish sauce or ½ tsp shrimp paste, 1–2 tsp sambal oelek, sambal badjak, or sambal manis to taste, and 2–3 tbsp (30–45 ml) water.

    Add to the wok during cooking and toss until the noodles are evenly coated, glossy, and heated through.

    Yield: About ½ cup (120 ml), enough for approximately 8 batches at 1 tbsp per batch.


    Notes

    Preparation

    • This mix is designed to recreate the flavor of Conimex bahmi goreng seasoning using pantry ingredients.
    • Ground galangal adds an authentic Indonesian note; if unavailable, increase ginger slightly.
    • Citric acid adds subtle brightness similar to packaged mixes but is optional.
    • If citric acid is not available, add a squeeze of fresh lime juice during cooking for brightness.
    • If using salty ingredients such as soy sauce, fish sauce, shrimp paste, or pre-seasoned vegetables, adjust seasoning to taste.

    Variations

    • More Heat: Add extra sambal for more heat or depth—badjak for richness, oelek for brightness, or manis for a sweeter profile.
    • Fried Sambal: For deeper flavor, briefly fry the sambal in the wok with aromatics before adding noodles.
    • Sweeter Sambal: If using sambal manis, taste before adding extra sweetness since both sambal manis and ketjap manis bring sweetness to the dish.

    Serving Suggestions

    • Use this mix with our Bahmi Goreng recipe for a quick, flavorful meal.
    • Pairs well with krupuk and a side of acar timun for contrast.

    Make-Ahead & Storage

    • Store in an airtight container for up to 6 months.
    • Shake before each use to keep the blend evenly mixed.
  • Shoarma Burgers

    Shoarma Burgers

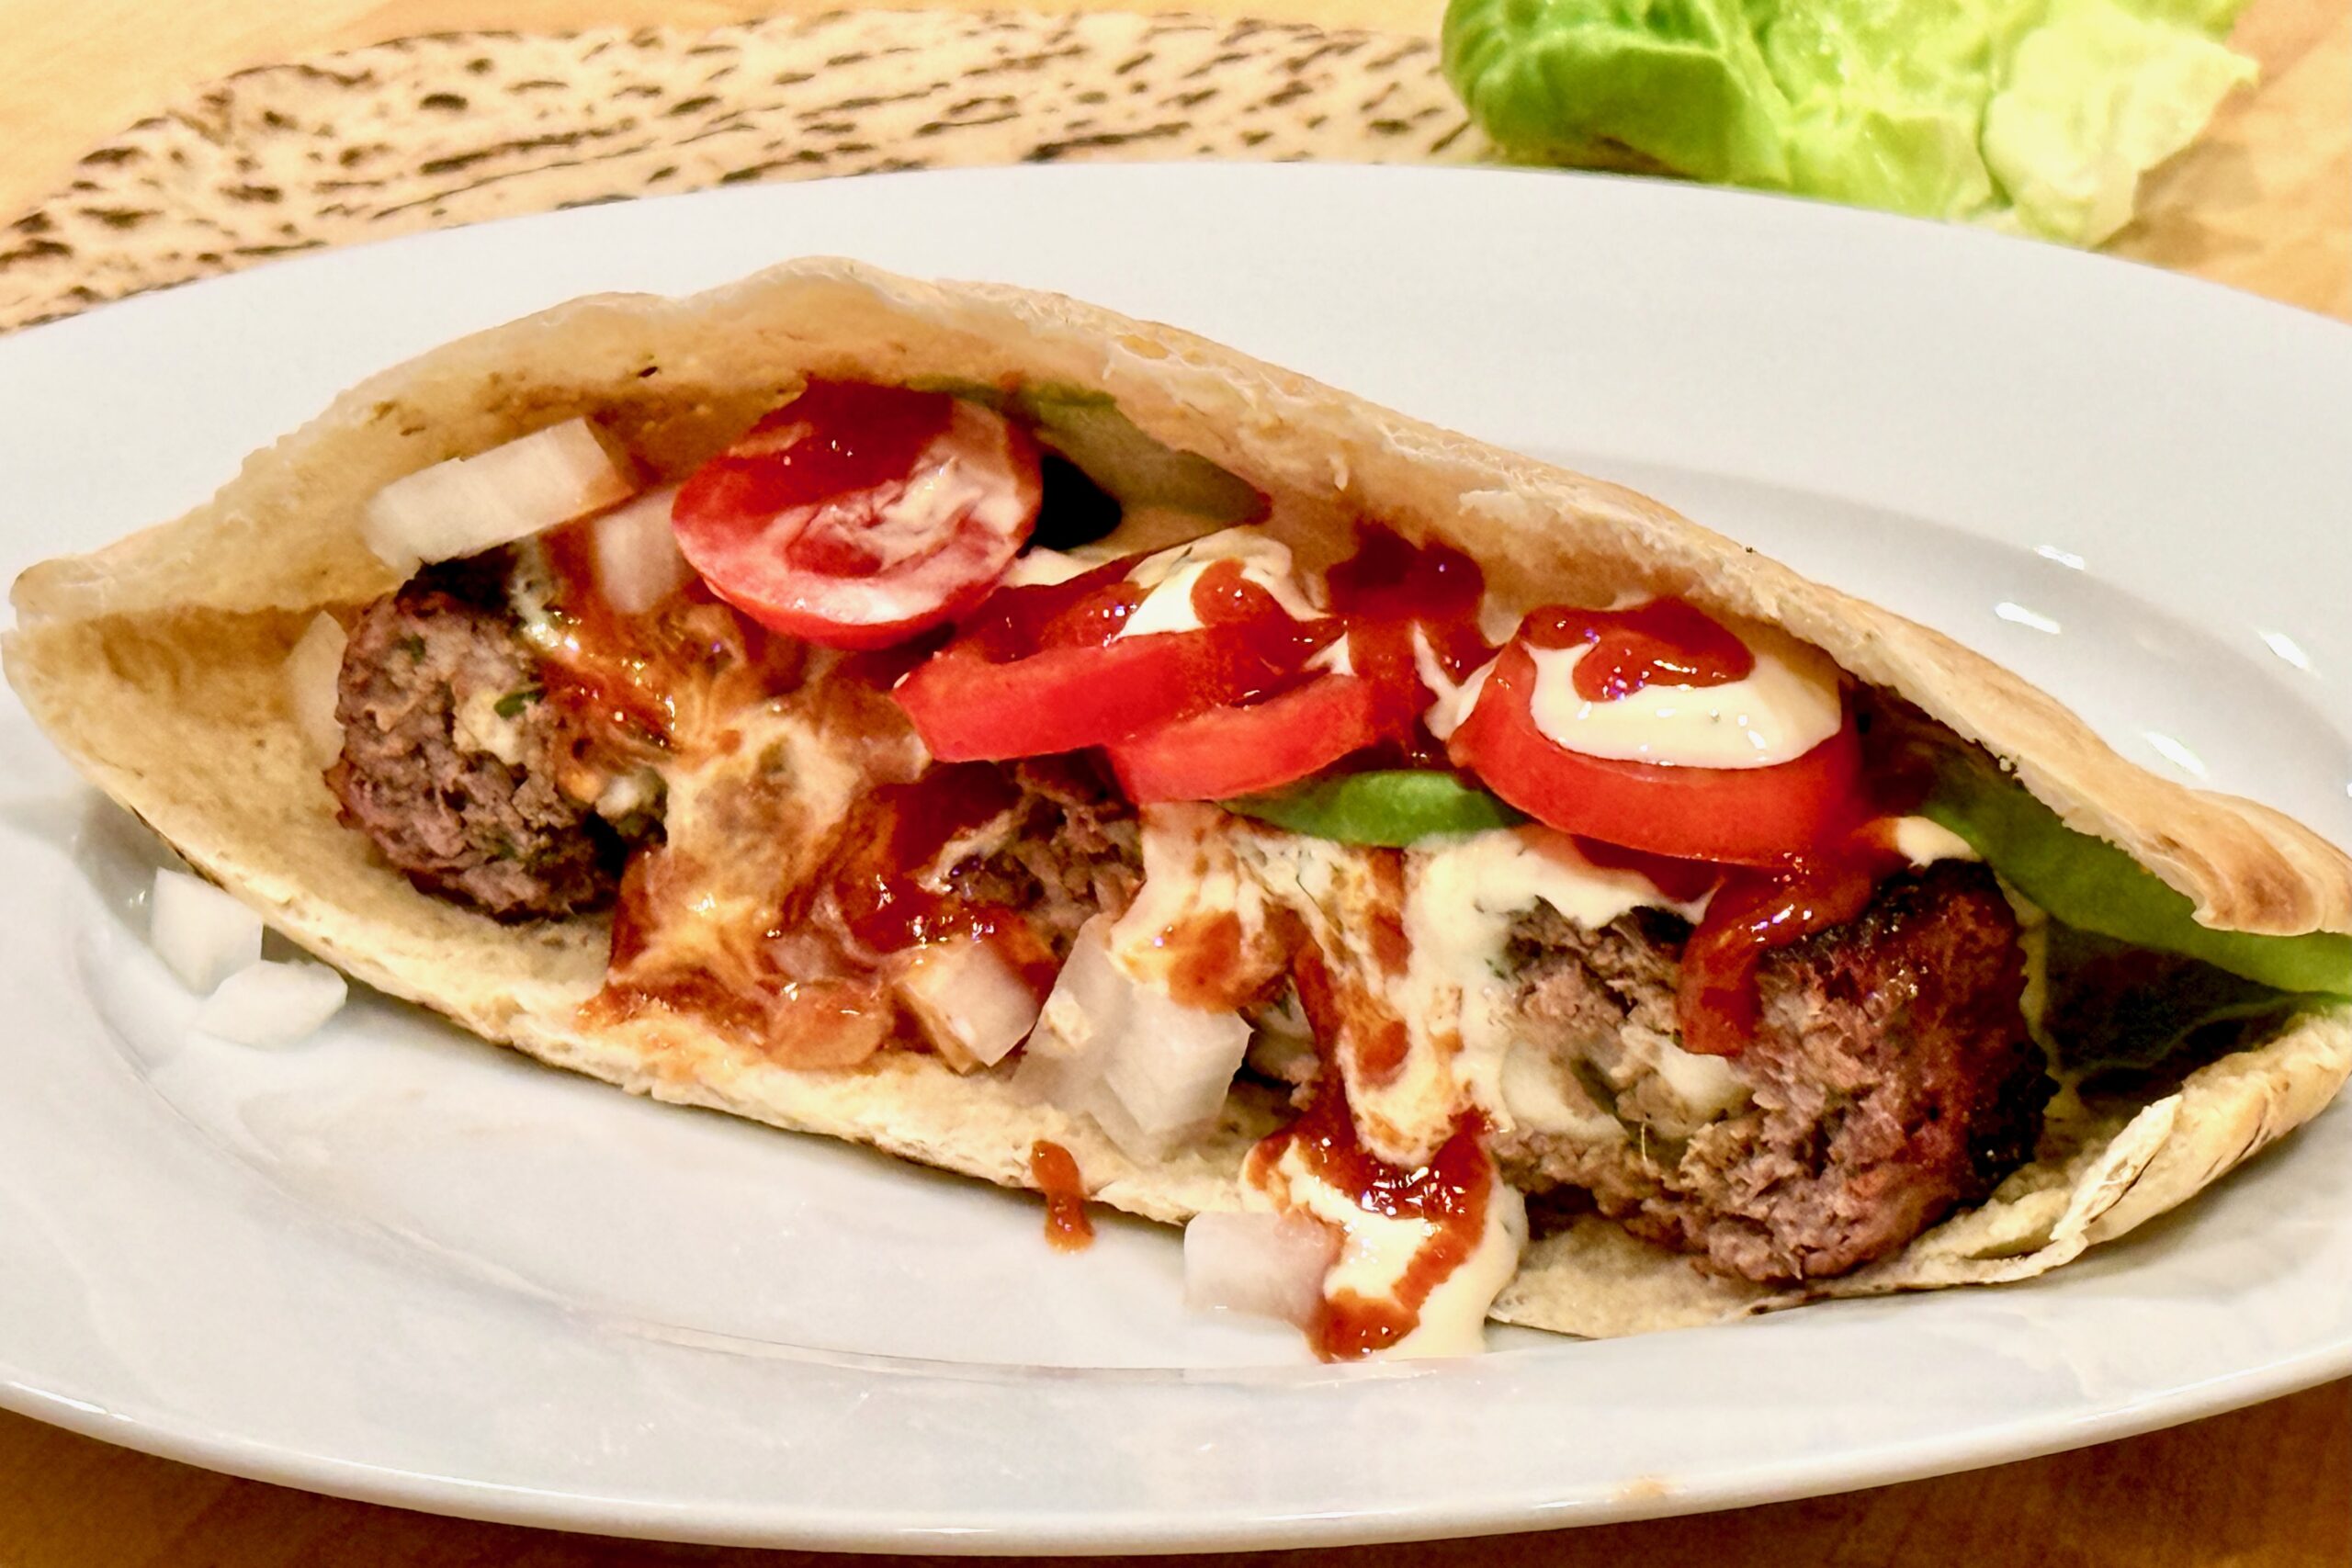
    These cheese-stuffed shoarma burgers have been my son’s favorite dinner for years. The beef-and-pork patties are seasoned with Dutch shoarma kruiden, grilled over charcoal, and served in warm pita with butter lettuce, ripe tomatoes, shoarmasaus, knoflooksaus, and sambal oelek at the table. Fill them with mild fresh mozzarella or tangy goat cheese—or make some of each, as we usually do.


    Ingredients

    Shoarma Burgers

    • 2 lb (907 g) ground beef
    • 1 lb (454 g) ground pork
    • 1 tbsp sambal oelek
    • 1½ tbsp finely chopped or grated fresh garlic
    • 1 tbsp grated fresh ginger
    • 2 tsp table salt
    • 3.5 g MSG
    • 4 tbsp shoarma kruiden
    • ¼ cup (60 g) plain yogurt
    • ¼ cup (60 ml) finely chopped fresh cilantro
    • Fresh sliced mozzarella, 0.9–1.1 oz (25–30 g), or goat cheese, 1.1–1.2 oz (30–35 g), per burger

    For Serving

    • 7 pita breads or hamburger buns
    • butter lettuce leaves
    • ripe sliced tomatoes, preferably garden tomatoes
    • shoarmasaus
    • knoflooksaus
    • lime wedges
    • sambal oelek

    Directions

    Prepare the Sauces

    Prepare the shoarmasaus and knoflooksaus at least 4 hours before serving, preferably the night before, so their flavors have time to develop.

    Mix the Meat

    Place the ground beef, ground pork, sambal oelek, garlic, ginger, salt, MSG, shoarma kruiden, yogurt, and cilantro in a large bowl. Mix thoroughly by hand until the seasonings are evenly distributed and the meat becomes cohesive and slightly tacky. A portion pressed together should hold its shape without cracking or crumbling. Keep the mixture as cold as possible while working.

    Fill and Shape the Patties

    Divide the meat mixture into 7 equal portions. Working with one portion at a time, place approximately half in the bottom of a burger press or shape it by hand to create a solid base. Place 0.9–1.1 oz (25–30 g) fresh sliced mozzarella or 1.1–1.2 oz (30–35 g) goat cheese in the center, leaving a generous border around the cheese. Cover completely with the remaining meat and form into a thick patty, approximately 8.8 oz (250 g) including the filling.

    Smooth and gently compress the exterior. Carefully inspect the top, bottom, and edges, pinching closed every seam or opening through which the cheese could escape. Repeat with the remaining meat and cheese.

    Chill the Patties

    Arrange the formed patties on a covered tray and refrigerate for at least 1 hour before grilling.

    Prepare the Charcoal Grill

    Prepare a charcoal grill for two-zone cooking, with a hot direct-heat area and a cooler indirect-heat area. Clean and lightly oil the grill grate.

    Grill the Burgers

    Place the chilled patties over direct heat and grill until well browned. Turn carefully without pressing down with a spatula. If the exteriors brown before the centers are cooked, move the patties to the cooler side of the grill, close the lid, and finish over indirect heat.

    Cook until the meat surrounding the cheese reaches 160°F (71°C). Insert an instant-read thermometer horizontally through the side of each patty, aiming for the meat rather than the cheese filling. Transfer to a platter and rest for 3–5 minutes.

    Finish and Assemble

    Squeeze a lime wedge lightly over each rested burger. Warm the pita bread briefly on the grill, then fill each pita with a burger, butter lettuce, ripe sliced tomato, shoarmasaus, and knoflooksaus. Hamburger buns may be substituted for the pita. Serve immediately with additional sambal oelek and lime wedges at the table.

    Yield: 7 burgers.


    Notes

    Preparation

    • Fresh mozzarella creates a mild, melty center and is generally preferred by younger children.
    • Goat cheese provides a tangier, more pronounced filling.
    • Keep the cheese cold and compact in the center of each patty to make the burgers easier to seal.
    • A burger press makes the stuffed patties easier to shape, but they can also be formed and sealed by hand.
    • Mixing until the meat becomes slightly tacky helps the large patties hold together on the grill.
    • Do not press the patties with a spatula while grilling, as this can force the cheese through the sealed exterior.

    Make-Ahead & Storage

    • The sauces are best prepared the day before serving.
    • The patties may be formed, covered, and refrigerated earlier the same day.
    • Refrigerate leftover cooked burgers in an airtight container up to 3 days.
  • Dr Pepper Barbecue Sauce

    Dr Pepper Barbecue Sauce

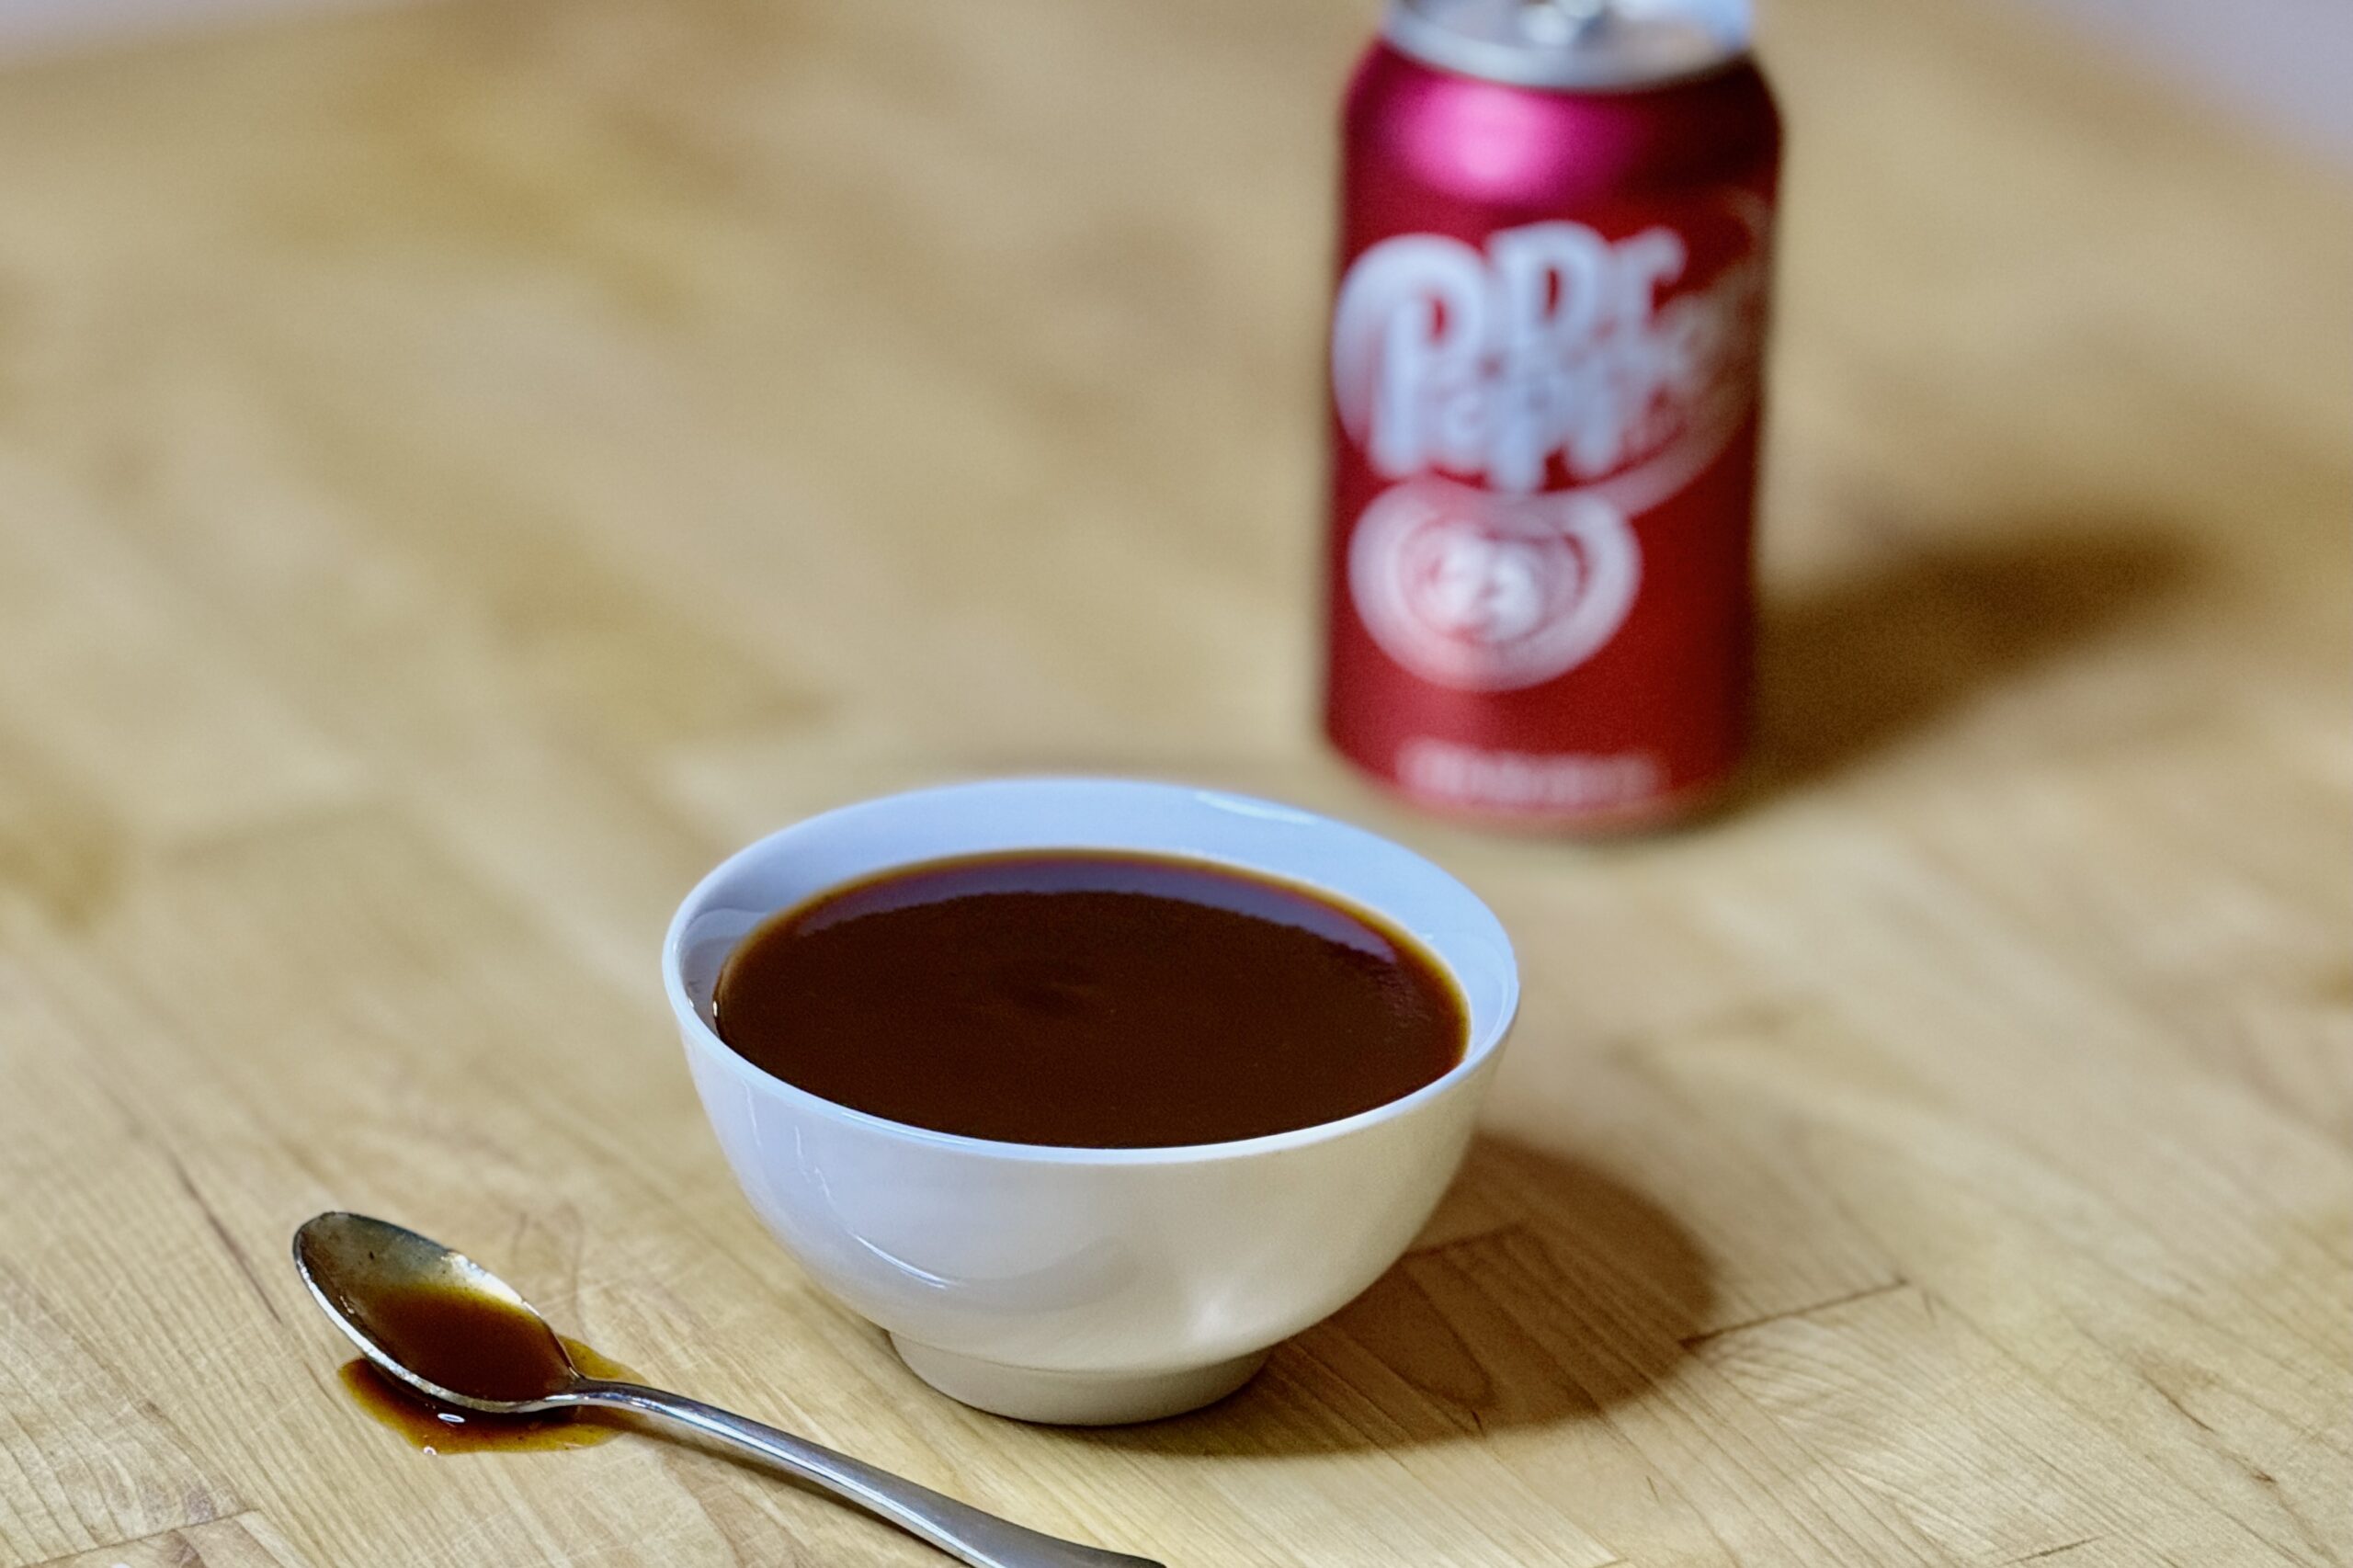
    This Dr Pepper Barbecue Sauce has been a longtime family favorite—rich, sweet, and smoky. Reducing a portion of the Dr Pepper concentrates its distinctive flavor, while gently warming the spices brings out their aroma. Brown sugar, honey, and molasses give the sauce a rounded sweetness, balanced by apple cider vinegar and savory seasoning. Brush it onto meat near the end of cooking or serve it warm on the side.


    Ingredients

    • 1 bottle, 20 fl oz (591 ml), Dr Pepper, divided
    • 2 cups (480 g) ketchup, divided
    • About ¾ cup (150 g) brown sugar
    • 2 tbsp (40 g) molasses
    • ¼ cup (84 g) honey
    • ¼ cup (60 ml) apple cider vinegar
    • 2 tsp liquid aminos
    • 1 tsp fish sauce
    • 1 tsp chipotle chili powder
    • ½ tsp garlic powder
    • ½ tsp table salt
    • ¼ tsp ginger powder
    • ¼ tsp galangal powder, or substitute an additional ¼ tsp ginger
    • ¼–½ tsp black pepper

    Directions

    Reduce The Dr Pepper

    Pour 1 cup (240 ml) of the Dr Pepper into a saucepan and simmer over medium heat until reduced to a thick, syrupy consistency, about 10–15 minutes. Set aside.

    Bloom The Spices

    In a large saucepan, warm 2–3 tbsp (30–45 g) of the measured ketchup over medium heat.

    Add the chipotle chili powder and garlic powder, stirring constantly for 30–60 seconds until fragrant.

    Build The Sauce

    Add the remaining Dr Pepper, reduced Dr Pepper syrup, remaining ketchup, brown sugar, molasses, honey, apple cider vinegar, liquid aminos, fish sauce, salt, ginger, galangal, and black pepper.

    Stir well to combine.

    Simmer Until Thickened

    Bring the sauce to a gentle boil, then reduce to a simmer.

    Cook uncovered, stirring occasionally, until thickened to your desired consistency, about 20–30 minutes.

    Taste And Adjust

    Taste and adjust with additional vinegar for brightness or a pinch of salt if needed.

    Yield: About 4 cups (950 ml).


    Notes

    Preparation

    • Reducing part of the Dr Pepper concentrates its flavor and enhances the signature character of the sauce.
    • Blooming the spices helps develop deeper, more integrated flavor compared to adding them directly to the liquid.
    • The combination of brown sugar and molasses provides a more balanced, less candy-like sweetness.

    Variations

    • Root Beer or Cola: Root beer or cola may be substituted for Dr Pepper for a slightly different flavor profile.
    • Tangier Sauce: For a slightly tangier sauce, increase the apple cider vinegar by 1–2 tsp.

    Serving Suggestions

    • Perfect for pulled pork, ribs, grilled chicken, or burgers.
    • Brush onto meats during the final stage of cooking or serve warm on the side.

    Make-Ahead & Storage

    • Refrigerate in a sealed container for up to 1 week.
    • Reheat gently before serving if desired.
    • The flavor deepens after a day in the refrigerator.
  • Grandma’s Lasagna

    Grandma’s Lasagna

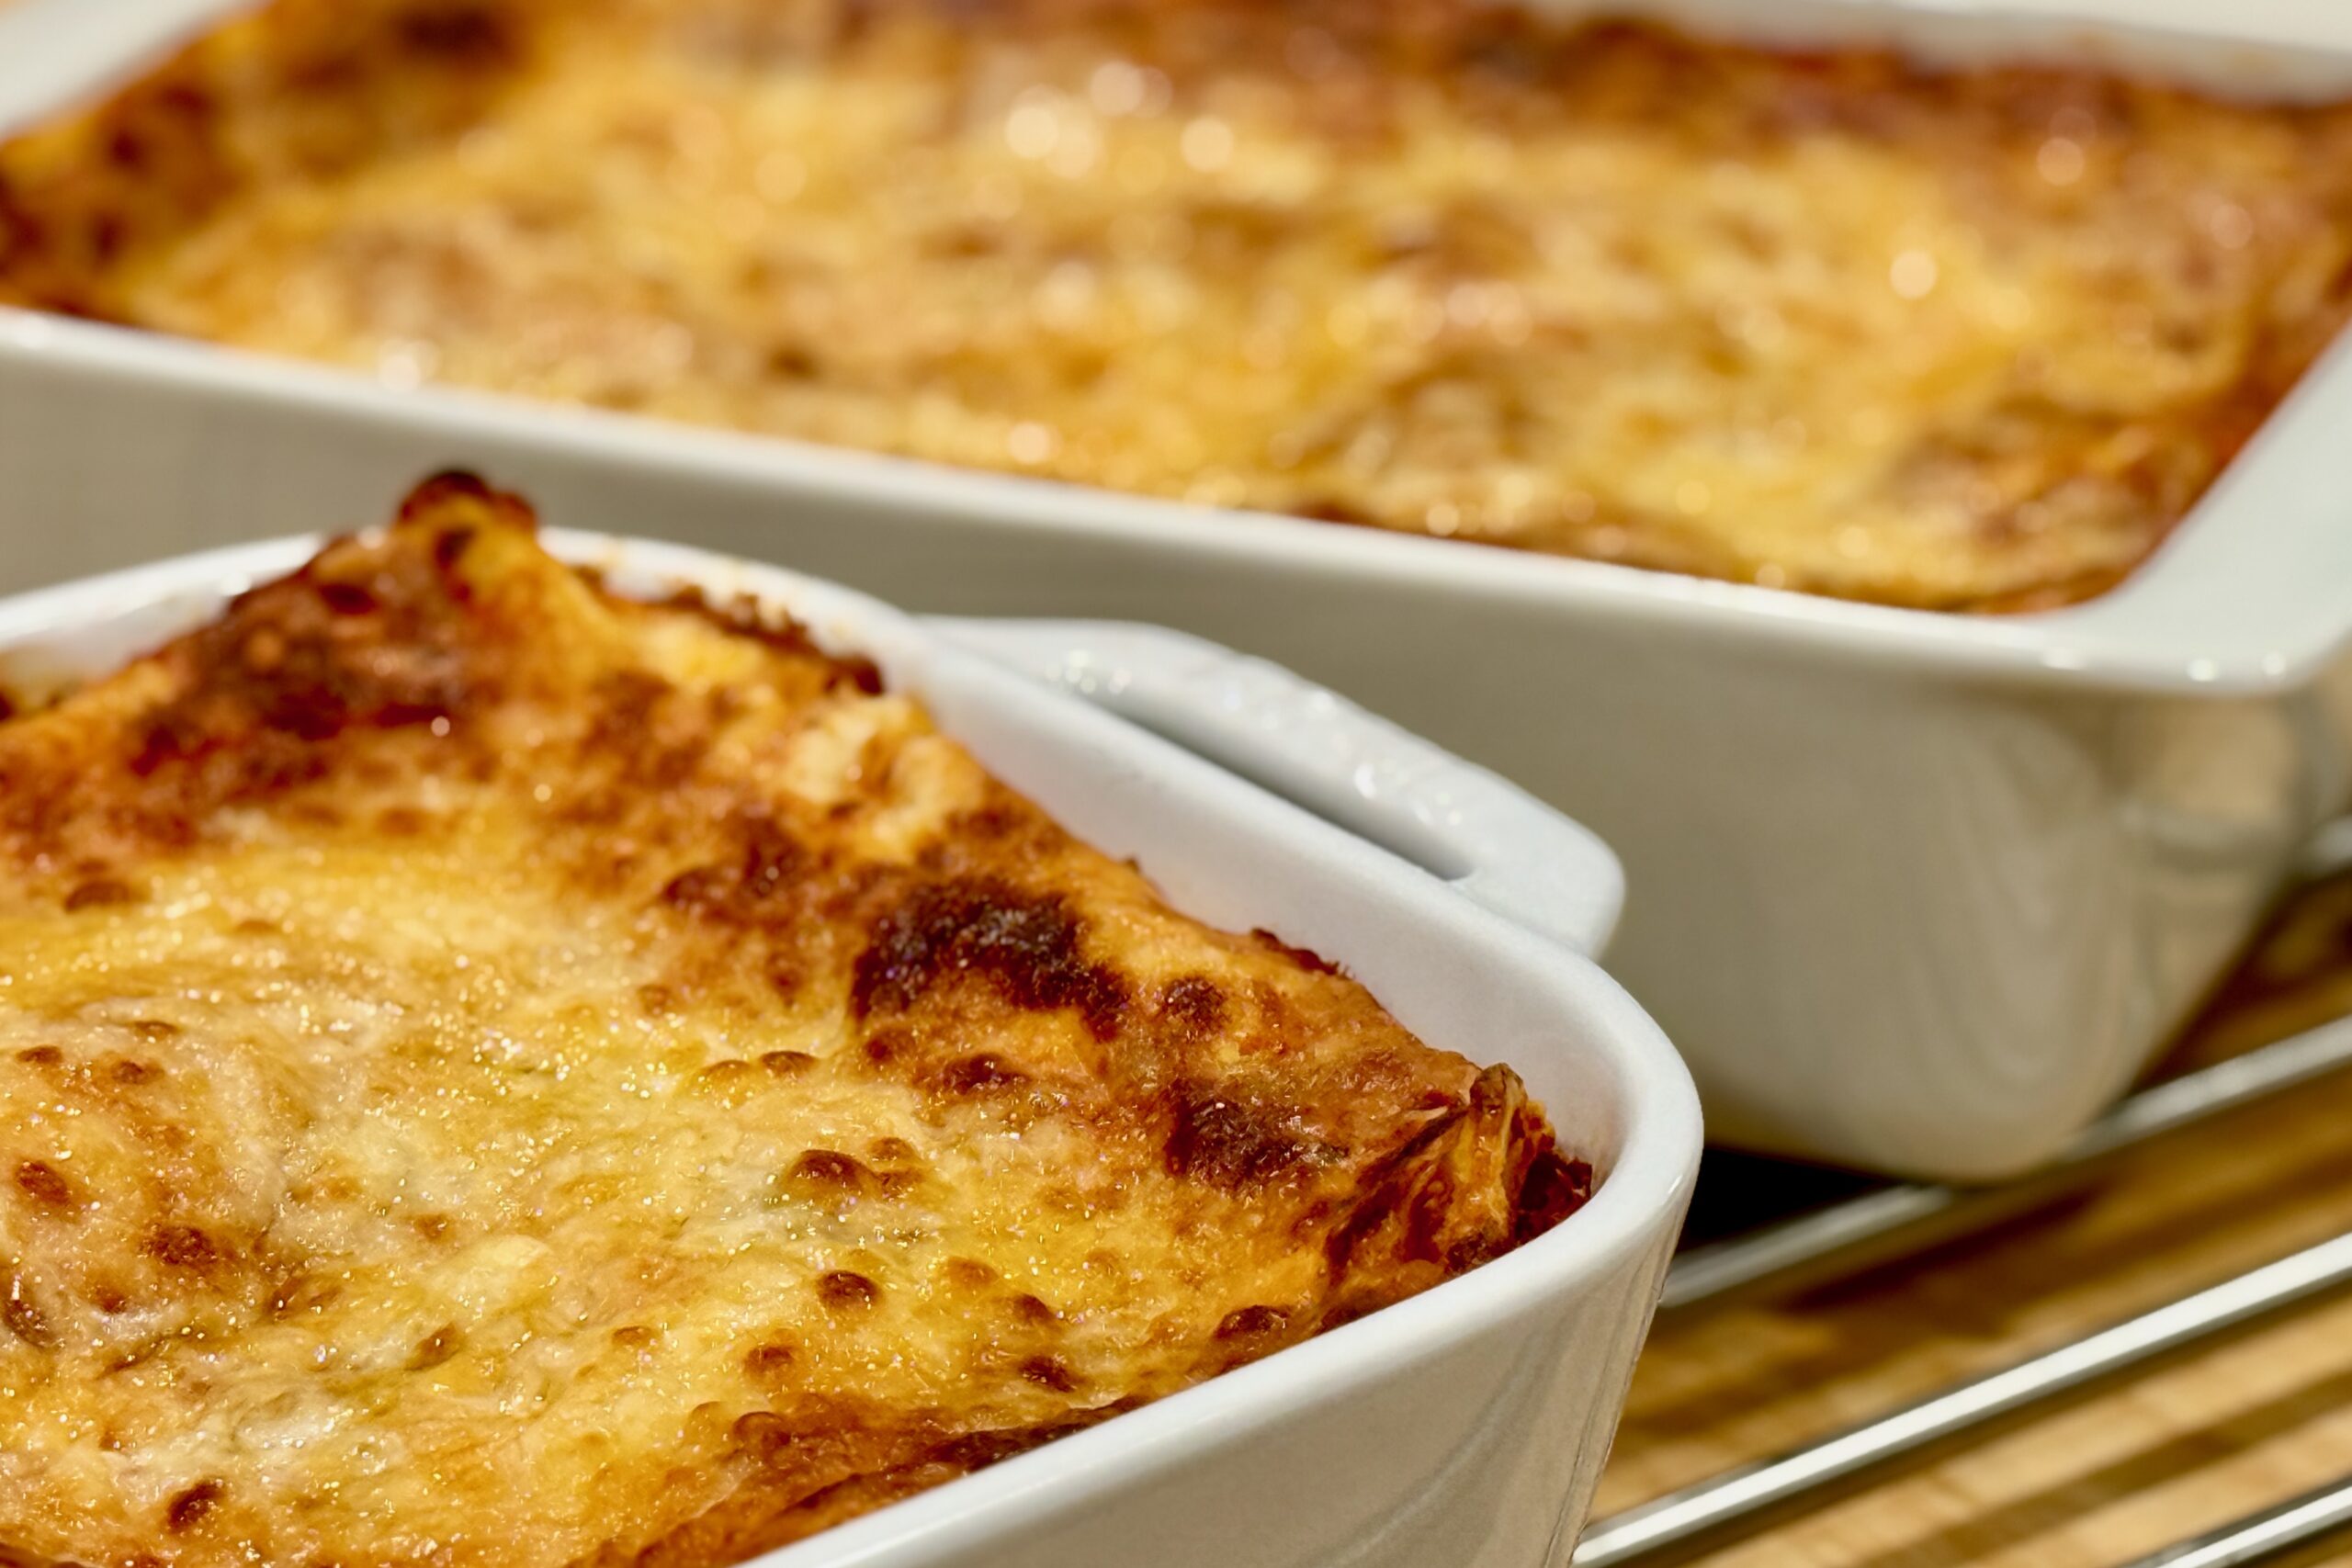
    In the 1960s and 70s, most of our family parties included the Berg family—Tom, Evie, and their daughter Donna were always there, and they’ve long felt like part of our family. Grandma’s Lasagna recipe actually came from Donna Berg sometime in the 1970s after she served it at a birthday party. It was such a hit that our family has used this lasagna recipe ever since. Over the years, I’ve made a few careful updates: I added besciamella after living in Delft, The Netherlands, in the home of Bep Lupker—her lasagna included a silky, delicious besciamella that I never forgot. I’ve also refined the meat sauce for deeper flavor and better balance, while keeping the heart of the original recipe intact.


    Ingredients

    Meat Sauce

    • 2 tbsp (28 g) olive oil
    • 1 cup (140 g) chopped onion
    • 5 cloves (15 g) garlic, minced
    • 1 lb (454 g) ground chuck beef (or ½ lb (227 g) ground beef and ½ lb (227 g) Italian sausage)
    • 1 can, 28 oz (794 g), crushed tomatoes
    • 1 can, 15 oz (425 g), tomato sauce
    • 1 can, 6 oz (170 g), tomato paste
    • 1 cup (240 g) chicken broth
    • ½ cup (120 g) dry white wine or dry red wine (optional)
    • 2 tsp (10 g) fish sauce (optional)
    • 2 tsp dried basil
    • 2 tsp dried parsley
    • 1 tsp dried oregano
    • ¾ tsp dried ground fennel
    • ¼ tsp dried thyme leaves
    • 3 whole cloves
    • 2 bay leaves
    • ½ tsp freshly ground black pepper (to taste)
    • 1 tsp table salt

    Cheese & Pasta

    • 2 cups (454 g) ricotta or cottage cheese (or 1 cup (227 g) of each)
    • ½ cup (50 g) Parmesan cheese, shredded
    • 8 oz (227 g) mozzarella cheese, sliced
    • 8 oz (227 g) lasagna noodles, prepared (or our homemade Fresh Lasagna Pasta Sheets)

    Besciamella

    • ¼ cup (57 g) butter
    • ¼ cup (30 g) flour
    • 2 cups (480 g) milk
    • ¼ tsp onion powder
    • ¼ tsp table salt
    • ¼ tsp freshly ground black pepper
    • small pinch nutmeg

    Directions

    Make the Meat Sauce

    In a Dutch oven over medium heat, heat olive oil until shimmering. Add onion and sauté until translucent and tender. Add garlic and cook for 30–45 seconds, just until fragrant. Add meat and cook until no longer pink, breaking it up as it browns.

    Clear a small space in the pot and add tomato paste directly to the pan. Cook for 1–2 minutes, stirring, until the paste darkens slightly and smells sweeter. Stir the paste into the meat mixture.

    Stir in crushed tomatoes, tomato sauce, chicken broth, wine (optional), and fish sauce (optional). Add dried basil, dried parsley, oregano, fennel, thyme, cloves, bay leaves, pepper, and salt.

    Simmer covered on low heat for 30 minutes and uncovered for 15 minutes. Remove bay leaves and whole cloves before assembling. (Sauce is best when made a day or more in advance and reheated.)

    Prepare the Cheese

    Reserve a little Parmesan for the topping, then combine the remaining Parmesan with the ricotta and/or cottage cheese in a bowl. Reserve mozzarella for layering and topping.

    Assemble

    Place enough meat sauce in the bottom of a 9×13-inch (23×33 cm) lasagna pan to thinly coat. Add ⅓ of the cooked lasagna noodles. Spread ⅓ of the ricotta mixture over the noodles, add a layer of mozzarella slices, then cover with ⅓ of the remaining meat sauce.

    Repeat for two additional layers. Top with remaining mozzarella and the reserved Parmesan.

    Bake

    Preheat the oven to 325°F (163°C). Bake covered for 40 minutes and uncovered for 10 minutes, or until warmed through and cheese is slightly browned. Rest 10–15 minutes before slicing for cleaner layers.

    Make the Besciamella

    While the lasagna bakes, melt the butter in a saucepan over medium heat. Whisk in the flour and cook briefly, stirring, until smooth and bubbling. Gradually whisk in the milk, then add the onion powder, salt, pepper, and nutmeg. Cook, stirring, until the sauce thickens. Keep warm over low heat until serving.

    Serve

    Slice and serve lasagna topped with besciamella.

    Yield: 1 lasagna in a 9×13-inch (23×33 cm) pan.


    Notes

    Preparation

    • Why cloves? Whole cloves add subtle warmth and sweetness to the sauce and are removed before assembly so their flavor stays in the background.
    • Besciamella tip (optional): For an extra-silky texture, warm the milk separately and whisk it in gradually.
    • Make-ahead sauce: This meat sauce tastes even better after a night in the fridge; rewarm gently before assembling.

    Variations

    • Wine: Dry white or dry red both work well; omit if preferred.
    • Fish sauce: Optional, but it adds savory depth without tasting “fishy” at this amount. In its place, mash 2 anchovy fillets into the sauce with the tomato paste.
    • Meat: Replace half the beef with ½ lb (227 g) Italian sausage, using ½ lb (227 g) beef and ½ lb (227 g) sausage in total, for a slightly richer, more seasoned profile.

    Serving Suggestions

    • Let the lasagna rest 10–15 minutes before cutting for cleaner slices.
    • Serve with a simple green salad and warm bread to round out the meal.

    Make-Ahead & Storage

    • Make-ahead: Assemble the lasagna, cover, and refrigerate up to 24 hours. Bake as directed, adding 10–15 minutes to the covered bake time if it’s going in cold.
    • Refrigerate: Store leftovers covered for up to 4 days.
    • Freeze: Freeze tightly wrapped portions for up to 3 months. Thaw overnight in the fridge before reheating for best texture.

    Original Berg Family Lasagna Recipe (circa 1970s)
    This is the original version of the recipe as it was shared with our family by Donna Berg in the 1970s. It’s simpler than the updated version above, but it’s the foundation everything else grew from.

    Ingredients

    • ⅓ cup (53 g) chopped onion
    • 1 clove (3 g) garlic, minced
    • 2 tbsp (28 g) olive oil
    • 1 lb (454 g) ground chuck beef
    • 1 can (8 oz / 227 g) tomato sauce
    • 1 can (6 oz / 170 g) tomato paste
    • 1 cup (240 g) water
    • ½ tsp oregano
    • freshly ground black pepper (to taste)
    • 1 tsp table salt
    • ½ tsp basil
    • 1 whole clove, crushed
    • 2 cups (454 g) ricotta or cottage cheese (or 1 cup of each / 227 g each)
    • ½ cup (50 g) Parmesan cheese, shredded
    • 8 oz (227 g) mozzarella cheese, sliced
    • 8 oz (227 g) lasagna noodles, prepared

    Directions

    Sauté onion and garlic in oil until tender; add meat and brown. Add tomato sauce, tomato paste, water, and seasonings and simmer covered for 30 minutes.

    Place ½ of the cooked lasagna noodles in the bottom of a buttered 9×13 pan. Spread ½ of the ricotta (and/or cottage cheese), Parmesan, and mozzarella cheese over lasagna. Cover with ½ of the meat sauce. Repeat layers.

    Bake at 350°F for 45 minutes.

  • Habanero Hot Honey

    Habanero Hot Honey

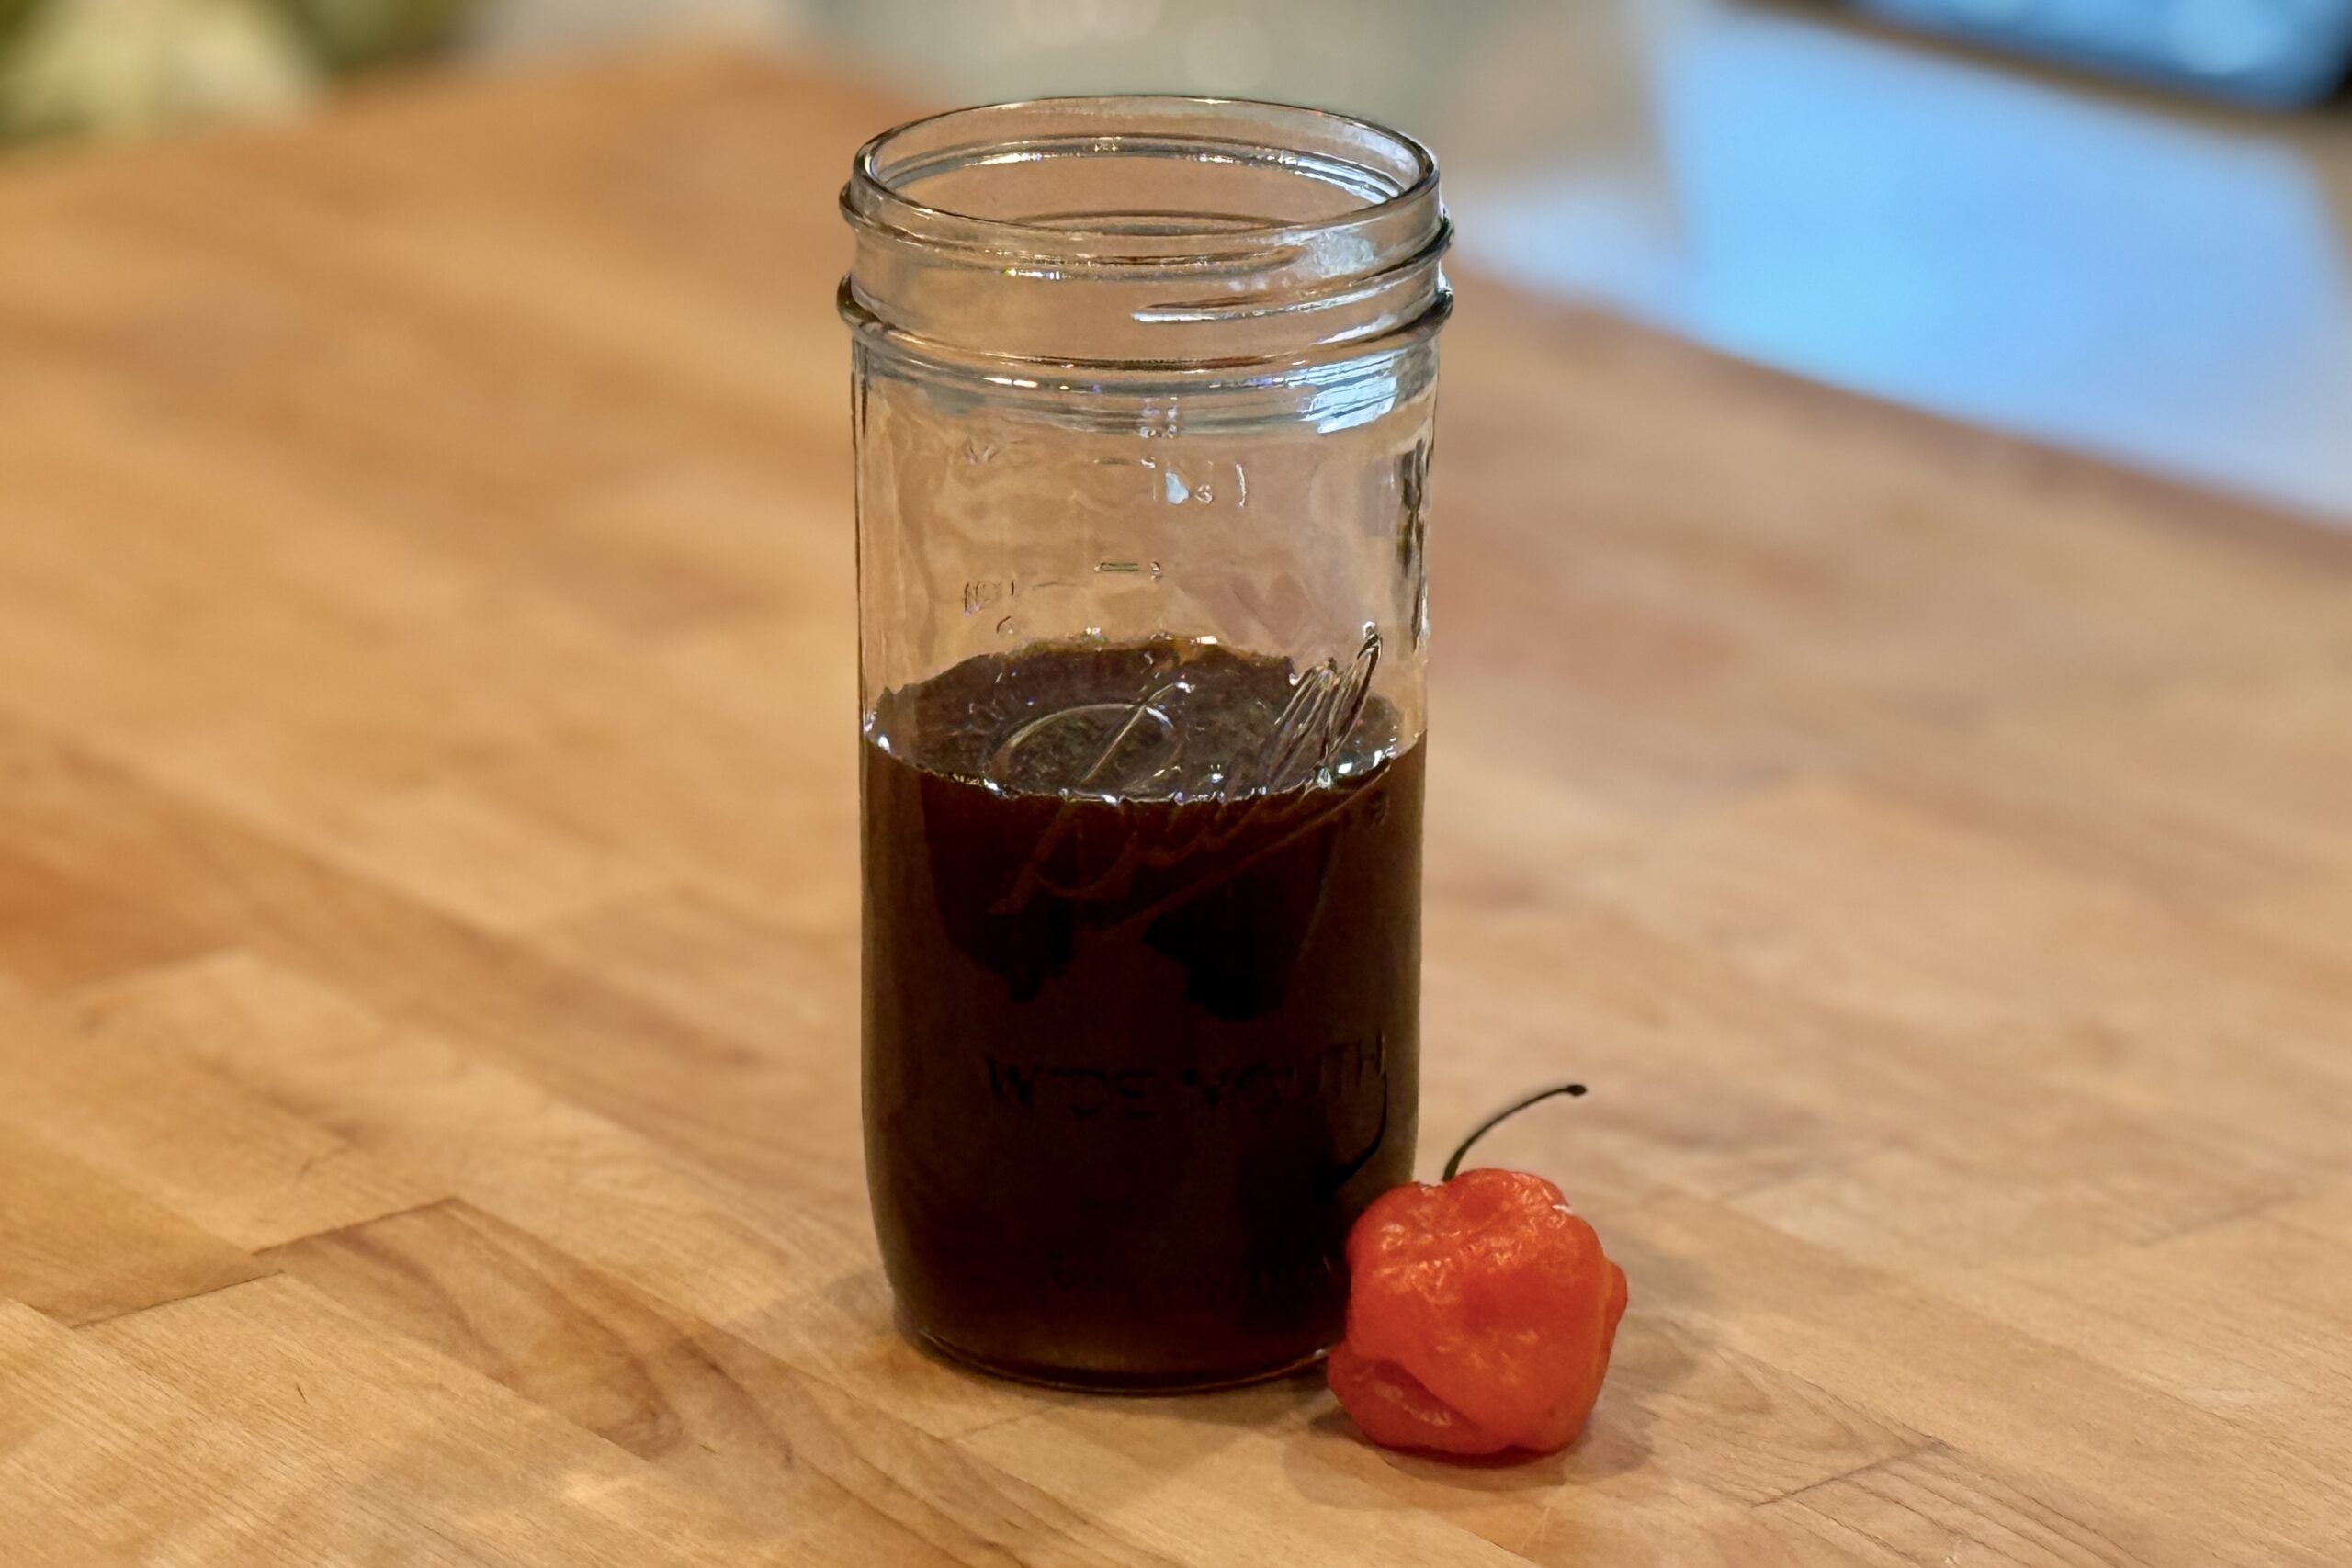
    This habanero hot honey is simple, versatile, and built for flexibility. A gentle sous vide infusion brings a clean, balanced heat while preserving the natural character of the honey, making it just as useful for drizzling over fried chicken, biscuits, or pizza as it is for building into barbecue sauces and finishing glazes. Because the base stays intentionally clean—just honey, habanero, and an optional pinch of salt—it can be adjusted to fit whatever you’re cooking.


    Ingredients

    • 1 cup (240 ml) unfiltered honey
    • 1 fresh habanero, halved
    • Pinch of table salt (optional)

    Directions

    Prepare the Jar

    Add the honey, habanero, and optional salt to a small mason jar. Seal the jar finger-tight so pressure can equalize during the infusion.

    Infuse Sous Vide

    Set a sous vide bath to 130°F (54°C). Submerge the jar and infuse for 2 hours.

    Strain and Store

    Remove the jar from the water bath and let it cool just enough to handle comfortably. Strain out the habanero through a fine-mesh strainer.

    For a cleaner finish and better consistency, strain again through cheesecloth or a coffee filter before transferring to a clean jar for storage.

    Yield: About 1 cup (240 ml).


    Notes

    Preparation

    • Leave the seeds in for a hotter infusion, or remove some or all of them for a milder result.
    • If your honey is very thick or lightly crystallized, it may loosen naturally during the infusion.
    • Wear gloves when handling habaneros, and avoid touching your face or eyes afterward.
    • This recipe is designed as a base ingredient, so the flavor stays clean and flexible for later adjustments.

    Variations

    • Milder: use only ½ habanero or shorten the infusion time slightly.
    • Hotter: use a longer infusion or a second habanero.

    Serving Suggestions

    • Drizzle over fried chicken, pizza, roasted vegetables, cornbread, or biscuits.
    • Use as a finishing touch for pulled pork, brisket, grilled chicken, or ribs.
    • Stir a small amount into barbecue sauce, vinaigrettes, or marinades for balanced sweetness and heat.

    Make-Ahead & Storage

    • Store in a clean jar in the refrigerator for the best shelf life.
    • If the honey crystallizes in storage, warm the jar gently in hot water until fluid again.
    • Because this recipe uses fresh pepper, thorough straining is important for stability and consistency.
  • Fresh Lasagna Pasta Sheets

    Fresh Lasagna Pasta Sheets

    These fresh lasagna sheets are designed for structure, not just tenderness—giving you distinct, satisfying layers that hold their shape through baking. A blend of all-purpose flour and semolina adds just enough bite, while a slightly firmer dough ensures the pasta doesn’t disappear into the sauce. Rolled a bit thicker than traditional recommendations, this version creates a hearty, rustic lasagna with beautifully defined layers in every slice—perfect for dishes like our favorite recipe for Grandma’s Lasagna.


    Ingredients

    • 365 g (about 3 cups + 2 tsp) all-purpose flour
    • 90 g (about ½ cup + 2½ tsp) semolina flour
    • ½ tsp table salt
    • 4–5 large eggs (target 240–250 g without shells)
    • 1 tbsp water, if needed

    Directions

    Mix the Dough

    Add the all-purpose flour, semolina flour, and salt to the bowl of a stand mixer fitted with the paddle attachment. Mix on speed 2 just to combine.

    Add 4 eggs, one at a time, mixing briefly between additions. The mixture should resemble coarse crumbs. If the dough does not begin to come together, add part or all of the remaining egg as needed. Add up to 1 tbsp water only if necessary to bring the dough together into a firm, slightly dry mass.

    Knead

    Switch to the dough hook and knead on speed 2 for 2–3 minutes, until the dough becomes smooth and cohesive. It should feel firm but pliable, not sticky.

    Rest

    Wrap the dough tightly in plastic wrap and let rest at room temperature for at least 30 minutes. For best results, refrigerate up to overnight, then allow to come to room temperature before rolling.

    Roll the Sheets

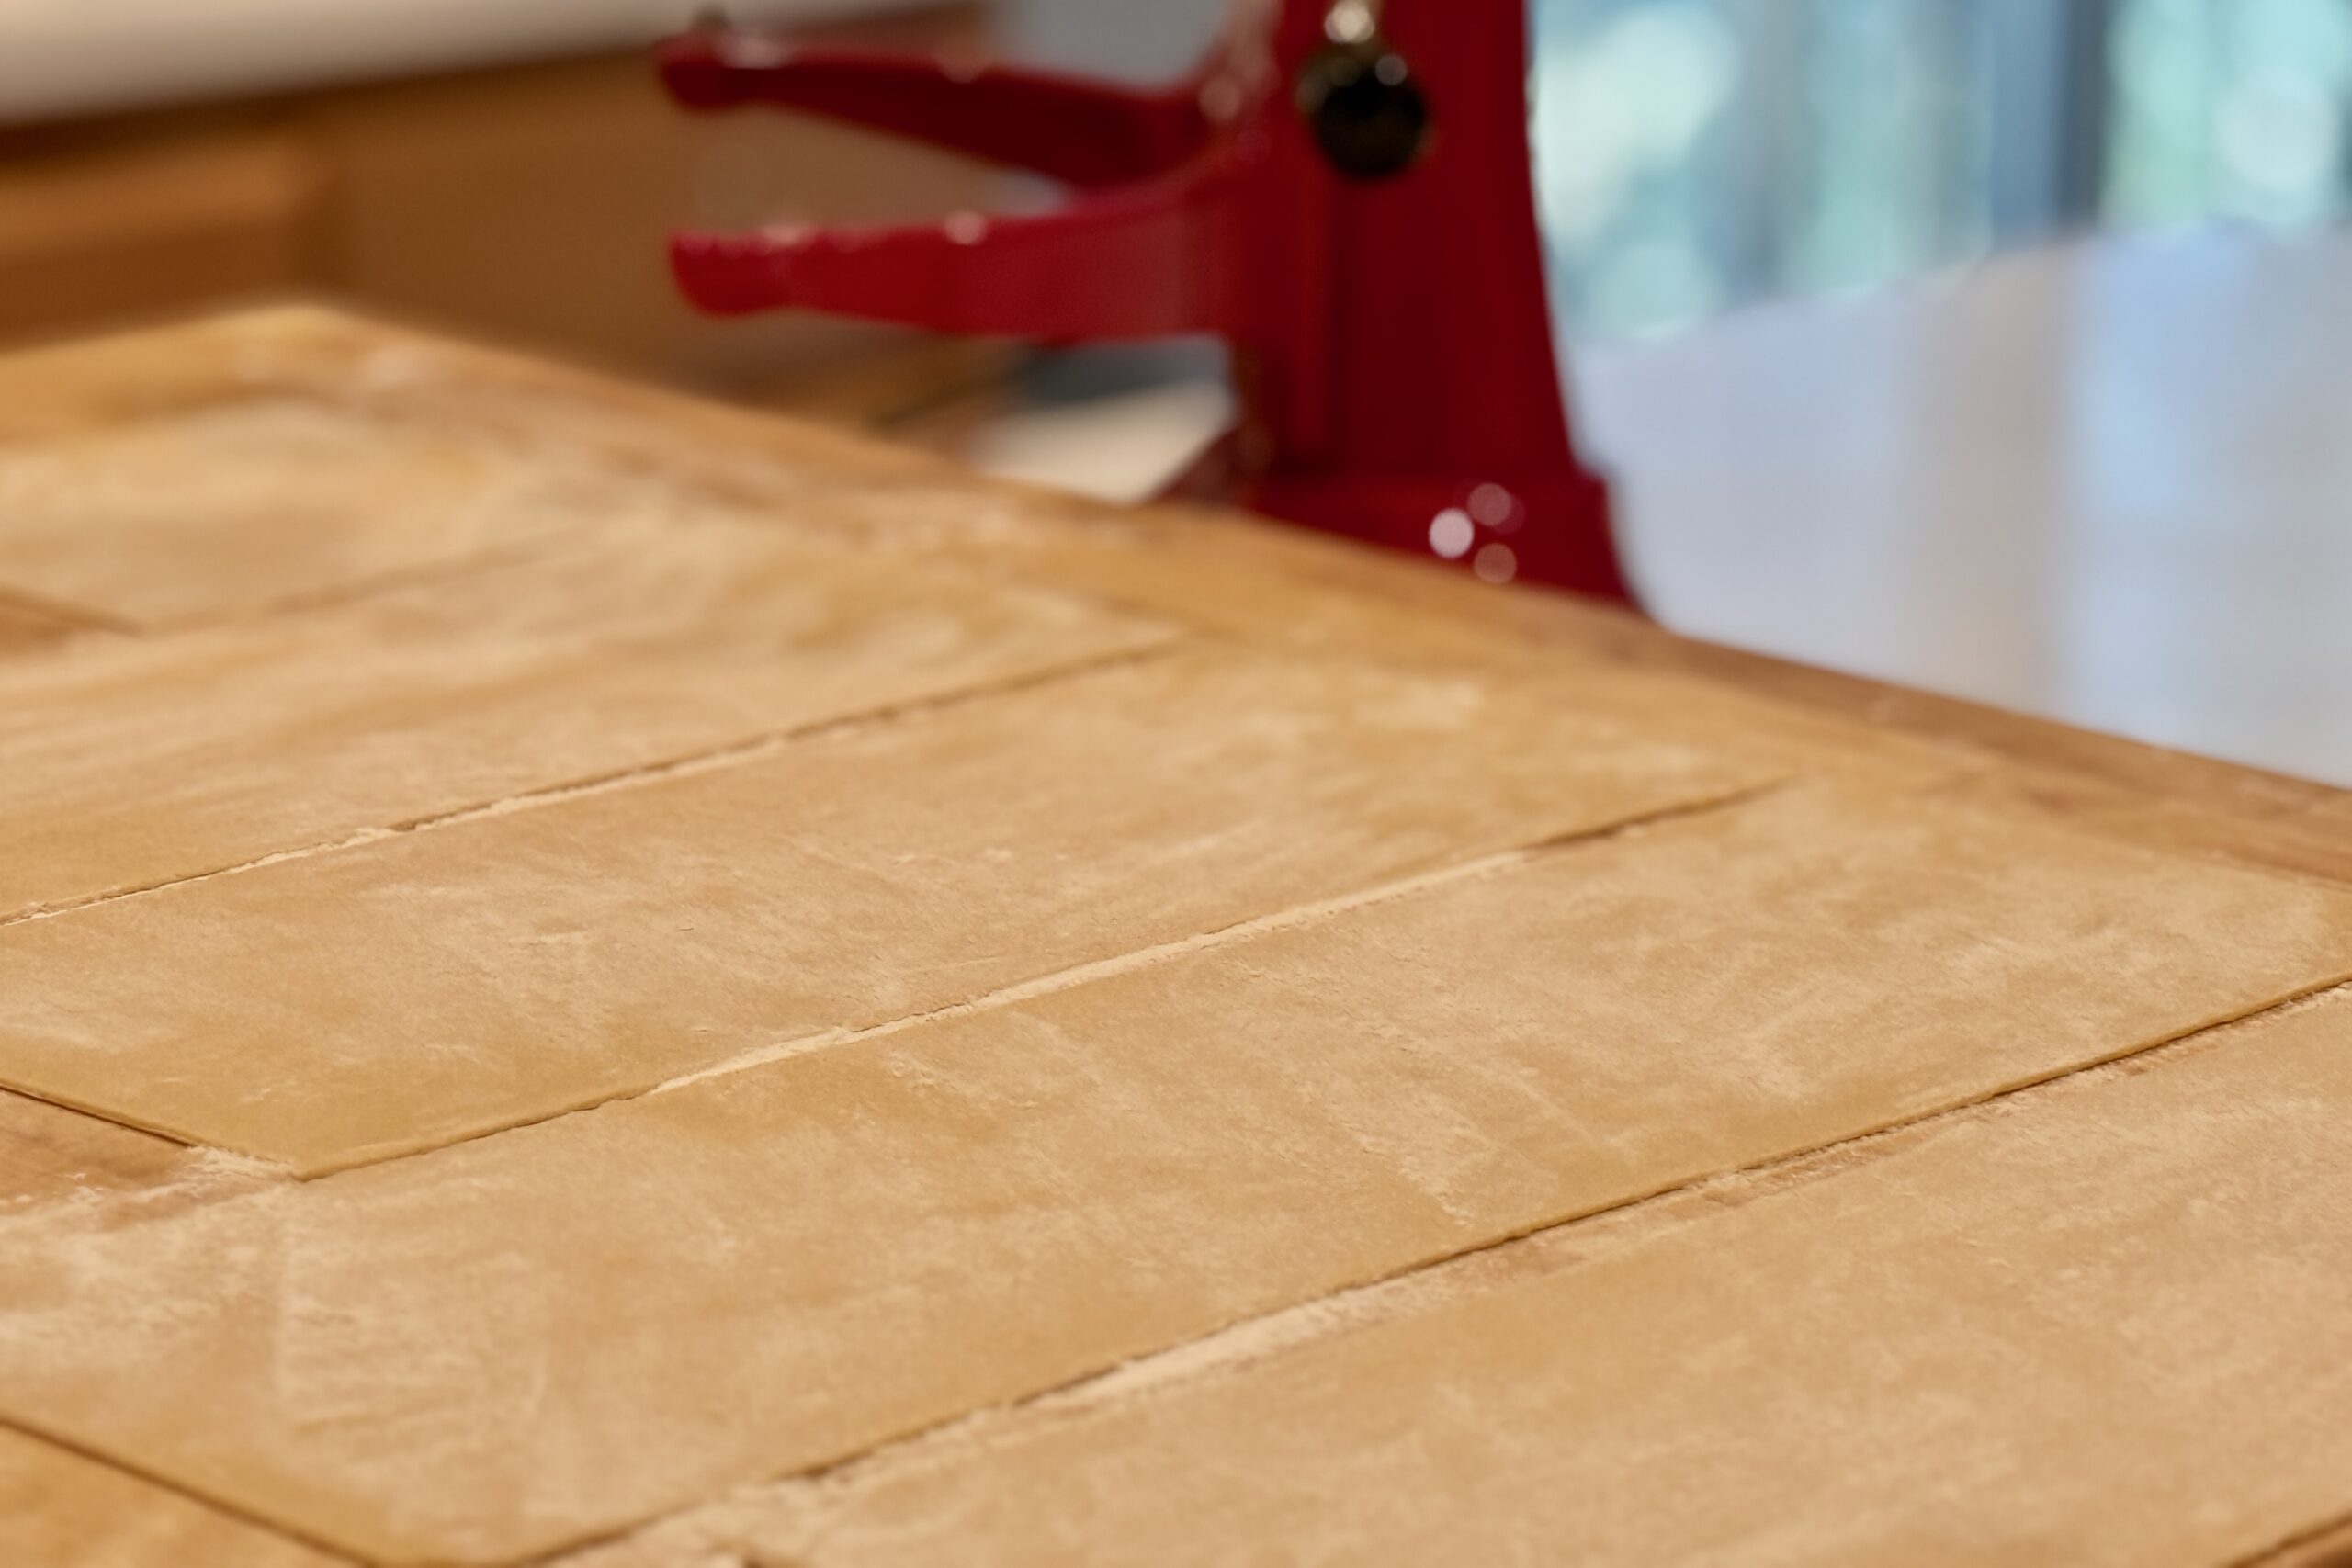
    Divide the dough into 4 portions. Working with one piece at a time, flatten slightly and run through a pasta roller, folding and passing through the widest setting several times until smooth.

    Gradually reduce the thickness setting until reaching setting #3 or #4. Cut sheets to fit your baking dish as needed.

    Prepare for Use

    Lay sheets on a lightly floured surface and allow to rest for 10–20 minutes before using. This slight drying improves texture and handling.

    Cook (Optional)

    These sheets can be used directly in lasagna without boiling, especially when using a well-hydrated sauce.

    If parboiling is preferred, cook in well-salted boiling water for 2–3 minutes, then transfer to cold water and drain before layering.

    Yield: About 1 batch pasta sheets for 1 large lasagna.


    Notes

    Preparation

    • Weigh the flour and eggs for a consistent dough; the US flour equivalents are approximate.
    • For best consistency, weigh the eggs. Aim for 240–250 g total egg weight.
    • The dough should feel slightly firmer than typical pasta dough—this helps it hold structure during baking.
    • Lightly flour sheets as needed to prevent sticking, but avoid excess flour which can dry out the layers.

    Variations

    • Delicate Sheets: roll sheets to setting #4 or #5.
    • Richer Dough: replace 1 whole egg with 2 egg yolks.

    Serving Suggestions

    • Use with a rich meat sauce and béchamel for Grandma’s Lasagna.
    • Pairs well with vegetable-forward lasagnas, including spinach and mushroom or roasted vegetable variations.

    Make-Ahead & Storage

    • Dough can be refrigerated for up to 24 hours before rolling.
    • Rolled sheets can be lightly floured, layered between parchment, and refrigerated for up to 1 day.
    • For longer storage, freeze sheets flat and transfer to a sealed bag once solid. Cook from frozen or thaw before use.
  • Chicken Gyro

    Chicken Gyro

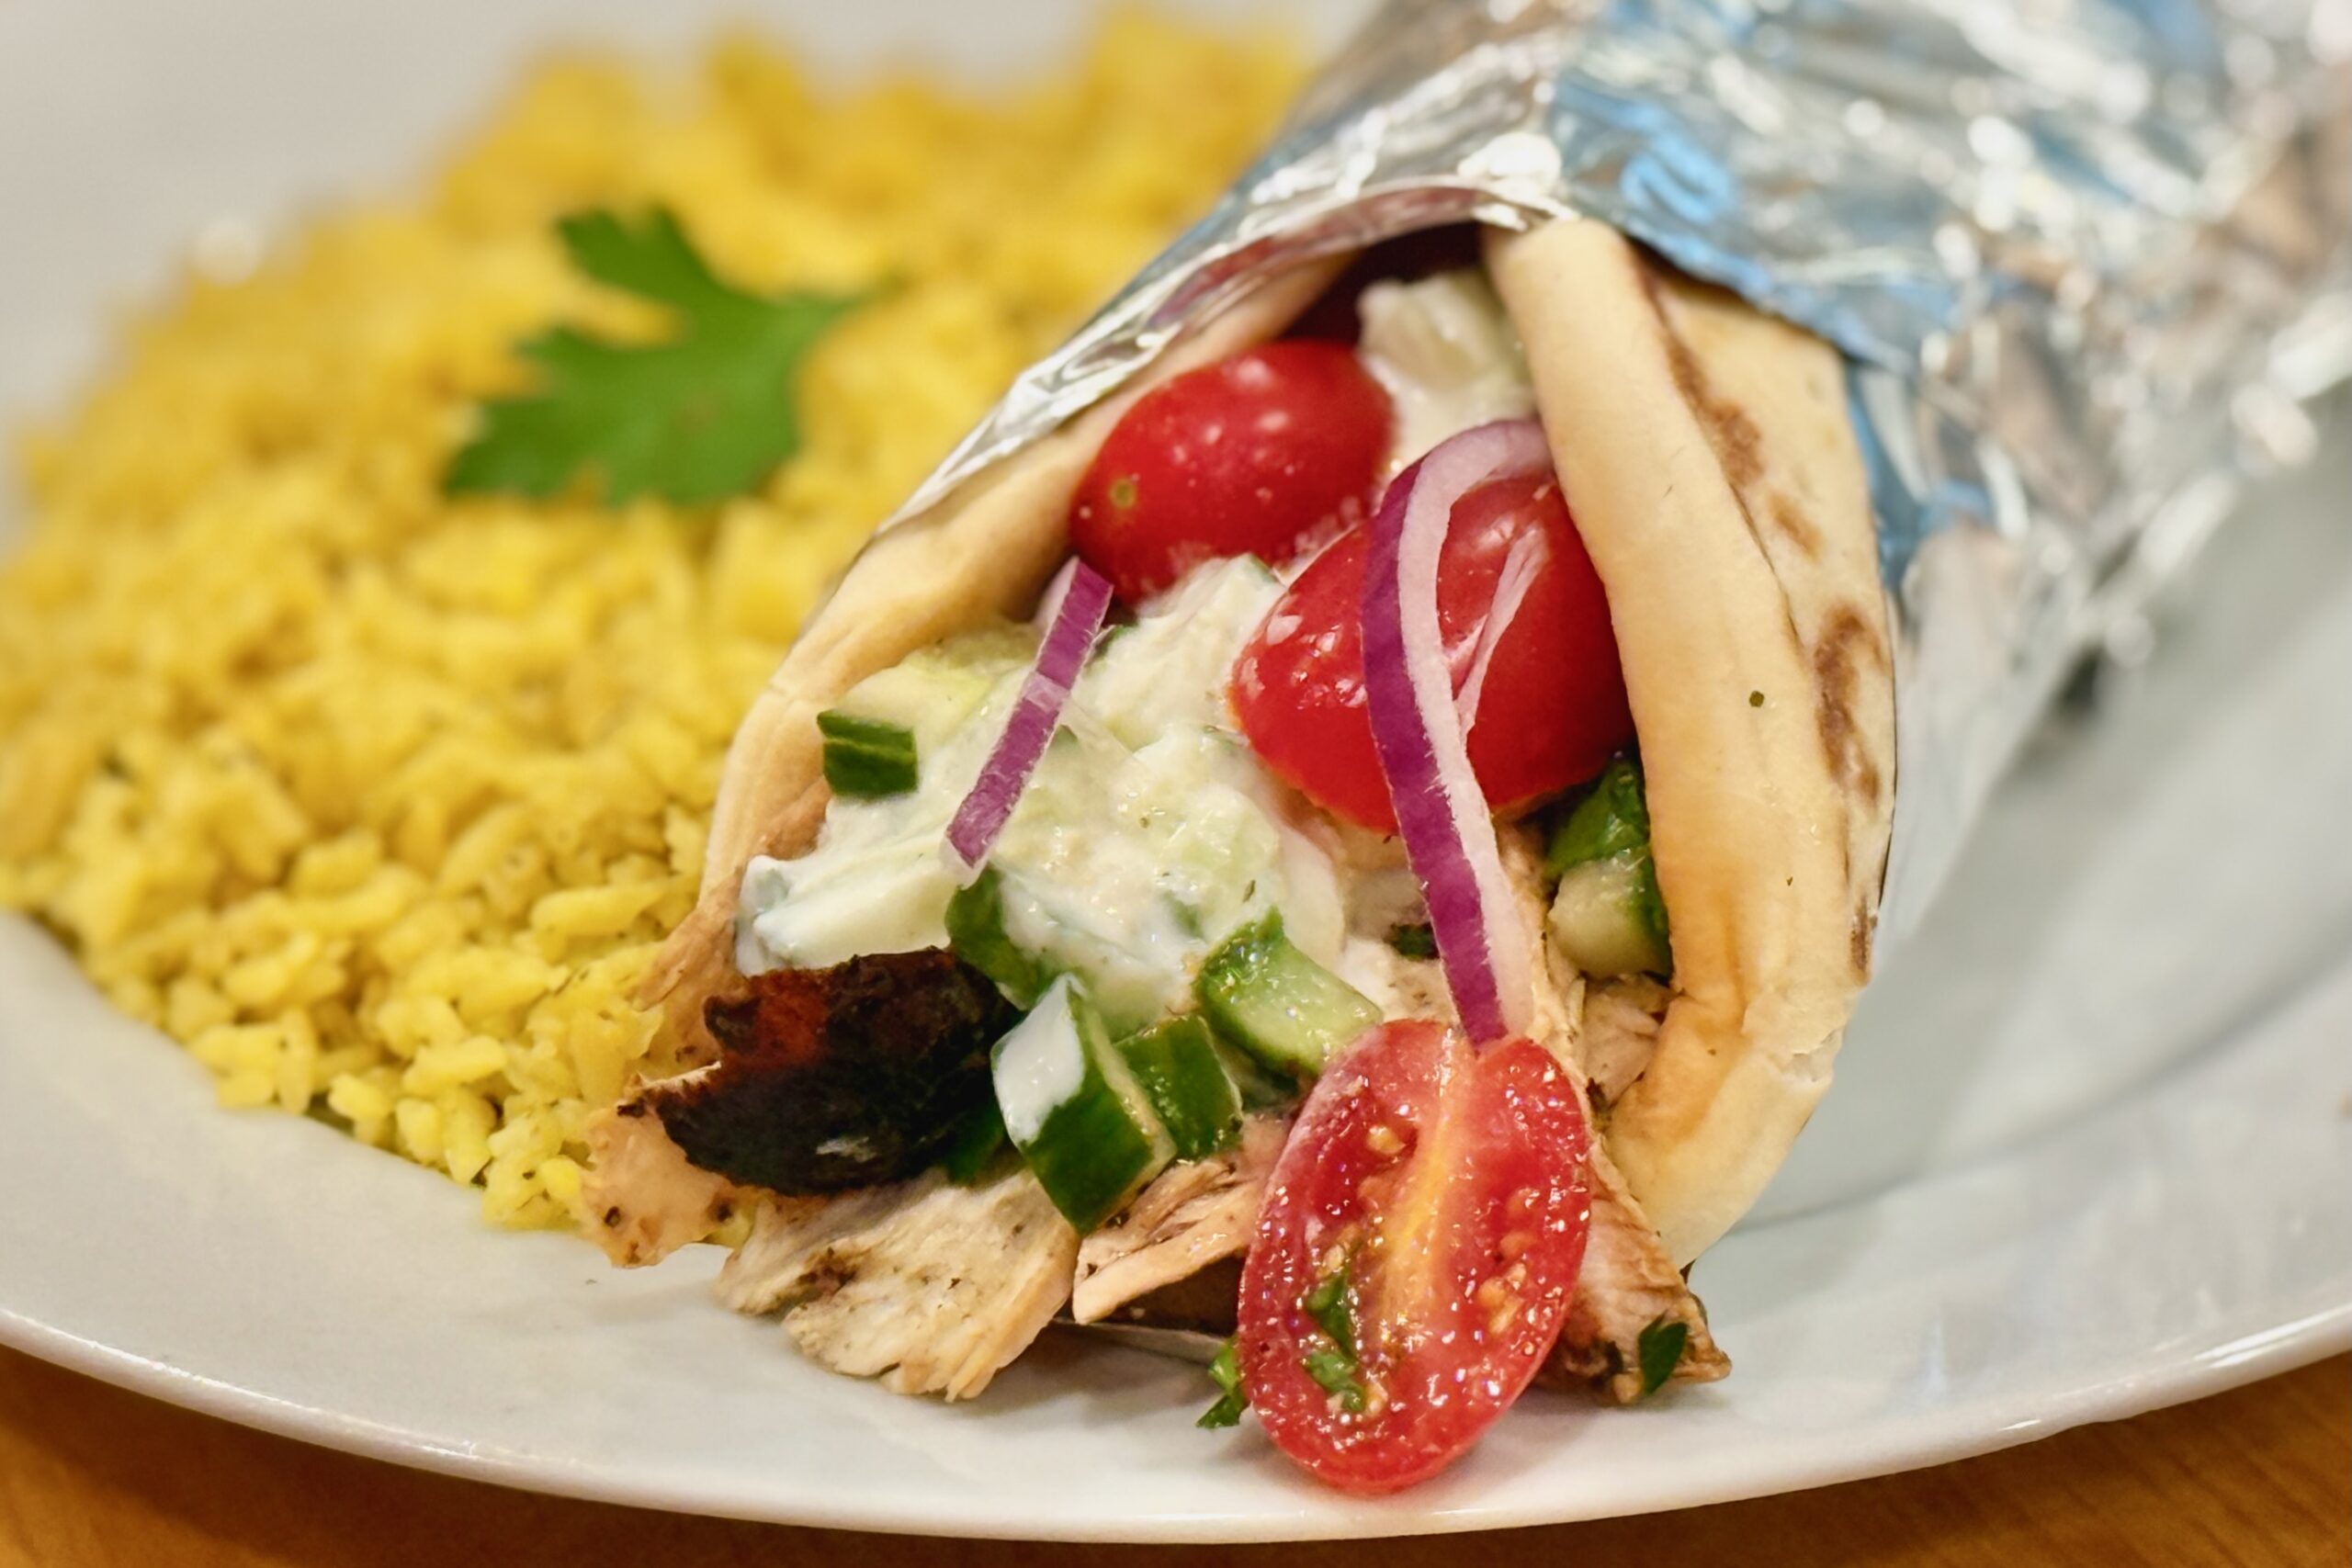
    On a family trip to Corfu, we stopped at a small waterside restaurant and ordered one of the best gyros we had ever tasted. The chicken was deeply seasoned, moist, and tender, with bright lemon, garlic, and oregano and none of the heavy, meatloaf-like texture so common in the United States. This version is our home tribute to that meal—grilled whole for juiciness, sliced and crisped in a hot skillet for authentic gyro-style edges, then wrapped in warm pita with fresh salad and cool tzatziki.


    Ingredients

    Chicken

    • 4 lb (1.8 kg) boneless, skinless chicken thighs

    Marinade

    • 2 tbsp garlic, minced
    • ⅓ cup (80 ml) lemon juice
    • ⅓ cup (about 75 g) plain Greek yogurt
    • 2 tbsp white wine vinegar
    • 2 tbsp extra virgin olive oil
    • 3 tbsp dried oregano, rubbed between your palms before adding
    • 1 tsp paprika
    • ½ tsp ground cumin
    • ½ tsp ground coriander
    • 1 tbsp table salt
    • 1 tsp freshly ground black pepper

    Tzatziki

    • 1 English cucumber, diced or grated
    • 1½ cups (about 340 g) plain Greek yogurt
    • 2 tbsp lemon juice
    • 2 tbsp extra virgin olive oil
    • 1 tsp garlic, minced
    • ½ tsp table salt
    • Freshly ground black pepper, to taste

    Salad

    • 2 English cucumbers, diced
    • 4 to 5 tomatoes, seeded and diced
    • ½ large red onion, thinly sliced
    • ¼ cup (about 15 g) fresh parsley, chopped
    • 1 to 2 tbsp lemon juice, or to taste
    • 1 to 2 tbsp extra virgin olive oil, or to taste
    • ½ tsp dried oregano, crushed
    • Table salt and freshly ground black pepper, to taste

    For Serving

    • Flatbread or pita
    • Olive oil, for crisping the chicken and warming the pita
    • Lemon wedges, for finishing
    • A small pinch of dried oregano for each gyro, optional but recommended

    Directions

    Marinate the Chicken

    In a large bowl or resealable container, combine the garlic, lemon juice, Greek yogurt, white wine vinegar, olive oil, oregano, paprika, cumin, coriander, salt, and black pepper. Rub the oregano between your palms before adding to help release its aroma.

    Add the chicken thighs and turn well to coat. Cover and refrigerate for 3 to 24 hours. Overnight is ideal.

    Make the Tzatziki

    In a medium bowl, stir together the cucumber, Greek yogurt, lemon juice, olive oil, garlic, salt, and black pepper.

    Refrigerate for at least 30 minutes before serving to let the flavors meld.

    Prepare the Salad

    In a separate bowl, combine the cucumbers, tomatoes, red onion, and parsley.

    Toss with the lemon juice, olive oil, crushed oregano, salt, and black pepper to taste. Refrigerate until ready to serve.

    Grill the Chicken

    Preheat a grill to medium-high heat. Remove the chicken from the marinade and grill the thighs whole until cooked through and nicely marked, about 5 to 7 minutes per side depending on thickness.

    Cook until the thickest part of the chicken reaches an internal temperature of 165°F (74°C).

    Transfer to a cutting board and let rest for 5 to 10 minutes.

    Slice and Crisp

    Slice the rested chicken into thin strips. Heat a large skillet over high heat and add a small amount of olive oil.

    Add the sliced chicken and cook briefly, tossing for 60 to 90 seconds, until the edges crisp and brown in spots.

    Finish with a small squeeze of lemon juice.

    Warm the Pita and Assemble

    Lightly brush the pita or flatbread with olive oil and warm on a hot skillet, grill, or griddle for 20 to 30 seconds per side, just until soft, hot, and lightly toasted.

    To serve, place chicken on the warm pita, spoon over tzatziki, add the salad, and finish with a small pinch of dried oregano if desired.

    Yield: 6 to 8 servings.


    Notes

    Preparation

    • For the best flavor, marinate the chicken overnight.
    • If using regular cucumbers for the tzatziki, dice or grate them, salt lightly, let rest 10 to 15 minutes, then squeeze dry in a kitchen towel before mixing into the yogurt.
    • English cucumbers usually contain less moisture, so that draining step is often unnecessary, though a light squeeze is still helpful if they seem especially juicy.
    • You may use diced cucumber, grated cucumber, or a combination in the tzatziki. A 50/50 mix of diced and grated cucumber gives an especially nice texture—creamy, but still fresh and crisp.

    Variations

    • Chicken Breast: Lean, boneless, skinless chicken breasts can be substituted for thighs. Grill until the coldest part of each breast reaches 150°F (66°C), then maintain an internal temperature at or above 150°F (66°C) for at least 3 continuous minutes. Start timing only once every piece has reached that temperature. Monitor with a leave-in probe and check the other pieces with an instant-read thermometer; continue cooking as needed to maintain the temperature throughout the hold. Resting time counts only while the measured temperature remains at or above 150°F (66°C). If you cannot verify the full hold, cook to 165°F (74°C).
    • Herbed Tzatziki: add 1 to 2 tsp finely chopped fresh dill or mint.
    • Bread Choice: Flatbread works well here, but warm pita gives the most classic gyro-style presentation.
    • Fries: A few fries tucked into the gyro are a very Greek addition and make it even closer to the style commonly served in Greece.

    Serving Suggestions

    • Serve with Greek Lemon Rice, fries, roasted potatoes, or a green salad topped with our Greek Salad Dressing with Feta & Olives for a full meal.
    • For a traditional Greek gyro-shop feel, wrap the finished gyro loosely in parchment or foil before serving.
    • Extra lemon wedges on the side are excellent for brightening each bite.

    Make-Ahead & Storage

    • The chicken can be marinated up to 24 hours ahead.
    • The tzatziki can be made 1 day ahead and kept refrigerated.
    • The salad is best made the day of serving, though the vegetables can be chopped ahead and dressed shortly before assembling.
    • Leftover cooked chicken keeps well in the refrigerator for up to 3 days. Reheat in a hot skillet to restore some of the crisp edges before serving.
  • Greek Lemon Rice

    Greek Lemon Rice

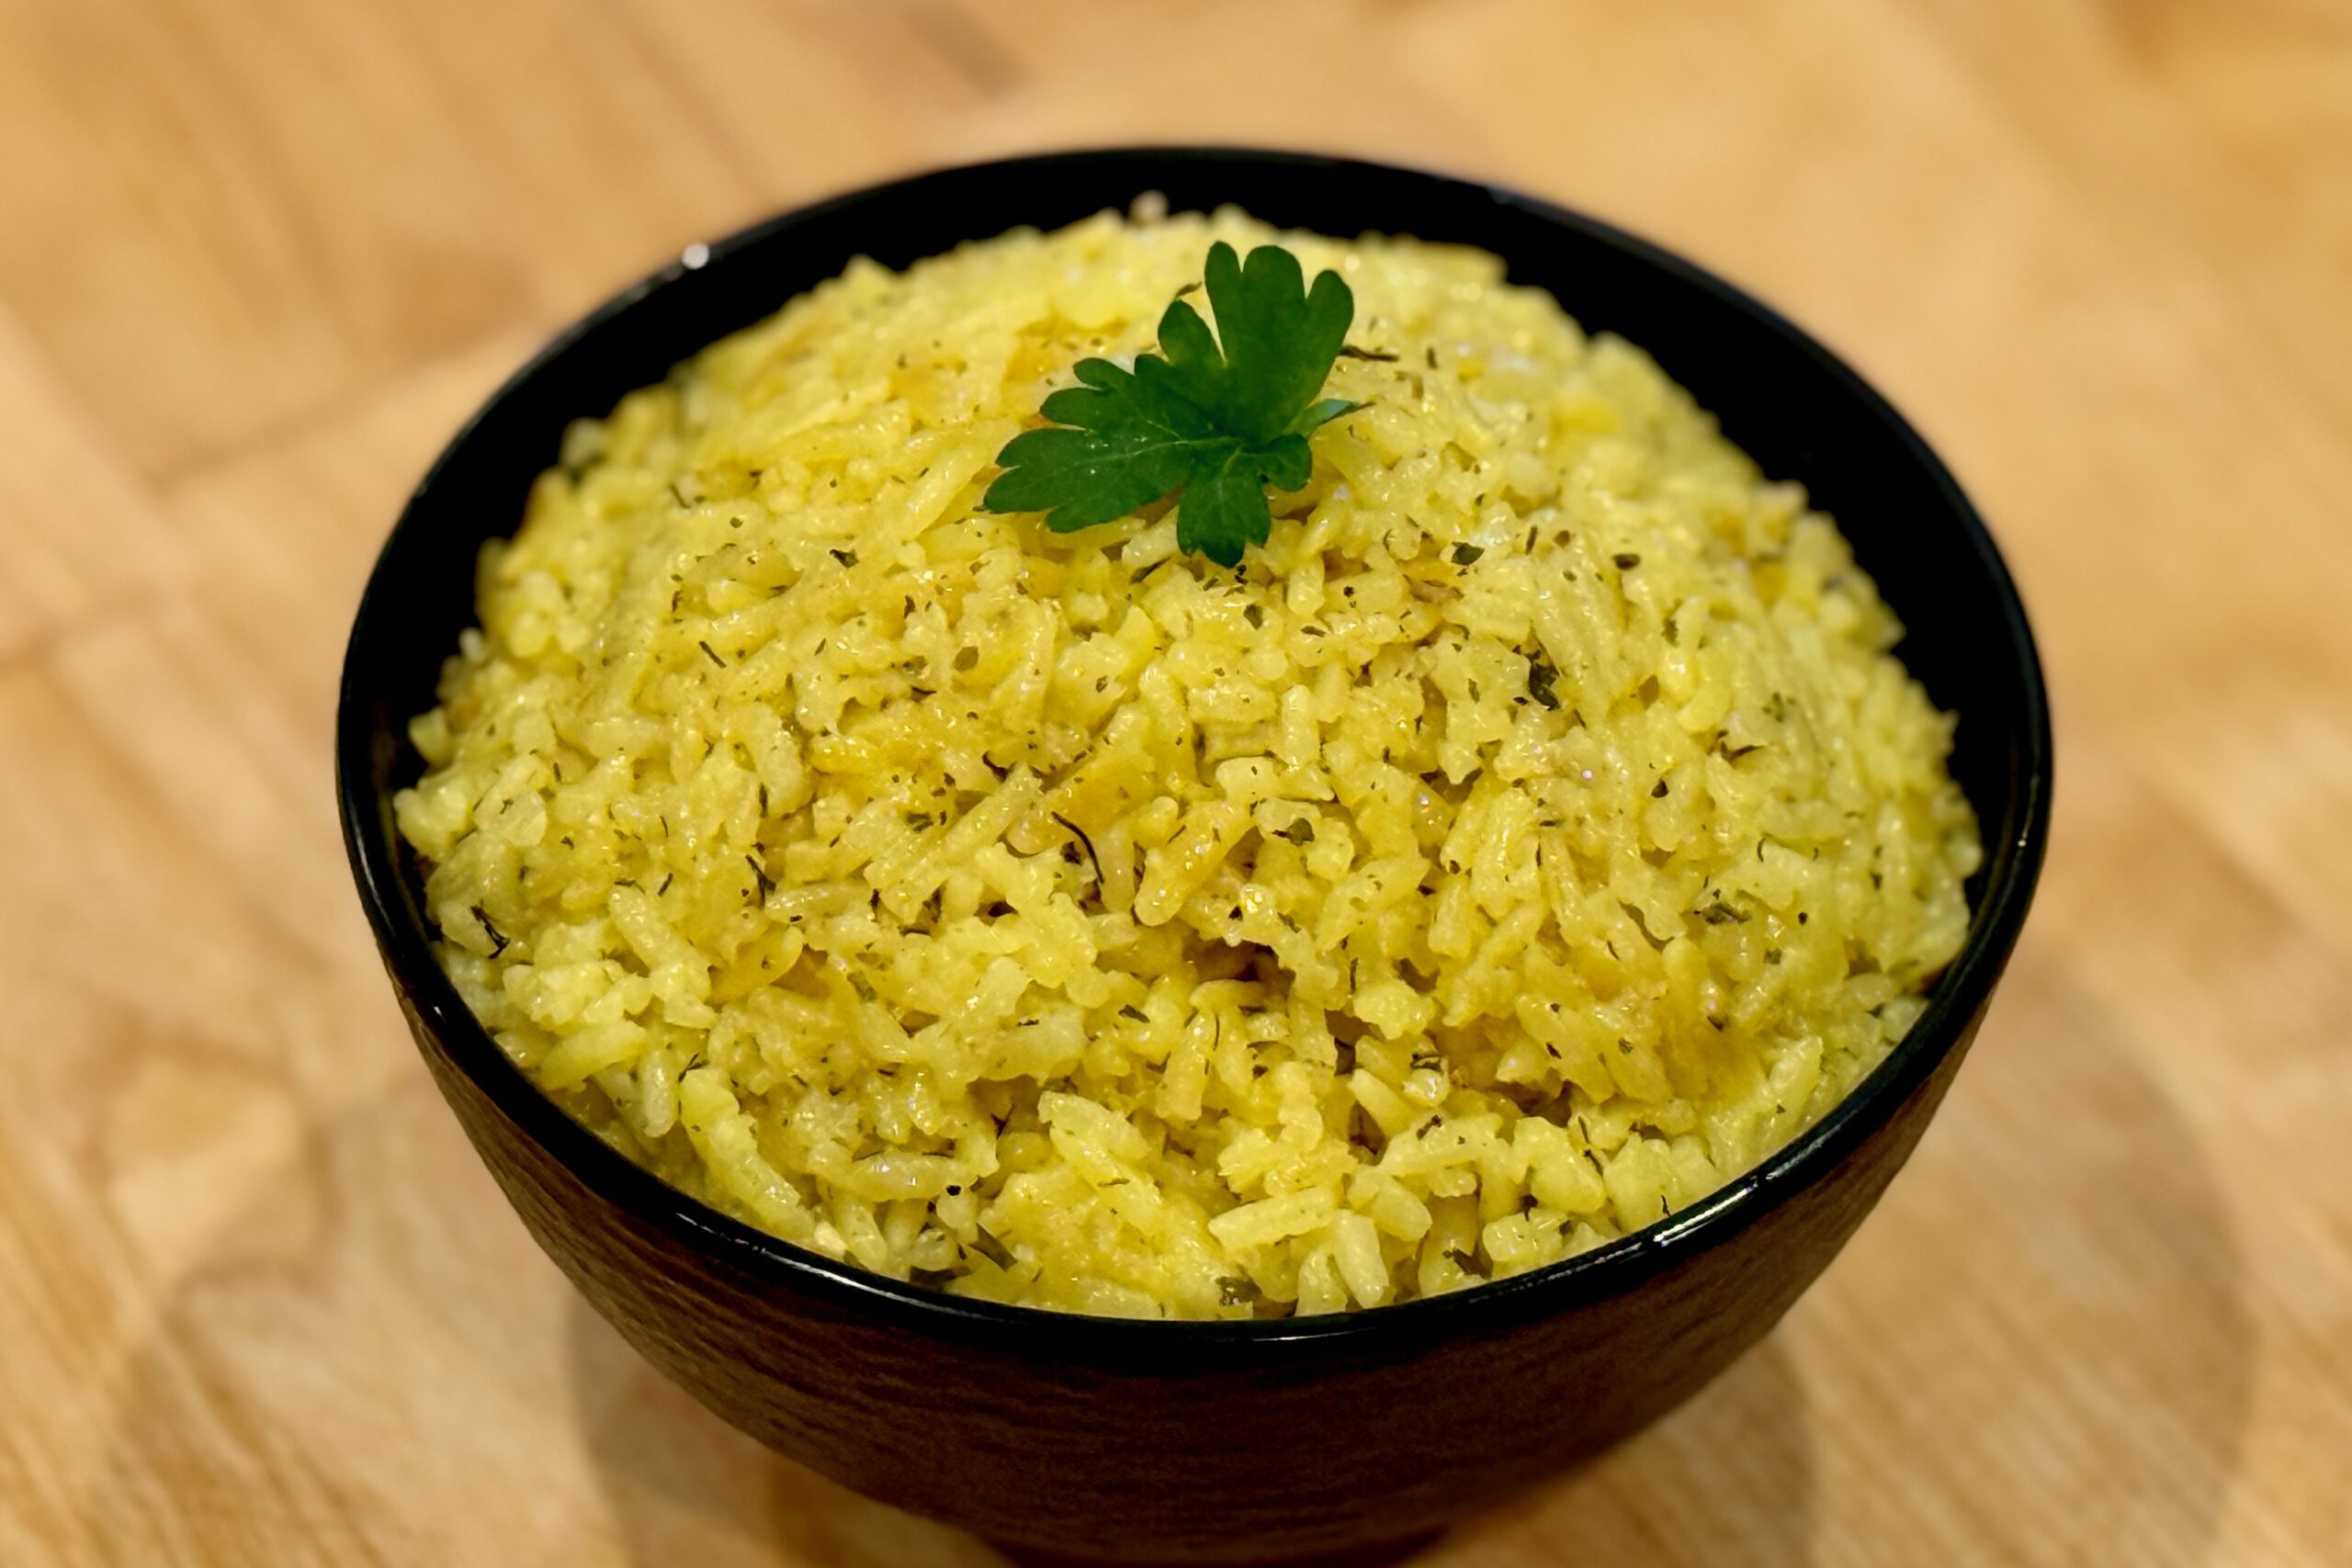
    Bright, savory, and finished with plenty of lemon, this Greek-style rice is an easy way to round out a chicken gyro dinner. Onion, garlic, broth, dill, and parsley build a simple but flavorful base, while a touch of butter adds richness and a tiny pinch of turmeric gives the rice a warm golden color without changing the flavor.


    Ingredients

    • 1 cup (185 g) long-grain white rice, rinsed
    • 1 tbsp (10 g) orzo pasta (optional)
    • 1¼ cups (300 ml) chicken broth
    • 2 tbsp (30 ml) olive oil
    • ¼ cup (40 g) finely diced onion
    • 2 cloves garlic, minced
    • 1½ tsp fresh dill, chopped (or ½ tsp dried)
    • 1½ tsp fresh parsley, finely chopped (or ½ tsp dried)
    • ¼ tsp black pepper
    • ⅛ tsp turmeric
    • ¼ tsp onion powder
    • 1 small bay leaf
    • 1 tsp chicken bouillon (optional but recommended, preferably Better Than Bouillon)
    • 2 tbsp (30 ml) fresh lemon juice
    • 1 tsp lemon zest (optional)
    • 1 tbsp (14 g) butter
    • table salt, to taste

    Directions

    Sauté the Aromatics

    Heat a medium skillet over medium heat. Add the olive oil and cook the onion for about 5–7 minutes, stirring occasionally, until softened and lightly golden.

    Add the garlic and cook for 30 seconds, just until fragrant.

    Toast the Rice

    Add the rinsed rice and optional orzo to the skillet. Cook for 1 to 2 minutes, stirring frequently, until lightly toasted and coated in the oil.

    Transfer the mixture to the Instant Pot insert.

    Add the Liquid and Seasonings

    Stir in the chicken broth, dill, parsley, black pepper, turmeric, onion powder, bay leaf, and chicken bouillon, if using. Do not add the lemon juice yet.

    Pressure Cook

    Lock the lid and cook on High Pressure for 4 minutes.

    Let the pressure release naturally for 10 minutes, then carefully vent any remaining pressure.

    Finish the Rice

    Remove the bay leaf. Fluff the rice gently with a fork. Stir in the lemon juice, lemon zest if using, and butter.

    Taste and season with table salt as needed. Serve warm, with an extra squeeze of lemon if desired.

    Yield: 4 servings.


    Notes

    Preparation

    • Rinsing the rice helps the finished texture stay fluffy and prevents excess stickiness.
    • The turmeric is used only for color and should remain subtle so the rice keeps its classic Greek flavor profile.
    • Cooking the onion until lightly golden adds depth and sweetness that helps balance the bright lemon flavor.
    • The sauté step can also be done directly in the Instant Pot using the Sauté function if preferred.

    Variations

    • With Orzo: The optional orzo adds texture and gives the rice a more traditional Greek pilaf character.
    • Fresh or Dried Herbs: Fresh herbs provide the brightest flavor, but dried dill and parsley work very well for a convenient pantry version.
    • With Oregano: A small pinch of dried oregano can be added if you want the rice to echo the flavors in gyro-seasoned meat.

    Serving Suggestions

    • Serve alongside Chicken Gyro, souvlaki, grilled chicken, or lamb.
    • Finish with extra lemon wedges and a spoonful of tzatziki for a full taverna-style plate.

    Make-Ahead & Storage

    This rice reheats well and can be made ahead for meal prep or larger dinners.

    • Refrigerate leftovers in an airtight container for up to 4 days.
    • Reheat gently with a small splash of broth or water to loosen the rice.
    • Add a fresh squeeze of lemon after reheating to brighten the flavor.