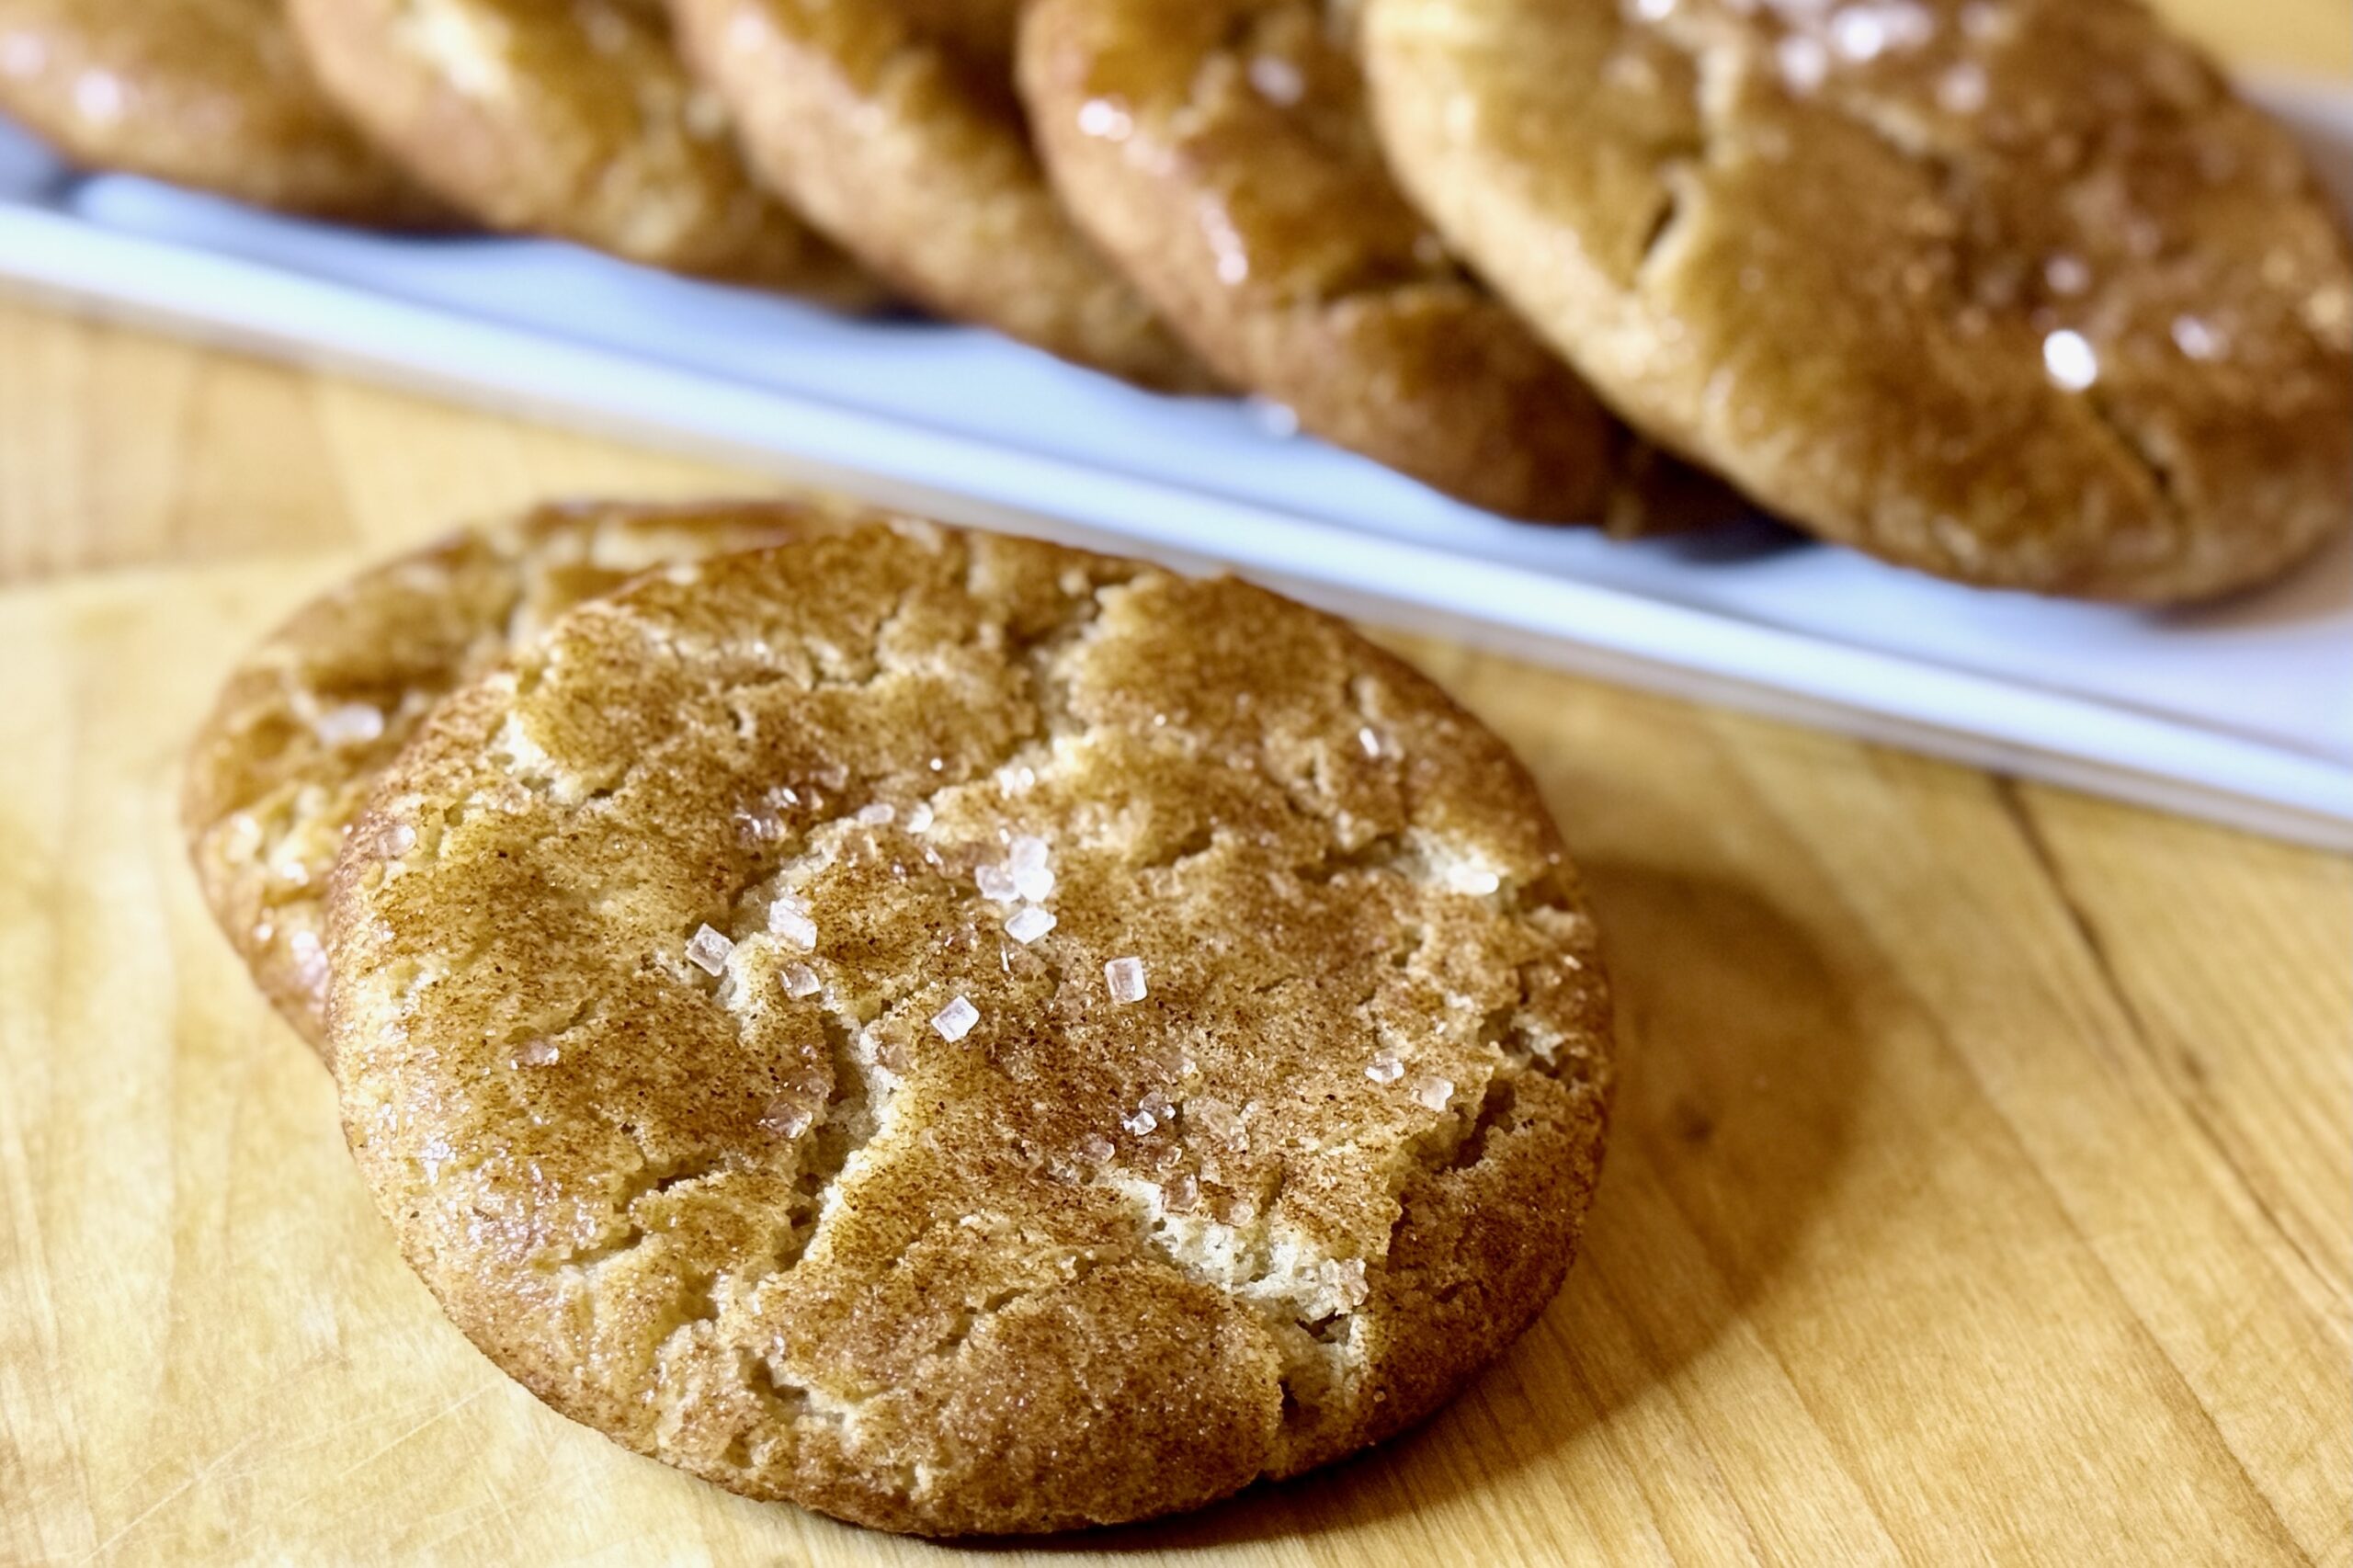
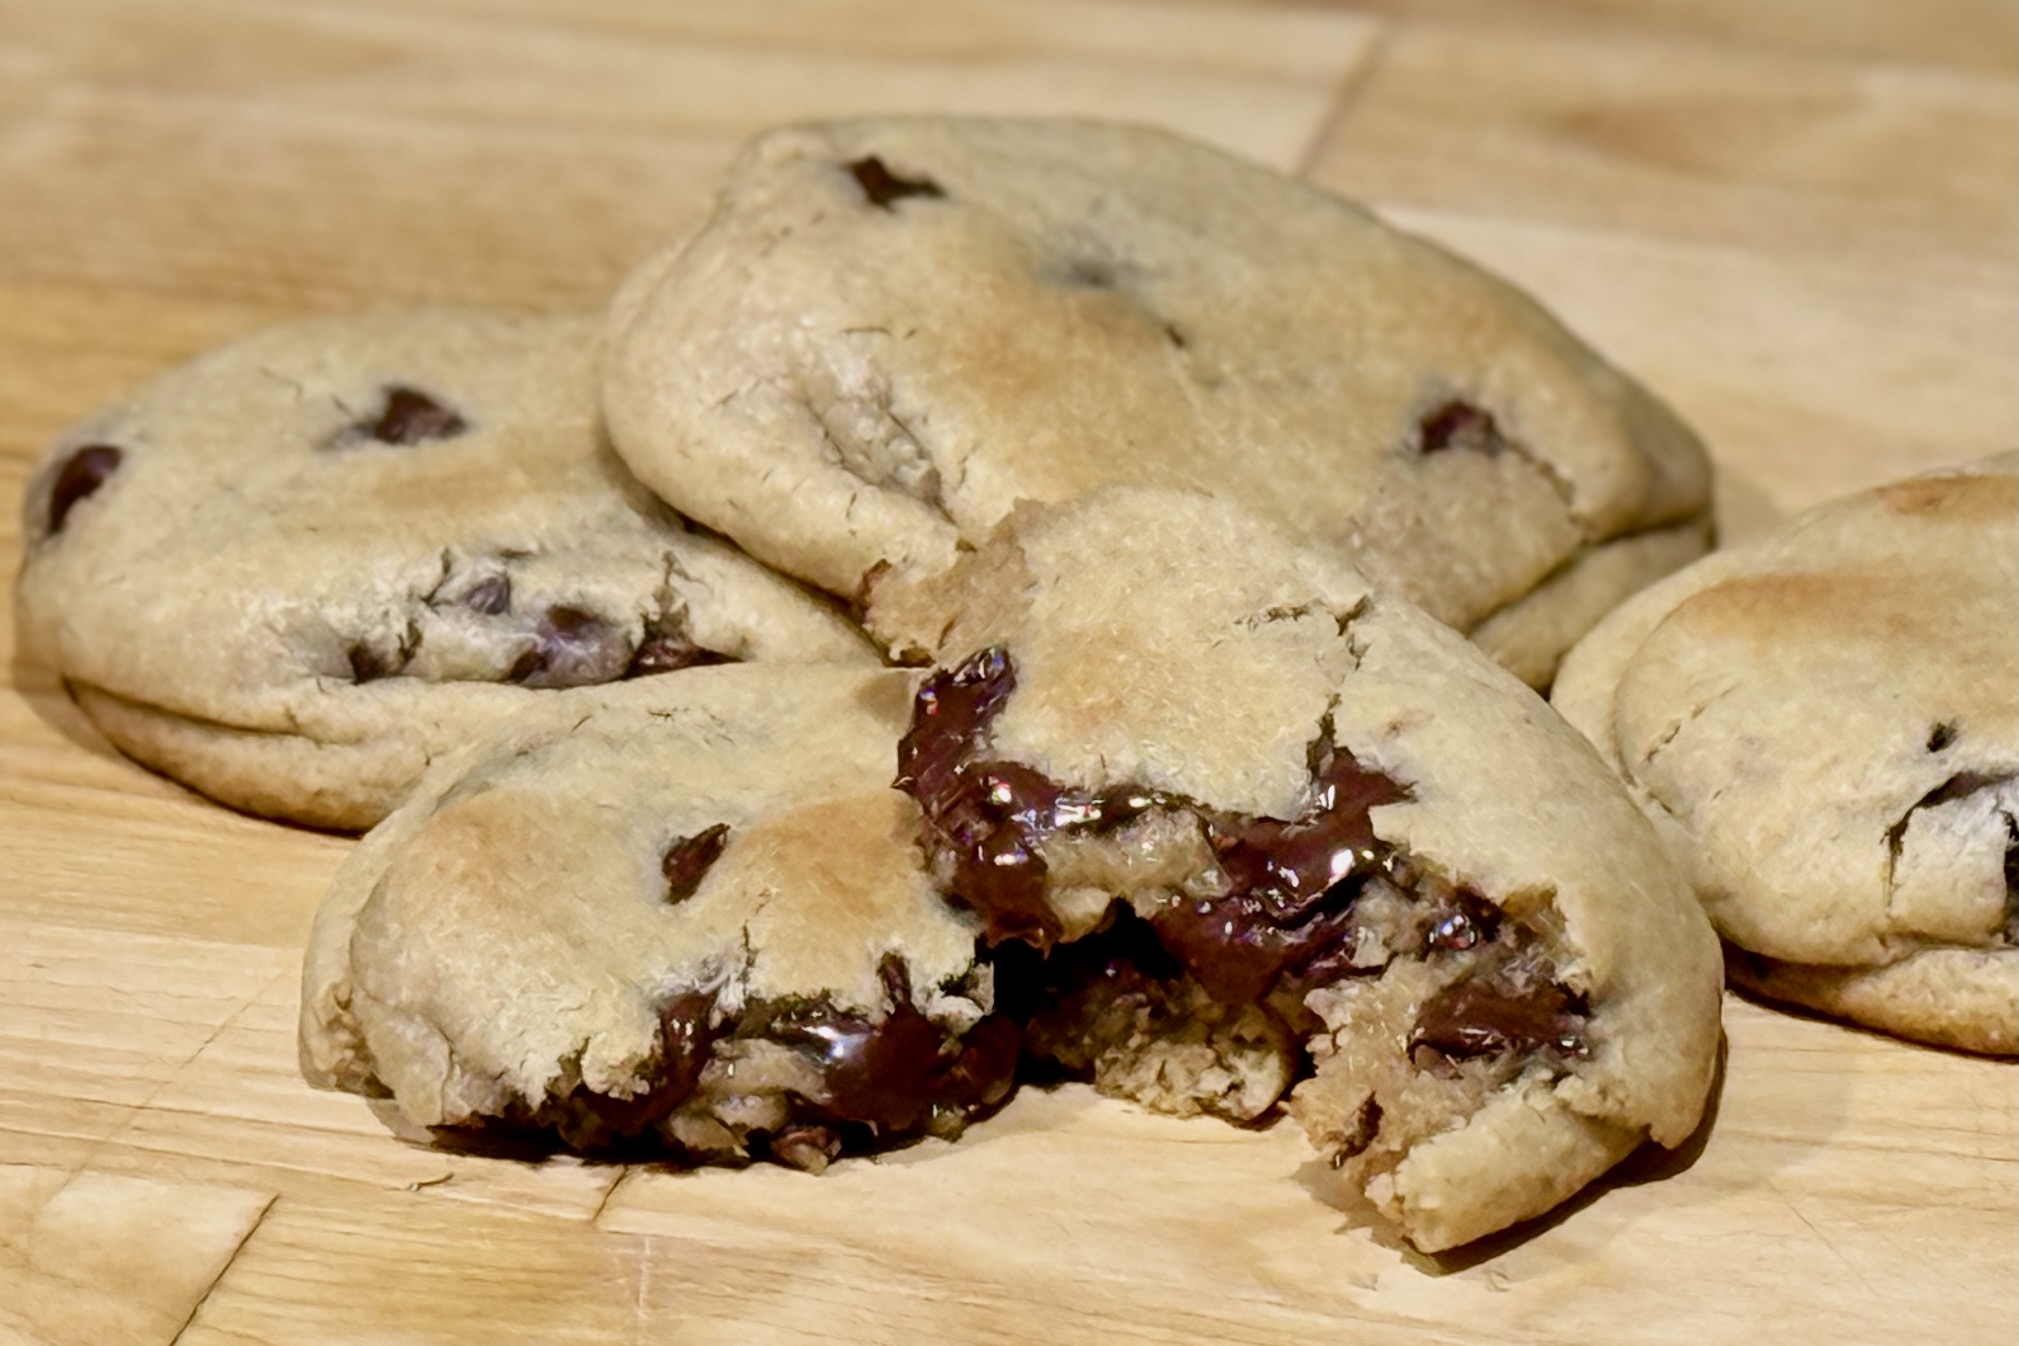
This original Huggins Family recipe—affectionately known in our house as “Fat Daddo’s Cookies”—is our master dough for thick, chewy bakery-style cookies with crisp edges and soft centers. Built to handle everything from classic chocolate chip to brown butter pecan, chocolate orange, and more, it’s designed as a true “one dough, endless variations” system. This version is adjusted for high-altitude baking at about 4,500 ft, so the cookies keep their structure without sacrificing that soft, indulgent texture. For sea-level baking, see the Notes section for adjustments.
Ingredients
Base Dough
- 1 cup (227 g) unsalted butter, softened
- 1 cup (220 g) packed brown sugar
- ¼ cup (50 g) granulated sugar
- 1 large egg (50 g)
- 1 large egg yolk (18 g)
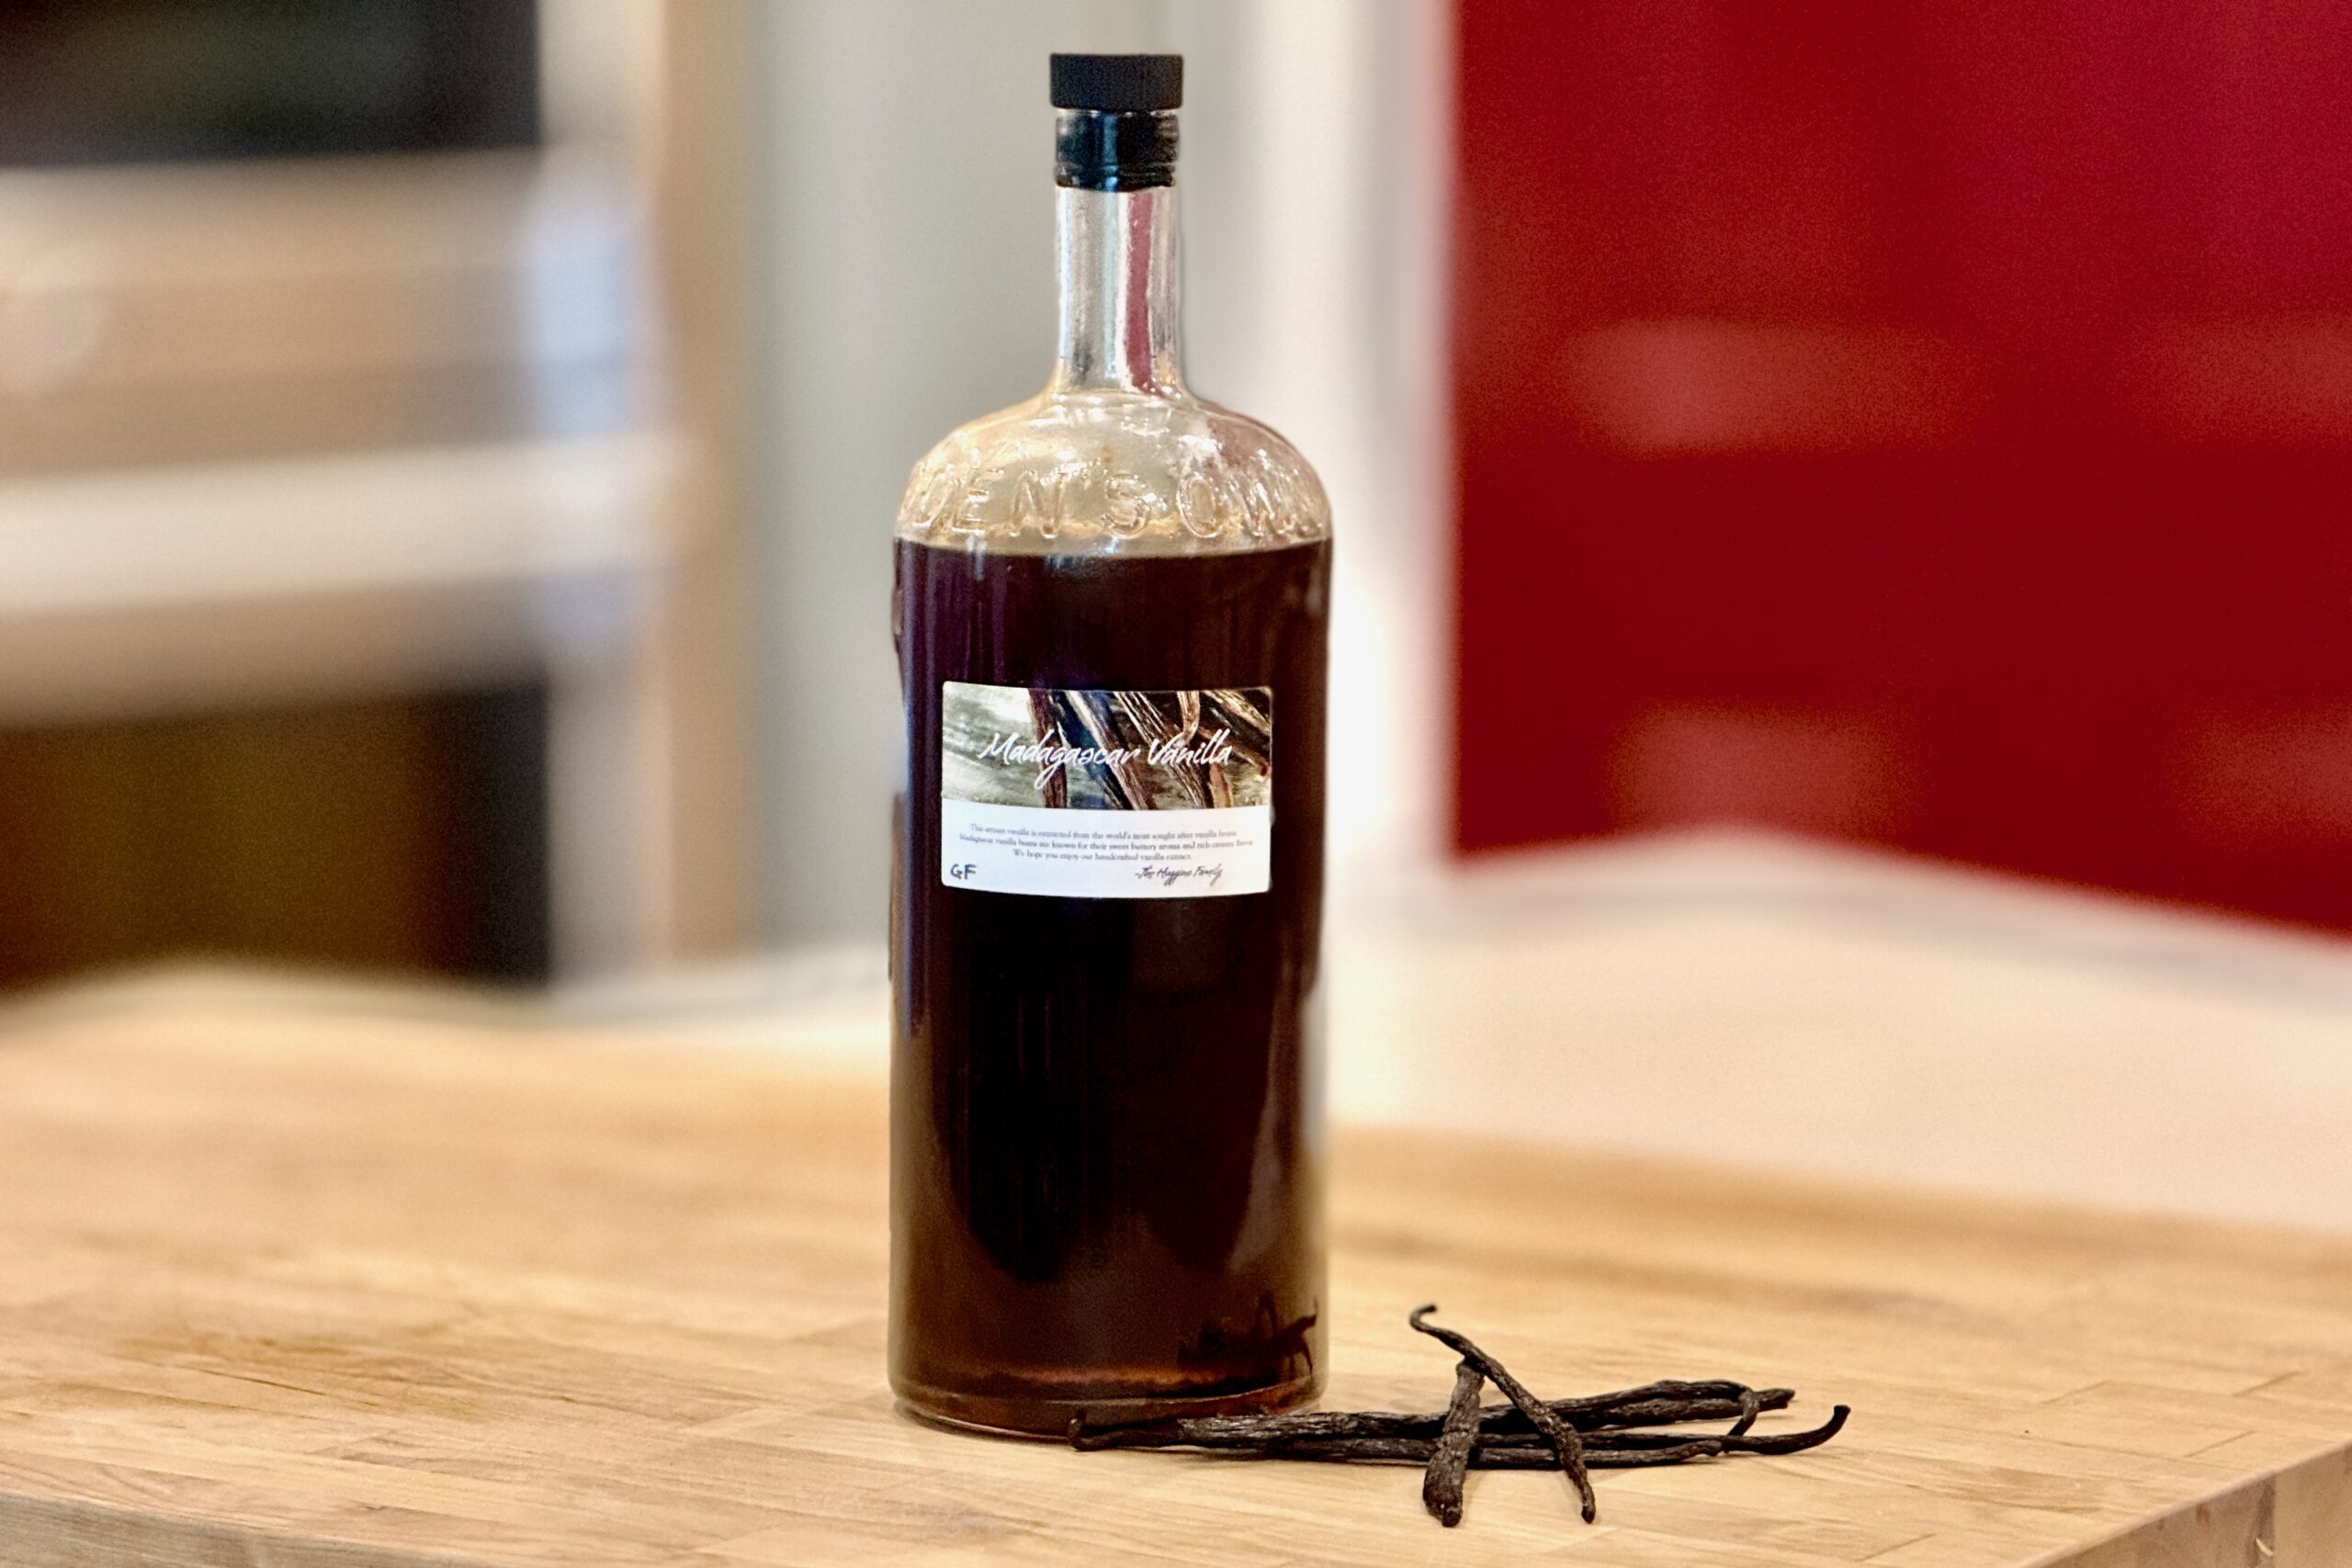
- 1½ tsp (7 g) vanilla extract
- 1–2 tbsp (15–30 g) milk
- 3 cups + 2 tbsp (375 g) all-purpose flour
- 2 tbsp (16 g) cornstarch
- ¾ tsp (4 g) baking soda
- 1 tsp (6 g) table salt
Directions
Make the Dough
In the bowl of a stand mixer or in a large mixing bowl, cream together the softened butter, brown sugar, and granulated sugar until light and fluffy, about 1–2 minutes.
Add the egg, egg yolk, vanilla extract, and 1 tbsp milk. Mix until smooth and slightly thickened, about 1 minute. If the dough seems especially stiff once the flour is added, mix in the remaining 1 tbsp milk.
In a separate bowl, whisk together the flour, cornstarch, baking soda, and salt.
Finish the Dough
Add the dry ingredients to the wet mixture and mix just until combined. Do not overmix.
Fold in the optional mix-ins for your chosen variation just until evenly distributed.
The dough should be soft and slightly tacky, but not sticky.
Portion, Shape, and Chill
Portion the dough into either 8 large cookies or up to 24 regular cookies.
Gently flatten each dough ball to about ¾–1 inch thick to encourage even spreading while baking.
Place the dough on a parchment-lined or silicone mat-lined baking sheet and refrigerate for at least 1 hour and up to 48 hours. Chilling helps prevent excess spreading and improves flavor and texture.
For slightly more spread, let the dough sit at room temperature for 10–15 minutes before baking.
Bake
Preheat the oven to 400°F (204°C). Line a baking sheet with parchment paper or a silicone baking mat.
Arrange the chilled dough 2–3 inches apart.
Bake large cookies for 12–15 minutes or regular cookies for 7–9 minutes, until the edges are set and the centers still look slightly underbaked.
Let the cookies cool on the baking sheet for 15 minutes, then transfer to a wire rack to cool completely.
Freeze for Later
Portioned dough can be frozen for later baking.
Freeze on a tray until firm, then transfer to a freezer bag or airtight container.
Bake from frozen, adding 2–3 minutes to the normal baking time.
Chocolate Dough Variation
Replace ½ cup (60 g) of the flour with ½ cup (50 g) unsweetened Dutch-process cocoa powder.
Increase the milk by 1–2 tbsp (15–30 g), using 2–4 tbsp (30–60 g) total, as needed to achieve a soft, slightly tacky dough.
Browned Butter Variation
Replace the butter with browned butter by cooking it over medium-high heat until deeply golden and nutty.
Let the browned butter cool to room temperature until thickened but still workable.
For every ½ cup (113 g) butter used, add 1½ tbsp (22 g) water to replace lost moisture.
Notes
Preparation
- For mix-ins that absorb moisture—such as oats, toasted coconut, or freeze-dried fruit—add an extra 1 tbsp (15 g) milk to the dough.
- Bulky mix-ins like chocolate chunks, nuts, and toffee usually need no additional adjustment.
- Soft or sticky mix-ins like marshmallows and almond paste work best when frozen first or enclosed inside the dough.
- For Gevulde Koek-style filled cookies, wrap the filling completely in dough and bake at 375°F (190°C) instead of 400°F (204°C) for more even baking.
- High Altitude (~4,500 ft / 1370 m): Use the ingredient amounts listed for thicker cookies with better structure and controlled spread.
- Sea Level: Reduce the flour to 3 cups (360 g), increase the baking soda to 1 tsp, and use only enough milk to bring the dough together if needed.
Serving Suggestions
- Serve slightly warm for the softest centers and best melted-chocolate texture.
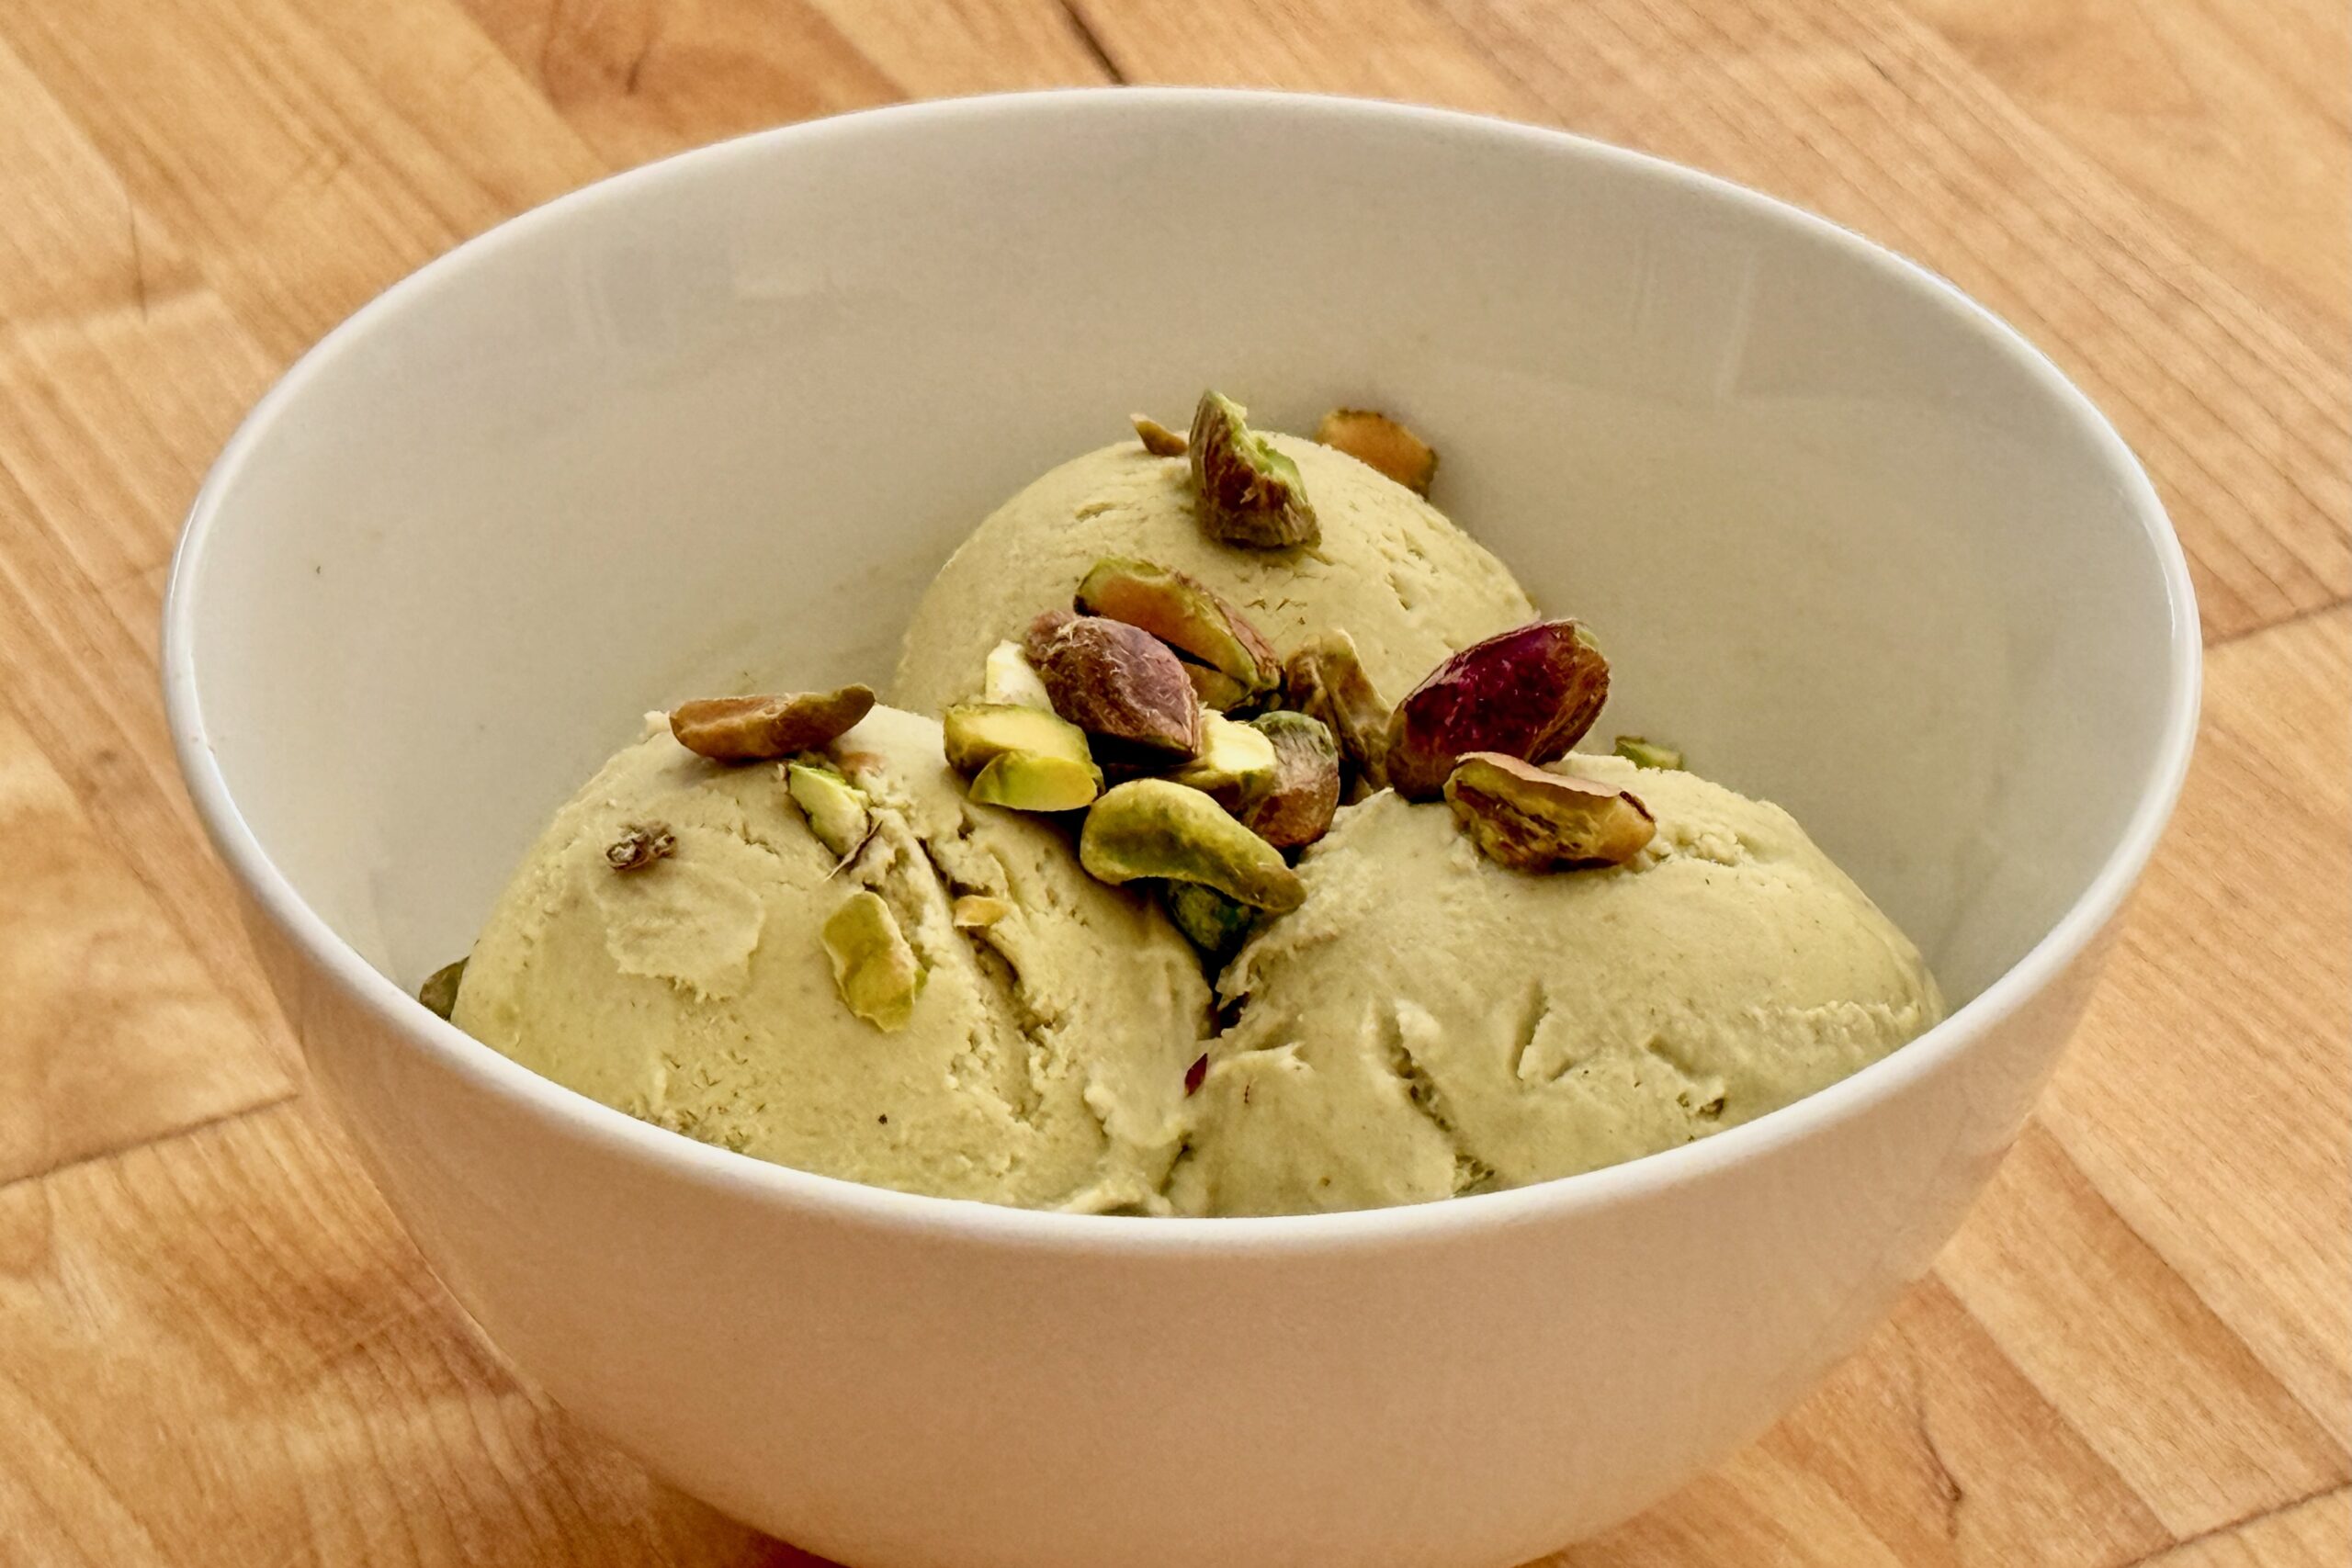
- Pair with cold milk or vanilla ice cream.
- Large cookies are perfect for sharing or bakery-style presentation.
Variations
Base Dough Optional Mix-Ins:
- Chocolate Chip: 1½ cups semisweet chocolate chips or 1½ cups mini semisweet chocolate chips; add 1 cup roasted chopped pecans if desired.
- Dark Chocolate Chunk & Roasted Hazelnuts: 6–8 oz dark chocolate chunks, ¾ cup roasted chopped hazelnuts, and ¾ cup toasted unsweetened coconut flakes if desired.
- White Chocolate Macadamia: 1 cup white chocolate chips, ¾ cup macadamia nuts, and ¾ cup toasted unsweetened coconut flakes if desired.
- Oatmeal Raisin: 1¼–1½ cups quick oats and 2 cups raisins; add 1 tbsp (15 g) extra milk.
- Toffee & Chocolate: 1 cup Heath toffee bits and ¾ cup semisweet chocolate chips.
- Ginger Chunk: ½ cup crystallized ginger, chopped; use the browned butter variation.
- S’mores: ½ cup milk chocolate chips, ½ cup semisweet chocolate chips, 1 cup frozen mini marshmallows, and ½ cup slightly crushed Golden Grahams cereal.
- White Chocolate Cranberry: ¾ cup white chocolate chips, ¾ cup dried cranberries, and ½ cup chopped crystallized ginger if desired.
- Brown Butter Pecan: 1 cup toasted chopped pecans, ¾ cup toffee bits, replace ½ tsp vanilla extract with ½ tsp maple extract, and press a pecan half into the top before baking; use the browned butter variation.
- White Chocolate Raspberry: 1 cup white chocolate chunks and ½ cup crushed freeze-dried raspberries; add 1 tbsp (15 g) extra milk.
- Pretzel Crunch: 1 cup chopped pretzels and ¾ cup peanut butter chips or semisweet chocolate chips.
- Golden Gevulde Koek: 2 boxes (8 oz each) almond paste, portioned into disks and enclosed in the dough; use the browned butter variation and bake at 375°F (190°C).
Chocolate Dough Optional Mix-Ins:
- White Chocolate Chip: 1¼ cups white chocolate chips.
- Peanut Butter Chip: 1½–2 cups peanut butter chips.
- Chocolate S’mores: 1 cup frozen mini marshmallows and ¾ cup slightly crushed Golden Grahams cereal.
- Chocolate Orange: zest of 1 orange and 1 cup white chocolate chips.
- Chocolate Raspberry: 1 cup white chocolate chips and ½ cup crushed freeze-dried raspberries; add 1 tbsp (15 g) extra milk.
- Tuxedo Cookies: 1 cup white chocolate chunks, ¾ cup chopped 70% dark chocolate, and ½ tsp espresso powder.
- Mochanut: 1 cup toasted unsweetened coconut flakes, ¾ cup semisweet or dark chocolate chips, and 1 tsp instant espresso powder; add 1 tbsp (15 g) extra milk.
- Cherry Chocolate: ¾ cup dried cherries, plumped with water and drained well, plus ¾ cup chopped 70% dark chocolate.
- Chocolate Gevulde Koek: 2 boxes (8 oz each) almond paste, portioned into disks and enclosed in the chocolate dough; bake at 375°F (190°C).
- Burnt Almond Fudge: 1½ cups semisweet chocolate chips, ½ cup roasted chopped slivered almonds, and replace ½ tsp vanilla extract with ½ tsp almond extract.
Make-Ahead & Storage
- Dough can be refrigerated for up to 48 hours.
- Freeze portioned dough for up to 2 months.
- Baked cookies keep in an airtight container at room temperature for 3–4 days.
- Warm briefly before serving for best texture.