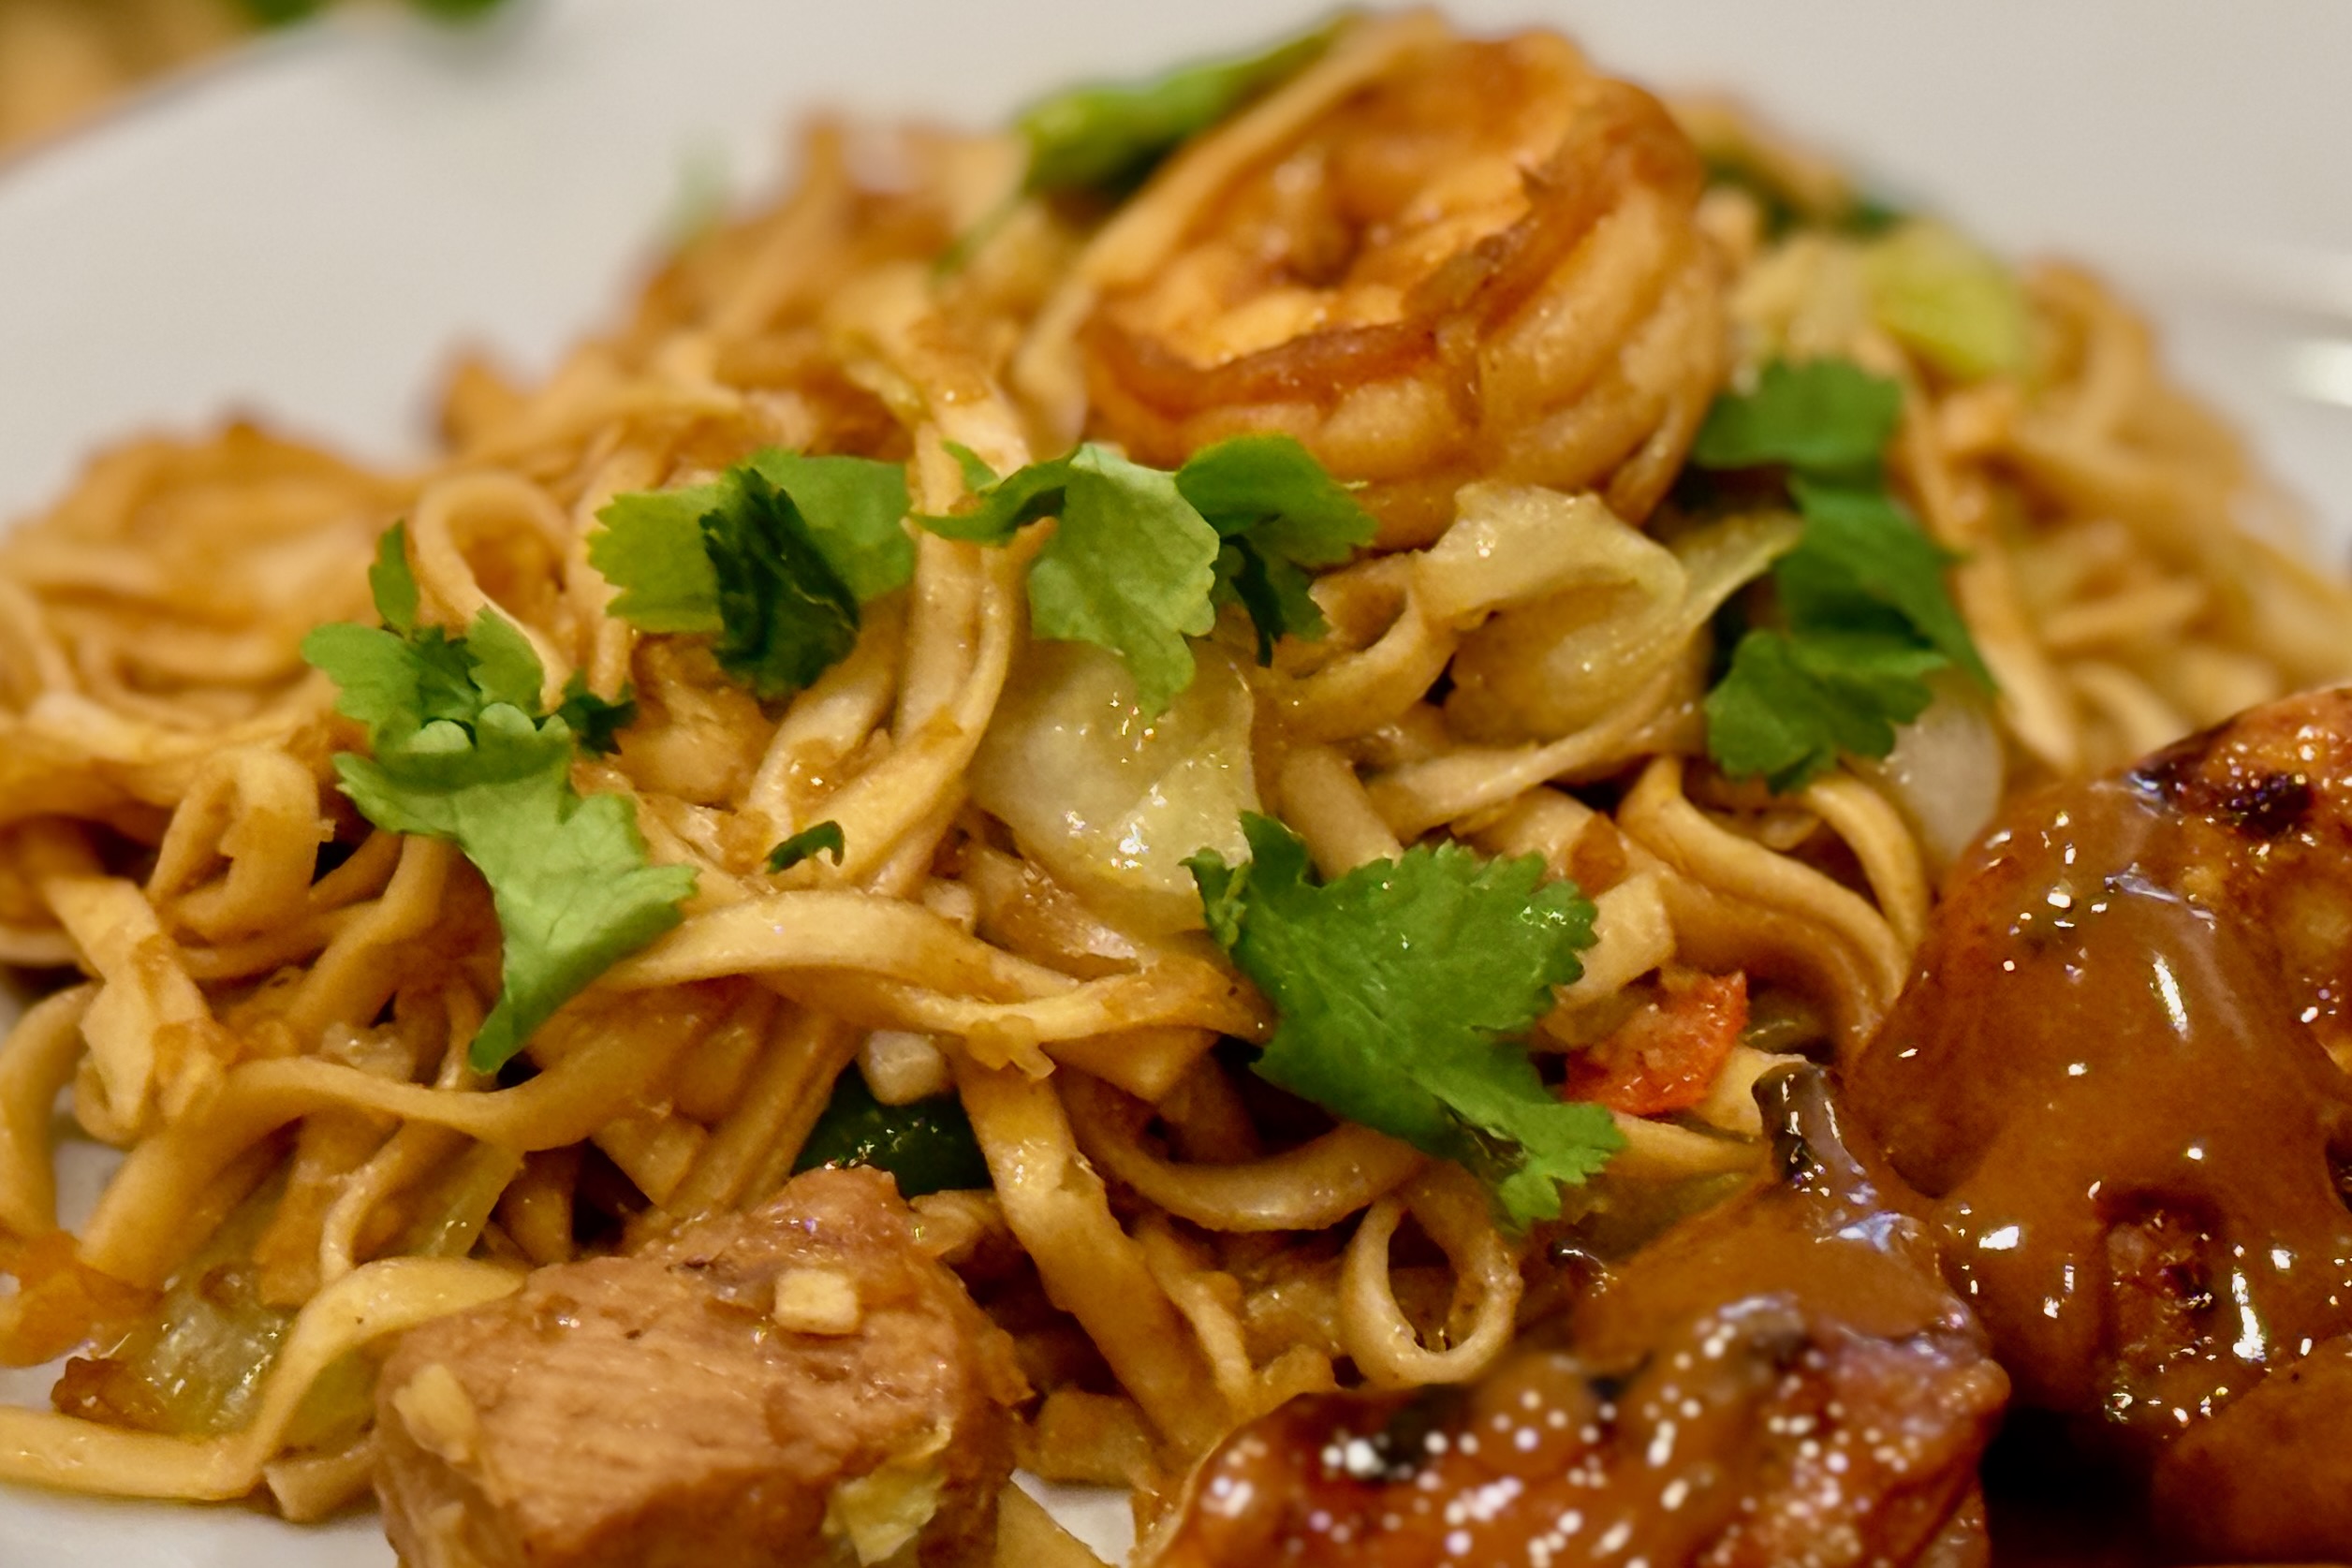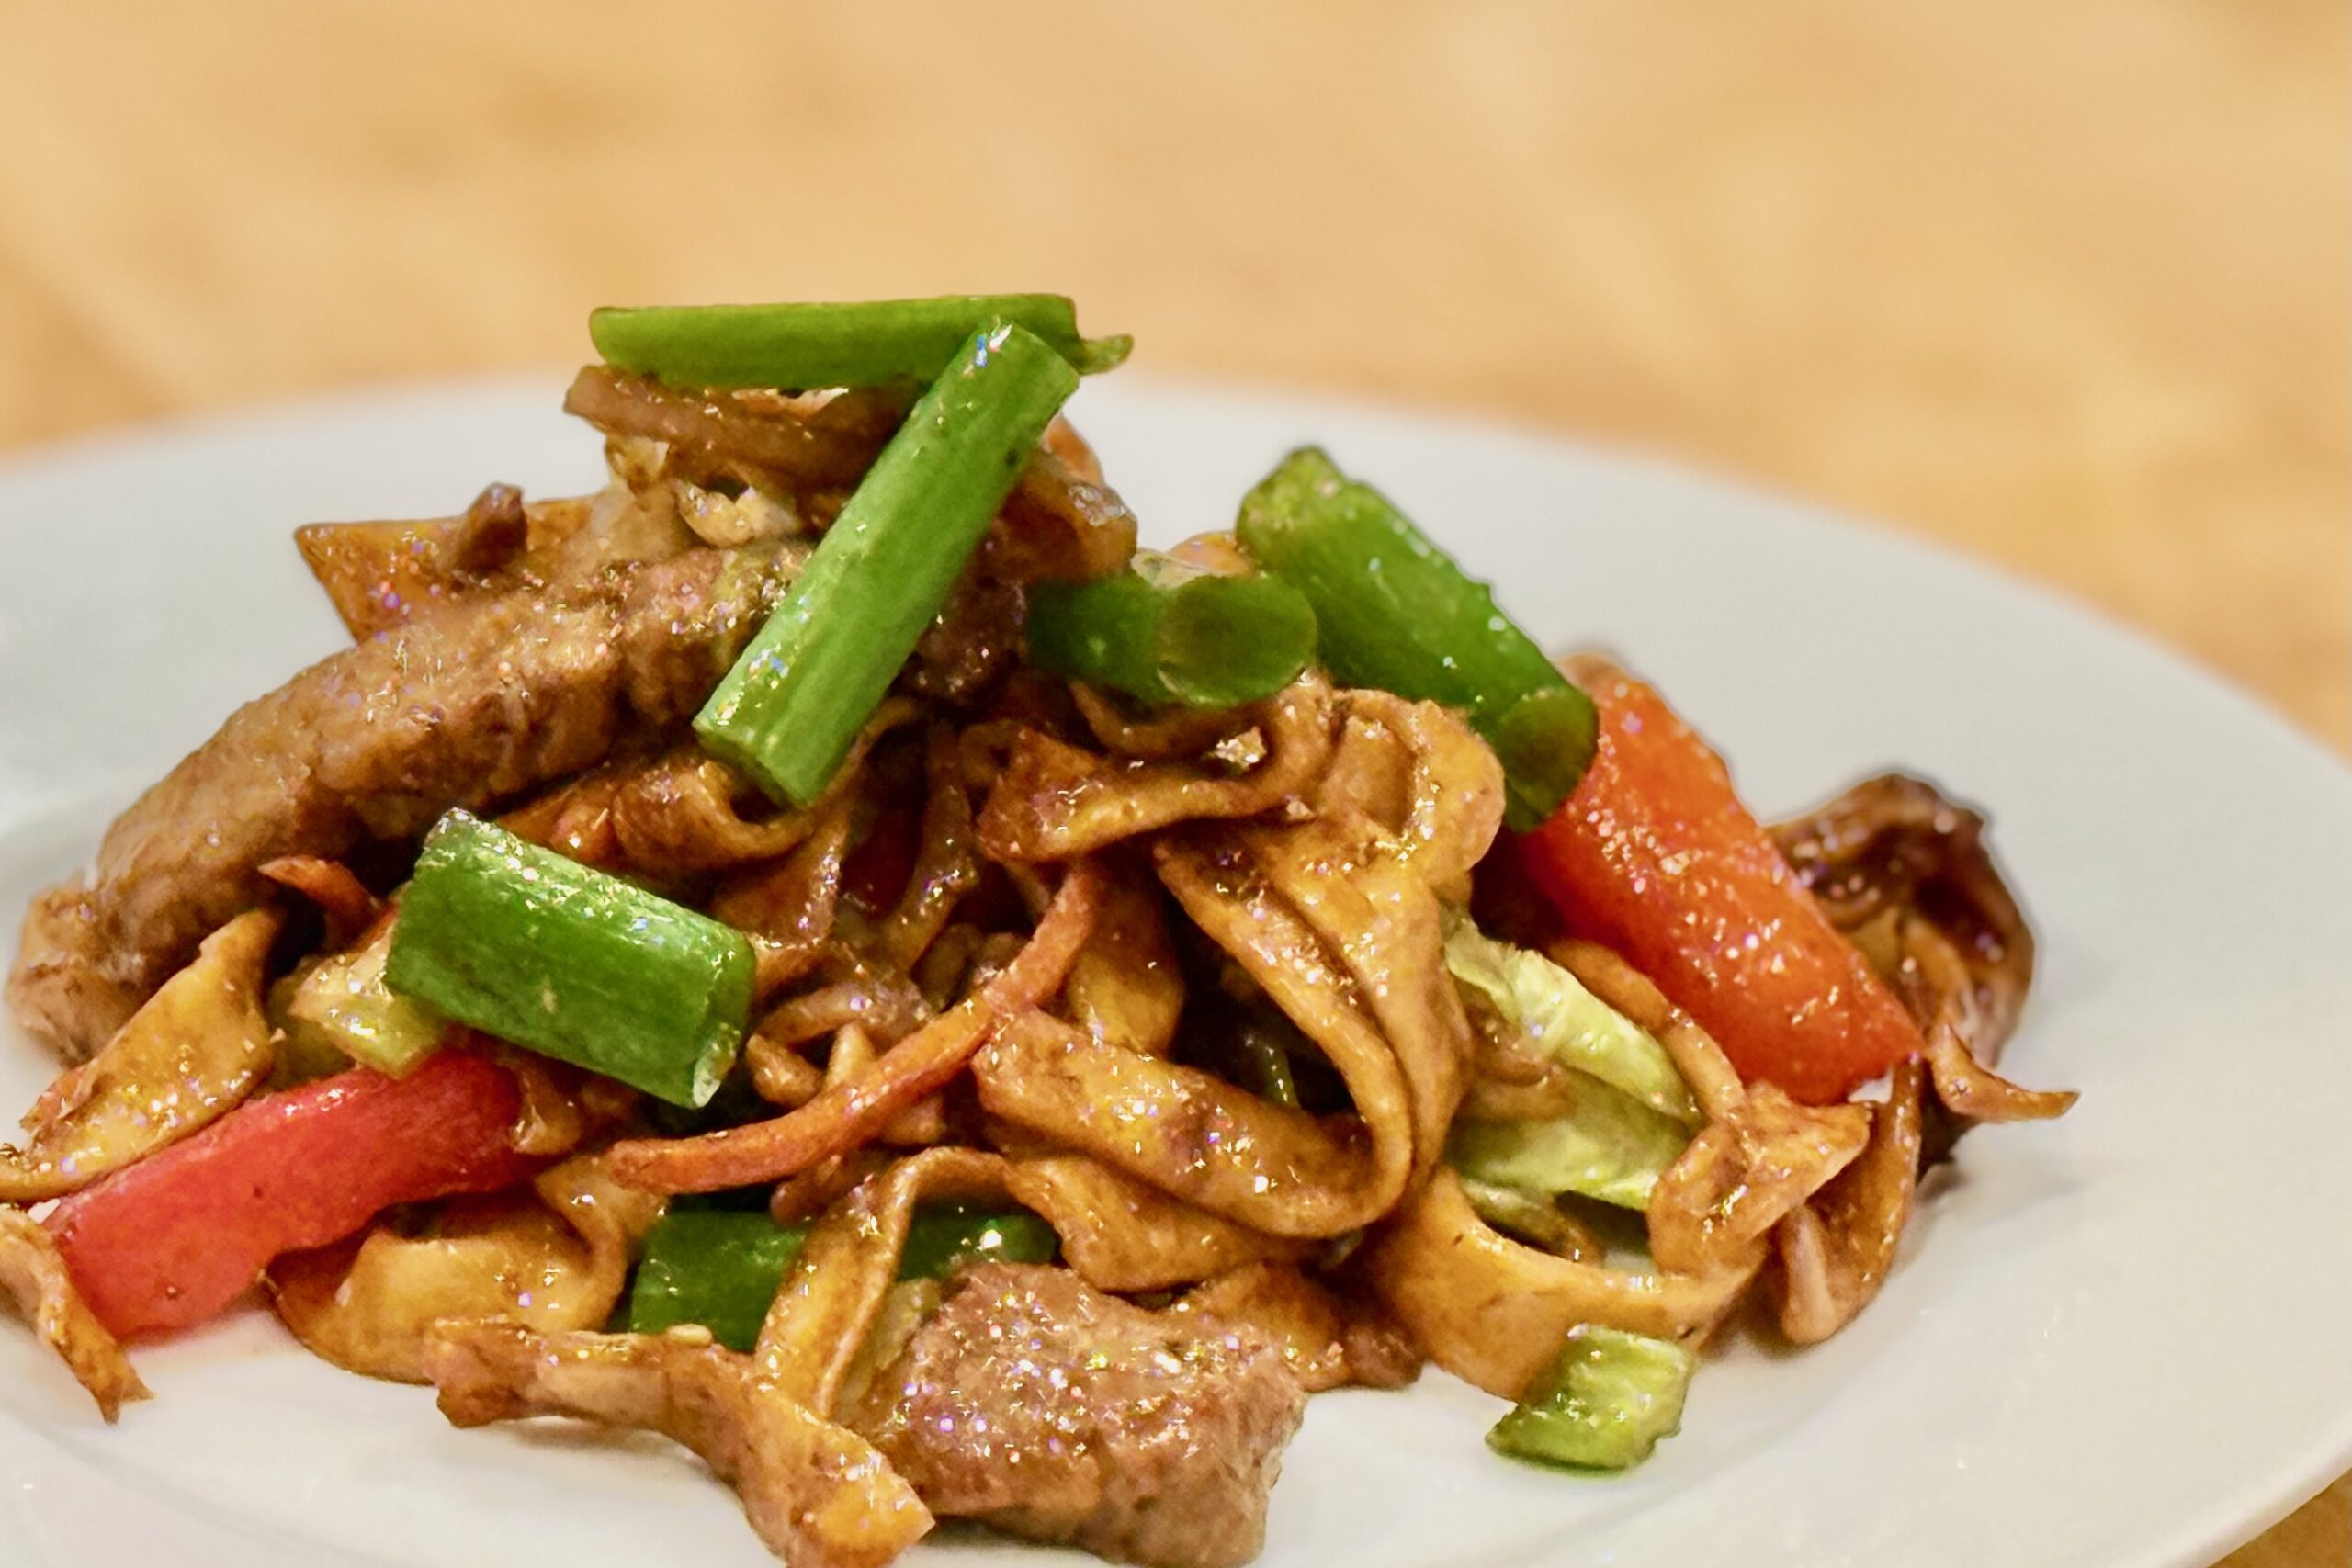
Beef Bahmi Goreng is a savory, wok-fried noodle dish built around tender velveted beef, springy homemade bahmi noodles, crisp green cabbage, bean sprouts, shallot, garlic, ginger, and a restrained ketjap-soy glaze. This version keeps the sweetness in check so the noodles stay smoky, aromatic, and savory, while fried shallots, green onion, cilantro, and lime bring brightness and crunch at the table.
Ingredients
Beef
- 1½ lb flank steak, sirloin flap, flat iron steak, or tender steak, sliced thin against the grain
Velveting Marinade
- 1 cup water
- ½ tsp baking soda
- 3 tbsp soy sauce
- 1 egg white
- ¼ tsp white pepper
- 1 tbsp cornstarch
- 1 tsp neutral oil
Noodles
- 1 batch homemade bahmi noodles
- 1 tsp neutral oil, for tossing cooked noodles
Sauce
- 2 tbsp ketjap manis
- 2 tbsp soy sauce
- 1 tbsp mushroom soy sauce
- 1 tbsp oyster sauce
- 1 tbsp Shaoxing wine or michiu
- ½ tsp white pepper
- ¼ tsp MSG, optional
Vegetables & Aromatics
- 3–4 tbsp neutral oil, divided
- 4–5 cups shredded green cabbage
- 1 medium carrot, julienned
- 2 shallots, thinly sliced
- 4 green onions, whites thinly sliced and greens reserved for garnish
- 2 tbsp minced garlic
- 1 tsp minced fresh ginger
- 2 cups bean sprouts
Garnishes
- Fried shallots
- Reserved green onion greens
- Fresh cilantro leaves
- Lime wedges
- Chopped dry roasted peanuts, optional
- Sambal oelek or sambal badjak, optional
Directions
Velvet the Beef
In a large bowl, whisk together the water, baking soda, and soy sauce. Add the sliced beef, separate the pieces, and toss until evenly coated. Cover and refrigerate for 30–90 minutes.
Drain the beef very well and pat dry with paper towels. Return to a clean bowl and add the egg white, white pepper, cornstarch, and neutral oil. Mix thoroughly until the beef is evenly coated. Let rest for 15–30 minutes while preparing the remaining ingredients.
Prepare the Noodles
Cook the homemade bahmi noodles until just shy of fully tender. They should still have a firm bite since they will finish cooking in the wok.
Drain very well, toss lightly with 1 tsp neutral oil, and spread on a tray or wide bowl so excess steam can escape before stir-frying.
Mix the Sauce
In a small bowl, stir together the ketjap manis, soy sauce, mushroom soy sauce, oyster sauce, Shaoxing wine, white pepper, and MSG, if using. Set near the stove.
Cook the Beef
Heat a wok over high heat until very hot. Add 1–2 tbsp neutral oil and cook the beef in batches, spreading it out so it sears instead of steaming.
Stir-fry just until the beef is lightly browned at the edges and nearly cooked through. Transfer to a plate and set aside.
Char the Cabbage and Carrot
Return the wok to high heat. Add 1 tbsp neutral oil, then add the cabbage and carrot. Stir-fry until the cabbage picks up light browning and blistered edges while still retaining some crispness. Transfer to a plate and set aside.
Stir-Fry the Aromatics
Add another 1 tbsp neutral oil to the wok if needed. Add the shallots and green onion whites and stir-fry briefly until fragrant and beginning to soften. Add the garlic and ginger and cook for 10–15 seconds more, being careful not to brown the garlic.
Fry the Noodles
Add the noodles to the wok and toss over high heat until they begin to pick up light wok color in spots.
Pour the sauce around the edges of the wok and toss rapidly until the noodles are evenly coated. The noodles should be lightly glazed, not swimming in sauce.
Finish
Return the beef, cabbage, and carrot to the wok and toss until everything is hot and evenly combined.
Add the bean sprouts and toss for 15–30 seconds, just until barely softened but still fresh and crisp. Remove from heat.
Serve
Transfer to a serving platter and top with green onion greens, fried shallots, cilantro, and lime wedges. Add chopped dry roasted peanuts and sambal, if desired.
Notes
Preparation
- For the best texture, slice the beef thinly against the grain. Partially freezing the meat for 20–30 minutes makes slicing easier.
- Cook the cabbage separately over very high heat so it can brown slightly without softening too much.
- Do not overcook the bean sprouts. They should stay fresh and lightly crisp.
- This recipe is designed as a relatively dry wok-fried noodle dish. Avoid adding extra liquid unless the noodles are sticking badly.
- The homemade bahmi noodles should be slightly undercooked before stir-frying so they keep their springy texture in the finished dish.
Serving Suggestions
- Serve with acar ketimun for a bright, pickled contrast.
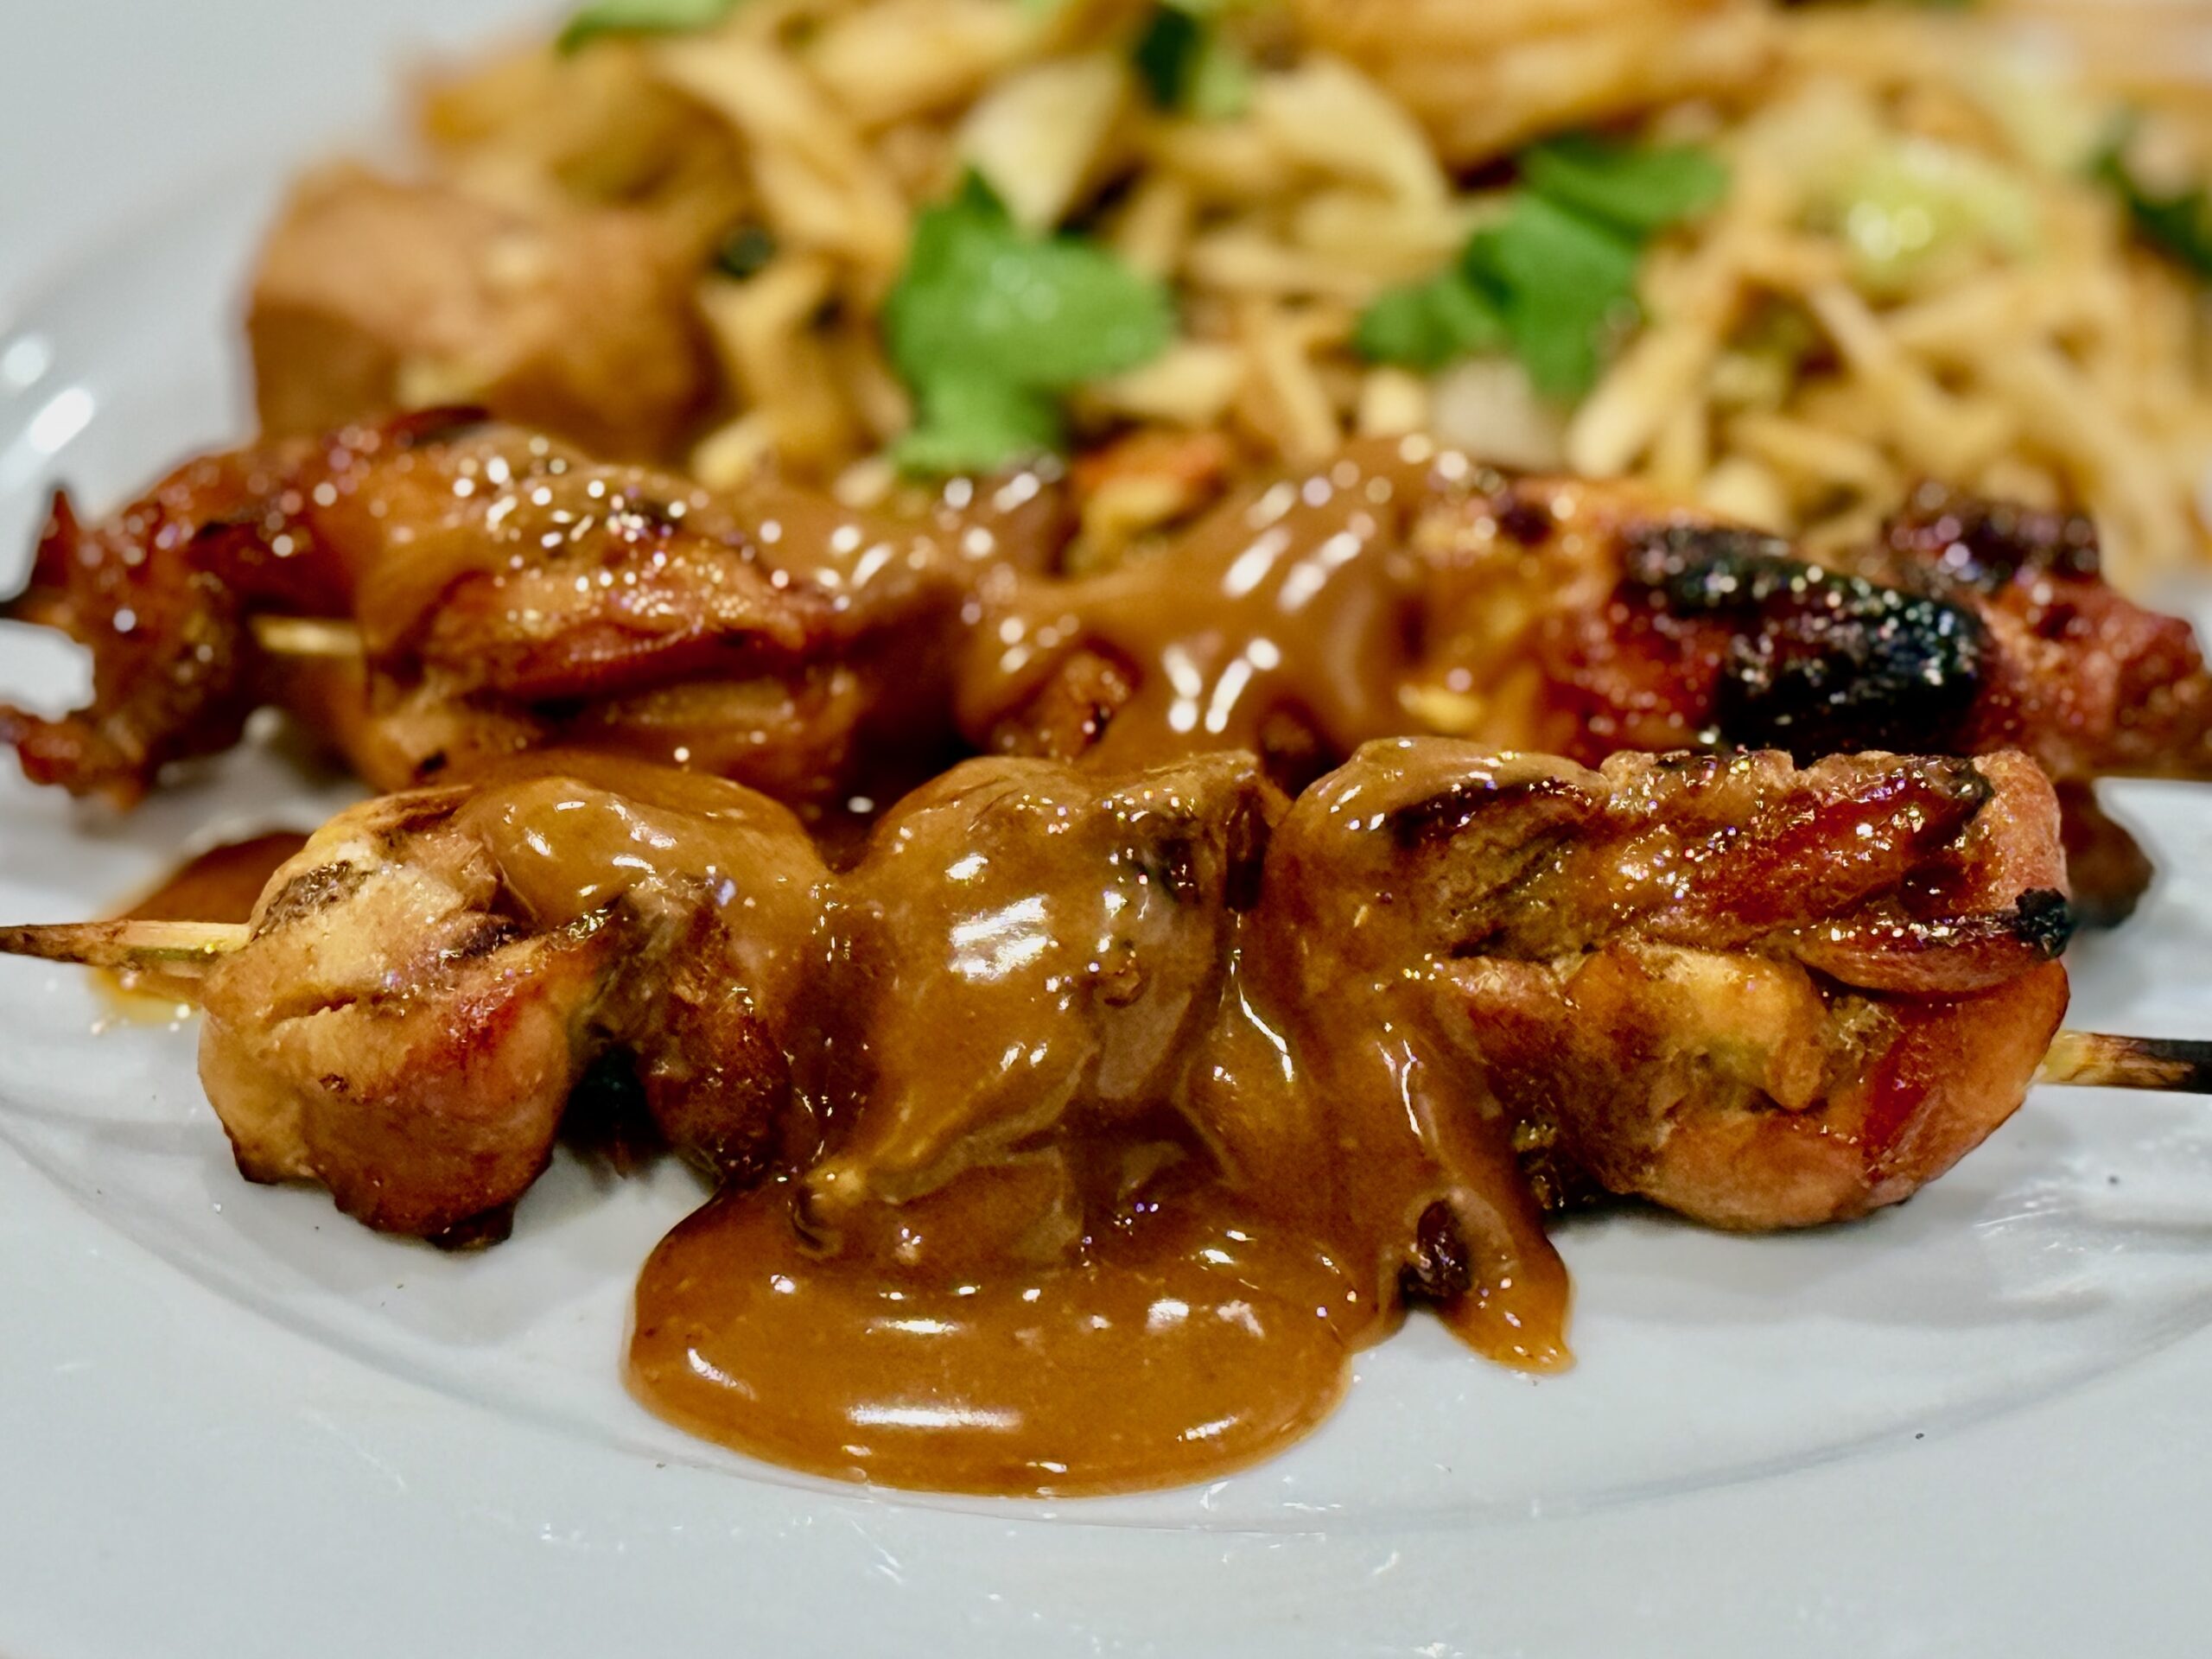
- Pair with saté ayam and pindasaus for a fuller Indonesian-inspired meal.
- Lime wedges are best served on the side so each person can brighten their own portion.
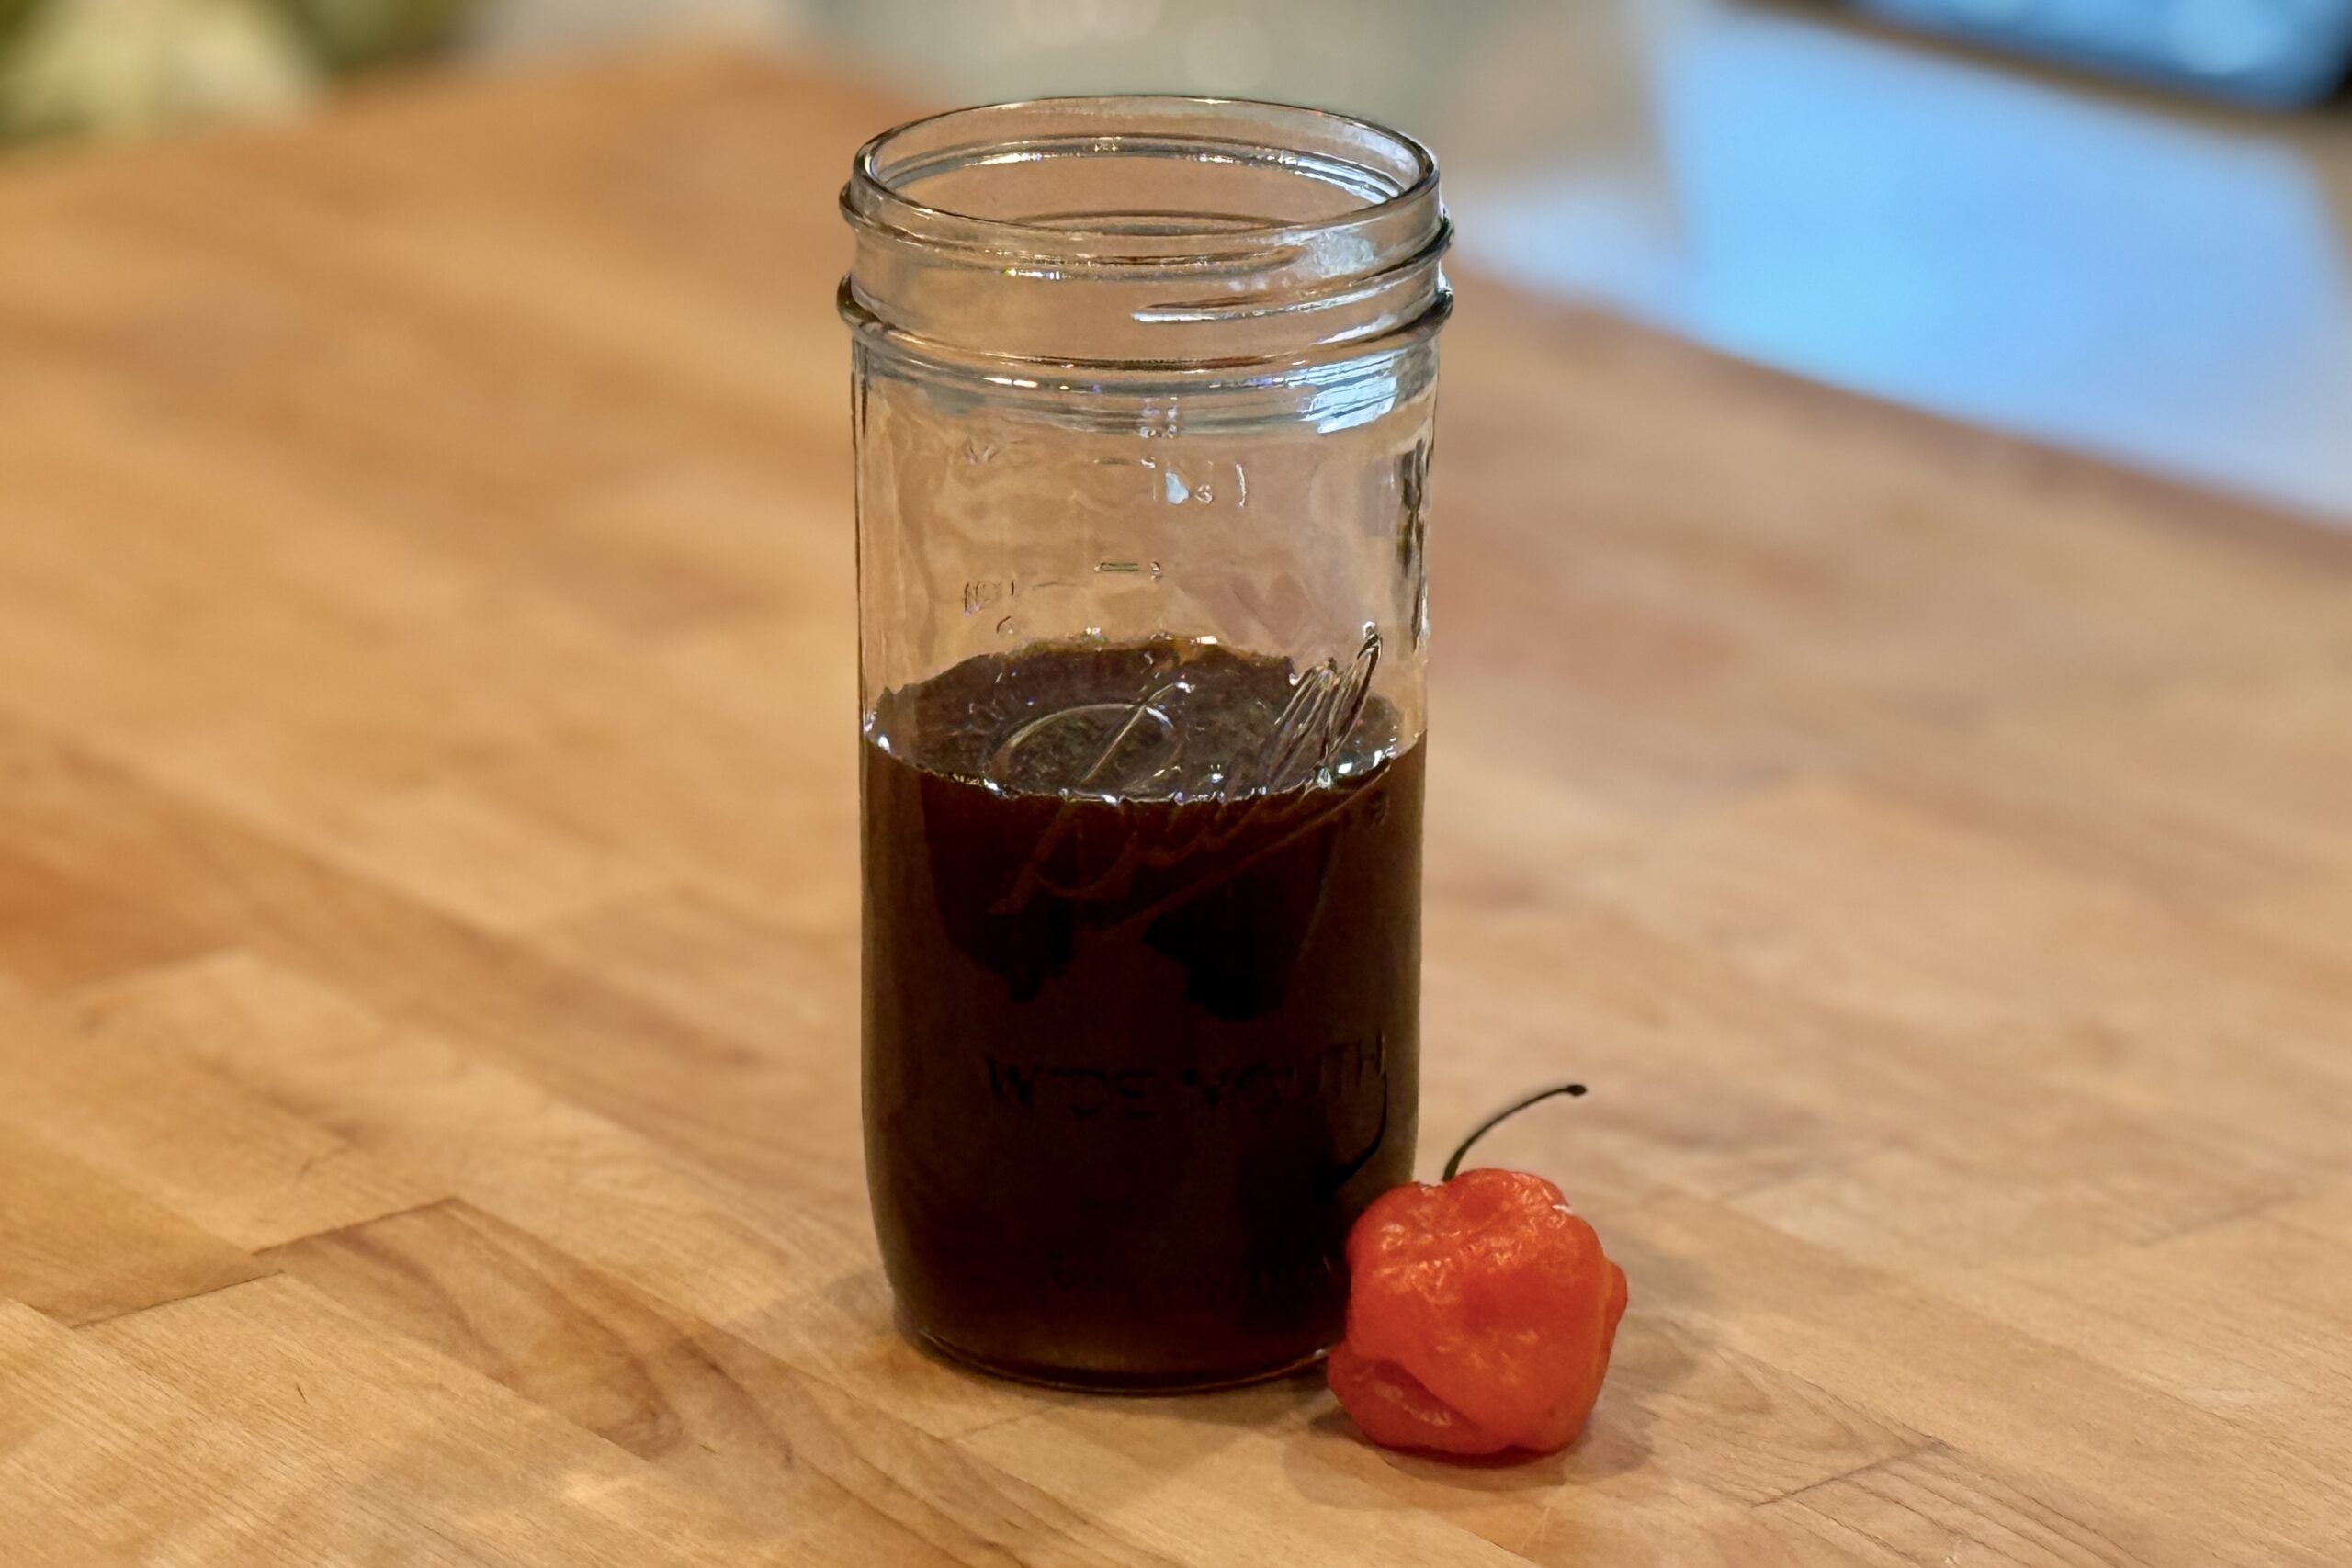
- Serve with sambal on the side for heat without changing the base flavor of the noodles.
Variations
- Dutch-Chinese-Indonesian Restaurant Style: Increase the ketjap manis to 3–4 tbsp, add 1–2 tsp sugar or palm sugar, use a slightly heavier hand with dark soy or mushroom soy, cook the vegetables a little softer, and use a touch more oil for a glossier takeaway-style finish.
- Peanut Garnish: Chopped dry roasted peanuts work well when serving the noodles with saté ayam, pindasaus, or other peanut-based sides. For a cleaner noodle-forward version, omit them.
- Spicier Version: Add sambal oelek, sambal badjak, or sliced fresh chilies to the side rather than cooking them into the noodles.
- Chicken or Pork Version: Replace the beef with thinly sliced chicken thigh, chicken breast, pork shoulder, or pork loin and use the same velveting method.
Make-Ahead & Storage
- The beef can be velveted several hours ahead and refrigerated until ready to cook.
- The sauce can be mixed up to 2 days ahead and refrigerated.
- The vegetables can be sliced earlier in the day and refrigerated separately.
- Leftovers keep in an airtight container in the refrigerator for up to 3 days. Reheat gently in a wok or skillet with a small splash of water if needed.
- This dish is best served fresh, while the noodles still have wok-fried texture and the vegetables retain some crispness.