Often mistaken for curry, this traditional Sumatran dish is celebrated throughout Indonesia for its incredible depth of flavor. Slowly simmered in coconut milk and fragrant spices, it’s served on very special occasions. In a 2011 CNN poll, rendang was voted the world’s most delicious dish.
Ingredients
- 1 whole chicken, cut into small to medium-size pieces (or 2 lb boneless chicken thighs or breast chunks)
Beef or Pork Variation
- 2 lb beef chuck or pork shoulder, cut into 1½-inch cubes
- (Increase coconut milk to 1½ cans and simmer longer—about 90 minutes or until dark and caramelized.)
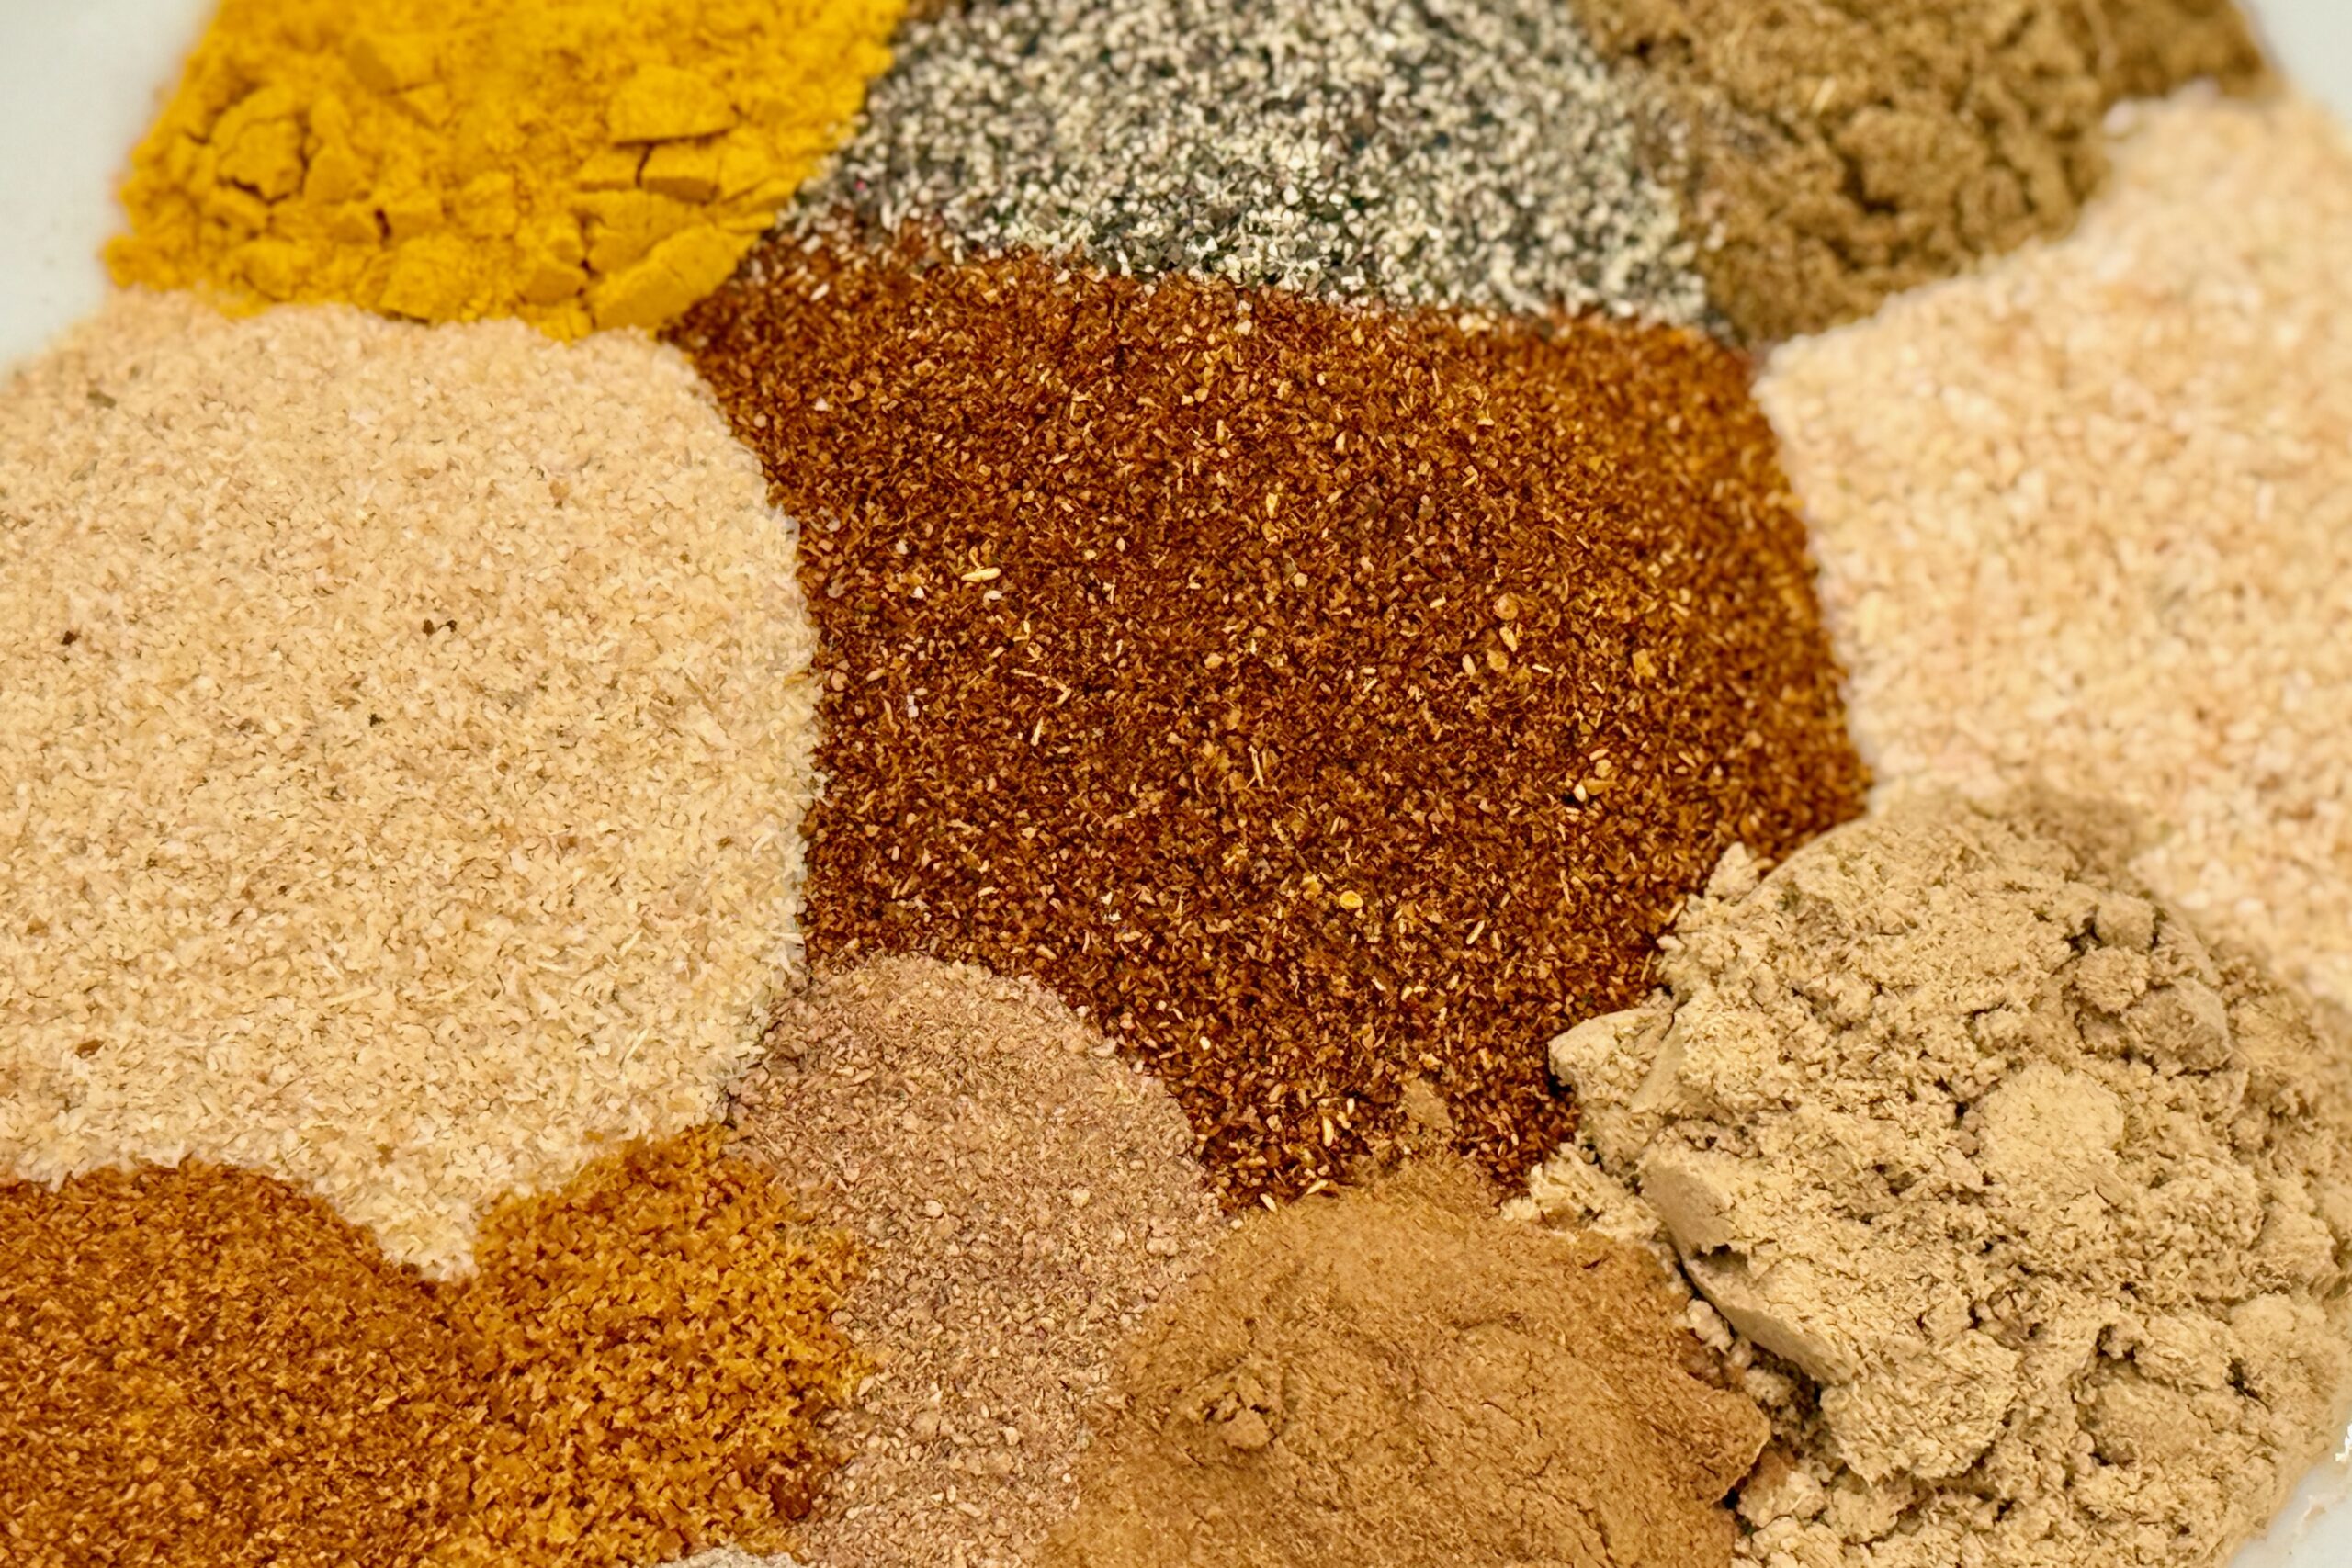
Sauce
- 1 can (13.5 oz) good-quality full-fat coconut milk
- ½ cup water or unsalted chicken stock
- 2 tbsp fresh lemongrass, finely chopped (tender inner portion only)
- 1 onion, peeled and quartered
- 4 cloves garlic
- 1 thumb-size piece galangal (or ginger)
- 1–2 red chillies or 1 tbsp sambal oelek
- ¾ tbsp tamarind paste
- 1 tbsp brown sugar
- 2 tsp dark soy sauce
- 2 tbsp fish sauce (use 3 tbsp for beef or pork)
- ½ tsp turmeric
- 1 heaping tbsp ground coriander
- 1 tbsp ground cumin
- 1 small cinnamon stick (or 1½ tsp ground cinnamon)
- ¼ tsp ground nutmeg
- ¼ tsp ground cloves
- 2 whole star anise
- 2–3 kaffir lime leaves (optional but recommended)
Garnish (Optional)
- Fresh cilantro leaves
- Dry shredded coconut or toasted coconut (kerisik)
Directions
Make the Spice Paste
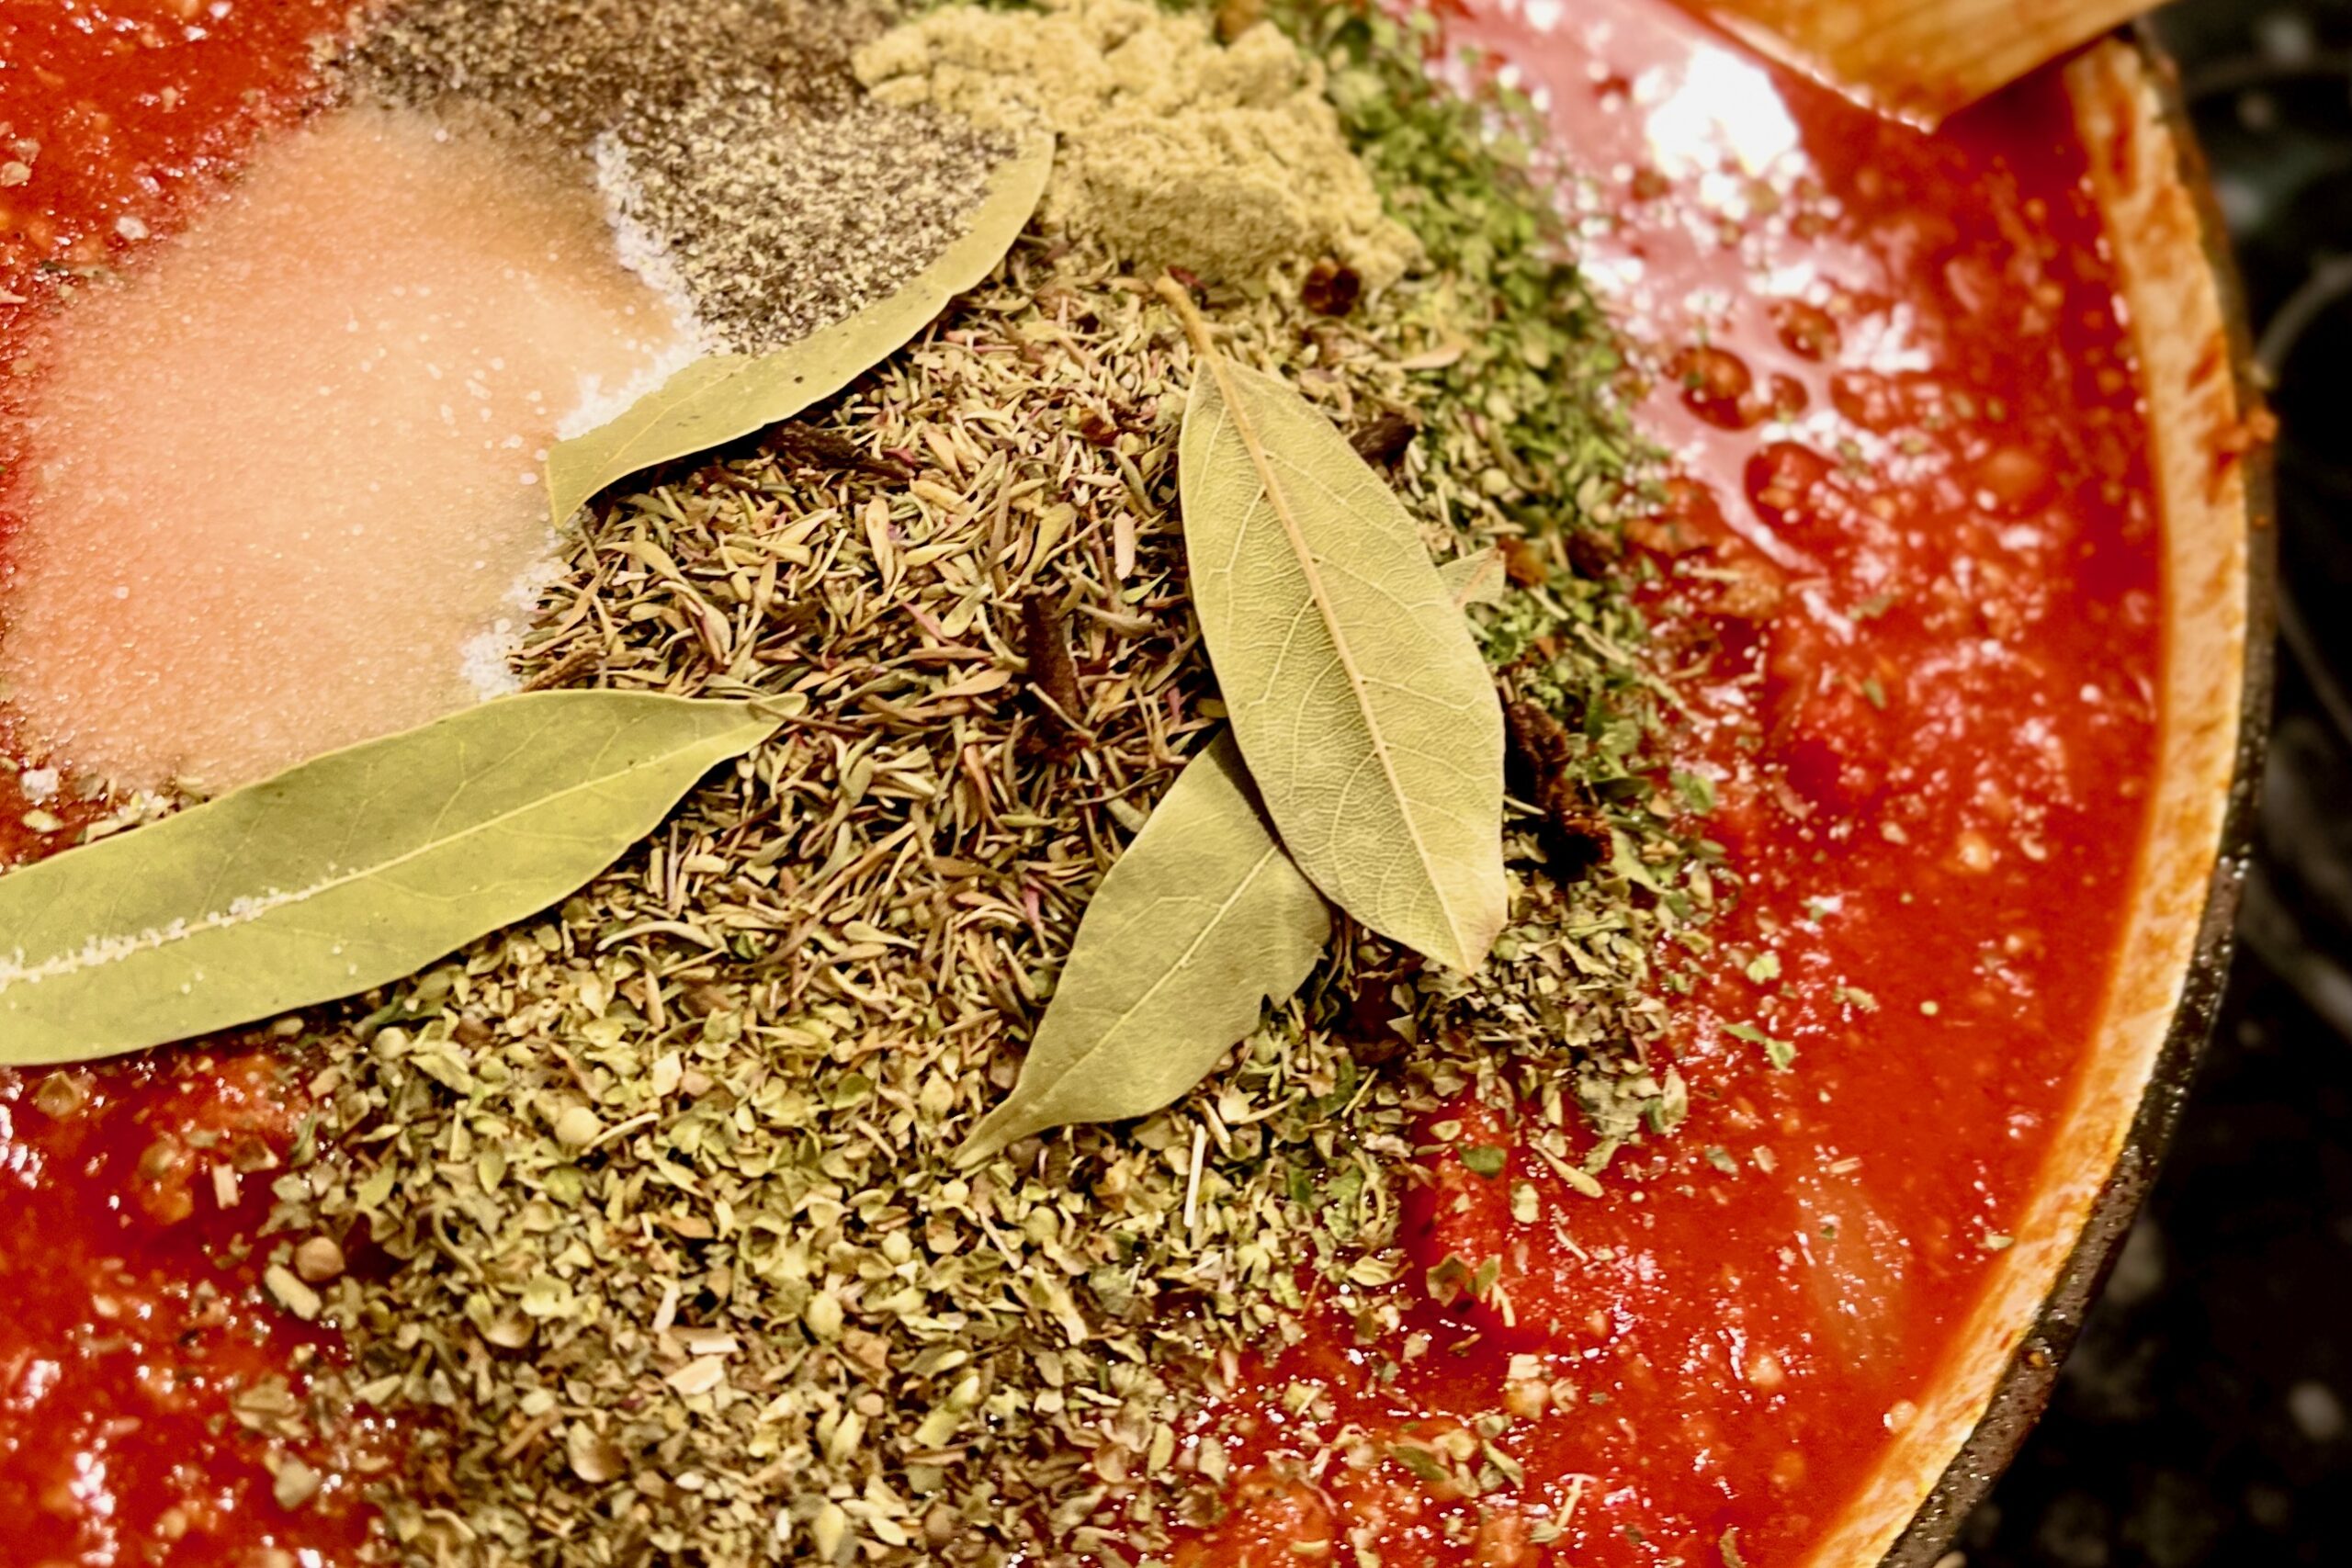
Place all sauce ingredients except the star anise and kaffir lime leaves in a food processor (or crush with a mortar and pestle) and blend into a thick, smooth paste.
Taste the blended paste before cooking. It should be slightly under-seasoned—saltiness will intensify as the sauce reduces. Add a touch of sugar if too sour, or more chili if you prefer extra heat. If using sambal oelek, reduce fish sauce slightly and adjust at the end.
Bloom the Paste
Transfer the paste to a wok or large, deep-sided pan and cook over medium heat for 3–5 minutes, stirring constantly, until fragrant and slightly darker in color.
Simmer and Reduce
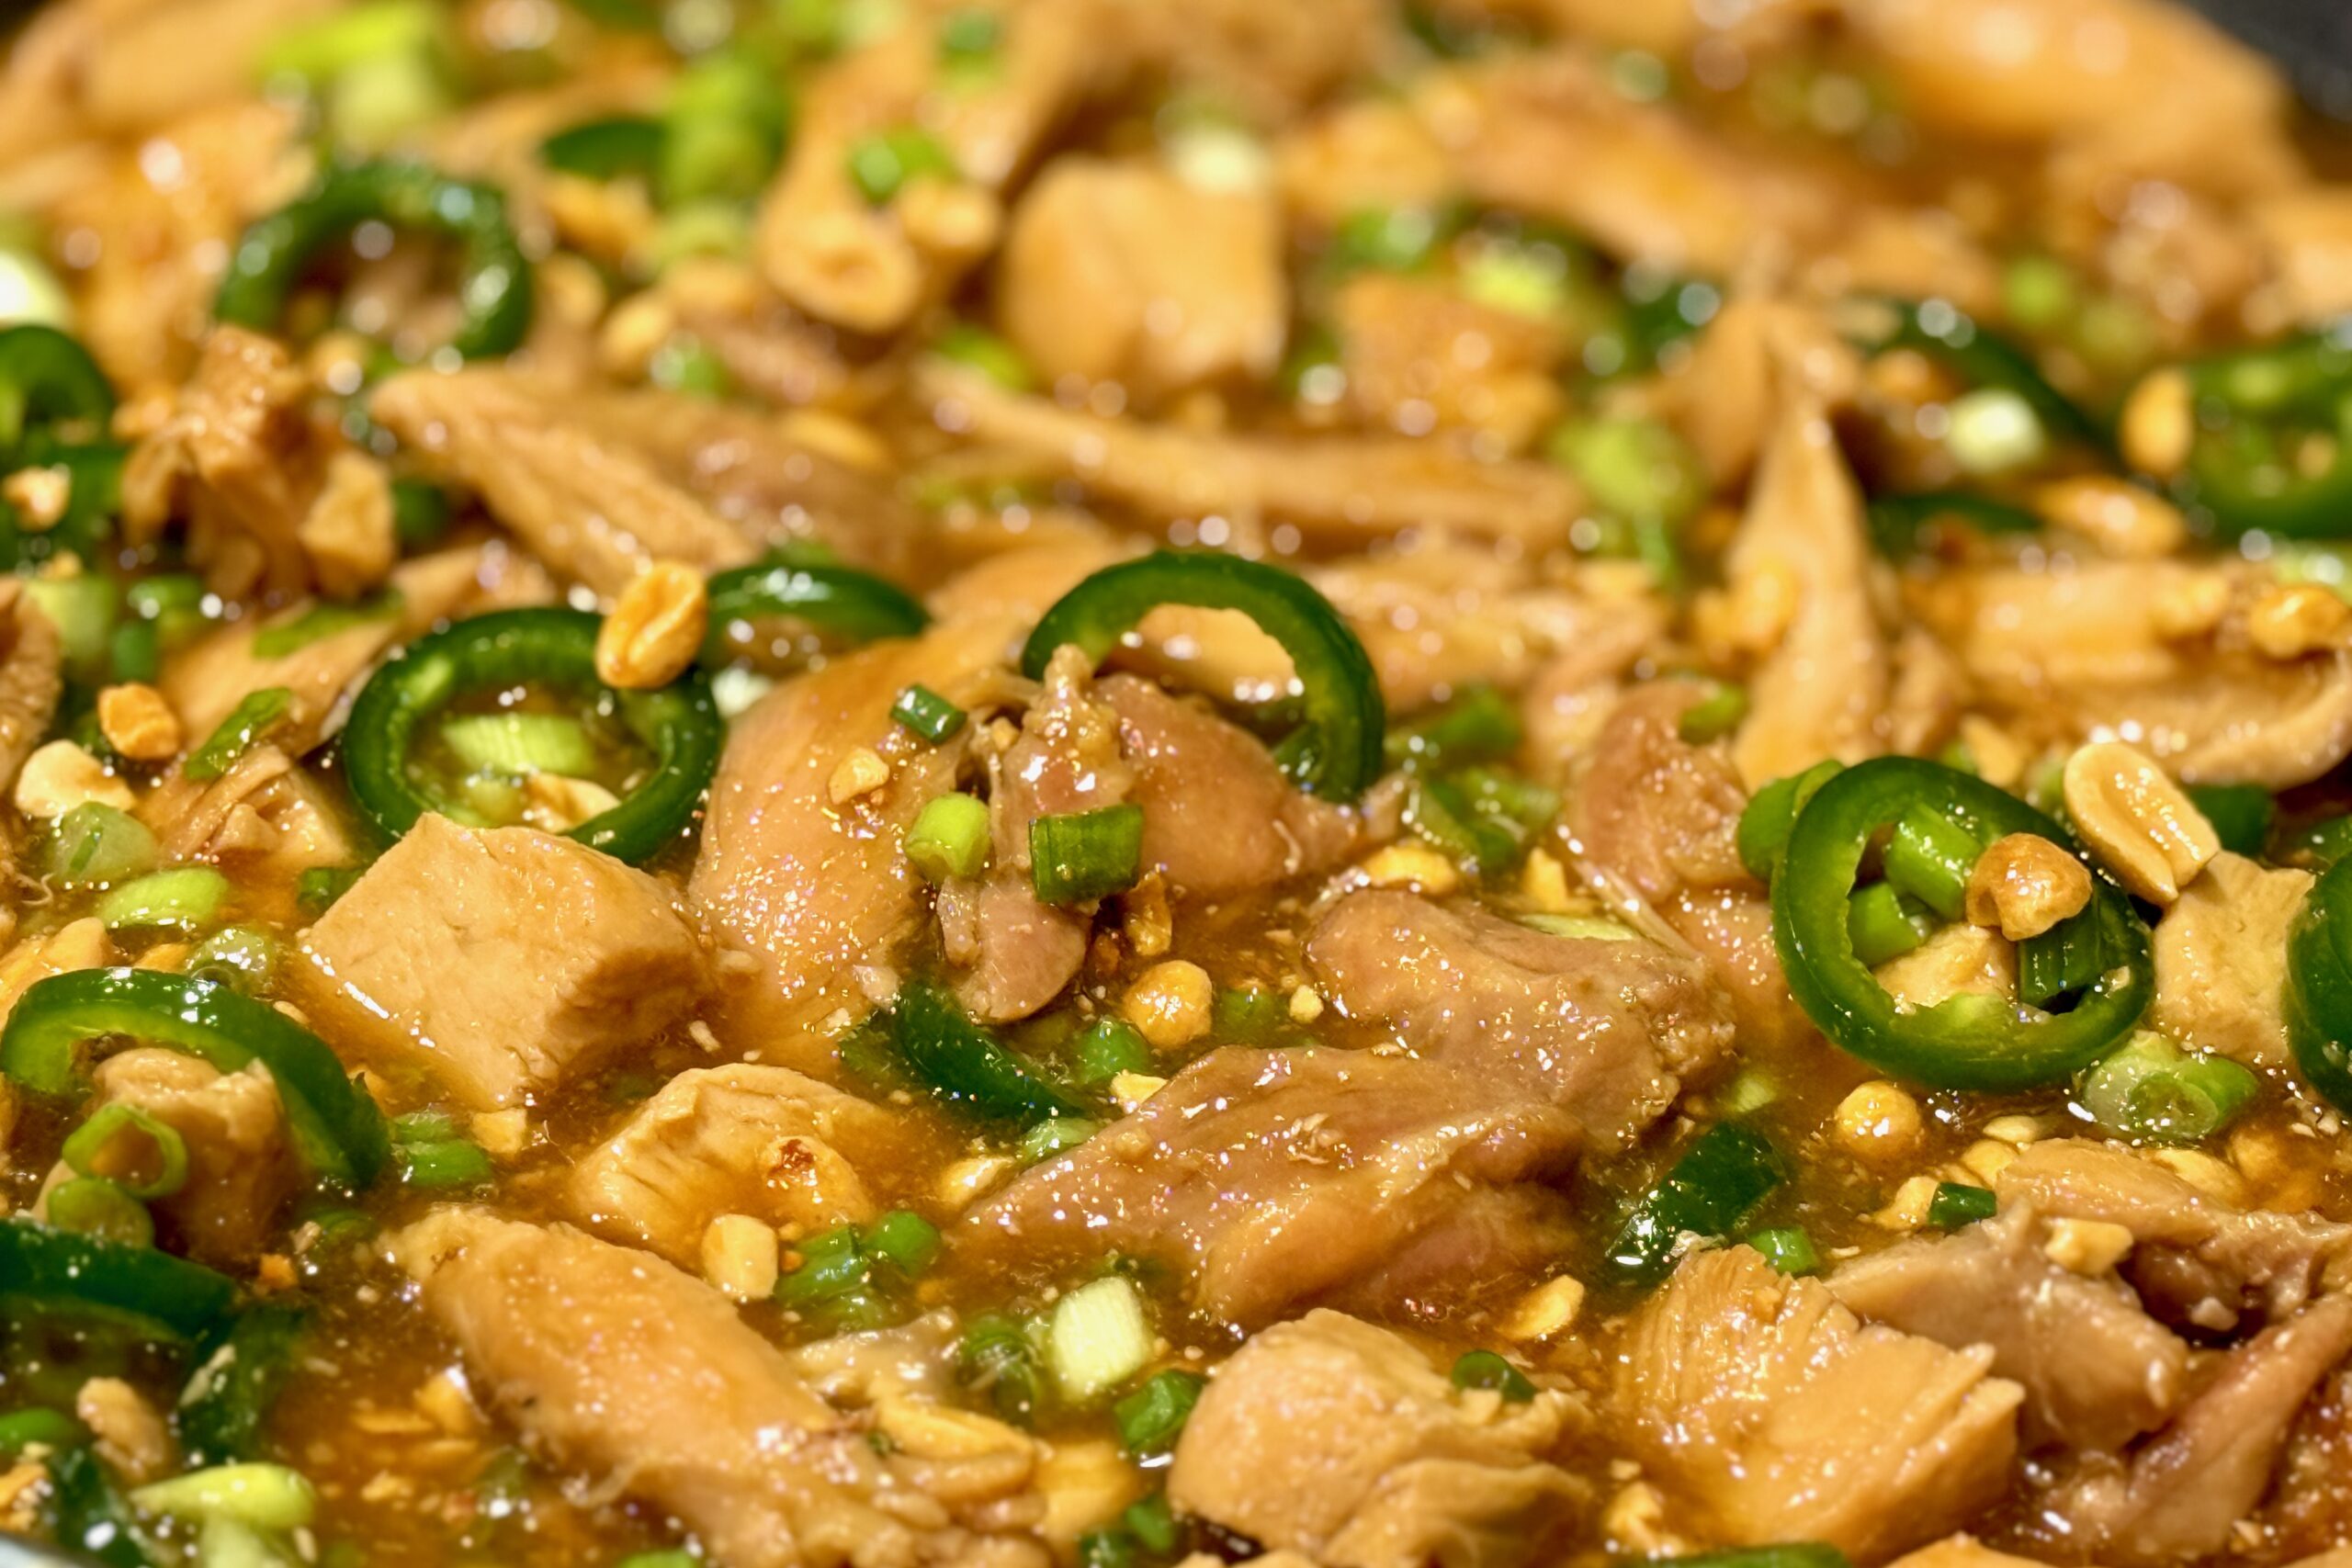
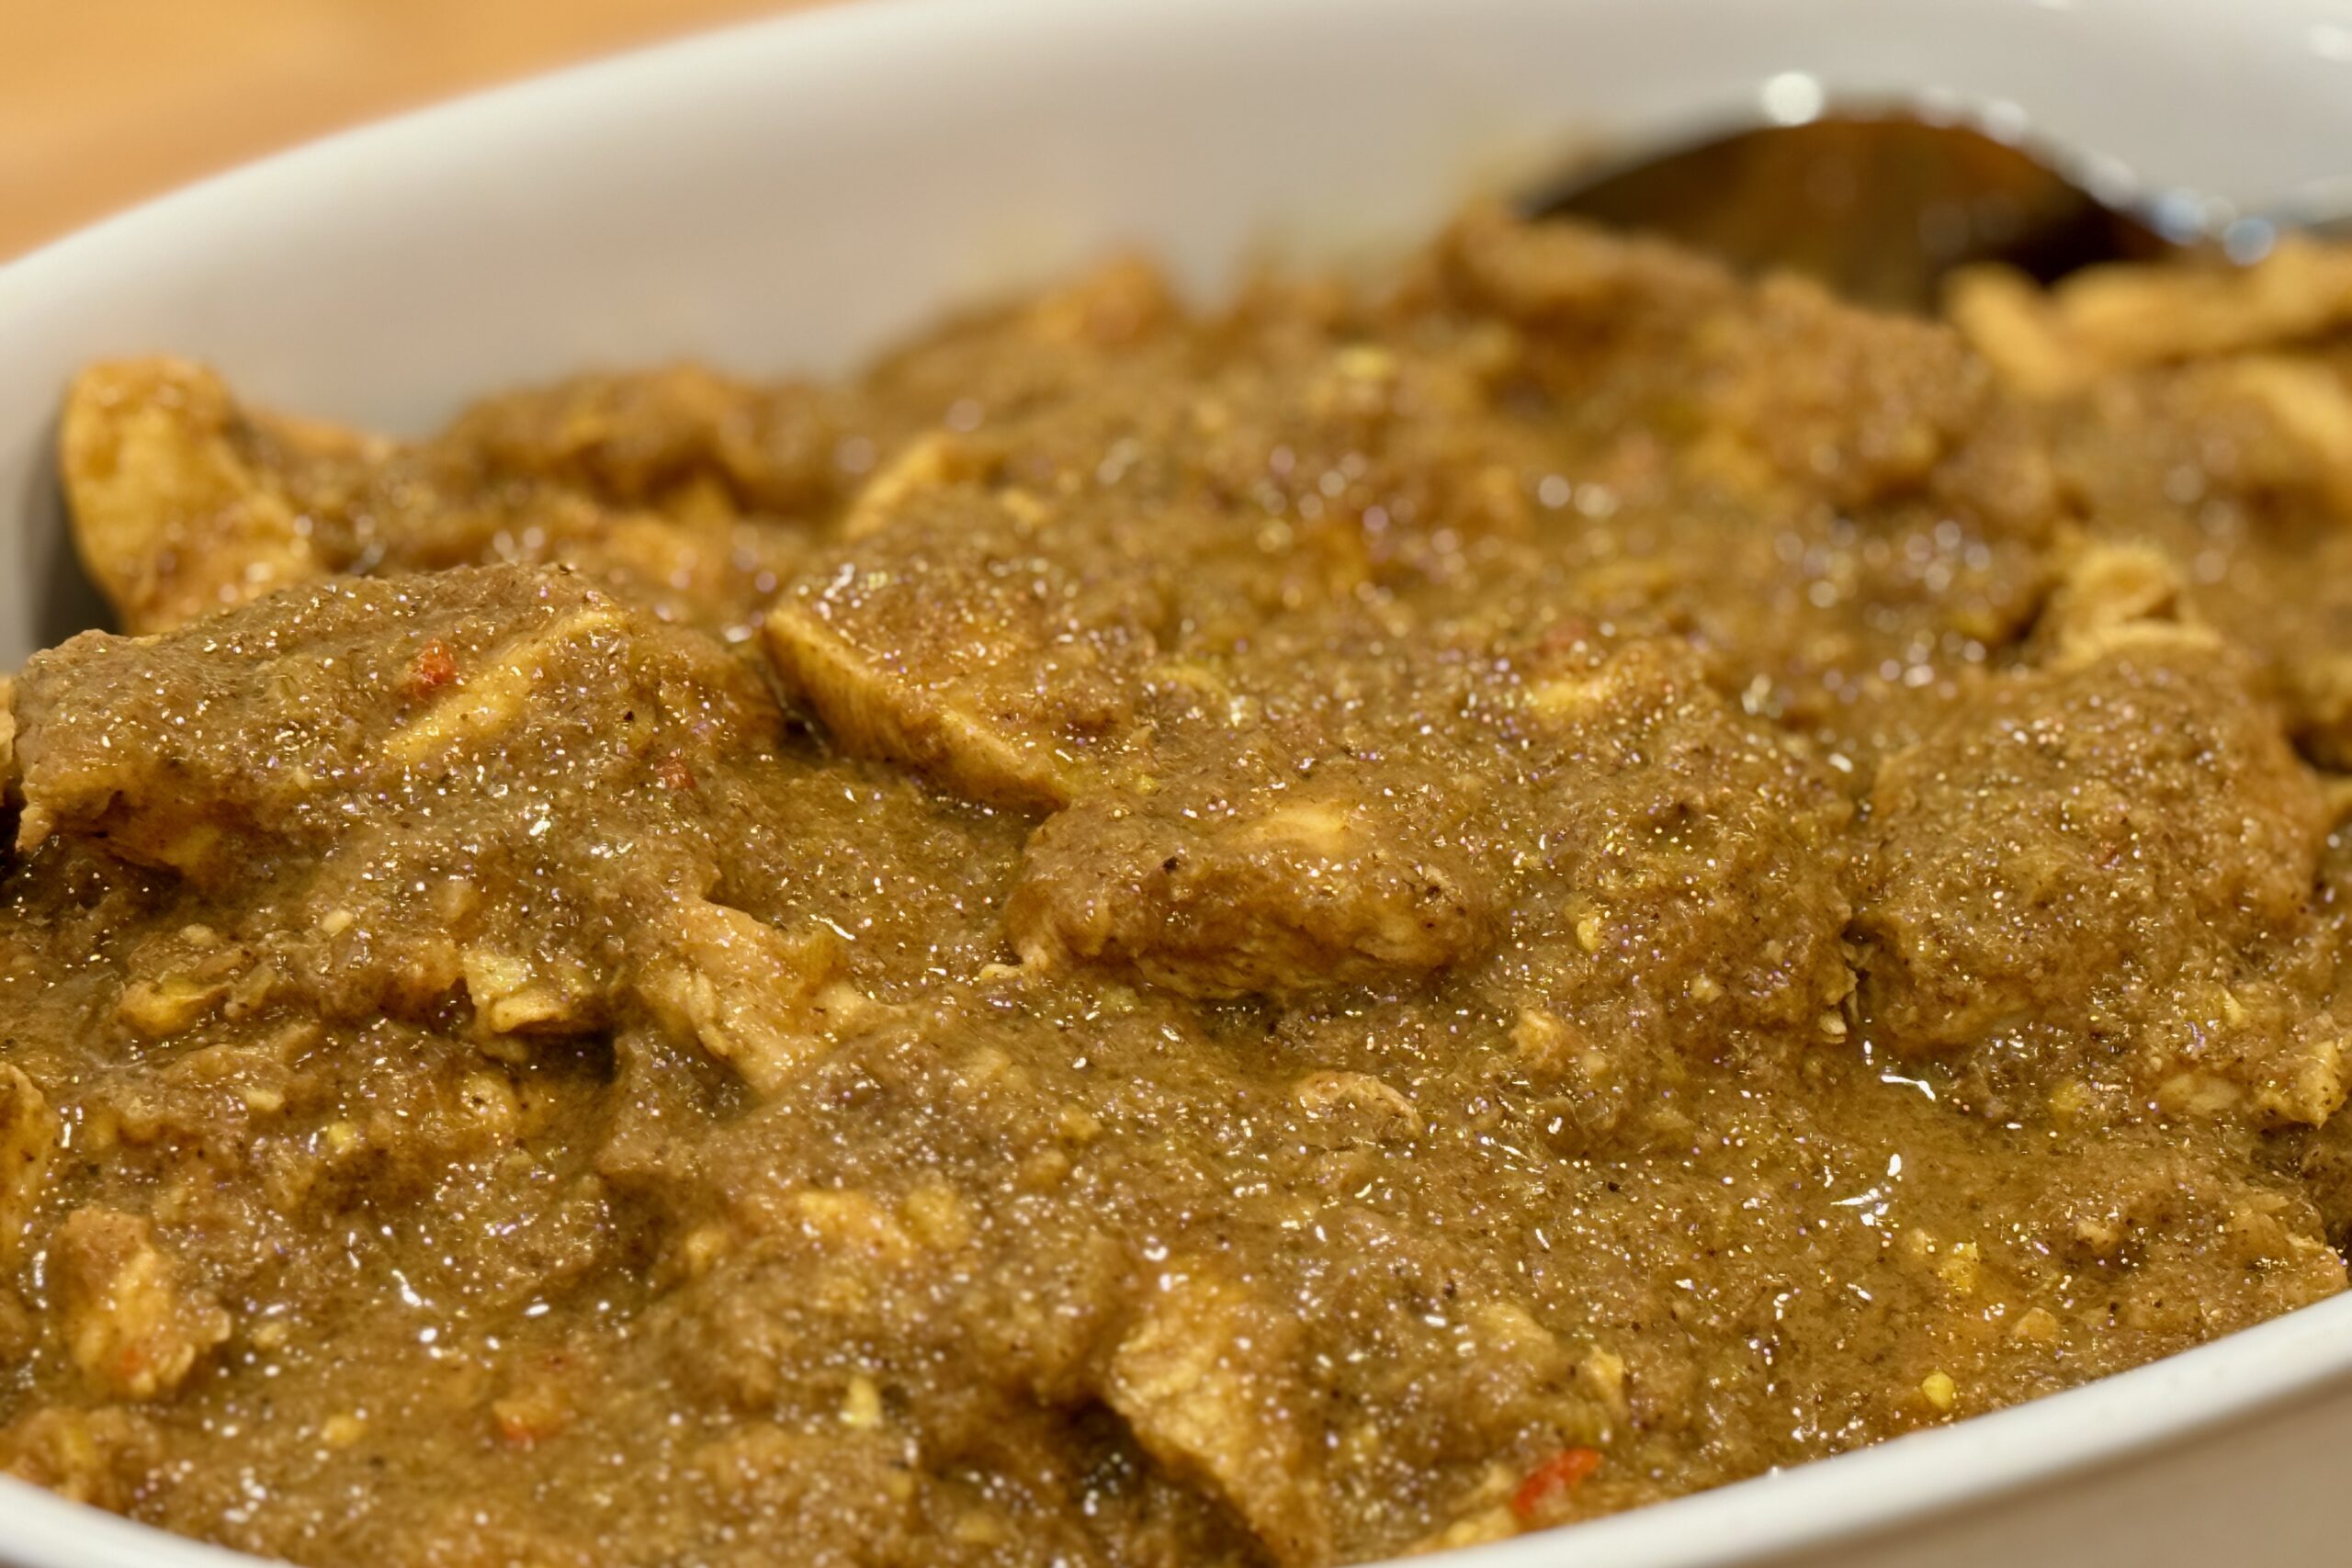
Add the chicken (or beef/pork), the star anise, and kaffir lime leaves. Stir to coat the meat evenly.
Bring to a gentle boil over medium-high heat, then reduce to a low simmer. Do not cover—the sauce should reduce gradually. Stir occasionally to prevent sticking.
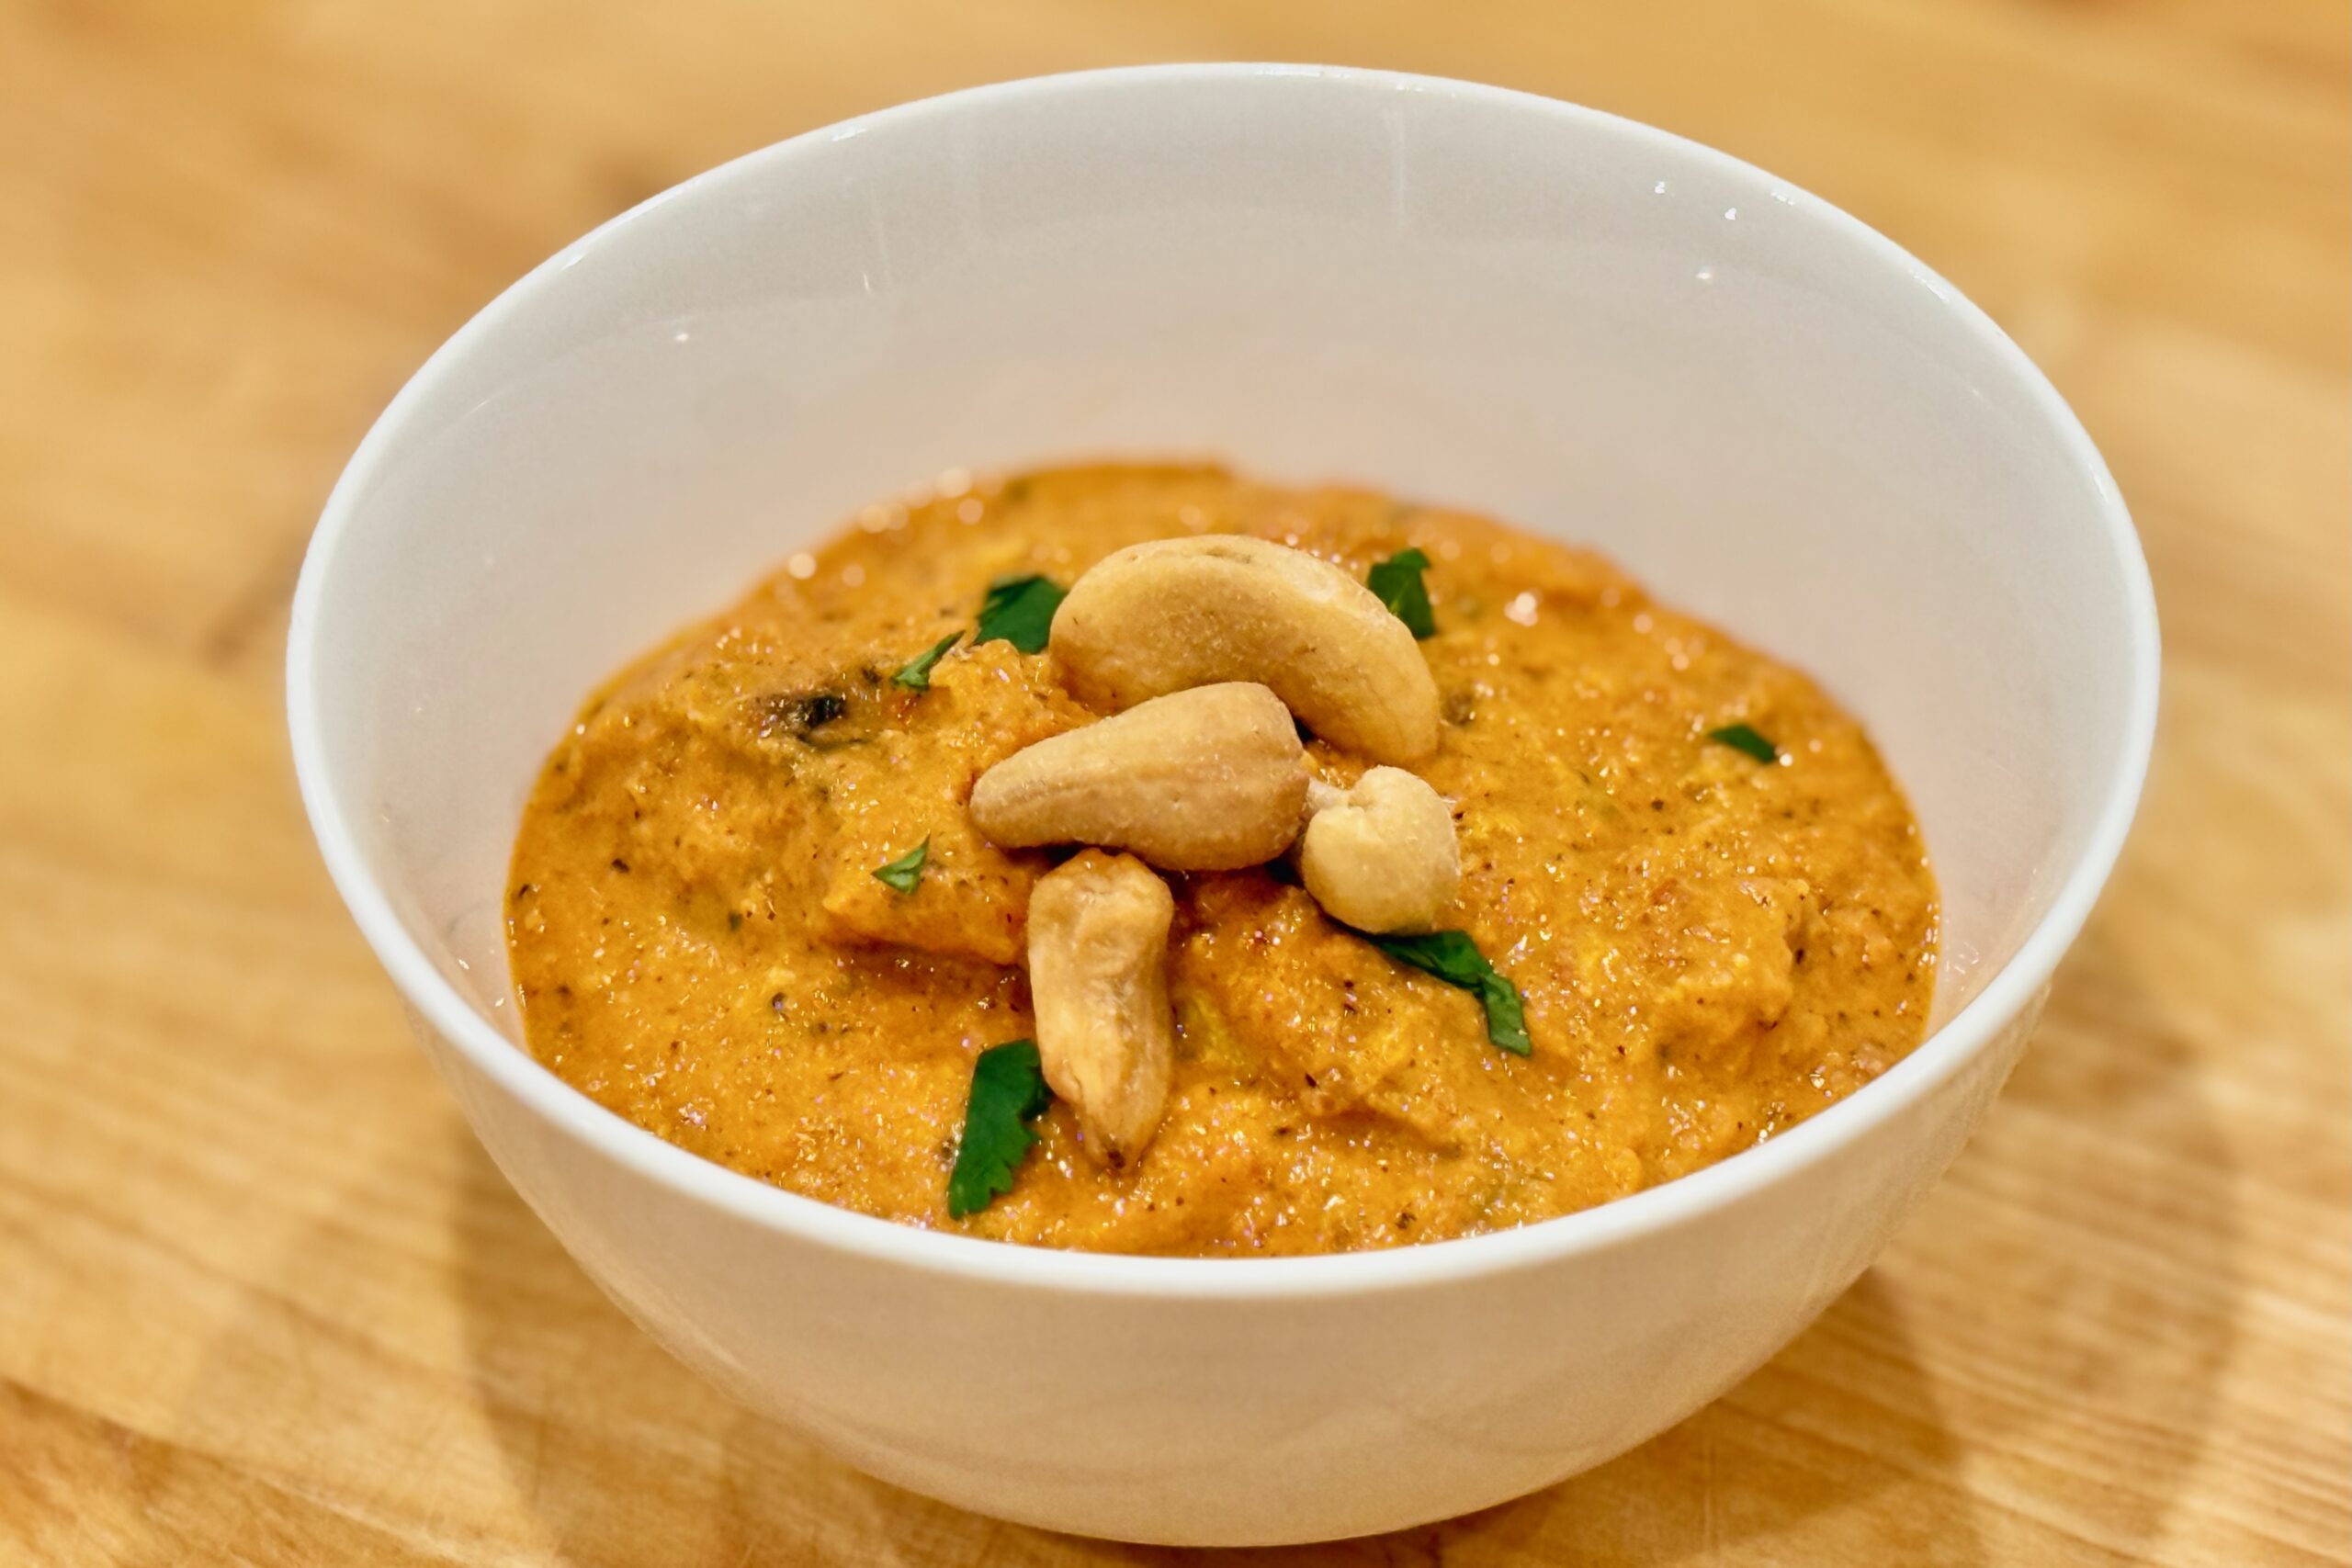
For chicken: simmer 45–60 minutes until the sauce thickens and the meat is tender. For beef or pork: simmer about 90 minutes, stirring occasionally, until the sauce darkens and the oil separates (you’ll see pools of oil bubbling at the surface), and the meat is deeply caramelized.
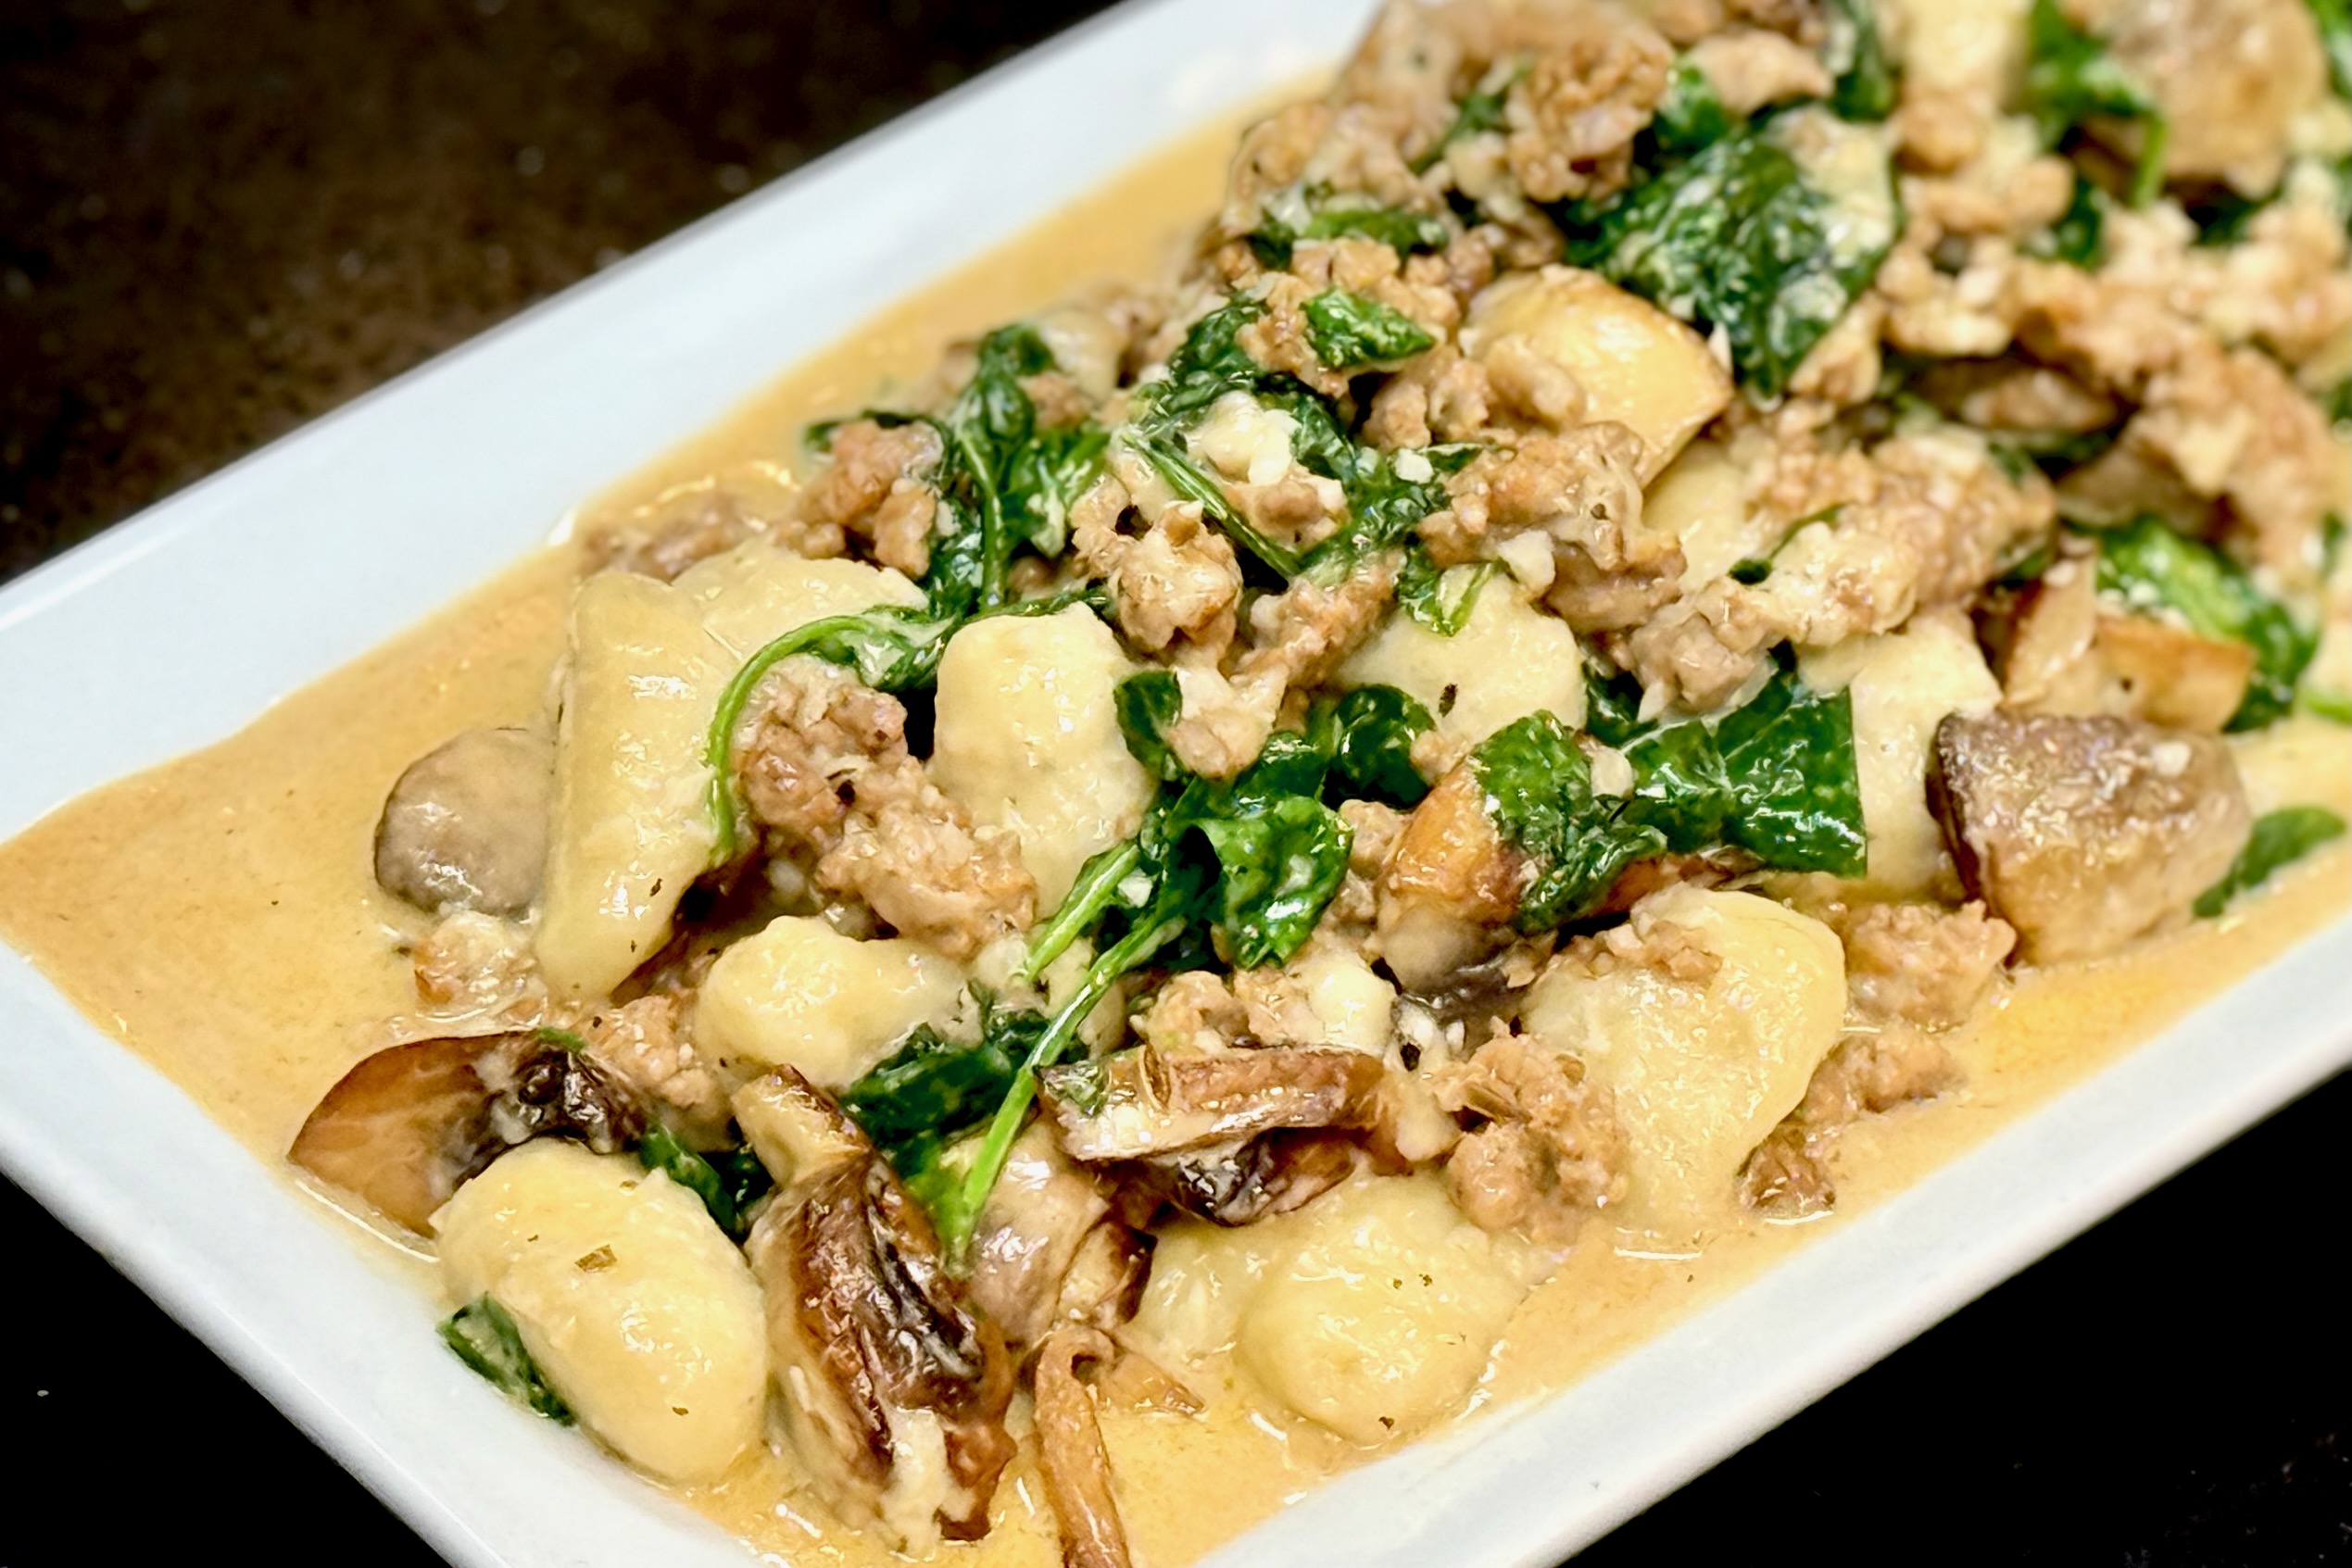
Finish and Serve
If the sauce reduces too quickly or becomes overly thick, add a splash of water or coconut milk as needed. Adjust salt near the end of cooking if necessary.
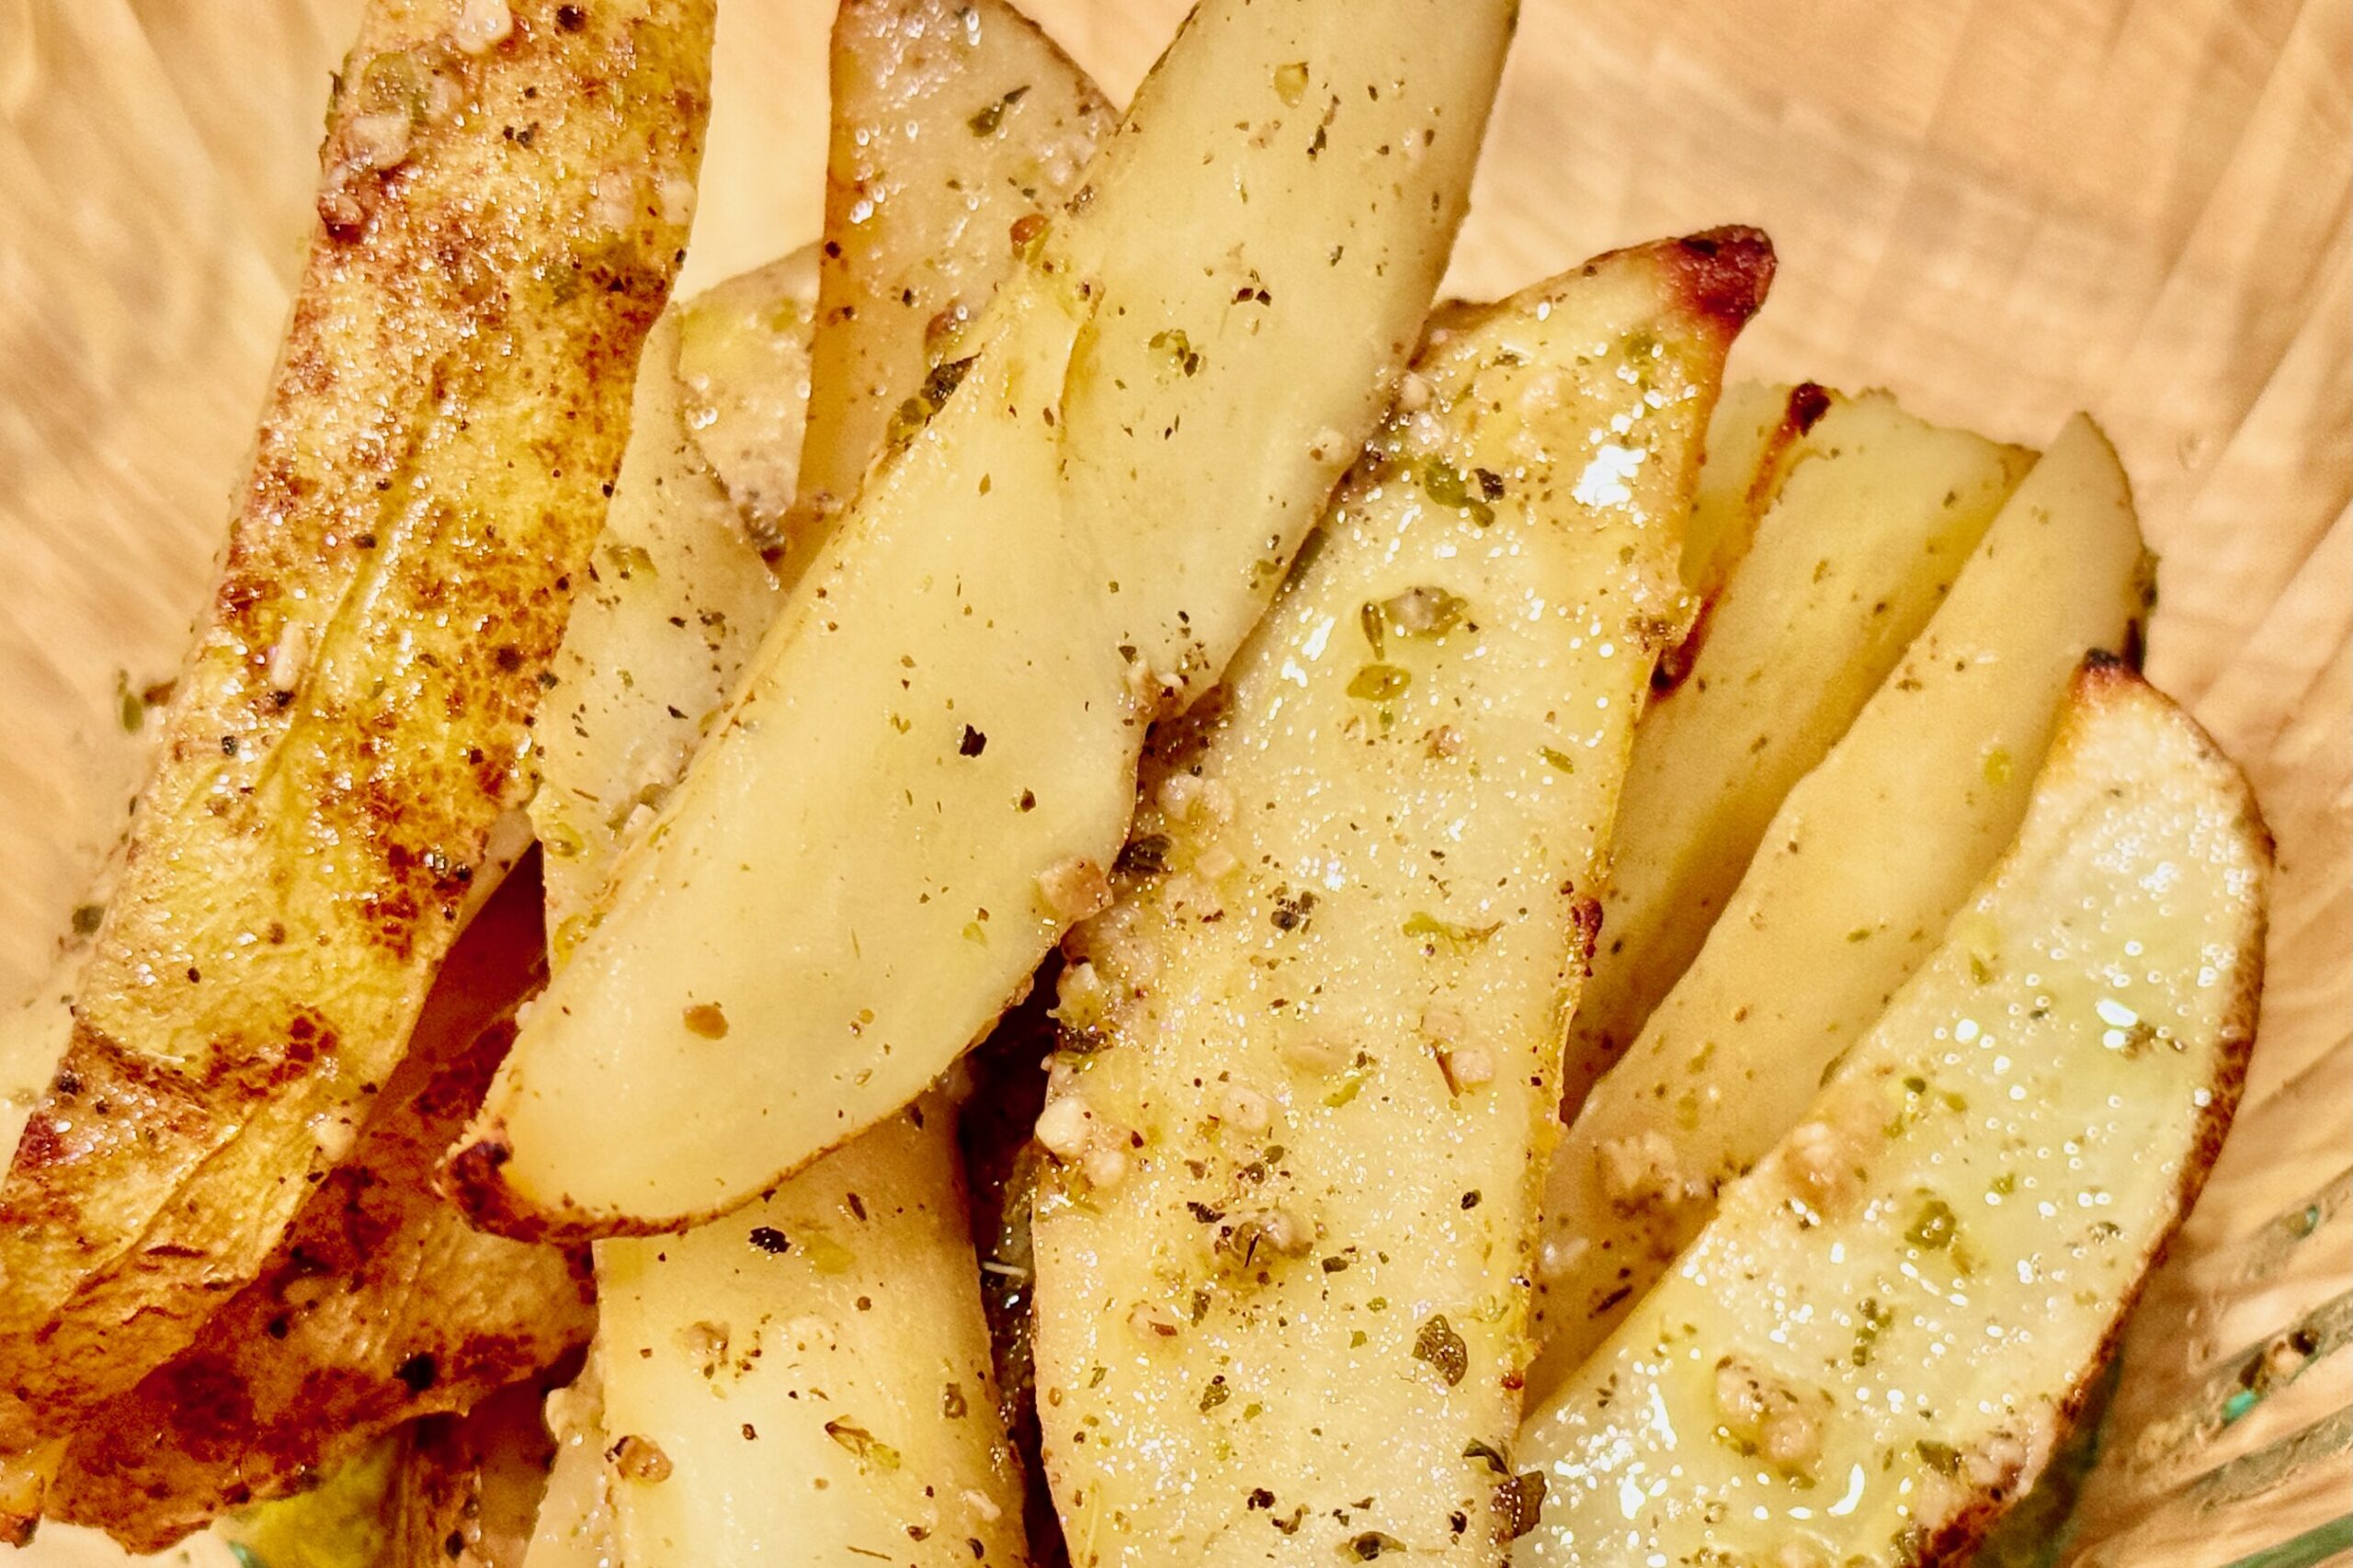
Serve hot, garnished with shredded or toasted coconut and fresh cilantro. Pairs beautifully with jasmine or glutinous rice.
Notes
Preparation
- Using full-fat coconut milk helps prevent curdling and creates the signature silky texture.
- The added water or stock allows longer reduction time without oversalting.
- If using sambal oelek instead of fresh chilies, reduce fish sauce slightly and adjust at the end.
- For a drier, traditional beef rendang, continue simmering until nearly all liquid has evaporated and the sauce clings darkly to the meat.
- For extra depth, optionally stir in 1–2 tbsp toasted coconut (kerisik) near the end of cooking.
- Taste and adjust seasoning only at the end—salt intensifies as the sauce reduces.
Serving Suggestions
- Serve with jasmine rice or glutinous rice to soak up the rich sauce.
- Finish with fresh cilantro and a sprinkle of shredded or toasted coconut (kerisik), if desired.
Variations
- Beef or Pork: Use 2 lb beef chuck or pork shoulder (1½-inch cubes). Increase coconut milk to 1½ cans and simmer about 90 minutes or until dark and caramelized.
Make-Ahead & Storage
- Rendang improves in flavor overnight; refrigerate up to 3 days.
- Reheat gently with a splash of water or coconut milk to loosen the sauce.
- Freeze up to 2 months; thaw in the refrigerator before reheating.